Easy Canning Strawberry Jam Recipe
Most store-bought strawberry jam tastes overly sweet and flat compared to the real thing. Homemade strawberry jam fixes that problem fast because you control the sugar, the texture, and the punch of fresh fruit.
Once you try it, the jar from the grocery shelf starts feeling like a backup plan.
This easy canning strawberry jam recipe keeps things simple without cutting corners. It gives you a bright, balanced spread that actually tastes like strawberries instead of candy.
What Makes This Recipe Shine

This recipe works because it respects the fruit instead of burying it under sugar. Strawberries already bring natural sweetness and acidity, so we use just enough sugar to preserve and enhance, not overwhelm. The result tastes fresh, bold, and slightly tangy in the best way.
I love how consistent this method is, especially if you’re new to canning. You don’t need fancy tools or complicated steps, just patience and attention. Once you nail the process once, you’ll feel confident repeating it all season long.
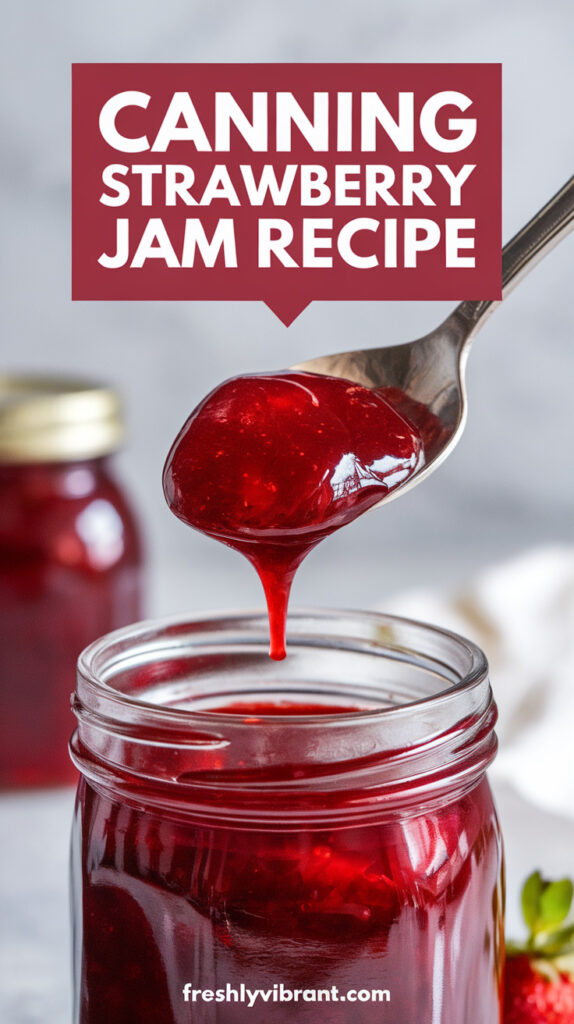
The texture hits that sweet spot between spreadable and slightly chunky. I prefer a bit of fruit in my jam because it reminds me it came from actual berries, not a factory. If you like it smoother, you can mash more aggressively, but I think a little texture makes it special.
Another reason this recipe shines is shelf stability. Proper water bath canning locks in freshness and lets you store jars for months. That feeling of opening a jar in winter and tasting peak strawberry season is honestly hard to beat.
Ingredients You’ll Need
- Fresh strawberries (4 pounds) – Ripe, bright red berries give the best flavor; avoid underripe or mushy ones.
- Granulated sugar (7 cups) – Helps preserve the jam and balance acidity; don’t reduce too much or the set may suffer.
- Fresh lemon juice (1/4 cup) – Adds acidity for safe canning and enhances flavor; use bottled if you want guaranteed acidity levels.
- Powdered fruit pectin (1 package, about 1.75 oz) – Ensures a reliable set; follow the brand instructions closely.
- Butter (1/2 teaspoon, optional) – Reduces foam while boiling; totally optional but helpful.
Step-by-Step Instructions
Step 1: Prep the Strawberries
- Rinse the strawberries under cool running water and remove the green tops.
- Crush them in batches using a potato masher until you have about 5 cups of crushed fruit.
- Leave some small chunks if you like texture, or mash thoroughly for a smoother finish.
Crushing releases natural juices, which helps the jam cook evenly. Don’t puree them completely unless you want a very smooth spread.
Step 2: Prepare Your Jars
- Wash jars, lids, and bands in hot soapy water and rinse well.
- Place jars in a boiling water canner and keep them hot until ready to fill.
- Simmer the lids in hot water, but do not boil them.
Hot jars prevent cracking when you pour in hot jam. This step matters more than people think, so don’t skip it.
Step 3: Cook the Jam
- Combine crushed strawberries and lemon juice in a large heavy-bottomed pot.
- Stir in the powdered pectin and bring the mixture to a full rolling boil over high heat.
- Add the sugar all at once and stir constantly.
A full rolling boil means it keeps bubbling even when you stir. That intensity activates the pectin and sets the structure of the jam.
- Return to a rolling boil and boil hard for exactly one minute while stirring.
- Remove from heat and skim off any foam if needed.
Timing matters here, so stay focused. Boiling too long can thicken the jam too much or darken the flavor.
Step 4: Fill and Seal the Jars
- Remove hot jars from the canner and place them on a towel.
- Ladle hot jam into jars, leaving 1/4 inch headspace.
- Wipe the rims clean with a damp cloth to ensure a good seal.
Air bubbles can cause issues later, so run a clean utensil around the inside edge if needed. Proper headspace helps the vacuum seal form correctly.
- Place lids on top and screw bands on until fingertip tight.
Step 5: Process in Water Bath
- Place filled jars back into the boiling water canner.
- Ensure water covers jars by at least 1–2 inches.
- Process for 10 minutes once the water returns to a boil.
Processing time may vary slightly based on altitude, so adjust if necessary. After processing, turn off heat and let jars sit in the water for five minutes before removing.
- Remove jars and let them cool undisturbed for 12–24 hours.
You’ll hear that satisfying pop as they seal. That sound never gets old.
Common Mistakes to Avoid
One of the biggest mistakes is using underripe strawberries. They lack natural sweetness and flavor, so no amount of sugar will fix that. Always pick berries that smell fragrant and look deep red.
Another issue comes from rushing the boil. If you don’t reach a full rolling boil before timing that one minute, the pectin won’t activate properly. The jam may end up runny, which is frustrating after all that effort.
Overfilling jars creates sealing problems. Leaving the correct headspace might seem minor, but it affects pressure and vacuum formation. I’ve learned that lesson the hard way, and it’s not fun reopening jars.
Skipping lemon juice is risky. It’s not just for flavor; it ensures proper acidity for safe canning. Even if your strawberries taste tart, don’t assume they’re acidic enough.
Finally, don’t disturb jars while they cool. Moving them can interfere with sealing, so let them sit still and do their thing.
Alternatives & Substitutions
If you prefer a lower-sugar option, you can use low-sugar pectin. It allows you to reduce the sugar while still achieving a decent set. I’ve tried it, and while the texture changes slightly, the flavor of the fruit really stands out.
You can swap part of the strawberries for raspberries for a mixed berry jam. The added tartness gives it a deeper flavor profile. It’s not traditional strawberry jam anymore, but it tastes incredible on toast.
For a richer twist, add a splash of vanilla extract after boiling. It doesn’t overpower the strawberries, but it rounds out the sweetness beautifully. I only use about half a teaspoon, and it makes a difference.
If you don’t want to can, you can skip the water bath and store the jam in the fridge. It will keep for about three weeks refrigerated. That’s perfect if you’re making a small batch just for immediate use.
You can also freeze the jam instead of canning. Leave extra headspace and store in freezer-safe containers for up to a year.
FAQ
How do I know if my jam has set properly?
You can test the set by placing a small spoonful on a chilled plate. Let it sit for a minute, then push it with your finger. If it wrinkles slightly, it’s ready.
If it looks too runny, don’t panic immediately. Jam thickens as it cools, so give it time before assuming it failed.
Can I reduce the sugar in this recipe?
Reducing sugar without adjusting the pectin can affect the set and preservation. If you want less sugar, use pectin designed for low-sugar recipes.
Sugar plays a structural role, not just a flavor role. Cutting it drastically can result in a syrupy texture.
Why did my jam turn out runny?
Runny jam usually means the mixture didn’t reach a full rolling boil or wasn’t boiled long enough. It can also happen if measurements were slightly off.
Accurate measuring and proper heat are critical. I always level my sugar cups carefully for that reason.
How long does canned strawberry jam last?
Properly sealed jars can last up to a year when stored in a cool, dark place. Once opened, refrigerate and use within three weeks.
Always check the seal before storing. If the lid flexes up and down, refrigerate and use soon.
Do I really need a water bath canner?
You don’t need a fancy canner; a large deep pot with a rack works fine. The key is ensuring jars are fully submerged during processing.
Skipping the water bath entirely means the jam won’t be shelf-stable. That’s fine if you plan to refrigerate or freeze.
Can I double this recipe?
Doubling can affect how the jam sets because larger volumes heat differently. I recommend making separate batches for consistent results.
Small batches give you better control. It’s more reliable and honestly less stressful.

Ingredients
Method
- Wash, hull, and crush strawberries until you have about 5 cups of crushed fruit.
- Prepare jars by washing and keeping them hot in a water bath. Simmer lids in hot water.
- In a large pot, combine crushed strawberries and lemon juice.
- Stir in powdered pectin and bring to a full rolling boil over high heat.
- Add sugar all at once and stir constantly.
- Return to a rolling boil and boil hard for 1 minute while stirring.
- Remove from heat and skim off foam if needed.
- Ladle hot jam into jars, leaving 1/4 inch headspace.
- Wipe rims clean, place lids on, and tighten bands.
- Process jars in a boiling water bath for 10 minutes.
- Remove jars and let cool undisturbed for 12 to 24 hours until sealed.
Final Thoughts
Homemade strawberry jam feels practical, satisfying, and honestly kind of addictive once you start. You get better flavor, better texture, and full control over what goes into every jar.
Stick to the process, respect the timing, and choose good fruit. That’s really the secret.