Simple and Creamy Aioli Sauce Recipe
A good aioli comes down to balance, texture, and control over a few basic ingredients. When it works, it turns simple food into something that feels finished and intentional.
When it doesn’t, you’re left with a broken mess that tastes flat or greasy.
This version focuses on consistency, clean flavor, and a method that actually works in a home kitchen.
It’s the kind of sauce you make once, then quietly start adding to everything without thinking twice.
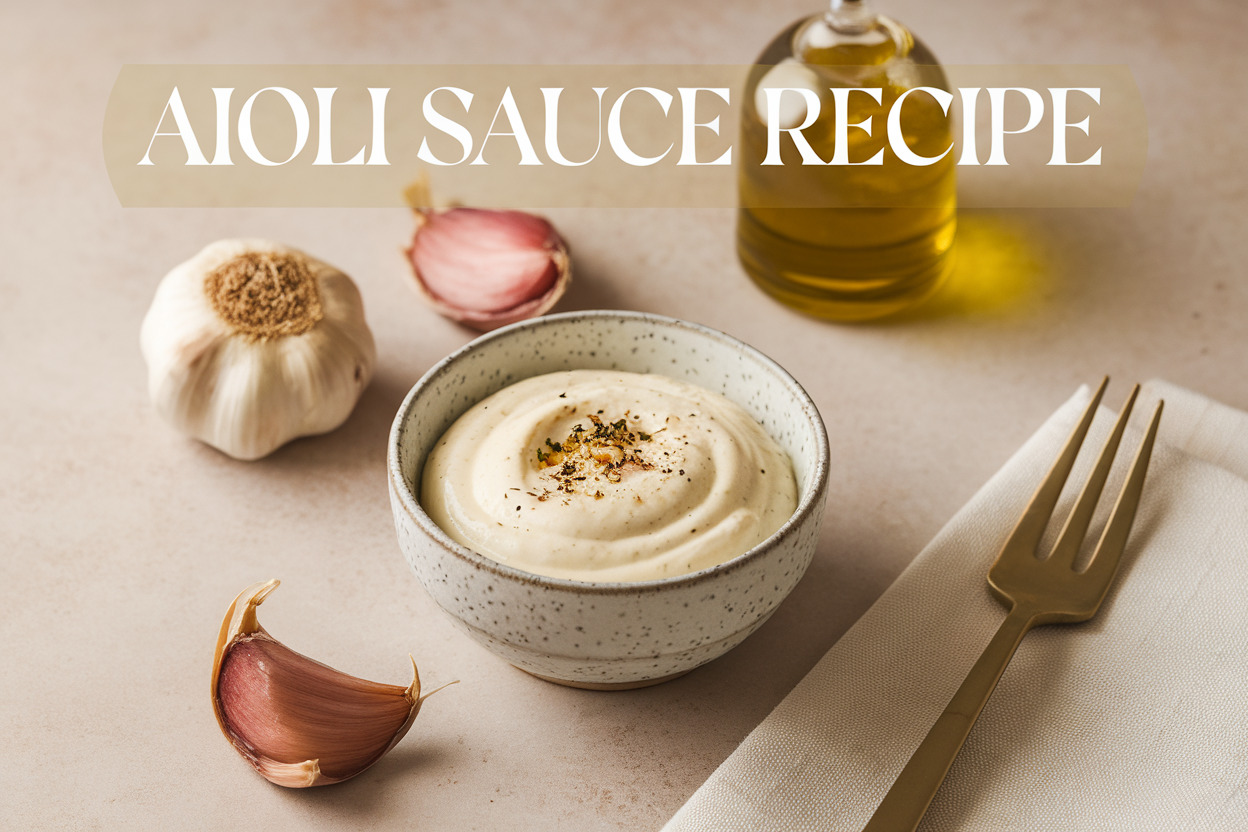
Ingredients
Method
- Add egg yolk and minced garlic to a bowl. Whisk until well combined.
- Add lemon juice and whisk until the mixture looks smooth and slightly thickened.
- Begin adding oil very slowly, one drop at a time, while whisking constantly.
- Once the mixture starts to thicken, continue adding oil in a thin steady stream while whisking.
- Whisk until the aioli becomes thick, pale, and creamy.
- If the sauce becomes too thick, add a few drops of water or lemon juice to adjust consistency.
- Add salt to taste and stir in Dijon mustard if using.
- Let the aioli rest for about 10 minutes before serving.
What Makes This Recipe Shine

The biggest reason this aioli works is that it respects the process instead of trying to outsmart it. Emulsions aren’t complicated, but they do punish rushing, and this recipe keeps things slow and controlled. The result is thick, smooth, and stable without needing fancy tools or shortcuts.
Flavor balance matters just as much as technique here. The garlic is present but not sharp, the lemon adds lift without overpowering, and the oil blends in instead of sitting on top. Everything tastes connected instead of layered on afterward.
I’ve made a lot of aioli over the years, and this version consistently gives me the texture I want without feeling heavy. It spreads cleanly, holds its shape, and doesn’t slide off food like a loose dressing. That alone makes it worth keeping in rotation.
Another thing I like is how forgiving it is once you understand the rhythm. If you’ve ever had aioli break and felt personally offended by it, this method gives you room to recover. It’s practical, repeatable, and doesn’t demand perfection.
It also plays well with other flavors. You can keep it classic or turn it into something bolder without rebuilding the recipe from scratch. That flexibility makes it useful beyond just one meal.
Ingredients You’ll Need
- 1 large egg yolk – Room temperature helps everything blend smoothly
- 2–3 cloves garlic, finely minced – Adjust based on how sharp you like it
- 1 tablespoon lemon juice – Fresh is best for brightness
- 1 cup neutral oil – Avocado or light olive oil works well
- Salt to taste – Start small and adjust later
- Optional: Dijon mustard – Adds stability and a subtle bite
Step-by-Step Instructions
1. Prepare the Base
Start by adding the egg yolk and minced garlic to a bowl. Whisk them together until the garlic looks evenly distributed and the mixture feels slightly thickened.
This step matters more than people think. Mixing here sets the foundation for a smooth emulsion later, so don’t rush it.
2. Add the Lemon Juice
Pour in the lemon juice and whisk again until fully combined. The acidity helps stabilize the emulsion and keeps the sauce from tasting flat.
At this stage, the mixture should look glossy and slightly lighter in color. If it looks separated already, give it a few more seconds of whisking.
3. Begin the Oil Slowly
Start adding the oil one drop at a time while whisking constantly. This part requires patience, but it’s what makes or breaks the sauce.
Once the mixture starts to thicken, you can increase the oil to a thin stream. If you rush it, the sauce can break and turn oily.
4. Watch the Texture Change
As the oil incorporates, the aioli should turn pale and creamy. You’ll feel resistance in the whisk, which is a good sign.
If it gets too thick, add a few drops of water or lemon juice to loosen it. The texture should be spreadable but not stiff.
5. Season and Adjust
Add salt gradually, tasting as you go. This is also the moment to tweak acidity or garlic if needed.
Give it one final whisk to smooth everything out. The aioli should look glossy, thick, and uniform.
6. Rest Before Using
Let the aioli sit for about 10 minutes before serving. This gives the flavors time to settle and blend together.
The texture will also firm up slightly, making it easier to spread or dollop.
Common Mistakes to Avoid
One of the most common mistakes is adding oil too fast at the beginning. That single misstep can prevent the emulsion from forming and leave you with a soupy mess.
Another issue is using cold ingredients straight from the fridge. Temperature differences make it harder for the fat and liquid to bind, which leads to separation.
Overpowering the sauce with garlic is another easy trap. Raw garlic gets stronger as it sits, so what tastes mild at first can turn harsh later.
People also tend to over-season early. Salt should come last so you don’t accidentally push the flavor too far once everything settles.
Finally, skipping the resting time can make the sauce feel unbalanced. Those few minutes matter more than most people realize.
Alternatives & Substitutions
If raw garlic feels too strong, roasted garlic works beautifully here. It adds sweetness and depth without the sharp bite, and it blends effortlessly into the sauce.
For a lighter version, you can replace part of the oil with Greek yogurt. The texture stays creamy, and the flavor becomes slightly tangy in a good way.
Lime juice works as a substitute for lemon if you want something brighter. It changes the personality of the aioli but still keeps it balanced.
If you’re avoiding raw egg, pasteurized eggs or mayonnaise can act as a base. It won’t be traditional, but it’s reliable and still tastes great.
You can also experiment with flavor add-ins like smoked paprika, chipotle, or fresh herbs. Just keep additions minimal so the sauce doesn’t lose its identity.
FAQ
Can I make this without a whisk?
Yes, but it’s harder to control. A fork can work in a pinch, and an immersion blender makes it almost foolproof.
How long does homemade aioli last?
Stored in an airtight container in the fridge, it’s best within two to three days. After that, the flavor and texture start to decline.
Why did my aioli break?
Most of the time it’s because the oil was added too quickly or the ingredients were too cold. Slow down and keep everything closer to room temperature.
Can I fix broken aioli?
Yes, and it’s easier than people think. Start with a fresh yolk in a clean bowl and slowly whisk the broken sauce into it.
Is aioli safe to eat?
When made with fresh eggs and stored properly, it’s generally safe. If you’re concerned, use pasteurized eggs to reduce risk.
What foods go best with aioli?
It works with fries, sandwiches, grilled vegetables, seafood, and even roasted chicken. Once you start using it, you’ll find excuses to add it to everything.
Final Thoughts
This aioli recipe sticks around because it’s reliable, flexible, and genuinely useful in everyday cooking. It doesn’t rely on tricks or shortcuts, just good technique and balance.
Once you get comfortable making it, you’ll stop buying store-bought versions altogether. It’s one of those small kitchen skills that quietly upgrades everything you serve.