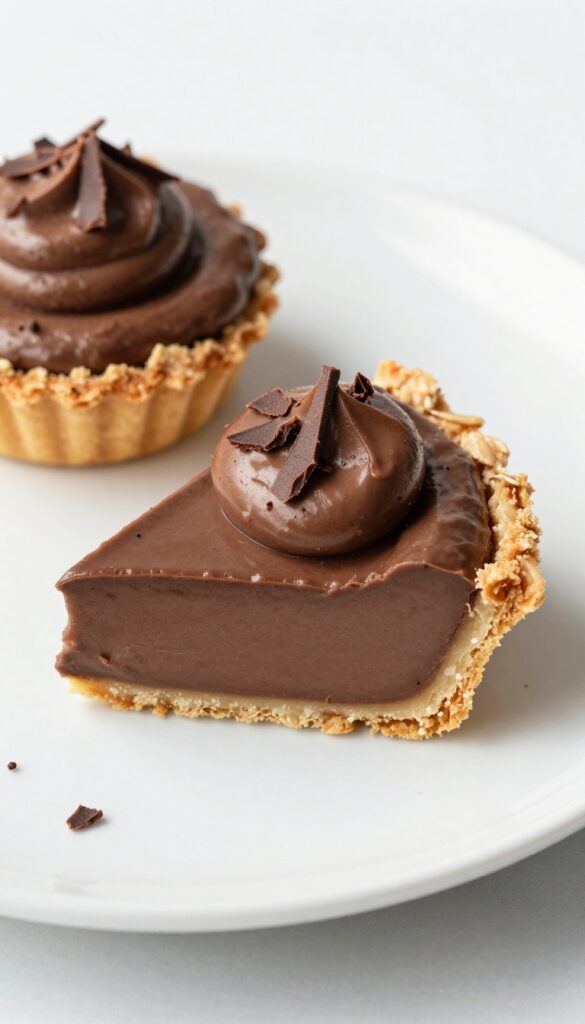
6 Gluten Free Chocolate Cream Pie Recipes That Won’t Break the Bank
Chocolate cream pie is a classic for good reason—silky filling, crisp crust, and that cloud of whipped cream on top. But if you're gluten free, store-bought versions can be pricey, and many recipes call for specialty ingredients that add up fast.
The good news? You can make an incredible gluten free chocolate cream pie at home without spending a fortune.
These six recipes focus on smart swaps, pantry staples, and simple techniques that keep costs low and flavor high. Whether you're feeding a crowd or just treating yourself, each pie delivers that rich, comforting experience you're craving—without the premium price tag.
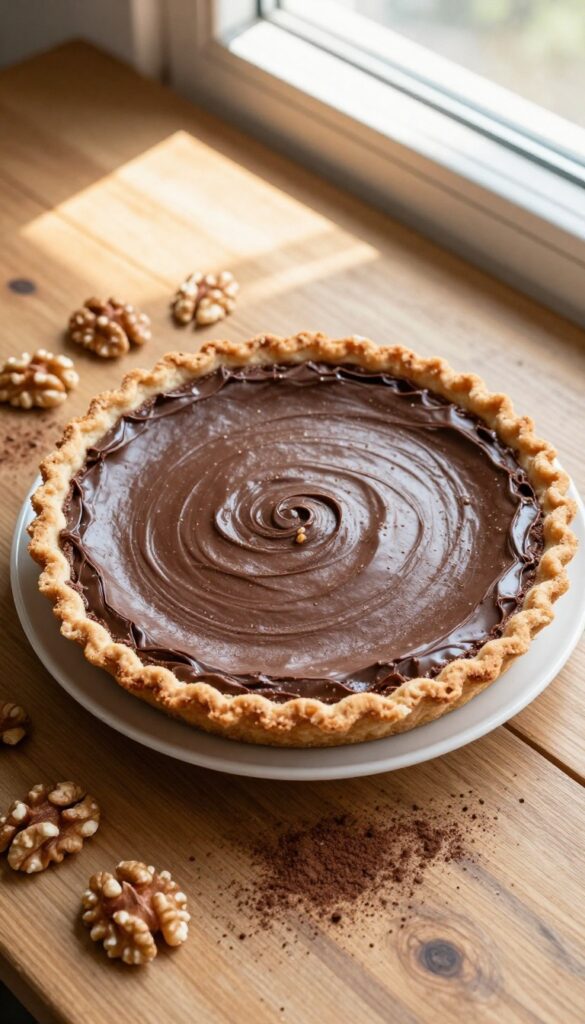
1. Classic Chocolate Cream Pie with Oat Flour Crust
Oat flour is a pantry hero—just blitz rolled oats until fine, and you have a budget-friendly, sturdy crust that holds up beautifully to a rich chocolate filling. This stovetop pudding uses cocoa powder and whole milk, thickened with cornstarch, so you don't need eggs or expensive chocolate bars. It's the kind of dessert that feels indulgent but costs pennies per slice, perfect for feeding a crowd without breaking the bank.
Ingredients
- For the crust: 1 1/2 cups oat flour (blitz 1 3/4 cups rolled oats in a blender until fine)
- 1/4 cup granulated sugar
- 1/2 teaspoon salt
- 6 tablespoons cold butter, cut into small pieces
- 3 to 4 tablespoons ice water
- For the filling: 1/2 cup granulated sugar
- 1/4 cup unsweetened cocoa powder
- 1/4 cup cornstarch
- 1/4 teaspoon salt
- 3 cups whole milk
- 2 teaspoons vanilla extract
- For the topping: 1 cup heavy cream
- 2 tablespoons powdered sugar
- 1/2 teaspoon vanilla extract
Instructions
- Make the crust: Preheat oven to 375°F. In a bowl, whisk together oat flour, sugar, and salt. Cut in butter with a pastry blender or fingertips until mixture resembles coarse crumbs. Add ice water 1 tablespoon at a time, stirring until dough holds together when pressed.
- Press dough evenly into the bottom and up the sides of a 9-inch pie dish. Prick bottom with a fork. Bake for 15-18 minutes until golden and set. Cool completely.
- Make the filling: In a medium saucepan, whisk together sugar, cocoa powder, cornstarch, and salt. Gradually whisk in milk until smooth. Cook over medium heat, stirring constantly with a whisk, until mixture thickens and comes to a boil (about 6-8 minutes). Boil for 1 minute, then remove from heat.
- Stir in vanilla extract. Pour filling into cooled crust. Press plastic wrap directly onto surface to prevent skin. Refrigerate for at least 4 hours or until set.
- Make the topping: In a large bowl, beat heavy cream, powdered sugar, and vanilla with an electric mixer on medium-high speed until soft peaks form. Spread or pipe over chilled pie. Serve immediately or refrigerate up to 4 hours.
Serving Tip
For neat slices, dip a sharp knife in hot water and wipe dry before each cut. This pie keeps in the fridge for up to 2 days, but the crust stays crispiest if you add the whipped cream just before serving.
2. Vegan Chocolate Avocado Cream Pie with Nut Crust
Avocado might sound unusual in a dessert, but its mild flavor and silky texture make it a perfect base for a rich chocolate cream pie. This version skips dairy and eggs entirely, relying on ripe avocados for that luscious, creamy filling. The crust uses toasted walnuts or almonds and dates—no expensive gluten free flours required.
Sweetened with maple syrup and cocoa powder, this pie is proof that budget-friendly ingredients can still deliver decadent results.
Ingredients
- For the crust: 1 cup raw walnuts or almonds
- 2 cups pitted Medjool dates (about 12 dates)
- Pinch of salt
- For the filling: 2 large ripe avocados
- 1/2 cup unsweetened cocoa powder
- 1/2 cup maple syrup
- 1 teaspoon vanilla extract
- 1/4 cup coconut milk (or any plant-based milk)
Instructions
- Preheat the oven to 350°F (175°C). Spread the nuts on a baking sheet and toast for 8–10 minutes until fragrant. Let cool slightly.
- In a food processor, pulse the toasted nuts until finely ground. Add the dates and salt, then process until the mixture sticks together when pressed.
- Press the crust mixture evenly into a 9-inch pie dish. Use your fingers or the bottom of a glass to compact it. Place in the refrigerator to set while you make the filling.
- Halve the avocados, remove the pits, and scoop the flesh into a blender or food processor. Add cocoa powder, maple syrup, vanilla, and coconut milk. Blend until completely smooth and creamy, scraping down the sides as needed.
- Pour the filling into the chilled crust and spread evenly. Cover and refrigerate for at least 4 hours, or overnight until firm.
- Slice and serve chilled. Store leftovers in the fridge for up to 3 days.
Serving Tip
For a pretty finish, top with a sprinkle of flaky sea salt or a few cacao nibs before serving. This pie is rich, so small slices go a long way.
3. No-Bake Chocolate Peanut Butter Pie with Rice Cereal Crust
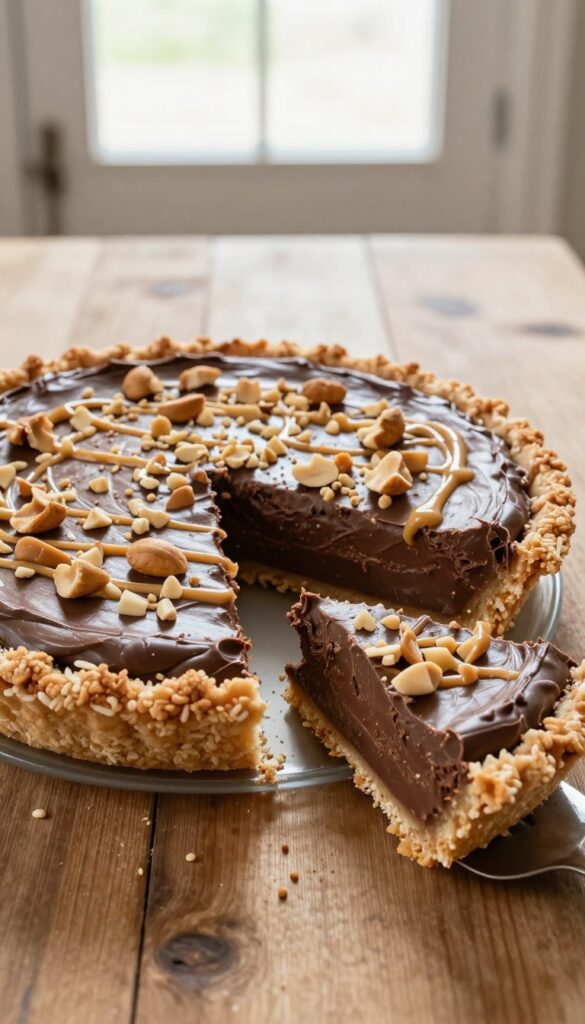
Skip the oven and the fuss with this budget-friendly no-bake pie. A crunchy rice cereal and peanut butter crust comes together in minutes, while the creamy chocolate filling relies on affordable pantry staples like cream cheese and cocoa powder. It’s a practical dessert for hot days, last-minute gatherings, or whenever you want a rich treat without turning on the oven.
Ingredients
- 1 ½ cups crispy rice cereal
- ½ cup creamy peanut butter
- 2 tablespoons honey or maple syrup
- 8 oz cream cheese, softened
- ½ cup powdered sugar
- ¼ cup unsweetened cocoa powder
- 1 teaspoon vanilla extract
- 1 ½ cups frozen whipped topping, thawed
Instructions
- In a medium bowl, mix the crispy rice cereal, peanut butter, and honey until well combined. Press firmly into the bottom and up the sides of a 9-inch pie dish. Refrigerate while preparing the filling.
- In a large bowl, beat the cream cheese with an electric mixer until smooth. Add powdered sugar, cocoa powder, and vanilla; beat until combined and creamy.
- Fold in the whipped topping gently until no streaks remain. Spread the filling evenly into the crust.
- Refrigerate for at least 4 hours, or until set. Slice and serve cold.
Serving Tip
For a cleaner slice, run your knife under hot water and wipe dry before each cut. Drizzle with extra peanut butter or sprinkle with chopped peanuts for added crunch.
4. Chocolate Coconut Cream Pie with Shredded Coconut Crust
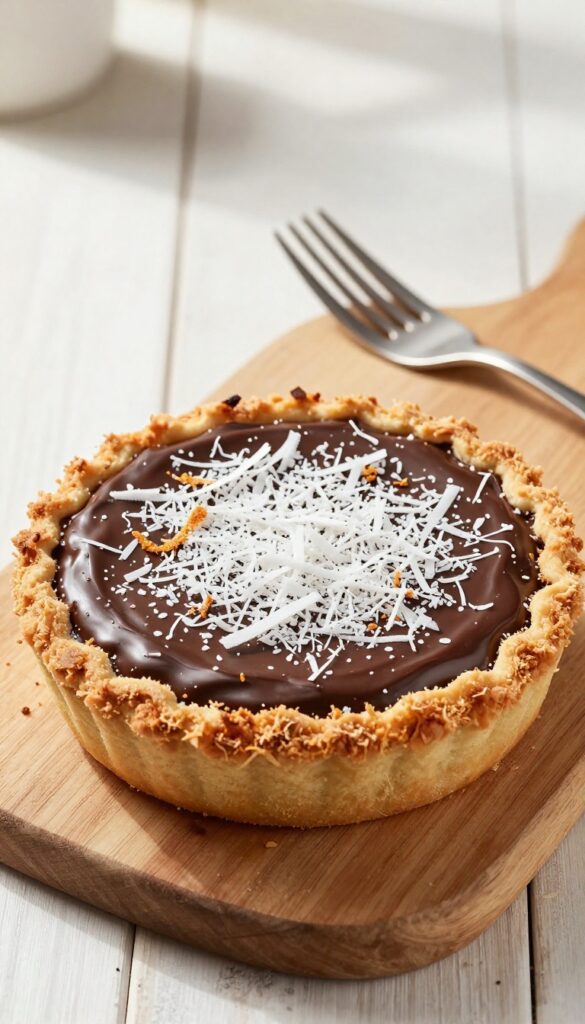
Coconut lovers, this one’s for you. A crunchy, golden shredded coconut crust replaces traditional pastry, saving both time and money. The filling is a silky chocolate pudding made with coconut milk and thickened with arrowroot—no expensive eggs or dairy needed.
Toasted coconut flakes on top add texture and visual appeal without breaking the bank.
Ingredients
- 2 cups unsweetened shredded coconut
- 3 tablespoons coconut oil, melted
- 1 can (13.5 oz) full-fat coconut milk
- 1/2 cup granulated sugar
- 1/4 cup unsweetened cocoa powder
- 3 tablespoons arrowroot powder or cornstarch
- 1/4 teaspoon salt
- 1 teaspoon vanilla extract
- 1/2 cup toasted coconut flakes for garnish
Instructions
- Preheat oven to 350°F. In a bowl, mix shredded coconut and melted coconut oil until well coated. Press firmly into a 9-inch pie pan, covering bottom and sides. Bake 10-12 minutes until golden. Let cool completely.
- In a saucepan, whisk together coconut milk, sugar, cocoa powder, arrowroot, and salt. Cook over medium heat, stirring constantly, until mixture thickens and comes to a gentle boil, about 5-7 minutes.
- Remove from heat, stir in vanilla extract. Pour filling into cooled crust. Smooth the top with a spatula.
- Refrigerate at least 4 hours or until set. Before serving, sprinkle toasted coconut flakes over the top.
Serving Tip
For extra richness, serve with a dollop of coconut whipped cream (chill a can of coconut cream overnight, then whip with a teaspoon of sugar). This pie keeps well in the fridge for up to 3 days.
5. Mocha Chocolate Cream Pie with Coffee-Infused Filling
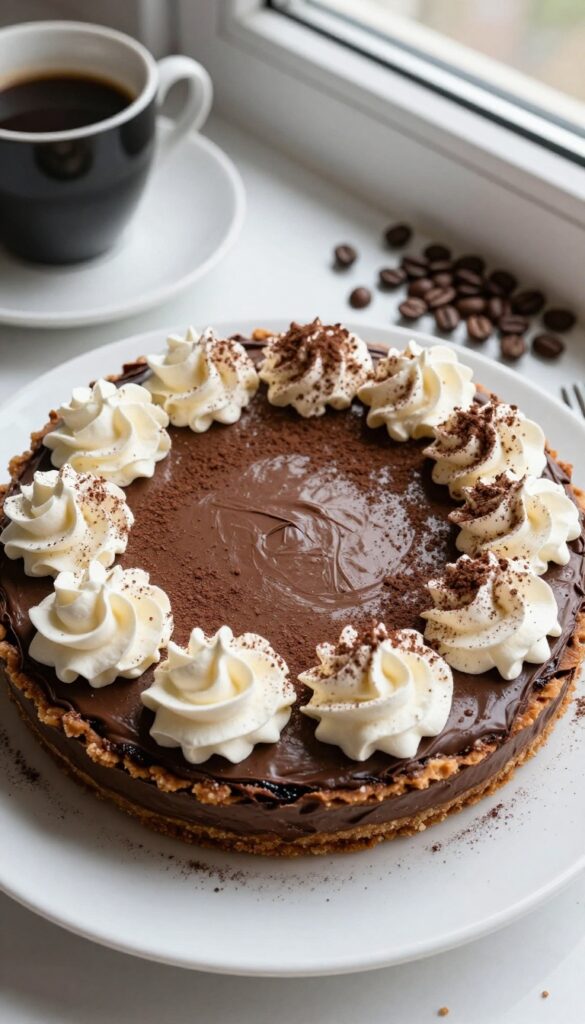
Coffee and chocolate are a classic duo, and this pie brings them together in a way that feels indulgent without breaking the bank. Instant coffee granules are the secret weapon here—they add deep, roasty flavor without requiring a fancy espresso machine. The crust uses budget-friendly gluten free graham crackers, and the filling comes together in one pot.
It’s the kind of dessert that feels special enough for company but simple enough for a weeknight treat.
Ingredients
- 1 ½ cups gluten free graham cracker crumbs
- 6 tablespoons unsalted butter, melted
- 2 tablespoons granulated sugar
- 1 cup whole milk
- ½ cup heavy cream
- ½ cup granulated sugar
- ¼ cup unsweetened cocoa powder
- 2 tablespoons instant coffee granules
- 3 large egg yolks
- 2 tablespoons cornstarch
- 2 tablespoons unsalted butter, cubed
- 1 teaspoon vanilla extract
- 1 cup cold heavy cream
- 2 tablespoons powdered sugar
- Cocoa powder, for dusting
Instructions
- Preheat oven to 350°F. In a medium bowl, stir together graham cracker crumbs, melted butter, and 2 tablespoons sugar until evenly moistened. Press mixture firmly into the bottom and up the sides of a 9-inch pie dish. Bake for 8 minutes, then let cool completely.
- In a medium saucepan, whisk together milk, ½ cup heavy cream, ½ cup sugar, cocoa powder, and instant coffee granules. Bring to a simmer over medium heat, whisking occasionally.
- In a small bowl, whisk egg yolks and cornstarch until smooth. Slowly pour about ½ cup of the hot milk mixture into the yolks, whisking constantly, then pour the yolk mixture back into the saucepan. Cook over medium heat, whisking constantly, until the mixture thickens and bubbles, about 2 minutes.
- Remove from heat and stir in cubed butter and vanilla until smooth. Pour filling into the cooled crust. Press a piece of plastic wrap directly onto the surface of the filling to prevent a skin from forming. Refrigerate for at least 4 hours, or until fully set.
- When ready to serve, beat 1 cup cold heavy cream and powdered sugar with an electric mixer until soft peaks form. Spread or pipe whipped cream over the pie. Dust with cocoa powder just before serving.
Serving Tip
For an extra touch, drizzle a little chocolate syrup over each slice or add a few chocolate-covered espresso beans on top. The pie keeps well in the fridge for up to two days, making it a great make-ahead dessert.
6. Chocolate Mint Cream Pie with Cookie Crust
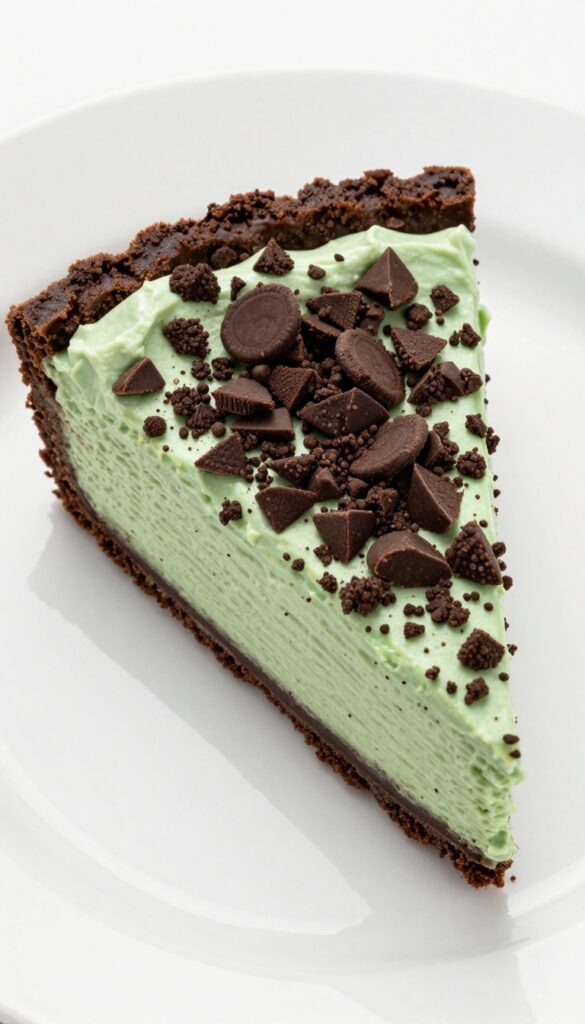
A cool, minty filling meets a dark chocolate cookie crust in this refreshing pie that feels fancy but fits a tight budget. Using crushed gluten free chocolate sandwich cookies for the base saves time and money, while the creamy pudding comes together with pantry staples. Perfect for St.
Patrick's Day, Christmas, or any night you want a no-fuss dessert that looks impressive.
Ingredients
- 1 ½ cups crushed gluten free chocolate sandwich cookies (about 15 cookies)
- ¼ cup melted butter or dairy-free margarine
- 1 (3.4 oz) box instant chocolate pudding mix
- 1 ¾ cups cold milk (any kind)
- ½ teaspoon peppermint extract
- Green food coloring (optional)
- 1 cup heavy cream or coconut cream
- 2 tablespoons powdered sugar
- ¼ cup crushed gluten free chocolate sandwich cookies for topping
Instructions
- Preheat oven to 350°F. Mix crushed cookies and melted butter in a bowl. Press firmly into a 9-inch pie dish. Bake 8 minutes, then cool completely.
- In a large bowl, whisk pudding mix and milk for 2 minutes until thick. Stir in peppermint extract and a few drops of green food coloring if desired. Pour into cooled crust.
- Refrigerate pie for at least 2 hours until set.
- Whip heavy cream and powdered sugar until stiff peaks form. Spread or pipe over pie. Sprinkle with crushed cookies. Serve chilled.
Serving Tip
For the cleanest slices, use a knife dipped in hot water and wiped dry between cuts. This pie keeps well in the fridge for up to 3 days, making it a great make-ahead dessert.
FAQ
Can I make these pies ahead of time?
Yes, most of these pies can be made a day in advance. Store them covered in the fridge, and add whipped cream or toppings just before serving.
What's the cheapest gluten free crust option?
Oat flour crust is very affordable since you can make oat flour from rolled oats. Rice cereal crusts and nut-date crusts are also budget-friendly if you buy in bulk.
Can I use dairy-free milk in the pudding?
Absolutely. Oat milk or canned coconut milk work well. Just note that coconut milk adds a slight coconut flavor, which pairs nicely with chocolate.
How do I prevent the crust from getting soggy?
For baked crusts, blind bake them for 10 minutes before adding the filling. For no-bake crusts, chill them thoroughly before pouring in the pudding.
Are these pies suitable for freezing?
Most can be frozen without the whipped topping. Wrap tightly and freeze for up to a month. Thaw in the fridge overnight before serving.
Conclusion
Gluten free chocolate cream pie doesn't have to be a splurge. With a little creativity and pantry-friendly ingredients, you can whip up a dessert that tastes indulgent without costing a fortune.
Whether you're in the mood for classic, vegan, or a fun flavor twist, these six recipes prove that budget-friendly baking can be just as delicious. So grab your whisk, pick your favorite, and enjoy every creamy, chocolatey bite.