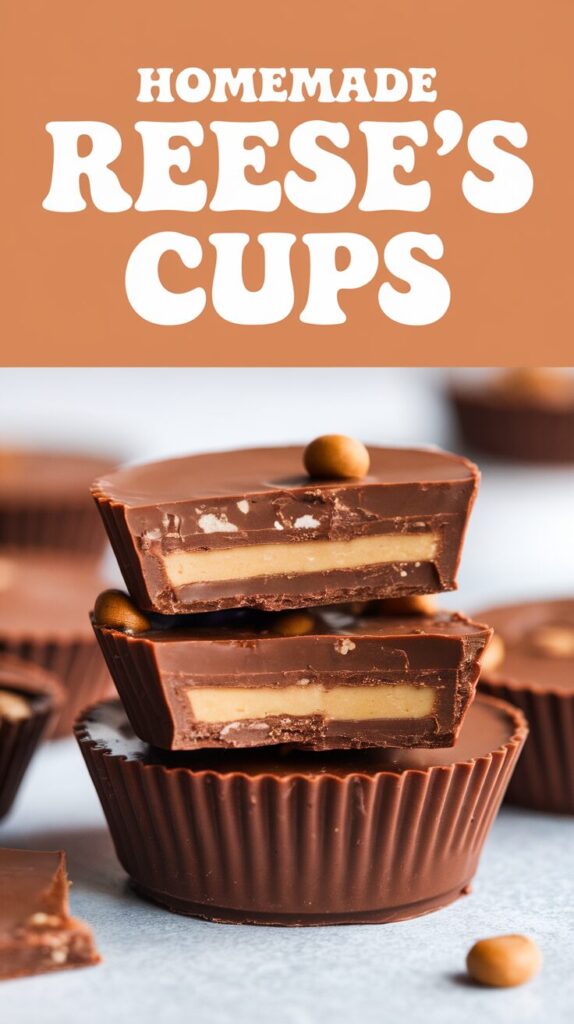
Easy Homemade Reese’s Cups with Simple Ingredients
Most store-bought peanut butter cups rely on preservatives and extra sugar to stay shelf-stable, which quietly dulls the flavor over time.
Making them at home fixes that problem fast, and it doesn’t require fancy tools or complicated steps. The result is cleaner tasting, richer, and honestly more satisfying.
This recipe came together after too many disappointing candy aisle purchases and a craving that wouldn’t quit.
Once I realized how few ingredients it actually takes, I stopped buying the packaged version altogether. It’s one of those recipes that feels almost too easy once you’ve done it once.
What Makes This Recipe Shine
The biggest win with this recipe is control, and I don’t just mean over sweetness. You decide how salty the peanut butter layer is, how thick the chocolate shell turns out, and whether the final bite leans rich or light.

- Bake mini cupcakes, muffins or appetizers for your celebration with this premium non-stick mini muffin pan. This 24-cavi…
- Oven safe up to 450°F, making it perfect for a wide range of baking, roasting, and cooking needs.
- Bake with confidence using our premium non-stick bakeware, made without harmful PFAS (forever) chemicals. Enjoy safe, to…
That flexibility alone makes homemade versions better than anything wrapped in foil.
Another reason this recipe works so well is texture. Store-bought cups often lean waxy or overly firm because they’re designed to survive shipping and shelf time.
These homemade ones stay creamy in the middle with a soft snap on the outside, which is exactly how a peanut butter cup should behave.
I also like how forgiving this recipe is. You don’t need candy molds, thermometers, or special chocolate. A muffin tin and a spoon get the job done, and even if they don’t look perfect, they still taste ridiculous. That’s the kind of recipe I actually stick with.
Flavor-wise, the balance is what sells it. The peanut butter isn’t buried under sugar, and the chocolate doesn’t overpower everything else. You get clear layers that taste like real ingredients instead of something factory-designed to hit a sweetness target.
There’s also something oddly satisfying about knowing exactly what went into them. No mystery oils, no fillers, no ingredients you can’t pronounce. It’s just food doing what food should do.
Ingredients You’ll Need
- Chocolate chips or chocolate bars – Semi-sweet works best, but milk chocolate is fine if you want a sweeter bite
- Creamy peanut butter – Regular works best; natural is okay if it’s well mixed
- Powdered sugar – Helps thicken the filling and balance the saltiness
- Butter – Adds richness and keeps the filling smooth
- Vanilla extract – Optional, but it deepens the flavor nicely
- Pinch of salt – Especially helpful if your peanut butter is unsalted
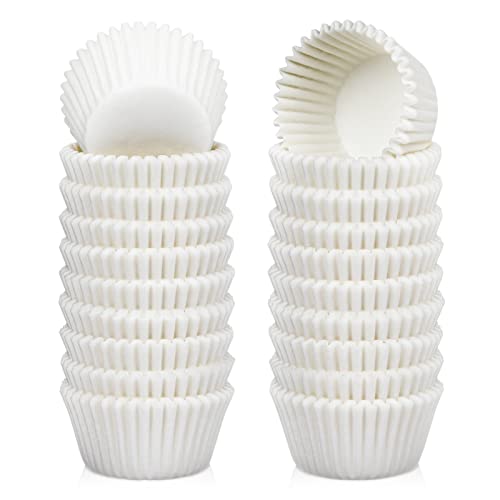
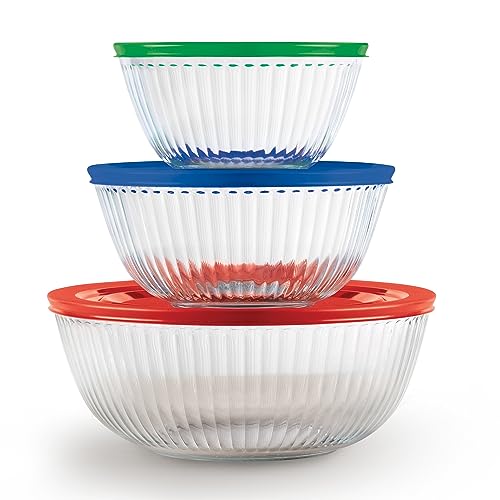
Also, you can get my recommended items that will be needed for this recipe:


Step-by-Step Instructions
Step 1: Melt the chocolate
Add your chocolate to a microwave-safe bowl and heat it in short bursts, stirring between each round.
Melting slowly matters because chocolate burns easily and turns gritty if rushed. Stirring between bursts keeps the texture smooth and glossy. Once it’s fully melted, it should pour easily but not feel hot.
This step sets the tone for the rest of the recipe, so don’t rush it. Smooth chocolate now means a cleaner final result later.
Step 2: Create the chocolate base
Spoon a small amount of melted chocolate into each liner and gently swirl to coat the bottom.
You want just enough to form a thin shell, not a thick slab. Tilting the pan slightly helps spread it evenly without making a mess. Once filled, place the tray in the freezer for a few minutes until the chocolate firms up.
This layer is important because it holds everything together later. If it’s too thin, the filling can break through, so aim for coverage without overdoing it.
Step 3: Mix the peanut butter filling
Combine peanut butter, softened butter, powdered sugar, vanilla, and salt in a bowl.
Stir until smooth and thick, but still spreadable. If it feels too stiff, a tiny bit of melted butter fixes it fast. If it feels loose, a spoonful of powdered sugar tightens things up.
The texture should remind you of soft cookie dough. You want it firm enough to hold shape but soft enough to melt slightly when you bite into it.
Step 4: Add the peanut butter layer
Spoon or roll small portions of the filling and place them on top of the chilled chocolate base.
Press gently so it spreads without touching the edges. Leaving a little space around the sides keeps the top chocolate layer from leaking down and mixing in.
This step is where balance matters most. Too much filling makes the cup messy, while too little makes it feel stingy. Aim for a clean middle layer that matches the base thickness.
Step 5: Seal with more chocolate
Spoon the remaining melted chocolate over the peanut butter layer until fully covered.
Tap the pan lightly on the counter to smooth the tops and release air bubbles. If needed, use the back of a spoon to even things out.
Once covered, return the tray to the fridge or freezer until fully set. This usually takes about 20 to 30 minutes.
Step 6: Unmold and enjoy
Once firm, remove the cups from their liners and let them sit at room temperature for a few minutes before eating.
This short rest softens the center slightly and improves the texture. Store extras in an airtight container in the fridge if they last that long.
Common Mistakes to Avoid
One common mistake is overheating the chocolate. When chocolate gets too hot, it thickens and loses its shine, which affects both texture and appearance. Slow melting always wins here, even if it takes a little patience.
Another issue is using natural peanut butter that hasn’t been stirred well. The oil separation can throw off the texture and make the filling greasy. If you’re using natural peanut butter, mix it thoroughly before measuring.
Overfilling the cups is also a frequent problem. It’s tempting to pack in more filling, but that usually causes the top layer to crack or leak. Keeping the layers balanced makes everything easier to handle.
Skipping the salt is another small mistake that makes a big difference. Even sweet recipes need a pinch of salt to bring out flavor. Without it, the filling can taste flat.
Finally, don’t rush the chilling process. Trying to pop them out too early almost always leads to misshapen cups or messy edges. A little patience pays off here.
Alternatives & Substitutions
If you want a darker, less sweet version, swap milk chocolate for dark chocolate with at least 60 percent cocoa. It adds depth and balances the peanut butter really well. I use this version when I want something that feels more grown-up.
For a dairy-free option, plant-based butter and dairy-free chocolate both work surprisingly well. Just make sure the chocolate melts smoothly, since some vegan brands behave differently when heated.
Almond butter or cashew butter can replace peanut butter if you want a twist. Almond butter makes a slightly firmer filling, while cashew butter creates an extra creamy texture. Both are solid options depending on your mood.
If you like texture, try mixing crushed graham crackers or rice cereal into the filling. It adds a subtle crunch and makes the cups feel more like a dessert bar.
You can also play with toppings before the final chill. A sprinkle of flaky salt, chopped peanuts, or even a drizzle of white chocolate changes the whole vibe without adding much effort.
FAQ
Can I make these without a muffin tin?
Yes, but it’s easier with one. You can use silicone molds or even spoon small rounds onto parchment paper, though they won’t be as uniform.
How long do homemade Reese’s cups last?
Stored in an airtight container in the fridge, they last about one week. You can freeze them for up to two months without losing texture.
Can I use crunchy peanut butter?
You can, but the texture changes quite a bit. It adds crunch, which some people love, but it also makes the filling harder to spread evenly.
Why did my chocolate turn dull?
That usually means it overheated or cooled too quickly. It’s still safe to eat, just not as glossy.
Can I reduce the sugar?
Yes, but don’t remove it completely. Powdered sugar helps stabilize the filling, so reducing it slightly works better than cutting it out.
Do these need to stay refrigerated?
They hold up at room temperature for a short time, but they’re best stored cold so the filling keeps its shape.
Final Thoughts
This recipe works because it focuses on balance instead of trying to reinvent the wheel. The flavors stay clean, the texture stays right, and the process never feels complicated or fussy. That combination is rare in homemade candy.
Once you make these a few times, you’ll probably stop buying the packaged version altogether. They’re simple, customizable, and way more satisfying than anything wrapped in foil. If you like peanut butter and chocolate together, this one’s a keeper.
