11 Weekend-Ready Kitchen Shelves Organization Ideas for Open Storage Style
Open kitchen shelves bring a lot of personality to a room, but they also ask for a little extra thought when it comes to keeping them tidy. The key is finding a balance between display and function—where everyday items feel curated, not cluttered.
Whether you're starting from scratch or giving existing shelves a refresh, these ideas are designed to be tackled over a weekend. A smart approach to open shelving means thinking about what you reach for most and how you want it to look.
Grouping similar items, playing with heights, and adding a few natural touches can turn basic storage into a design feature. The goal is a kitchen that feels both put-together and lived-in.
1. Group by Color for Instant Visual Calm
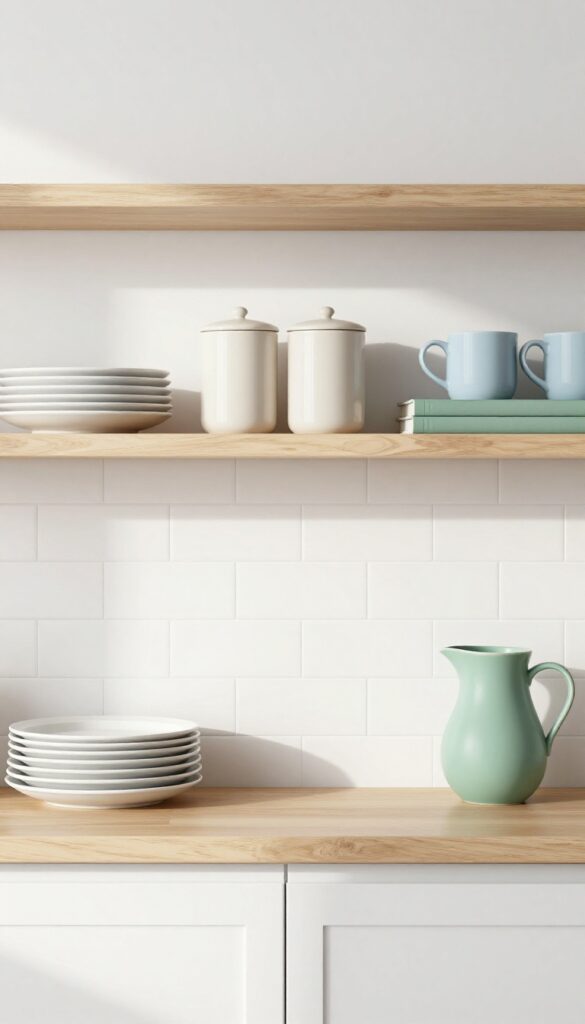
There's something quietly satisfying about a shelf where everything just clicks. By organizing your kitchen items by color—think rainbow order or soft color families—you turn everyday dishware into a deliberate display. It’s a weekend-friendly project that instantly calms the visual noise, making your open shelves feel more like a gallery than a storage zone.
Why It Works
Color grouping taps into our brain's natural preference for order. When mugs, bowls, and cookbooks are arranged in a gradient, the eye glides smoothly instead of jumping between mismatched hues. This subtle structure makes a small kitchen feel more spacious and intentional without buying a single new item.
Best For
This trick shines in kitchens with mostly neutral dishware—white plates, cream canisters, beige linens—because the color pops stand out. It’s also ideal for renters who can’t paint cabinets but want a custom, curated feel using what they already own.
Styling Tip
Start with your largest color block (like all-white dinner plates) and build outward. Place a single vibrant cookbook or a ceramic pitcher at the end of the gradient to anchor the look. Keep the shelves lightly spaced—don’t cram—so each color family breathes.
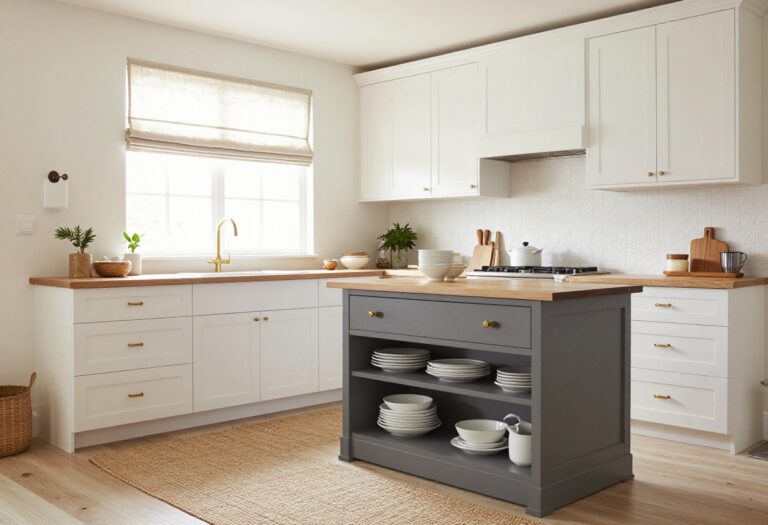
2. Mix Open Baskets with Stacked Plates
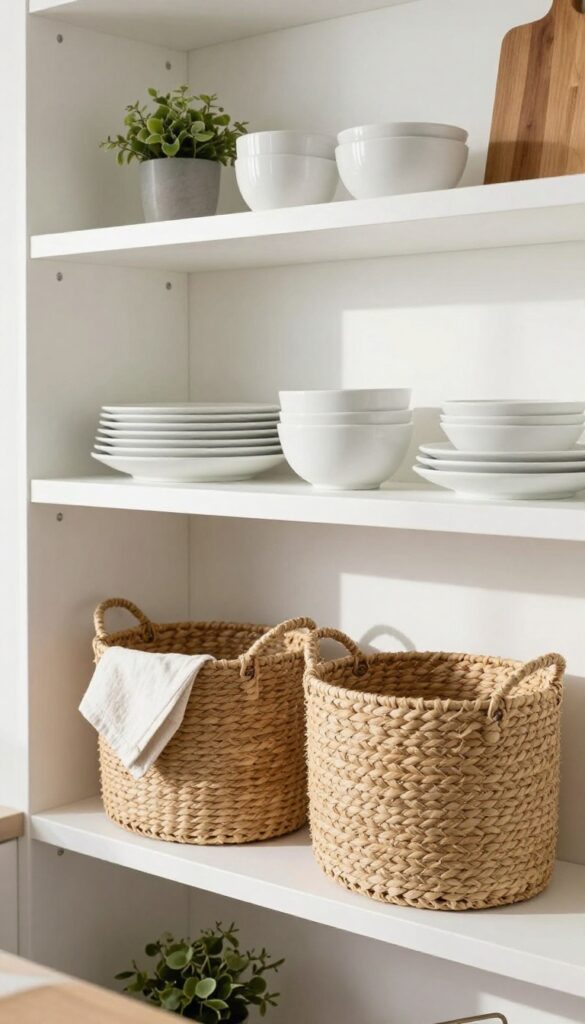
Open shelving looks beautiful, but let’s be real—it also puts everything on display. That’s where a little strategy comes in. By pairing woven baskets on the lower shelves with neatly stacked plates and bowls above, you get the best of both worlds: hidden clutter where you need it and an airy, curated look where it counts.
The baskets soften the hard edges of the dishes and add warmth, while the stacked ceramics create a clean, rhythmic visual that feels intentional, not chaotic.
Why It Works
This approach plays with levels and textures, drawing the eye upward while grounding the shelf visually. The baskets hide everyday items that aren’t camera-ready—think snack pouches, plastic lids, or reusable bags—so your open storage stays Instagram-worthy without requiring you to ditch the real-life stuff. Plus, stacking plates vertically saves space and makes grabbing dinner plates a one-hand operation.
Best For
This idea is perfect for kitchens where open shelving is the main storage, but you still need to stash non-aesthetic items. It’s especially great for families or anyone who keeps a mix of pretty ceramics and practical pantry overflow on the same shelf. If you have lower shelves that are easy to reach, this setup keeps heavy items down low and lighter baskets up top.
Styling Tip
Stick to one basket material—like seagrass or rattan—to keep the look cohesive. For the plates, choose a neutral or monochrome palette so the stack feels like a single block of color rather than a jumble. Leave a few inches of breathing room between the top plate and the next shelf to avoid a cramped feel.
3. Add a Shelf Ledge for Small Art or Recipe Cards
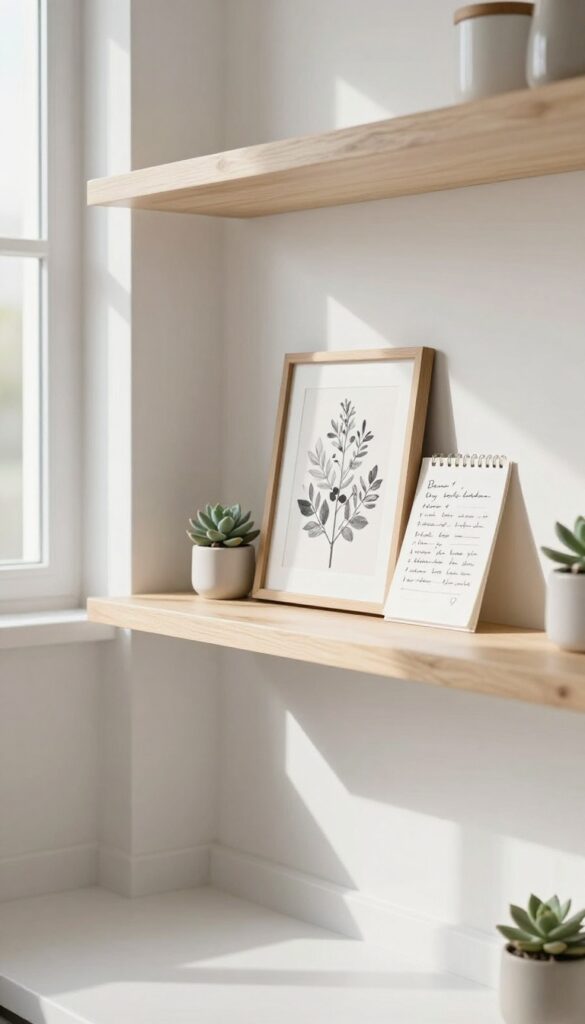
A narrow ledge mounted along the back of an existing shelf creates a tiny stage for personal touches. Think of it as a gallery rail for your kitchen—perfect for propping a small framed print, a favorite recipe card, or even a tiny trailing plant. This low-lift addition adds visual depth and a curated feel without eating into valuable shelf space.
It's especially satisfying in a weekend refresh because you can install it in minutes and style it with things you already own.
Why It Works
The ledge breaks up the flat front of a shelf, drawing the eye to a layered display. It also keeps small items from getting lost or knocked over—propped securely against the wall, they stay put while adding personality. The result is a shelf that feels intentional and lived-in, not cluttered.
Best For
Open shelving in the kitchen, especially above countertops or near the coffee station. It's also great for a narrow shelf in a small kitchen where every inch counts. Use it to highlight seasonal art, a weekly menu card, or a single favorite cookbook page.
Styling Tip
- Stick to one or two items per ledge to keep the look clean. A small framed photo paired with a tiny succulent or a vintage spoon works well. For recipe cards, choose a card with a pretty illustration or handwritten note—it becomes art as much as reference.
- If your shelf is white, try a wooden or brass ledge for contrast.
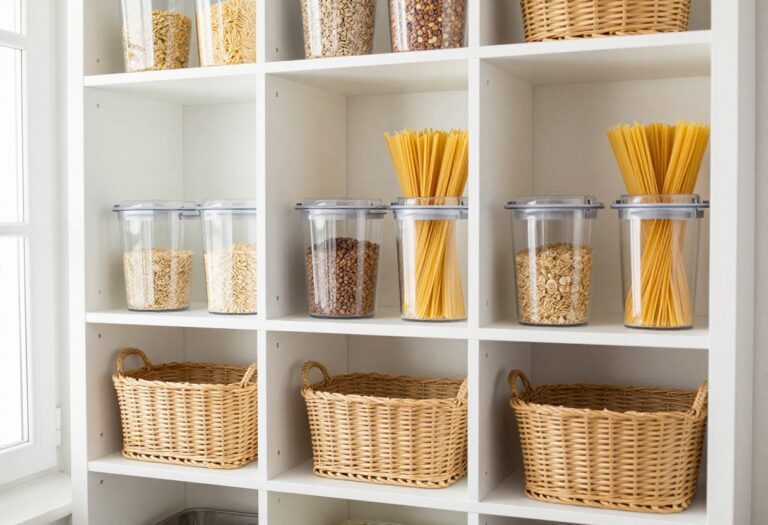
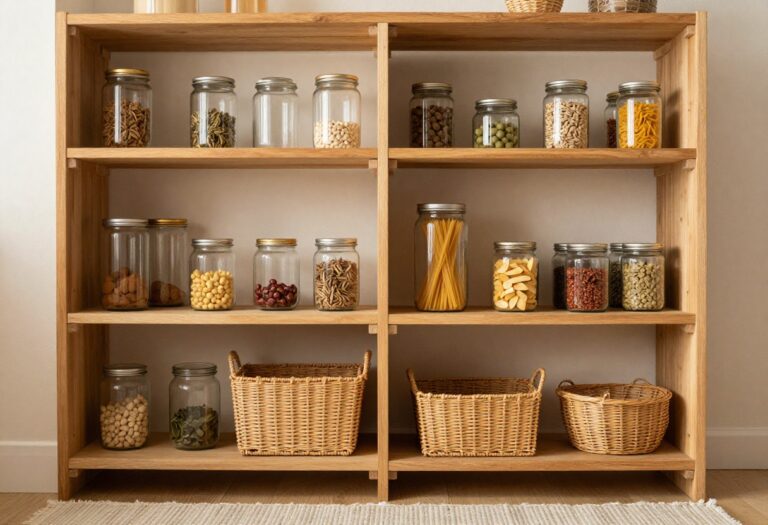
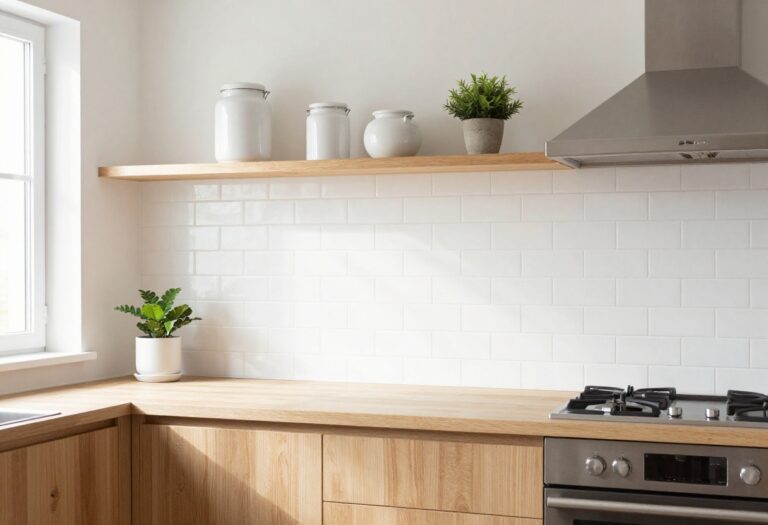
4. Use Clear Glass Jars for Dry Goods
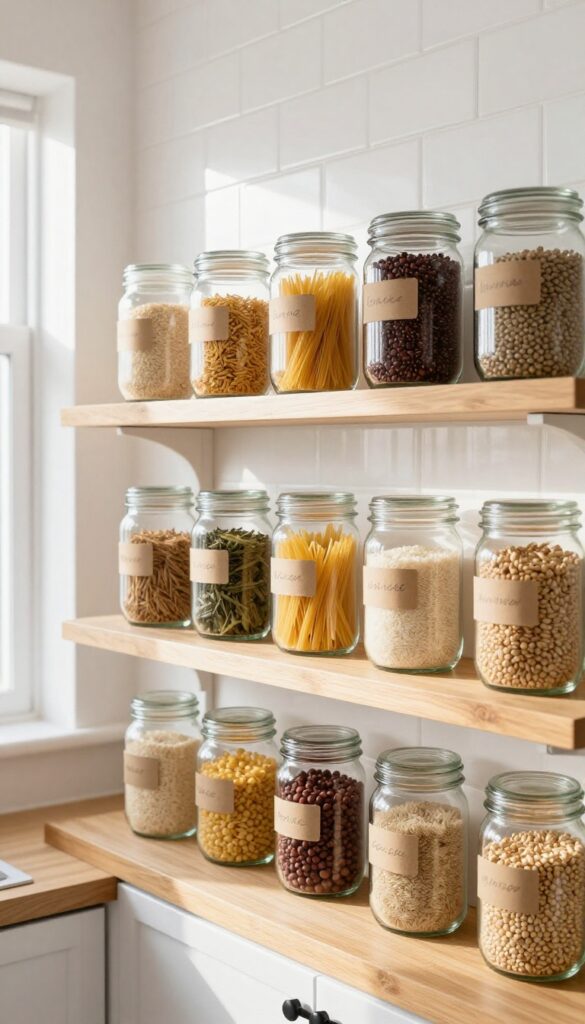
A row of identical glass jars filled with pantry staples instantly makes any shelf look intentional and clean. This is the kind of weekend project that delivers a big visual payoff with almost zero skill required. The transparency lets you see exactly what you have, so you're not buying a third bag of rice by accident.
Why It Works
Clear jars create a uniform, streamlined look that tames the chaos of mismatched boxes and bags. The airtight lids keep everything fresh longer, and the visual inventory means less food waste and fewer duplicate purchases.
Best For
Open shelving in a kitchen that gets daily use, especially if you cook with a lot of dry goods like pasta, grains, and legumes. It's also ideal for renters who want a high-impact upgrade without permanent changes.
Styling Tip
Stick to one shape of jar for a cohesive display, but vary the heights slightly for visual rhythm. A simple handwritten label on kraft paper tape adds a personal touch without looking fussy.
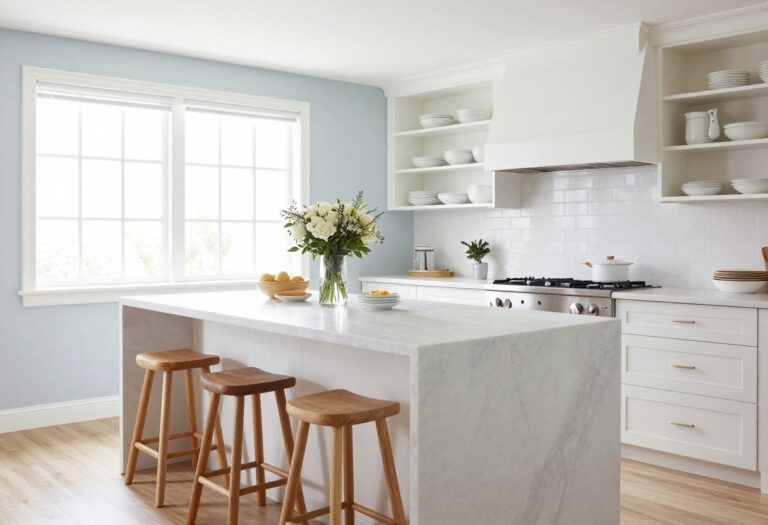
5. Layer in a Few Greenery Elements
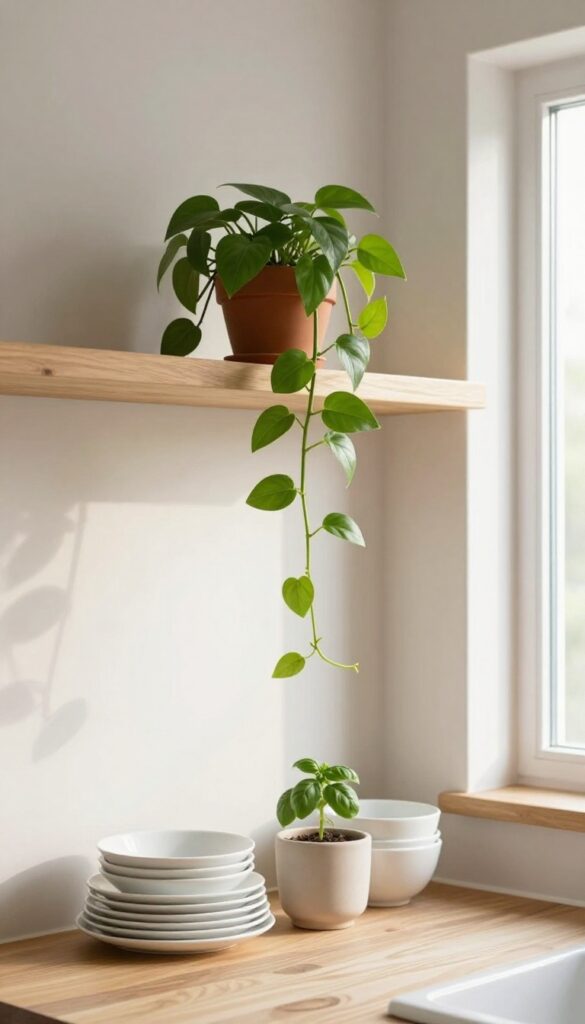
A kitchen full of open shelving can start to feel a bit rigid if every shelf is packed with plates and glasses. Tucking in a few small plants softens the whole look instantly. A trailing pothos or a tiny pot of basil adds life without taking up much space, and the contrast of green against ceramic and wood makes the shelves feel curated rather than cluttered.
Why It Works
Plants break up the hard surfaces of dishes and shelving, adding organic texture and a pop of color. They also make the space feel lived-in and fresh, which is exactly what you want in an open storage setup that’s meant to be both functional and inviting.
Best For
This idea works well in kitchens that get decent natural light, even if it’s indirect. It’s especially great for weekend refreshes because you can swap out plants seasonally or rotate herbs as you cook with them.
Styling Tip
Stick to one or two small plants per shelf to keep the look intentional. Use plain terracotta pots or neutral ceramic planters that blend with your dishware rather than competing with it. Place trailing plants on upper shelves and compact herbs on lower ones for easy watering.
6. Create a Coffee or Tea Station Zone

Morning routines deserve a streamlined moment, and dedicating one open shelf to your coffee or tea setup makes that happen. It turns a functional necessity into a tiny ritual station that feels curated, not cluttered. The key is keeping it simple—just mugs, a small canister, and a tray—so it stays inviting rather than messy.
Why It Works
By grouping everything in one spot, you eliminate the scramble for mugs or bags. A designated shelf also prevents countertop clutter and makes your morning flow smoother. The visual cohesion of matching canisters and a tidy tray signals intentionality, even on a budget.
Best For
This works especially well in small kitchens where counter space is precious, or in any kitchen where you want to carve out a calm, purposeful zone. It's also perfect for renters who can't install permanent cabinetry but want a dedicated beverage station.
Styling Tip
Choose a small wooden or ceramic tray to corral spoons, sugar, and stir sticks. Stack mugs in a neat row or use a mug tree if shelf height allows. Keep the canister clear glass or a solid neutral to tie into your kitchen's color palette.
7. Stack Cookbooks Horizontally with a Bookend
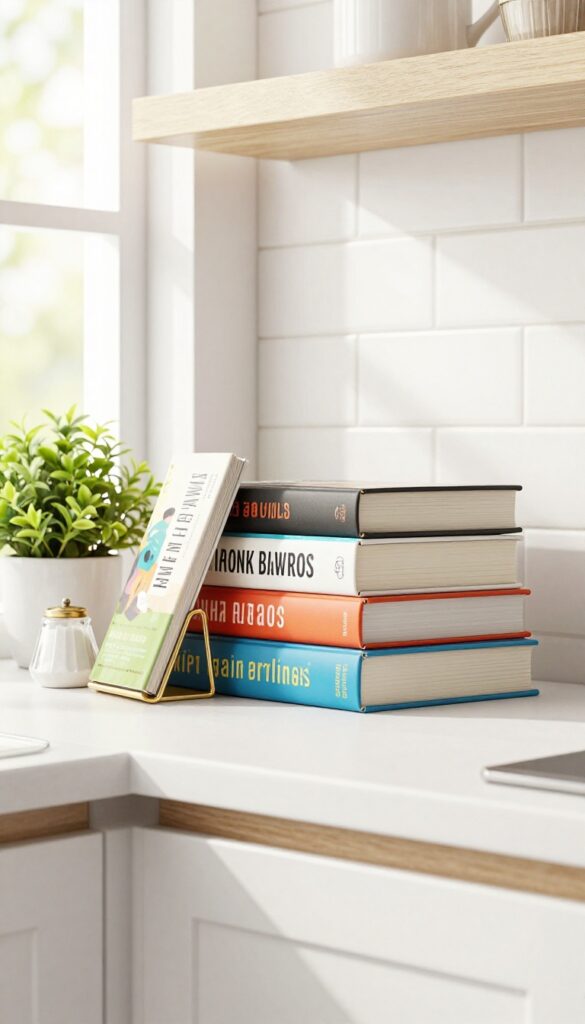
Cookbooks are meant to be used, not just displayed. But if you line them up vertically, they often get lost in the shuffle—spines too thin to read, covers hidden, and the one you actually want buried somewhere in the middle. A horizontal stack changes everything.
It creates a solid, grounded block of color and texture on your shelf, and when you prop up one or two with a simple bookend, the titles become instantly readable. It feels intentional, like a little library moment right in your kitchen.
Why It Works
Horizontal stacks break up the monotony of vertical rows and add visual weight to a shelf, which keeps it from feeling top-heavy or sparse. The bookend adds a clean line that draws the eye, making the cookbooks feel curated rather than crammed. Plus, it's a weekend-refresh move—no drilling, no shopping, just rearranging what you already own.
Best For
Open shelves in a kitchen where you want a lived-in, slightly editorial look. It works especially well on a shelf that's at eye level or just below, so you can actually see the covers. If you have a mix of hardcovers and paperbacks, the stack hides the mismatched spines and puts the best-looking covers front and center.
Styling Tip
Choose a bookend that complements your hardware or countertop finish—brass, black metal, or simple wood all work. Stack three to four books flat, then lean one or two against the bookend at a slight angle. Tuck a small plant or a salt cellar next to the stack to soften the edges and add a little life.
8. Incorporate a Small Cutting Board as a Shelf Liner
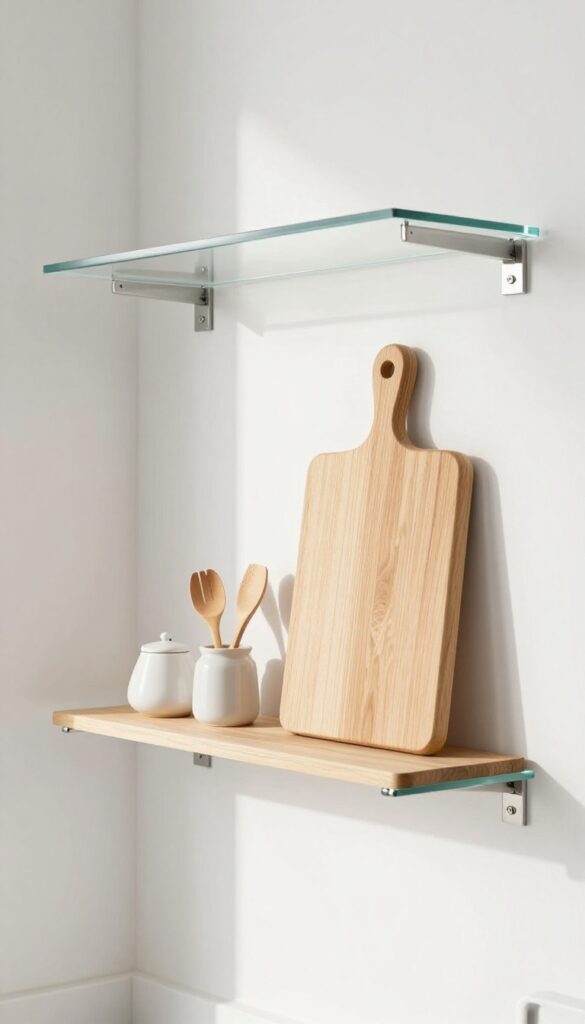
A slim wooden cutting board does double duty when you slide it onto an open shelf. It protects the surface from scratches and spills while adding a warm, natural texture that softens the look of metal or glass shelving. The best part?
You can grab it in seconds for chopping herbs or slicing fruit, making your decor work for you instead of just sitting pretty.
Why It Works
It’s a low-lift upgrade that brings both function and style. The wood grain introduces organic warmth, which balances the coldness of open shelving materials like stainless steel or white laminate. And since it’s a cutting board, it’s easy to clean and replace when needed.
Best For
This idea shines on a shelf near your prep zone, especially if you have limited counter space. It’s also great for renters who want to protect shelves without permanent liners.
Styling Tip
Choose a board with a light wood tone like maple or beech to keep the look airy. Pair it with a small jar of wooden utensils or a ceramic salt cellar to create a cohesive vignette.
9. Use Tiered Risers for Spices or Small Jars
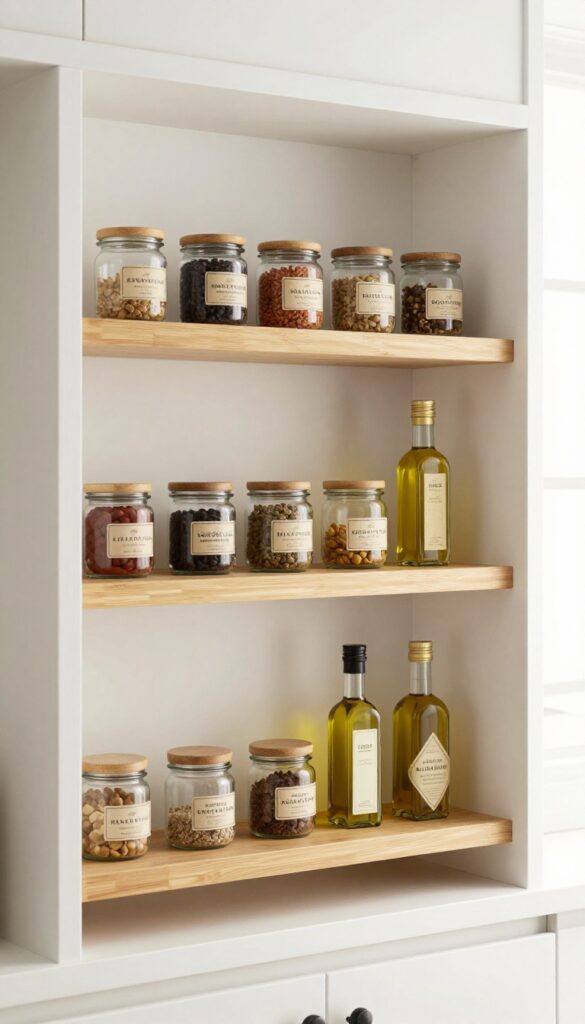
A simple wire or bamboo riser lifts small spice jars or oil bottles so you can see everything at a glance. No more digging to the back. This weekend-friendly swap instantly turns a cluttered shelf into a neatly staged display, making your open shelving feel both curated and functional.
Why It Works
Tiered risers create vertical layers without taking up extra shelf space. Every jar becomes visible and reachable, which means less time rummaging and more time cooking. The open structure also lets light pass through, keeping the shelf from feeling heavy or crowded.
Best For
This is perfect for narrow shelves above the stove or counter where you store daily-use spices, oils, and vinegars. It also works beautifully for a coffee or tea station, lifting small canisters and jars for easy grabbing.
Styling Tip
Stick to one material—like all bamboo or all black wire—to keep the look cohesive. Group jars by height or color for a clean, intentional vibe. Leave a little breathing room around each riser so the shelf doesn't feel packed.
10. Rotate Seasonal Decor on Top Shelves
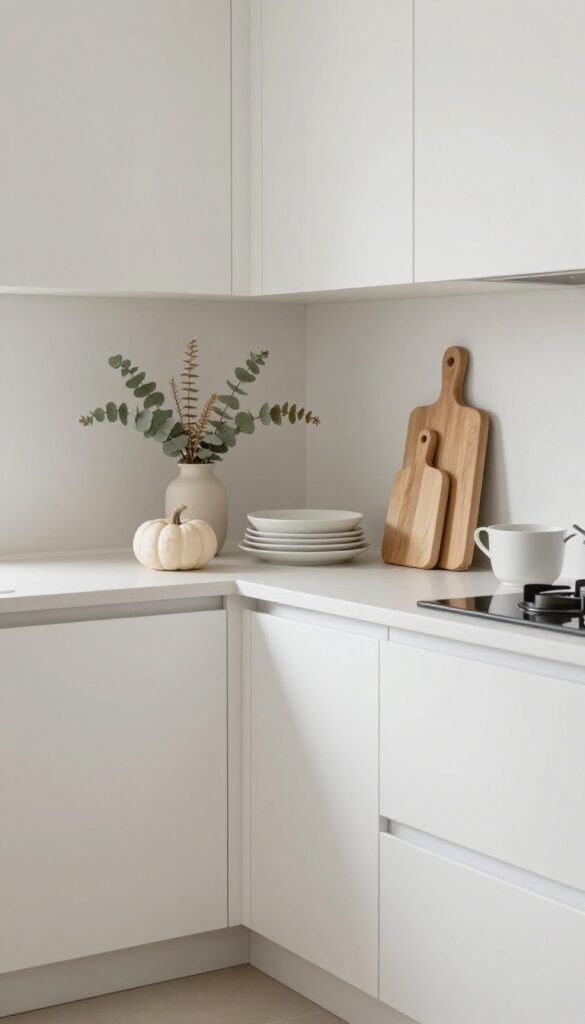
The highest shelf in your kitchen is often the hardest to reach, so why not make it a rotating gallery for seasonal touches? Think a small vase with dried eucalyptus in fall, a ceramic pumpkin in October, or a tiny wooden sign for winter holidays. It stays out of the way of your everyday dishes and mugs, but adds a subtle, festive lift that feels intentional—not cluttered.
Why It Works
Because the top shelf isn't part of your daily workflow, you can swap decor pieces once a season without disrupting your routine. It keeps the kitchen feeling fresh and personal, while the rest of the shelves stay functional and tidy.
Best For
Kitchens with open shelving that have at least one high shelf not used for everyday items. Ideal for renters or anyone who wants to add personality without permanent changes.
Styling Tip
Stick to one or two small accents per season—like a mini wreath or a stack of seasonal cookbooks—to keep the look curated. Use a neutral backdrop like white dishes or wooden cutting boards so the seasonal piece pops without overwhelming the shelf.
11. Add a Hanging Rail Under a Shelf for Mugs or Utensils
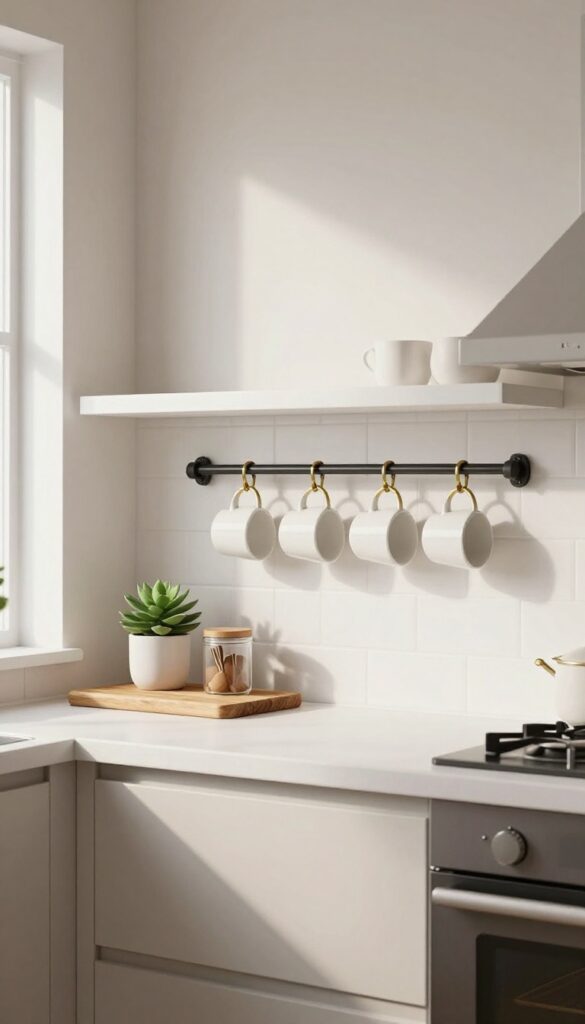
That empty space beneath your floating shelf is just begging to be used. By adding a slim metal rail with a few hooks, you can hang coffee mugs, measuring cups, or wooden spoons right where you need them. It’s a tiny change that instantly gives your kitchen a cozy, café-like feel while keeping countertops clutter-free.
Why It Works
It makes use of vertical space that usually goes to waste, freeing up shelf real estate for other items. The hanging display also adds visual interest and makes everyday tools easy to grab.
Best For
Small kitchens where counter and shelf space is precious, or for coffee stations where you want mugs within arm’s reach. It also works great above a prep area for hanging utensils.
Styling Tip
Choose a rail and hooks in a finish that matches your faucet or cabinet hardware—brass for warmth, matte black for contrast. Keep the hanging items uniform in color or material for a curated look.
FAQ
How do I keep open shelves from looking cluttered?
Stick to a limited color palette and group similar items together. Leave some empty space between groups—about 20% negative space helps the eye rest.
What should I store on open kitchen shelves?
Focus on items you use daily or weekly, like dishes, glasses, mugs, and dry goods. Reserve lower shelves for heavy or frequently used items.
How often should I reorganize open shelves?
A quick tidy-up every few weeks keeps things looking fresh. A full reset can happen seasonally when you rotate decor or swap out items.
Can open shelves work in a small kitchen?
Absolutely. Open shelves can make a small kitchen feel larger by removing upper cabinet doors. Just keep the arrangement light and avoid overcrowding.
What's the best way to clean open shelves?
Dust shelves weekly with a microfiber cloth. For sticky spots, use a damp cloth with mild soap. Remove items completely every few months for a deep clean.
Conclusion
Open kitchen shelves don't have to be a source of stress. With a little planning and a weekend's worth of effort, they can become one of the most charming and functional parts of your kitchen.
The ideas here are meant to be mixed and matched, so pick the ones that feel right for your space and your style. Remember, the best open shelves are the ones that make you smile when you walk into the kitchen.