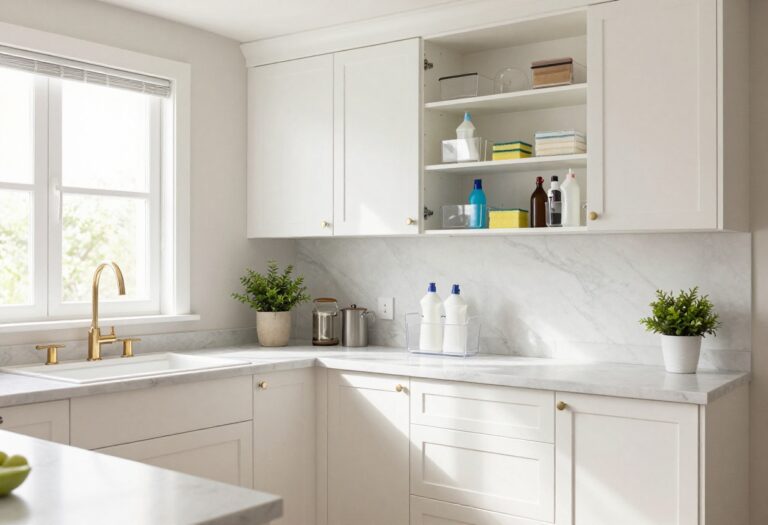
12 Budget-Friendly Closet Pantry Ideas That Actually Make Life Easier
A closet pantry can quickly become a black hole of mismatched cans and forgotten snacks. But with a few smart tweaks, it can turn into one of the most satisfying spots in your kitchen. The best part?
You don't need a big budget or a contractor to make it happen. These 12 ideas focus on real-life solutions that cost little to nothing. From repurposing items you already own to clever dollar-store finds, each tip is designed to feel achievable and genuinely helpful.
No fancy renovations required. Whether you're working with a tiny reach-in or a spacious walk-in, these organization tricks will help you see your pantry in a whole new light.
1. Clear Out Everything and Start Fresh
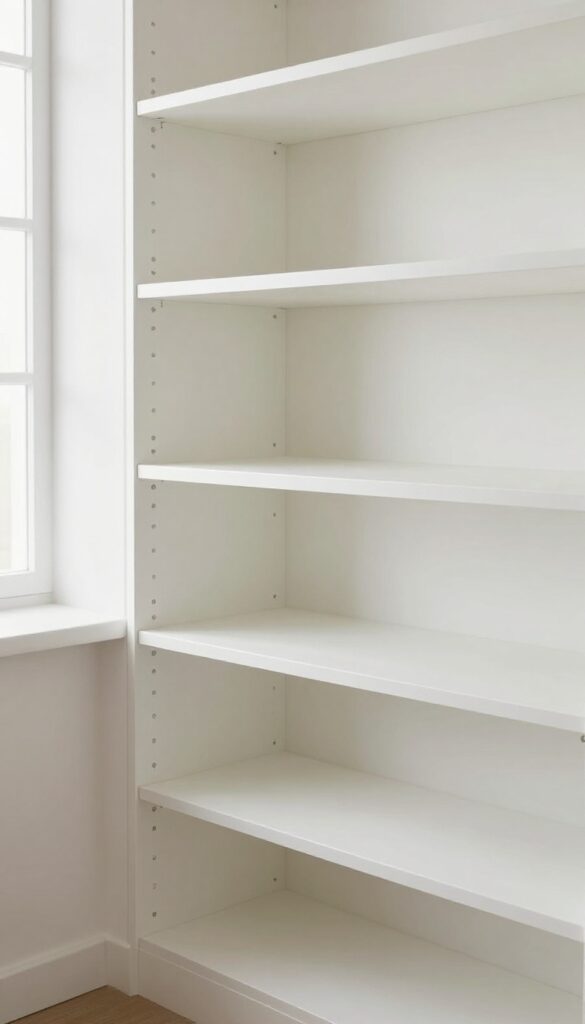
You know that moment when you open the pantry and a box of pasta tumbles out, followed by a bag of forgotten rice? It’s a sign. Emptying the whole thing—every jar, every can, every stale cracker—gives you a blank slate.
Wipe down the shelves with a damp cloth and sort items into three piles: keep, donate, and toss. This costs nothing but a bit of time, and the payoff is instant. You’ll finally see how much space you actually have, and the clean, open shelves feel like a deep breath for your kitchen.
Why It Works
Starting from zero eliminates visual clutter and reveals the true capacity of your pantry. It also helps you rediscover ingredients you forgot you owned, which reduces waste and saves money. A clean slate makes every subsequent organizing decision easier and more effective.
Best For
Anyone who feels overwhelmed by their pantry or hasn’t done a deep clean in months. It’s especially useful before a big grocery run or seasonal reset, and it works for any pantry size or budget.
Styling Tip
Once the shelves are bare, line them with easy-to-clean shelf liner in a light neutral like white or beige. This adds a fresh backdrop that makes the items you put back look more intentional and less chaotic.
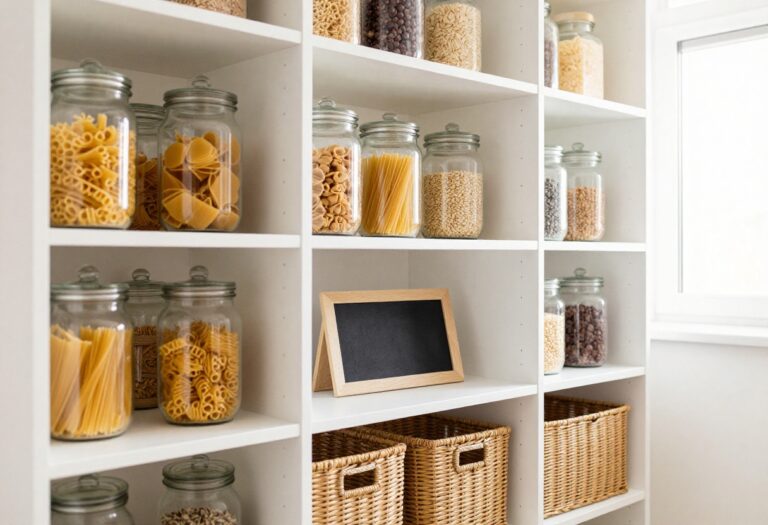
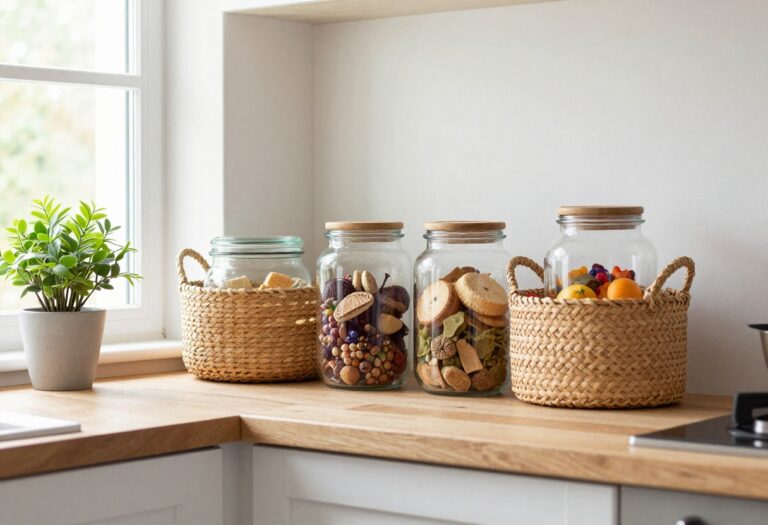
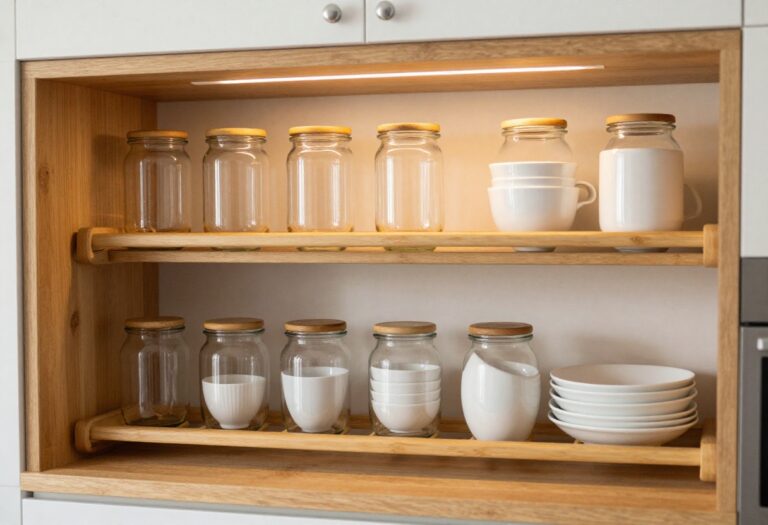
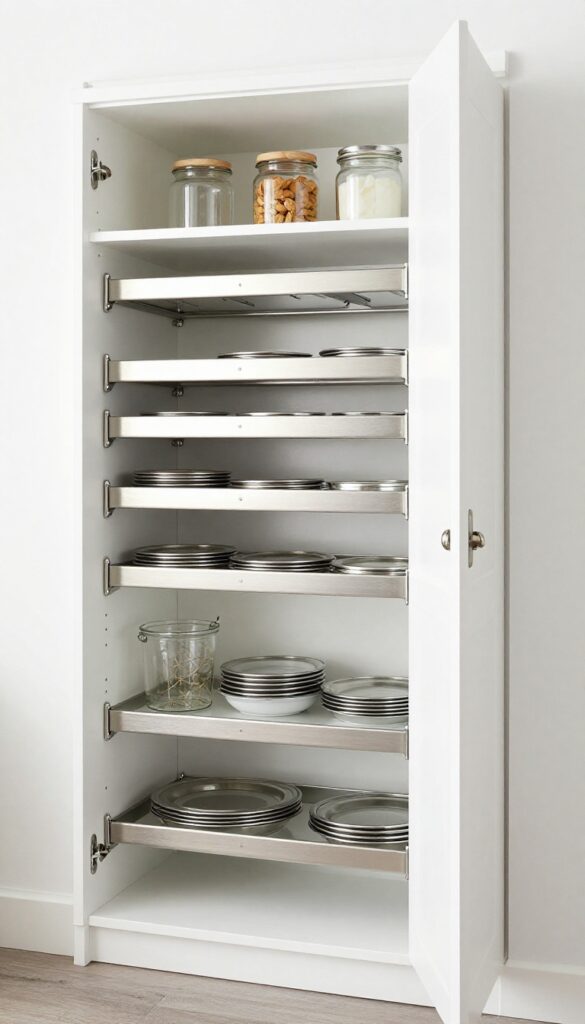
2. Use Clear Containers for Staples
There's something calming about opening your pantry and seeing a neat row of identical clear containers. It instantly makes the space feel more organized and intentional. Transferring flour, sugar, pasta, and snacks into airtight glass or plastic bins not only keeps everything fresh but also lets you spot when you're running low.
The uniform shapes stack neatly, so you can maximize vertical space without the chaos of mismatched boxes and bags.
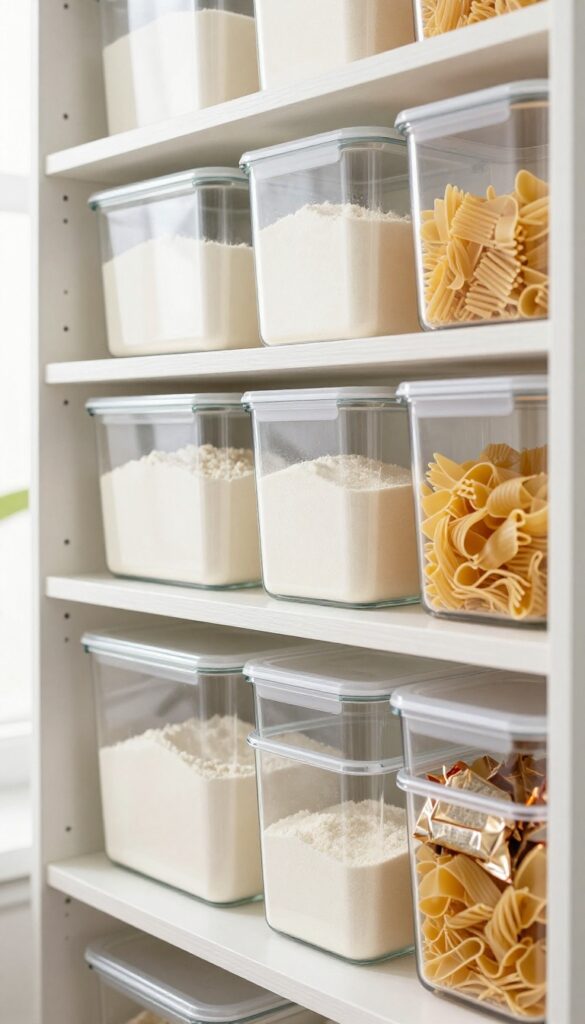
Why It Works
Clear containers create visual order by hiding the clutter of branded packaging and replacing it with a clean, uniform look. Airtight seals keep dry goods fresh longer, and the transparency means you can see exactly what you have at a glance—no more digging to find the half-empty bag of rice. This simple swap reduces food waste and makes meal prep faster.
Best For
This idea works wonders in any pantry, but it's especially helpful for deep shelves where items tend to get lost. It's also perfect for small pantries where every inch counts, because stacking identical containers uses space more efficiently than random bags and boxes.
Styling Tip
Stick to one or two container shapes—like rectangular bins for pasta and square jars for flour—to keep the look cohesive. Use a label maker or simple chalk labels to identify contents, and group similar items together (baking supplies on one shelf, snacks on another). For a budget-friendly twist, check dollar stores for affordable clear containers that still look sleek.
3. Add Tension Rods for Vertical Storage
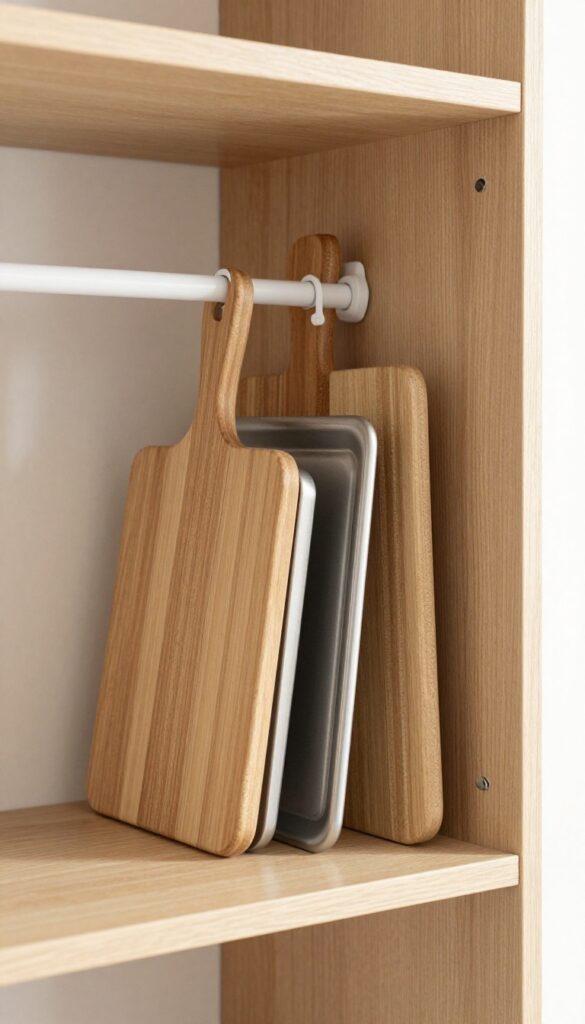
A tension rod isn't just for curtains. Placed vertically between two shelves, it becomes an instant organizer for cutting boards, baking sheets, and trays. The rod keeps everything upright and separated, so you can slide out what you need without disturbing the rest.
It's a clever trick that costs under ten dollars and takes seconds to install—no tools, no holes, no fuss.
Why It Works
Vertical tension rods use dead air space between shelves, turning wasted gaps into functional storage. Flat items stay propped upright, which prevents them from leaning, sliding, or getting buried. The tension holds firmly without damaging shelves, making it a renter-friendly solution that adapts to different shelf heights.
Best For
This idea shines in pantry cabinets with deep shelves where flat items tend to stack and become inaccessible. It's also great for kitchen cabinets near the stove where you store baking sheets and cooling racks. Any narrow vertical gap between shelves can become a dedicated slot for trays or lids.
Styling Tip
Choose a white or chrome tension rod to blend into the shelf background. For a warmer look, swap in a wooden dowel cut to size—just sand the ends slightly so they grip. Group similar items together, like all baking sheets on one rod and cutting boards on another, for a tidy, cohesive appearance.
4. Repurpose Shoe Organizers for Small Items
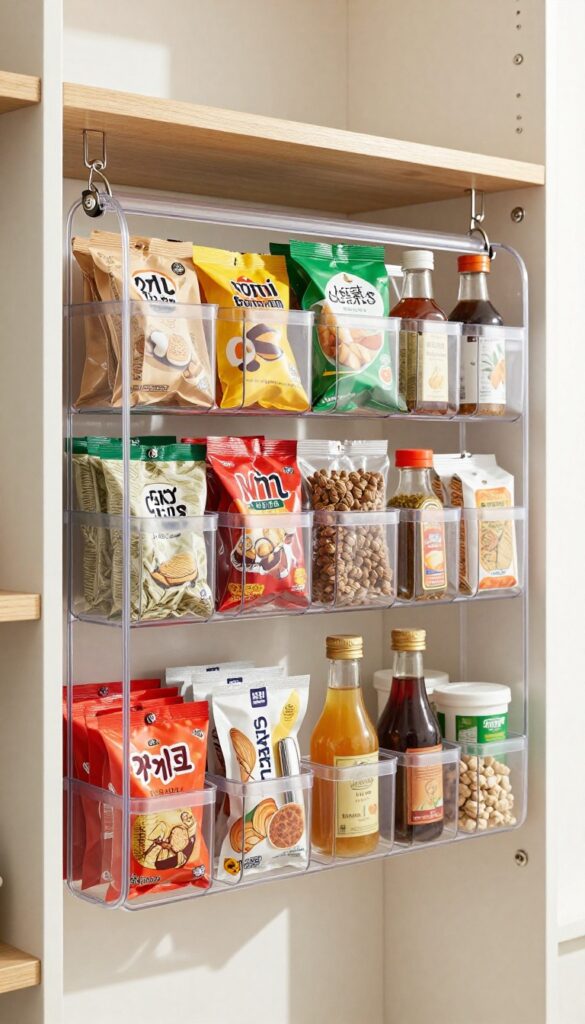
That clear over-the-door shoe organizer hanging in your closet? It's about to become your pantry's best friend. For under $10, you can repurpose one to hold all those tiny items that usually clutter your shelves—spice packets, snack bags, sauce packets, and small bottles.
The transparent pockets make everything visible at a glance, so you'll never lose a seasoning packet again. It's a clever, budget-friendly hack that instantly multiplies your storage without any installation fuss.
Why It Works
Shoe organizers turn unused vertical door space into functional storage. The clear pockets let you see contents instantly, reducing rummaging. They're lightweight, easy to install, and cost next to nothing compared to custom pantry systems.
Best For
This works wonders in small pantries or apartments where every inch counts. It's perfect for storing spice envelopes, tea bags, instant soup packets, baby food pouches, or small condiment bottles. Also great for organizing baking supplies like sprinkles and food coloring.
Styling Tip
Group similar items together—all taco seasoning in one pocket, all tea bags in another. Use small binder clips to seal open bags before tucking them in. For a cleaner look, stick to one color scheme of packets or use matching small containers inside the pockets.
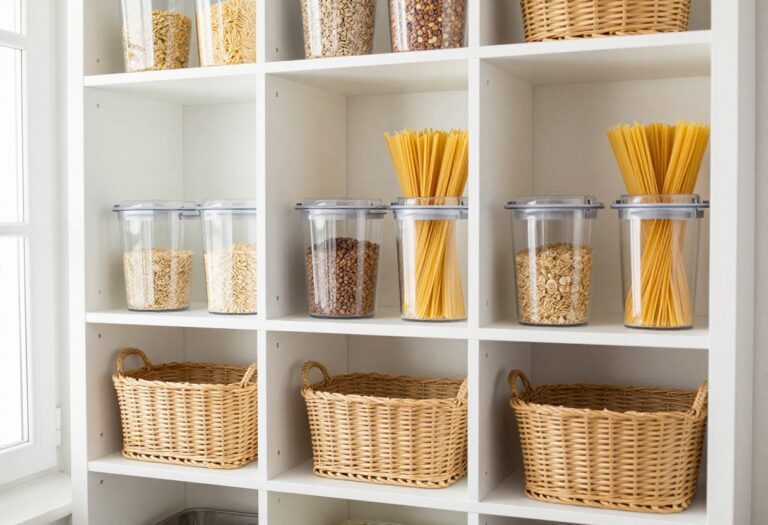
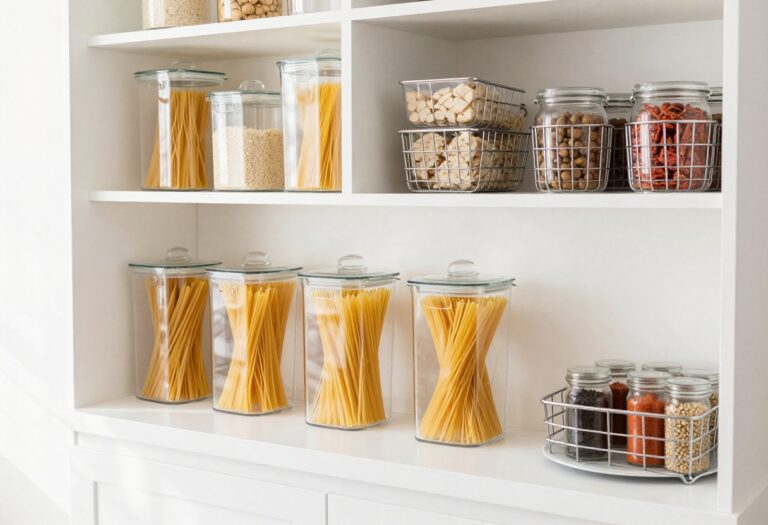
5. Group Items by Category with Bins
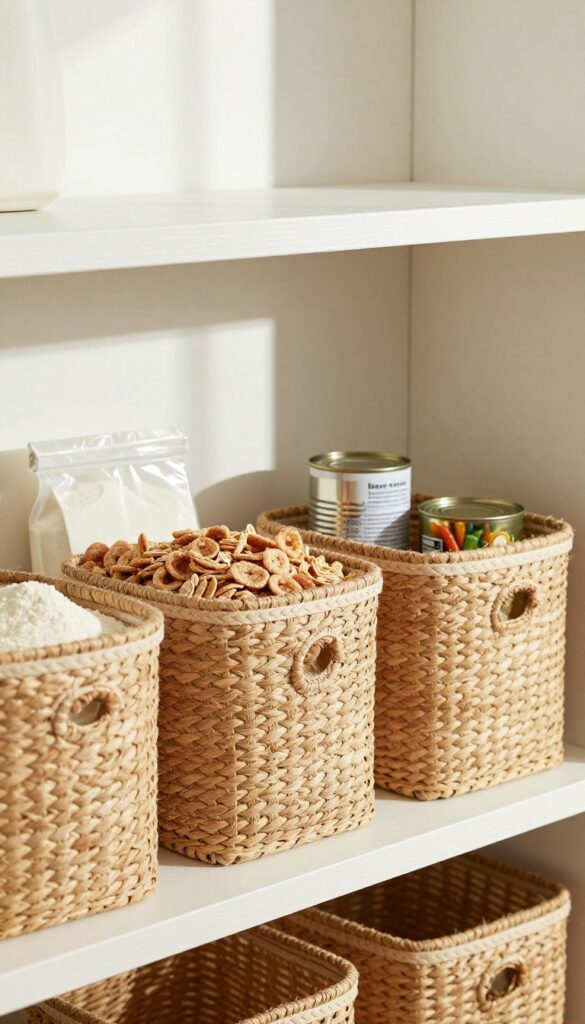
When you open your pantry and see a sea of mixed boxes and cans, it’s hard to find anything quickly. That’s where simple bins or baskets come in—they instantly create visual order by keeping similar items together. Breakfast foods in one bin, canned goods in another, baking supplies in a third.
The result is a calm, organized space that feels almost like a tiny grocery aisle, minus the fluorescent lights.
Why It Works
Grouping by category cuts down on the time you spend hunting for ingredients. Bins also prevent small items from rolling to the back or getting lost behind taller packages. When everything has a designated home, restocking and meal prep become noticeably easier.
Best For
This system works wonders for deep or wide pantry shelves where items tend to get buried. It’s especially helpful if you have a family with different dietary needs—each person can grab their own category without disrupting the whole shelf.
Styling Tip
Stick to one or two bin colors to keep the look cohesive. Natural woven baskets add warmth, while white or clear bins feel crisp and modern. Label each bin with chalkboard stickers or washi tape for a clean, customizable finish that you can update as your pantry changes.
6. Install a Magnetic Strip for Metal Lids
That cluttered pile of metal lids and loose bottle openers in your pantry drawer is begging for a better home. A simple magnetic strip—the same kind you might use for knives in the kitchen—can turn an overlooked vertical surface into a tidy, accessible storage zone. Mount it on the inside of the pantry door or along a side wall, and suddenly those small metal items have a dedicated spot that’s both out of the way and easy to grab.
It’s a budget-friendly tweak that costs under $15 and takes five minutes to install, yet it instantly clears up shelf space and adds a sleek, minimalist touch.
Why It Works
Magnetic strips use vertical real estate that would otherwise go to waste, freeing up precious shelf space for larger items. By keeping metal lids and small tools visible and within reach, you eliminate the need to dig through drawers or rummage behind cans. The strong magnets hold items securely, so nothing falls off when you open and close the door.
Best For
This hack is perfect for renters or anyone who wants a no-drill solution—most magnetic strips come with adhesive backing that removes cleanly. It’s especially useful in small pantries where every inch counts, or for organizing baking supplies like cookie cutter sets with metal blades and lid rings.
Styling Tip
Choose a slim, white or brushed nickel strip to blend seamlessly with your pantry interior. Arrange lids by size, with the most-used ones at eye level. For a cohesive look, stick to metal items in similar finishes—think silver, chrome, or matte black—rather than mixing bright colors.
7. Use Lazy Susans for Deep Corners

Deep corner shelves in pantries often become black holes for canned goods and forgotten spice jars. A lazy Susan changes that by bringing everything within arm's reach with a simple spin. It's one of those affordable fixes that instantly makes your pantry feel more organized and less frustrating to use.
Why It Works
Lazy Susans eliminate the need to dig into dark corners. You can see every item at a glance, and a quick spin brings the back row forward. This keeps your pantry tidy without requiring you to remember what's hiding behind other things.
Best For
Deep corner shelves, especially the kind that are hard to reach or have awkward angles. They're also great for lower cabinets under the sink or in bathroom vanities where bottles tend to get lost.
Styling Tip
Group similar items together on one lazy Susan—like all oils and vinegars on one, canned tomatoes on another. For a clean look, choose a clear acrylic or a white plastic turntable that blends in rather than a bright color that adds visual clutter.
8. Stack Cans with a DIY Riser
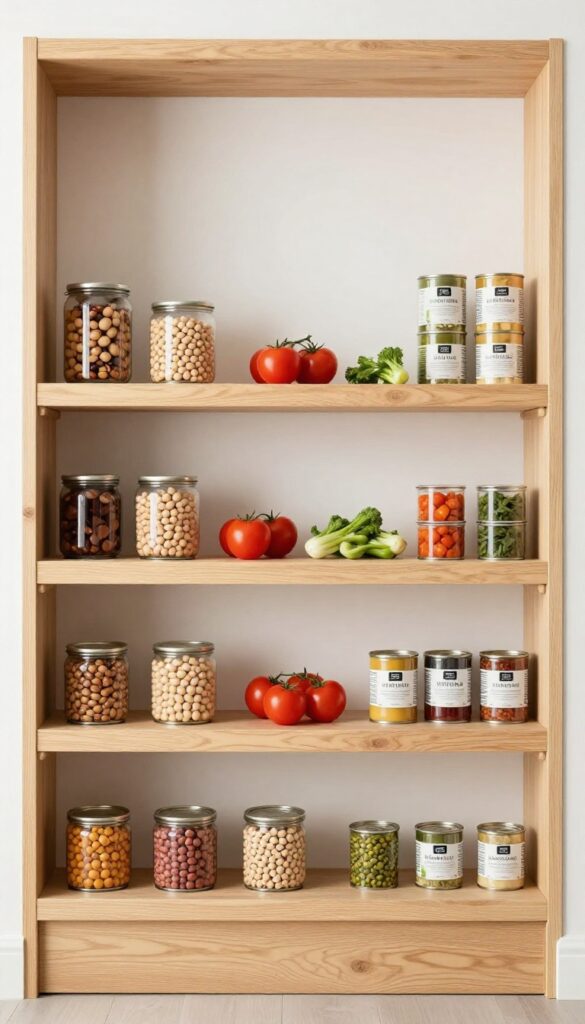
Canned goods are pantry staples, but they can easily become a jumbled mess. Building simple risers from cardboard or scrap wood creates tiered storage that lets you see every can at a glance. This zero-cost upgrade instantly transforms a flat shelf into an organized display.
Why It Works
By elevating cans in the back, you eliminate the need to dig around for what you need. It also prevents cans from getting pushed to the back and forgotten until they expire.
Best For
Deep pantry shelves where cans tend to get lost in the back. It's also great for small pantries where vertical space is at a premium.
Styling Tip
Paint or cover your risers with contact paper in a neutral tone to blend in. Group cans by type—like beans, tomatoes, and soups—for a clean, intentional look.
9. Hang a Pegboard for Flexible Storage
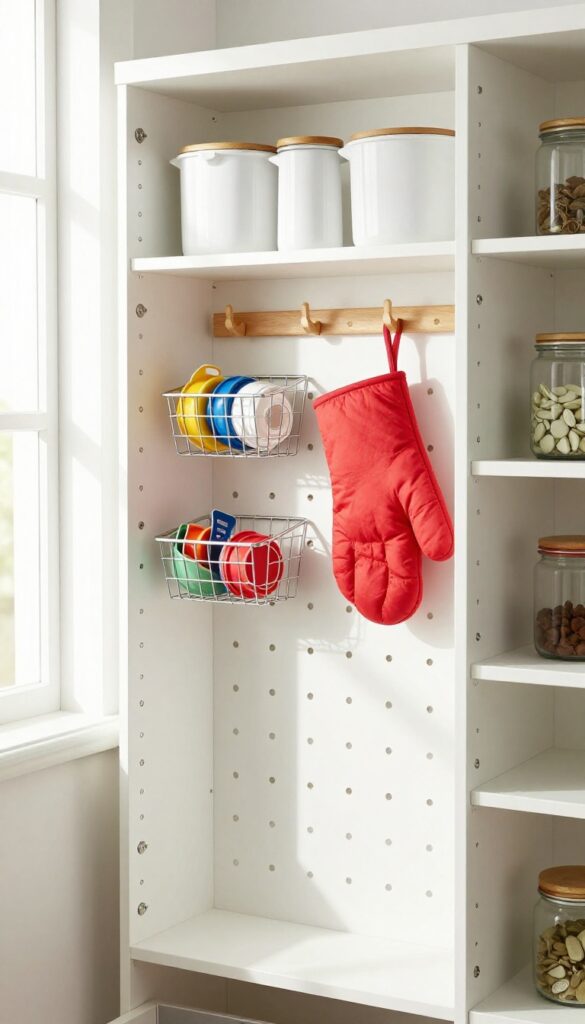
A pegboard brings workshop charm into your pantry without looking industrial or cold. Mount a small board on an empty wall or the inside of a door, then arrange hooks and tiny shelves to hold measuring cups, oven mitts, or lightweight baskets. The beauty is that you can shift everything around whenever your storage needs change—no drilling new holes or buying new organizers.
Why It Works
Pegboards let you customize your storage layout instantly. You can start with just a few hooks and add more as you go, which keeps the cost low and the setup flexible. Plus, everything stays visible and easy to grab, so you never dig through a crowded shelf again.
Best For
This idea works well in small pantries or closets where wall space is limited but vertical storage is possible. It's also great for renters because pegboards are easy to remove and patch later.
Styling Tip
Choose a white or light wood pegboard to keep the look airy. Use matching hooks and small wire baskets for a cohesive feel. Hang a few colorful measuring cups or a bright oven mitt to add a pop of personality without clutter.
10. Label Everything Clearly
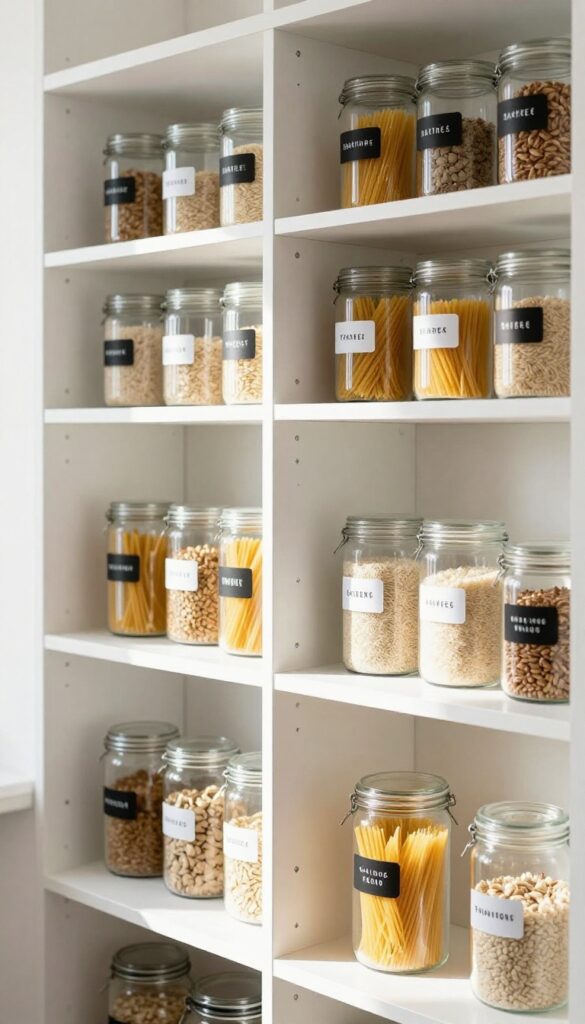
A pantry that looks organized is one thing, but a pantry that stays organized is another. Labels are the secret to making your system last—they turn a jumble of bins into a place where every item has a home. Clear, consistent labels help everyone in the household find what they need and put it back where it belongs, so your pantry stays tidy without constant policing.
Why It Works
Labels remove the guesswork. When every container and shelf is clearly marked, there is no debate about where the pasta goes or where to find the baking soda. This simple step trains everyone to follow the system, reducing clutter and keeping your pantry functional long after you finish organizing.
Best For
This idea is ideal for busy households where multiple people access the pantry, or for anyone who wants to maintain a neat space without constant effort. It is especially helpful for families with kids who can help put groceries away when labels are easy to read.
Styling Tip
For a clean, cohesive look, stick to one label style throughout. Use a label maker for crisp, uniform text, or try chalk labels on bins and jars for a warm, handcrafted feel. Keep labels simple—just the category name in a legible font—and place them at eye level on bins and shelf fronts.
11. Add a Small Shelf Above the Door
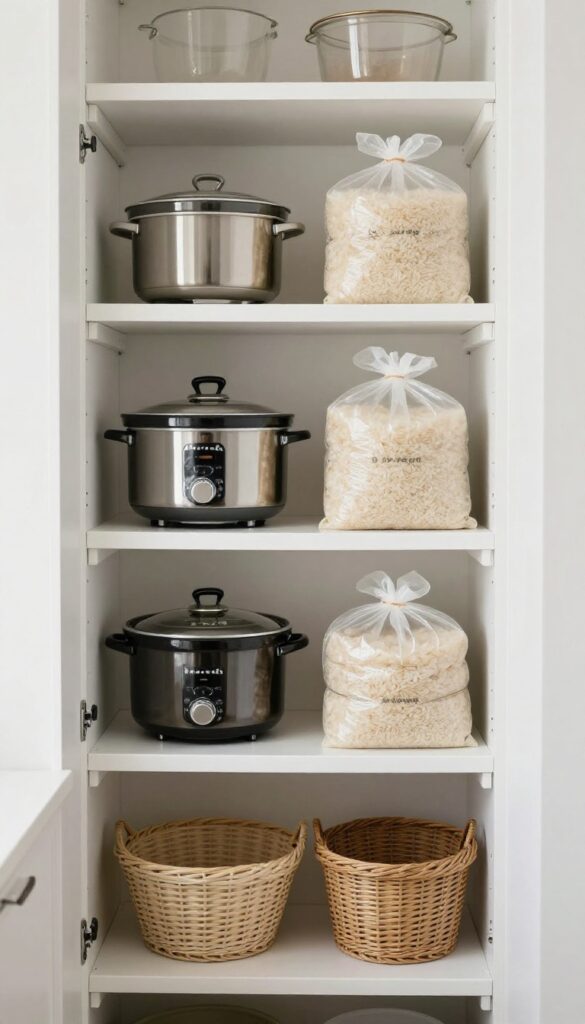
That empty gap above your pantry door is just begging to be used. A narrow shelf tucked up there can hold the stuff you don't need every day—like a slow cooker, a big bag of rice, or holiday baking pans. It keeps clutter out of sight but still easy to grab when you need it.
Why It Works
It turns dead vertical space into extra storage without taking up any floor or shelf room. Because it's above eye level, it hides less attractive items and keeps your main shelves tidy.
Best For
Pantries with standard 8-foot ceilings where there's at least 6 inches of clearance above the door frame. Great for storing lightweight overflow items like paper towels, bulk snacks, or small appliances you use occasionally.
Styling Tip
Use a slim floating shelf in a finish that matches your pantry trim or cabinets—white or light wood keeps it from feeling heavy. Stack items in uniform baskets or bins to avoid a messy look from below.
12. Use Binder Clips to Seal Bags
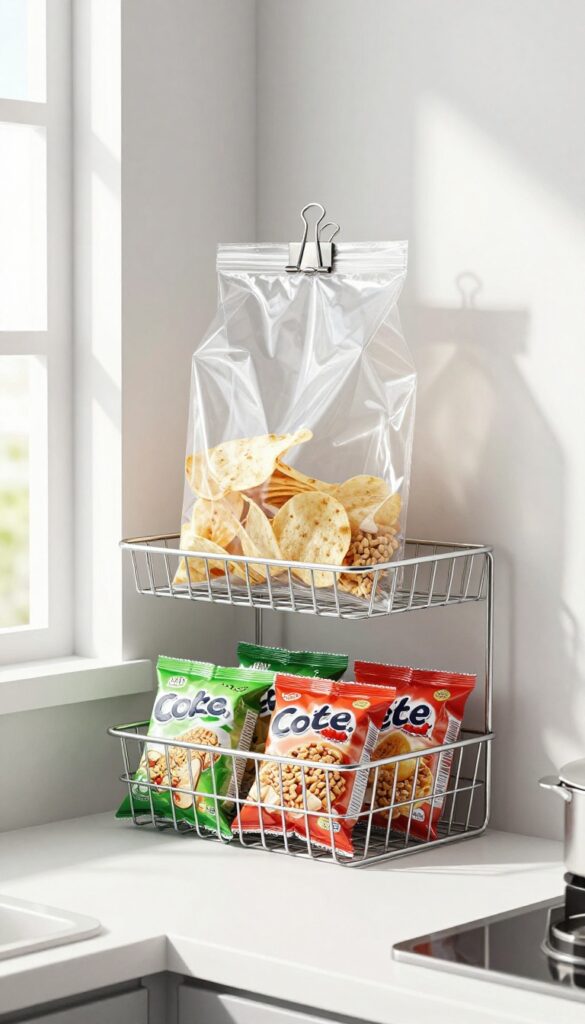
Open bags of chips, cereal, or frozen veggies tend to spill or go stale. Binder clips solve that in a snap—just fold the bag top and clip it shut. For extra convenience, clip the bag to a hook or the edge of a shelf so it stays upright and easy to grab.
It’s a tiny tweak that makes your pantry feel tidier and more functional without spending a dime.
Why It Works
Binder clips create a tight seal that keeps food fresh and prevents messes. Clipping the bag to a shelf or hook also saves space and keeps items visible, so you’re less likely to forget what you have. It’s a zero-cost solution that’s endlessly reusable.
Best For
Any open bag of dry goods—chips, cereal, crackers, frozen vegetables, or even bulk rice and beans. Works great in pantries, cabinets, or even the freezer.
Styling Tip
Use matching black or silver binder clips for a uniform look. Attach them to the edge of a wire shelf or a small command hook inside the cabinet door. Group clipped bags together in a basket for a tidy, cohesive appearance.
FAQ
How much does it cost to organize a closet pantry on a budget?
You can organize a closet pantry for under $30 by using items you already own, shopping at dollar stores, and repurposing household items like shoeboxes or binder clips.
What is the best way to maximize space in a small closet pantry?
Use vertical space with tension rods, over-the-door organizers, and stackable bins. Group items by category and store less-used items on higher shelves.
Do I need to buy special containers for pantry organization?
No, you can use repurposed jars, takeout containers, or inexpensive plastic bins. Clear containers help visibility, but airtight seals are more important for freshness.
How do I keep my pantry organized long-term?
Label everything, create designated zones for each category, and do a quick tidy-up once a week. Avoid overstocking and always put items back in their assigned spot.
Can I organize a pantry without shelves?
Yes, use hanging organizers, pegboards, tension rods, and stackable bins on the floor. You can also add wire shelving units that don't require permanent installation.
Conclusion
Organizing your closet pantry doesn't have to be expensive or overwhelming. With a little creativity and a few low-cost tools, you can turn a chaotic space into a calm, functional area that makes daily meals easier. Start with one or two ideas that feel most doable, then build from there.
Even small changes—like adding a tension rod or labeling bins—can make a surprising difference. Your pantry will thank you, and so will your morning coffee routine.