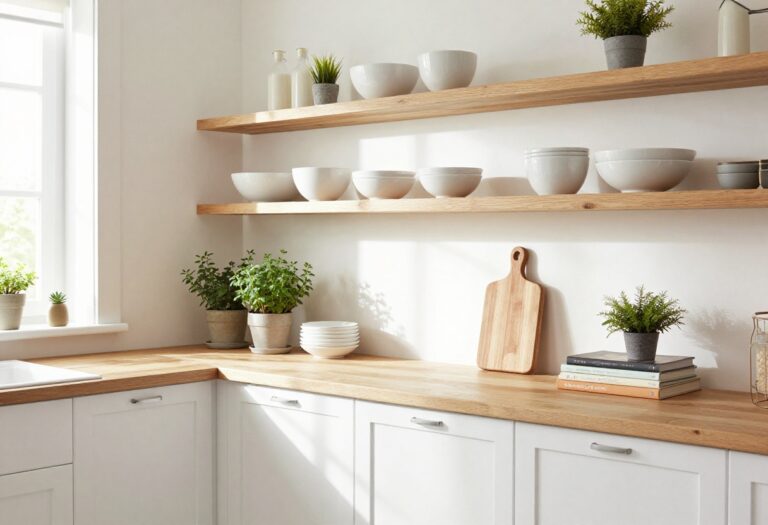
11 Budget-Friendly DIY Pantry Organization Ideas That Make Grocery Storage a Breeze
A chaotic pantry can turn a quick grocery run into a frustrating hunt for ingredients. But you don't need a designer budget to bring order to your shelves.
With a little creativity and some everyday items, you can create a pantry that's both practical and pleasing to the eye. These 11 DIY ideas focus on smart storage solutions that cost next to nothing, helping you save time and money while keeping your groceries neatly organized.
Let's dive into simple, stylish ways to make your pantry work harder for you.
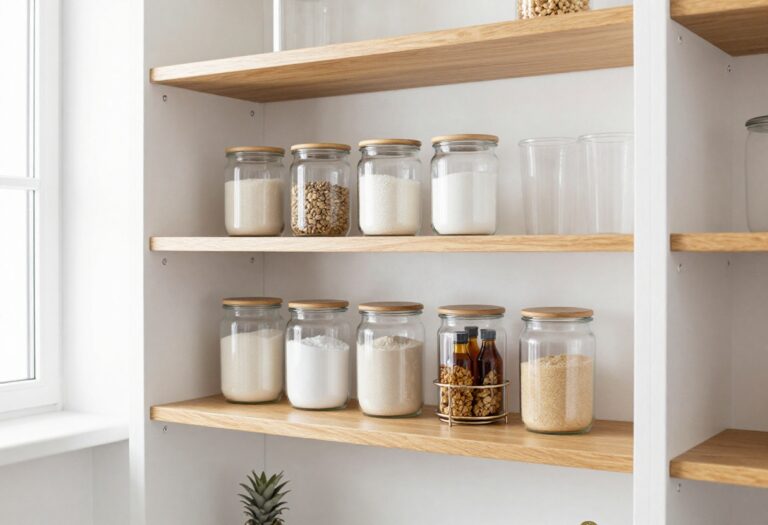
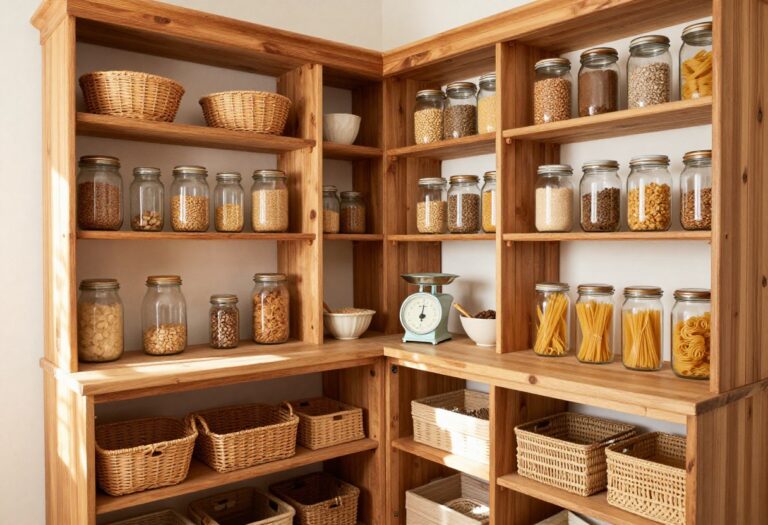
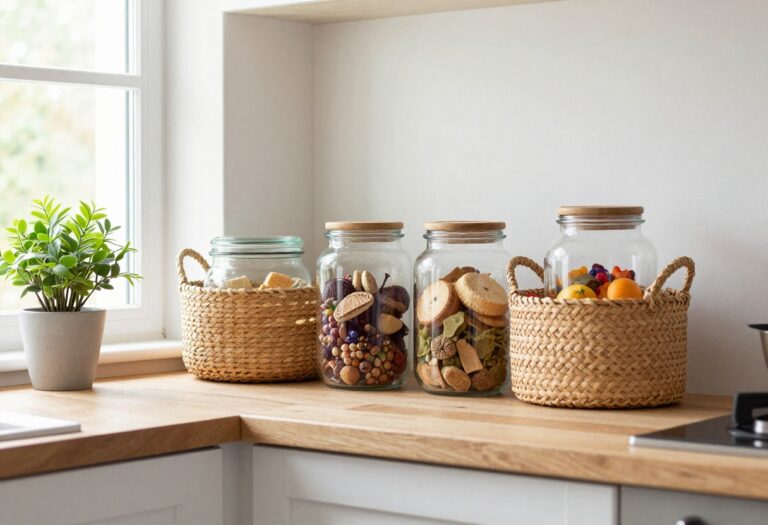
1. Repurpose Glass Jars for Bulk Goods
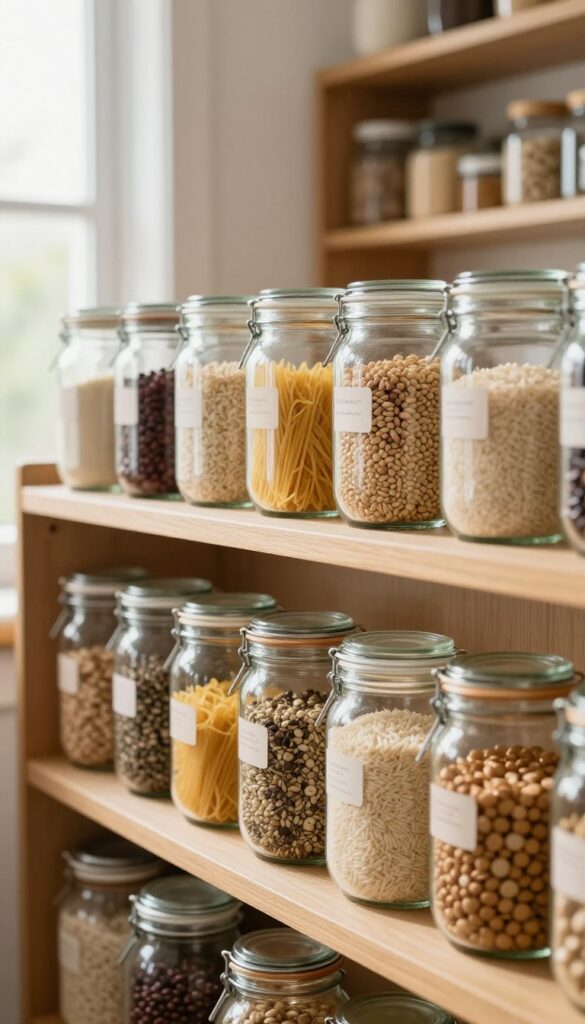
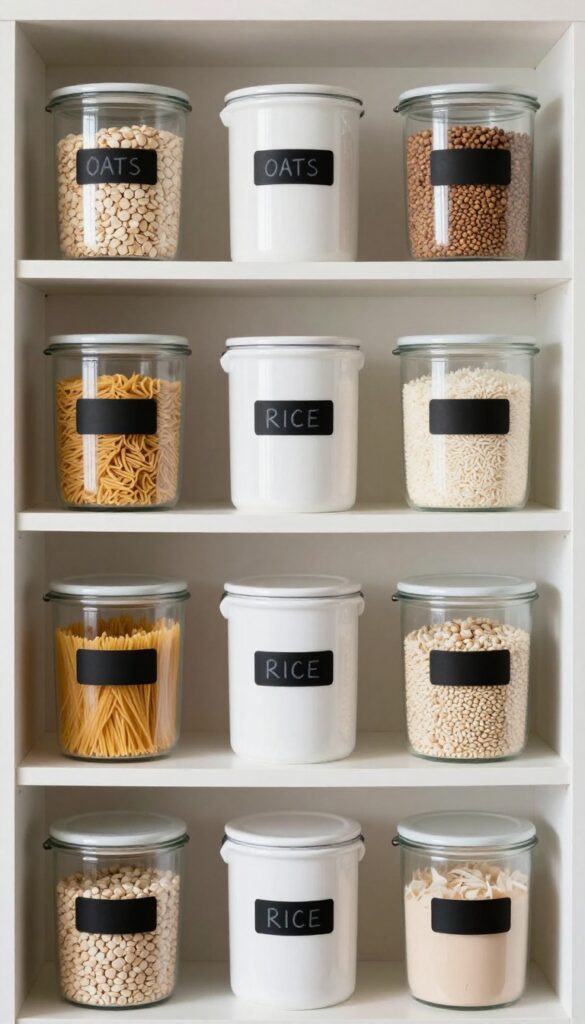
There's something satisfying about seeing your dry goods through clear glass. Old pasta sauce jars, pickle jars, or even jam jars can become a cohesive storage system with minimal effort. Remove the labels, give them a thorough wash, and you'll have a set of uniform containers that keep rice, pasta, beans, and snacks fresh and visible.
It's a budget-friendly way to create an organized, air-tight pantry that looks intentional and stylish.
Why It Works
Glass jars seal out moisture and pests, keeping bulk items fresh longer. Their transparency lets you see at a glance what you have, so you can quickly restock and avoid buying duplicates. Plus, reusing jars cuts down on waste and costs nothing.
Best For
This works well for any pantry, but it's especially great for small kitchens where every inch counts. It's also ideal for households that buy grains and legumes in bulk and want to keep them tidy and accessible.
Styling Tip
For a cohesive look, stick to one jar shape or size per shelf. Arrange them by color or type—like all pasta together, all rice together—and line them up in neat rows. Add simple chalk labels or stick-on tags for a custom touch.
2. DIY Tiered Can Racks from Cardboard
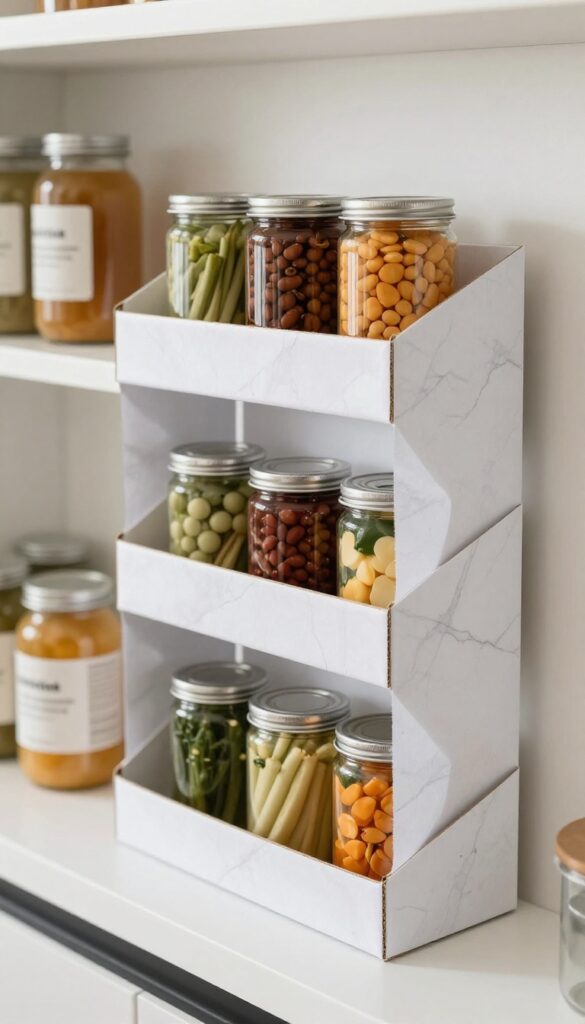
If you've ever dug through a stack of cans just to find the black beans, you know the struggle. This DIY tiered rack solves that by turning a simple piece of cardboard into a sloped display that shows every label at once. It's almost too easy to make—just cut, fold, and place.
The best part? It costs next to nothing, so you can save your budget for things like fancy olive oil or a new cutting board.
Why It Works
The zigzag design lifts the back row of cans higher, so you can see every label without shuffling cans around. It also creates extra storage depth in shallow cabinets, making the most of every inch of shelf space. Plus, since it's made from cardboard, you can customize the size to fit your exact cabinet dimensions.
Best For
Pantries with deep shelves where cans tend to get lost in the back. It's also perfect for renters who can't install permanent shelving or anyone looking for a quick, no-cost fix before investing in a pricier organizer.
Styling Tip
Use a sturdy corrugated cardboard and wrap it in adhesive vinyl or patterned contact paper to match your pantry's color scheme. A soft neutral like linen white or a subtle marble print keeps it looking polished without screaming "DIY."
3. Use Binder Clips for Bag Closures
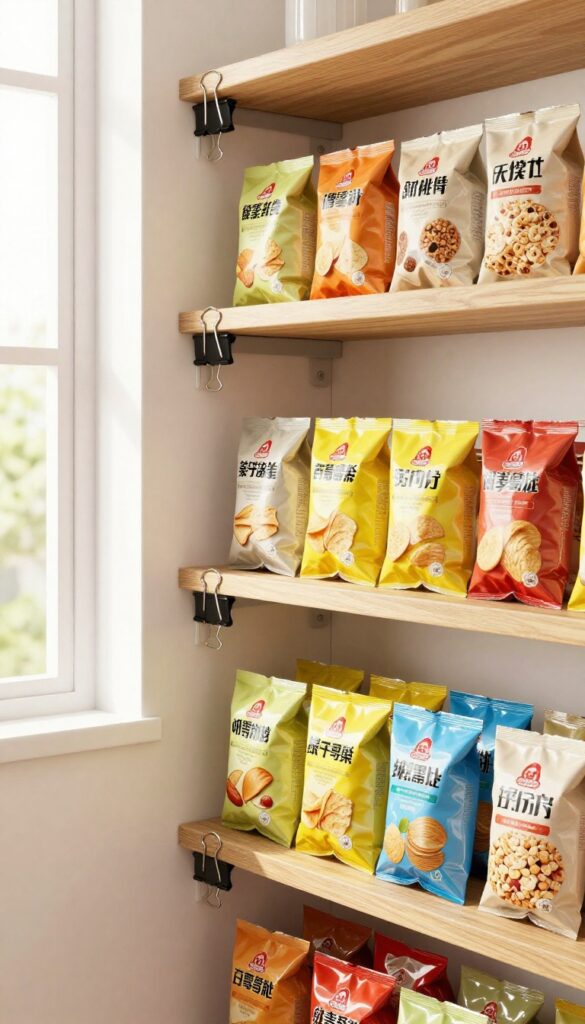
You know those bags of chips, cereal, or frozen veggies that never seem to stay closed? Binder clips are the unsung heroes of pantry organization. They clamp down tight on open bags, keeping contents fresh and preventing spills.
Plus, they’re cheap and come in various sizes, so you can match them to any bag. Attach a magnetic strip to your pantry wall or inside a cabinet door, and you’ve got a handy spot to store the clips when not in use—no more digging through drawers.
Why It Works
Binder clips create a strong, reusable seal that keeps air out and food fresh. They’re inexpensive, easy to find, and work on bags of all sizes. The magnetic strip keeps them organized and within reach, so you’ll actually use them.
Best For
This trick is perfect for anyone who buys snack bags, cereal, or frozen vegetables in bulk. It’s also great for small pantries where every inch counts, since the magnetic strip uses vertical space.
Styling Tip
Choose black or silver binder clips for a sleek, uniform look. Mount the magnetic strip on the inside of a cabinet door or on a wall near your snack shelf. For extra style, use washi tape to decorate the clips or pick colorful ones that match your pantry’s palette.
4. Create a Spice Rack from a Picture Frame

A thrifted picture frame can become one of the most charming and functional pieces in your pantry. By removing the glass and adding small wooden dowels or clothespins across the back, you create a display-style organizer that keeps spice packets and small jars visible and within reach. It’s a budget-friendly project that adds a touch of handmade style to your space without costing much.
Why It Works
This trick turns wasted wall space into a dedicated spice zone. Because the frame keeps everything in one spot, you can see all your spices at a glance, so you’re less likely to buy duplicates. It also frees up shelf space for larger pantry items.
Best For
Small pantries or cabinets where every inch counts. It’s also perfect if you buy a lot of spice packets or small jars that tend to get lost in drawers or bins.
Styling Tip
Paint the frame in a color that complements your pantry—soft sage or matte black works well. Use mini clothespins for a rustic look, or opt for small wooden dowels and glass jars with cork lids for a more polished feel.
5. Label Everything with Chalkboard Tape
A pantry full of matching containers looks great, but it’s only truly functional when you know what’s inside. Chalkboard tape gives you that clarity without the commitment of permanent labels. Just cut a strip, stick it on, and write with chalk—when the contents change, wipe it off and start over.
It’s a low-cost, low-effort way to keep your pantry looking intentional and feeling easy to navigate.
Why It Works
Chalkboard tape creates a flexible labeling system that adapts as your pantry evolves. You can label everything from bulk bins to spice jars, and updating the text takes seconds. It’s also visually cohesive—black tape on clear or white containers adds a clean, modern touch that ties the whole shelf together.
Best For
This idea shines in pantries with a mix of container types and sizes, where uniform labels are tricky. It’s also perfect for renters or anyone who wants to avoid sticky residue and permanent markers. If you like to buy in bulk or rotate seasonal ingredients, the erasable surface is a game changer.
Styling Tip
For a polished look, cut the tape into uniform lengths (about 2 inches works well) and stick it at the same height on every container. Use a white chalk marker instead of traditional chalk for a sharper, smudge‑free finish. Pair with a small chalkboard pen or a piece of chalk tied to the shelf for quick updates.
6. Build a Pull-Out Shelf from a Wire Basket
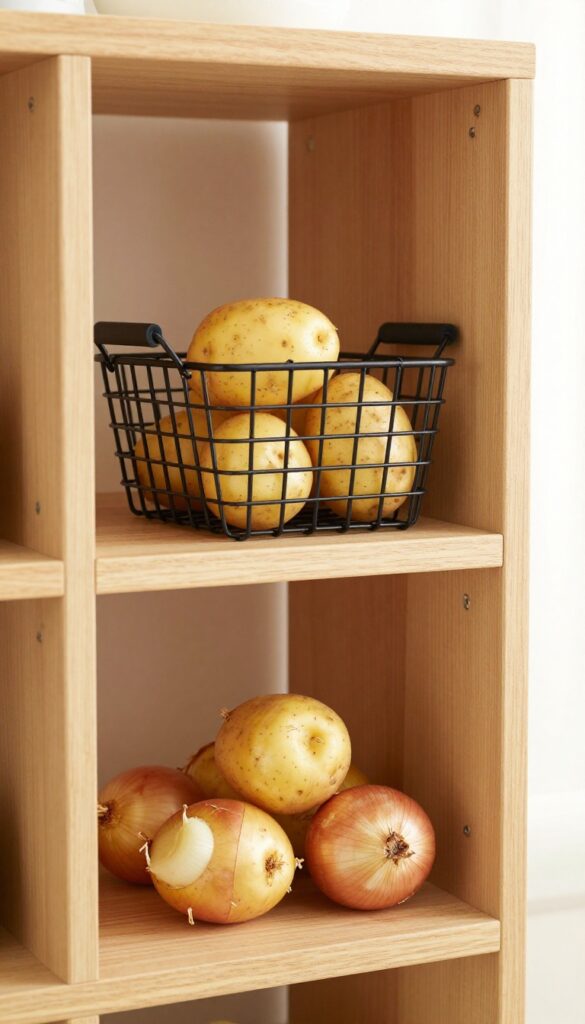
Potatoes and onions always seem to end up in a sad, forgotten corner of the pantry. You dig through bags, only to find sprouting spuds or squishy onions. A simple wire basket mounted on a plywood base with casters or sliders changes that.
It slides right out, so you can grab what you need without wrecking the rest of the stash. The open wire design lets air circulate, keeping produce fresher longer. Plus, it looks intentionally styled, not like a last-minute fix.
Why It Works
- This DIY solution adds a dedicated, ventilated storage zone for heavy produce. The pull-out mechanism means no more reaching into dark corners or tipping over bags. It's budget-friendly because you can repurpose an existing basket and a scrap piece of wood.
- And because it's on wheels, you can easily reposition it if your pantry layout changes.
Best For
Deep pantry shelves where items get lost in the back, or for any cabinet that could use an extra layer of organization. It's especially handy for root vegetables, but also works for storing bulk bags of rice or pet food.
Styling Tip
Choose a black or galvanized wire basket for an industrial look that contrasts nicely with warm wood shelves. Add a small chalkboard label on the front of the plywood base to mark what's inside. Keep the basket neatly filled, not overflowing, to maintain that clean, curated vibe.
7. Organize Snacks in Shoe Boxes
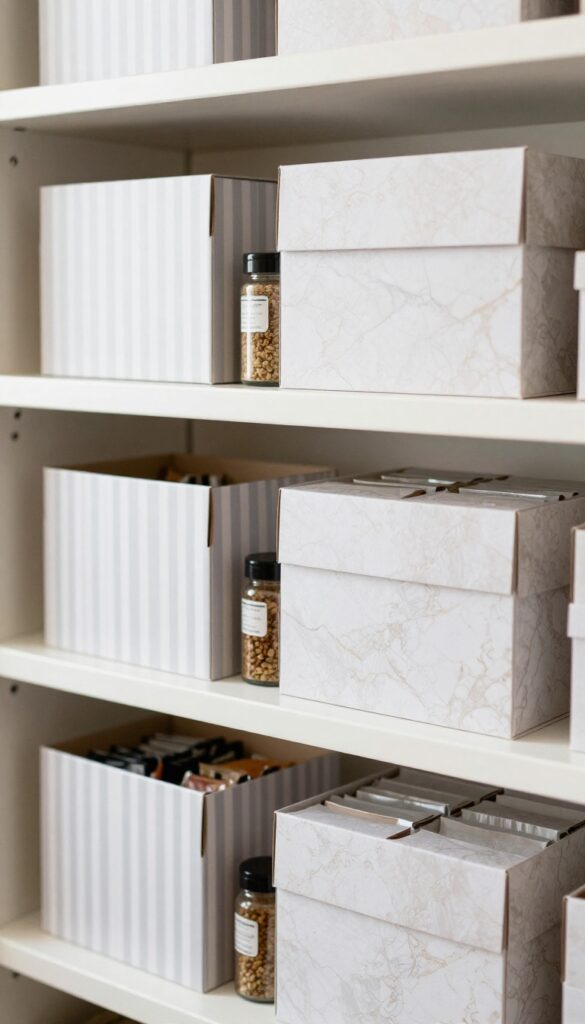
Shoe boxes are the unsung heroes of budget-friendly organizing. Instead of tossing them, cover them with wrapping paper or contact paper that complements your pantry's color scheme. They become perfect little bins for snack packs, tea bags, or seasoning packets.
Stack them or line them up on a shelf for a uniform, clutter-free look that costs almost nothing.
Why It Works
Shoe boxes are sturdy, free, and the perfect size for grouping small items that otherwise get lost. Covering them with decorative paper makes them look intentional and stylish, not like recycled trash. The uniform shape also allows for neat stacking, maximizing vertical space.
Best For
This works great for families who buy snacks in bulk or have a collection of single-serve packets. It's also ideal for renters or anyone on a tight budget who wants a quick, no-drill solution.
Styling Tip
Choose a paper pattern that ties into your pantry's overall look—think subtle stripes, classic gingham, or a neutral marble. For a cohesive display, stick to one pattern or color family. Add a small label on the front using a chalk marker or a simple sticker.
8. Hang a Tension Rod for Spray Bottles
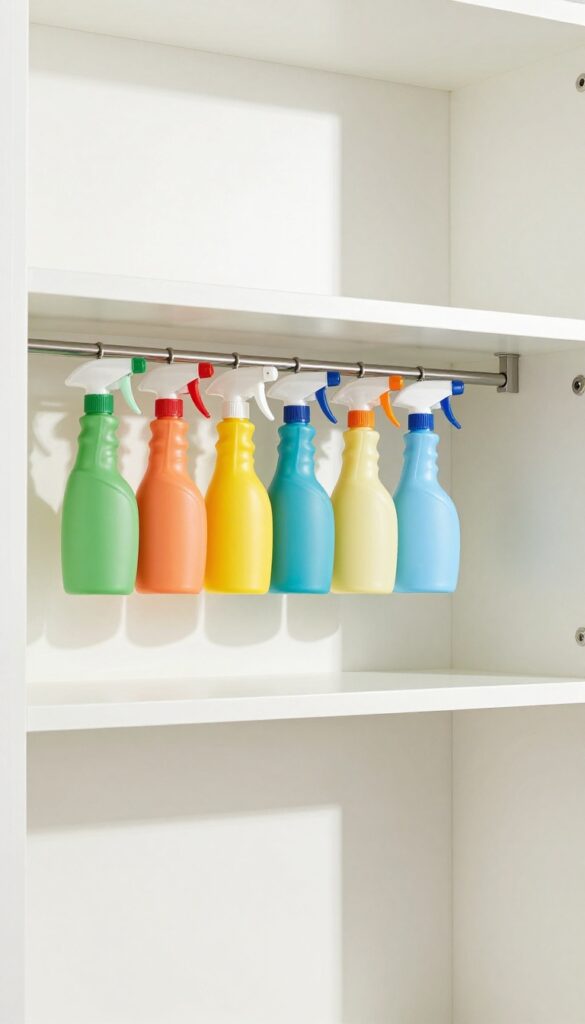
That jumble of spray bottles under the sink or on a pantry shelf can be a real headache. They tip over, they take up too much space, and you always seem to knock one down when reaching for something else. A simple tension rod, the kind you'd use for a curtain, can turn that chaos into a neat, upright row.
It's one of those budget-friendly fixes that feels clever every time you use it.
Why It Works
By hooking the spray bottle necks over the rod, you keep them suspended and upright. This frees up the entire shelf surface below for other items, and you can see every bottle at a glance. No more digging around or knocking things over.
Best For
Pantry shelves, under-sink cabinets, or any narrow space where you store cleaning supplies, hair products, or cooking oils in spray bottles. It's especially handy in small kitchens or apartments where every inch counts.
Styling Tip
Choose a tension rod with a brushed nickel or matte black finish for a subtle, modern look. Stick to matching spray bottles or at least keep the labels facing the same direction for a cleaner appearance. You can also use small S-hooks for bottles with wider necks.
9. DIY Lazy Susan from a Cake Stand
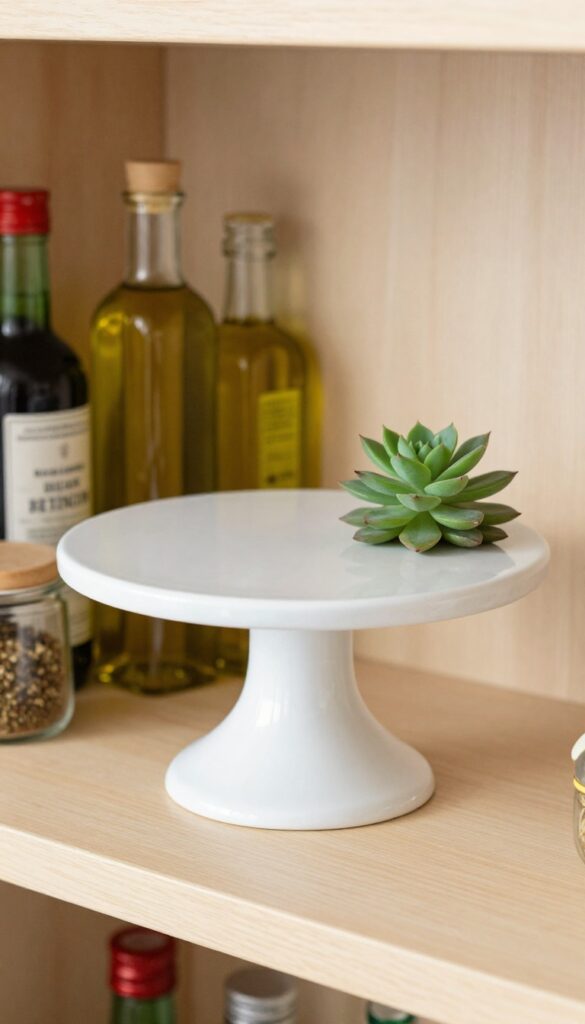
A cake stand isn't just for desserts. Place one on a pantry shelf and you've got an instant lazy Susan that spins smoothly, making every bottle and jar within easy reach. The raised pedestal adds a touch of elegance, turning a purely functional item into a stylish display piece.
Best of all, you can often find cake stands at thrift stores for a few dollars, keeping this project firmly in the budget-friendly zone.
Why It Works
It eliminates the need to dig behind taller items. A quick spin brings the mustard or sesame oil to the front, saving time and frustration. The elevated design also prevents sticky bottle bottoms from leaving rings on your shelf.
Best For
Small to medium pantries where shelf space is tight and you need to maximize every inch. It's ideal for storing condiments, cooking oils, vinegars, and spice jars that you use frequently.
Styling Tip
Choose a cake stand with a simple, clean silhouette in white, glass, or wood to blend with your pantry's aesthetic. Group similar items together—like all oils on one stand and vinegars on another—for a cohesive look. Add a small plant or a pretty salt cellar on the stand to soften the utilitarian feel.
10. Use Magazine Holders for Cutting Boards
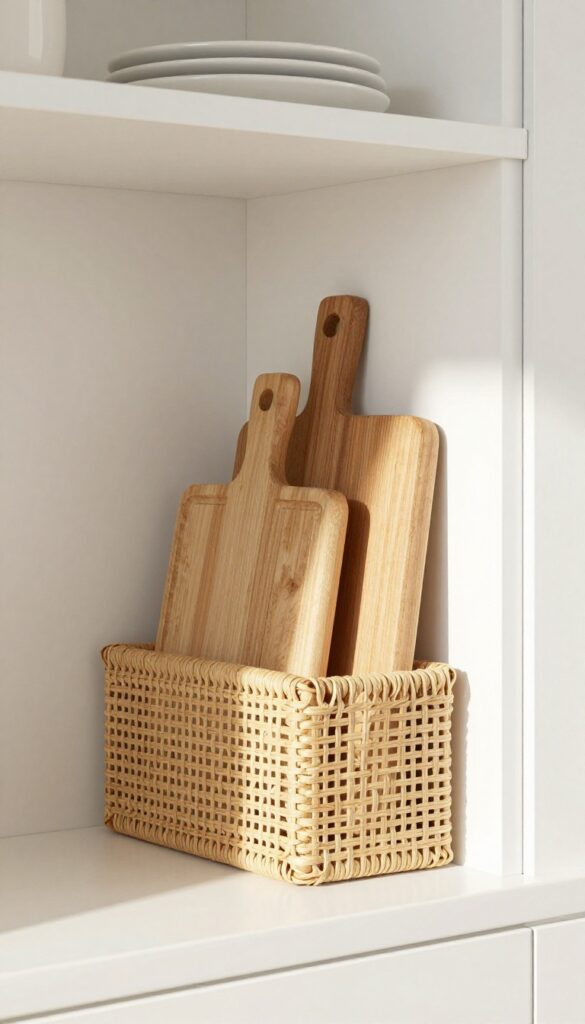
Cutting boards, baking sheets, and trays are notorious for sliding around and creating a cluttered mess inside cabinets. A simple, budget-friendly fix is to repurpose a magazine holder to stand them upright. This trick not only keeps them organized but also makes grabbing the right board a breeze—no more wrestling with a leaning tower of cookware.
Why It Works
Magazine holders are designed to keep items upright and contained, which is exactly what you need for flat, slippery kitchen tools. By corralling them in one spot, you prevent shifting and make the most of vertical space. Plus, it’s a low-cost solution that uses something you might already have lying around.
Best For
This idea is perfect for small kitchens where cabinet space is tight, or for anyone who hates digging through a pile of cutting boards to find the right size. It also works well for organizing baking sheets and cooling racks in a deep pantry shelf.
Styling Tip
Choose a magazine holder that complements your kitchen’s style—wire mesh for an industrial look, woven seagrass for a natural vibe, or a sleek acrylic for modern minimalism. Place it on a lower shelf for easy access, and consider adding a small label on the front to keep the category clear.
11. Create a Command Center with a Pegboard
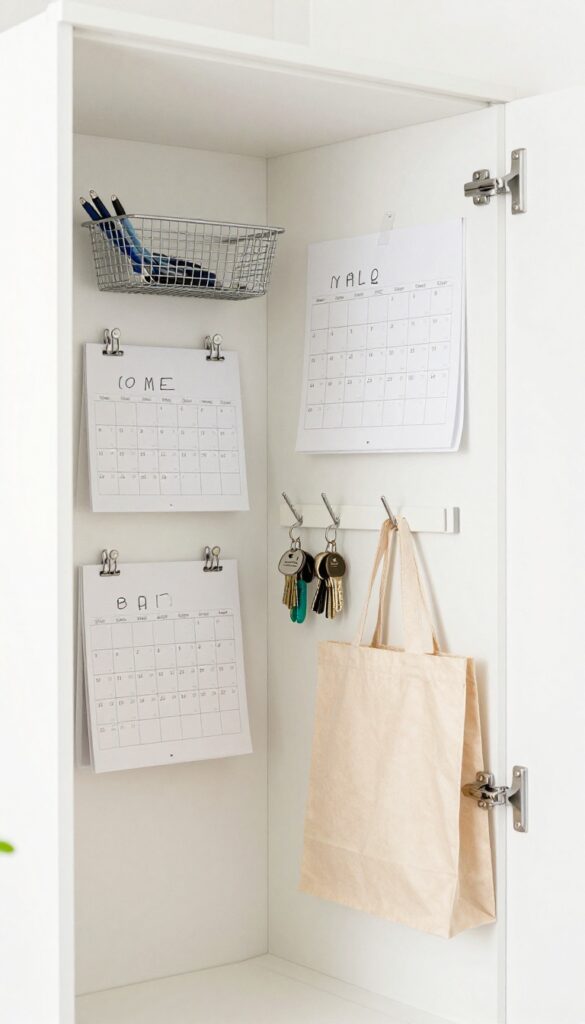
Pantry doors often go unused, but they're prime real estate for a mini command center. Mount a small pegboard on the inside—or on a nearby wall—and suddenly you have a spot for keys, grocery lists, coupons, and even a small calendar. It keeps daily essentials visible and within reach, so you're not digging through drawers every time you need a pen or a shopping list.
Plus, pegboards are cheap and endlessly customizable, making this a budget-friendly upgrade that adds serious function.
Why It Works
A pegboard turns wasted vertical space into organized storage. Hooks, baskets, and clips let you swap out items as needed, so the system adapts to your routine. It's especially handy for keeping paper clutter off counters and reminding you of what's on your grocery list.
Best For
This works well in any pantry with a door that opens fully, or on a narrow wall nearby. It's ideal for small kitchens where counter space is limited and you need a central spot for daily grab-and-go items.
Styling Tip
Paint the pegboard the same color as your pantry walls for a seamless look, or go bold with a contrasting hue like soft sage or navy. Use small metal buckets for scissors and pens, and add a clip for hanging reusable bags.
FAQ
What are the most budget-friendly materials for DIY pantry organization?
Cardboard boxes, glass jars you already own, binder clips, tension rods, and shoeboxes are all free or very cheap. Chalkboard tape and pegboard are also low-cost options that offer great flexibility.
How can I organize a small pantry without spending much?
Use vertical space with tension rods and hooks, repurpose containers, and group similar items together. Clear out expired goods first to free up space. Labels help maintain order without buying new bins.
Are these DIY ideas durable enough for long-term use?
Many DIY solutions, like glass jars and pegboards, are very durable. Cardboard tiered racks may need replacing after a few months, but they're easy and free to remake. For heavier items, opt for sturdier materials like wood or metal.
How do I keep my pantry organized after implementing these ideas?
Maintain a 'one in, one out' rule for groceries. Wipe shelves regularly, and re-label as needed. Use the same system for storing new items to prevent clutter from creeping back.
Can I combine these ideas with existing store-bought organizers?
Absolutely. DIY solutions complement store-bought bins and baskets well. Mix and match to fit your space and budget.
The goal is a cohesive, functional system that works for you.
Conclusion
A well-organized pantry doesn't require a big budget or professional help. With a bit of creativity and everyday items, you can transform your grocery storage into a system that saves time and reduces stress. These 11 DIY ideas prove that practical and stylish can go hand in hand without costing a fortune.
Start with one or two projects that speak to your biggest pain points, and build from there. Your pantry will thank you, and so will your weekly grocery routine.