10 Budget-Friendly Kitchen Mail Organization Ideas to Clear Your Counters
Kitchen counters have a way of becoming catch-all zones for keys, grocery lists, and that stack of mail you keep meaning to sort. Before you know it, bills, flyers, and catalogs take over the space where you prep meals.
The good news? You don't need a fancy remodel or expensive organizers to tame the paper chaos.
With a little creativity and a tight budget, you can set up a mail station that keeps things tidy and looks good too. These ten ideas focus on making the most of what you already have or finding affordable solutions that blend into your kitchen's flow.
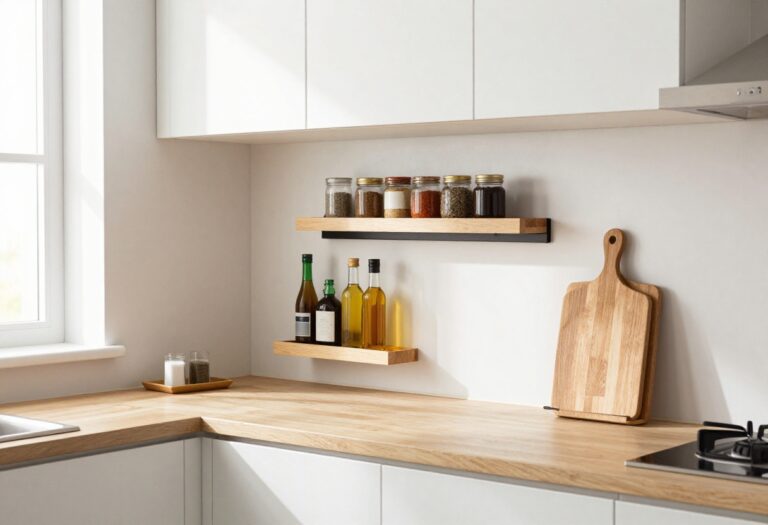
1. Repurpose a Wall-Mounted Spice Rack for Letters and Bills
That empty stretch of wall beside the fridge or near the back door? It’s prime real estate for taming paper clutter. A simple wooden or wire spice rack, the kind you’d normally hang by the stove, becomes a slim mail sorter that keeps envelopes and flyers from taking over your counters.
The tiers are perfect for sorting incoming, outgoing, and to-do piles, so nothing gets lost. Plus, you can paint it to match your cabinets for a custom look that costs under $10.
Why It Works
Mail tends to pile up in flat stacks that are easy to ignore. A tiered rack forces you to sort as you drop, turning a chaotic heap into three tidy compartments. The vertical design uses wall space instead of counter space, which is especially valuable in a small kitchen or entryway.
Best For
This idea works best for renters or homeowners who want a no-drill option (use command strips) or a permanent fix that blends into the kitchen. It’s ideal for narrow walls near the kitchen entrance or a breakfast nook where you usually toss mail.
Styling Tip
Choose a spice rack with slatted shelves so envelopes don’t slide off. If you go for wood, paint it the same color as your cabinets or trim for a built-in feel. Add a small dish on the top tier for keys or a tiny plant to soften the look.
2. Turn a Magazine Holder into a Vertical Mail Bin
Think beyond bookshelves—a simple magazine holder can be the unsung hero of kitchen counter organization. For just a few dollars, you get a dedicated spot for incoming mail that keeps papers standing upright instead of sprawling across every surface. It's a small change that instantly makes your counter feel more intentional and less cluttered.
Why It Works
Vertical storage is a space-saver's best friend. By corralling envelopes and flyers into a narrow slot, you prevent piles from spreading and toppling over. The magazine holder acts like a tiny filing cabinet, keeping everything contained and easy to grab when you need it.
Best For
Renters or anyone on a tight budget who wants a quick win. It's also ideal for small kitchens where every inch of counter space counts, or for households that receive a steady stream of paper mail but don't have a dedicated desk area.
Styling Tip
Give a plain cardboard holder a makeover with adhesive contact paper in a marble or wood grain finish. Or wrap it in washi tape for a playful pattern. Place it near the entry point of your kitchen—like beside the coffee station—so it becomes a natural drop zone.
3. Use a Tiered Fruit Basket as a Mail Organizer
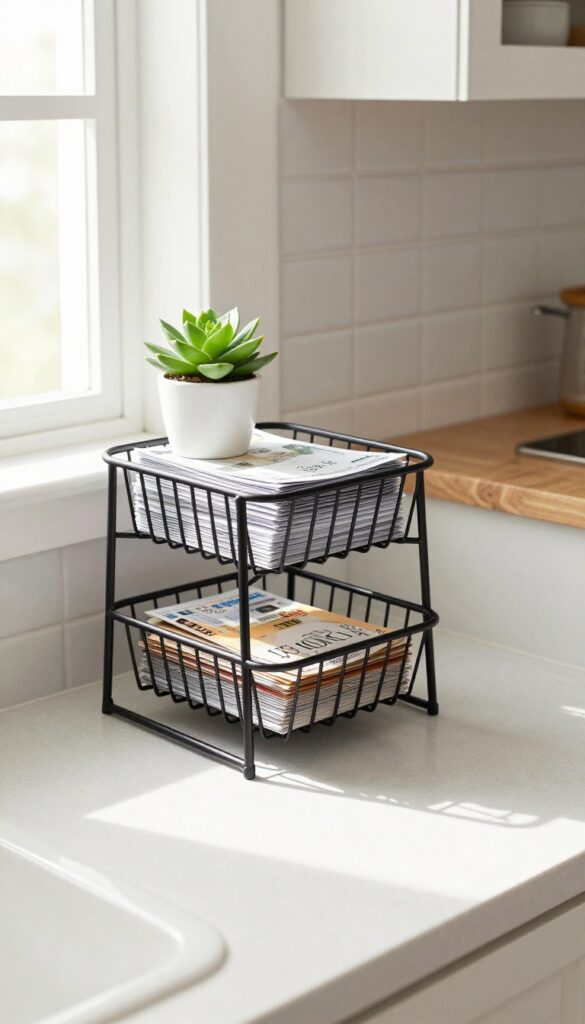
A metal or wire tiered basket meant for fruit works perfectly for sorting mail by category. Place it on an empty counter corner, and suddenly that pile of envelopes has a home. Each tier holds different types—bills in the top, coupons in the middle, and flyers below—so you can grab what you need without digging.
Why It Works
It turns a common kitchen item into a vertical organizer, saving counter space while keeping mail visible and accessible. The open design means you won’t forget about bills, and the tiers naturally separate categories without extra bins or labels.
Best For
Small kitchens where counter space is tight, or for anyone who wants a quick, low-cost fix to clear clutter. It’s also great for renters who can’t install permanent shelving.
Styling Tip
Choose a basket with a matte black or brass finish to match your kitchen hardware. If the basket feels too utilitarian, tuck a small plant or a ceramic dish for keys on the top tier to soften the look.
4. Hang a Shoe Organizer on the Inside of a Cabinet Door
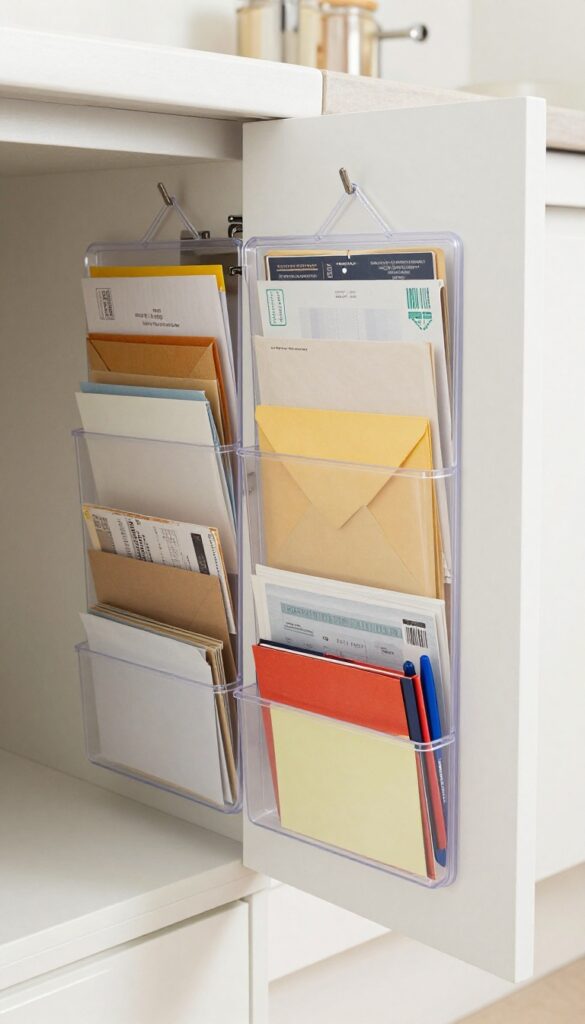
That cabinet door you open every day? It's prime real estate. A clear or fabric over-the-door shoe organizer turns unused space into a mail command center.
Each pocket becomes a category: action items, recycling, coupons, or even pens and sticky notes. The best part? When you close the door, the clutter vanishes.
It's a budget-friendly hack that feels like finding extra square footage.
Why It Works
Shoe organizers are cheap, lightweight, and easy to install—no drilling required. They use vertical space that's otherwise wasted, keeping mail off counters and out of sight. The pockets make sorting effortless: you can label each slot with a marker or small tag, so nothing gets lost.
Best For
Renters who can't modify cabinets, small kitchens with limited drawer space, or anyone drowning in paper clutter. It's also great for families who want to separate school papers, bills, and to-do lists without buying a fancy filing system.
Styling Tip
Choose a clear organizer for a sleek, invisible look, or go with a neutral fabric one (like linen or gray) to blend with your cabinet interior. Use small binder clips to attach labels to each pocket, or write directly on the plastic with a dry-erase marker for easy updates.
5. Create a Clip-and-Basket System with Binder Clips
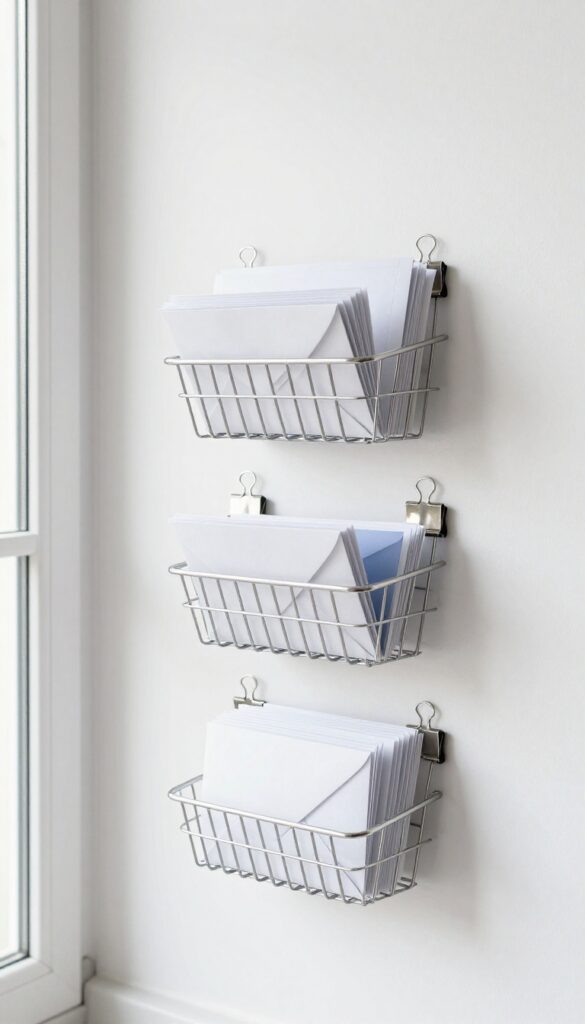
A few oversized binder clips and a small wire basket can turn a cluttered pile of mail into something almost sculptural. This idea leans into the budget-friendly angle hard—you probably already have the clips and a spare basket lying around. The result feels intentional and smart, not makeshift, because the contrast of silver metal against wood or white walls adds a subtle industrial touch.
It’s the kind of solution that makes you wonder why you didn’t think of it sooner.
Why It Works
Binder clips grip papers securely without damaging them, and the dangling basket catches receipts, coupons, or small envelopes that would otherwise slide off the counter. The whole setup takes up zero counter space if you mount it on the wall, and it costs under $10 to put together. It’s also endlessly adjustable—you can add or remove clips as your paper load changes.
Best For
Renters who can’t drill into walls (use command strips on the basket) or anyone with a small kitchen where every inch of counter counts. It’s also great for households that get a steady stream of school papers, flyers, and takeout menus that need a temporary home before sorting.
Styling Tip
Use black binder clips for a more modern look, or spray-paint the clips in a muted brass tone to match warm hardware. Pair the basket with a slim wooden ledge or a magnetic strip on the wall nearby to keep the whole area feeling cohesive. Avoid overloading the clips—three to five papers per clip keeps the look clean.
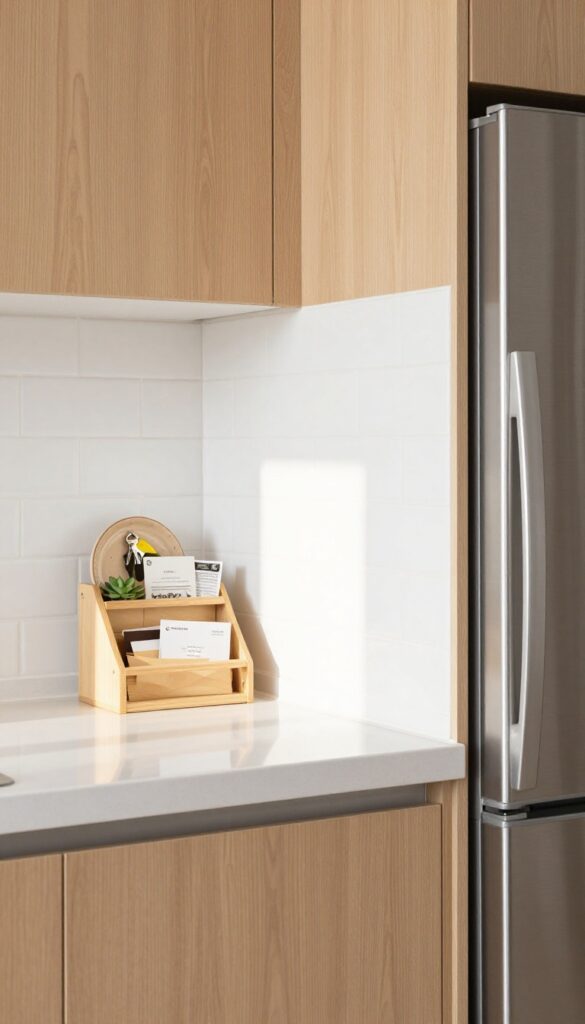
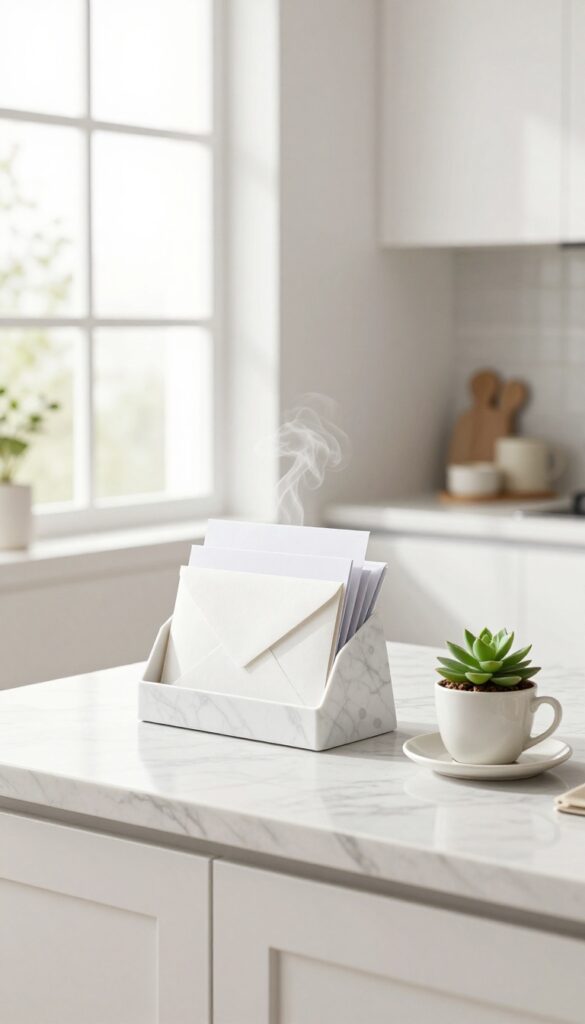
6. Repurpose a Napkin Holder for Daily Mail
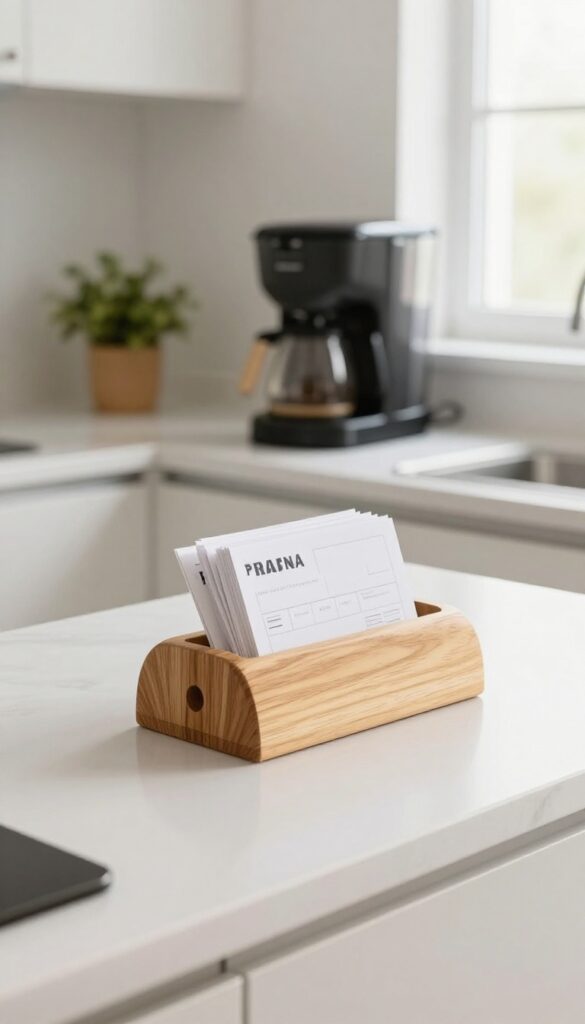
A simple acrylic or wooden napkin holder might seem like an odd candidate for mail organization, but it's one of those clever tricks that instantly makes your kitchen counter feel more intentional. The slim profile keeps papers upright without hogging valuable workspace, and the open design means you can grab bills, invitations, or school flyers in a second. It's a small swap that brings a touch of order to the daily paper pile.
Why It Works
Napkin holders are designed to hold flat items neatly in place, so they're naturally suited for mail. The upright position prevents papers from spreading across the counter, and the compact footprint means you can tuck it next to the coffee maker or toaster without cluttering your prep area. Plus, it's a budget-friendly solution that costs far less than dedicated mail organizers.
Best For
This idea shines in smaller kitchens where counter space is at a premium, or for anyone who wants a low-commitment way to manage daily mail without a bulky system. It's also great for renters who can't install wall-mounted organizers and need something portable.
Styling Tip
Choose a napkin holder that complements your kitchen's vibe—clear acrylic for a modern, airy feel, or warm wood for a farmhouse look. Swap it out seasonally: a bright citrus-colored holder in summer, a rustic wooden one in fall. Pop a small plant or a salt cellar next to it to make the holder feel like part of the decor, not just a catchall.
7. Install a Magnetic Knife Strip for Paper Clips and Keys
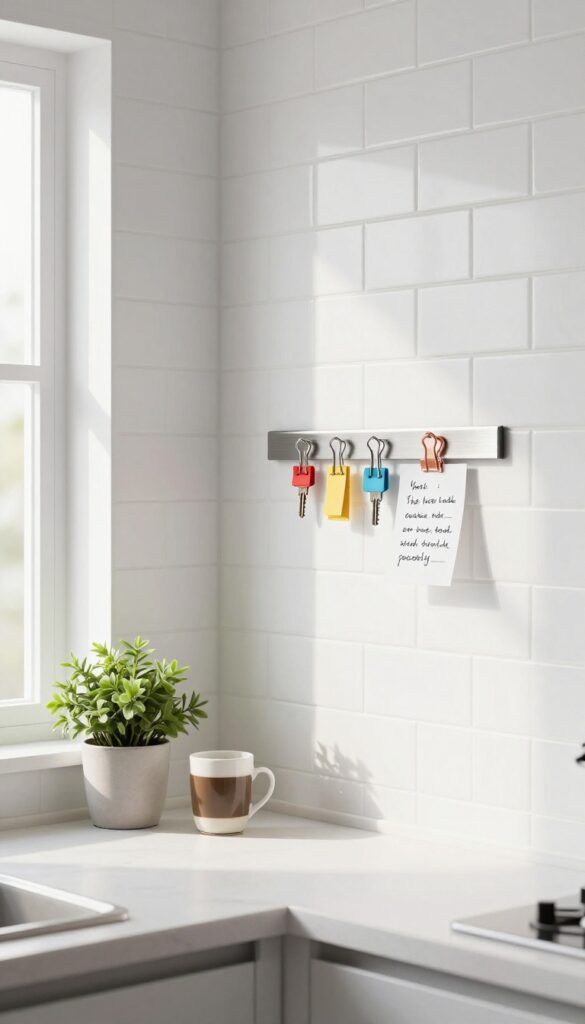
Think a magnetic strip is only for knives? Think again. Mount one near your mail drop zone, and suddenly you have a floating command center for all those tiny paper bits that usually end up scattered across the counter.
It’s a clever, budget-friendly hack that turns a bare wall into vertical storage with zero footprint. The industrial vibe of a metal strip actually looks pretty sharp against white subway tile or a painted accent wall, so it pulls double duty as decor and organizer.
Why It Works
A magnetic strip keeps frequently used items visible and within arm’s reach, eliminating the need for a bulky tray or dish. By lifting clips, keys, and notes off the surface, you instantly reclaim counter space and reduce visual clutter. Plus, magnets are endlessly adjustable—you can rearrange your paper clips and to-do lists in seconds without drilling extra holes.
Best For
This idea shines in small kitchens or galley layouts where every inch of counter counts. It’s also perfect for renters, because a magnetic strip installs with just a couple of screws (or strong adhesive strips if you want a no-drill option) and leaves minimal marks when you move out.
Styling Tip
Choose a slim, brushed stainless steel strip for a modern look, or go with a black matte finish to contrast with light walls. Pair it with colorful or copper-toned magnets to add a pop of personality. Keep the strip about 6 inches long to avoid overwhelming the wall, and mount it at eye level so it’s easy to grab and go.
8. Use a Cereal Container as a Mail Drop
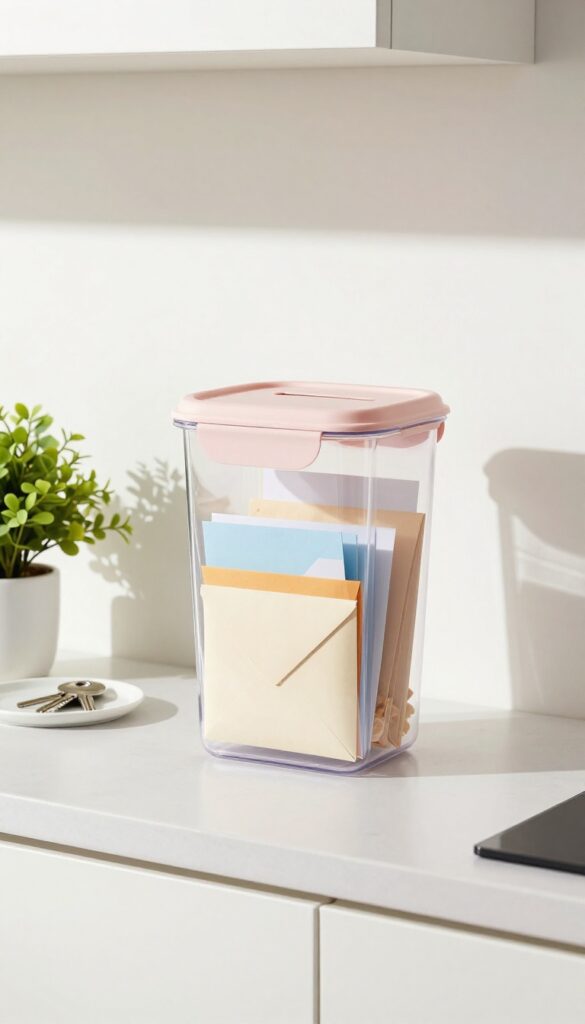
A tall plastic cereal container might seem like an odd choice for mail, but it’s one of those clever hacks that just makes sense. The narrow shape is perfect for letters and small envelopes, and the clear plastic lets you see when it’s getting full. Plus, it’s practically free if you already have one in your pantry.
Give it a quick wash, cut a slot in the lid, and you’ve got a tidy little mail station that can sit on a counter or shelf without taking up much space. It’s the kind of low-effort, high-reward project that feels surprisingly satisfying.
Why It Works
The container keeps mail contained and upright, preventing piles from spreading across your counters. The slot in the lid makes dropping in mail effortless, while the clear body lets you spot important items at a glance. It’s a simple system that requires no installation and costs next to nothing.
Best For
This idea is perfect for renters or anyone who wants a temporary, no-drill solution. It’s also great for small kitchens where counter space is precious, since the container can tuck into a corner or sit on a shelf. If you receive mostly letters and small envelopes, this will handle your daily mail without fuss.
Styling Tip
- To make it look intentional, choose a container with a clean, modern shape and remove any original labels. You can paint the lid or wrap it in washi tape for a pop of color. A simple label like “Mail” in a neat font keeps it organized.
- For a cohesive look, place it next to a small tray for keys or a plant.
9. Hang a Wire Grid Panel for Clips and Baskets
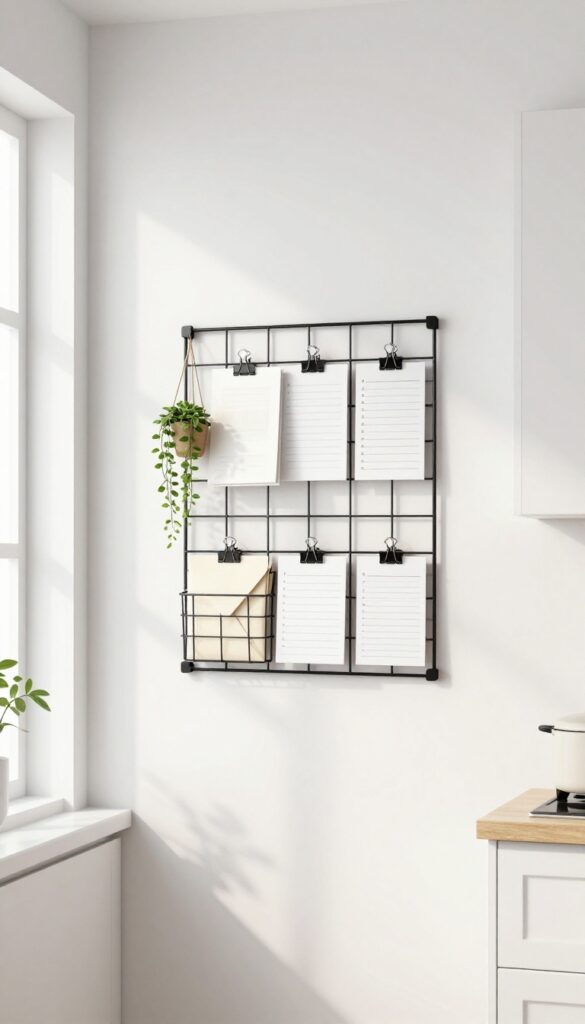
A small wire grid panel mounted on the wall brings a touch of industrial charm while solving mail clutter. Think of it as a customizable command center—mini baskets hold envelopes and flyers, while clips keep bills and to-do lists visible. The best part?
You can rearrange it anytime without committing to a permanent layout.
Why It Works
The open grid keeps everything in sight, so nothing gets buried. It uses vertical space that would otherwise go bare, and the mix of baskets and clips creates a flexible system that adapts to your changing paper flow. Plus, it costs under $15 and installs in minutes.
Best For
Renters or anyone who wants a no-drill option (use command strips). It's ideal for small kitchens where counter space is precious, or for a home office corner in the kitchen where you need quick access to mail.
Styling Tip
Choose a black or white grid to match your hardware. Add a small plant in a hanging pot or a tiny framed photo to soften the utilitarian look. Keep clips uniform in color for a clean, intentional appearance.
10. Repurpose a Cutlery Tray for Mail Sorting
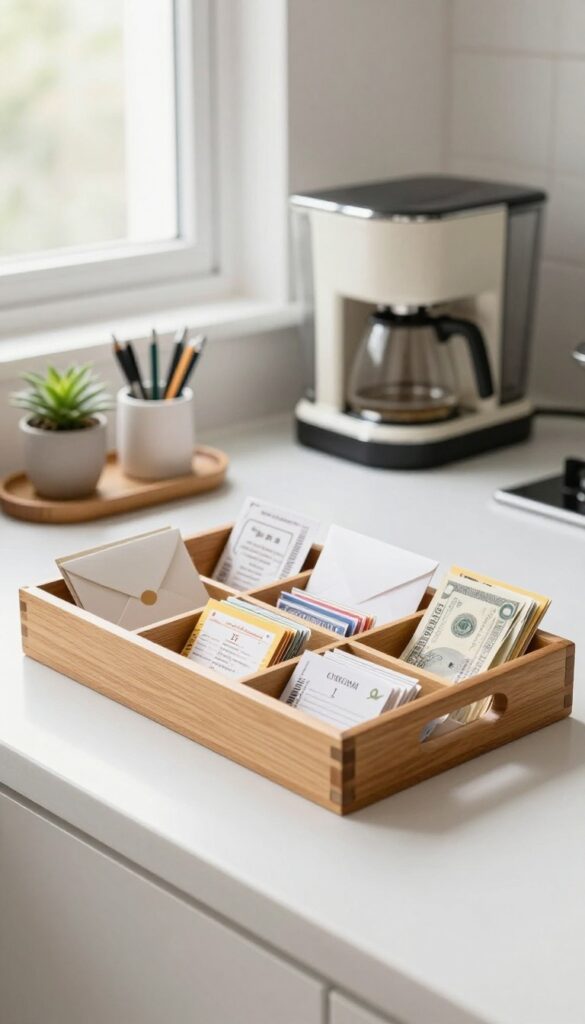
A cutlery tray isn't just for drawers anymore. Pick up a wooden or plastic one from a thrift store or dollar bin, and place it right on your kitchen counter. Its built-in compartments naturally separate mail into bills, coupons, and junk, so you can sort through everything in seconds.
The tray keeps papers contained and organized without taking up much space, making it a smart, budget-friendly alternative to a bulky mail station.
Why It Works
Cutlery trays are designed to hold forks and knives, so they already have the perfect layout for sorting small items. The compartments keep mail categories distinct, preventing piles from mixing together. Plus, they're compact enough to fit next to a coffee maker or toaster without cluttering your counter.
Best For
Renters or anyone who wants a low-cost, no-drill solution. It's also ideal for small kitchens where counter space is tight, since the tray takes up less room than a traditional letter organizer or vertical file holder.
Styling Tip
Choose a tray with a natural wood finish to warm up the space, or go with a sleek white or black plastic for a modern look. Pair it with a small ceramic dish for pens and a tiny plant to soften the utilitarian feel. Keep the tray near the entry point of your kitchen so you can drop mail as soon as you walk in.
FAQ
What is the best way to organize mail on a budget?
Repurpose items you already own, like magazine holders, napkin holders, or cutlery trays. Dollar stores and thrift shops also offer inexpensive organizers that can be painted or decorated to match your kitchen.
How do I keep mail from piling up on the counter?
Create a daily habit of sorting mail as soon as it comes in. Use a simple system with categories like 'to do,' 'to file,' and 'recycle.' A vertical organizer or wall-mounted solution helps keep it off the counter.
Can I organize mail without buying anything new?
Absolutely. Repurpose items like cereal containers, binder clips, or shoe organizers. Even a simple basket or tray from another room can work.
The key is to designate a specific spot for mail.
What should I do with junk mail immediately?
Have a recycling bin or bag near your mail station. As soon as you identify junk mail, toss it directly into recycling. This prevents it from cluttering your counter.
How can I make my mail organizer look stylish?
Choose organizers in neutral colors or paint them to match your kitchen. Add labels, washi tape, or small decorative touches. Keep the overall look cohesive with your existing decor.
Conclusion
Clearing your kitchen counters of mail doesn't require a big budget or a lot of space. With a bit of creativity and everyday items, you can set up a system that keeps paper organized and your counters free for cooking. Start with one idea that fits your kitchen's flow, and adjust as you go.
The goal is a clutter-free space that feels calm and functional, not a perfect Pinterest board. Even small changes can make a big difference in how your kitchen looks and works every day.