20 Best Floor Cleaning Solution Ideas for Every Room
Dull, streaky floors can make even the cleanest home feel off. The right solution changes everything—whether you need to cut kitchen grease or restore shine to laminate.
These 20 floor cleaning ideas target specific surfaces and messes, using ingredients you probably already have. From vinegar blends for tile to gentle castile soap for hardwood, each method delivers visible results without harsh chemicals.
Stop guessing and start seeing floors that actually look clean.
1. Vinegar and Water for Kitchen Floors
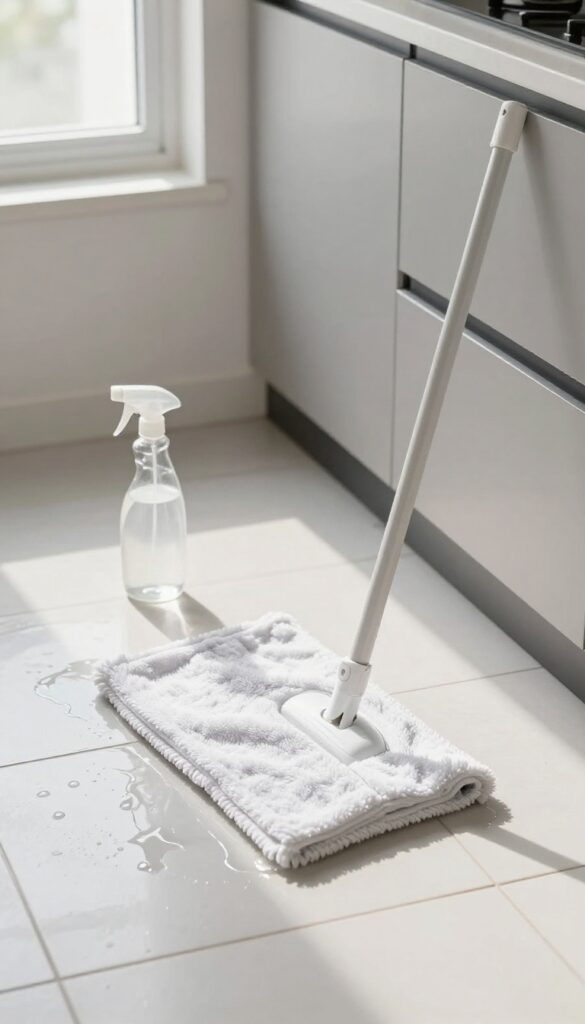
Kitchen floors take a beating—grease splatters, sticky spills, and foot traffic. A 1: 1 mix of white vinegar and warm water is a go-to for cutting through grime on tile or vinyl. It’s cheap, effective, and leaves no residue.
Just avoid it on unsealed wood or stone, as the acidity can cause damage.
This classic combo works because vinegar is a mild acid that breaks down grease and dirt without harsh chemicals. It also deodorizes, so your kitchen smells fresh. For best results, mop with the solution, then rinse with plain water to prevent any lingering vinegar scent.
Why It Works So Well
Vinegar’s acetic acid dissolves grease and soap scum, while warm water helps lift dirt. It’s safe for most kitchen floor types, including ceramic, porcelain, and linoleum. The solution also kills some bacteria, making it a natural disinfectant.
How To Use It Right
Mix equal parts white vinegar and warm water in a bucket. Dip a microfiber mop, wring it well, and mop in sections. Rinse the mop frequently and change the solution if it gets dirty.
Avoid soaking the floor—excess moisture can damage grout or seams.
When To Skip This Method
Don’t use vinegar on unsealed hardwood, marble, granite, or stone. The acid can etch surfaces or strip sealants. For those floors, stick to pH-neutral cleaners.
Also, if your floor has a wax coating, vinegar can dull it over time.
2. Castile Soap for Hardwood Living Rooms
Hardwood floors add warmth to a living room, but they can be tricky to clean. Many commercial cleaners leave a dull film or damage the finish over time. Castile soap offers a gentle, effective alternative that lifts dirt without stripping the wood's protective layer.
Liquid castile soap is a vegetable-based cleaner that's biodegradable and mild. When diluted properly, it cuts through everyday grime while preserving the wood's natural luster. The key is using a damp—not wet—mop to avoid water damage.
This method works best for routine cleaning between deeper treatments.
Why Castile Soap Works
Castile soap is pH-neutral and free of harsh detergents, sulfates, and synthetic fragrances. It gently emulsifies dirt and oil without reacting with the wood's finish. For hardwood, this means no residue buildup and no dulling over time.
How To Mix And Apply
Add 1 teaspoon of liquid castile soap to 1 quart of warm water in a bucket. Stir gently to avoid excessive suds. Dip a microfiber mop, wring it until almost dry, then mop in the direction of the wood grain.
Let the floor air-dry completely before walking on it.
When To Avoid This Method
Do not use castile soap on unsealed or waxed hardwood, as moisture can penetrate and cause warping. Also avoid it if your floor has a matte finish that's prone to streaking—test in an inconspicuous area first.
3. Hydrogen Peroxide for Bathroom Grout
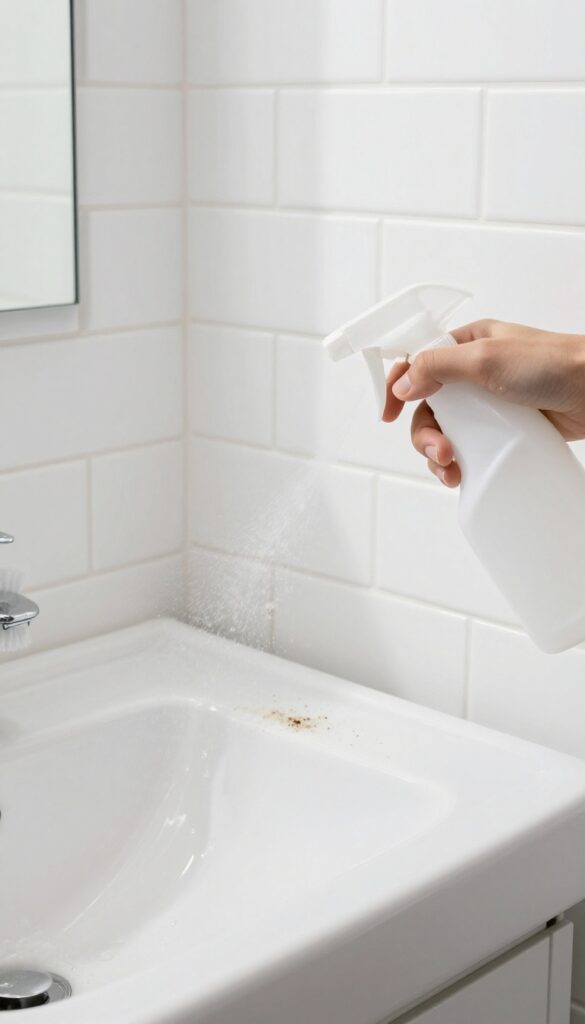
Grout lines in the bathroom are magnets for mold, mildew, and grime. Standard cleaners often fail to lift deep stains, and bleach fumes can be overwhelming. Hydrogen peroxide offers a gentler but effective alternative that whitens and disinfects without the harsh smell.
Spray 3% hydrogen peroxide directly onto grout lines, let it sit for 10 minutes, then scrub with a stiff brush. Rinse with water and wipe dry. The peroxide bubbles lift dirt and kill bacteria, leaving grout looking brighter.
For tougher stains, make a paste with baking soda and peroxide, apply, let sit, then scrub. This method is safe for most tile types and avoids toxic fumes.
Why It Works
Hydrogen peroxide is a mild antiseptic that breaks down into water and oxygen, making it environmentally friendly. Its effervescent action helps dislodge dirt from porous grout surfaces without damaging the material.
Application Tips
Always test on an inconspicuous area first, especially on colored grout. Use a spray bottle for even coverage, and avoid mixing with vinegar or bleach to prevent harmful reactions. For vertical surfaces, apply with a sponge to prevent runoff.
Safety And Storage
Store hydrogen peroxide in a dark bottle away from light to maintain potency. Keep out of reach of children and pets. Wear gloves to avoid skin irritation with prolonged contact.
4. Rubbing Alcohol for Streak-Free Glass Tile
Glass and glazed ceramic tile look stunning when they're clean, but they also show every single streak. That's why many commercial glass cleaners are alcohol-based—they evaporate fast and leave nothing behind. This simple rubbing alcohol solution gives you that same professional result at a fraction of the cost.
Mix 1 cup rubbing alcohol with 1 gallon of water in a bucket. That's it. Apply with a microfiber mop or cloth, and watch the solution dry almost instantly with zero streaks.
The alcohol cuts through grease and fingerprints without leaving residue. It's also safe for most sealed glass and ceramic surfaces, but always spot-test in an inconspicuous area first.
Why It Works So Well
Rubbing alcohol has a low surface tension, which means it spreads evenly and evaporates quickly. Water alone can leave mineral deposits that cause streaking, but alcohol prevents that by speeding up drying time. It also dissolves oils and grime that water can't tackle alone.
Best Surfaces And Safety Tips
This solution is ideal for glass shower doors, glass tile backsplashes, and glazed ceramic floors. Avoid using it on unsealed stone or porous tiles, as alcohol can damage the finish. Always use in a well-ventilated area and keep away from open flames.
Pro Application Tips
For best results, use a microfiber mop or a squeegee on large areas. Work in small sections so the solution doesn't dry before you can wipe it. If you notice any residue, it might be from hard water—add a splash of distilled white vinegar to the mix.
5. Baking Soda Paste for Carpet Stains
Carpets in high-traffic areas like hallways and living rooms collect more than just dirt—they end up with set-in stains that regular vacuuming can't touch. Before you reach for a commercial spot cleaner, try a simple paste made from baking soda and water. It's gentle enough for most carpet fibers but tough on stains, and it costs pennies per use.
The magic of baking soda lies in its mild abrasiveness and odor-absorbing power. When mixed into a paste, it can lift stains from deep within the carpet fibers without damaging them. This method works best on fresh or lightly set stains, but it can also improve older spots with repeated applications.
Plus, it's completely non-toxic, making it safe for homes with kids and pets.
How To Make And Apply The Paste
Mix three parts baking soda with one part water to form a thick, spreadable paste. Use a spoon or your fingers to apply it directly onto the stain, pressing it gently into the fibers. Let the paste sit until it's completely dry—usually a few hours or overnight.
Once dry, vacuum up the residue. The stain should be noticeably lighter or gone.
Best Stains For This Method
Baking soda paste excels on organic stains like coffee, tea, juice, and food spills. It also works well on muddy footprints and light grease marks. For tougher stains like red wine or ink, you may need to pretreat with a bit of white vinegar before applying the paste.
Always test on an inconspicuous area first to ensure colorfastness.
Tips For High-traffic Areas
In busy spots, stains often get ground in before you notice them. For these areas, apply the paste as soon as you spot the stain, and consider using a soft-bristled brush to work it in. After vacuuming, fluff the carpet fibers with your fingers or a stiff brush to restore the texture.
Repeat the process if the stain persists.
6. Dish Soap and Warm Water for Vinyl Floors
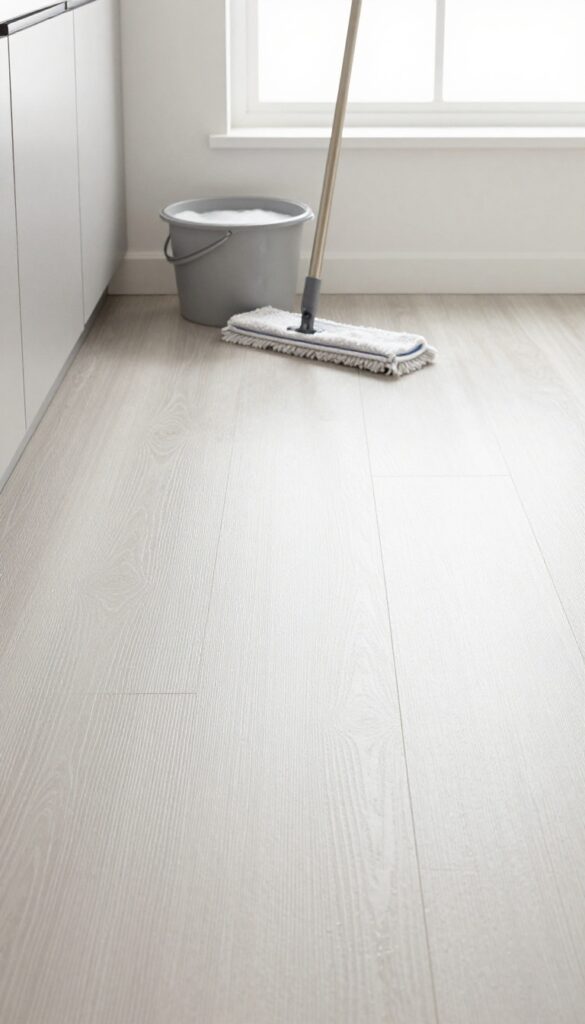
Vinyl flooring is durable and water-resistant, but it can get dull quickly if you use the wrong cleaner. Harsh chemicals or abrasive scrubs can strip the protective layer, leaving it looking tired. A simple mix of mild dish soap and warm water is all you need to lift everyday dirt and grime without damaging the finish.
This gentle solution works because dish soap breaks down grease and food particles without being too aggressive. The key is using just a few drops—too much can leave a sticky film. After washing, a plain water rinse ensures no residue remains, keeping your vinyl floors clean and streak-free.
Why Dish Soap Works So Well
Dish soap is designed to cut through grease on dishes, and it does the same on vinyl floors. It’s pH-neutral and won’t react with the vinyl’s topcoat. Plus, it’s safe for homes with kids and pets, unlike some commercial floor cleaners that contain harsh solvents.
How To Mix And Apply
Fill a bucket with warm water and add just a few drops of mild dish soap—about half a teaspoon per gallon is plenty. Dip a microfiber mop or cloth into the solution, wring it out well so the floor isn’t soaking wet, and mop in sections. Follow up with a second pass using plain water to rinse away any soap residue.
Avoid These Common Mistakes
Never use too much soap, as it can leave a dull film that attracts more dirt. Also, skip vinegar or bleach—they can damage vinyl over time. And always test a small hidden area first to make sure the solution doesn’t affect the color or finish.
7. Tea Tree Oil for Entryway Disinfection
Your entryway takes a beating every day. Mud, dirt, and bacteria from shoes and paws all land right there. Tea tree oil is a natural disinfectant that kills germs without harsh chemicals, and it smells way better than bleach.
A few drops in your mop water turn a simple cleaning into a serious sanitizing session.
Tea tree oil works because it contains terpinen-4-ol, a compound that fights bacteria, fungi, and viruses. It's especially good for high-traffic areas like entryways where you don't want to scrub with toxic stuff. Plus, the scent is fresh and invigorating—not medicinal or overpowering.
How To Mix It
Fill a bucket with warm water and add 10 drops of tea tree oil. That's it. If your floor is really grimy, add a splash of white vinegar for extra grease-cutting power.
But test a small spot first—vinegar can damage some finishes. For tile, vinyl, or sealed hardwood, this mix is safe and effective.
Best For Mud And Germs
Entryway floors collect everything from rain-soaked mud to pet dander. Tea tree oil breaks down organic grime while killing bacteria like E. coli and staph. Mop as usual, and let it air dry.
The oil leaves a protective layer that helps repel future dirt.
Safety Tips
Tea tree oil is potent. Never use it undiluted on floors—it can strip finishes or cause irritation. Keep pets away until the floor dries completely, because the concentrated scent can be strong for their sensitive noses.
Store the oil out of reach of kids.
8. Club Soda for Pet Accidents on Carpet
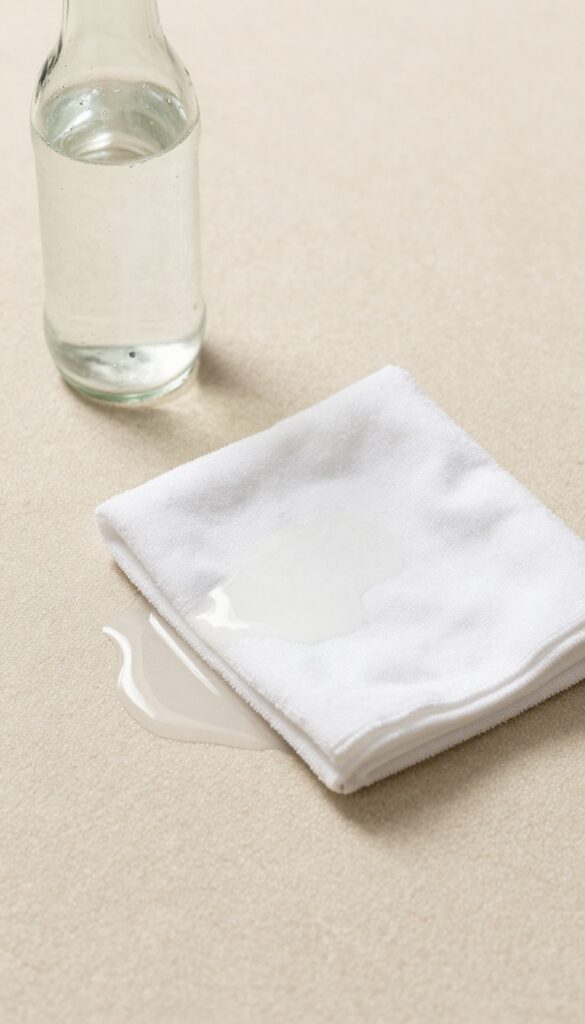
Pet accidents happen, and the clock starts ticking the moment they do. Club soda is a surprisingly effective first responder for fresh urine or vomit stains on carpet. The carbonation helps lift the mess from the fibers, while the salt content aids in drying and odor control.
It's a simple, non-toxic solution that's often already in your fridge.
When your dog or cat has an accident, grab a bottle of club soda and a clean white cloth. Blot—don't rub—the area to absorb as much liquid as possible. Pour a small amount of club soda directly onto the stain, then continue blotting.
Repeat until the stain lifts. The carbonation helps break down the proteins in urine, and the salt draws moisture out, speeding up drying and reducing odors. For older stains, this method is less effective, but it works wonders on fresh messes.
Why Club Soda Works
Club soda contains carbonic acid, which creates bubbles that physically lift dirt and organic matter from carpet fibers. The sodium and potassium salts in club soda also help absorb moisture and neutralize odors. Unlike chemical stain removers, club soda is gentle on carpets and safe around pets and kids.
Step-by-step Process
First, blot up as much of the accident as possible with paper towels or a cloth. Then, pour club soda directly on the stain—enough to saturate it. Let it fizz for a minute, then blot again with a dry cloth.
Repeat until the stain fades. Finally, place a dry towel over the area and weigh it down to absorb remaining moisture. Let it air dry completely.
When To Use This Method
This works best on fresh stains—within a few hours. For dried or set-in stains, club soda alone may not be enough, but it can still help loosen the residue before using an enzymatic cleaner. It's also ideal for light-colored carpets where harsh chemicals might cause discoloration.
9. Olive Oil and Vinegar for Laminate Shine
Laminate floors are tough, but they can look dull fast if you use the wrong cleaner. Harsh chemicals or too much water can damage the surface and leave behind a cloudy film. This simple DIY solution uses olive oil to add a gentle sheen while vinegar cuts through grime without stripping the finish.
Mix 1/4 cup vinegar, 1/4 cup olive oil, and 1 gallon warm water. Dampen a microfiber mop (not soaking wet) and wipe the floor in the direction of the planks. The oil leaves a subtle, non-greasy shine, and the vinegar disinfects and deodorizes.
Avoid using on unsealed laminate or if you have pets that might lick the floor.
Why This Works
Vinegar is acidic enough to break down dirt and bacteria but gentle on laminate’s protective layer. Olive oil fills in micro-scratches and adds a low-luster polish. Together, they create a streak-free finish that doesn’t attract dust like some commercial polishes.
Best Practices For Application
Always test on a hidden spot first. Use a spray bottle to lightly mist the solution onto the mop pad, not directly on the floor, to avoid puddling. Work in small sections and dry immediately with a clean microfiber cloth if you see any excess moisture.
When To Skip This Method
If your laminate is waxed or unsealed, skip the oil—it can cause buildup. Also avoid if your floors are under warranty that prohibits vinegar. For high-gloss laminate, stick to a manufacturer-recommended cleaner to maintain the finish.
10. Borax for Tough Grout Lines
Grout lines are the unsung victims of floor cleaning. They trap dirt, soap scum, and mildew, and they rarely come clean with a quick mop. Borax, a natural mineral powder, cuts through that grime without the harsh fumes of bleach.
Mixed into a paste, it clings to vertical grout lines and breaks down embedded soil. This method is especially effective on ceramic and porcelain tile floors where grout has turned dark or yellowish.
Borax is a mild alkali that lifts dirt and neutralizes odors. When mixed with water, it forms a scrubable paste that stays put on grout lines. Unlike bleach, it won't weaken grout over time or release strong fumes.
This makes it a safe choice for kitchens and bathrooms where ventilation may be limited. The paste is easy to apply with an old toothbrush or a grout brush, and a thorough rinse leaves grout looking noticeably lighter.
Mixing The Paste
Combine equal parts Borax and warm water in a small bowl. Stir until it forms a thick, spreadable paste. If it's too runny, add more Borax; if too stiff, add a few drops of water.
The consistency should be like toothpaste—thick enough to stick to grout without dripping.
Application And Scrubbing
Use a grout brush or an old toothbrush to dab the paste onto the grout lines. Work it into the grooves with firm, circular motions. Let it sit for 5–10 minutes so the Borax can break down the dirt.
Then scrub again, focusing on the darkest areas. A stiff brush makes a big difference here.
Rinsing And Drying
Wipe away the paste with a damp cloth or sponge. Rinse the area thoroughly with clean water to remove any residue. Leftover Borax can leave a white film, so don't skip this step.
Dry the grout with a towel or let it air dry. You'll see the grout lighten by several shades.
11. Lemon Juice for Cutting Grease in Kitchens
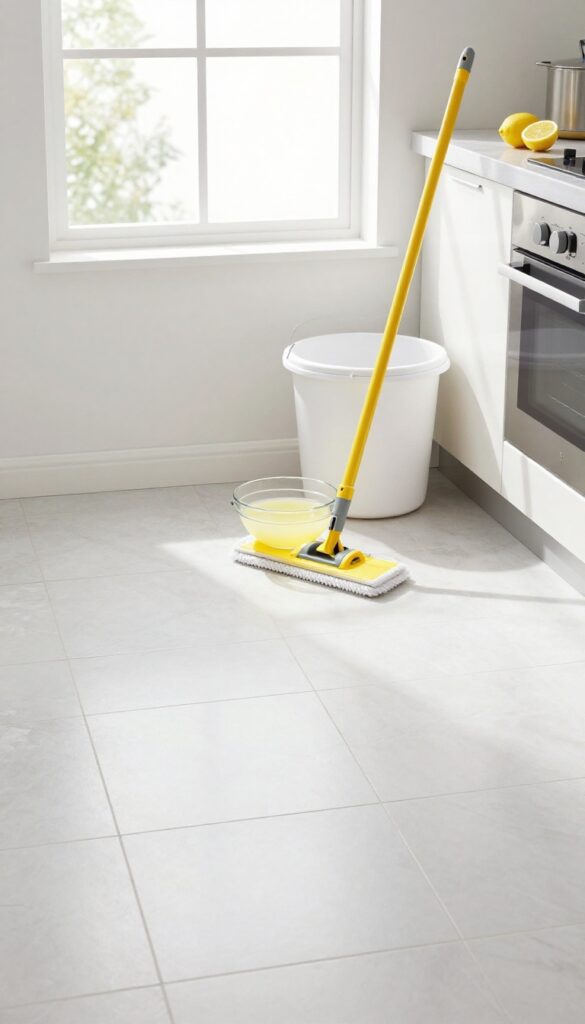
Kitchen floors take a daily beating from splattered oil, sticky spills, and greasy footprints. Commercial degreasers can be harsh on surfaces and your nose, but lemon juice offers a natural alternative that actually works. The citric acid breaks down grease on contact, leaving tile and linoleum sparkling clean with a fresh, clean scent.
To make this solution, mix 1/2 cup of fresh or bottled lemon juice with 1 gallon of hot water. Mop as usual, and watch the grease dissolve without scrubbing. Rinse with plain water afterward to avoid any sticky residue from the natural sugars in lemon juice.
This method works best on ceramic tile, porcelain, and linoleum—avoid it on natural stone or unsealed grout, as the acid can cause etching over time.
Why Lemon Juice Works On Grease
Lemon juice contains citric acid, a natural degreaser that breaks down the molecular bonds in oils and fats. When combined with hot water, it emulsifies grease so it lifts off the floor rather than just spreading around. This makes it especially effective on tile and linoleum, where grease often forms a stubborn film.
Best Surfaces And Safety Tips
This solution is safe for glazed ceramic tile, porcelain, and linoleum. Avoid using it on natural stone like marble, granite, or slate, as the acid can dull the finish. Also, test a small area first if your grout is unsealed—the acid might lighten it.
Always rinse with clean water after mopping to prevent any residue.
How To Use It For Maximum Effect
For heavy grease buildup, apply the lemon solution directly to the floor and let it sit for 2–3 minutes before mopping. Use a microfiber mop for best results, as it picks up grease rather than pushing it around. For extra cleaning power, add a few drops of dish soap to the mixture—just be sure to rinse thoroughly.
12. Rubbing Alcohol and Vinegar for No-Rinse Floors
Busy households need floor cleaning solutions that work fast and leave zero residue. Rubbing alcohol combined with vinegar creates a powerful, quick-drying cleaner that eliminates streaks and soap scum without requiring a rinse step. This simple formula is ideal for sealed hard surfaces like tile, vinyl, and laminate.
The combination of rubbing alcohol and vinegar tackles dirt and grime while evaporating rapidly, so floors are dry and ready for foot traffic in minutes. No rinsing means less water exposure, which protects flooring from moisture damage. Add a few drops of essential oil if you prefer a subtle scent.
Why No-rinse Works
Traditional cleaners often leave a sticky film that attracts dirt. Rubbing alcohol cuts through grease and dries completely clear, while vinegar kills bacteria and deodorizes. Together, they clean effectively without residue, making them perfect for high-traffic areas.
Best Floor Types For This Mix
This solution works best on sealed tile, vinyl, linoleum, and laminate. Avoid unsealed wood or stone, as the acidity of vinegar can damage them over time. Always test on a small hidden area first.
Application Tips
Use a microfiber mop for even application and better dirt pickup. Lightly dampen the mop—too much liquid can leave streaks. Work in small sections, and let the solution air dry for a spotless finish.
13. Baby Oil for Linoleum Shine
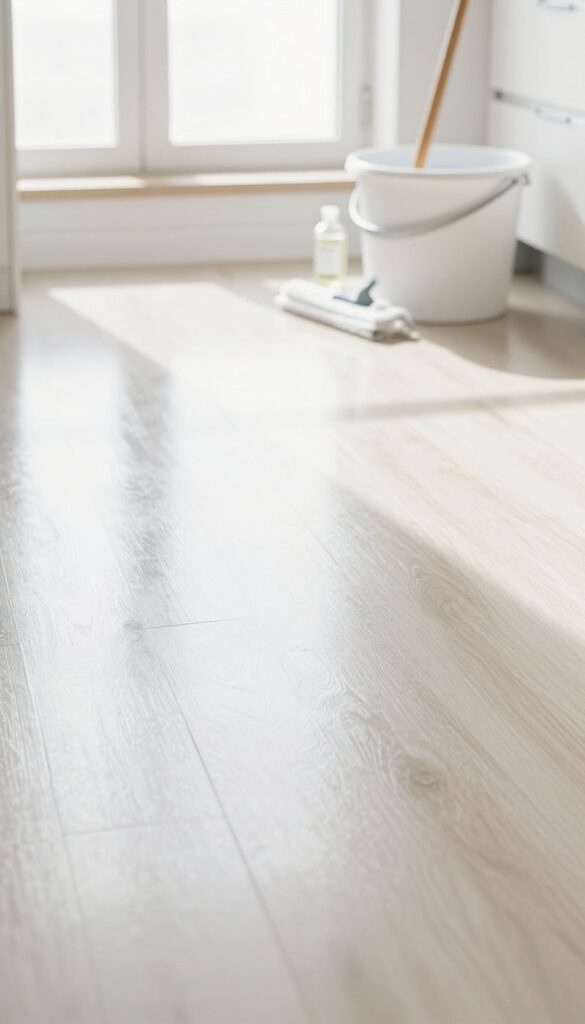
Linoleum floors can lose their luster over time, especially in high-traffic areas. But you don't need a specialty polish to bring back the glow. A few drops of baby oil in your mop water can work wonders—it adds a subtle shine and helps disguise light scratches, making your floors look refreshed without much effort.
Baby oil is basically mineral oil with a bit of fragrance, and it's gentle enough for linoleum. It leaves behind a thin, protective layer that repels dust and adds a low-sheen finish. Just be careful not to overdo it—too much can make floors feel greasy.
A teaspoon per gallon of warm water is plenty. Mop as usual, then let it air dry. You'll notice the difference immediately, and the scent is a nice bonus.
Why Baby Oil Works On Linoleum
Linoleum is made from natural materials like linseed oil, cork dust, and wood flour. It's porous and can dry out over time, leading to a dull appearance. Baby oil penetrates slightly and fills in microscopic scratches, smoothing the surface so light reflects evenly.
That's what gives it that renewed shine. Plus, the oil creates a barrier that makes future cleaning easier—dirt won't stick as much.
How To Apply It Safely
Start with a clean floor. Sweep or vacuum thoroughly to remove grit that could scratch during mopping. Fill your bucket with warm water and add about one teaspoon of baby oil per gallon.
Dip your mop, wring it well so it's damp, not soaking wet, and mop as usual. Avoid puddles. Let the floor dry completely before walking on it.
If you notice any residue, you used too much—just mop again with plain water.
When To Skip This Method
Baby oil isn't ideal for every linoleum situation. If your floor has a wax coating, the oil might break it down over time. Test in an inconspicuous spot first.
Also, avoid this on unsealed linoleum or if you plan to apply a new wax layer soon—the oil can interfere with adhesion. And never use baby oil on vinyl or laminate; it can leave a cloudy film or cause damage. Stick to linoleum only.
14. Hydrogen Peroxide and Baking Soda for Grout Whitening
Grout lines don't have to stay dull and stained. A simple two-ingredient paste can bring them back to life without harsh chemicals. Hydrogen peroxide and baking soda work together to lift embedded dirt and brighten the surface.
Mix baking soda and hydrogen peroxide into a thick paste—about 3 parts baking soda to 1 part peroxide. Apply it directly to the grout lines using a small brush or an old toothbrush. Let it sit for 15 minutes so the peroxide can bubble up and break down stains.
Then scrub gently with the brush and rinse with water. The result is noticeably whiter, cleaner grout that looks fresh without the risk of bleach damage.
Why This Combo Works
Hydrogen peroxide is a mild bleach alternative that oxidizes organic stains. Baking soda is a gentle abrasive that helps scrub away grime without scratching. Together, they create a fizzing action that lifts dirt from porous grout surfaces.
Best Grout Types To Use This On
This method works well on most standard cement-based grout. Avoid using it on unsealed or very old grout that may be crumbling, as the scrubbing could cause damage. Test in a small hidden area first.
Tips For Tougher Stains
For stubborn, set-in stains, let the paste sit up to 30 minutes. You can also cover it with plastic wrap to keep it moist and active. If needed, repeat the process or add a few drops of dish soap for extra grease-cutting power.
15. White Vinegar and Dish Soap for Sticky Spills
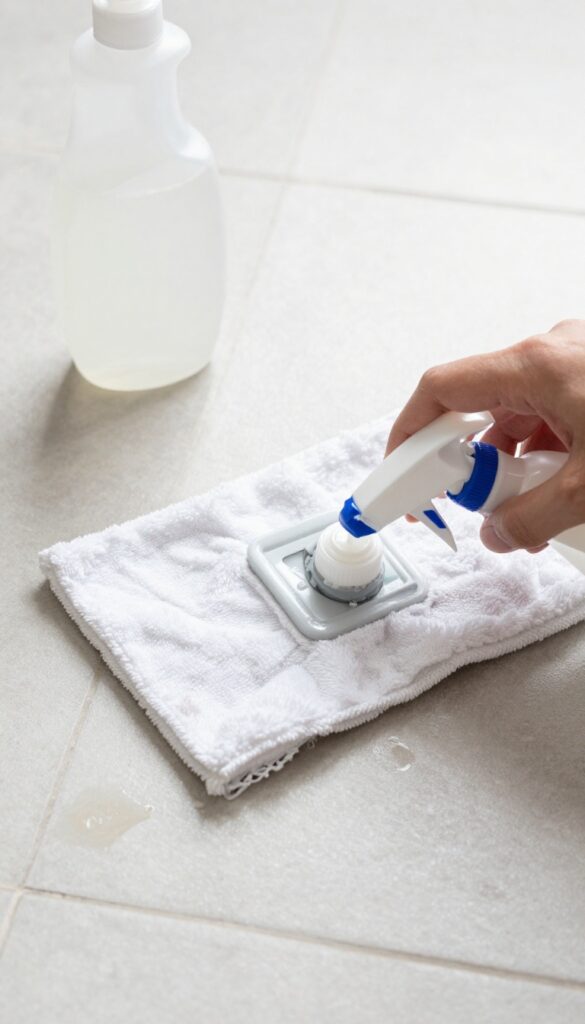
Sticky spills are the worst—soda, syrup, or juice left to dry turns into a tacky mess that resists plain water. White vinegar cuts through the sugar residue while dish soap lifts grease, making this duo a powerhouse for tile and vinyl floors. It's cheap, non-toxic, and leaves no filmy buildup.
This solution works best on sealed tile, vinyl, or linoleum. Avoid using it on unsealed stone or waxed floors, as vinegar can dull the finish. For best results, spot-test in an inconspicuous area first.
Mixing The Right Ratio
Combine 1 cup white vinegar, 1 teaspoon mild dish soap, and 1 gallon warm water. Too much soap creates suds that are hard to rinse, so stick to the teaspoon. Warm water helps dissolve the vinegar and soap evenly.
Application Tips For Best Results
Use a microfiber mop or cloth—avoid soaking the floor. Damp mop the sticky area, let it sit for a minute to break down residue, then wipe dry with a clean cloth. For stubborn spots, spray directly and scrub gently with a soft brush.
Why This Combo Works
Vinegar's acidity breaks down sticky sugars and mineral deposits, while dish soap's surfactants trap grease and lift dirt. Together, they rinse clean without leaving streaks, making floors feel fresh and residue-free.
16. Commercial Enzyme Cleaner for Pet Areas
Pet accidents happen, and standard cleaners often just mask the smell. Enzyme cleaners break down urine proteins at a molecular level, removing odors completely. They're a game-changer for carpets, rugs, and hard floors in homes with dogs or cats.
How Enzyme Cleaners Work
Enzyme cleaners contain beneficial bacteria that produce enzymes. These enzymes digest organic stains like urine, feces, and vomit. The bacteria then consume the broken-down waste, leaving no residue.
This biological process eliminates odors rather than covering them up.
Best Application Methods
Blot up as much urine as possible first. Saturate the stain with the enzyme cleaner, then let it sit for 10–15 minutes. For carpets, work the solution into the fibers with a soft brush.
On hard floors, mop with the solution and let it air dry. Avoid using hot water or steam cleaners, as heat can kill the enzymes.
Choosing The Right Product
Look for enzyme cleaners labeled for pet stains. Some are formulated for specific surfaces like carpet or tile. Avoid products with added fragrances that can irritate pets.
Read the label to ensure the enzymes are active and effective on organic stains.
Safety And Precautions
Enzyme cleaners are generally safe for pets and children once dry. Test on a small area first to check for colorfastness. Keep the area wet long enough for the enzymes to work—follow the product instructions.
Store cleaners out of reach of pets.
17. Rubbing Alcohol and Water for Quick Touch-Ups
Sometimes you just need a fast refresh—no buckets, no heavy scrubbing. A simple 50/50 mix of rubbing alcohol and water is perfect for those high-traffic spots that look dull or smudged. Spray it on, wipe with a microfiber cloth, and you're done in seconds.
This solution works best on sealed hard surfaces like tile, vinyl, and laminate. It evaporates quickly, so there's no sticky residue or waiting time. Keep a small spray bottle under the sink for spot cleaning after meals, muddy shoes, or pet paw prints.
Why It Works So Well
Rubbing alcohol is a solvent that cuts through grease and grime without leaving streaks. When diluted with water, it's gentle enough for daily use but strong enough to lift fresh stains. The fast evaporation means you won't have to worry about water damage on sensitive floors.
Best Surfaces To Use It On
Stick to non-porous, sealed floors. Tile, luxury vinyl plank, laminate, and sealed hardwood are all safe. Avoid unsealed wood, natural stone, or any floor with a wax finish—alcohol can strip those coatings.
Pro Tips For Best Results
Use a high-quality microfiber cloth to avoid lint. Spray lightly—you don't need to soak the floor. For stubborn spots, let the solution sit for 10 seconds before wiping.
Always test in an inconspicuous area first, especially if you're unsure about your floor's sealant.
18. Glycerin for Shiny Vinyl Floors
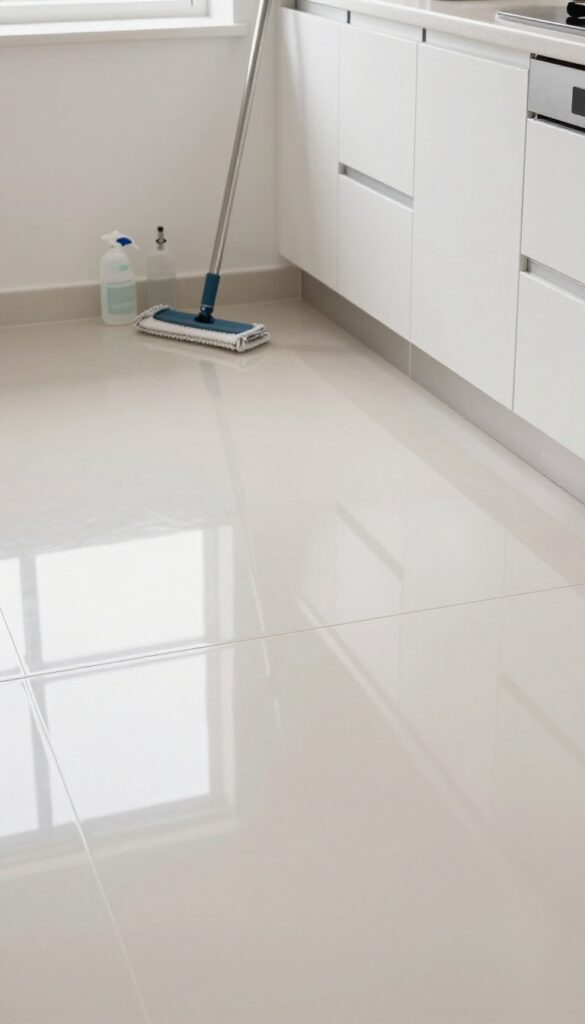
Vinyl floors are durable, but they can look dull after a while. Commercial shine products often leave a slippery film or cost more than they should. Glycerin offers a simple, affordable way to bring back that just-waxed look without the hazards.
Mix 1 tablespoon of glycerin into a gallon of warm water. Use a well-wrung mop to apply the solution, then let the floor air dry. The glycerin leaves a thin, protective layer that enhances gloss and repels dust.
Unlike oil-based polishes, it won't make the floor slippery, so it's safe for kitchens and bathrooms. For best results, sweep or vacuum first to remove grit that could scratch the surface during mopping.
Why Glycerin Works
Glycerin is a humectant, meaning it attracts and holds moisture. On vinyl, it fills in microscopic scratches and creates a smooth, reflective surface. It also helps prevent the floor from drying out and cracking over time.
How To Apply It Right
Always dilute glycerin—undiluted, it's too sticky. Use a microfiber mop for even distribution and avoid soaking the floor. Work in small sections and let each area dry before walking on it.
For extra shine, buff with a dry microfiber cloth after mopping.
When To Skip This Method
If your vinyl floor has a matte finish, glycerin might make it look patchy or too glossy. Test in a hidden spot first. Also avoid this method on unsealed or damaged vinyl, as moisture can seep into cracks and cause warping.
19. Salt and Lemon for Cutting Board Floors (Kitchen Mats)
Kitchen mats and small floor areas near cutting boards take a beating from knife scratches, food stains, and bacteria. A simple scrub with salt and lemon cuts through grime and disinfects naturally—no harsh chemicals needed. This method works best on sealed surfaces like vinyl or rubber mats, not unsealed wood.
Sprinkle coarse salt generously over the mat or floor area. Cut a lemon in half and use the cut side to scrub the salt into the surface in circular motions. The salt acts as a gentle abrasive to lift stuck-on food and stains, while the lemon's acidity breaks down grease and kills bacteria.
Let the mixture sit for 5 minutes, then rinse thoroughly with warm water and wipe dry. For tough spots, add a little more salt and scrub again.
Why This Combo Works
Salt is a natural scrubbing agent that won't scratch most sealed surfaces. Lemon juice is a mild acid that cuts through grease and has antimicrobial properties. Together, they tackle the two biggest kitchen mat issues: stuck-on food residue and bacteria buildup.
Plus, you get a fresh citrus scent without artificial fragrances.
Best Surfaces To Use It On
This method is ideal for sealed vinyl, rubber, or silicone kitchen mats. It also works on ceramic tile and sealed grout. Avoid using it on unsealed wood or natural stone, as the acid can damage the finish.
Test on an inconspicuous spot first if you're unsure about your flooring.
Tips For Stubborn Stains
For dried-on food or grease spots, let the salt-lemon paste sit for 10-15 minutes before scrubbing. You can also add a splash of white vinegar to boost the cleaning power. Rinse thoroughly afterward to prevent any sticky residue from the salt or lemon sugars.
20. Steam Cleaning for Deep Sanitization
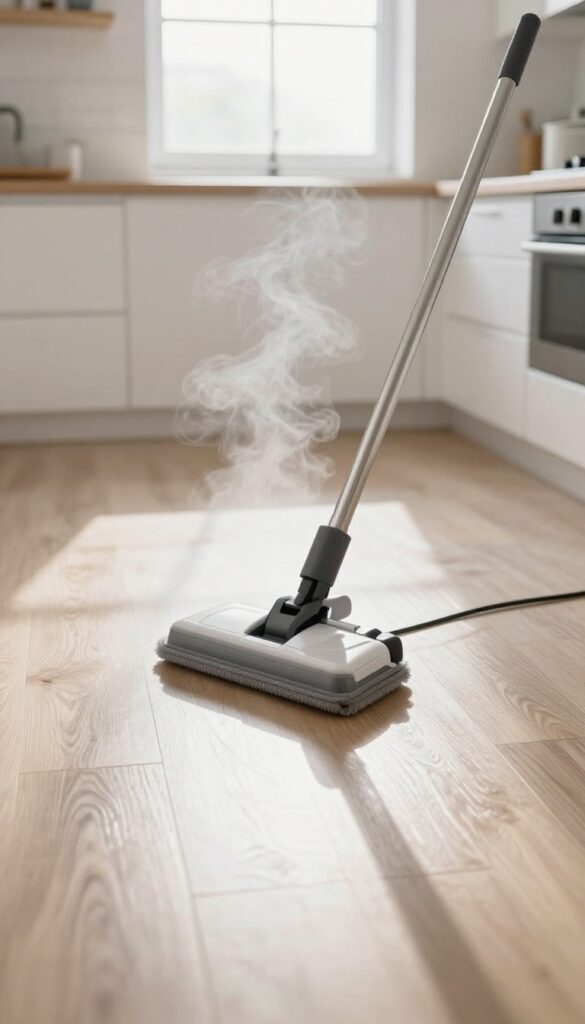
When you want a truly deep clean without any chemicals, steam is your best friend. A steam mop uses only water, heated to a high temperature, to kill germs and loosen grime. It's perfect for sealed tile, vinyl, or laminate floors that can handle the heat.
Steam cleaning is a game-changer for households that prioritize chemical-free living. The high temperature—usually above 200°F—kills 99. 9% of bacteria and dust mites, making it ideal for kitchens, bathrooms, and high-traffic areas.
Plus, it lifts sticky residues and dried-on dirt without scrubbing. Just fill the reservoir with water, let it heat up, and glide the mop over the floor. No rinsing, no residue, and floors dry in minutes.
Why Steam Works So Well
The heat from steam penetrates porous surfaces like grout lines, where dirt and bacteria hide. It also breaks down grease and sticky spills without the need for harsh detergents. For sealed floors, steam is gentle enough to use weekly but powerful enough to tackle deep grime.
Floors That Love Steam
Sealed ceramic tile, porcelain, vinyl plank, and laminate (check manufacturer guidelines) are all steam-safe. Avoid unsealed hardwood, bamboo, or cork, as moisture can damage them. Always test in an inconspicuous spot first.
Tips For Best Results
Sweep or vacuum first to remove loose debris. Use distilled water to prevent mineral buildup in your steamer. For extra sanitization, hold the mop in place for a few seconds on high-traffic spots.
Let the floor air dry completely before walking on it.
FAQ
Can I use vinegar on all floor types?
No. Vinegar is safe for tile, vinyl, and linoleum but can damage unsealed hardwood, stone, and laminate. Always test in an inconspicuous area first.
How often should I mop my floors?
High-traffic areas like kitchens and entryways benefit from weekly mopping. Low-traffic rooms can go every two weeks. Adjust based on visible dirt and foot traffic.
What's the best way to dry floors after mopping?
Use a microfiber mop that wrings out well, then let air dry. For faster drying, open windows or use a fan. Avoid walking on wet floors to prevent streaks.
Are commercial floor cleaners better than DIY?
Both work well when used correctly. DIY solutions are cost-effective and eco-friendly, but commercial cleaners may be formulated for specific stains or finishes. Choose based on your floor type and needs.
How do I remove sticky residue from floors?
Mix warm water with a few drops of dish soap or use rubbing alcohol on a cloth. Gently rub the residue, then rinse with clean water. Avoid harsh scrubbers that can scratch.
Conclusion
You don't need a closet full of specialized products to get spotless floors. With these 20 solutions, you can mix up exactly what each room needs—from a gentle wood cleaner to a heavy-duty garage degreaser. Start with the room that bothers you most and see how simple ingredients can outperform store-bought options.
Your floors will look better, last longer, and you'll save money by using what you already have. Pick one or two ideas to try this weekend. You might be surprised how a homemade solution transforms your whole cleaning routine.