17 Cleaning Floors Tips for Faster Whole Home Care
Floor cleaning doesn't have to eat up your entire weekend. With the right approach, you can keep every surface looking great without spending hours on your hands and knees. The secret is working smarter, not harder.
Most people waste time using the wrong tools or techniques for their specific flooring type. A quick mop might work for tile, but it can ruin hardwood. That's where these tips come in handy.
We've gathered 17 practical strategies that cut down your cleaning time while improving results. Whether you have carpet, laminate, or natural stone, these ideas will help you clean faster and more effectively.
1. Use a Microfiber Mop for Daily Dust Control
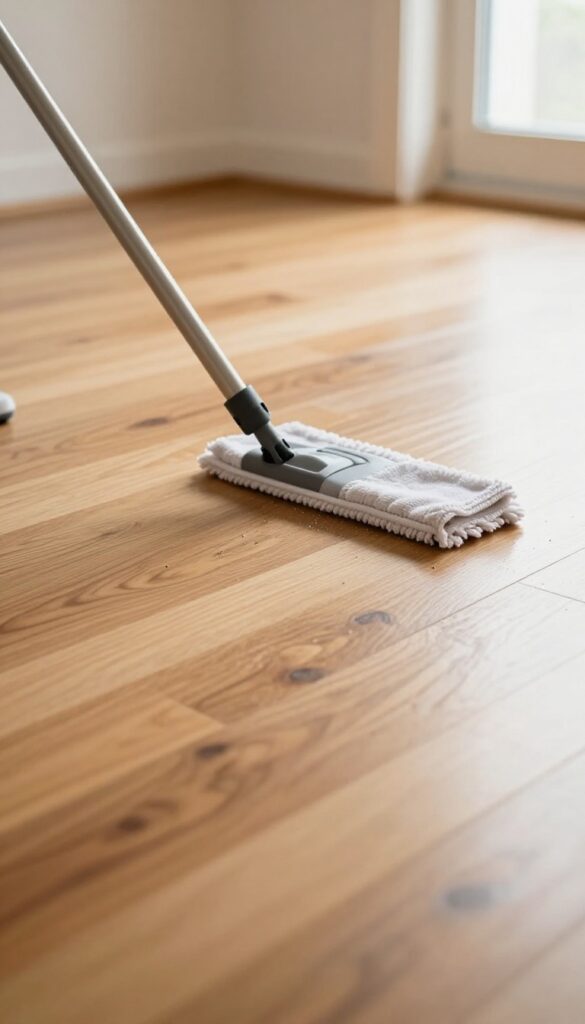
Dust and allergens settle on hard floors every day, but a quick pass with a dry microfiber mop can keep them from building up. Unlike a broom, which tends to push particles into the air, microfiber traps everything in its fibers. This daily habit cuts down on how often you need to wet mop, saving time and protecting your floors from excess moisture.
A dry microfiber mop is your first line of defense against dirt and grime. Use it on tile, hardwood, laminate, and vinyl for a quick pickup that takes just minutes. You'll notice less dust floating around, and your floors will stay cleaner longer between deep cleans.
Why Microfiber Beats A Broom
Brooms flick dust into the air, where it settles on furniture and surfaces. Microfiber uses static electricity to grab particles, holding them until you wash the pad. This means fewer allergens circulating and less re-cleaning.
How To Use It Effectively
Start at the farthest corner of the room and work your way toward the exit. Glide the mop in straight, overlapping passes—no need to scrub. For best results, use a fresh pad each time or wash them after every use.
Pair It With A Quick Spot-clean Routine
After dry mopping, check for sticky spots or spills. A damp cloth or a spray of diluted cleaner on the spot will handle them without needing a full wet mop. This combo keeps floors fresh with minimal effort.
2. Vacuum High-Traffic Zones Every Other Day
Not every inch of your floor needs daily attention. The spots where people walk most—entryways, hallways, and kitchen paths—collect dirt and grit fast. A quick vacuum every other day in these zones stops debris from scratching surfaces and keeps the rest of your home cleaner longer.
Focusing on high-traffic areas is a simple way to cut your overall cleaning time. Instead of vacuuming the whole house daily, target the places that get the most foot traffic. This prevents dirt from being tracked into other rooms and reduces the frequency of deep cleans.
Why High-traffic Zones Matter
Grit and tiny particles act like sandpaper on hard floors. When you walk, you grind them into the surface, causing micro-scratches that dull the finish over time. By vacuuming these areas more often, you remove the abrasive material before it can do damage.
How To Spot Your Hotspots
Look for the paths you walk most: from the front door to the living room, down the hallway, and around the kitchen sink and stove. These are the zones that need attention every other day. A quick pass with a vacuum or a dry mop is enough—no need to move furniture every time.
The Right Tool For The Job
For hard floors, use a vacuum with a hard floor setting or a soft brush roll to avoid scratches. A cordless stick vacuum makes it easy to grab and go. For carpets, a vacuum with a rotating brush lifts embedded dirt.
Keep the vacuum near the zones you clean most.
3. Spot Clean Spills Immediately
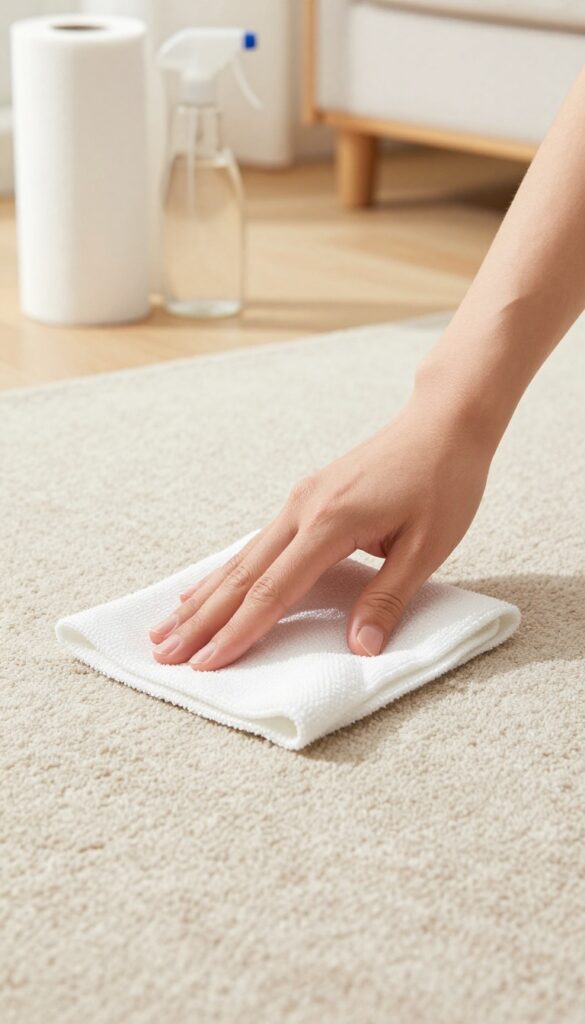
Spills happen. The difference between a quick wipe and a permanent stain often comes down to a few seconds. When you let a spill sit, it seeps into grout, wood grain, or carpet fibers, making removal much harder later.
A fast response saves you time and scrubbing.
Blot spills on carpets and hard floors right away to prevent stains and sticky residue. Keep a clean cloth and spray bottle handy in every room. For carpets, press a dry cloth onto the spill to absorb liquid—never rub, which pushes the stain deeper.
On hard floors, a quick wipe with a damp cloth usually does the trick. For sticky spills like juice or soda, follow up with a spray of all-purpose cleaner to remove residue before it dries.
Carpet Spills: Blot, Don’t Rub
Grab a clean, white cloth or paper towel and press firmly on the spill. Work from the outside in to keep the stain from spreading. Repeat with fresh sections of the cloth until no more liquid transfers.
If needed, apply a small amount of carpet cleaner and blot again.
Hard Floor Spills: Quick Wipe And Rinse
For tile, vinyl, or laminate, use a microfiber cloth or sponge to wipe up the spill immediately. Rinse the area with a damp mop or cloth to remove any sticky residue. For hardwood, dry the spot thoroughly after wiping to prevent moisture damage.
Keep A Spill Kit Ready
Assemble a small caddy with a spray bottle of all-purpose cleaner, a roll of paper towels, and a few microfiber cloths. Store it in a central location or under the kitchen sink. Having supplies within arm’s reach makes it easy to act fast.
4. Choose the Right Cleaner for Each Floor Type
Using the wrong cleaner is one of the fastest ways to damage your floors. A product that works beautifully on tile can strip the finish off hardwood or leave a dull film on stone. Matching the cleaner to the floor type protects your investment and makes the job easier.
Hardwood: Go Gentle
Hardwood floors need a cleaner that's specifically designed for them. Avoid harsh chemicals, vinegar, or water-heavy solutions that can warp the wood or dull the finish. Look for a pH-neutral hardwood cleaner—spray it onto a microfiber mop, not directly on the floor, to control moisture.
Tile And Grout: Vinegar Works
For ceramic or porcelain tile, a simple vinegar-and-water solution (about 1/4 cup vinegar per gallon of warm water) cuts through grease and grime without leaving residue. Just avoid vinegar on natural stone—it's too acidic. For grout lines, use a small scrub brush with baking soda paste.
Stone: Stick To Ph-neutral
Natural stone like marble, granite, or travertine is porous and sensitive to acids. Never use vinegar, lemon, or ammonia-based cleaners. A pH-neutral stone cleaner is your safest bet.
Wipe up spills quickly to prevent etching, and reseal the stone periodically for extra protection.
Laminate And Vinyl: Less Is More
Laminate and luxury vinyl plank (LVP) floors are durable but can be damaged by excessive water or harsh cleaners. Use a damp (not wet) mop with a manufacturer-recommended cleaner or a mild dish soap solution. Avoid steam mops on laminate—they can cause swelling.
5. Mop in a Figure-Eight Pattern
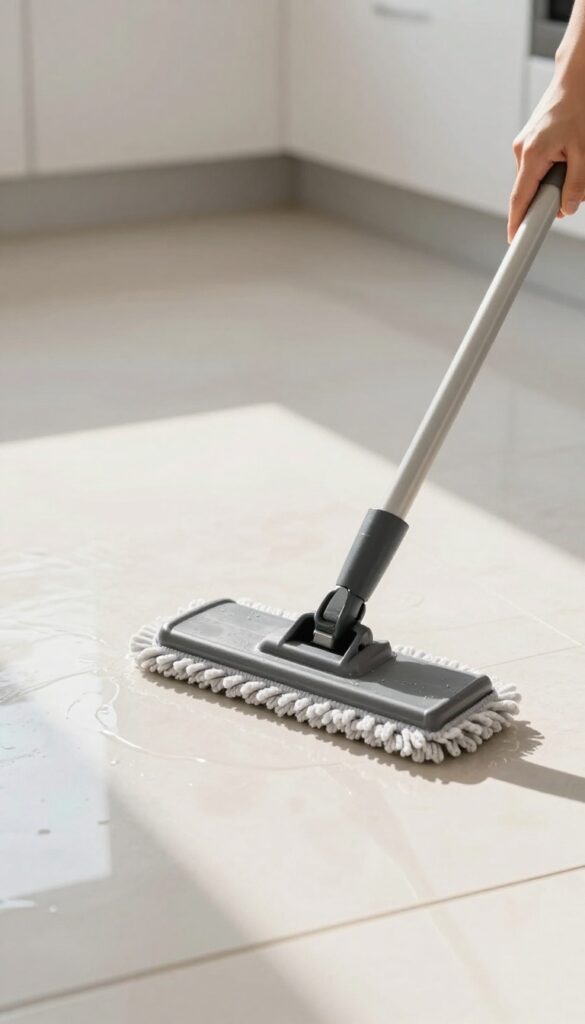
The way you move the mop matters more than you think. A random back-and-forth motion often leaves streaks and puddles, especially on smooth surfaces like tile or vinyl. Switching to a figure-eight pattern changes everything.
This simple technique helps the mop cover more ground with each pass, picking up dirt evenly without missing spots. It also spreads just the right amount of water, so floors dry faster and look better. Once you try it, you'll wonder why you ever mopped any other way.
Why The Figure-eight Works Best
A figure-eight motion naturally pushes the mop in a continuous loop, which keeps the cleaning solution moving across the floor instead of pooling in one area. This reduces the chance of excess water sitting on the surface, which can damage certain flooring types over time. The overlapping pattern also ensures you don't leave behind any dry spots or missed streaks.
How To Master The Technique
Start at the farthest corner of the room and work your way toward the exit. Dip your mop into the bucket, wring it out well, then place it on the floor. Glide it in a smooth figure-eight shape, letting the mop head pivot naturally.
Overlap each pass by a few inches to avoid gaps. Rinse and wring the mop frequently to keep dirty water from spreading.
Best Mops For This Method
A flat microfiber mop with a swivel head is ideal for figure-eight mopping. The swivel allows easy direction changes, and the microfiber picks up dirt without scratching. Avoid heavy string mops—they're harder to maneuver and tend to leave too much water.
For large areas, consider a spray mop with a washable pad for even more control.
6. Use Doormats at Every Entrance
Dirt doesn't just walk in on its own—it hitches a ride on shoes, paws, and even the bottom of grocery bags. The easiest way to keep your floors cleaner for longer is to stop that dirt at the door. A well-placed doormat can trap up to 80% of soil before it ever touches your floors.
Think of doormats as your first line of defense. They catch mud, sand, moisture, and grit that would otherwise scratch or stain your flooring. But not all mats are created equal.
The right combo of indoor and outdoor mats makes a huge difference.
Choose The Right Material
Outdoor mats should be tough and scraper-like—coir or rubber works best for scraping off heavy dirt. Indoor mats need to be absorbent, like microfiber or cotton, to catch any remaining moisture. Avoid rubber-backed mats indoors if you have hardwood, as they can trap moisture and damage the finish.
Place Mats Both Inside And Out
One mat isn't enough. Put a coarse scraper mat outside each door to remove large debris, and a softer, absorbent mat just inside to catch fine particles and moisture. This two-mat system can cut floor cleaning time in half.
Clean Your Mats Regularly
Doormats only work if they're clean. Vacuum them weekly and shake them out outdoors. For deeper cleaning, hose them down or toss machine-washable mats in the laundry.
A dirty mat just spreads dirt back onto your floors.
7. Deep Clean Carpets with a Steam Cleaner Quarterly
Carpets trap dirt, dust, and allergens deep in their fibers. A weekly vacuum only skims the surface. To truly refresh your carpets and extend their life, a quarterly steam clean is a game-changer.
Renting or owning a steam cleaner lets you remove embedded grime that vacuums miss. Hot water extraction loosens dirt and kills dust mites, leaving carpets looking and smelling fresh. It's an investment that pays off in healthier indoor air and longer-lasting floors.
Why Quarterly Matters
Waiting too long between deep cleans allows dirt to grind fibers down. Quarterly intervals prevent buildup without over-wetting, which can lead to mold. Mark your calendar and stick to it.
Rent Vs. Own
If you have mostly carpet, buying a mid-range steam cleaner pays for itself in a year. For smaller areas, renting from a grocery store or hardware store is cost-effective. Either way, use a quality cleaning solution designed for your carpet type.
Pro Tips For Best Results
Vacuum thoroughly before steaming to remove loose dirt. Pretreat stains with a spot cleaner. Go slowly—one pass forward, one back—to extract as much water as possible.
Open windows to speed drying, and avoid walking on the carpet until it's fully dry.
8. Buff Hardwood Floors with a Dry Cloth After Mopping
A quick buff after mopping does more than just make your floors shine. It removes water spots and excess moisture that can seep into the wood grain over time. This simple step takes less than a minute but makes a big difference in the look and longevity of your hardwood.
Buffing is easy. Grab a clean, dry microfiber cloth or a dry mop head and go over the floor in the same direction as the wood grain. You'll pick up any leftover water and buff the surface to a soft luster.
It also helps prevent streaks and residue from your cleaning solution. Make it a habit after every damp mop, and your floors will stay beautiful for years.
Why Buffing Matters
Hardwood is porous. When water sits on the surface, it can cause the wood to swell, warp, or develop a cloudy finish. Buffing with a dry cloth pulls up that moisture before it has a chance to soak in.
It also polishes the finish, giving your floors that just-waxed look without any extra product.
Best Tools For The Job
Microfiber cloths are your best bet. They're super absorbent and won't scratch the finish. You can also use a dry microfiber mop head that attaches to your existing mop.
Avoid terry cloth or old towels—they can leave lint behind. For large areas, a dry dust mop with a microfiber pad works great.
When To Buff
Buff right after mopping, while the floor is still slightly damp but not wet. Work in sections so you don't miss any spots. If you notice water pooling, blot it up first with a towel before buffing.
For best results, buff in the direction of the wood grain to avoid swirl marks.
9. Use Furniture Pads to Prevent Scratches
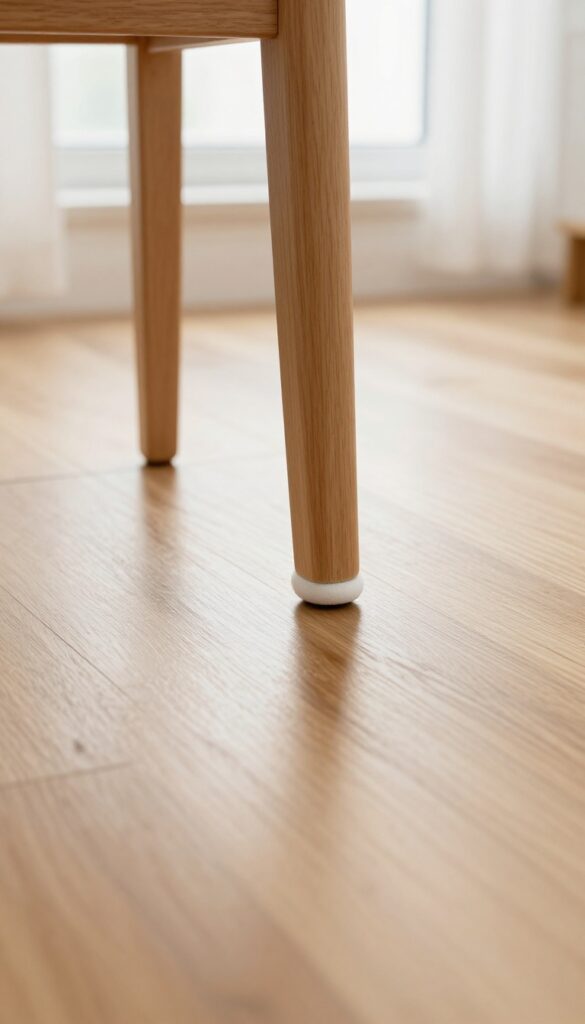
Furniture movement is a major source of floor scratches and scuffs. Every time you push a chair back or slide a table, you risk damaging the surface. Felt pads offer a simple, low-cost solution that protects your floors while making furniture easier to move.
Attach felt pads under chair and table legs. They glide smoothly and protect floors from scratches during movement. This small step saves you from costly refinishing or replacement down the line.
Choose The Right Pad For Your Floor
Not all pads are created equal. For hard floors like hardwood, tile, or laminate, use self-adhesive felt pads. Avoid rubber or plastic pads that can leave marks or trap grit.
For carpets, use larger, flat pads that won't sink into the fibers.
Apply Them Correctly
Clean the furniture leg thoroughly before sticking the pad. Make sure the surface is dry and free of dust. Press firmly and let the adhesive set for at least 24 hours before moving the furniture.
Replace pads when they become worn or dirty.
Check And Maintain Regularly
Over time, pads can collect debris that scratches floors instead of protecting them. Inspect pads every few months and wipe them clean with a damp cloth. Replace any that are torn or losing stickiness.
10. Clean Grout with a Baking Soda Paste
Grout lines can be the bane of a clean-looking floor. They collect dirt and stains faster than the tiles themselves, and standard mopping often misses them. But you don't need harsh chemicals to get them white again.
A simple paste of baking soda and water does the job naturally and affordably.
Mix three parts baking soda with one part water to form a thick paste. Apply it onto the grout lines with an old toothbrush or a small grout brush. Let it sit for about 5 minutes to break down the grime.
Scrub vigorously along the lines, then rinse with water and wipe dry. For stubborn stains, add a splash of white vinegar to the paste—the fizzing action helps lift dirt. This method is safe for all tile types and won't damage the grout.
Why Baking Soda Works
Baking soda is a mild abrasive that scrubs away stains without scratching tile. Its alkaline nature helps dissolve acidic dirt and soap scum. Combined with water, it forms a paste that clings to vertical grout lines, giving it time to work.
Step-by-step Application
Start by sweeping or vacuuming the floor to remove loose debris. Mix the paste, then apply it using a brush or your finger (wear gloves). Scrub in circular motions, focusing on discolored areas.
Rinse with a damp cloth or sponge, and repeat if needed. Avoid letting the paste dry on the tile.
Preventing Future Grime
After cleaning, seal the grout with a penetrating sealer. This creates a barrier that repels moisture and dirt, making future cleanings easier. Reapply sealer every 6-12 months, depending on foot traffic.
11. Sweep Before Mopping Every Time
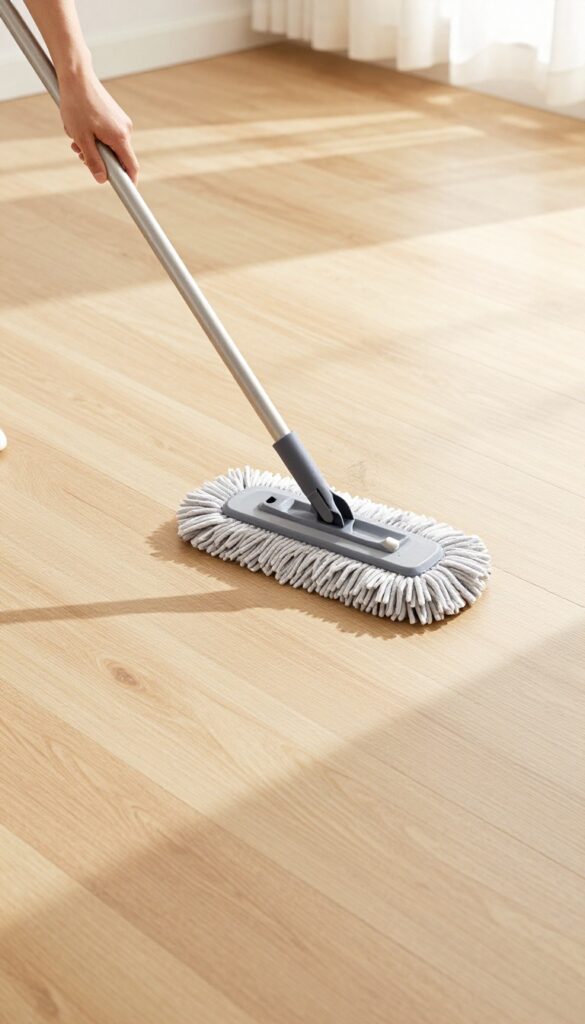
Skipping the sweep might feel like a time-saver, but it actually makes mopping harder. Loose dirt, crumbs, and pet hair turn into a muddy mess when they meet your mop water. Taking two minutes to sweep first keeps your mop water cleaner and your floors streak-free.
Why It Matters
Mopping over debris grinds dirt into the floor surface, causing scratches and dulling the finish. Wet dirt also turns into a paste that spreads around instead of being lifted away. A quick sweep removes the bulk of the mess so your mop can focus on sanitizing and shining.
The Right Tool For The Job
Use a microfiber dust mop or a soft-bristle broom for best results. Microfiber attracts and holds dust rather than pushing it around. For hard floors, a dry Swiffer or electrostatic mop works great as a quick pre-mop pass.
How To Sweep Efficiently
Work from the farthest corner of the room toward the door so you don't walk over clean areas. Use a dustpan with a rubber lip to scoop up every bit. If you have pets, sweep under furniture and along baseboards where hair collects.
When To Skip Sweeping
If you're using a vacuum that doubles as a dry mop (like a robot vac or a stick vac with a hard floor setting), you can skip the broom. Just make sure the vacuum is set to hard floor mode to avoid scattering debris.
12. Use a Squeegee on Tile Floors
Tile floors look great when they're clean, but they can be a pain to dry without streaks. That's where a simple squeegee comes in. It's a tool you probably already have for windows, and it works wonders on tile after mopping.
After you finish mopping your tile floors, grab a squeegee and run it across the surface in long, overlapping strokes. This pulls off excess water that would otherwise evaporate into cloudy residue. It also speeds up drying time significantly, so you can walk on the floors sooner without leaving footprints.
Why It Works So Well
Tile and grout are porous, so standing water can seep in and leave mineral deposits or cause discoloration over time. A squeegee removes that water before it has a chance to settle. Plus, the rubber blade glides smoothly over the surface, pushing dirt and soap residue toward your next wipe or drain.
Best Technique For Streak-free Results
Start at the far corner of the room and pull the squeegee toward you in straight lines. Overlap each pass by about an inch to avoid missing spots. Wipe the blade clean with a cloth after every few pulls to prevent redepositing grime.
For large areas, use a floor squeegee with a long handle to save your back.
When To Skip The Squeegee
Avoid using a squeegee on textured or unglazed tile, as the blade can snag or leave scratches. Also, skip it if your tile is very delicate or antique. Stick to a microfiber mop for those surfaces instead.
For most modern ceramic, porcelain, or stone tile, though, a squeegee is a game-changer.
13. Rotate Your Vacuum Brush Roll Regularly
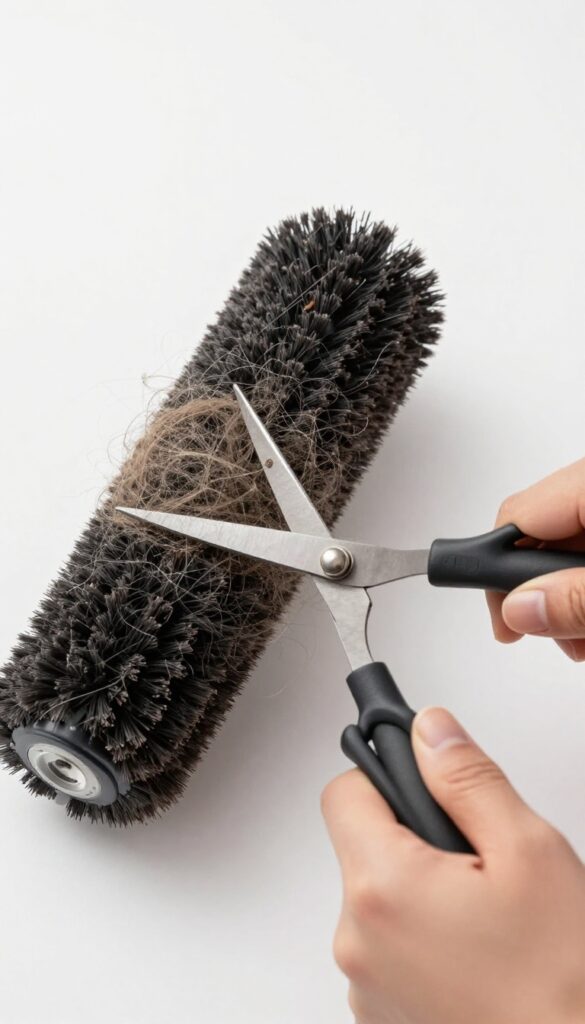
Your vacuum's brush roll takes a beating every time you clean. Over time, hair, string, and debris wrap around it, slowing it down and reducing suction. That worn bristle contact also means less dirt lifted from carpet fibers.
Most people forget the brush roll until the vacuum starts making weird noises or leaving debris behind. A quick check every month can save you from buying a new vacuum too soon. Simply remove the brush roll, cut away tangled hair, and wipe it clean.
If the bristles look flattened or broken, it's time for a replacement.
Why Brush Roll Health Matters
A clean, well-maintained brush roll keeps your vacuum's suction strong and agitation effective. When bristles are worn, they can't reach deep into carpet to loosen dirt. This means you'll need multiple passes to get the same result, wasting time and energy.
How Often To Replace Or Rotate
Check your brush roll every three months for signs of wear. If you have pets or long hair, inspect it monthly. Rotating the brush roll end-for-end (if it's symmetrical) can extend its life by distributing wear evenly.
Replace it as soon as bristles are noticeably shorter or missing.
Quick Cleaning Steps
Unplug the vacuum and remove the brush roll cover. Lift out the roll and use scissors to cut away hair and threads. Wipe the roll with a damp cloth and let it dry completely before reinstalling.
While you're at it, check the belt for cracks or looseness.
14. Apply a Protective Sealant to Natural Stone
Natural stone floors like marble, granite, or travertine bring elegance to your home, but they're also porous and vulnerable. Without protection, spills can seep in and cause stubborn stains or etching. That's where a good sealant becomes your best friend.
Sealing your stone floors annually creates an invisible barrier that repels liquids and dirt. This simple step makes daily cleaning much easier—you can just wipe up spills without worrying about permanent damage. Plus, sealed stone is less slippery when wet, making it safer for everyone in the house.
Choose The Right Sealant
Not all sealants are created equal. For most natural stone, look for a penetrating sealer that soaks into the pores rather than sitting on top. Avoid film-forming sealers that can peel or discolor over time.
Check the label to ensure it's suitable for your specific stone type.
How To Apply It Right
Clean the floor thoroughly and let it dry completely before sealing. Apply the sealant evenly with a clean cloth or sponge, working in small sections. Wipe off any excess before it dries to avoid a hazy residue.
Let it cure according to the manufacturer's instructions—usually 24 hours—before walking on it or mopping.
Know When To Reapply
A simple water test tells you if it's time to reseal. Sprinkle a few drops of water on the stone; if they bead up, the seal is still good. If they soak in quickly, it's time for a fresh coat.
In high-traffic areas, you might need to reseal every six months instead of annually.
15. Use a Robot Vacuum for Maintenance Cleaning
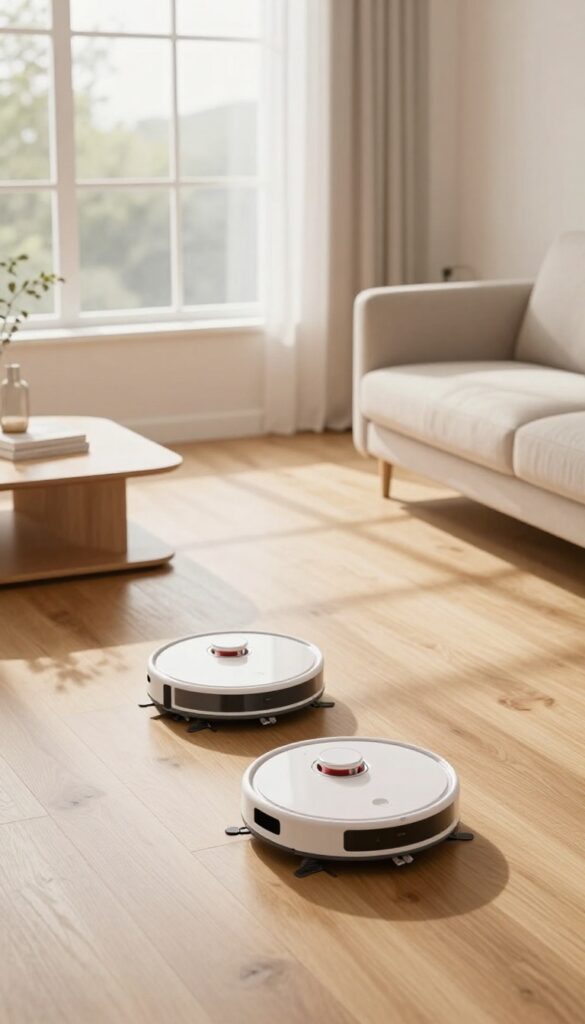
Let your robot vacuum handle the daily grind. These little machines are perfect for picking up dust, pet hair, and crumbs from high-traffic areas. Set them to run while you're at work or asleep, and you'll come home to noticeably cleaner floors.
A robot vacuum isn't a replacement for your regular deep cleaning, but it's a game-changer for maintenance. By running daily, it prevents dirt from building up and grinding into your floors. This means less scrubbing and fewer passes with your main vacuum or mop.
Schedule Strategically
Program your robot to clean during times when you're not home or when rooms are unoccupied. Focus on main living areas, kitchens, and hallways. Avoid scheduling it when you're trying to relax—the noise can be annoying.
Prep The Area
Clear small objects like toys, cords, and loose rugs from the floor. Robot vacuums can get tangled or stuck, which wastes battery and time. A quick 30-second tidy-up before it runs ensures a smooth cleaning cycle.
Empty The Bin Regularly
Check and empty the dustbin after every few runs. A full bin reduces suction power and can lead to clogs. Most models have a small bin, so staying on top of this keeps performance consistent.
16. Dry Mop Laminate Floors Instead of Wet Mopping
Laminate flooring looks like wood but behaves nothing like it. Water is its worst enemy, seeping into seams and causing the core to swell and warp. That's why a wet mop is the fastest way to ruin your floors.
The key to cleaning laminate is using as little moisture as possible. A dry microfiber mop picks up dust and debris without any liquid at all. For sticky spots or light grime, lightly mist the mop head with a laminate-safe cleaner or a mixture of water and vinegar (one part vinegar to four parts water).
Wring it out until it's just damp—no dripping. Then mop in the direction of the planks to avoid pushing dirt into the gaps. Dry the floor immediately with a clean, dry microfiber cloth if you notice any standing moisture.
Choose The Right Mop
A flat microfiber mop with a spray bottle built in gives you control over how much liquid hits the floor. Avoid string mops and sponge mops—they hold too much water and leave puddles. A microfiber pad is gentle on the surface and traps dirt effectively.
Avoid Common Cleaners
Stay away from wax, oil soaps, bleach, or ammonia-based products. They can dull the finish or leave a filmy residue that attracts more dirt. Stick to products labeled specifically for laminate or a simple vinegar solution.
Spot Clean Spills Immediately
Laminate absorbs moisture fast. Wipe up spills as soon as they happen with a dry or slightly damp cloth. Letting liquid sit for even a few minutes can cause swelling that's permanent.
17. Create a Weekly Floor Cleaning Schedule
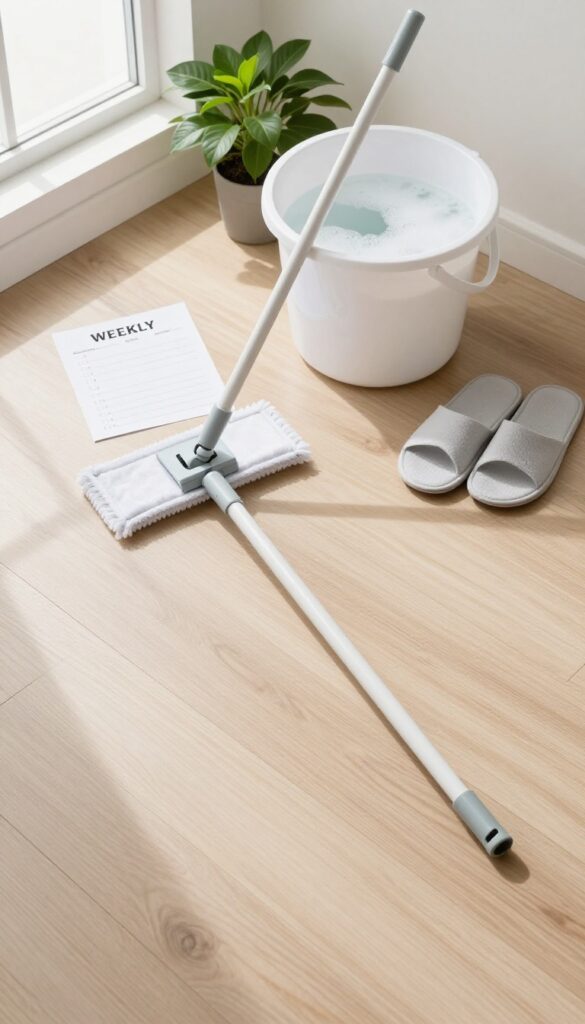
A consistent routine is the secret to floors that always look good without last-minute panic. Instead of cleaning everything at once, spread tasks across the week so nothing gets overwhelming. You'll spend less time overall and never let dirt build up.
A weekly schedule turns floor care from a dreaded chore into a manageable habit. By assigning specific tasks to specific days, you prevent grime from accumulating and reduce the need for deep cleans. It also helps you remember to tackle often-overlooked areas like under furniture or along baseboards.
Divide And Conquer
Break your floor cleaning into daily, every-other-day, and weekly tasks. For example, Monday could be vacuuming high-traffic areas, Wednesday mopping the kitchen and bathrooms, and Friday dusting under furniture. This way, no single day feels heavy, and every surface gets attention regularly.
Match Tasks To Your Flooring
Different floors need different frequencies. Hardwood might only need a dry mop twice a week and a damp mop once a week, while tile in the bathroom may need a quick wipe daily. Adjust your schedule based on foot traffic and the specific care requirements of each floor type.
Use Reminders To Stay On Track
Set phone alarms or calendar alerts for each task. After a couple of weeks, the routine becomes automatic. You'll stop asking yourself, 'When did I last mop? ' and start enjoying consistently clean floors with less effort.
FAQ
How often should I mop my floors?
It depends on traffic. High-traffic areas like kitchens and entryways benefit from mopping twice a week. Low-traffic rooms can go once a week or every two weeks.
Can I use vinegar on hardwood floors?
Vinegar is too acidic for most hardwood finishes and can dull the surface over time. Stick to a cleaner specifically designed for hardwood.
What's the best way to remove pet stains from carpet?
Blot the stain immediately, then apply an enzymatic cleaner that breaks down proteins. Avoid scrubbing, which can push the stain deeper.
How do I prevent streaks on tile floors?
Use a microfiber mop and a cleaning solution with low residue. Rinse the mop frequently and change water often to avoid spreading dirt.
Is steam cleaning safe for all floor types?
No. Steam can damage hardwood, laminate, and some vinyl floors. It's best for ceramic tile, stone, and sealed concrete.
Always check manufacturer guidelines.
Conclusion
You don't need to spend hours scrubbing floors to keep them spotless. These 17 tips help you clean faster and smarter, so you can move on to other tasks. Start with the high-traffic areas and work your way through the list.
Your floors will look great without taking over your whole day. Pick a few strategies to try this week and see how much time you save.