23 Floor Cleaning Hacks for Streaks, Dust, and Grime
You just mopped, but somehow the floor looks worse than before—streaks everywhere, dust bunnies clinging to corners, and a dull film that won't go away. It's frustrating, especially when you're short on time.
The good news is you don't need expensive products or fancy equipment to get truly clean floors. These 23 hacks use common household items and simple techniques to banish streaks, dust, and grime for good.
Whether you have tile, hardwood, laminate, or vinyl, there's a tip here that will make your next mopping session faster and more effective.
1. Use a Squeegee for Pet Hair on Hard Floors
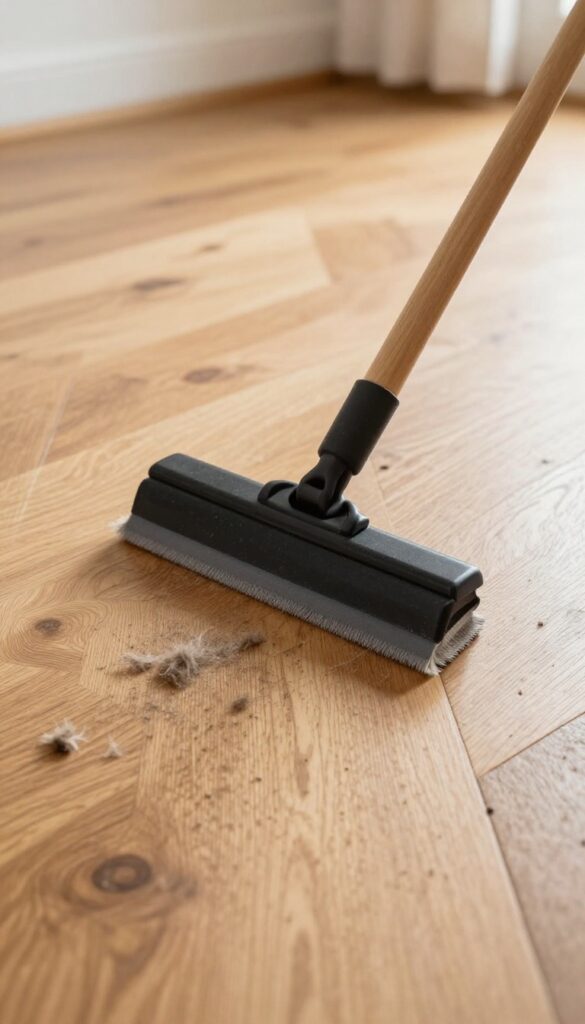
Pet hair on hard floors can feel like a never-ending battle. Brooms just push it around, and vacuuming takes forever. A rubber squeegee—the same one you use on windows—is a game-changer for picking up hair and dust in seconds.
The rubber edge creates static that attracts hair, making it clump together so you can sweep it into a dustpan easily. It works on tile, hardwood, laminate, and vinyl without scratching. Keep a squeegee in your cleaning caddy for quick touch-ups between deep cleans.
Why A Squeegee Beats A Broom
Brooms often miss fine pet hair and stir up dust. A squeegee's rubber blade glides over the floor, trapping hair and dust against the surface. You'll see it gather into neat little piles—no more chasing stray hairs around the room.
Best Technique For Best Results
Start at one end of the room and pull the squeegee toward you in long, straight strokes. Overlap each pass slightly. For corners, use a smaller hand squeegee or a rubber brush.
Work in one direction to keep the hair clumped.
Squeegee Care And Storage
Rinse the rubber blade after each use to remove trapped hair and dust. Let it air dry. Store it hanging or flat to prevent the rubber from warping.
A well-maintained squeegee lasts for months and stays effective.
2. Vinegar and Water for Streak-Free Tile
Tile floors can be tricky—they show every streak and smudge. The solution is simpler than you think: a classic vinegar and water mix. This old-school combo cuts through grease and grime without leaving behind that annoying film.
Plus, it dries fast and clear, so your tiles look like they just got a professional clean.
To make this hack work, you need the right ratio and a few simple steps. Here's how to get streak-free tile every time.
Get The Ratio Right
Mix equal parts white vinegar and warm water in a bucket. Warm water helps the vinegar work faster, but avoid hot water—it can cause the vinegar to evaporate too quickly, leaving residue. For a standard mop bucket, that's about 1 cup of vinegar per gallon of water.
Use A Microfiber Mop
A microfiber mop is your best friend here. It picks up dirt and solution evenly, unlike cotton mops that can leave puddles and streaks. Dip the mop, wring it out well so it's damp, not dripping, and mop in long, overlapping strokes.
Rinse the mop head frequently to avoid spreading dirty water around.
Let It Air Dry
Once you've mopped, let the floor air dry completely. Don't walk on it or buff it with a dry cloth—that can push the vinegar around and create streaks. Open a window or turn on a fan to speed up drying.
In about 15 minutes, you'll have a clean, streak-free floor.
Avoid On Natural Stone
Vinegar is acidic, so don't use it on unsealed natural stone like marble, travertine, or slate. It can etch the surface. Stick to a pH-neutral cleaner for those materials.
For ceramic, porcelain, or glazed tile, vinegar is perfectly safe and effective.
3. Microfiber Mop Heads Only
Cotton mop heads might feel classic, but they're actually one of the biggest culprits behind streaky floors. They tend to just push dirty water around, leaving a thin film of grime behind. Microfiber mop heads, on the other hand, are designed to trap dust and dirt deep in their fibers, not just spread it.
Plus, they rinse out much more easily, so you're not mopping with dirty water after the first pass.
Switching to microfiber is one of the simplest upgrades you can make for cleaner floors. Here’s how to get the most out of them.
Why Microfiber Works Better
Microfiber strands are split into tiny wedge-shaped fibers that create a static charge, attracting dust and dirt like a magnet. Cotton fibers are round and smooth, so they just glide over particles. That's why a microfiber mop picks up fine dust and even bacteria, while cotton leaves a residue.
For streak-free results, microfiber is the clear winner.
How To Use Microfiber Mop Heads
Always start with a dry or slightly damp mop—too much water defeats the purpose. Spray your cleaning solution onto the floor in front of you, then mop in a figure-eight pattern to trap debris. Rinse the mop head frequently under hot water, and wring it out well.
A wet microfiber mop head just spreads dirty water, so keep it damp, not soaking.
Caring For Microfiber Mop Heads
Wash microfiber mop heads separately from cotton towels or fabrics, because lint from other materials clogs the fibers. Use a mild detergent—no fabric softener or bleach, as they coat the fibers and reduce static cling. Air dry or tumble dry on low heat.
With proper care, a good microfiber mop head can last for dozens of cleaning sessions.
4. Dry Mop Before Wet Mopping
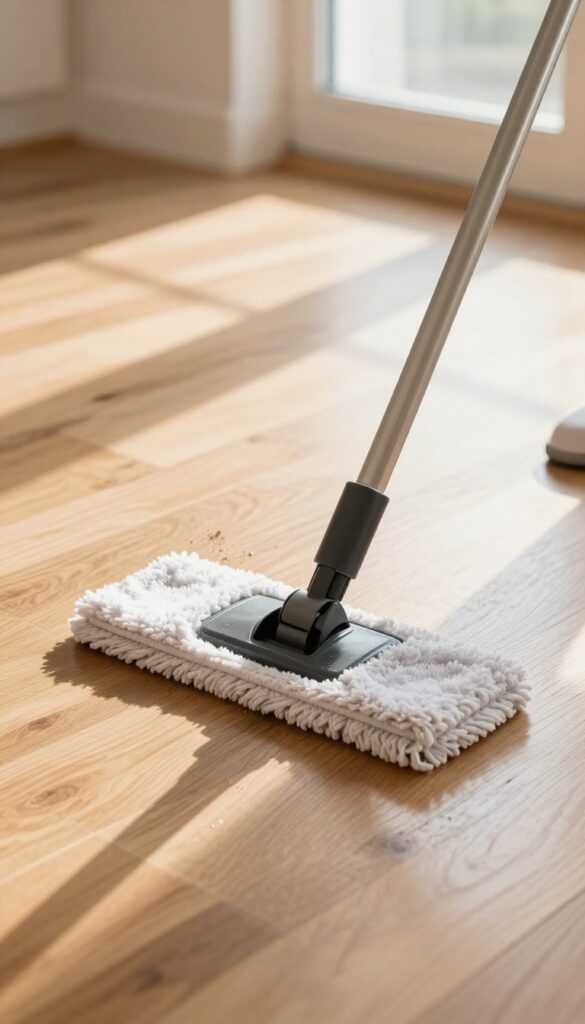
Skipping the dry step is one of the biggest mistakes people make when mopping. Loose dirt, hair, and crumbs don't just disappear when you wet mop—they get pushed around and turn into muddy streaks. A quick dry mop or sweep beforehand takes seconds and makes a huge difference.
Dry mopping removes the loose debris that would otherwise mix with your cleaning solution and create a grimy film. It's the simplest way to avoid those annoying streaks that appear as the floor dries. Plus, you'll save time because you won't need to go over the same spot twice.
Use A Microfiber Dry Mop
Microfiber cloths are electrostatic, meaning they attract dust and hair like a magnet. A dry microfiber mop picks up more debris than a traditional broom, especially on hard floors. Just glide it over the surface before you bring out the wet mop.
Don't Forget Corners And Edges
Debris loves to hide along baseboards and in corners. Use a dry mop attachment that can reach tight spots, or follow up with a handheld dust brush. Getting these areas clean first prevents dirt from being swept into the wet mop later.
Sweep In One Direction
For maximum efficiency, sweep or dry mop in straight lines from one side of the room to the other. This avoids scattering debris back onto already cleaned areas. It also helps you spot any missed patches before you start mopping.
5. Rubbing Alcohol for Shiny Laminate
Laminate floors look great when they're clean, but they're notorious for showing every streak and water spot. The culprit is often slow evaporation leaving residue behind. A simple splash of rubbing alcohol changes the game completely.
Why It Works
Rubbing alcohol evaporates much faster than water. When you add it to your cleaning solution, it helps the liquid dry before minerals or soap residue have a chance to settle. The result is a streak-free, glossy finish without extra buffing.
How To Use It
Mix one cup of rubbing alcohol with one gallon of warm water. Add a few drops of liquid dish soap if you need extra grease-cutting power. Mop as usual, but don't soak the floor—damp is better than wet.
The alcohol smell fades quickly once dry.
Pro Tips
Test on an inconspicuous spot first, especially if your laminate has a wax coating. Avoid using too much soap—it leaves a film. For extra shine, follow with a dry microfiber mop immediately after mopping.
6. Baby Oil for Hardwood Shine
Hardwood floors can lose their luster over time, especially in high-traffic areas. Before you reach for a commercial polish, check your baby oil. A tiny amount goes a long way to revive the wood's natural glow without leaving a greasy residue.
Why It Works
Baby oil is a mineral oil that absorbs into the wood's surface, filling tiny scratches and adding a subtle sheen. It also conditions the wood, preventing it from drying out and cracking. Unlike wax-based polishes, it won't build up over time.
How To Apply
Put 2-3 drops of baby oil on a clean, dry microfiber cloth. Wipe a small section of the floor in the direction of the grain. Buff gently until the oil is absorbed and the floor looks smooth.
Work in small areas to avoid making the floor slippery.
Important Cautions
Use baby oil sparingly—too much can attract dust and make floors slippery. Test on an inconspicuous spot first, especially if your floors have a matte finish. Avoid using on engineered wood with a thick wear layer; it's best for solid or traditional hardwood.
7. Baking Soda Paste for Grout Lines
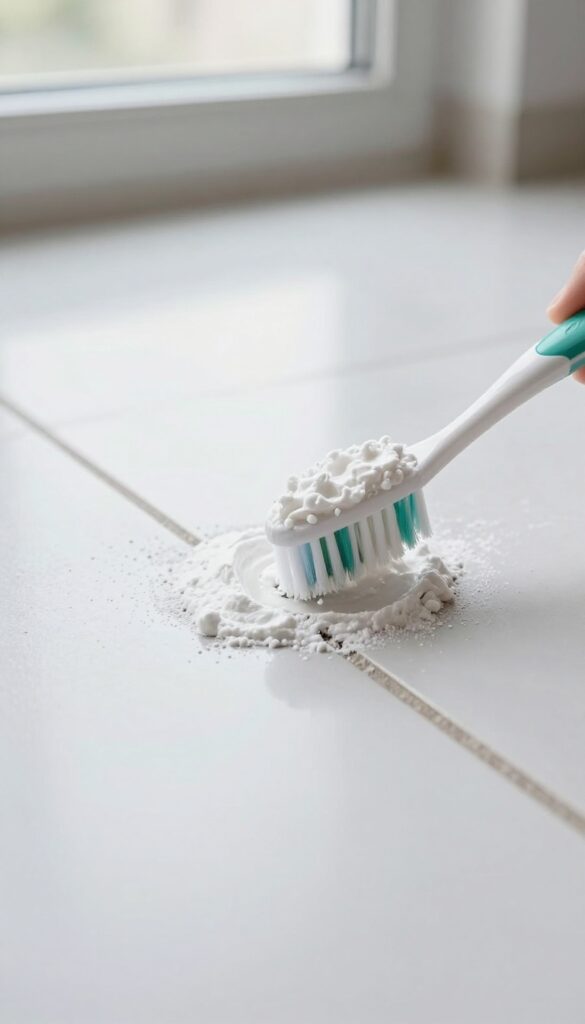
Grout lines are the unsung heroes of tile floors—they keep everything in place, but they also trap dirt, grease, and grime like nobody's business. Over time, that light-colored grout turns a sad shade of gray or brown, making your whole floor look dingy. A simple baking soda paste can bring it back to life without the harsh fumes of bleach or commercial grout cleaners.
Mix three parts baking soda with one part water to form a thick paste. Apply it directly to the grout lines using an old toothbrush or a grout brush, working it into the porous surface. Let it sit for 10–15 minutes so the baking soda can break down the grime.
Then scrub in small circular motions, focusing on the darkest spots. Rinse with a damp cloth or sponge, and wipe away any residue. For stubborn stains, add a splash of white vinegar to the paste—just be ready for some fizzing.
This method is gentle enough for regular use and costs pennies per application.
Why Baking Soda Works So Well
Baking soda is a mild abrasive, meaning it physically scrubs away dirt without scratching the tile or grout. It's also alkaline, which helps dissolve acidic grime like cooking grease or soap scum. Unlike bleach, it won't discolor colored grout or produce harmful fumes, making it safe for kitchens and bathrooms where ventilation might be limited.
Pro Tips For Best Results
For extra cleaning power, add a few drops of dish soap to the paste. This helps cut through oily residues. If your grout is really neglected, let the paste sit for 20 minutes and cover it with plastic wrap to keep it from drying out.
Always test a small hidden area first, especially if you have dark or painted grout. And remember: rinse thoroughly, as leftover baking soda can leave a white film when dry.
8. Dish Soap for Greasy Kitchen Floors
Kitchen floors take a beating—spilled oil, splattered sauce, and the inevitable greasy film that builds up near the stove. Regular all-purpose cleaners can struggle to cut through that layer of cooking residue, leaving floors sticky or dull. Dish soap is specifically designed to break down grease on dishes, and it works just as well on tile and vinyl flooring.
A few drops of liquid dish soap in warm water cuts through cooking grease on tile or vinyl floors. Rinse well to avoid residue.
Why Dish Soap Works So Well
Dish soap contains surfactants that lift grease and oil from surfaces, allowing them to be rinsed away. Unlike some floor cleaners that rely on harsh chemicals, dish soap is gentle enough for daily use on sealed floors. It also creates a bit of suds, which helps suspend dirt so you don't just push it around.
How To Use It Correctly
Fill a bucket with warm water and add just a few drops of dish soap—too much will leave a sticky film. Mop as usual, then go over the floor with a clean damp mop to remove any soap residue. For extra greasy spots, apply a drop of undiluted dish soap directly to a damp cloth and wipe.
When To Avoid This Hack
Skip dish soap on unsealed hardwood or laminate, as excess moisture can damage the finish. Also avoid using it on marble or natural stone, since the pH can etch the surface. Stick to tile, vinyl, or sealed concrete for best results.
9. Hydrogen Peroxide for Stubborn Stains
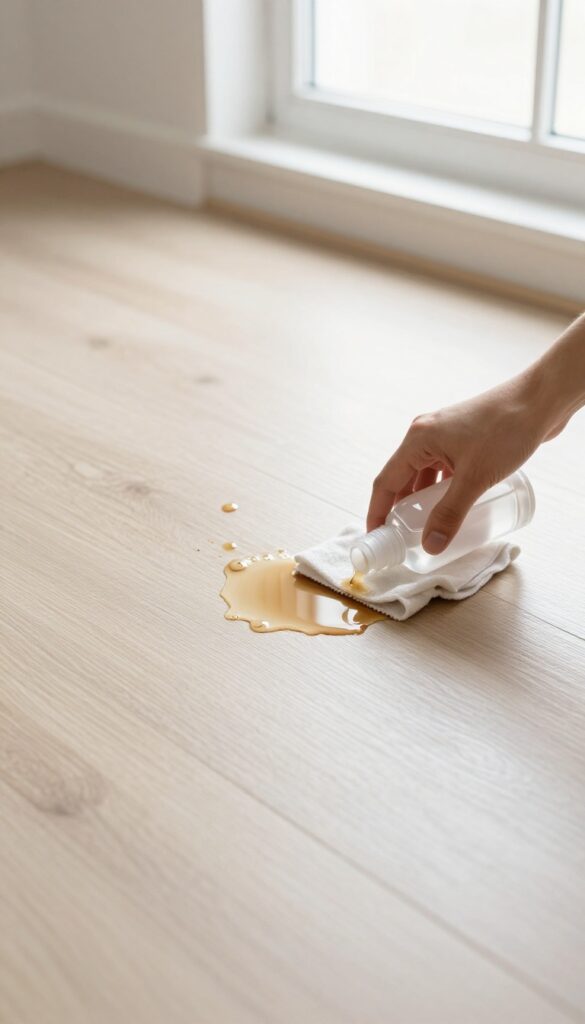
Some stains just won't budge with regular cleaners—think coffee drips on light tile or dark scuff marks on pale vinyl. Hydrogen peroxide is a gentle bleaching agent that can lift these stains without harsh scrubbing. It's especially effective on light-colored floors where the contrast makes stains more noticeable.
For best results, use 3% hydrogen peroxide straight from the bottle. Test it on an inconspicuous area first to make sure it doesn't lighten the floor color. Apply it directly to the stain, let it fizz and work for a few minutes, then wipe with a damp cloth.
Repeat if needed.
When To Use It
Hydrogen peroxide works wonders on organic stains like coffee, tea, wine, or pet accidents. It's also great for lightening dark scuff marks on white or cream floors. Avoid it on dark floors or unsealed wood, as it can cause discoloration.
How To Apply Safely
Pour a small amount directly onto the stain or soak a clean cloth and press it onto the area. Let it sit for 3–5 minutes—you'll see it bubble as it breaks down the stain. Wipe away with a damp cloth, then dry thoroughly.
For stubborn spots, gently scrub with a soft brush.
Safety Precautions
Always wear gloves to protect your skin. Keep the area well-ventilated. Never mix hydrogen peroxide with vinegar or bleach, as this creates toxic fumes.
Rinse the floor with water after use to remove any residue.
10. Dryer Sheets for Dust Attraction
Used dryer sheets are surprisingly effective for dust control. Their antistatic properties reduce the static charge that attracts dust to surfaces. Rubbing a sheet along baseboards and corners creates a temporary barrier that repels dust, keeping those areas cleaner longer.
How It Works
Dryer sheets contain fabric softeners and antistatic agents that neutralize static electricity. When you wipe a used sheet over baseboards, crown molding, or corners, it leaves a thin residue that reduces the attraction of airborne dust. This simple trick can cut down on dust buildup between cleanings.
Best Surfaces To Use
This hack works best on smooth, non-porous surfaces like painted baseboards, vinyl trim, and laminate edges. Avoid using dryer sheets on unfinished wood or porous surfaces, as the residue may cause discoloration. Test on an inconspicuous area first if you're unsure.
Tips For Best Results
Use a single used dryer sheet per room to avoid excessive residue. Wipe in one direction along the baseboard, then flip the sheet to a clean side for corners. For extra dust repelling power, lightly spray the sheet with water before wiping.
Replace the sheet when it becomes too linty or dry.
11. Cornstarch for Greasy Spots
Greasy spills on hard floors can be a nightmare to clean. They smear when you try to wipe them up and leave a sticky residue that attracts more dirt. Cornstarch is a simple, effective solution that works like a charm.
Cornstarch is a natural absorbent that soaks up grease without pushing it around. It's especially useful on tile, vinyl, and laminate floors where oil-based spills tend to spread quickly.
Why Cornstarch Works
Cornstarch has a fine, powdery texture that clings to grease molecules. When you sprinkle it on a fresh spill, it binds with the oil and forms a clumpy residue that's easy to sweep away. Unlike paper towels, it doesn't smear the grease deeper into the floor.
Step-by-step Application
First, blot up any excess grease with a paper towel. Then, generously sprinkle cornstarch over the remaining spot. Let it sit for 15 minutes—longer for heavy spills.
Finally, sweep or vacuum the cornstarch away. For stubborn residue, wipe with a damp cloth and mild dish soap.
Pro Tips For Best Results
Use cornstarch only on dry spills; if the grease is still liquid, it will absorb better. For large areas, use a shaker or sifter to distribute evenly. Avoid using cornstarch on unsealed wood or porous stone, as it can leave a white residue.
12. Tea Bags for Dark Wood Floors
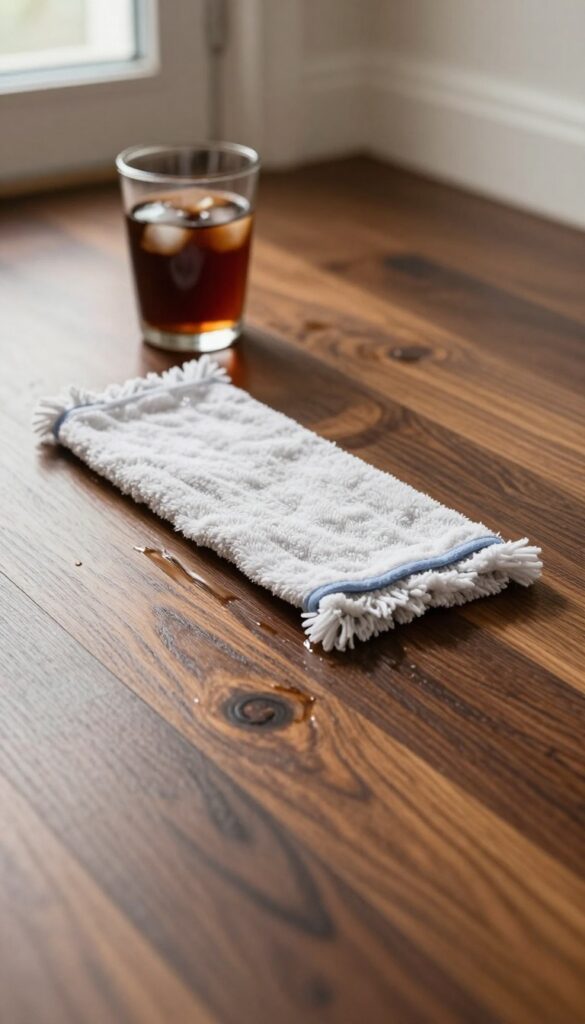
Dark hardwood floors can lose their luster over time, looking dull and tired. But before you run out for a specialty polish, check your pantry. Black tea bags contain tannins that naturally enhance the richness of dark wood, leaving a streak-free shine.
Steep two black tea bags in a quart of boiling water, let the liquid cool completely, then use it to mop your dark hardwood floors. The tannins in the tea add depth and a subtle shine without any harsh chemicals. This method works best on dark-stained or naturally dark woods like walnut or mahogany.
Why It Works
Tannins are natural compounds found in tea that react with the wood, enriching its color and adding a protective layer. Unlike commercial polishes, tea won't leave a sticky residue or build up over time. It's a gentle, chemical-free way to restore that just-polished look.
How To Apply
After brewing and cooling the tea, pour it into a spray bottle or use a damp mop. Lightly mist the floor or mop in sections, avoiding puddles. Let it air dry—no rinsing needed.
For best results, use this method once a month or as needed.
Pro Tips
Always test on an inconspicuous area first, especially if your floor has a wax finish. Use only black tea—green or herbal teas won't have the same effect. And make sure the tea is completely cool to avoid damaging the wood.
13. Club Soda for Carpet Stains
Carpet stains can feel permanent, especially when they set into the fibers. But before you reach for a harsh chemical spray, try club soda—it's surprisingly effective on fresh spills. The carbonation helps lift dirt and liquid from deep within the carpet, while the minerals in the soda break down the stain without bleaching or damaging the fibers.
It's a gentle, low-cost hack that works on everything from red wine to pet accidents.
Club soda works best on fresh stains—the sooner you treat it, the better the results. Start by blotting the stain with a dry paper towel to remove as much liquid as possible. Then pour a small amount of club soda directly onto the stain—enough to saturate it but not soak the carpet pad.
Let it fizz for a few seconds, then blot again with a clean, dry cloth. Repeat the process until the stain lifts. For stubborn stains, you can add a drop of dish soap to the club soda before applying.
Always test on an inconspicuous area first, especially on delicate or natural fiber carpets.
Why Club Soda Works
The carbonation in club soda creates tiny bubbles that help dislodge dirt and stain particles from carpet fibers. The sodium and potassium salts in the soda also help break down the chemical bonds of the stain, making it easier to blot away. Unlike many commercial stain removers, club soda is non-toxic and safe for pets and kids.
Step-by-step Stain Removal
Blot the stain immediately with a dry cloth. Pour club soda over the stain, covering it completely. Let it sit for 30 seconds while it fizzes.
Blot with a fresh cloth, pressing firmly to absorb the liquid. Repeat until the stain is gone. For dried stains, first moisten the area with club soda and let it sit for 5 minutes before blotting.
When To Avoid Club Soda
Club soda is not recommended for wool or silk carpets, as the minerals can cause discoloration. It also won't work well on oil-based stains like grease or makeup—those require a degreasing agent. Always test in a hidden spot before using on visible areas.
14. Vacuum Sealer for Mattress Dust Mites
When you think about floor cleaning, the last thing that comes to mind is a vacuum sealer. But this kitchen gadget can be a game-changer for storing area rugs and carpets you're not currently using. By removing all the air, you create a tight seal that keeps dust mites, allergens, and even moths from settling into the fibers.
It's a simple way to protect your rugs during off-seasons or while you rotate them out.
Vacuum sealing isn't just for food. It works wonders for preserving the cleanliness of your floor coverings. Here’s how to use it effectively and why it’s worth the effort.
Why Vacuum Seal Your Rugs?
Dust mites thrive in warm, humid environments. By vacuum sealing a rug, you remove the air they need to survive. This also prevents dust and dirt from settling into the fibers over time.
If you have seasonal rugs or ones you swap between rooms, sealing them keeps them fresh and ready to use without a deep clean.
How To Vacuum Seal A Rug
First, make sure the rug is completely clean and dry. Any moisture can lead to mold inside the sealed bag. Roll the rug tightly and place it inside a large vacuum sealer bag.
Use your vacuum sealer to remove the air and seal the bag. For larger rugs, you might need multiple bags or a commercial-grade sealer. Store the sealed rug in a cool, dry place away from direct sunlight.
Alternative Uses For Vacuum Sealed Floor Items
Beyond rugs, you can vacuum seal carpet remnants, doormats, or even small floor cushions. This method is also great for storing wool or silk rugs that are prone to pest damage. Just remember to include a moisture-absorbing packet inside the bag for extra protection.
15. Lemon Juice for Linoleum Brightness
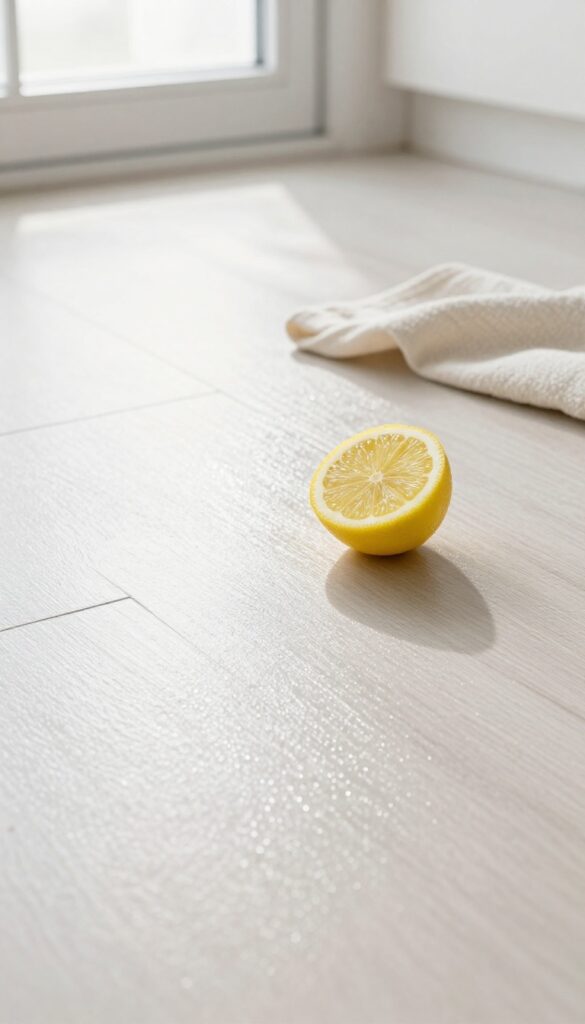
Linoleum floors can get dull fast, especially in high-traffic kitchens. Instead of reaching for harsh chemicals, try a simple lemon juice solution. The natural acidity cuts through grease and grime while leaving behind a fresh, clean scent.
Why Lemon Works
Lemon juice contains citric acid, which breaks down soap scum, grease, and mineral deposits that make linoleum look cloudy. It's gentle enough for daily use but strong enough to tackle week-old spills. Plus, it's a natural deodorizer, so your kitchen smells like citrus, not chemicals.
How To Mix And Mop
Fill a bucket with warm water and add the juice of two lemons (or 1/4 cup of bottled lemon juice). Dip your mop, wring it well, and clean the floor as usual. Avoid soaking the linoleum—excess water can seep into seams and cause damage.
Let the floor air dry for a streak-free shine.
Extra Tips For Best Results
For tough spots, pour a little straight lemon juice onto a cloth and rub gently. Always test on a hidden area first, especially if your linoleum is older or waxed. And never mix lemon juice with bleach or ammonia—it can create harmful fumes.
16. Salt for Red Wine Spills on Carpet
Red wine on a light carpet is one of those heart-stopping moments. But before you panic, grab the salt from your kitchen. This common pantry staple works like a charm to lift the stain without harsh chemicals.
Blot the spill immediately with a clean cloth to remove as much liquid as possible. Then pour a generous amount of salt directly onto the wet area—enough to cover it completely. Let the salt sit for about 10 minutes to absorb the wine.
Vacuum up the salt, and if any stain remains, repeat the process. This method works best on fresh spills, so act fast.
Why Salt Works So Well
Salt is highly absorbent and draws moisture out of carpet fibers. It pulls the wine molecules away from the fabric before they can set, making the stain much easier to remove. Plus, it's gentle and won't damage your carpet.
Tips For Best Results
Use plain table salt—avoid iodized or fancy sea salts, as they may not absorb as effectively. Blot, don't rub, because rubbing spreads the stain. If the spill is large, work in sections and use fresh salt each time.
What If The Stain Has Dried?
For older stains, mix salt with a little water to form a paste. Apply it to the stain and let it dry completely, then vacuum. You can also try a mix of salt and baking soda for extra lifting power.
17. Olive Oil for Scratched Hardwood
Scratches on hardwood floors can make an otherwise beautiful room look worn and tired. Before you call a refinisher, try this simple trick using two kitchen staples: olive oil and vinegar.
The combination works because olive oil seeps into the wood grain, nourishing and darkening the scratch so it blends with the surrounding finish. Vinegar helps clean the area and lightly etches the surface so the oil absorbs better. Together, they minimize the appearance of light to moderate scratches without any harsh chemicals.
What You'll Need
You only need three things: a small bowl, white vinegar, and olive oil. That's it. No special tools or expensive polishes required.
How To Apply
Mix equal parts olive oil and vinegar—about a tablespoon each is plenty. Dip a soft, lint-free cloth into the mixture, wring it out slightly, and gently rub it into the scratch following the wood grain. Let it sit for a minute, then buff the area with a dry part of the cloth.
Repeat if needed.
Tips For Best Results
Test on an inconspicuous spot first to make sure the oil doesn't darken the wood too much. Avoid using too much liquid—damp, not wet. This hack works best on raw or oil-finished wood; for polyurethane finishes, it may only provide a temporary cosmetic fix.
18. Steam Mop for Sanitizing
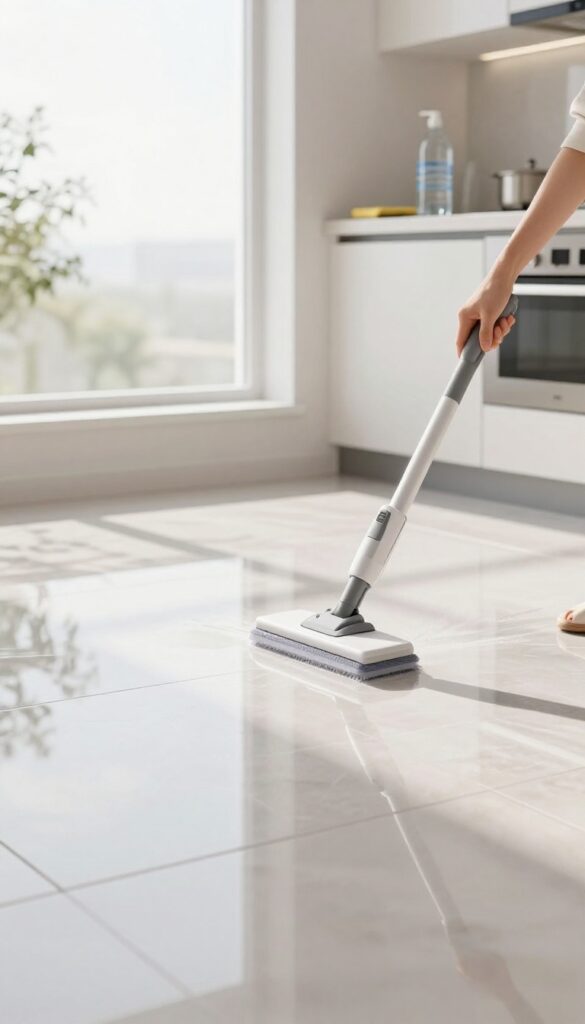
If you want to kill germs without harsh chemicals, a steam mop is your best friend. It uses only water, heated to a high temperature, to loosen dirt and destroy bacteria on sealed hard floors. No rinsing, no residue—just a clean, dry surface in minutes.
Steam mops are ideal for tile, vinyl, laminate, and sealed hardwood. They work by heating water to around 212°F, which is hot enough to kill most common household germs and loosen stuck-on grime. The microfiber pad traps dirt, and the steam evaporates quickly, so floors dry fast.
Always check your floor manufacturer's guidelines first—some unsealed floors can be damaged by moisture. Use distilled water to prevent mineral buildup, and wash pads after each use to avoid spreading dirt.
Best Floors For Steam Mopping
Steam mops work best on ceramic tile, vinyl, laminate, and engineered hardwood with a strong seal. Avoid using them on unsealed hardwood, bamboo, or cork, as moisture can seep in and cause warping. If you're unsure, test a small hidden area first.
Tips For Effective Steam Mopping
Sweep or vacuum first to remove loose debris. Fill the tank with distilled water to prevent mineral deposits. Glide the mop slowly over the floor—fast passes won't give the steam enough time to work.
For tough spots, let the steam sit for a few seconds before wiping.
Maintenance And Safety
Empty the water tank after each use to avoid bacteria growth. Wash the microfiber pads in hot water and let them air dry. Never use cleaning solutions unless your mop specifically allows it—they can damage the machine or leave residue.
Keep kids and pets away until the floor is completely dry.
19. Toothpaste for Scuff Marks
Scuff marks from shoes or furniture can make a clean floor look messy. Before reaching for harsh chemicals, check your bathroom cabinet. White toothpaste works surprisingly well on vinyl and tile floors.
Toothpaste contains mild abrasives that can buff away scuff marks without damaging the floor finish. Squeeze a small dab of white (not gel) toothpaste directly onto the mark. Rub gently with a damp microfiber cloth in a circular motion.
The scuff should lift off within seconds. Wipe the area with a clean damp cloth to remove any residue. This trick is safe for most sealed hard surfaces, but test on an inconspicuous spot first.
Why Toothpaste Works
The mild abrasives in toothpaste act like a fine polishing compound. They gently wear away the top layer of the scuff without scratching the floor underneath. Non-gel white toothpaste is best because it lacks coloring that could stain.
Best Floor Types For This Hack
Vinyl, linoleum, ceramic tile, and sealed laminate respond well to toothpaste. Avoid using it on unsealed wood or natural stone, as the abrasives can dull the surface. Always spot test in a hidden corner.
Step-by-step Instructions
- Squeeze a pea-sized amount of white toothpaste onto the scuff mark. 2.
Use a damp microfiber cloth to rub the toothpaste into the mark in small circles. 3. Continue rubbing until the scuff disappears.
- Wipe the area with a clean, damp cloth to remove toothpaste residue. 5.
Dry with a soft towel.
20. Rubbing Alcohol for Ink Stains
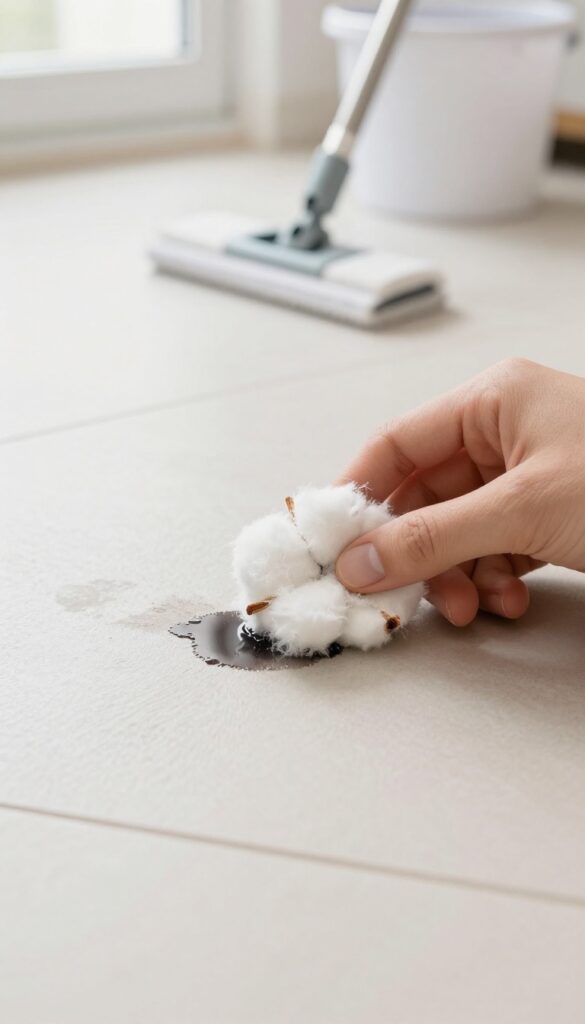
Ink stains on hard floors can feel permanent, especially when a pen explodes or a marker rolls off the desk. But rubbing alcohol, a common household item, can dissolve ink on tile, vinyl, laminate, and sealed hardwood. The key is acting quickly and using the right technique to avoid spreading the stain.
To remove ink from hard floors, start by blotting up any excess ink with a clean cloth. Then, dampen a cotton ball or soft cloth with rubbing alcohol (isopropyl alcohol, 70% or higher). Gently dab the stain—don't rub, which can push the ink deeper.
The alcohol breaks down the ink, allowing it to transfer to the cotton. Replace the cotton as it picks up color. Once the stain is gone, rinse the area with a damp cloth and dry thoroughly.
This method works on most sealed hard surfaces, but test in an inconspicuous spot first.
Why Rubbing Alcohol Works
Ink is typically alcohol-based or contains solvents that dissolve in alcohol. Rubbing alcohol acts as a solvent, breaking the bond between the ink and the floor's surface. It evaporates quickly, so it won't damage sealed floors when used sparingly.
Step-by-step Application
- Blot fresh ink spills immediately with a paper towel. 2.
Dip a cotton ball in rubbing alcohol and squeeze out excess. 3. Dab the stain from the outside in to prevent spreading.
- Replace cotton as it becomes dirty. 5.
Once the stain lifts, wipe the area with a damp cloth and dry.
Safety Tips For Different Floor Types
On unsealed hardwood or porous stone, alcohol can cause damage. Always test in a hidden spot first. For laminate or vinyl, alcohol is generally safe, but avoid prolonged contact.
Never use on waxed floors—alcohol will strip the wax. If unsure, consult your floor's manufacturer guidelines.
21. Cat Litter for Oil Stains on Garage Floors
Garage floors take a beating—oil drips from the car, lawn equipment leaks, and before you know it, there's a dark stain that seems permanent. But you don't need harsh chemicals or a pressure washer. Plain cat litter can absorb fresh oil spills and lift old stains with a little elbow grease.
Cat litter is a surprisingly effective absorbent for oil stains because it's designed to soak up moisture. The clay or silica granules pull the oil out of the concrete pores, making cleanup much easier. For fresh spills, pour a generous layer of litter directly over the stain, let it sit overnight, and sweep it up in the morning.
The stain should be significantly lighter or gone entirely. For stubborn, set-in stains, repeat the process or add a bit of dish soap and scrub with a stiff brush before applying the litter.
Why It Works
Cat litter is highly porous and absorbent, drawing oil out of concrete like a sponge. The granules also provide a gentle abrasive action when you sweep, helping to lift residue. It's a cheap, non-toxic solution that's always in the house.
Step-by-step
Cover the fresh oil stain completely with cat litter, about ¼ inch thick. Let it sit for at least 8 hours or overnight. Sweep up the litter and dispose of it.
If a shadow remains, repeat the process or scrub with a degreasing dish soap before reapplying litter.
Pro Tips
Use non-clumping clay litter for best absorption—clumping litter can turn into a sticky mess. For large stains, create a paste with litter and a small amount of water, apply it thickly, and let it dry completely before sweeping. Always dispose of oil-soaked litter properly, not in your compost.
22. Essential Oils for Natural Fragrance
Why settle for a chemical lemon scent when your floors can smell like a spa? A few drops of essential oil in your mop water not only leaves a pleasant aroma but also adds antibacterial power. It's a simple swap that makes mopping feel more like self-care.
Essential oils are a natural way to freshen your home without synthetic fragrances. Lavender calms, tea tree disinfects, and lemon energizes. Just add 5–10 drops to your bucket of warm water (or vinegar solution) and mop as usual.
The scent lingers lightly, not overpoweringly.
Best Oils For Floor Cleaning
Tea tree oil is a powerhouse against germs and mold, making it ideal for bathrooms and kitchens. Lavender oil offers a relaxing scent perfect for bedrooms and living areas. Lemon or orange oil cuts through grease and leaves a fresh, clean smell.
Avoid thick oils like cinnamon or clove, as they can leave residue.
How To Use Essential Oils Safely
Always dilute essential oils in water or a carrier like vinegar—never apply them straight to floors. Test a small, hidden area first to ensure no reaction, especially on sealed hardwood or laminate. For best results, add oils just before mopping so they don't evaporate.
Diy Floor Freshener Spray
Mix 1 cup water, 1 cup white vinegar, and 10 drops of your favorite essential oil in a spray bottle. Shake well and spritz lightly on floors after mopping for a quick refresh. This works great on tile and vinyl, but avoid over-wetting hardwood.
23. Regular Maintenance with Doormats
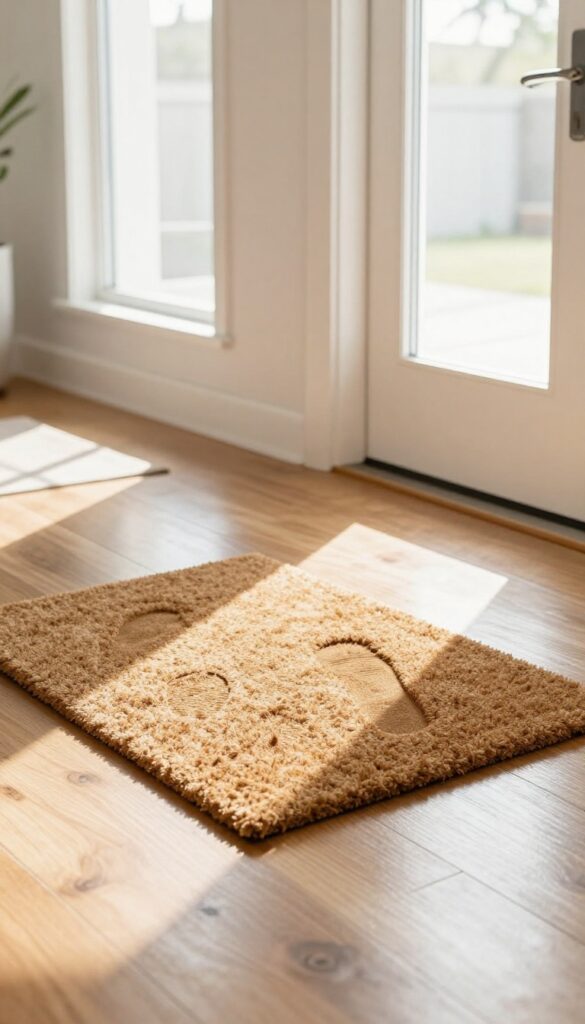
Doormats might not be the most exciting cleaning tool, but they're one of the most effective. Placing heavy-duty mats at every entrance traps dirt, mud, and grit before it ever reaches your floors. This simple habit can cut your cleaning time in half and keep your floors looking better between mops.
The key is choosing the right doormats and using them consistently. A good mat should be large enough for at least two full steps, so people naturally wipe their feet. Place them both outside and inside every door for maximum dirt capture.
Remember to shake out or vacuum the mats weekly to keep them working effectively.
Choose The Right Material
Look for coir or rubber-backed mats for outdoor use—they scrape off heavy dirt and absorb moisture. For indoor mats, opt for microfiber or fabric styles that trap fine dust and can be machine washed. Avoid thin, decorative mats that slide around; they won't do much to stop dirt.
Placement Matters
Put mats at every entrance, not just the front door. Back doors, garage entries, and patio doors are common culprits for tracking in grime. Make sure mats lie flat and don't create tripping hazards.
A mat that's too small or curled at the edges won't get used properly.
Maintain Your Mats
A dirty mat just spreads dirt around. Shake out outdoor mats weekly and hose them down monthly. Wash indoor mats according to the label—most can go in the washing machine.
Replace mats when they become worn or frayed, usually every year or two.
FAQ
Can I use vinegar on hardwood floors?
Yes, but only if the hardwood is sealed. Use a diluted solution (1/4 cup vinegar per gallon of water) and avoid over-wetting to prevent damage.
How often should I mop my floors?
High-traffic areas may need mopping once a week, while less-used rooms can go two weeks. Always dry mop first to remove loose dirt.
What is the best way to remove streaks after mopping?
Use a microfiber mop and a cleaning solution with a drying agent like rubbing alcohol. Also, mop in a figure-eight pattern to avoid residue lines.
Can I use bleach on tile floors?
Bleach can be used on ceramic or porcelain tile but avoid grout as it may discolor. Dilute bleach with water (1: 10) and rinse thoroughly.
How do I get rid of dust on floors quickly?
Use a microfiber dust mop or a vacuum with a hard floor setting. Dryer sheets on baseboards also help repel dust.
Conclusion
You don't need a cabinet full of specialty products to keep your floors streak-free and spotless. These 23 hacks rely on everyday items and a few smart techniques that tackle dust, grime, and stubborn stains with ease.
Start with the trick that addresses your biggest floor frustration—whether it's cloudy hardwood, sticky tile, or dusty laminate. Pick one or two to try this week, and you'll see how simple changes can make your floors shine without extra effort or expense.