25 Cleaning Wood Floors Tips for Shine Without Damage
Wood floors add warmth and value to any home, but keeping them shiny without scratching or dulling the finish can feel like a balancing act. You don't need expensive products or complicated routines—just the right techniques and a bit of know-how. Many common cleaning habits actually harm wood floors over time.
Vinegar solutions, steam mops, and abrasive tools can strip the finish and leave floors looking tired. The good news is that simple, budget-friendly methods work better.
This guide covers 25 actionable tips that protect your investment while delivering the glow you want. Whether you're dealing with daily dust or stubborn grime, these strategies keep your floors beautiful without the risk.
1. Dust Daily with a Microfiber Mop
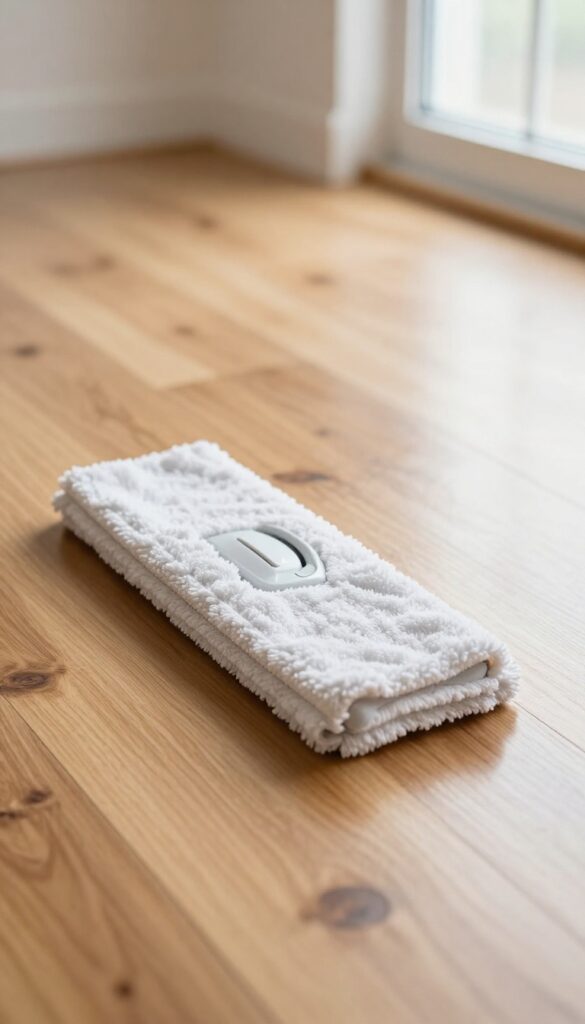
A daily dusting routine is the single most effective way to keep your wood floors looking shiny and scratch-free. Microfiber mops are designed to trap dust, dirt, and grit that would otherwise act like sandpaper underfoot. Skipping this step allows particles to embed into the finish, causing micro-scratches that dull the surface over time.
Make it a habit to run a microfiber mop over high-traffic areas every day. Even a quick pass in the kitchen or hallway prevents buildup and keeps floors looking fresh. For best results, use a dry mop head—no water or cleaner needed for daily dusting.
Why Microfiber Works Best
Microfiber has an electrostatic charge that attracts dust like a magnet. Cotton cloths or old rags just push particles around, leaving grit behind. A good microfiber mop head can hold several times its weight in dust, so you're actually removing debris rather than redistributing it.
How To Dust Without Spreading Grit
Start at the farthest corner of the room and work your way toward the exit. Use long, overlapping strokes in the direction of the wood grain. Avoid swirling motions, which can trap grit in the fibers and scratch the finish.
Shake the mop head outside or rinse it after each room to keep it clean.
When To Swap Or Wash The Mop Head
Replace or wash the mop head as soon as it looks dirty. A clogged mop head loses its electrostatic charge and starts smearing dust instead of picking it up. Machine-wash microfiber heads on a gentle cycle with no fabric softener, and let them air dry to maintain effectiveness.
2. Choose the Right Vacuum Attachment
Not all vacuum attachments are safe for wood floors. Using the wrong one can leave scratches or slowly wear down the finish. The right attachment makes dusting quick and damage-free.
Stick with a soft brush attachment designed for hard floors. It lifts dust and debris without scratching. Avoid beater bars or rotating brushes—they're meant for carpets and can mar wood.
If your vacuum has a hardwood floor setting, use it. For canister vacuums, the floor nozzle with bristles is usually safe.
Soft Brush Attachments
Look for a brush with fine, soft bristles. These pick up fine dust and pet hair without scraping the finish. Many vacuums come with a dedicated hard floor tool—use it.
What To Avoid
Steer clear of beater bars and powerheads. They spin and can dent or scratch wood. Also avoid attachments with hard plastic edges or worn-out bristles that become stiff.
Quick Check Before Vacuuming
Inspect the attachment for embedded grit or debris. A small pebble caught in the bristles can leave a long scratch. Wipe the brush clean regularly to keep it safe.
3. Ditch the Steam Mop
Steam mops promise a deep clean, but they're one of the worst things you can use on wood floors. The high heat and moisture can seep into the wood, causing it to swell, cup, or even crack. Over time, steam also breaks down the protective sealant, leaving your floors vulnerable to stains and scratches.
The result is a dull, damaged surface that's anything but shiny.
Instead of reaching for that steam mop, stick with a traditional damp mopping method. Use a well-wrung microfiber mop—it should feel barely damp to the touch. This gives you enough moisture to pick up dirt without soaking the wood.
For best results, use a cleaner specifically designed for wood floors, or simply water if your floors just need a light refresh.
Why Steam Is A Problem
Wood is porous and reacts to moisture. Steam forces water into the grain, which can cause irreversible damage like warping and discoloration. The heat also accelerates wear on the finish, making it peel or bubble.
Even if your floors are sealed, repeated steam cleaning will eventually compromise that barrier.
The Right Way To Damp Mop
Fill a bucket with warm water and a few drops of pH-neutral wood floor cleaner. Dip your microfiber mop, then wring it out until no water drips when you lift it. Mop in the direction of the wood grain, rinsing the mop head frequently.
Dry any standing water immediately with a clean towel.
When To Use A Steam Mop (spoiler: Never)
Some manufacturers claim their steam mops are safe for sealed wood, but the risk isn't worth it. Even on engineered wood, the heat can damage the top layer. If you need a deeper clean, use a wood floor cleaning machine that sprays a fine mist and vacuums it up, or hire a professional.
Your floors will thank you.
4. Say No to Vinegar and Ammonia
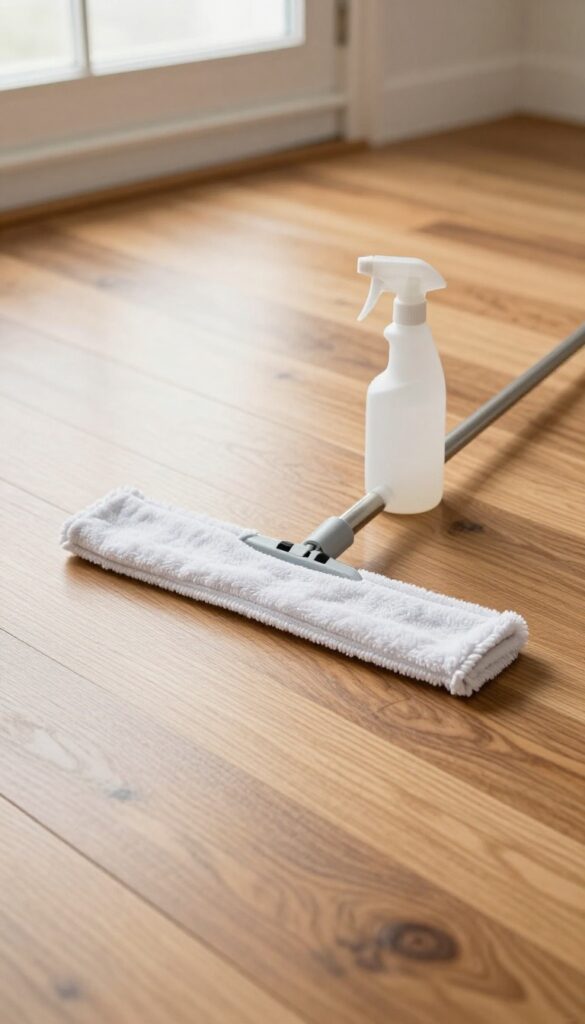
Vinegar is often touted as a natural cleaner, but on wood floors it's more foe than friend. The acetic acid in vinegar can slowly eat away at the protective finish, leaving the wood vulnerable to moisture and wear. Ammonia-based cleaners are even worse—they can react with the finish, causing discoloration and a cloudy appearance.
The safest bet is a pH-neutral cleaner specifically designed for wood floors.
Many DIY cleaning recipes call for vinegar, but wood floors are one surface where you should skip it. Over time, vinegar's acidity dulls the finish and can even strip it entirely. Ammonia, found in some glass cleaners and all-purpose sprays, is equally damaging.
It can cause the finish to become brittle and crack. Stick to products labeled as pH-neutral or specifically formulated for wood floors. These clean effectively without compromising the protective layer.
Why Vinegar Damages The Finish
Vinegar has a pH of around 2. 5, making it highly acidic. When applied to wood floors, it etches the finish, creating microscopic scratches that trap dirt and dull the shine.
Repeated use accelerates wear, and you may notice the floor looking hazy or losing its luster. Even diluted vinegar can cause problems over time.
Ammonia's Harsh Effects
Ammonia-based cleaners are alkaline and can react with the urethane or polyurethane finish. This reaction can cause the finish to become cloudy, yellow, or even peel. Ammonia also dries out the wood, leading to cracks and gaps.
Avoid any cleaner that lists ammonia or ammonium hydroxide on the label.
The Best Alternative: Ph-neutral Cleaners
A pH-neutral cleaner (pH around 7) is gentle on finishes while still lifting dirt and grime. Look for products labeled "wood floor cleaner" or "pH-neutral. " You can also make a safe DIY solution by mixing a few drops of mild dish soap with water—just be sure to rinse thoroughly.
Always test any cleaner on an inconspicuous area first.
5. Wipe Spills Immediately
Liquid left standing on wood floors is trouble waiting to happen. Water, juice, or even a splash of wine can seep into the seams between planks, causing the wood to swell and the finish to lift. The longer it sits, the more damage it does.
A quick response is your best defense.
Spills happen, but how you handle them makes all the difference. The key is speed and the right technique. Here's how to keep your floors safe.
Blot, Don't Rub
When a spill occurs, grab a dry cloth or paper towel and blot the liquid gently. Rubbing spreads the liquid and can push it into the grain or between seams. Blotting absorbs it without forcing it deeper.
For sticky spills like soda or syrup, use a slightly damp cloth after blotting, then dry immediately.
Use The Right Cloth
Microfiber cloths are ideal because they're highly absorbent and won't scratch the finish. Avoid terry cloth or rough towels that might leave lint or cause micro-scratches. Keep a stack of clean microfiber cloths in a convenient spot so you can grab one quickly.
Check For Residue
After blotting, inspect the area for any sticky residue. If needed, lightly dampen a cloth with water (not soaking wet) and wipe the spot, then dry thoroughly. Never let water stand—even a few drops can cause white rings or dull the finish over time.
Prevent Future Spills
Use coasters under drinks, placemats under dishes, and rugs in high-risk areas like the kitchen or dining table. Train family members to wipe spills immediately. A little prevention goes a long way in preserving your floors.
6. Use Doormats at Every Entrance
The easiest way to keep your wood floors clean is to stop dirt before it gets inside. Doormats act as the first line of defense, trapping grit, sand, and moisture that would otherwise scratch or stain your finish. A good mat strategy can cut your floor cleaning time in half.
Place a durable, scrape-friendly mat outside each exterior door to remove large debris. Inside, use an absorbent mat that soaks up rain, snow, or mud. Choose mats with a non-slip backing to prevent them from sliding on your wood floors.
Shake or vacuum the mats weekly to keep them effective.
Outside Mats: The First Trap
Outdoor mats should be coarse enough to scrape off dirt and mud. Look for materials like coir (coconut fiber) or rubber with deep grooves. Position them so people naturally step on them before reaching the door.
This simple habit prevents most outdoor debris from ever touching your floors.
Inside Mats: The Final Barrier
Indoor mats need to be absorbent and gentle on wood. Cotton, microfiber, or chenille mats work well. Place them just inside the door and make sure they lie flat to avoid tripping.
Rotate or replace them when they become worn or saturated.
Mat Maintenance Matters
Mats can only trap dirt if they aren't already full. Shake out outdoor mats weekly and hose them down occasionally. Vacuum indoor mats or toss them in the wash if the care label allows.
A clean mat is a working mat.
7. Felt Pads Under Furniture Legs
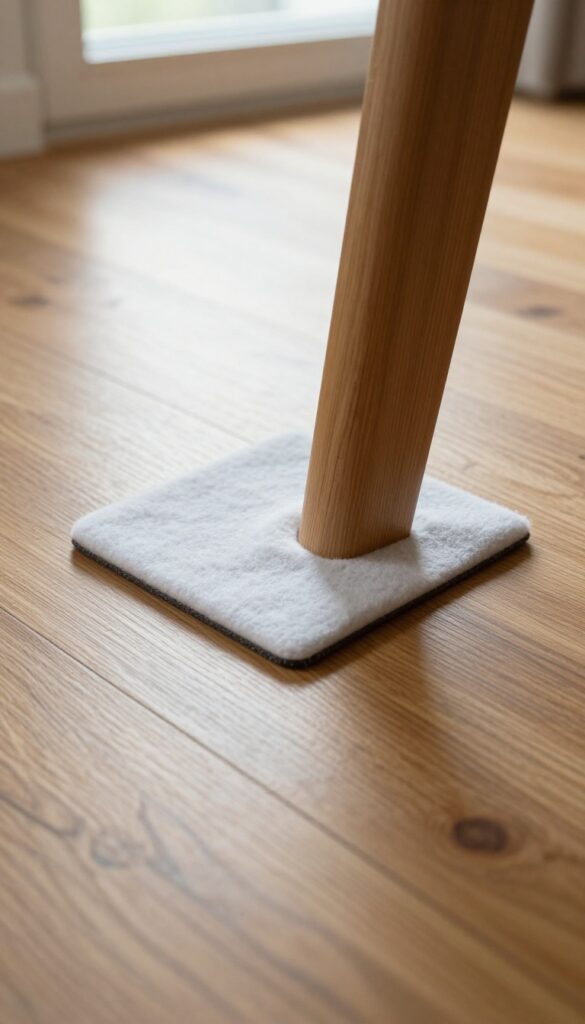
Furniture movement is one of the top causes of scratches on wood floors. Every time you slide a chair or drag a table, you're grinding dirt and grit into the finish. Felt pads create a soft barrier that lets furniture glide without damage.
Attach felt pads to the bottom of all furniture legs that touch the floor—chairs, tables, sofas, desks, and bed frames. Check them regularly and replace when they become worn or dirty. For heavy items, use thicker pads or metal glides with felt bottoms.
This simple step prevents countless scratches and keeps your floors looking new.
Choosing The Right Pads
Not all felt pads are equal. Self-adhesive pads are easy to apply but may fall off over time. For a more permanent solution, use pads that you nail or screw into the furniture leg.
Look for thick, dense felt that won't flatten quickly. Avoid rubber or plastic pads, as they can leave marks or react with the finish.
Installation Tips
Clean the furniture leg thoroughly before applying the pad. Make sure the surface is dry and free of dust or wax. Press firmly and let the adhesive bond for 24 hours before moving the furniture.
For uneven legs, use adjustable felt glides that can be screwed in to level the piece.
Maintenance And Replacement
Felt pads collect dirt and grit over time, turning them into scratch magnets. Inspect pads monthly and clean them with a damp cloth or replace if they look dirty. On high-traffic chairs, you may need new pads every few months.
Keep a stash of extras so you can swap them out quickly.
8. Avoid Walking on Floors with Shoes
Outdoor shoes are like dirt magnets. They pick up grit, pebbles, and moisture from sidewalks, parking lots, and lawns. When you walk across your wood floors with those shoes, you're essentially sanding the finish with tiny abrasive particles.
A simple no-shoes policy can dramatically reduce wear and tear.
Implementing a no-shoes rule is one of the easiest ways to protect your wood floors. It keeps out the majority of dirt and moisture before they ever reach the surface. Over time, this means less frequent deep cleaning and a longer-lasting shine.
The Damage Grit Causes
Even a small grain of sand can create micro-scratches when trapped under a shoe. These tiny scratches accumulate, dulling the finish and making floors look worn long before they should. High-heeled shoes are especially damaging because they concentrate weight into a small area.
Making The Policy Stick
Place a sturdy doormat outside every entrance and a shoe rack just inside. Add a bench or chair so guests can sit while removing shoes. A friendly sign can help remind everyone.
Offer clean slippers or indoor-only socks for visitors.
Bonus For Cleanliness
A no-shoes home stays cleaner overall. You'll vacuum and mop less often because you're not constantly tracking in new dirt. It also reduces allergens and bacteria brought in from outside, making your indoor environment healthier.
9. Trim Pet Nails Regularly
If you share your home with a four-legged friend, you know how quickly those tiny claws can turn a pristine floor into a scratched-up mess. Even gentle walks and playful zoomies leave behind fine lines that dull the finish over time. The fix is simple: keep those nails short.
Why Nails Are The Enemy
Pet nails act like tiny chisels on wood. Every time your dog or cat pushes off to run or jump, the nail digs in and leaves a scratch. Over weeks and months, these micro-scratches accumulate, making the floor look hazy and worn.
The damage is especially noticeable on high-gloss finishes.
How Short Is Short Enough?
You don't need to grind them down to the quick—just trim so the nail doesn't extend past the pad when your pet stands on a hard surface. If you hear clicking on the floor, they're too long. Aim for a weekly check and trim every two to four weeks, depending on your pet's activity level and the surfaces they walk on.
Trimming Tips For A Stress-free Experience
Use sharp, guillotine-style clippers or a slow-speed grinder to avoid splitting. Go slowly and reward calm behavior with treats. If you're unsure where the quick is, trim small amounts at a time.
For dark nails, shine a flashlight from behind to see the quick's shadow. A good trim keeps both your floors and your pet comfortable.
10. Use Area Rugs in High-Traffic Zones
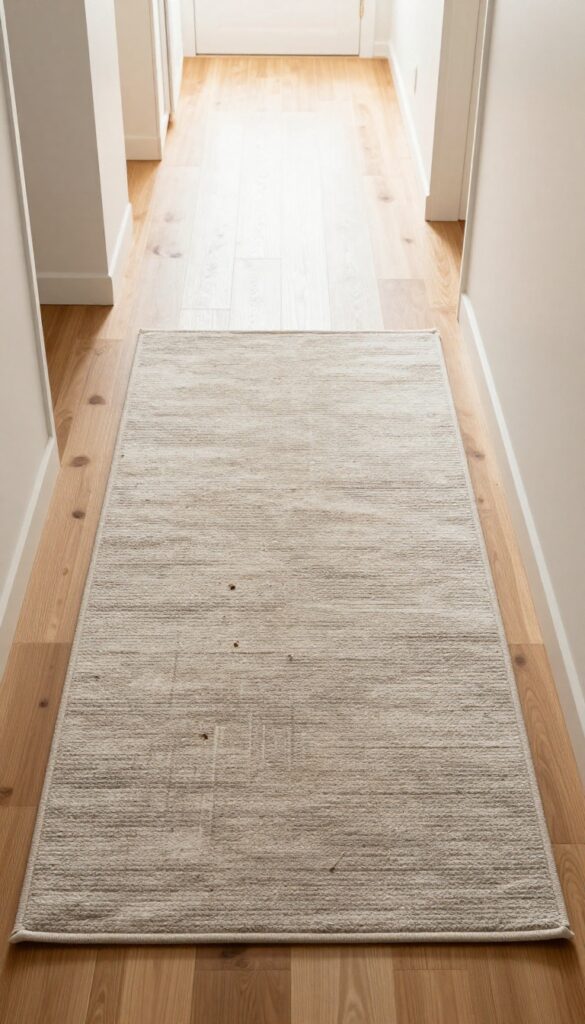
Your wood floor finish takes the most abuse in hallways, entryways, and living areas where people walk the most. Area rugs act as a sacrificial layer, catching dirt, grit, and moisture before they reach the wood. They also reduce the frequency of deep cleaning needed.
Place rugs in spots where foot traffic is heaviest, like the front door, kitchen sink area, and hallway corridors. This simple step prevents micro-scratches from tracked-in debris and protects the finish from wear patterns. Rotate rugs seasonally to ensure even fading and sun exposure.
Choose The Right Backing
Look for rugs with a natural rubber or latex backing that grips the floor without slipping. Avoid rugs with hard plastic backings that can scratch the finish over time. If your rug doesn't have a non-slip backing, use a felt or rubber rug pad underneath.
Keep Rugs Clean
Dirt trapped under a rug can act like sandpaper against the floor. Vacuum rugs weekly and shake them out outdoors. For deep cleaning, follow the rug manufacturer's instructions—moisture trapped under a rug can warp wood floors.
Rotate For Even Wear
Sunlight and foot traffic can cause uneven fading or wear patterns on rugs and the floor beneath. Rotate rugs every six months to distribute wear. This also extends the life of the rug itself.
11. Test Cleaners in an Inconspicuous Spot
You wouldn't try a new hair product on your whole head without a strand test first. The same logic applies to your wood floors. A cleaner that works wonders for your neighbor might react badly with your floor's finish, leaving a dull patch or even stripping the color.
The only way to be sure is to test it somewhere hidden first.
Always try a new product on a hidden area first. This prevents unexpected discoloration or damage. A quick test can save you from a costly refinishing job.
Where To Test
Look for spots that are out of sight: inside a closet, under a rug, or behind furniture. If you have a scrap piece of the same flooring, even better. Apply the cleaner to a small area and wait at least 24 hours.
Check for any changes in color, gloss, or texture before using it on the main floor.
What To Look For
After the test spot dries, inspect it in natural light. Look for cloudiness, streaking, or a sticky residue. Also run your hand over it – if it feels rough or tacky, that cleaner is not for you.
A good cleaner should leave the wood looking clean and unchanged.
Testing Diy Mixtures
Homemade cleaners like vinegar and water or soap-based solutions can be especially risky because their pH and ingredients vary. Always test these mixtures first, even if you've used them before on other surfaces. A small patch test can prevent a big headache.
12. Damp Mop, Not Wet Mop
Water and wood floors don't mix well. Even a small amount of excess moisture can seep into the seams, causing the wood to swell, warp, or develop a cloudy finish. The key is to use a mop that's barely damp—just enough to pick up dirt without leaving any water behind.
Saturating your floor with water is one of the fastest ways to damage it. When water sits on the surface or seeps into gaps, it can cause the wood to expand and contract, leading to cupping, cracking, or finish failure. A damp mop, on the other hand, lifts grime without soaking the wood.
Always wring out your mop thoroughly until no water drips when you hold it up. For best results, use a microfiber mop head, which absorbs and traps dirt without needing much water. Work in small sections and dry any visible moisture immediately with a clean cloth.
Why Wet Mops Are Risky
Standing water is the enemy of wood floors. It can penetrate the finish and cause irreversible damage like warping, staining, or mold growth between planks. Even if your floor has a waterproof seal, repeated wet mopping can break down the finish over time.
How To Damp Mop Correctly
Fill a bucket with water and a small amount of pH-neutral wood floor cleaner. Dip your mop, then wring it until it's almost dry—you should see no drips. Mop in the direction of the wood grain, and rinse the mop frequently to avoid spreading dirty water.
Dry any wet spots with a towel.
The Best Mop For The Job
A flat microfiber mop with a spray bottle is ideal. You control how much moisture reaches the floor, and the microfiber picks up dust and grime without scratching. Avoid string mops or sponge mops, as they hold too much water and are harder to wring properly.
13. Change Mop Water Frequently
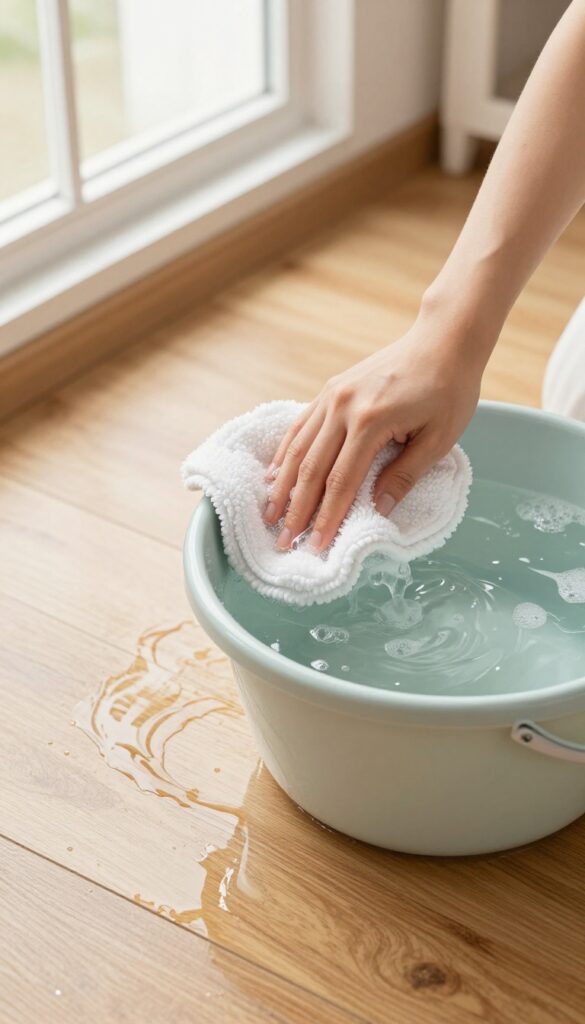
It sounds obvious, but many people keep mopping with the same bucket of water until they finish the whole floor. The problem is that dirty water spreads grime, leaving a hazy film that dulls the finish. Fresh water is your simplest tool for a streak-free shine.
Why Cloudy Water Hurts Your Floors
As you mop, dirt, dust, and cleaning solution accumulate in the water. Once it turns cloudy, you're essentially painting a thin layer of grime back onto the wood. This can cause a dull appearance and even attract more dirt.
The fix is easy: swap the water as soon as it looks less than clear.
How Often To Change It
For an average-sized room, plan to change the water at least once mid-cleaning. If you're doing multiple rooms or high-traffic areas, change it between each room. A good rule of thumb: if you can't see the bottom of the bucket clearly, it's time for fresh water.
Pro Tip: Use Two Buckets
Professional cleaners often use a two-bucket system: one with clean soapy water and another with plain rinse water. Dip the mop in the soap bucket, wring it, mop a section, then rinse the mop in the second bucket before reloading soap. This keeps the cleaning solution effective longer and reduces residue.
14. Use a Squeegee for Pet Hair
Pet hair on wood floors can be a daily battle. It clings to the surface, gets pushed into corners, and often escapes the vacuum. A rubber squeegee—the kind you use on windows—is a surprisingly effective tool for lifting fur without scratching the finish.
It's faster than dragging out the vacuum and leaves floors hair-free in minutes.
A rubber squeegee works by creating static electricity that attracts pet hair. The flexible blade glides over the wood, gathering hair into easy-to-collect piles. Unlike brooms, which can scatter hair, or vacuums with hard brush rolls, a squeegee is gentle on the finish and won't cause micro-scratches.
It's especially useful for high-traffic areas where hair accumulates quickly.
Why Rubber Works Best
Rubber has just the right amount of grip to pull hair off the floor without grabbing the wood. Silicone blades are also effective and last longer. Avoid hard plastic or metal squeegees—they can leave scratches.
A 12-inch squeegee is a good size for covering floorboards efficiently.
How To Use It
Start at one end of the room and pull the squeegee toward you in long, straight strokes. Work in sections, overlapping slightly to avoid missing spots. The hair will collect in a line at the blade's edge.
Pick it up by hand or sweep it into a dustpan. For best results, use the squeegee before mopping to avoid pushing wet hair into corners.
When To Skip The Squeegee
If your wood floors have deep grooves or wide gaps between planks, a squeegee might not reach all the hair. In that case, use a vacuum with a soft brush attachment first, then finish with the squeegee for a final pickup. Also avoid using a squeegee on waxed floors, as it can dull the finish.
15. Avoid Wax-Based Products on Polyurethane Floors
Polyurethane is one of the most common finishes on modern wood floors, prized for its durability and clear, glossy look. But that clarity disappears fast when you apply wax-based cleaners or polishes. Wax doesn't bond well with polyurethane; instead, it sits on top and builds up into a hazy, sticky layer that attracts dirt and makes future cleaning harder.
Many all-purpose wood floor cleaners contain wax or oil, which can leave a dull film on polyurethane. Over time, this buildup becomes difficult to remove without harsh stripping. The fix is simple: use only products labeled safe for polyurethane or water-based finishes.
Check the label before you buy—if it says “wax” or “polish, ” skip it. Your floors will stay clearer and require less maintenance.
Why Wax Causes Cloudiness
Wax is designed to sit on top of a surface and create a protective layer, but polyurethane already provides that protection. Adding wax creates an extra layer that scatters light, making the floor look foggy. It also attracts dust and grime, so you end up cleaning more often.
How To Remove Wax Buildup
If your floors already have a waxy haze, you can remove it with a mixture of warm water and a few drops of mild dish soap. Mop gently, then rinse with clean water and dry thoroughly. For stubborn buildup, use a commercial polyurethane-safe cleaner or a very diluted ammonia solution (1/2 cup per gallon of water).
Always test in an inconspicuous area first.
Choosing The Right Products
Stick to cleaners specifically formulated for polyurethane or water-based finishes. Look for pH-neutral, non-wax, non-oil formulas. Brands like Bona, Method, and Murphy’s Oil Soap (the wood cleaner, not the oil soap) often have safe options.
Avoid any product that promises a “shine” or “polish” unless it explicitly states it’s safe for polyurethane.
16. Buff with a Soft Cloth for Extra Shine
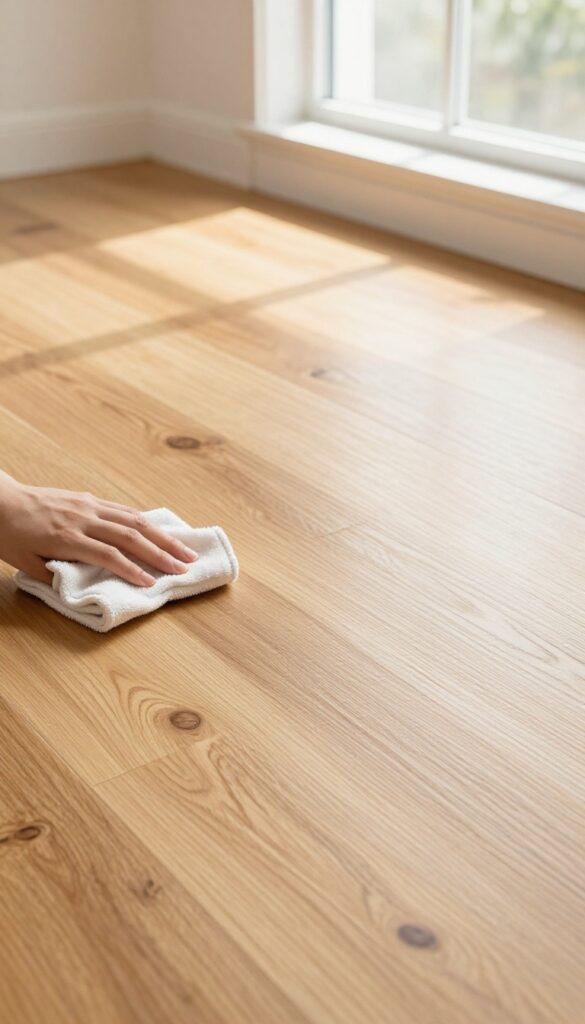
Buffing might sound like an extra step you don't need, but it makes a real difference. After you've cleaned and dried the floor, a quick buff with a soft cloth lifts any remaining haze and brings out the wood's natural luster. It's the kind of finishing touch that turns a good cleaning job into a great one.
Why Buffing Works
Even after a thorough cleaning, residue from cleaners or water can leave a dull film. Buffing with a dry microfiber cloth gently polishes the surface, removing streaks and distributing any remaining polish evenly. The friction also generates a bit of warmth, which helps the finish glow.
Best Cloths For The Job
Microfiber is your best bet—it's soft, lint-free, and traps dust without scratching. Avoid terry cloth or old t-shirts, which can leave fibers behind. For best results, use a clean, dry microfiber mop or a hand-held cloth for tight spots.
When To Buff
Buff right after the floor is completely dry, usually 20-30 minutes after cleaning. If you wait too long, dust can settle back on the surface. For high-traffic areas, a quick weekly buff keeps the shine consistent without extra effort.
17. Use a Spray Mop for Quick Touch-Ups
Spray mops are a game-changer for quick cleaning sessions between deep cleans. They let you control exactly how much cleaner hits the floor, reducing the risk of over-wetting that can damage wood. Perfect for spot cleaning spills or light traffic areas without dragging out the full bucket.
Spray mops offer precision and convenience. You can target specific spots without soaking the entire floor. This method is especially useful in kitchens, entryways, or anywhere messes happen frequently.
Just a few spritzes and a gentle wipe keep floors looking fresh without the hassle.
Choose The Right Spray Mop
Not all spray mops are wood-friendly. Look for one with a microfiber pad that's washable and gentle. Avoid models with abrasive scrubbers.
A trigger spray that delivers a fine mist is ideal—you want to dampen, not drench.
Use A Wood-safe Cleaner
Fill the reservoir with a cleaner specifically formulated for wood floors. Avoid all-purpose cleaners, vinegar, or bleach. Many spray mops work with water only, which is often enough for light dust and smudges.
Technique Matters
Spray a small area and mop immediately. Work in sections, overlapping slightly. Don't let the cleaner sit.
Use a dry microfiber cloth to buff any streaks. For best results, sweep or dust first to avoid dragging grit.
18. Deep Clean Every Few Months
Even with regular sweeping and damp mopping, wood floors accumulate grime in the crevices and a thin layer of residue over time. A deep clean every three to four months resets the surface, restoring natural luster without damaging the finish. The key is using the right cleaner and technique—aggressive scrubbing or harsh chemicals do more harm than good.
Deep cleaning isn't about elbow grease; it's about letting a quality cleaner do the work. Start by moving furniture and doing a thorough sweep or vacuum to remove loose dirt. Then apply a manufacturer-recommended wood floor cleaner—never all-purpose or wax-based products.
Use a soft microfiber mop, working in small sections, and rinse the mop head frequently. Let the floor air dry completely before moving furniture back.
Choose The Right Cleaner
Not all cleaners are safe for wood. Look for pH-neutral, water-based formulas designed specifically for wood floors. Avoid oil soaps, vinegar, or ammonia, which can dull or strip the finish.
If you're unsure, check your floor's warranty or test a small hidden area first.
Mop Wisely, Not Wetly
Excess moisture is wood's enemy. Wring your mop until it's barely damp—it should feel dry to the touch. Work in manageable sections, rinsing the mop head between passes to avoid spreading dirty water.
For stubborn spots, let the cleaner sit for a minute before wiping.
Don't Forget The Details
Baseboards and corners collect dust and grime that can scratch floors over time. Use a soft brush attachment on your vacuum or a microfiber cloth to clean these areas before mopping. Pay extra attention to high-traffic zones and under furniture where dirt hides.
19. Avoid Abrasive Scrubbers
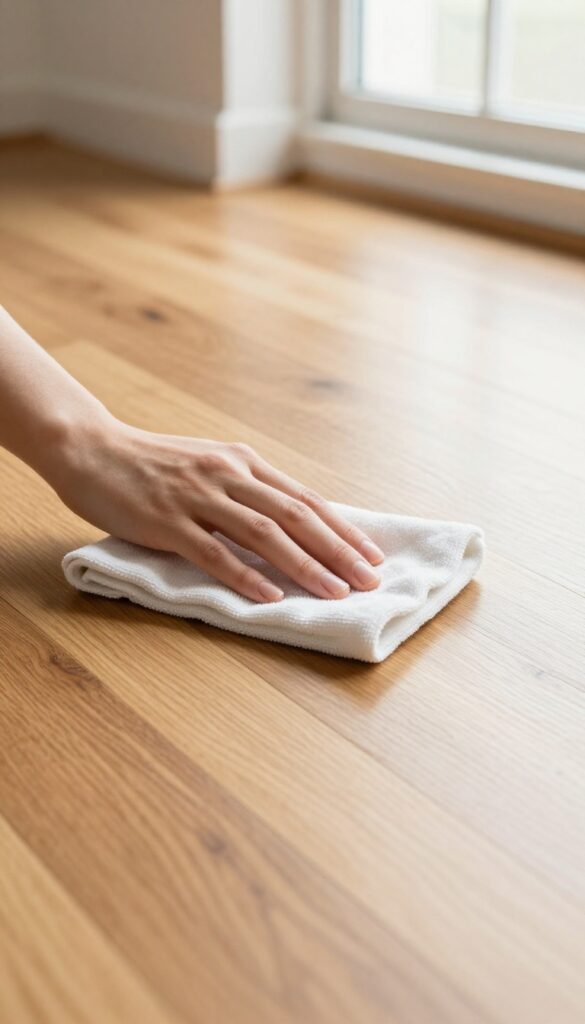
Steel wool and scrub brushes might seem like good tools for tough spots, but they can ruin your wood floor's finish. The abrasive action scratches the protective layer, leaving permanent dull marks. Once the finish is compromised, dirt and moisture can seep in, causing long-term damage.
Stick to soft sponges or microfiber cloths for all cleaning tasks. These materials are gentle enough to lift dirt without scratching. For sticky messes, let a damp cloth sit on the spot for a minute to soften it, then wipe away.
No scrubbing needed.
What To Use Instead
Microfiber mops and cloths are ideal because they trap dust and grime without scratching. Soft cellulose sponges work well for spot cleaning. Always check that the cleaning tool is labeled as safe for finished wood.
When Abrasives Are Tempting
Dried-on food or scuff marks might make you reach for a scrubber. Instead, try a damp microfiber cloth with a drop of wood-safe cleaner. Let it sit for a few seconds, then wipe gently.
The mess will come off without the scratches.
20. Keep Humidity Levels Consistent
Wood is a natural material that responds to its environment. When humidity swings, your floor expands and contracts, leading to gaps, cupping, or warping. Keeping indoor humidity steady is one of the simplest ways to protect your floors and maintain that smooth, shiny surface.
The Ideal Range
Aim for a relative humidity between 35% and 55%. This range keeps wood stable. In winter, heated air gets dry, so use a humidifier to add moisture.
In summer, high humidity can cause swelling, so a dehumidifier or air conditioner helps.
Seasonal Adjustments
Check humidity levels with a simple hygrometer. During dry months, run a humidifier in rooms with wood floors. In humid months, use your AC or a dehumidifier.
This prevents the wood from shrinking or swelling too much.
Avoid Sudden Changes
Don't let humidity swing more than 5% in a day. Quick changes stress the wood. Keep doors and windows closed during extreme weather, and avoid placing large plants or aquariums that release moisture directly near the floor.
21. Use a Wood Floor Cleaner with a Neutral pH
Not all wood floor cleaners are created equal. Many all-purpose cleaners are too acidic or alkaline, which can dull the finish over time. A neutral pH cleaner sits right in the middle, typically around 7 on the pH scale.
It lifts dirt and grime without stripping the protective coating. This simple switch extends the life of your floor's shine and keeps it looking new longer.
Choosing a neutral pH cleaner is one of the easiest ways to maintain your floor's finish. Harsh chemicals can cause cloudiness or discoloration, while neutral formulas are gentle yet effective. They work well with both water-based and oil-based finishes.
Look for products labeled specifically for wood floors and check the pH if possible. Many popular brands offer neutral options that are safe for daily use. You can also test your current cleaner with a pH strip to see where it falls.
Why Ph Matters
The pH scale runs from 0 (very acidic) to 14 (very alkaline). Wood floor finishes are designed to withstand a narrow range, usually between 6 and 8. Cleaners outside this range can react with the finish, causing it to break down faster.
Vinegar, for example, has a pH around 2. 5 and can etch the finish over time. Ammonia-based cleaners are highly alkaline and can cause similar damage.
Neutral pH cleaners avoid these risks entirely.
How To Identify A Neutral Cleaner
Most reputable wood floor cleaner brands list their pH on the label or website. Look for phrases like "pH balanced" or "neutral pH. " If you're unsure, you can buy inexpensive pH test strips online.
Dip a strip into the cleaner and compare the color to the chart. If it's between 6 and 8, you're good to go. Avoid cleaners that are labeled as "all-purpose" unless they specifically mention wood floors.
Application Tips For Best Results
Even with a neutral cleaner, technique matters. Always follow the dilution instructions—using too much concentrate can leave residue. Apply the cleaner with a damp (not wet) microfiber mop.
Work in small sections and dry the floor with a clean microfiber cloth if needed. Never let the cleaner pool or sit on the surface. For routine cleaning, a few sprays per section are enough.
This method keeps your floor clean without over-wetting.
22. Spot Clean Stains with Baking Soda Paste
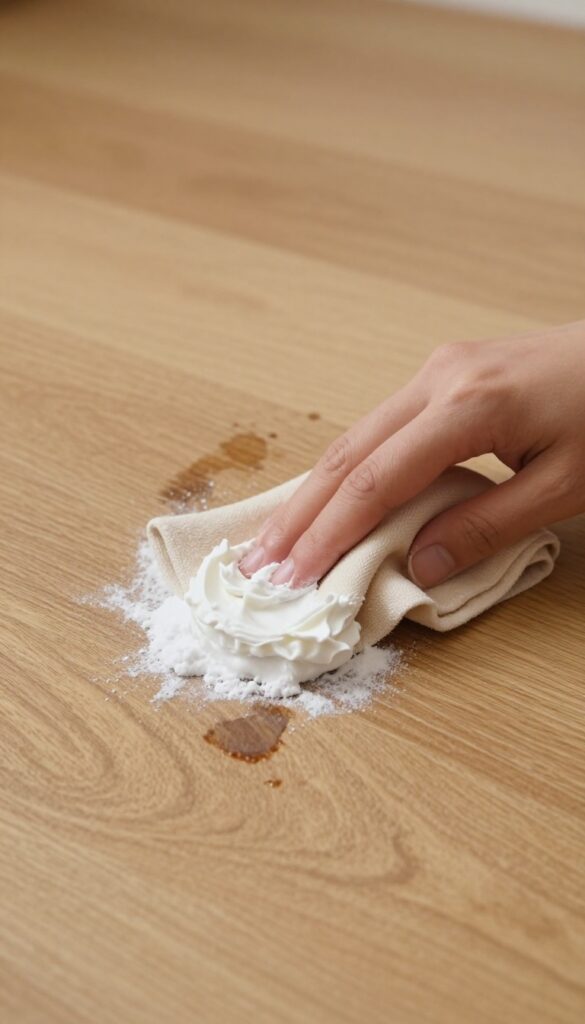
Stubborn stains on wood floors can be frustrating, especially when regular cleaning won't budge them. Before reaching for harsh chemicals, try a gentle paste made from baking soda and water. It's a simple, non-toxic solution that lifts spots without damaging the finish.
Mix three parts baking soda with one part water to form a thick paste. Apply it directly to the stain and let it sit for a few minutes. Gently rub the area with a soft cloth or sponge using circular motions.
Wipe away the paste with a damp cloth and dry immediately. This method works well for food spills, pet accidents, and water marks.
Why Baking Soda Works
Baking soda is mildly abrasive, so it can scrub away grime without scratching the wood's protective coating. It also absorbs odors and neutralizes acidic stains, making it a versatile cleaner for various spots.
When To Avoid This Method
Avoid using baking soda paste on waxed or oiled floors, as it can strip the finish. Test on an inconspicuous area first. For deep scratches or gouges, consider a wood filler or professional refinishing instead.
Alternative Paste Recipes
For extra cleaning power, add a few drops of dish soap to the paste. For tough grease stains, mix baking soda with a small amount of mineral oil. Always rinse thoroughly and dry the area completely afterward.
23. Refinish When the Finish Wears Thin
No matter how well you clean, wood floors eventually lose their protective finish. Traffic, sunlight, and time wear down the top layer, leaving the wood vulnerable and the surface looking dull. If your floors still lack luster after a deep clean, refinishing might be the answer.
Refinishing restores that protective barrier and brings back the original shine. It's a bigger job than regular maintenance, but it breathes new life into tired floors. Knowing when and how to refinish can save you from costly replacements.
Refinishing involves sanding off the old finish and applying a fresh coat of sealant. This process removes scratches, stains, and wear patterns, revealing the wood's natural beauty underneath. It's typically needed every 5–10 years depending on foot traffic and care.
Before you start, check if your floors have enough thickness to sand. Solid hardwood can usually be refinished multiple times, while engineered wood may only handle one or two light sandings. A simple test: look at the edge of a floor vent or under furniture to gauge the wear layer.
If refinishing seems daunting, consider hiring a professional. But if you're handy, DIY kits are available. Just be prepared for dust and downtime—the process takes several days from sanding to final coat.
The result is worth it: floors that look brand new and stay protected for years.
Signs It's Time To Refinish
Your floors are telling you when they need refinishing. Look for deep scratches that expose bare wood, water stains that won't buff out, or areas where the finish has worn completely away. Another clue: water no longer beads on the surface but soaks in.
If your floors look dull even after a thorough cleaning and waxing, refinishing is likely overdue.
The Refinishing Process
Start by clearing the room and cleaning the floors. Use a drum sander for large areas and an edger for corners, working through progressively finer grits. Vacuum thoroughly between sandings.
Apply a wood stain if desired, then seal with a polyurethane finish—oil-based for durability or water-based for faster drying. Let each coat cure fully before applying the next. Two to three coats are standard.
Post-refinishing Care
After refinishing, wait at least 72 hours before moving furniture back. Use felt pads on all legs and avoid walking on the floors with shoes for the first week. Clean with a microfiber mop and a pH-neutral wood cleaner.
Refinished floors are more resistant to scratches and stains, but they still need regular maintenance to keep that shine.
24. Use a Dry Mop for Quick Pickups
A dry microfiber mop is your best friend for daily maintenance. It picks up dust, pet hair, and debris without any liquid, so you can keep your floors clean without risking water damage or dulling the finish. Keep one near your cleaning supplies for a quick swipe whenever you notice a dusty spot.
A dry mop is perfect for high-traffic areas like hallways and kitchens where dirt accumulates fast. It's also gentle enough for daily use, unlike vacuums with beater bars that can scratch. Simply glide the mop over the surface—no spray, no bucket, no fuss.
Why Dry Mop Instead Of Sweep?
Traditional brooms can miss fine dust and push debris into corners. Microfiber dry mops use static electricity to attract particles, trapping them in the fibers. They're also less likely to scatter dust into the air, making them a healthier choice for allergy sufferers.
Best Practices For Dry Mopping
Use a flat-head mop with a washable microfiber pad. Work in the direction of the wood planks to avoid trapping dirt in the grooves. Rinse the pad after each use and replace it when it looks worn.
For a deeper clean, you can lightly mist the pad with a wood-safe cleaner, but keep it barely damp.
25. Follow the Manufacturer's Care Guidelines
It's easy to overlook the manual that came with your floors, but those small print instructions hold the key to long-lasting shine. Different wood species, stains, and finishes react differently to cleaning products and methods. What works for one floor can damage another.
Your floor's warranty often depends on using approved cleaning methods. Ignoring the guidelines can void coverage and lead to costly repairs. The manufacturer knows exactly what their product needs, so their advice is your best bet for maintaining beauty and durability.
Why It Matters
Wood floors are not one-size-fits-all. Polyurethane finishes tolerate different cleaners than oil-based or waxed surfaces. Using the wrong product can cause dullness, discoloration, or even peeling.
The manufacturer's guidelines are based on rigorous testing, so following them prevents accidental damage.
Where To Find The Info
If you've lost the original paperwork, check the manufacturer's website. Many offer downloadable care guides. You can also look for a stamp or label on the flooring planks, often found in a closet or under furniture.
Knowing the exact product name helps you search for the right instructions.
What To Look For
Pay attention to recommended cleaning products, frequency, and tools. Some manufacturers advise against water, vinegar, or steam cleaning. Others specify a particular pH-balanced cleaner.
Also note any warnings about waxes, polishes, or abrasive pads. Following these details keeps your floors looking new.
FAQ
Can I use vinegar to clean wood floors?
It's best to avoid vinegar. Its acidity can damage the finish over time, leaving floors looking dull. Use a pH-neutral wood floor cleaner instead.
How often should I clean wood floors?
Dust daily with a microfiber mop or soft vacuum attachment. Damp mop once a week or as needed. Deep clean every 2-3 months.
Is it safe to use a steam mop on hardwood floors?
No. Steam mops force moisture into the wood, which can cause warping, cupping, and finish damage. Stick to damp mopping.
What's the best way to remove scratches from wood floors?
For light scratches, try a wood floor marker or wax stick that matches the color. Deeper scratches may require refinishing by a professional.
Can I use a Swiffer WetJet on hardwood floors?
Yes, but only if the floor is sealed properly. Use the Wood version of the cleaning solution and avoid over-wetting. Always test in a hidden area first.
Conclusion
Keeping your wood floors beautiful doesn't require a ton of expensive products or back-breaking labor. Just a few smart habits—like dusting often and using the right cleaner—make all the difference. Start with the tips that fit your floor type and your schedule.
You don't need to try everything at once. Pick one or two of these tricks to test this week, and you'll quickly see how easy it is to maintain that natural shine. Your floors will stay gorgeous for years with just a little consistent care.