13 Cleaning Coffee Maker With Vinegar Steps That Work
A neglected coffee maker can turn your morning brew bitter and sluggish. Mineral deposits from hard water build up inside, affecting both taste and performance. You don't need expensive descaling solutions—vinegar works just as well and costs pennies.
This guide walks you through 13 practical steps to restore your coffee maker using white vinegar. Each step is straightforward and designed for everyday machines. No special tools or expertise required.
By the end, you'll have a cleaner machine, better-tasting coffee, and a few extra dollars in your pocket. Let's get started.
1. Gather Your Supplies
Getting everything together before you start saves time and keeps the process hassle-free. You don't want to be halfway through and realize you're out of vinegar or can't find a clean cloth. A quick prep step makes the whole cleaning routine go smoothly.
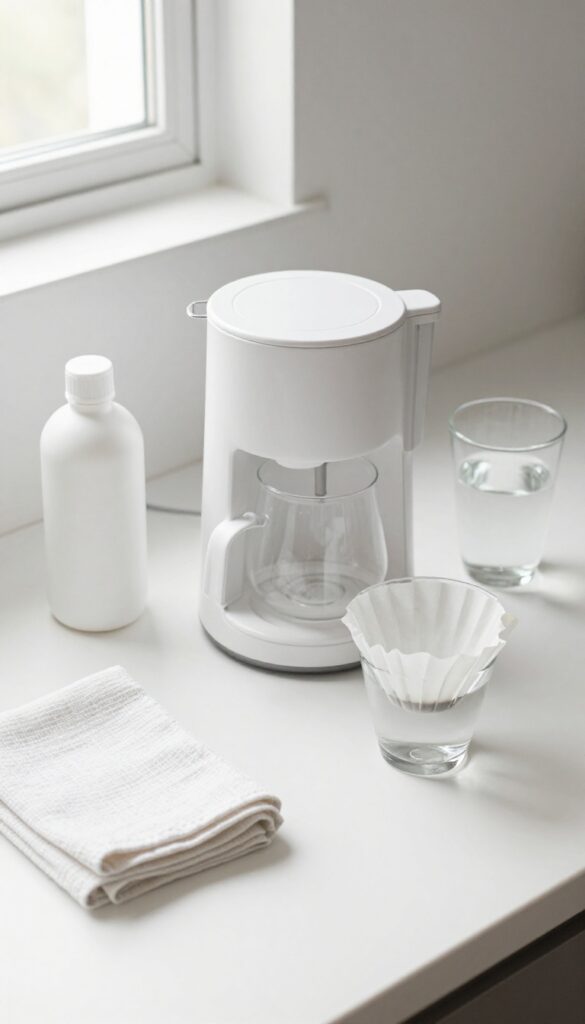
You'll need white vinegar, water, a clean microfiber cloth, and a fresh paper filter. That's it. No fancy descaling solutions or special tools required.
White vinegar is cheap, effective, and safe for most coffee makers. The cloth is for wiping down the carafe and exterior. The fresh filter is for the final rinse cycle.
Having these items within arm's reach means you can focus on the steps without interruptions.
What You'll Need
White vinegar (distilled works best), water, a soft cloth or sponge, and a new coffee filter. Optional but helpful: a small brush for hard-to-reach spots and a bowl for soaking removable parts.
Why Vinegar?
Vinegar's acetic acid breaks down mineral deposits and scale without harsh chemicals. It's food-safe, inexpensive, and readily available. Plus, it rinses clean, leaving no residue behind.
Prep Your Workspace
Clear the counter near your coffee maker. Empty the carafe and remove any old grounds or filters. Fill the water reservoir with a mixture of equal parts vinegar and water—you'll need enough for a full brew cycle.
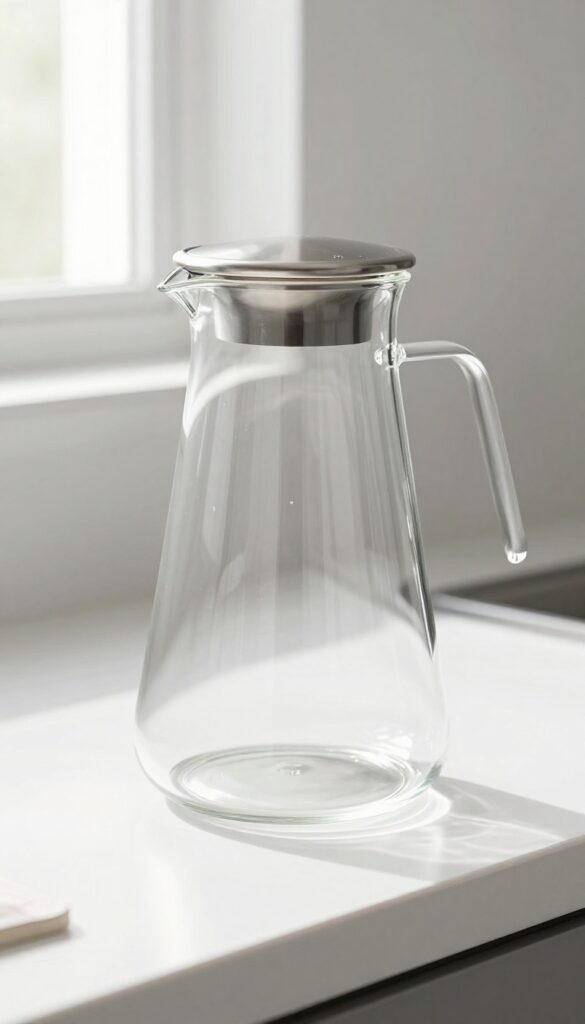
2. Empty and Rinse the Carafe
Before you pour in the vinegar solution, take a moment to deal with the carafe. Leftover coffee or residue can react with the vinegar and create a weird taste. A quick rinse now saves you from scrubbing later.
Why This Step Matters
Old coffee oils and sediment can mix with the vinegar solution, reducing its effectiveness. Rinsing ensures the cleaning solution stays pure and works on the real buildup inside the machine.
How To Do It Right
Remove the carafe from the warming plate. Pour out any remaining coffee. Rinse thoroughly with warm tap water, swishing it around to dislodge any residue.
If you see stubborn stains, a quick scrub with a soft sponge and mild soap helps. Rinse again until no soap remains.
Don't Forget The Lid
The carafe lid often collects coffee drips and grime. Open it and rinse under warm water, paying attention to the hinge area. Wipe it dry with a clean cloth before reassembling.
3. Fill the Reservoir with Vinegar Solution
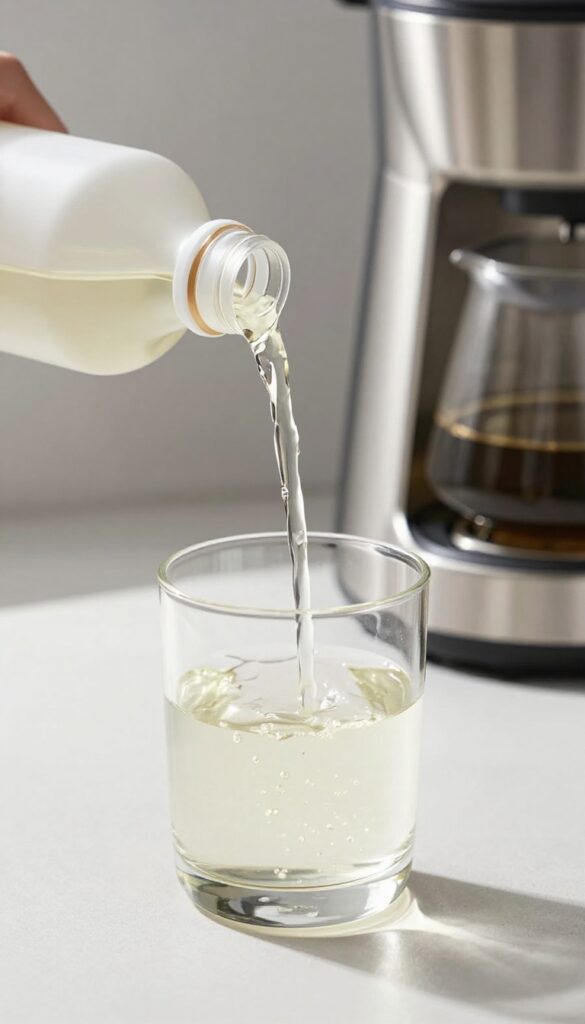
Now that your coffee maker is empty and the carafe is clean, it's time to add the cleaning mixture. The ratio matters, but don't overthink it—equal parts white vinegar and water is the sweet spot. For machines that haven't been cleaned in months, go ahead and use full-strength vinegar for a deeper descale.
Why Equal Parts Works Best
A 1: 1 ratio of vinegar to water is strong enough to dissolve mineral deposits without being overly harsh on your machine's internal components. Full-strength vinegar can accelerate wear on rubber seals and gaskets if used too often, so reserve it for heavy buildup only.
How To Pour Without Spills
Use a funnel if your reservoir opening is narrow. Pour slowly to avoid splashing. Fill to the max line, but do not overfill—the solution needs room to circulate during the brewing cycle.
When To Use Full-strength Vinegar
If you see visible scale flakes in the water or your coffee tastes noticeably off, skip the water and use straight vinegar. This is a one-time deep clean. Afterward, run two or three plain water cycles to rinse thoroughly.
4. Start a Brew Cycle (Without Coffee)
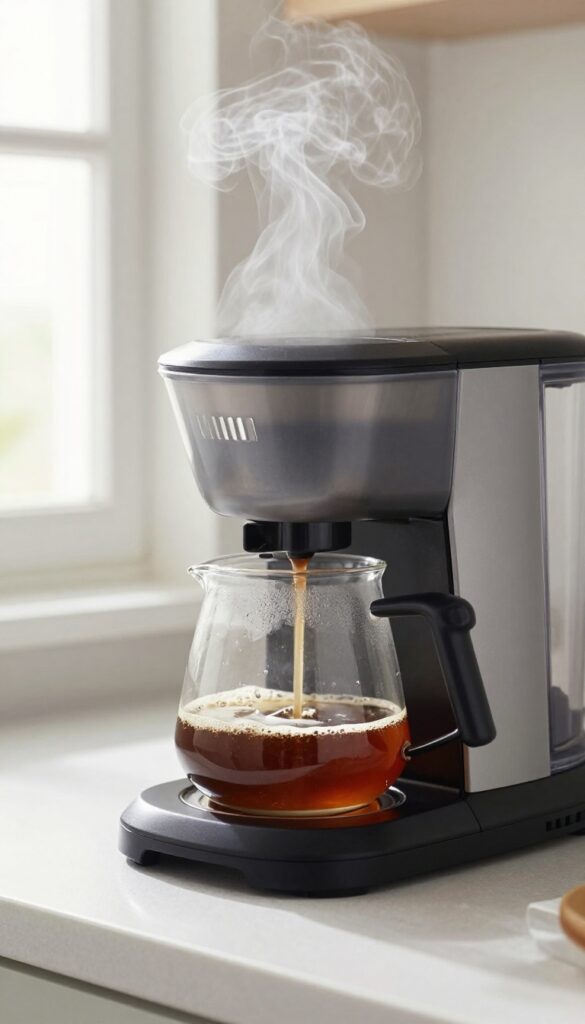
With the vinegar solution in the reservoir and an empty filter in place, you're ready to run the cleaning cycle. This step is where the actual descaling happens—the hot vinegar will travel through every internal tube, valve, and heating element, dissolving mineral buildup along the way. Don't skip this part; it's the core of the entire cleaning process.
Place An Empty Filter
Grab a fresh paper filter or your reusable one and put it in the basket. This catches any loose debris that gets dislodged during the cycle. If you use a permanent filter, make sure it's clean and free of old coffee grounds.
Run A Full Brew Cycle
Press the brew button and let the machine do its thing. The entire cycle should complete, including any pause-and-serve feature if your model has one. The vinegar will heat up, flow through the system, and drip into the carafe.
You might notice some fizzing or bubbling—that's the vinegar reacting with mineral deposits, which is perfectly normal.
Let It Sit After Brewing
Once the cycle finishes, don't pour out the vinegar right away. Let it sit in the carafe for about 15–20 minutes. This extra soak time helps loosen any stubborn scale that didn't get flushed out during the brew.
For heavily soiled machines, you can even let it sit for up to 30 minutes.
5. Let It Sit Mid-Cycle
Halfway through the cycle, you hit a crucial moment. Turning off the machine and letting the vinegar sit gives it time to break down tough mineral deposits that a quick rinse might miss. This pause is where the real cleaning happens, especially if your coffee maker has seen years of hard water buildup.
After the first half of the brewing cycle finishes, switch off the machine. Leave the vinegar solution in the reservoir and the carafe in place. Set a timer for 30 minutes.
During this time, the acetic acid in the vinegar works on scale that has hardened inside the internal tubes and heating element. Don't skip this step—it's the difference between a superficial clean and a deep descale.
Why 30 Minutes Matters
Mineral deposits like calcium and magnesium need more than a quick pass to dissolve. A 30-minute soak allows the vinegar to penetrate thick scale layers. If your machine has a lot of buildup, you might even see flakes floating in the solution when you restart the cycle.
What To Do While You Wait
Use this time to wipe down the exterior of the coffee maker. Dampen a cloth with a little vinegar solution and clean the warming plate, lid, and control panel. It's a productive break that keeps the overall cleaning process efficient.
Don't Let It Sit Too Long
Stick to 30 minutes. Leaving vinegar in the machine for hours can damage rubber seals and plastic components. Set a timer so you don't forget.
Once the time is up, turn the machine back on and let the rest of the cycle finish.
6. Complete the Brew Cycle
Once the vinegar solution is in the reservoir and the filter is in place, it's time to let the machine do the work. Turn the coffee maker on and let it run through a full brew cycle. This step is where the actual cleaning happens—the vinegar solution travels through the internal pipes, heating element, and showerhead, loosening mineral deposits and residue along the way.
Let the cycle finish completely. When it's done, the carafe will be filled with a warm vinegar solution that has now picked up all the gunk from inside your machine. Discard this solution down the sink—it's not for drinking.
Also, remove and throw away the used paper filter. If you use a permanent filter, rinse it well under running water to remove any vinegar residue.
Let The Machine Run Its Course
Don't stop the cycle early or try to speed it up. The vinegar needs time to sit in the internal components to effectively break down scale. A full cycle ensures every part gets treated, from the water line to the warming plate.
Dispose Of The Vinegar Solution Properly
Once the cycle finishes, carefully pour the hot vinegar solution down the drain. It's safe for plumbing and can help deodorize your sink. Just be cautious—the carafe will be hot.
Rinse the carafe with plain water afterward to remove any lingering vinegar smell.
Remove And Replace The Filter
The filter has trapped loose debris and scale particles during the cycle. Discard it immediately to prevent those particles from redepositing on the next brew. If you use a reusable filter, scrub it gently with a soft brush and rinse thoroughly.
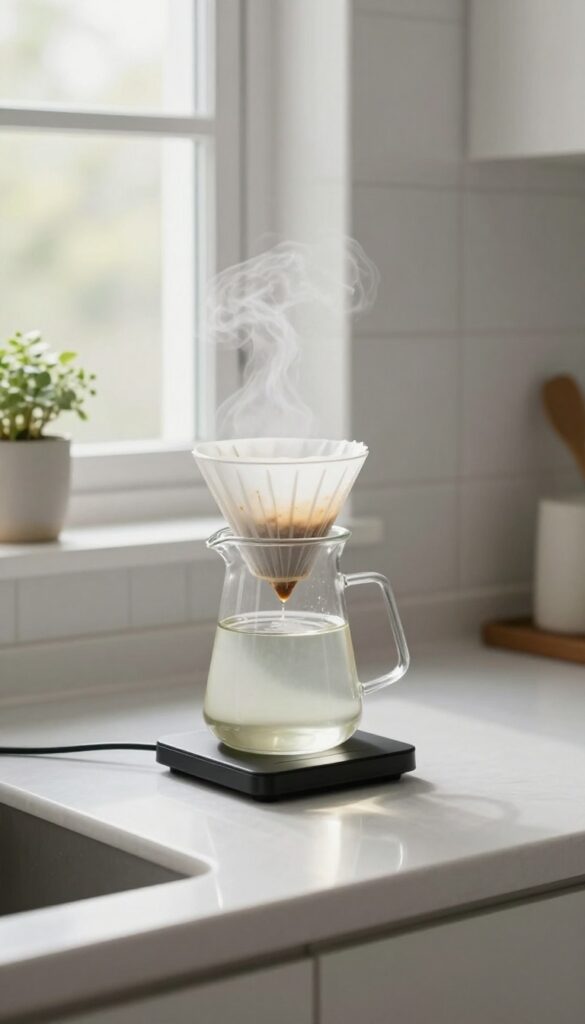
7. Run a Fresh Water Cycle
After the vinegar cycle has done its job, there's one more step before you can brew with confidence. The fresh water cycle is what removes that lingering vinegar taste and any leftover residue. It's simple, quick, and makes a big difference in the final cup.
Why A Fresh Rinse Matters
Even after a thorough vinegar cycle, some solution remains in the internal tubing and heating element. If you skip the rinse, your next pot of coffee might taste like salad dressing. A clean water flush ensures every trace of vinegar is gone, so your morning brew tastes like it should.
How To Do It Right
Fill the reservoir with fresh, cold water to the max line. Place an empty paper filter in the basket (or clean the permanent filter). Run a full brew cycle.
When it's done, discard the water in the carafe. For best results, repeat this process one more time. That double rinse guarantees a neutral taste.
What To Look For
As the water runs through, you might see a few tiny white flakes or a slight vinegar smell. That's normal. By the second cycle, the water should be clear and odorless.
If you still detect vinegar, run a third cycle. Once it's clean, you're ready to brew your next cup.
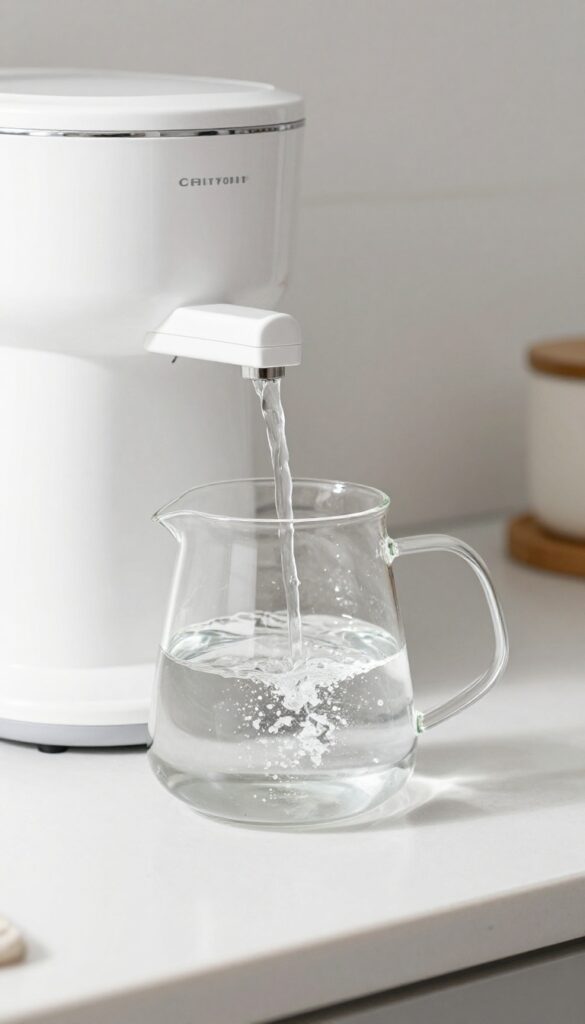
8. Repeat the Water Rinse
One rinse cycle might not be enough to flush out all the vinegar residue. A second water-only cycle guarantees that any lingering vinegar smell or taste is completely gone. Your coffee will taste clean and pure after this step.
Why A Second Rinse Matters
Vinegar can cling to internal parts like the heating element and tubing. A single rinse may leave traces that affect the flavor of your next brew. Running a second cycle ensures that every last bit is flushed out, especially in machines with complex plumbing.
How To Run The Second Rinse
Fill the reservoir with fresh cold water to the max line. Place a clean paper filter in the basket. Start a full brew cycle and let it complete.
When done, discard the water and the filter.
Check For Residual Smell
After the second rinse, open the lid and sniff the reservoir and carafe. If you still detect vinegar, run a third rinse. Most machines are clear after two cycles, but older or heavily scaled models may need an extra pass.
9. Clean the Carafe and Lid
The carafe and lid are often overlooked, but they can trap coffee oils and residue that affect flavor. A quick scrub after the vinegar cycle ensures everything your coffee touches is fresh and clean.
While the machine is rinsing, take a moment to wash the carafe and lid. Use warm water and a few drops of dish soap to remove any lingering vinegar or coffee stains. Rinse thoroughly to avoid soap film that could alter your next brew.
Why The Carafe Matters
The carafe holds your finished coffee, so any residue inside will directly impact taste. Oils from coffee can build up over time, turning bitter. A clean carafe keeps your coffee tasting as intended.
How To Clean The Lid
The lid often has small crevices where grime hides. Use a soft sponge or brush to scrub these areas. If your lid is removable, soak it in warm soapy water for a few minutes before rinsing.
Drying And Reassembling
After rinsing, dry the carafe and lid with a clean cloth or let them air dry. Make sure no water droplets remain before reassembling. This prevents mineral spots and keeps everything ready for the next use.
10. Wipe Down the Exterior
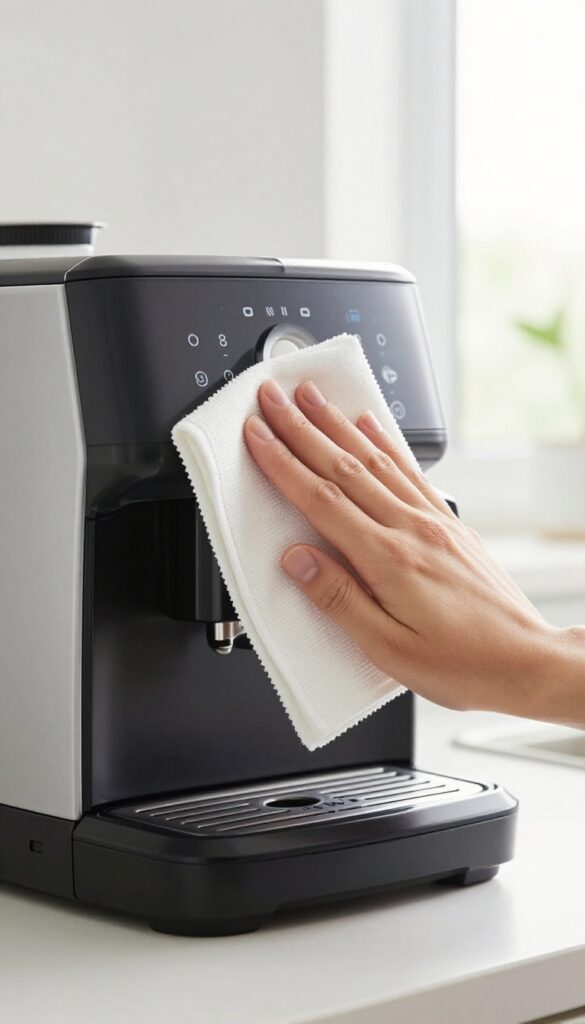
While the inside of your coffee maker gets all the attention, the outside can collect just as much grime. Coffee splatters, dust, and sticky fingerprints build up over time, especially on the warming plate and control panel. A quick wipe-down not only makes your machine look better but also prevents residue from burning onto the hot surface.
Focus On The Warming Plate
The warming plate is prone to coffee stains and burnt-on residue. Wait until the machine is cool, then use a damp cloth with a little vinegar to gently scrub the surface. For stubborn spots, let the vinegar sit for a minute before wiping.
Avoid abrasive sponges that could scratch the finish.
Clean The Control Panel Carefully
Buttons and displays can trap dirt and coffee oils. Dampen a microfiber cloth with a vinegar-water solution (equal parts) and wipe gently. Be careful not to let liquid drip into the openings.
Use a dry cloth afterward to prevent streaks and protect the electronics.
Don't Forget The Water Reservoir Lid
The lid of the water reservoir often gets overlooked but can develop mineral deposits and mold. Wipe it down with the same vinegar solution. For crevices, use a cotton swab dipped in vinegar to reach tight spots.
Rinse with a damp cloth afterward.
11. Clean the Filter Basket
The filter basket works hard every morning, catching grounds and directing water into your carafe. Over time, leftover coffee oils and tiny grounds can build up in its mesh or crevices, affecting the taste of your brew. A quick scrub during your vinegar cleaning routine keeps it fresh and functional.
Remove And Disassemble
Take the filter basket out of the machine. If your model has a removable bottom or a permanent filter, separate those parts. This gives you access to every nook where residue hides.
Wash With Warm Soapy Water
Use a soft sponge and mild dish soap to scrub the basket and any removable parts. Pay extra attention to the mesh or holes where grounds get trapped. Rinse thoroughly under running water until no soap remains.
Check For Stubborn Deposits
If you see mineral scale or stuck-on coffee oils, soak the basket in a 50/50 vinegar-water solution for 15 minutes. Then scrub again and rinse well. This step ensures no vinegar taste lingers.
Dry And Reassemble
Shake off excess water and let the basket air-dry completely before placing it back in the machine. A dry filter basket prevents mold and keeps your next brew tasting clean.
12. Descale the Machine Monthly
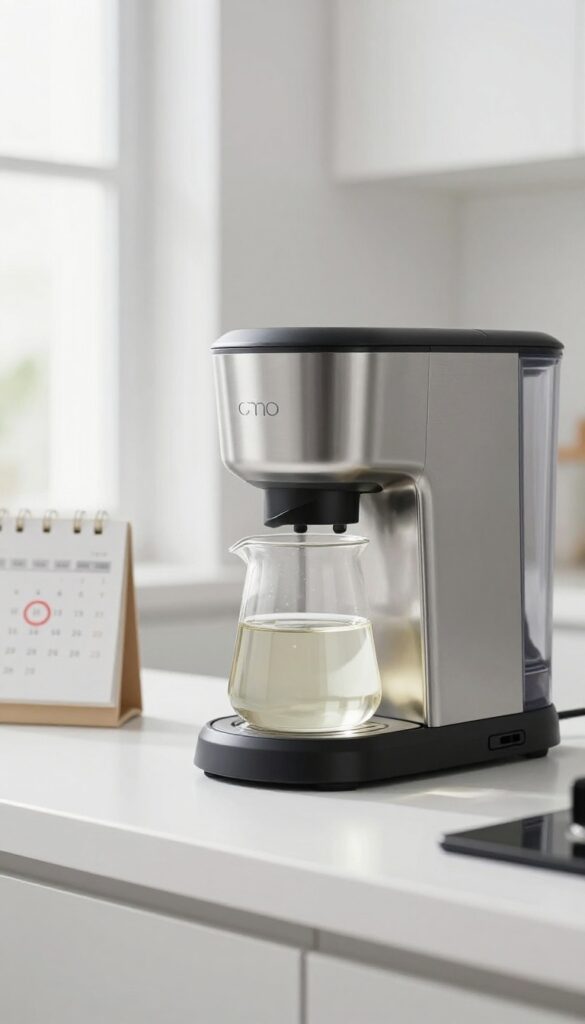
Consistency is key when it comes to coffee maker maintenance. Running a vinegar cycle once a month keeps mineral deposits from building up and affecting your brew. This simple habit ensures your machine stays in top shape and your coffee tastes fresh every time.
Mark your calendar or set a reminder on your phone. Monthly descaling prevents the need for heavy-duty cleaning later and extends the life of your coffee maker. It's a small time investment that pays off in better coffee and fewer repairs.
Why Monthly Matters
Hard water minerals accumulate gradually. If you wait too long, the buildup becomes stubborn and can clog internal parts. Monthly cleaning keeps things flowing smoothly and maintains optimal brewing temperature.
Easy Reminder Tricks
Tie your descaling schedule to another monthly task, like paying a bill or changing a filter. Or simply do it on the first day of every month. Consistency makes it a habit you won't forget.
What If You Use Soft Water?
Even with filtered or soft water, some minerals still get through. Monthly vinegar cycles are still beneficial to remove any residual oils and keep the machine fresh. It's better to be safe than sorry.
13. Enjoy Better-Tasting Coffee

The moment of truth arrives when you brew that first pot after a deep clean. All the effort you put into scrubbing, rinsing, and flushing pays off in the cup. This final step is about savoring the reward—a noticeably cleaner, smoother, and richer coffee that reminds you why maintenance matters.
After completing the vinegar cleaning cycle and several fresh-water rinses, your coffee maker is ready for its first real test. Fill the reservoir with fresh, cold water and add your usual amount of coffee grounds. Brew a full pot just as you normally would.
As the coffee drips into the carafe, take a moment to appreciate the absence of any vinegar smell. That's a good sign. Pour yourself a cup, black if you usually drink it that way, and taste it.
You'll likely notice the difference immediately: less bitterness, a cleaner finish, and the true flavor of your beans shining through. If the coffee tastes off or still has a faint vinegar note, run another rinse cycle before brewing again. Once it's perfect, you've successfully restored your machine.
What To Look For
Pay attention to the aroma and flavor of the first cup. A clean coffee maker produces a bright, inviting smell and a smooth taste without any harsh or sour notes. If your coffee tastes flat or metallic, there may still be residue.
Trust your palate—it's the best indicator of a job well done.
Why This Matters
Regular cleaning with vinegar not only improves taste but also extends the life of your coffee maker. Mineral buildup can clog internal parts and cause heating issues. By enjoying better-tasting coffee, you're also confirming that your machine is running efficiently.
That first sip is your proof.
Make It A Habit
To keep that fresh taste, plan to clean your coffee maker with vinegar every one to three months, depending on usage and water hardness. Set a reminder on your phone or mark it on your calendar. Consistent maintenance means every morning starts with a great cup.
FAQ
Can I use apple cider vinegar instead of white vinegar?
White vinegar is recommended because it's clear and doesn't leave a strong odor. Apple cider vinegar can work but may leave a slight aftertaste.
How often should I clean my coffee maker with vinegar?
Once a month is ideal for most households. If you have hard water, consider cleaning every two weeks.
Will vinegar damage my coffee maker?
No, white vinegar is safe for coffee makers when used correctly. Just be sure to rinse thoroughly with water afterward.
What if my coffee maker has a special descaling cycle?
Follow the manufacturer's instructions for that cycle. You can still use vinegar instead of commercial descaler.
Can I clean a Keurig or single-serve machine with vinegar?
Yes, but the process differs slightly. Run vinegar solution through the water reservoir, then several water cycles to rinse.
Conclusion
Cleaning your coffee maker with vinegar is one of the simplest ways to keep it running smoothly and your coffee tasting great. These 13 steps cover everything from basic descaling to tackling stubborn mineral buildup without expensive products. Regular maintenance every few months will extend your machine's life and improve every cup you brew.
Pick a method that fits your schedule and stick with it. Your coffee maker will reward you with consistently delicious coffee, and you'll save money on repairs or replacements down the road.