How to Clean Gas Stove Top With 15 Helpful Tips
A greasy gas stove top can make your whole kitchen feel dirty, even if the counters are spotless. But restoring that clean, cook-ready surface doesn't require harsh chemicals or hours of scrubbing. These 15 practical tips break down the process into simple, effective steps that tackle everything from daily spills to burnt-on grime.
Start with the easiest habit—wiping down the stove after every use—and work your way up to deep-cleaning burner heads and grates. Each tip is designed to save you time and effort while keeping your stove looking its best.
Whether you're dealing with stubborn residue on glass tops or grease buildup on stainless steel, this guide has you covered. Let's dive into the methods that actually work.
1. Wipe Down After Every Use
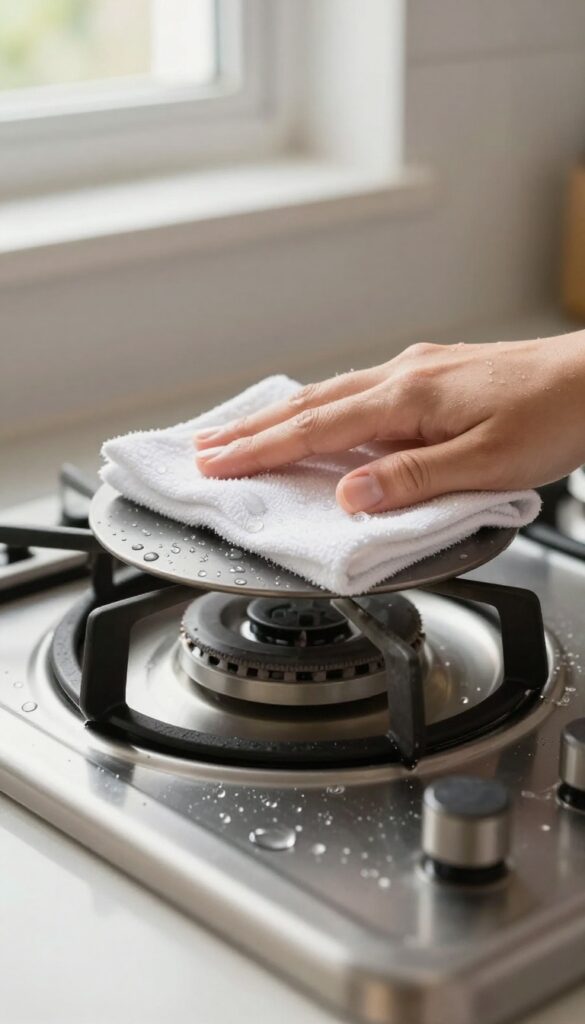
Getting into the habit of wiping your stove top right after cooking is the single most effective way to keep it clean. Fresh spills and splatters come off easily, but once they cool and harden, they become a chore. A quick wipe saves you time and elbow grease later.
After you turn off the burners and the surface has cooled enough to touch safely, grab a soft cloth or sponge and a mild dish soap solution. Wipe down the entire cooktop, paying extra attention to areas around the burners where grease tends to pool. This routine takes less than a minute and prevents buildup from turning into stubborn stains.
What You’ll Need
Keep a spray bottle filled with water and a few drops of dish soap near the stove. A microfiber cloth works best because it lifts grease without scratching. Avoid abrasive scrubbers or harsh cleaners that can damage the finish.
How To Do It Right
Let the stove cool for about 5–10 minutes after cooking. Spray the surface lightly, then wipe with the damp cloth. For stuck-on bits, let the soapy water sit for a minute before wiping again.
Dry with a clean towel to prevent water spots.
Why It Works
Grease and food residue harden as they cool. By wiping while the stove is still warm, you dissolve the oils before they bond to the surface. This simple habit cuts down on deep cleaning frequency and keeps your stove looking new.
2. Remove Grates and Burner Caps for Deep Cleaning
Taking the grates and burner caps off your stove might seem like an extra step, but it makes a huge difference. When you clean around them instead of removing them, grease and food particles build up in the hard-to-reach spots. Pulling them off lets you tackle the grime directly, and the rest of the stove becomes much easier to wipe down.
Soak Away The Stubborn Grime
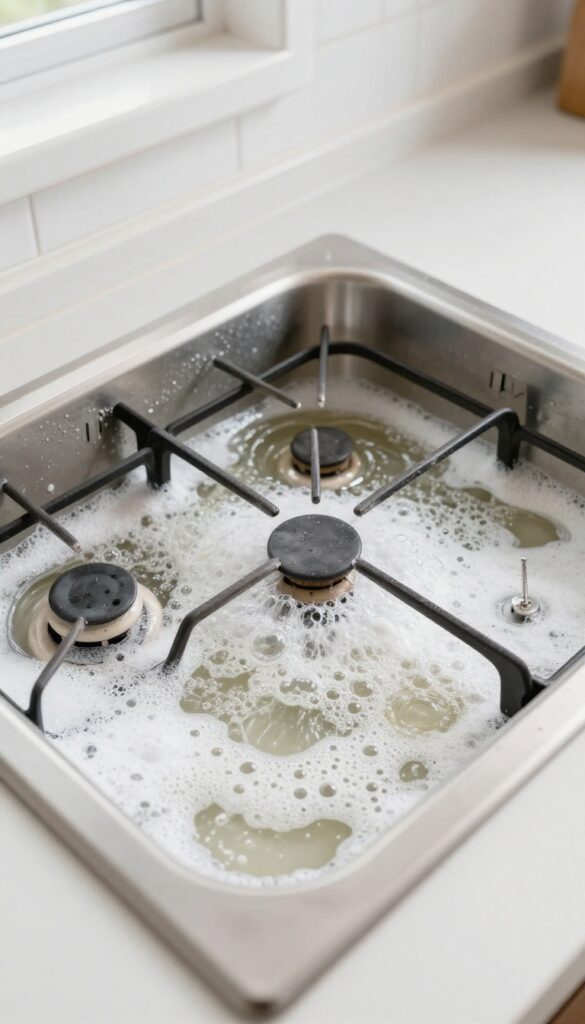
Fill your sink or a large basin with hot water and a few squirts of dish soap. Drop in the grates and burner caps and let them soak for at least 15 to 20 minutes. Hot, soapy water loosens baked-on grease and food residue, so you won't have to scrub as hard.
For extra tough buildup, add a quarter cup of baking soda or white vinegar to the soak.
Scrub Gently But Thoroughly
After soaking, use a non-abrasive sponge or a soft-bristle brush to scrub each piece. Pay extra attention to the corners and crevices where grease hides. Avoid steel wool or harsh scouring pads—they can scratch the finish.
If you still see stubborn spots, make a paste of baking soda and water, apply it, and let it sit for a few minutes before scrubbing again.
Rinse And Dry Completely
Rinse each grate and burner cap under clean running water to remove all soap residue. Then dry them thoroughly with a clean towel or let them air dry on a dish rack. Make sure they are completely dry before putting them back on the stove—any leftover moisture can cause rust or affect burner performance.
3. Use Baking Soda Paste for Burnt-On Food
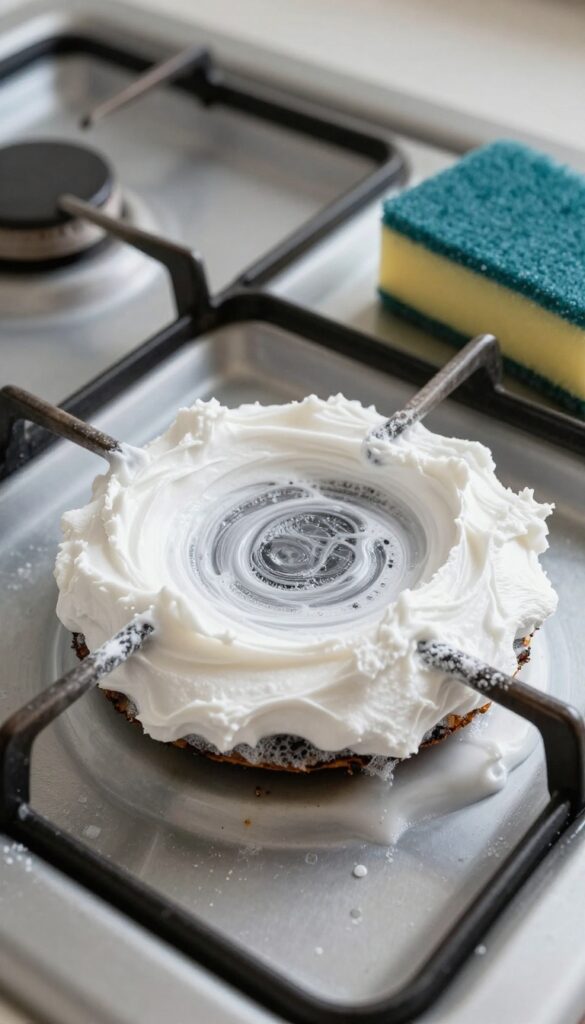
Burnt-on food can feel impossible to remove, but a simple paste of baking soda and water works like magic. It's gentle enough for everyday use yet tough on stubborn residue. This method is a go‑to for anyone who wants a non‑toxic, effective cleaner.
Baking soda is a mild abrasive that lifts burnt food without scratching your stove top. When mixed with water, it forms a paste that clings to vertical surfaces and stays put, giving it time to break down the grime. This technique works on both glass and stainless steel surfaces, and it's safe for most gas stove tops.
How To Make The Paste
In a small bowl, combine three parts baking soda with one part water. Stir until it forms a thick, spreadable paste. If it's too runny, add more baking soda; if too thick, add a few drops of water.
The consistency should be similar to toothpaste.
Application And Wait Time
Using a spatula or your fingers, apply the paste directly to the burnt areas. Spread it evenly, then let it sit for 15 minutes. This dwell time allows the baking soda to soften the burnt food, making it much easier to wipe away.
Scrubbing And Rinsing
After 15 minutes, dampen a soft sponge or microfiber cloth and gently scrub the area in circular motions. The burnt food should lift off with little effort. Rinse the sponge frequently and wipe away all residue.
For extra stubborn spots, let the paste sit longer or add a splash of white vinegar.
4. Clean Burner Heads with a Toothbrush
Burner heads take a beating from direct heat and food drips, but they're often neglected because they look tricky to clean. The truth is, a simple toothbrush is all you need to get them sparkling again. Focus on the gas ports—those tiny holes where the flame comes out—because even a little clog can cause uneven cooking.
Grab an old toothbrush and a bowl of warm, soapy water. Scrub the burner heads thoroughly, paying extra attention to the gas ports. For stubborn residue, dip the brush in a paste of baking soda and water.
Rinse well and let them dry completely before putting them back on the stove.
Why The Gas Ports Matter
Clogged gas ports lead to yellow flames, uneven heat, and wasted gas. A quick scrub with a toothbrush clears out debris and restores a clean blue flame. This simple step improves cooking performance and saves energy.
The Best Brush For The Job
A firm-bristled toothbrush works best—it's small enough to reach into crevices but tough enough to remove baked-on grime. Avoid wire brushes, which can scratch the metal. Keep a dedicated brush in your cleaning caddy so it's always ready.
Drying Is Non-negotiable
After scrubbing, shake off excess water and let burner heads air-dry on a towel for at least an hour. Putting them back wet can cause rust or affect the flame. Patience here pays off with a longer-lasting stove.
5. Soak Grates in Vinegar and Baking Soda
When your grates have layers of baked-on grease that scrubbing won't touch, it's time for a chemistry lesson. A vinegar and baking soda soak creates a fizzy reaction that loosens stubborn grime without elbow grease. This method works best for cast iron, porcelain, or stainless steel grates—just check your manufacturer's instructions first.
How To Set Up The Soak
Place your grates in a large plastic tub or garbage bag (line it with a trash bag for easy cleanup). Sprinkle baking soda generously over all surfaces, then pour white vinegar over the grates until they're submerged. The mixture will bubble vigorously—that's the action lifting grease.
Let them soak for at least 30 minutes, or overnight for heavily soiled grates.
Scrubbing After The Soak
After soaking, rinse the grates with warm water. Use a non-abrasive scrub brush or sponge to remove any remaining residue. For stuck-on bits, make a paste of baking soda and a little water and scrub gently.
Rinse thoroughly and dry completely before putting them back on the stove.
Tips For Different Grate Materials
Cast iron grates should be dried immediately to prevent rust—place them in a warm oven for a few minutes. Porcelain-coated grates are more delicate; avoid metal scrubbers. Stainless steel grates can handle a bit more scrubbing but still benefit from the soak to preserve their finish.
6. Degrease with Dish Soap and Hot Water
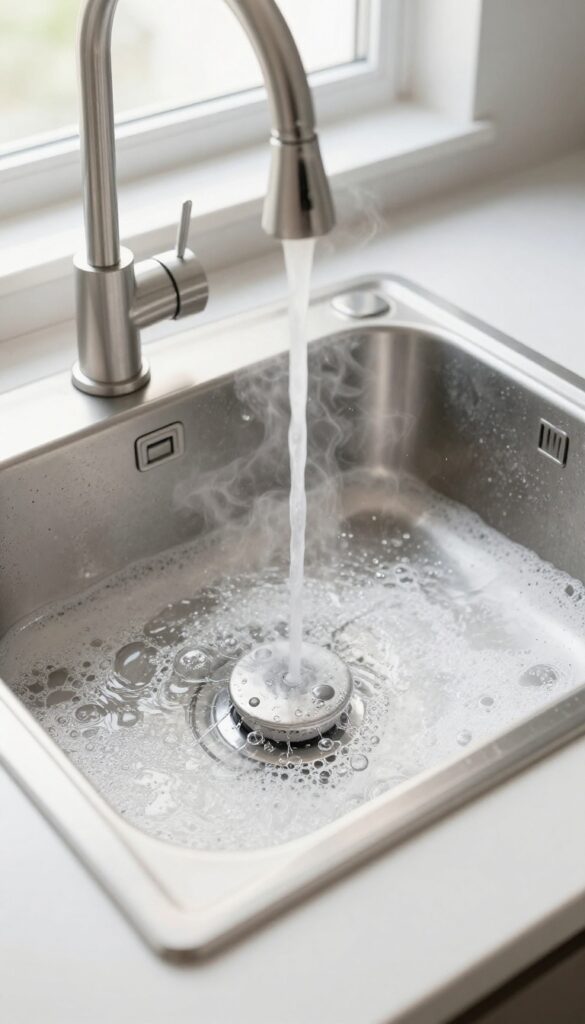
Sometimes the simplest solutions work best. When your grates and burner caps are coated in sticky grease, hot water and dish soap can do the heavy lifting for you—no scrubbing required. This method is gentle on the metal but tough on grime, making it a go-to for regular deep cleaning.
Why This Works
Heat and detergent are a powerful combo. Hot water loosens hardened grease, while dish soap breaks it down into tiny droplets that rinse away easily. Soaking for at least 30 minutes gives the mixture time to penetrate every nook and cranny.
You'll be surprised how much grease lifts off without any elbow grease.
Step-by-step Soak
Start by filling your sink or a large basin with the hottest tap water you can get. Add a generous squirt of dish soap—about a tablespoon per gallon—and swish to dissolve. Submerge the grates and caps completely, making sure no air pockets trap them.
Let them soak for 30 minutes, or up to an hour for extra stubborn buildup.
Rinse And Dry
After soaking, drain the soapy water and rinse each piece thoroughly under warm running water. Use a soft sponge or cloth to wipe away any remaining residue—it should come off easily. Dry everything completely with a clean towel before putting them back on the stove.
Moisture left behind can cause rust or interfere with burner performance.
7. Scrub Stubborn Stains with a Non-Abrasive Pad
Not all stains surrender to baking soda and vinegar. For those burnt-on spots that cling to your cooktop, you need a bit of elbow grease—but the right tool matters. Steel wool might seem like a quick fix, but it can leave permanent scratches on enamel or glass surfaces, making future cleaning even harder.
The trick is to use a non-abrasive scrubbing pad or sponge that's tough on grime but gentle on your stove.
When a paste or spray won't budge a stain, it's time to scrub. But before you reach for the scouring pad, check your stove's surface. Porcelain enamel and glass cooktops are especially prone to scratching.
A non-abrasive scrub pad—like a blue Scotch-Brite or a melamine sponge (the generic version of Mr. Clean Magic Eraser)—can remove stubborn residue without damaging the finish. For extra stubborn spots, pair the pad with a gentle cleaner like baking soda paste or a specialized cooktop cleaner.
Apply a small amount to the pad and scrub in a circular motion with light to medium pressure. Rinse thoroughly and dry with a microfiber cloth to avoid water spots.
Which Pads Are Safe?
Look for pads labeled "non-scratch" or "non-abrasive. " Blue or white scrub pads are typically safe for enamel and glass. Avoid green pads (often too harsh) and steel wool entirely.
A melamine sponge is also a great option—it's slightly abrasive on a microscopic level but won't scratch most stove surfaces. Test on a small hidden area first if you're unsure.
How To Scrub Without Damaging The Surface
Always wet the pad and the stove surface before scrubbing. Dry scrubbing creates friction that can cause micro-scratches. Use a circular motion and let the cleaner do most of the work.
If you feel resistance, stop and apply more cleaner or let it sit for a few minutes. Rinse the pad frequently to avoid redepositing grime.
What About Stubborn Burnt-on Food?
For really tough spots, make a paste of baking soda and water and let it sit on the stain for 10–15 minutes before scrubbing. The paste softens the burnt-on residue, making it easier to remove without excessive force. If that doesn't work, a plastic scraper designed for cooktops can gently lift the residue without scratching.
8. Clean Control Knobs with a Q-Tip
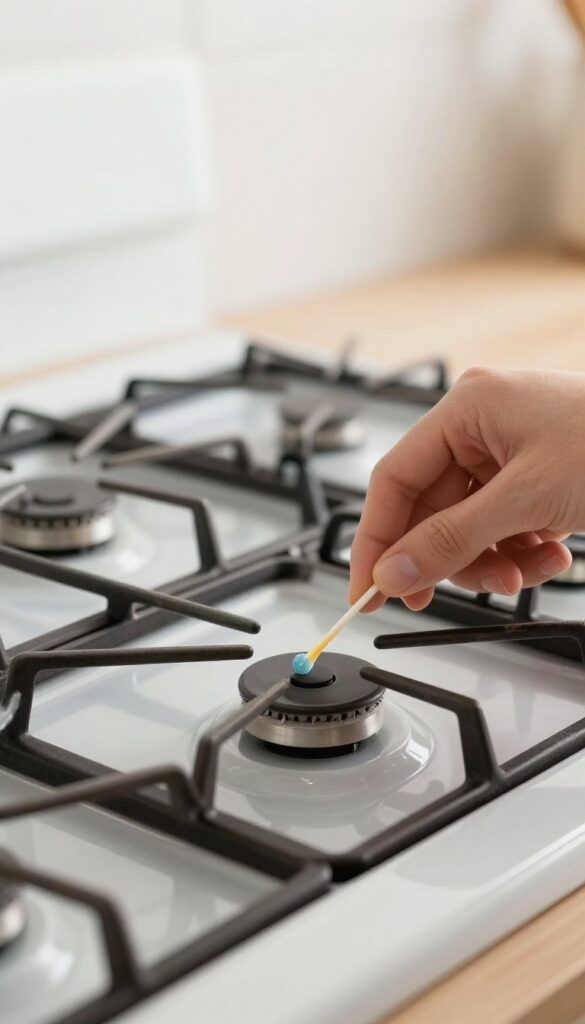
Control knobs collect grease and grime from daily use, but they're often overlooked during a deep clean. The crevices around the stems are especially tricky to reach. With a simple Q-tip and rubbing alcohol, you can get them spotless without disassembling anything.
Remove And Soak The Knobs
First, pull the knobs straight off the stems. Most gas stove knobs pop off easily—no tools needed. Soak them in a bowl of warm, soapy water for about 10 minutes.
This loosens the grease and makes scrubbing effortless.
Scrub The Stems With A Q-tip
While the knobs soak, dip a Q-tip in rubbing alcohol and run it around the stems on the stove. The alcohol dissolves sticky residue and dries quickly. Work the Q-tip into the crevices until the cotton comes away clean.
Rinse And Dry The Knobs
After soaking, scrub each knob with a soft sponge or cloth to remove any remaining grime. Rinse them under clean water and dry thoroughly with a towel before popping them back on. Moisture behind the knobs can cause sticking, so make sure they're completely dry.
9. Tackle Grease Buildup on the Stove Surface
Grease buildup on the stove surface can be stubborn, but a simple vinegar solution cuts through it without harsh chemicals. This method works on both glass and metal tops, leaving your stove clean and streak-free.
Spray a mixture of equal parts white vinegar and water on the stove top, let it sit for a few minutes to loosen the grease, then wipe clean with a microfiber cloth. For heavy grease, add a drop of dish soap to the mixture. Avoid using too much soap, as it can leave a residue.
Why Vinegar Works
Vinegar is a mild acid that breaks down grease and grime without scratching surfaces. It's also safe for most stove materials, including stainless steel and glass. The acidity helps dissolve the bonds in grease, making it easy to wipe away.
Step-by-step Application
First, remove any loose debris from the stove top. Then, spray the vinegar solution generously over the greasy areas. Let it sit for 3-5 minutes—longer for baked-on grease.
Wipe with a damp cloth, rinsing frequently. For tough spots, use a non-abrasive sponge.
When To Add Dish Soap
If grease is heavy or has been sitting for days, add one drop of dish soap per cup of vinegar solution. The soap helps emulsify the grease, making it easier to lift. Rinse the surface with a clean damp cloth afterward to avoid soapy residue.
10. Use a Razor Blade for Baked-On Gunk on Glass Tops
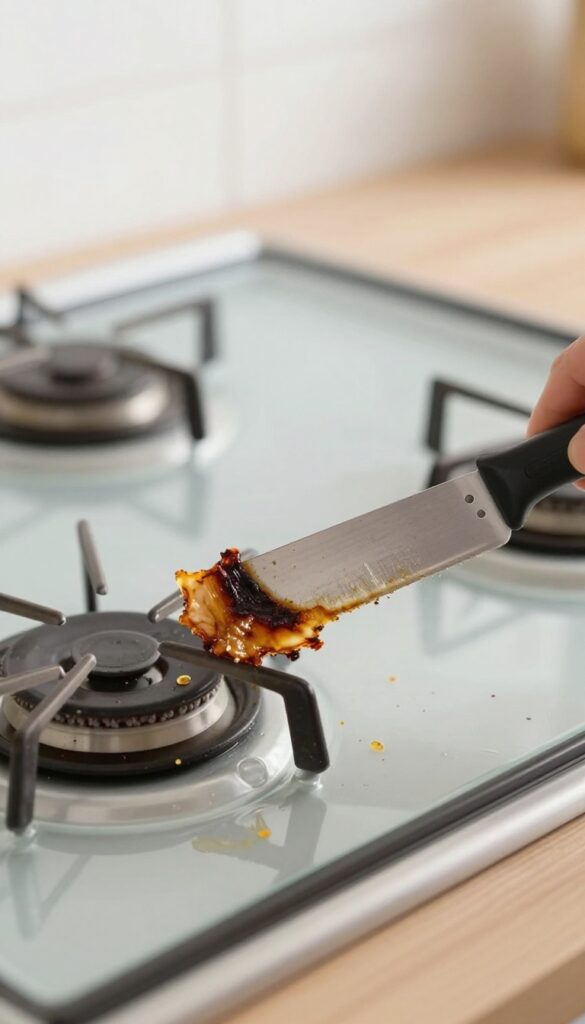
Glass-top gas stoves look sleek, but they show every bit of burnt-on mess. When scrubbing with sponges or cleaners just smears the gunk around, a razor blade can be your best friend. The trick is using the blade correctly so you don't scratch the surface.
Why A Razor Blade Works
Baked-on food and grease form a hard, crusty layer that soft scrubbers can't lift. A sharp razor blade acts like a scraper, slicing under the residue without damaging the glass when used at the right angle. It's the same tool professional cleaners use for glass cooktops.
The Right Technique
Hold the blade at a 45-degree angle to the glass. Use a gentle, steady push—don't dig in or use a sawing motion. Keep the blade flat against the surface to avoid scratching.
Work in one direction, lifting the blade after each pass to clear away debris.
Safety First: Protect Yourself And The Stove
Always use a new, sharp blade—dull blades require more force and increase the risk of slipping. Wear a glove on your scraping hand for extra grip and protection. Make sure the stove is cool before you start, and never use the blade on textured or painted surfaces.
When To Skip This Method
Avoid razor blades on ceramic or enamel-coated stovetops—they'll scratch instantly. Also, don't use them on stainless steel or any surface with a coating. Stick to glass tops only, and test on a small hidden area first if you're unsure.
11. Clean Around the Igniters with a Dry Brush
Igniters are the small, often overlooked parts that spark the flame on your gas stove. When they get caked with food debris or grease, they can fail to spark or spark weakly. The fix is simple: use a dry brush to gently clean around them.
Water is the enemy here—moisture can damage the ignition system or cause short circuits. So grab a dry toothbrush or a small, stiff-bristled brush and carefully sweep away any buildup.
Igniters are delicate and sensitive to moisture. Using a dry brush avoids the risk of water seeping into the electrical components. A toothbrush works great because its bristles can reach into the small crevices around the igniter.
Gently brush in a circular motion to dislodge any crumbs or grease. Do this every few weeks or whenever you notice the igniter struggling to spark.
Why Dry Brushing Works Best
Wet cleaning methods can cause corrosion or short circuits in the igniter system. A dry brush physically removes debris without introducing moisture. It's also quick and requires no drying time, so you can use the stove immediately after cleaning.
What Kind Of Brush To Use
A clean, dry toothbrush is ideal because it's small and has soft to medium bristles. You can also use a dedicated stove cleaning brush or a small paintbrush. Avoid metal brushes or anything too abrasive that could scratch the igniter surface.
How Often To Clean Igniters
Aim to clean around the igniters every two to four weeks, or whenever you notice a weak or inconsistent spark. If you cook often or use sticky ingredients, check them more frequently. Regular cleaning prevents buildup from becoming a bigger problem.
12. Polish Stainless Steel Surfaces with Oil
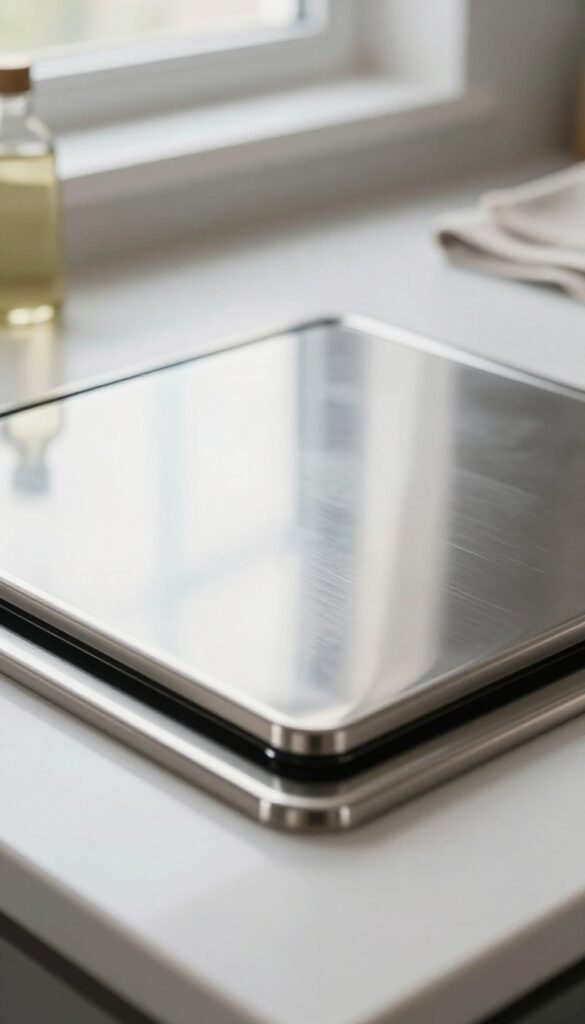
Once your stove top is clean and dry, a final polish can make stainless steel surfaces look like new. A tiny amount of mineral oil or a dedicated stainless steel polish works wonders—it removes streaks, adds a protective layer, and resists future fingerprints. This step takes less than a minute but makes a huge visual difference.
After cleaning, apply a tiny amount of mineral oil or stainless steel polish to a cloth and buff the surface for a streak-free shine.
Why Oil Works
Mineral oil is a food-safe, inexpensive option that fills microscopic pores in stainless steel, creating a smooth, reflective surface. It also repels water and grease, so spills bead up instead of sticking. Stainless steel polishes often contain similar oils plus mild abrasives for extra shine.
How To Apply For Best Results
Use a soft, lint-free microfiber cloth. Add just a drop or two of oil—too much leaves a greasy film. Rub in the direction of the grain (usually vertical or horizontal lines on the steel).
Buff gently until the surface feels dry and looks glossy. Avoid getting oil on burner grates or control knobs.
When To Skip This Step
If your stove has a matte or brushed finish, oil might darken it unevenly. Check the manufacturer’s instructions first. Also, avoid oil on painted or coated surfaces—it can damage the finish.
Stick to polished stainless areas only.
13. Disinfect with Rubbing Alcohol
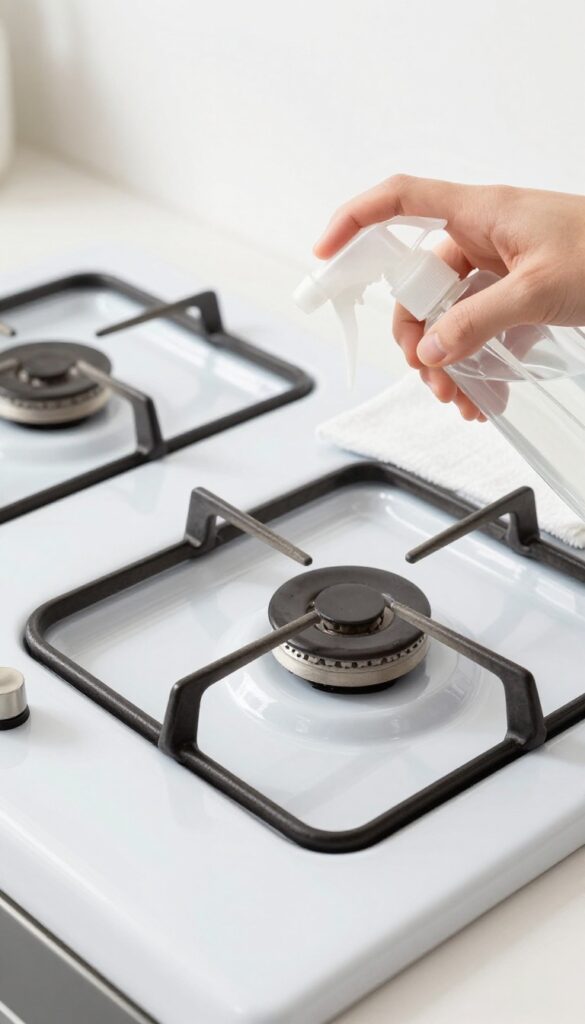
After you've scrubbed away grease and grime, there's one more step to ensure your stove is truly clean: disinfecting. Rubbing alcohol is a powerful tool that kills bacteria and evaporates quickly, leaving no sticky residue behind. It also helps remove any leftover film from cleaning agents, giving your stove a streak-free finish.
Why Rubbing Alcohol Works So Well
Rubbing alcohol (isopropyl alcohol) is a natural disinfectant that kills 99. 9% of germs on contact. Unlike some cleaners, it evaporates almost instantly, so you don't have to worry about moisture seeping into burner ports or electrical components.
It also cuts through any remaining grease or soap film, leaving the surface clean and shiny.
How To Apply It Safely
Pour a small amount of rubbing alcohol onto a soft microfiber cloth—never directly onto the stove, as drips can pool around knobs or burner caps. Wipe down all surfaces, including the cooktop, control panel, and knobs. For stainless steel, follow the grain to avoid streaks.
Let it air dry for a few seconds; no rinsing is needed.
When To Skip This Step
Avoid using rubbing alcohol on painted or plastic parts (like some control panels) as it can damage the finish. Always test on an inconspicuous spot first. Also, never use it near an open flame or while the stove is still warm—alcohol is flammable.
Wait until the stove is completely cool.
14. Prevent Future Buildup with a Stove Top Cover
You've just spent time scrubbing your stove top clean—now keep it that way. A simple cover can catch spills before they bake on, cutting your cleaning time in half. This trick is especially handy for busy cooks who don't have time to wipe down the stove after every meal.
Using a stove top cover is one of the easiest ways to reduce grease and grime buildup. These covers are typically made of silicone or heat-resistant plastic and sit right over the burners, catching splatters as you cook. They're dishwasher safe, so cleanup is as simple as tossing them in the wash.
For even easier protection, place a sheet of heavy-duty aluminum foil under the grates—just replace it when it gets dirty. Just be sure to avoid covering the burner caps or igniters, as that can block airflow and cause uneven flames.
Silicone Covers: Easy And Reusable
Silicone stove top covers are flexible, non-stick, and can withstand high heat. They fit over most burner sizes and come in various colors to match your kitchen. After cooking, let them cool, then wipe or rinse clean.
They're a great investment for anyone who cooks frequently.
Aluminum Foil: Budget-friendly Option
If you prefer a disposable solution, aluminum foil works wonders. Tear off a sheet large enough to cover the area under the grate, then poke holes for the burner flame. Replace the foil every few days or after a messy cook.
It's cheap, effective, and requires zero scrubbing.
What To Avoid
Never place covers directly over the burner caps or flame ports—this can cause incomplete combustion or a fire hazard. Also, avoid using covers on glass-top stoves, as they can trap heat and damage the surface. Stick to gas stoves with removable grates for the best results.
15. Schedule a Monthly Deep Clean
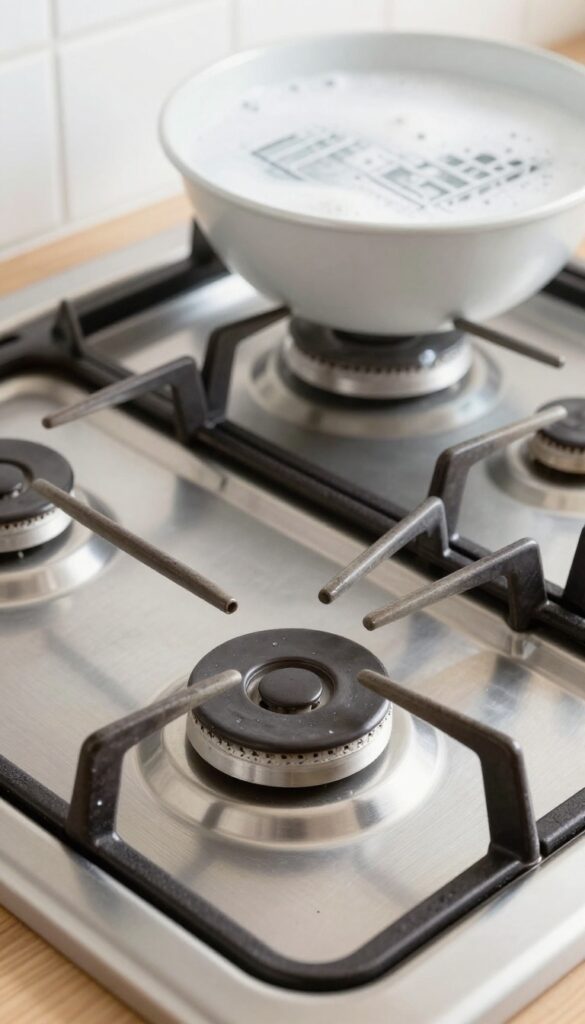
Daily wipe-downs and weekly spot cleaning handle most of the mess, but a monthly deep clean is what keeps your gas stove looking and performing like new. Think of it as a reset for your cooktop—removing every part, giving each piece individual attention, and putting it all back together with a fresh start. This habit prevents grease buildup from becoming stubborn and keeps your burners firing evenly.
Set aside an hour once a month for this thorough cleaning. It’s the one task that makes all your daily efforts pay off, extending the life of your stove and making future cleanings easier.
Remove Everything
Start by taking off all removable parts: grates, burner caps, burner heads, and any knobs that pop off. Place them in a sink or large basin filled with hot, soapy water. Let them soak for at least 15–20 minutes to loosen baked-on grease and food particles.
While they soak, you can focus on the stove top itself.
Scrub And Soak
After soaking, scrub each part with a non-abrasive sponge or brush. For burner heads, use a stiff brush or an old toothbrush to clear clogged gas ports. Rinse thoroughly and dry completely before reassembling.
For grates, a paste of baking soda and water can tackle stubborn spots. Let them air-dry on a towel while you finish the stove top.
Reassemble And Admire
Once everything is dry, put your stove back together. Wipe the surface one last time with a microfiber cloth to remove any dust or residue. The result is a like-new stove that’s ready for another month of cooking.
This monthly reset also gives you a chance to inspect parts for wear and tear, catching small issues before they become problems.
FAQ
Can I use bleach to clean my gas stove top?
Bleach is too harsh for most gas stove surfaces and can damage the finish. Stick to mild dish soap, baking soda, or vinegar-based cleaners.
How do I clean the gas ports if they are clogged?
Use a straight pin or a toothpick to gently clear the small holes. Avoid using anything that might break off inside the port.
Is it safe to put gas stove grates in the dishwasher?
Check your owner's manual. Some grates are dishwasher-safe, but others may discolor or get damaged. Hand washing is usually safer.
How often should I clean my gas stove top?
Wipe it down after each use and do a deep clean at least once a month. If you cook frequently, you may need to deep clean every two weeks.
What is the best way to remove burnt-on grease from burner caps?
Soak the caps in hot water with dish soap and baking soda for 30 minutes, then scrub with a non-abrasive pad. For tough spots, use a baking soda paste.
Conclusion
Keeping your gas stove top clean doesn't have to be a chore. With these 15 tips, you can tackle everything from daily spills to deep-set grime without harsh chemicals or endless scrubbing. A little regular maintenance goes a long way in keeping your stove looking great and working efficiently.
Try incorporating a few of these habits into your routine, and you'll notice the difference every time you cook. Your stove will thank you with better performance and a spotless shine.