How to Clean Cast Iron Stove Grates in 10 Steps
Cast iron stove grates take a beating, but restoring them doesn't require expensive cleaners or endless scrubbing. With a few household staples and a little patience, you can bring back that factory-fresh look without damaging the seasoned surface.
This 10-step guide walks you through a practical routine that tackles everything from daily grease to burnt-on residue. Start by letting the grates cool completely—rushing leads to warped metal or burned fingers.
From there, each step builds on the last, using tools like a dry brush, hot soapy water, and baking soda paste to break down grime safely. The process includes a crucial oiling step that protects against rust and keeps your grates looking their best.
1. Let the Grates Cool Completely
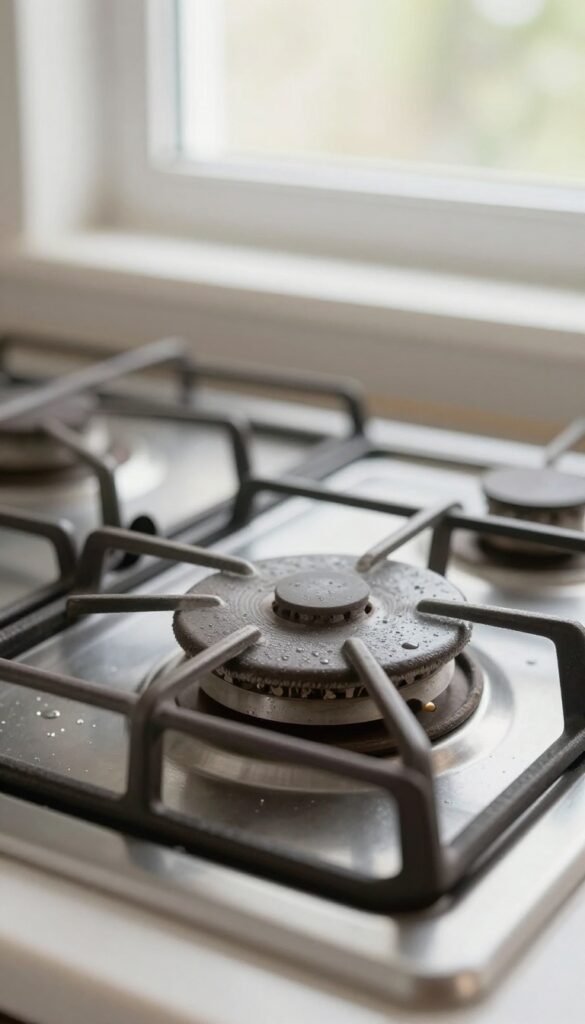
Jumping into cleaning while the grates are still hot is a recipe for disaster. You risk warping the metal, cracking the seasoning, or burning yourself. Patience here saves you time and money down the road.
After cooking, give your cast iron grates at least 30 minutes to cool down to room temperature. Touching them too soon can cause thermal shock, which leads to permanent damage. Use this time to let the grease solidify slightly, making it easier to remove later.
Why Cooling Matters
Cast iron is durable but sensitive to sudden temperature changes. Placing hot grates under cold water can cause them to crack or warp. Cooling slowly protects the metal's integrity and preserves the seasoning.
How Long To Wait
A good rule of thumb is to wait until the grates are cool enough to touch comfortably. Depending on the stove's heat retention, this can take 30 to 60 minutes. Rushing this step often leads to regret.
Safety First
Burns from hot cast iron are no joke. Always use oven mitts or tongs when handling grates, even if they feel cool. The dense metal holds heat longer than you'd expect.
2. Remove Loose Debris with a Dry Brush
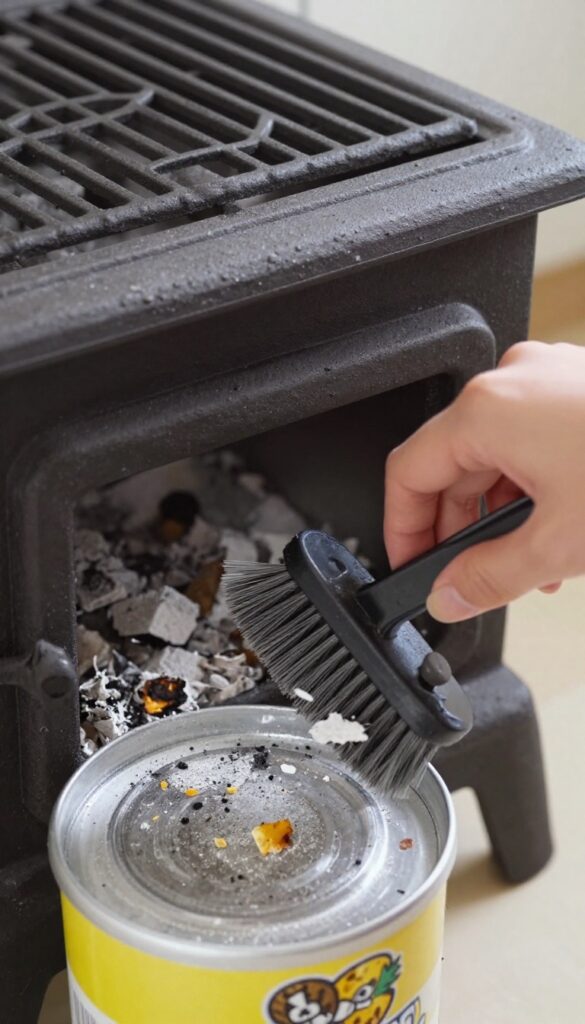
Before you introduce any water or cleaner, you need to clear away the loose stuff. Ash, crumbs, and burnt bits that sit on top of the grates can turn into a gritty paste if you wet them first. That paste can scratch the metal or clog your sink drain.
A quick dry brush step saves you time and keeps the rest of the process cleaner.
Grab a stiff-bristle brush, a dry paper towel, or even an old dish towel. Hold the grate over a trash can or sink and brush firmly in one direction, working from the center out. Pay extra attention to the corners and crevices where food particles like to hide.
If the brush doesn't reach, use a dry toothbrush or a wooden skewer to dislodge stubborn bits.
Choose The Right Brush
A brass-bristle brush works well for cast iron because it's tough but won't scratch the seasoning. Avoid steel wool or wire brushes with hard steel bristles—they can strip the protective layer. If you don't have a brush, a crumpled paper towel or a dry rag will do the job for light debris.
Work Over A Trash Can
Hold the grate directly over a trash can or a large bowl to catch falling crumbs. This prevents ash from scattering across your counter or floor. If you're cleaning multiple grates, do them one at a time to keep the mess contained.
Don't Forget The Underside
Flip the grate over and brush the bottom as well. Burnt-on drips and grease often collect under the bars. A quick pass with a dry brush removes the loose stuff so the next cleaning steps can focus on the real grime.
3. Soak in Hot, Soapy Water
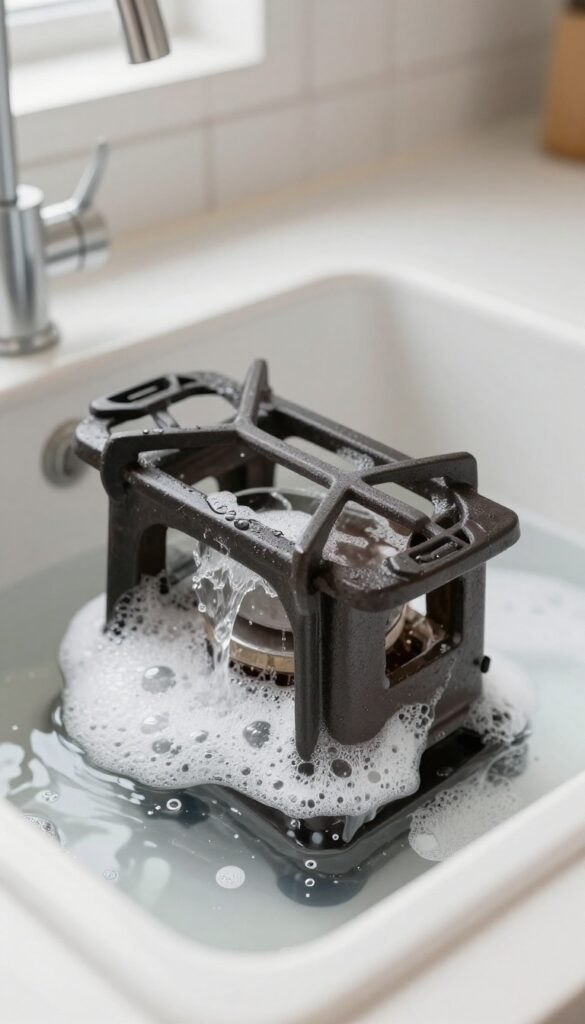
Once you've brushed off the loose debris, it's time for a good soak. Hot water and mild dish soap work together to dissolve stubborn grease and soften burnt-on food, making the next cleaning steps much easier. This simple technique saves you from aggressive scrubbing that could damage the cast iron's seasoning.
Fill your sink or a large plastic tub with enough hot water to fully submerge the grates. Add a few drops of mild dish soap—avoid harsh detergents or bleach, as they can strip the seasoning. Let the grates soak for 15 to 30 minutes.
For extra-sticky grime, you can extend the soak up to an hour, but check periodically to prevent the water from cooling completely.
Why Hot Water Matters
Heat helps break down grease molecules, making them easier to rinse away. Cold water won't cut through the oily residue as effectively, and it can cause the metal to contract unevenly, potentially leading to warping. Stick with hot—but not boiling—water to keep your grates safe.
Choosing The Right Soap
Mild dish soap is your best bet. It's strong enough to lift grease but gentle enough to preserve the seasoning layer. Avoid anything with citrus additives, lye, or abrasives.
A drop or two is plenty; you don't need a sudsy overflow.
Soaking Tips For Tough Grime
If your grates have baked-on gunk that won't budge, try adding a quarter cup of white vinegar to the soak. The acidity helps dissolve mineral deposits and stubborn residue. Just don't let them sit longer than 30 minutes with vinegar, as prolonged exposure can dull the finish.
4. Scrub with a Non-Abrasive Pad
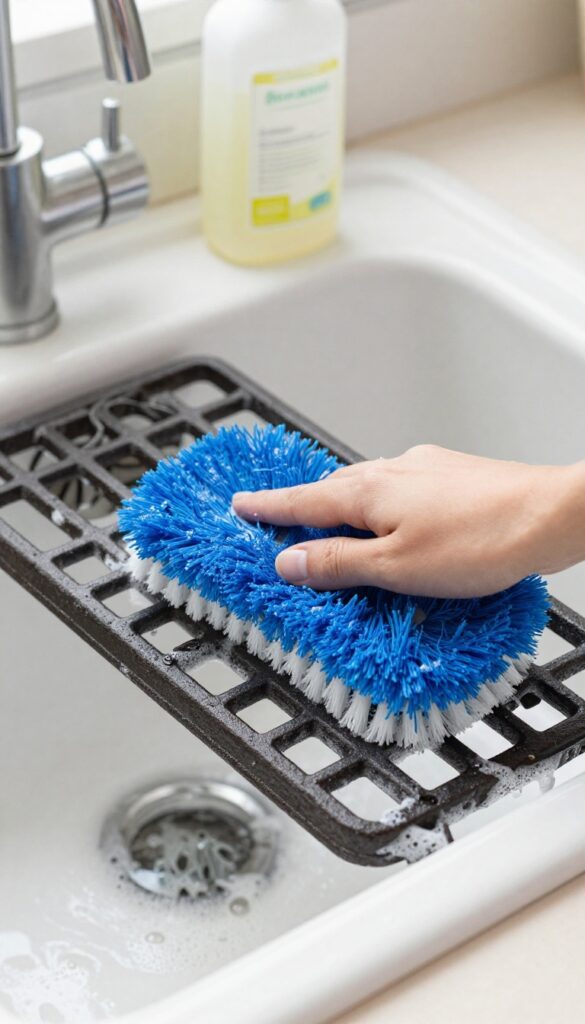
After soaking, the grime has loosened its grip. Now it's time to gently scrub away the softened residue without damaging the cast iron's seasoning. A non-abrasive pad is your best friend here—it lifts dirt without scratching the surface.
Grab a nylon scrub brush or a soft sponge. Dip it in the soapy water and work in small circular motions, focusing on areas with baked-on bits. Rinse the pad frequently to avoid redepositing grime.
For stubborn spots, add a bit of baking soda to your pad for extra gentle abrasion.
Why Steel Wool Is A No-go
Steel wool might seem effective, but it's too harsh for cast iron. It can strip away the seasoning layer that protects against rust and gives grates their non-stick quality. Even a single pass can leave micro-scratches that collect food and lead to uneven cooking.
The Best Tools For The Job
Look for scrub brushes with nylon bristles or sponges labeled non-scratch. A dish brush with a handle gives you extra leverage. For tight corners, an old toothbrush works wonders.
Avoid anything with metal or abrasive particles.
When To Use A Paste
If the grime is stubborn, make a paste of baking soda and a little water. Apply it to the grate and let it sit for 5 minutes before scrubbing. This adds mild abrasion without scratching.
Rinse thoroughly afterward.
5. Tackle Stubborn Spots with Baking Soda Paste
Even after a good soak, some grime just doesn't want to let go. Burnt-on food and grease can leave dark, stubborn patches that need a little extra attention. That's where a simple baking soda paste comes in—it's gentle enough for the cast iron but tough on stuck-on messes.
Baking soda is a mild abrasive, which means it can scrub away residue without scratching the metal. When you mix it with water, it forms a paste that clings to vertical surfaces and stays put, giving it time to break down the gunk. This is a safe, chemical-free way to target problem areas without damaging the seasoning or the iron itself.
Making The Paste
Combine about three parts baking soda with one part water in a small bowl. Stir until it forms a thick, spreadable paste—think toothpaste consistency. If it's too runny, add more baking soda; if too dry, add a few more drops of water.
Applying And Waiting
Use your fingers or a soft brush to apply the paste directly onto the stubborn spots. Spread it evenly, then let it sit for 10 minutes. This gives the baking soda time to work into the residue and loosen it.
Gentle Scrubbing
After the wait, grab a non-scratch scrub brush or sponge and gently scrub the pasted areas using circular motions. You should see the grime start to lift away. For extra tough spots, let the paste sit another 5 minutes before scrubbing again.
6. Rinse Thoroughly and Dry Immediately
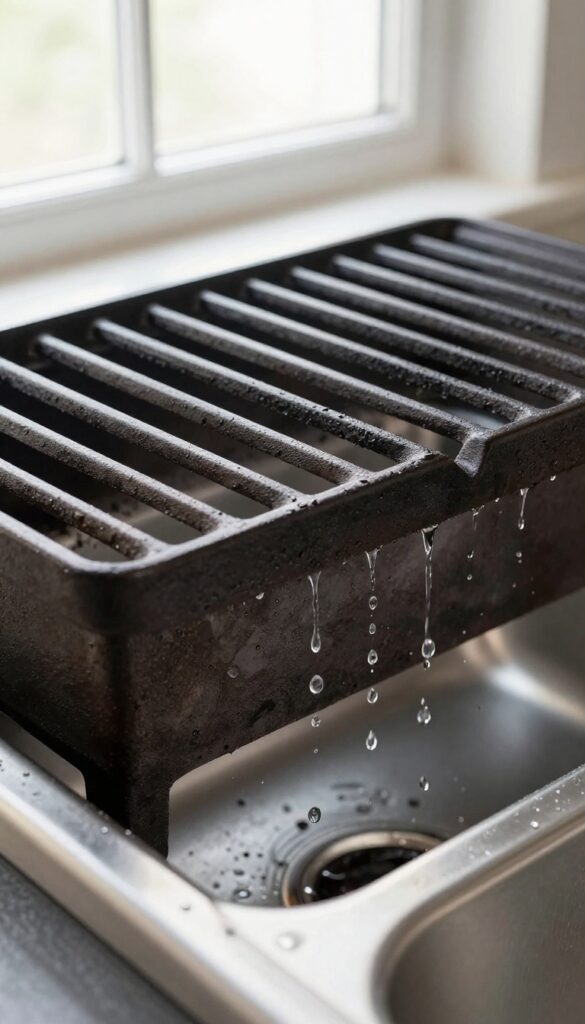
Once you've scrubbed away the last bits of grime, it's tempting to call it done. But skipping a proper rinse can leave soap residue that affects flavor or attracts more dirt. And if you let water sit on bare metal, rust will set in fast.
Rinsing sounds simple, but there's a right way to do it. Use warm running water and hit every crevice, especially the underside where soap likes to hide. After rinsing, drying is non-negotiable—cast iron rusts in minutes if left wet.
Grab a clean towel and pat dry, or pop the grates in a warm oven (200°F) for 10 minutes to evaporate all moisture. This step protects your hard work and preps the grates for the final oiling.
Warm Water Rinse
Cold water can shock the metal and cause micro-cracks, so always use warm water. Tilt the grate to let water flow through the bars, and run your fingers over the surface to check for slippery spots—that's leftover soap. Rinse until the water runs clear and the grate feels clean to the touch.
Towel Drying Vs. Oven Drying
A clean, lint-free towel works best for quick drying. Press firmly into corners and around the edges. For a more thorough dry, place the grates on a baking sheet and slide them into a warm oven.
The gentle heat drives moisture out of tiny pores that a towel can't reach. Just don't crank the oven above 250°F or you risk damaging the metal.
Why Rust Is The Enemy
Cast iron's biggest weakness is moisture. Even a few droplets left behind can create orange rust spots overnight. Rust isn't just ugly—it flakes off into your food and weakens the metal over time.
That's why drying immediately after rinsing is the most important step in the whole cleaning process.
7. Apply a Light Coat of Oil
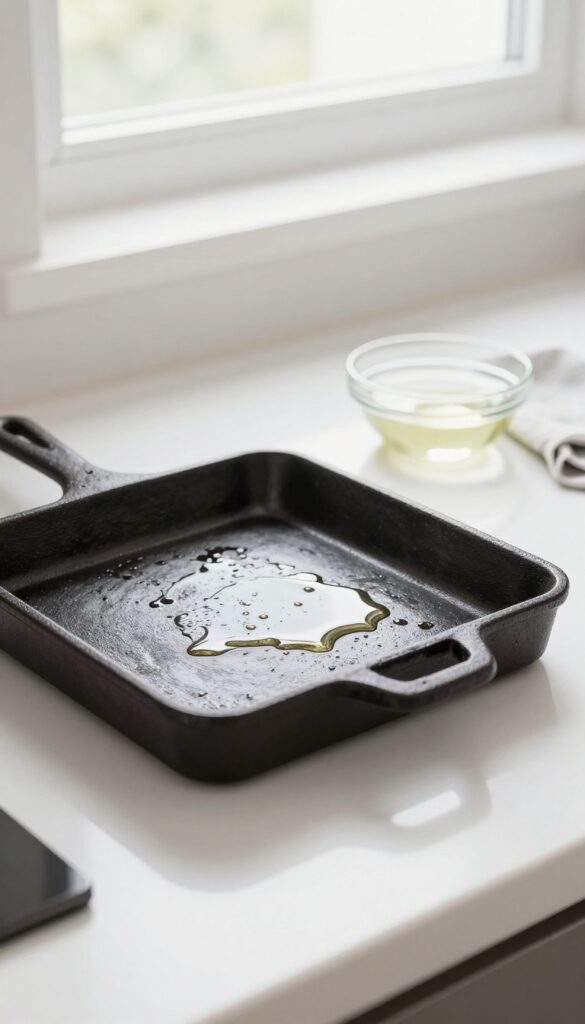
After all that scrubbing and drying, your grates are clean but vulnerable. Bare cast iron rusts fast when exposed to air and moisture. A thin oil coating seals the surface, restores the non-stick seasoning, and keeps rust at bay.
Choose The Right Oil
Vegetable oil, canola oil, or flaxseed oil work best. Flaxseed oil polymerizes well, creating a hard, durable finish. Avoid olive oil—it can turn sticky and rancid over time.
Pour a small amount into a dish so you don't contaminate the bottle.
Apply Sparingly
Dip a lint-free cloth or paper towel into the oil, then rub it all over the grate—top, bottom, and sides. You want a sheen, not a puddle. Excess oil will pool and create sticky spots.
If it looks wet, wipe off the excess with a dry cloth.
Bake For Best Results (optional)
For a factory-like finish, place the oiled grates in a 350°F oven upside down for one hour. Put a baking sheet on the lower rack to catch drips. Let them cool inside the oven.
This bakes the oil into a hard, protective layer that lasts through many cooks.
8. Bake the Oil In
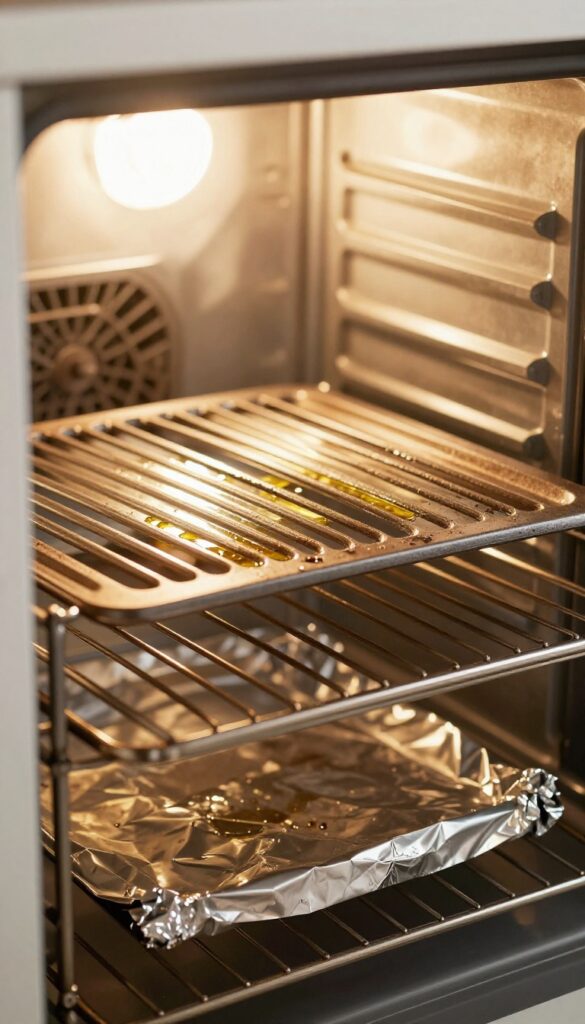
This is where the magic happens—turning that thin layer of oil into a hard, protective seasoning. The oven does the heavy lifting, bonding the oil to the metal at a molecular level. You're not just drying the grates; you're creating a non-stick, rust-resistant coating that will last through dozens of cooks.
Preheat And Prep
Set your oven to 350°F. While it heats, place a baking sheet on the lower rack to catch any drips. Line it with foil for easy cleanup.
Make sure your grates are fully coated in oil—any bare spots will be vulnerable to rust.
Upside Down For Even Coverage
Place the oiled grates upside down directly on the oven rack. This position lets excess oil drip off instead of pooling, which can cause sticky spots. The upside-down orientation also helps the oil flow into every crevice evenly.
Bake And Cool Slowly
Bake for exactly one hour. Then turn off the oven and let the grates cool completely inside. This gradual cooling is key—it prevents thermal shock that could crack the seasoning.
Don't rush it; leaving them overnight works great.
9. Repeat Seasoning for Heavily Worn Grates
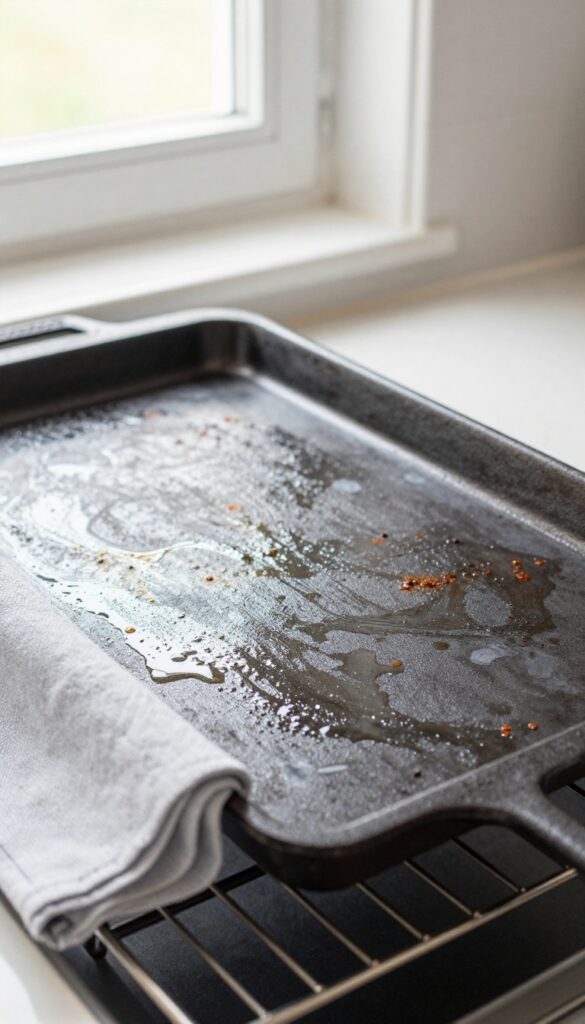
If your grates look dull, patchy, or have rust spots after cleaning, one round of seasoning may not be enough. Heavily worn surfaces need extra layers to build back that slick, protective finish. Repeating the process two or three times creates a thicker seasoning that holds up better to heat and moisture.
For grates that have lost their non-stick quality or show bare metal, additional seasoning layers make a real difference. Each coat bonds to the previous one, gradually building a durable barrier. Don't rush—let the grates cool between rounds and apply thin coats of oil to avoid sticky buildup.
When To Add Extra Layers
Look for signs like uneven color, visible metal, or rust spots after the first seasoning. If water doesn't bead up on the surface, the seasoning is still thin. Two to three coats usually restore a solid, dark finish.
How To Apply Multiple Coats
After the first bake, let the grates cool completely in the oven. Wipe on another thin layer of high-smoke-point oil (like flaxseed or grapeseed), then bake again at the same temperature for one hour. Repeat until the grates look evenly dark and feel smooth.
Tips For Best Results
Use a lint-free cloth to apply oil—too much leads to sticky spots. Place the grates upside down on a baking sheet to catch drips. Between coats, check for any rough patches and lightly buff them with a dry cloth before adding the next layer.
10. Maintain with Regular Light Cleaning
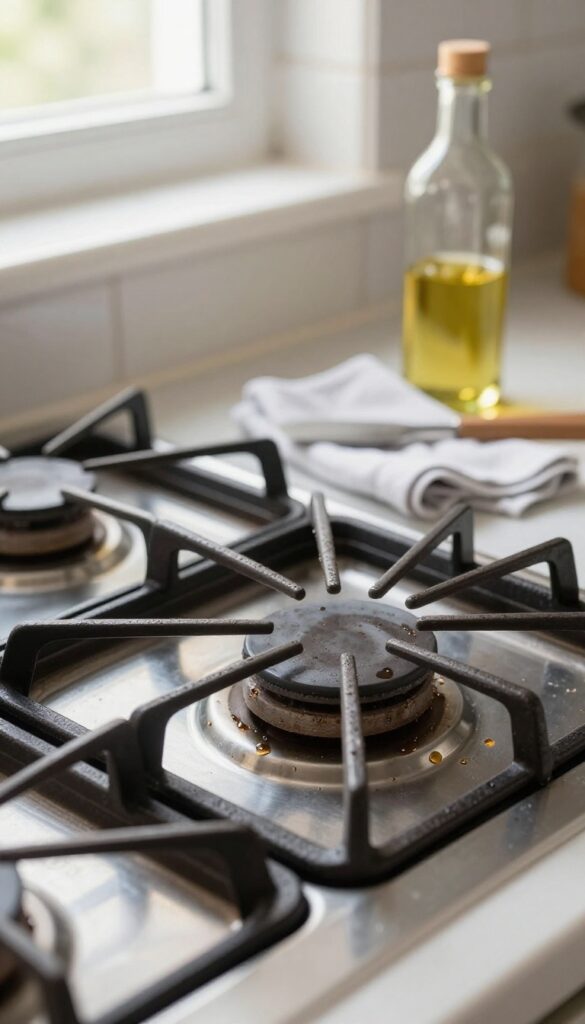
Once you've put in the work to deep clean and reseason your grates, keeping them that way is surprisingly easy. A quick wipe-down after each use prevents grease from building up into stubborn layers, so you can avoid the heavy scrubbing sessions down the road.
Make it a habit to give your grates a light cleaning every time you cook. This routine takes less than a minute and saves hours of elbow grease later. Plus, it keeps the seasoning intact so your grates stay non-stick and rust-free.
The After-use Wipe
While the grates are still warm (but not hot), grab a damp cloth and wipe away any food bits and grease. A paper towel works too. The warmth helps loosen residue without needing soap.
If something is stuck, a soft brush or sponge can handle it gently.
Reapply A Tiny Bit Of Oil
After wiping, rub a very thin layer of cooking oil onto the grates using a clean cloth. This replenishes the seasoning and creates a barrier against moisture. Use a high-smoke-point oil like vegetable, canola, or flaxseed.
Less is more—you just want a sheen, not a puddle.
Avoid Soap Unless Necessary
Soap can strip the seasoning, so skip it for daily cleaning. If you hit a greasy spot that won't budge with water alone, use a tiny dab of mild dish soap and rinse thoroughly. Then dry and oil immediately to protect the surface.
FAQ
Can I use oven cleaner on cast iron grates?
It's not recommended. Oven cleaners are too harsh and can strip the seasoning or damage the cast iron. Stick to mild dish soap and baking soda.
How often should I season my cast iron grates?
Season after each deep clean or whenever the grates start looking dull or rust spots appear. For regular use, once every few months is enough.
Why do my grates rust after cleaning?
Rust happens when grates aren't dried thoroughly or oiled after cleaning. Always dry immediately and apply a thin oil coat.
Can I put cast iron grates in the dishwasher?
No. Dishwasher detergent and high heat will strip seasoning and cause rust. Hand wash only.
What oil is best for seasoning grates?
Flaxseed oil or vegetable oil work well. Avoid olive oil as it can become sticky. Use a high smoke point oil for best results.
Conclusion
Cleaning your cast iron stove grates doesn't have to be a back-breaking task. With these 10 steps, you can tackle even the most stubborn grease using simple household items and a bit of elbow grease.
Pick a method that matches your grate's condition and your available time. Regular light cleaning between deep sessions will keep buildup at bay, so your grates stay in top shape and your stove looks its best every time you cook.