15 Cleaning Oven Racks Tips for Burnt Grease Removal
You just pulled out a perfectly roasted chicken, but now you're staring at oven racks caked with blackened grease. That burnt-on grime can feel impossible to remove, especially after multiple cooking sessions. The good news?
You don't need harsh chemicals or expensive replacements. With a few simple techniques and items you probably already have at home, you can restore your racks to like-new condition.
Whether you prefer natural solutions or heavy-duty methods, there's a tip here that will save you elbow grease and frustration. Let's dive into 15 practical ways to banish burnt grease and make your oven racks shine again.
1. The Dishwasher Tablet Soak
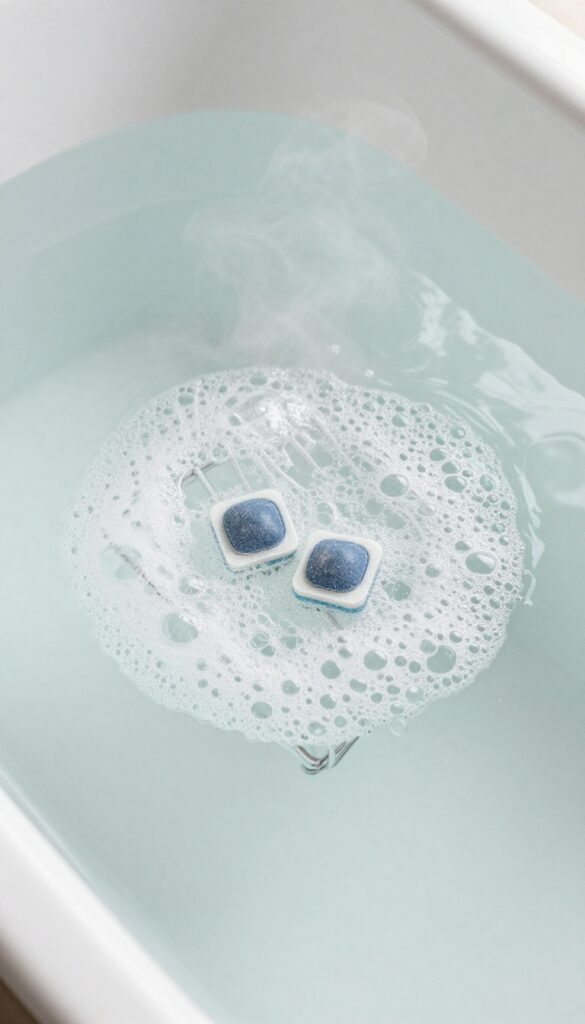
If you've ever marveled at how dishwasher tablets cut through baked-on food on plates, you'll be happy to know they work just as well on oven racks. The combination of enzymes, surfactants, and oxygen bleach tackles grease at a molecular level, so you barely have to scrub. This method is perfect for racks that have layers of burnt-on residue but are small enough to submerge in a bathtub or large utility sink.
Drop a couple of dishwasher tablets into a sink or bathtub of hot water, submerge the racks, and let them soak overnight. The enzymes break down grease without scrubbing. In the morning, rinse with warm water and wipe away any remaining residue with a sponge.
For extra-stubborn spots, a quick scrub with a nylon brush finishes the job.
Why Dishwasher Tablets Work So Well
Dishwasher tablets contain powerful degreasers and oxygen-based bleach that are designed to dissolve dried-on food. When dissolved in hot water, they create an alkaline solution that breaks apart carbonized grease and baked-on oils. Unlike harsh chemical oven cleaners, these tablets are relatively mild and safe for most metal racks, including chrome-plated ones.
Setting Up The Soak
Fill your bathtub or a large plastic storage bin with the hottest tap water you can get. Drop in two or three dishwasher tablets and stir until they dissolve completely. Submerge the oven racks fully—use heavy objects like bricks or cans to weigh them down if they float.
Let them soak for at least 8 hours or overnight for best results.
After The Soak: Rinsing And Finishing
After soaking, the grease should be soft and loose. Rinse the racks with warm water and use a non-abrasive sponge to wipe away the grime. For any stubborn bits, a soft-bristle brush or an old toothbrush works wonders.
Dry the racks thoroughly with a microfiber cloth to prevent water spots, then return them to the oven.
2. Baking Soda and Vinegar Paste
When it comes to natural cleaning, baking soda and vinegar are a powerhouse duo. The fizzy reaction helps lift burnt grease without harsh scrubbing. This method is gentle on the metal but tough on grime, making it a go-to for regular maintenance.
Mix baking soda with a little water to form a spreadable paste. Coat the racks generously, then spray white vinegar over the paste. Let it fizz and sit for 15 minutes.
Scrub with a non-abrasive pad, rinse, and dry. For stubborn spots, repeat or let the paste sit longer.
Why It Works
The chemical reaction between baking soda (base) and vinegar (acid) produces carbon dioxide bubbles that help dislodge burnt-on grease. This gentle abrasion breaks down grime without scratching the metal surface.
Best Practices
Apply the paste evenly and don't skimp on the vinegar spray. Let it sit for at least 15 minutes—longer for heavy buildup. Use a soft sponge or nylon brush to avoid damaging the rack's coating.
When To Use This Method
This is ideal for light to moderate grease. For thick, crusted layers, you might need a longer soak or a stronger method. It's also perfect for those who prefer non-toxic cleaning solutions.
3. Ammonia Fume Method
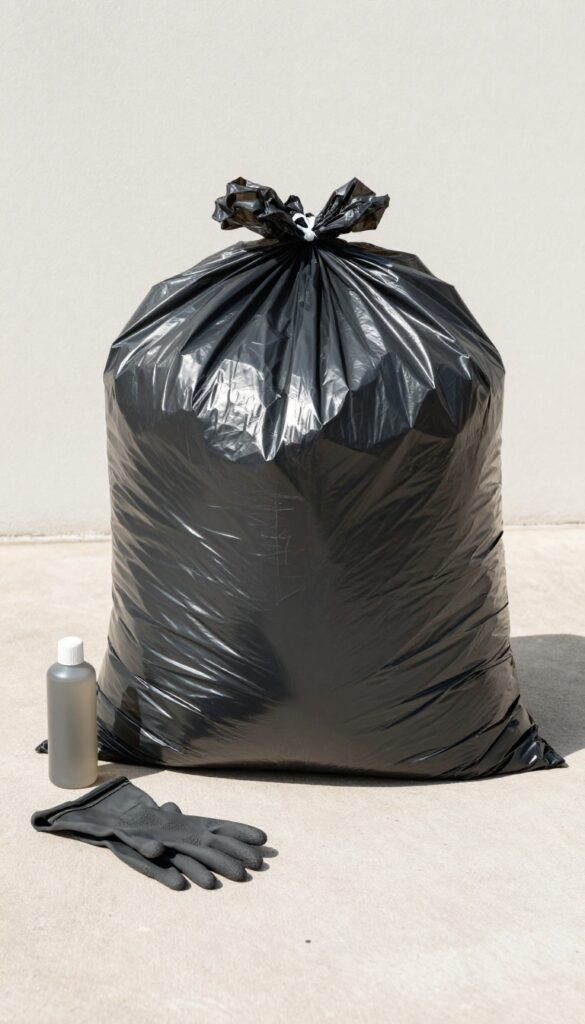
If you want a hands-off approach that does most of the work for you, the ammonia fume method is a game-changer. It uses the powerful fumes of ammonia to break down burnt grease without scrubbing. Just a few hours in a sealed bag, and your racks will be ready for a quick rinse.
This method relies on ammonia fumes reacting with the grease, not direct contact. It's ideal for racks with heavy buildup and saves you from hours of scrubbing. The key is patience and proper ventilation.
What You'll Need
You'll need a large, heavy-duty garbage bag (one that won't tear easily), 1/2 cup of household ammonia (not the sudsy kind), and a sunny outdoor spot. Wear gloves and work in a well-ventilated area since ammonia fumes are strong.
Step-by-step Process
Place your oven racks inside the garbage bag. Pour 1/2 cup of ammonia into a small bowl or directly into the bag, being careful not to spill on the racks. Seal the bag tightly with a twist tie or knot.
Place the bag in direct sunlight for at least 4-6 hours or overnight for stubborn grease. The heat from the sun helps the fumes work faster.
Rinsing And Finishing
After the waiting period, open the bag outdoors to avoid inhaling fumes. Remove the racks and rinse them thoroughly with hot water. Use a sponge to wipe off any remaining residue—it should come off easily.
Wash with dish soap and water to remove any ammonia traces. Dry completely before returning to the oven.
4. Commercial Oven Cleaner Spray
When natural methods aren't cutting it, it's time to bring out the big guns. Commercial oven cleaners like Easy-Off are formulated to dissolve even the toughest burnt-on grease with minimal scrubbing. They're a go-to for many home cooks because they work fast and deliver results.
Heavy-duty oven cleaners contain powerful chemicals that break down carbonized grease on contact. They're ideal for racks with thick, baked-on layers that resist gentler methods. Just be sure to follow the safety precautions—wear rubber gloves, work in a well-ventilated area, and keep the kitchen clear of pets and kids.
How To Apply For Best Results
Start by removing the racks and placing them on a protected surface like a tarp or old newspapers. Spray the cleaner generously over the entire rack, making sure to coat the greasy areas. Let it sit for 20 to 30 minutes—longer if the grime is extra stubborn.
The foam will start to lift the burnt residue.
Wiping And Rinsing
After the dwell time, take a damp sponge or cloth and wipe away the loosened grease. You might need to scrub lightly with a non-abrasive pad for any remaining spots. Rinse the racks thoroughly with warm water to remove all chemical residue, then dry them completely before sliding back into the oven.
Safety Tips To Keep In Mind
Always wear thick rubber gloves to protect your skin from irritation. Open windows or turn on the exhaust fan to avoid inhaling fumes. Never mix oven cleaner with other cleaning products—it can create toxic gases.
And if you have a self-cleaning oven, check the manual first, as some cleaners can damage the interior coating.
5. Dryer Sheet Soak
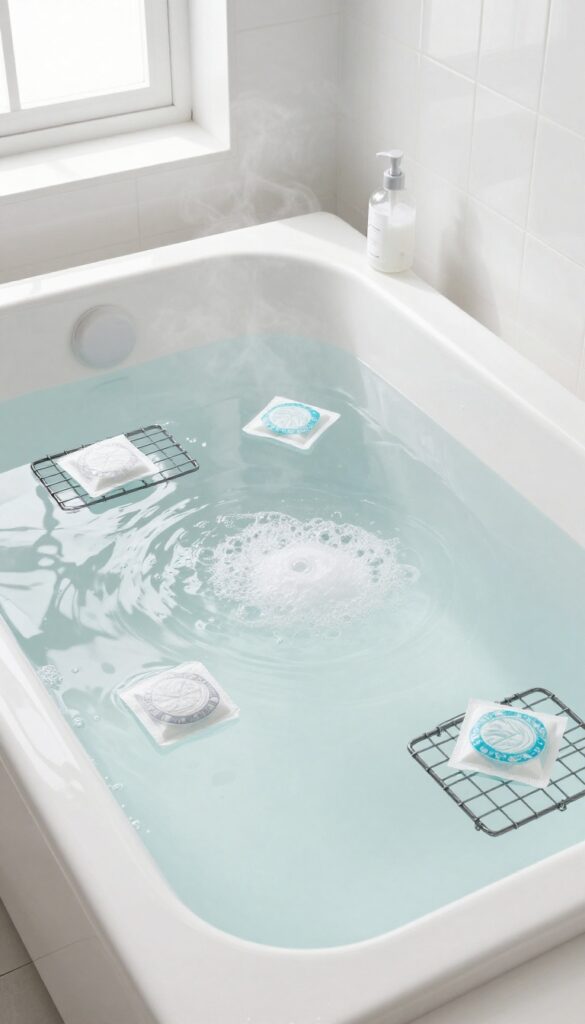
Fabric softener sheets aren't just for laundry—they're surprisingly effective at loosening burnt-on grease. The softening agents in dryer sheets help break down stubborn residue, making scrubbing almost effortless. This method is perfect when you want a low-effort soak that does the heavy lifting for you.
Fill a large tub or your bathtub with the hottest tap water you can get. Add a few used or new dryer sheets—about four to six should do. Submerge the oven racks completely and let them soak for at least four hours, or overnight for best results.
The fabric softener works to lift grease, so when you pull them out, most of the grime wipes away with a sponge. Rinse thoroughly and dry.
Why Dryer Sheets Work
Dryer sheets contain surfactants and softening agents that reduce surface tension, helping water penetrate and loosen baked-on grease. They also have a mild abrasive texture that aids in scrubbing without scratching metal.
Best Soaking Setup
Use a plastic storage bin or a clean trash bag lined in a bathtub to avoid scratching surfaces. Make sure racks are fully submerged—weigh them down with a heavy plate if needed. Hot water is key, as heat activates the softening agents.
After The Soak
Once the soak is done, scrub with a non-abrasive sponge or a soft brush. Most grease will slide off easily. For any remaining spots, a paste of baking soda and water works as a gentle polish.
Rinse well and dry before returning to the oven.
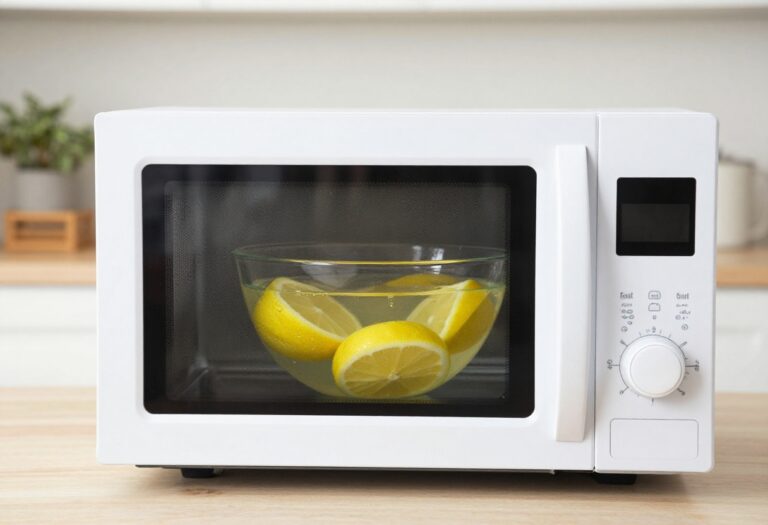
6. Lemon Juice and Salt Scrub
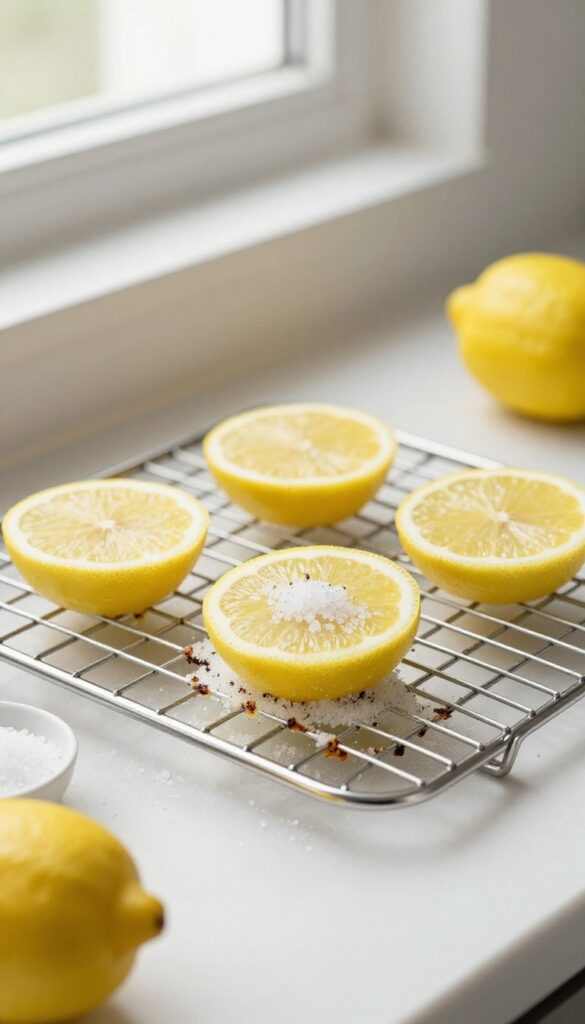
Sometimes the simplest solutions are the most effective. A lemon and salt scrub uses two kitchen staples to cut through burnt grease without harsh chemicals. The acid in the lemon breaks down grease, while the salt acts as a gentle abrasive to scrub away grime.
It's a fresh-smelling, natural method that's surprisingly powerful.
Why This Combo Works
Lemon juice contains citric acid, a natural degreaser that dissolves baked-on oils and carbonized residue. Salt provides texture for scrubbing without scratching metal surfaces. Together, they create a paste-like scrub that lifts grease while being safe for enamel or stainless steel racks.
Step-by-step Instructions
Cut a lemon in half and sprinkle a generous amount of coarse salt (like kosher or sea salt) onto the cut side. Scrub the oven rack firmly with the lemon half, applying pressure to work the salt into the grime. Focus on stubborn spots, then let the juice sit for 5–10 minutes.
Rinse thoroughly with warm water and dry immediately to prevent water spots.
Tips For Best Results
For extra-stubborn burnt-on grease, warm the racks slightly in the oven (or with hot water) before scrubbing—heat helps loosen the residue. Use a second lemon half with fresh salt if the first one gets too slippery. Rinse well to remove all salt and lemon residue, as leftover acidity can cause discoloration over time.
7. Self-Cleaning Oven Cycle
If your oven has a self-cleaning feature, you're in luck. This built-in function can handle the toughest burnt-on grease with almost no effort from you. The high heat turns grease into ash that wipes off easily.
Just make sure to check your oven's manual first, as some manufacturers recommend removing racks during the cycle.
The self-cleaning cycle is a convenient, hands-off method for cleaning oven racks. It works by heating the oven to extremely high temperatures (around 800°F or 427°C), which incinerates food residue and grease. After the cycle finishes and the oven cools, you simply wipe away the ash with a damp cloth.
This method is especially effective for racks with multiple layers of baked-on grease.
Check Your Manual First
Before you start, always consult your oven's user manual. Some manufacturers warn that the high heat can damage the racks, especially if they have chrome or non-stick coatings. If your manual says it's safe, proceed.
If not, skip this method to avoid warping or discoloration.
Prepare The Oven
Remove any loose debris or large food particles from the racks. Place them on the oven racks as usual, but make sure they're not stacked or touching the oven walls. Close the oven door and set the self-cleaning cycle according to your oven's instructions.
The cycle typically lasts 2-4 hours.
Wipe Away The Ash
Once the cycle is complete, allow the oven to cool completely. Open the door and use a damp cloth or sponge to wipe down the racks. The ash should come off easily.
For stubborn spots, a gentle scrub with a non-abrasive pad may help. Rinse with water and dry before returning to the oven.
8. Bar Keepers Friend Paste

Bar Keepers Friend is a classic cleaner that tackles tough stains, and it works wonders on burnt grease. The trick is to turn the powder into a thick paste so it clings to the grime long enough to break it down. This method is especially good for those stubborn spots that other cleaners just can't touch.
Bar Keepers Friend is a gentle abrasive cleaner that cuts through baked-on grease without scratching metal. When mixed with water, it forms a paste that can be applied directly to problem areas. Letting it sit for a few minutes gives it time to work, and then a simple scrub finishes the job.
It's a low-effort, high-reward technique.
Making The Paste
Mix three parts Bar Keepers Friend powder with one part water in a small bowl. Stir until you get a smooth, spreadable paste. If it's too runny, add more powder; if too thick, add a few drops of water.
You want it to stick to the rack without dripping off.
Application And Wait Time
Use a sponge or your fingers (gloves recommended) to apply the paste directly onto the burnt spots. Spread it evenly and let it sit for about 10 minutes. This dwell time lets the oxalic acid in the cleaner break down the carbonized grease.
Scrubbing And Rinsing
After 10 minutes, scrub the area with a damp sponge or a soft brush. You'll see the grime lift away easily. Rinse the rack thoroughly with water to remove all residue.
Repeat on any remaining spots if needed.
9. Hydrogen Peroxide and Baking Soda
If you've got a stubborn layer of burnt-on grease that won't budge, hydrogen peroxide and baking soda make a powerful team. The peroxide activates the baking soda, creating a fizzy reaction that helps lift grime without harsh scrubbing. It's a simple, non-toxic combo that tackles even the toughest baked-on messes.
How It Works
Baking soda is mildly abrasive, while hydrogen peroxide acts as an oxidizer. When mixed, they produce oxygen bubbles that help loosen burnt grease from the metal surface. The reaction is gentle enough for regular use but strong enough to break down carbonized residue.
Step-by-step Application
Start by sprinkling a generous layer of baking soda over the entire rack. Then fill a spray bottle with 3% hydrogen peroxide and mist the baking soda until it's damp but not soaking. Let the mixture bubble and sit for about 15 minutes.
After that, scrub with a non-abrasive pad or brush—the grime should come off much easier.
Tips For Best Results
For extra tough spots, make a paste with baking soda and a small amount of hydrogen peroxide, then apply it directly. Let it sit longer—up to 30 minutes—before scrubbing. Rinse thoroughly with water and dry immediately to prevent any residue or rusting.
10. Pressure Washer Blast
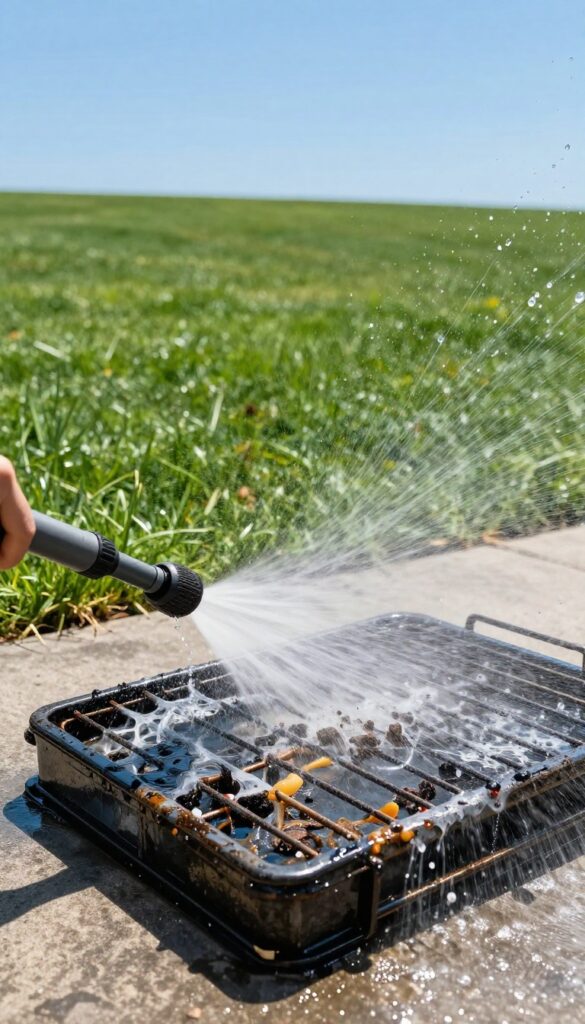
If you have a pressure washer sitting in the garage, it's time to put it to work on your oven racks. This method is fast, satisfying, and surprisingly effective—especially for racks with thick, baked-on grease. Just be sure to take the racks outside and set the pressure washer to a low or medium setting to avoid damaging the metal.
Pressure washing works best when you give the racks a head start. Spray them down with a heavy-duty degreaser and let them soak for 15–20 minutes. Then, place the racks on a flat surface (like a driveway or lawn) and blast away the grime with a fan spray nozzle.
The water pressure dislodges grease from every nook and cranny. Afterward, rinse with clean water and let the racks dry completely in the sun before putting them back in the oven.
Pre-soak For Best Results
A quick pre-soak with a degreaser or even dish soap makes a huge difference. The chemicals loosen the bond between grease and metal, so the pressure washer can do its job with less effort. Let the racks sit for at least 15 minutes, and if the grease is extra stubborn, give them a scrub with a brush before blasting.
Safety And Setup Tips
Always wear safety glasses and closed-toe shoes—grease and water can fly everywhere. Use a low-pressure nozzle (like a 40-degree tip) and keep the wand moving to avoid denting the rack wires. Work in a well-drained area, and avoid blasting directly at any rubber or plastic parts on the racks.
Drying Is Crucial
After pressure washing, water can get trapped in the rack's joints. Shake off excess water and let the racks air-dry in a sunny spot for several hours. If you're in a hurry, use a clean towel to dry them thoroughly, then let them sit for at least an hour.
Moisture left behind can cause rust or smoke when you preheat the oven.
11. Cream of Tartar Paste
Cream of tartar is a pantry staple that doubles as a gentle yet effective cleaner. Mixed with water, it forms a paste that targets burnt-on grease without scratching your racks. This mild acid works by breaking down stubborn residue, making scrubbing much easier.
To use this method, combine cream of tartar with a small amount of water until you get a thick, spreadable paste. Apply it generously to the greasy areas and let it sit for about 20 minutes. The paste will start to lift the burnt residue.
After the wait, scrub with a non-abrasive sponge or brush. Rinse thoroughly with warm water and dry. This technique is especially good for lighter buildup and leaves racks looking refreshed.
Why Cream Of Tartar Works
Cream of tartar is potassium bitartrate, a natural acid that reacts with grease and grime. It's gentle enough for delicate surfaces but strong enough to cut through baked-on residues. Unlike harsh chemicals, it won't damage the metal or leave harmful fumes.
Best Practices For Application
For best results, make sure the paste is thick so it stays put on vertical surfaces. If the rack is heavily soiled, let the paste sit longer—up to 30 minutes. Use a soft brush or sponge to avoid scratches.
Rinse well after scrubbing to remove any leftover paste.
12. Oven Rack Liners Prevention
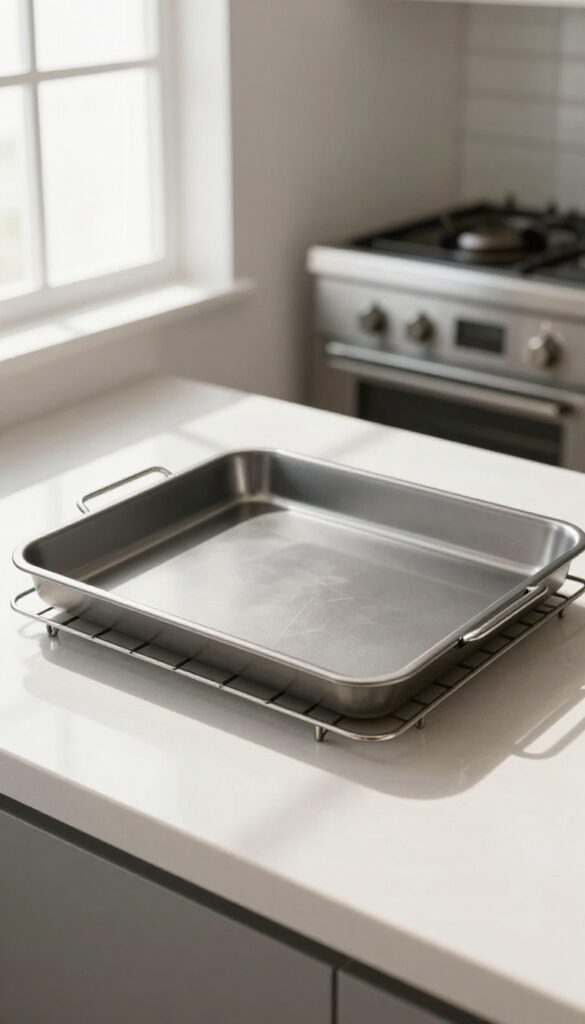
Why scrub when you can prevent? Non-stick oven rack liners catch drips and spills before they turn into crusty, burnt-on messes. They're reusable, easy to clean, and take the hassle out of future oven maintenance.
Using oven rack liners is one of the smartest preventative measures you can take. They create a barrier between your food and the racks, so grease and drips land on the liner instead. After cooking, simply let the liner cool, then wipe it down or toss it in the dishwasher.
Most liners are made from PTFE-coated fiberglass, which withstands high heat without melting or smoking. Just make sure to trim them to fit your racks perfectly, and never place them directly on the oven floor or use them under broilers unless specified safe.
Choosing The Right Liner
Look for liners that are FDA-approved, PTFE-free if you prefer non-toxic options, and rated for temperatures up to 500°F. Measure your racks and buy liners that can be cut to size. Some brands offer perforated versions for better airflow, which can help with even cooking.
Installation And Care Tips
Place the liner directly on the rack, smooth side up. Avoid overlapping or bunching, as that can trap heat. After each use, allow the liner to cool, then hand wash with mild soap or run through the dishwasher.
Avoid abrasive scrubbers that could damage the non-stick coating.
When Not To Use Liners
Do not use liners on the oven floor, under the broiler, or during self-cleaning cycles. Also, skip them for recipes that require direct heat contact or crispy bottoms, like pizza or roasted vegetables, as liners can hinder browning.
13. Steam Cleaning with a Pot of Water
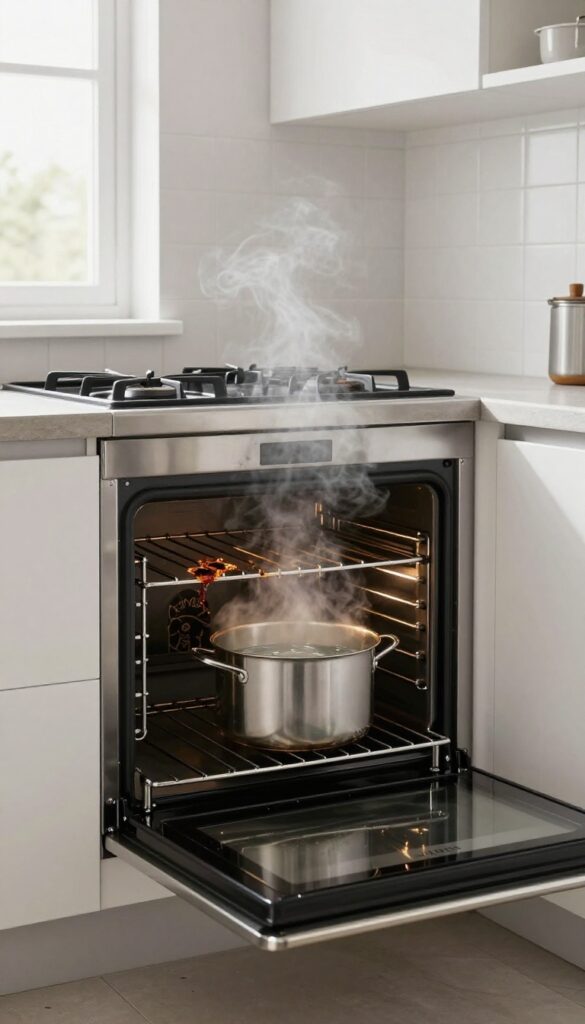
If you want a hands-off method that uses nothing but water and heat, steam cleaning is your answer. The idea is simple: let the steam do the heavy lifting. This technique works especially well when you have multiple racks to clean at once or when the grease isn't rock-hard yet.
This method is incredibly easy. You just place a large oven-safe pot filled with water on the bottom rack, then heat the oven to 400°F for about 30 minutes. The steam rises and loosens the burnt-on grease on all the racks.
After the oven cools down, you can wipe the racks clean with a sponge or cloth. No scrubbing required for most of the grime.
Why It Works So Well
Steam penetrates the grease layers and softens them from the inside out. The heat helps break down the carbon bonds, making the gunk much easier to remove. It's a gentle but effective method that doesn't involve any chemicals.
Tips For Best Results
Use a deep pot to hold plenty of water so it doesn't boil dry. Keep an eye on the water level if your oven runs hot. After steaming, let the racks cool completely before wiping to avoid burns.
For stubborn spots, a quick scrub with a non-abrasive pad finishes the job.
When To Use This Method
Steam cleaning is perfect for regular maintenance or when the grease is still somewhat fresh. It's less effective on thick, years-old buildup, but it's a great first step before using stronger methods. Also, it's safe for all rack types, including chrome and coated racks.
14. WD-40 Spray and Wipe
WD-40 is known for loosening rusted bolts, but it also works wonders on burnt grease. The lubricant breaks down sticky, carbonized residue without heavy scrubbing. It's a quick fix when you need to clean oven racks fast.
Spray WD-40 directly on the burnt spots and let it sit for 10 minutes. The solvent penetrates the grease, making it easy to wipe away with a cloth. For thick buildup, use a plastic scraper or old toothbrush to loosen stubborn bits.
Afterward, wash the racks thoroughly with warm soapy water to remove any oily film. Rinse well and dry before putting them back in the oven.
How It Works
WD-40 contains petroleum-based solvents that dissolve grease and grime. The spray penetrates the burnt-on layer, breaking the bond between the residue and the metal. This softens the gunk so you can wipe it off with minimal effort.
Step-by-step Application
Place the rack on a protected surface or in a sink. Shake the can well and spray a generous coat over the burnt areas. Let it sit for 10 minutes—longer for heavy buildup.
Wipe with a clean rag, applying gentle pressure. For crevices, use an old toothbrush. Repeat if needed.
Important Safety Tips
Work in a well-ventilated area since WD-40 fumes can be strong. Avoid using near open flames or heat sources. Always wash racks with soap and water after treatment to remove chemical residue.
Do not skip this step—leftover lubricant can smoke when the oven is on.
15. Professional Ultrasonic Cleaning
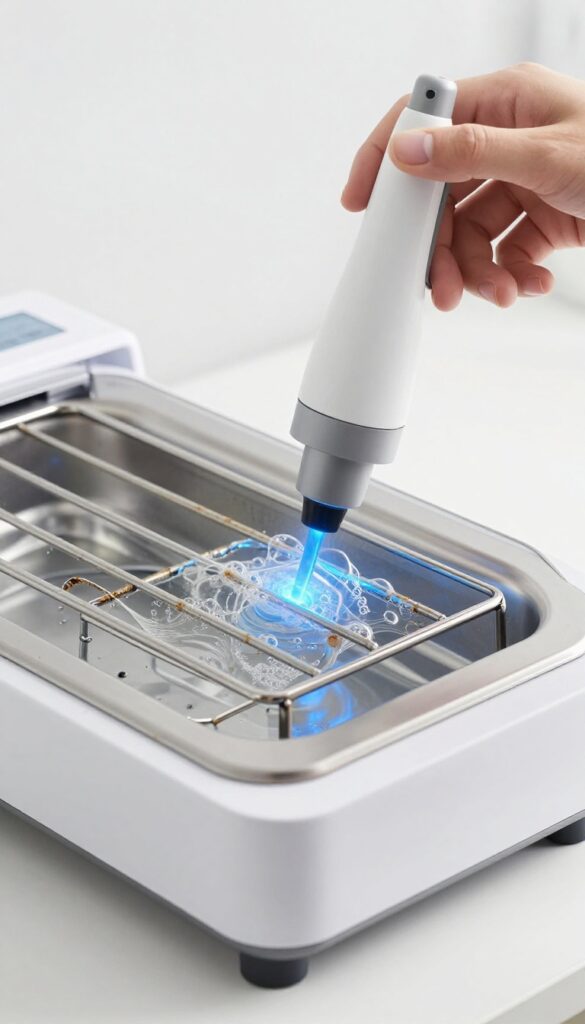
When your oven racks are so caked that no DIY method seems to cut it, it might be time to call in the pros. Professional ultrasonic cleaning uses high-frequency sound waves to create microscopic bubbles that implode on contact, lifting every trace of grease and carbon without any scrubbing. It's the ultimate deep clean for racks that have seen years of neglect.
How Ultrasonic Cleaning Works
Ultrasonic cleaners use a tank filled with a specialized cleaning solution. The racks are submerged, and the machine generates sound waves at frequencies around 40 kHz. These waves create cavitation bubbles that gently but thoroughly remove burnt-on grease from every nook and cranny, including the rack's wire intersections and corners.
What To Expect At A Pro Shop
Most cleaning services will quote you based on rack size and soil level. Typically, you drop off your racks and pick them up the next day. The process is completely chemical-free for you—no fumes, no scrubbing, no mess.
Just clean racks ready to slide back into your oven.
Is It Worth The Cost?
Professional ultrasonic cleaning usually runs between $20 and $50 per rack, depending on your location. If you have multiple racks or they're heavily soiled, this is often cheaper than replacing them. For those who value time over money, it's a no-brainer.
FAQ
Can I use oven cleaner on self-cleaning racks?
It's best to avoid oven cleaner on self-cleaning racks as the chemicals can damage the coating. Instead, use the self-cleaning cycle or gentle methods like baking soda paste.
How often should I clean oven racks?
Clean oven racks every 3-6 months, or more often if you cook greasy foods frequently. Regular cleaning prevents buildup and makes the job easier.
Is it safe to soak oven racks in bleach?
Bleach can corrode the metal and is not recommended. Stick to mild detergents, baking soda, or vinegar-based solutions to avoid damage.
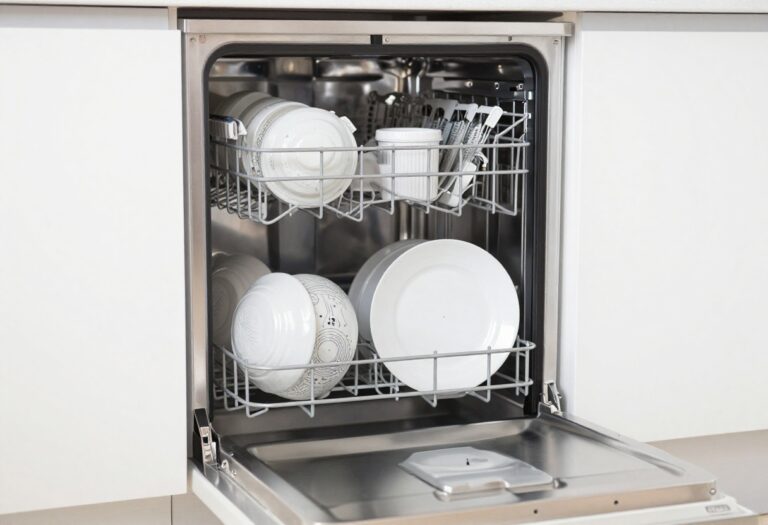
Can I put oven racks in the dishwasher?
Only if the manufacturer says it's safe. Many racks are too large or have coatings that can be damaged by dishwasher detergent. Check your oven's manual first.
What's the fastest way to clean oven racks?
The ammonia fume method or commercial oven cleaner are fastest, but require ventilation and gloves. For a quick natural option, try the baking soda and vinegar paste.
Conclusion
Getting your oven racks sparkling clean doesn't have to be a weekend battle. With these 15 tips, you can tackle even the toughest burnt-on grease using stuff you probably already have at home.
A little patience and the right technique make all the difference. Try a couple of these methods next time you clean, and you'll be amazed at how easy it is to restore your racks to like-new condition.