15 Cleaning Fridge Tips for Spills, Shelves, and Odor
Opening the fridge to find sticky shelves, mysterious spills, and funky odors is never a pleasant surprise. But a deep clean doesn't have to be a weekend-long chore—you just need the right order of operations and a few pantry staples.
From tackling stubborn stains with baking soda to keeping smells at bay with coffee grounds, these 15 tips cover every corner of your fridge. Whether you're dealing with crusted-on sauce or a lingering onion scent, each trick is designed to save you time and effort.
No harsh chemicals or expensive cleaners required—just practical, budget-friendly solutions that leave your fridge sparkling and fresh.
1. Clear Out Everything Before You Start

You might be tempted to skip this step and just wipe around the jars and cartons, but trust me—you’ll get better results if you take everything out first. Emptying the fridge lets you see every spill, crumb, and sticky patch hiding in plain sight. It also gives you a chance to check expiration dates and toss anything that’s past its prime, so you’re not cleaning around science experiments.
Start by removing all food items and placing them in a cooler or on a counter away from direct sunlight. As you go, inspect each item—if it’s expired, moldy, or smells off, throw it away immediately. This prevents cross-contamination and makes the actual cleaning much faster because you won’t have to work around obstacles.
Once the fridge is empty, you can pull out drawers and shelves for a thorough wash.
Sort As You Go
Group similar items together while you empty the fridge: dairy, produce, condiments, leftovers. This makes restocking quick and logical. It also helps you spot duplicates or forgotten items lurking in the back.
Check Expiration Dates
Don’t just glance at the date—actually read it. Many people keep condiments and sauces long after they’ve expired. If in doubt, sniff it or check for texture changes.
When in doubt, toss it out.
Use A Cooler For Perishables
If you have a cooler or insulated bag, pack perishables like milk, eggs, and meat with an ice pack. This keeps them safe while you clean and prevents any temperature-related spoilage.
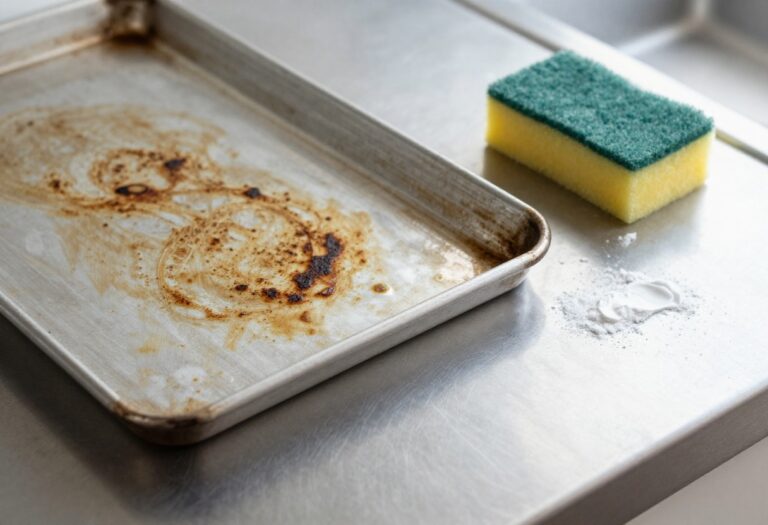
2. Use a Baking Soda Paste for Stubborn Spills
Some spills just won't budge with a simple wipe. Dried-on ketchup, sticky jam, or mystery drips that have been sitting for weeks need a little extra help. That's where baking soda comes in—it's gentle enough for your shelves but tough on grime.
Baking soda is a mild abrasive that can scrub away stubborn residue without scratching plastic or glass. When mixed with water, it forms a paste that clings to vertical surfaces and breaks down dried-on messes. Letting it sit for a few minutes softens the gunk so you can wipe it away with minimal effort.
Plus, it's non-toxic and safe for food contact surfaces, so you don't have to worry about chemical residues near your groceries.
How To Make The Perfect Paste
In a small bowl, mix three parts baking soda with one part water. Stir until it forms a thick, spreadable paste. If it's too runny, add more baking soda; too thick, add a drop of water.
You want it to be like toothpaste—easy to apply but not drippy.
Application Tips For Best Results
Use a soft sponge or your fingers to apply the paste directly onto the spill. Spread it evenly and let it sit for 10 to 15 minutes. For extra stubborn spots, cover with a damp paper towel to keep the paste from drying out.
After the wait, scrub gently in circular motions, then rinse with a damp cloth.
When To Avoid Baking Soda
Baking soda is safe for most surfaces, but avoid using it on aluminum or unsealed wood shelves—it can cause discoloration. Also, don't use it on glass that's already scratched, as the abrasive action might make scratches more visible. Stick to plastic, metal, and sealed surfaces.
3. Wipe Down Shelves with Vinegar and Water
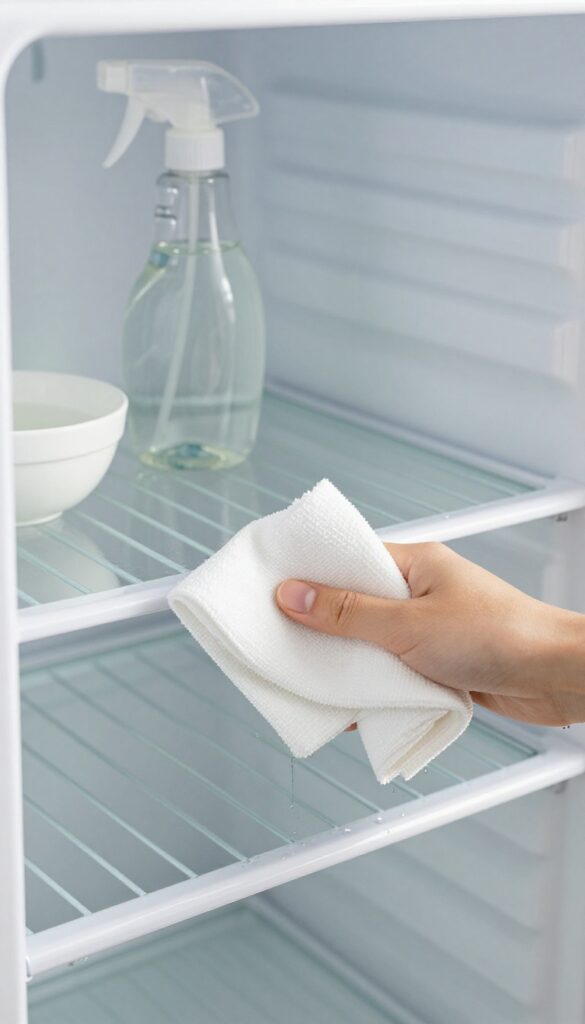
Shelves take the brunt of fridge messes—spilled milk, leaked sauces, and sticky drips all end up there. But you don't need a specialty cleaner to get them spotless. A simple vinegar and water solution does the job without leaving chemical residue or a fake lemon scent.
It's cheap, effective, and already in your pantry.
Mix equal parts white vinegar and warm water in a spray bottle. Spray the solution directly onto shelves and drawers, let it sit for a minute to break down grime, then wipe with a microfiber cloth. Vinegar cuts through grease and kills bacteria naturally, so you get a clean surface without harsh chemicals.
For stubborn dried-on spills, let the solution sit for a few minutes before wiping. Rinse with a damp cloth if you're sensitive to the vinegar smell—it disappears once dry.
Why Vinegar Works So Well
White vinegar is mildly acidic, which makes it great at dissolving mineral deposits, grease, and sticky residues. It also has antimicrobial properties, so it kills many common bacteria and mold spores. Unlike bleach, it's food-safe and won't leave harmful fumes behind.
Best Way To Apply The Solution
Use a clean spray bottle to mist the shelves evenly. Avoid soaking them, especially if they're glass or have metal trim. Wipe with a microfiber cloth in one direction to avoid streaks.
For textured shelves, use a soft brush to work the solution into crevices.
When To Avoid Vinegar
Don't use vinegar on unsealed stone or marble shelves—it can etch the surface. Also avoid it on rubber seals or gaskets, as it may dry them out over time. Stick to mild dish soap for those areas.
4. Remove Drawers and Wash Separately
Crisper drawers are magnets for moisture, which makes them a perfect breeding ground for mold and bacteria. Even if they look clean, trapped particles can cause lingering smells that transfer to fresh produce. The fix is simple: pull them out and give them a proper bath in the sink.
Drawers trap moisture and food debris, leading to mold and odors. Washing them separately ensures a thorough clean without spreading grime to other parts of the fridge.
How To Remove Safely
Most drawers have a simple release mechanism—look for tabs or clips on the sides. Lift the front slightly, then slide the drawer straight out. If it's stuck, check for hidden latches rather than forcing it.
Washing And Drying Tips
Fill your sink with warm water and a few drops of mild dish soap. Use a soft sponge to scrub all surfaces, paying attention to corners and grooves. Rinse thoroughly, then let the drawers air dry completely on a dish rack or towel.
Never reassemble while damp—moisture encourages mold regrowth.
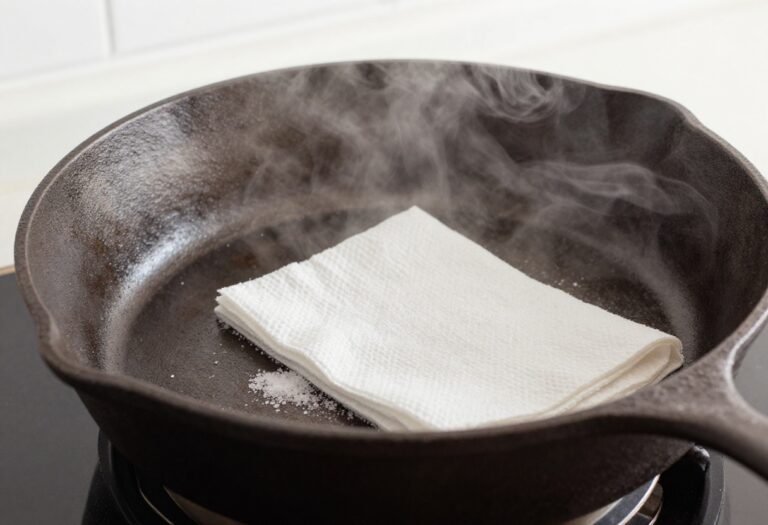
Prevent Future Buildup
Line the bottom of each drawer with a paper towel or a thin kitchen towel to catch drips. Swap it out weekly, and you'll dramatically cut down on cleaning frequency. Also, store fruits and vegetables in separate drawers to avoid ethylene gas cross-contamination.
5. Clean the Door Seals with an Old Toothbrush
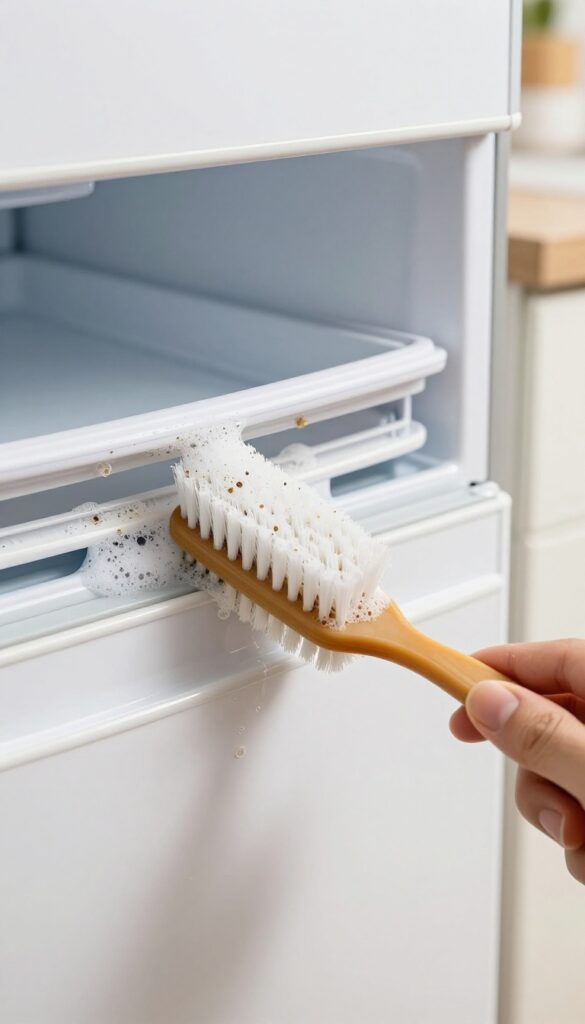
Door seals are easy to overlook, but they trap crumbs, sticky spills, and even mold over time. A dirty seal can prevent the door from closing properly, letting cold air escape and driving up your energy bill. Fortunately, this is one of the easiest fixes in your cleaning routine.
Grab an old toothbrush and dip it in warm, soapy water. Scrub along the rubber gasket, paying extra attention to crevices where grime builds up. Wipe away loosened dirt with a damp cloth, then dry the seal thoroughly.
For stubborn mildew, use a 50/50 vinegar-water solution instead of soap. Clean seals not only keep your fridge efficient but also prevent odors from seeping out.
Why Door Seals Matter
The rubber gasket creates an airtight seal that keeps cold air in and warm air out. When it's dirty, the seal can weaken, causing your fridge to work harder and your food to spoil faster. Regular cleaning extends the life of both the gasket and the appliance.
How Often To Clean Them
Aim to clean the door seals every month or two, or whenever you notice sticky spots or a musty smell. If you have pets or kids, you might need to do it more often—crumbs and sticky fingers are common culprits.
Quick Maintenance Tips
After cleaning, check for cracks or tears in the rubber. If you see damage, replace the gasket to maintain efficiency. Also, avoid using bleach or harsh chemicals, as they can dry out the rubber and cause cracking over time.
6. Tackle Odors with an Open Box of Baking Soda

Fridge odors have a way of creeping into everything—even sealed containers. The good news is you don't need fancy sprays or scented candles to fix it. A simple box of baking soda does the heavy lifting for you.
Why Baking Soda Works
Baking soda is a natural deodorizer because it neutralizes both acidic and alkaline odor molecules. Unlike air fresheners that just mask smells, it actually absorbs and traps them. That's why it's the go‑to for fridge freshness.
How To Use It Right
Remove the box from its packaging, open the flaps, and place it on a middle shelf where air can circulate. Don't shove it in the back—it needs airflow to work. Replace the box every three months, and mark the date on the box so you don't forget.
A Boost For Stubborn Smells
If your fridge smells extra funky—think leftover fish or forgotten leftovers—add a few drops of vanilla extract to the baking soda. Stir it in, and the vanilla will help neutralize the toughest odors while leaving a light, pleasant scent.
7. Use Coffee Grounds for Stubborn Smells
Not all fridge odors are created equal. Some are mild and fleeting, while others—like leftover fish or forgotten leftovers—seem to linger no matter how much you scrub. That's where coffee grounds come in.
They're a natural, chemical-free way to absorb and neutralize stubborn smells without masking them with artificial fragrances.
Used coffee grounds are a surprisingly effective deodorizer. After brewing, let the grounds dry completely on a baking sheet or paper towel. Once dry, place them in a small open bowl or a shallow container and set it on a middle shelf in your fridge.
Leave it overnight, and by morning, the odors will be noticeably reduced. The grounds work by trapping odor molecules in their porous structure, effectively pulling them out of the air. Unlike baking soda, which can take days, coffee grounds often work faster for strong smells.
Plus, they're free if you already make coffee at home. Just remember to replace them every week or two, and discard the old grounds in the trash or compost.
Why Coffee Grounds Work
Coffee grounds have a large surface area and a slightly acidic pH, which helps them bind to odor-causing compounds. The carbon in the grounds acts like a filter, absorbing volatile molecules that create bad smells. This is the same principle behind activated charcoal filters, but coffee is cheaper and more accessible.
How To Use Them Correctly
Start with dry, used grounds—fresh grounds can introduce moisture and mold. Spread them on a tray and let them air-dry for a day. Then transfer to a small bowl or a breathable pouch.
Place the container in the back of the fridge where air circulation is good. Avoid putting it near strong-smelling foods, as the grounds can pick up those scents too quickly. Replace every 7 to 10 days for best results.
When To Skip This Method
If your fridge has a persistent mold or mildew problem, coffee grounds alone won't fix it—you'll need to clean the source first. Also, if you're sensitive to coffee smell, even the mild residual scent might be off-putting. In that case, stick to baking soda or activated charcoal.
8. Wipe Up Spills Immediately to Prevent Stains
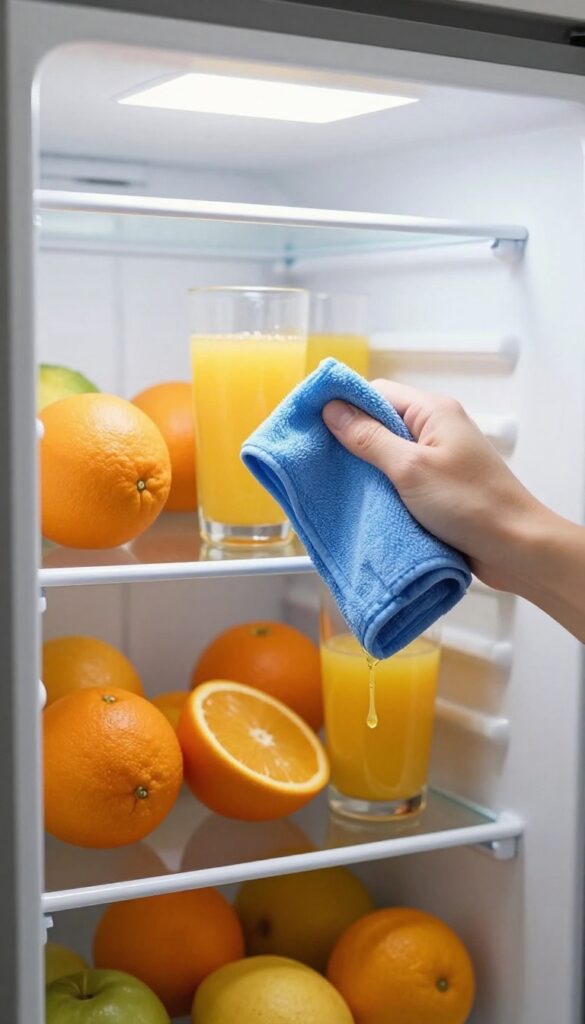
Spills happen—it’s just a fact of fridge life. But the difference between a quick wipe and a deep scrub later comes down to timing. When you let a spill sit, it hardens, spreads, and can even stain shelves or absorb into plastic.
That’s why keeping a microfiber cloth within arm’s reach is a game-changer. The moment you see a drip or a puddle, grab it and clean up. This tiny habit saves you from spending extra time scrubbing dried-on messes later.
The key is speed. A fresh spill wipes up in seconds with a damp cloth. But wait an hour, and you might need to soak, scrape, or use a cleaning paste.
Microfiber is ideal because it traps liquids and particles without scratching surfaces. Keep one dedicated cloth in a drawer or hanging on the fridge handle—just for spills. After each use, rinse it out and let it dry so it’s ready for the next accident.
This routine keeps your fridge looking cleaner with almost no extra effort.
Why Immediate Action Matters
Spills that sit become sticky, crusty, or moldy. Sugary liquids like juice or soda turn into a tacky film that attracts bacteria. Dairy spills can sour and leave a permanent odor.
By wiping immediately, you prevent stains from setting and avoid the need for harsh scrubbing later. It’s a small effort that pays off in less cleaning time overall.
Best Tools For Quick Cleanups
Microfiber cloths are the top choice—they’re absorbent, lint-free, and gentle. Keep a spray bottle of plain water or a mild vinegar solution nearby for extra cleaning power. Avoid paper towels, which can leave lint and are less effective on sticky messes.
For greasy spills, a drop of dish soap on a damp cloth works wonders. Store your cleanup kit in a caddy or a designated spot so you can grab it fast.
Building The Habit
Make spill cleanup part of your fridge routine. Every time you open the door, glance at the shelves. If you see a drip, wipe it before grabbing a snack.
After cooking or pouring drinks, check the fridge for any new messes. It takes less than a minute and keeps your fridge consistently fresh. Over time, it becomes second nature.
9. Line Shelves with Easy-Clean Mats
Spills happen—it’s just a fact of fridge life. But instead of scrubbing sticky residue off glass shelves every week, you can outsmart the mess before it even sets. Clear shelf liners or silicone mats create a protective barrier that catches drips and crumbs, making cleanup as simple as pulling out the mat and rinsing it in the sink.
Shelf liners are a small investment that pays off every time you wipe down your fridge. They keep liquids from seeping into cracks and prevent stains from bonding to the glass. Plus, they add a layer of cushioning that can reduce rattling and breakage.
Choose The Right Material
Silicone mats are non-slip, heat-resistant, and dishwasher-safe—ideal for heavy use. Clear vinyl liners are cheaper and easy to cut to size, but they may warp over time. Avoid fabric or paper liners, as they can absorb moisture and become a breeding ground for bacteria.
Install And Maintain Properly
Cut the liner to fit each shelf with a slight overhang to catch drips. Wash mats with warm soapy water weekly, or toss them in the dishwasher if they’re silicone. Replace vinyl liners every few months if they start to discolor or peel.
Target High-risk Zones
Focus on shelves where you store raw meat, leaky containers, or open jars. The bottom shelf is a prime candidate because it catches drips from everything above. If you have a deli drawer or a dedicated cheese shelf, line those too for extra protection.
10. Don't Forget the Condiment Door
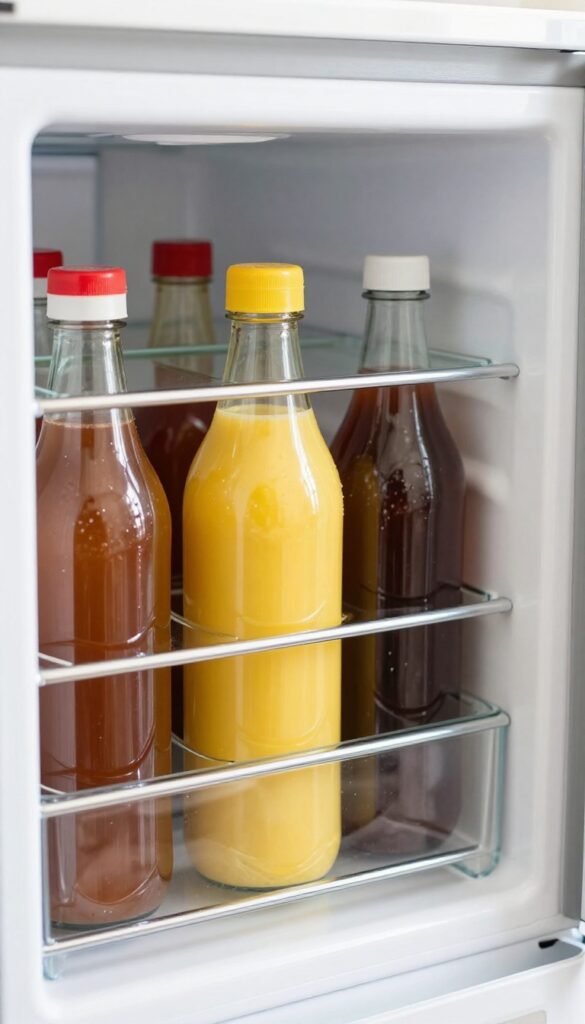
The condiment door is the most neglected part of any fridge. Those little shelves trap sticky drips from ketchup, mustard, and salad dressing bottles, often building up into a crusty mess. Giving them a quick wipe-down whenever you clean the main shelves keeps the whole fridge looking fresh.
Start by removing every bottle and jar from the door shelves. Check each one for sticky residue or dried drips on the outside—wipe those off before putting them back. Spray the empty shelves with an all-purpose cleaner or a vinegar-water solution, let it sit for a minute, then scrub with a sponge or brush.
Rinse with a damp cloth and dry completely. This simple step prevents sticky buildup and keeps your condiment door organized.
Check For Leaks And Expired Items
While everything is out, inspect each bottle for leaks or cracks. Wipe down any sticky residue you find. Also check expiration dates—toss anything that's past its prime.
This is a great opportunity to rearrange by height or frequency of use.
Use A Liner For Easy Cleanup
Consider placing a thin, washable silicone liner or a piece of wax paper on each door shelf. If something leaks, you can just lift out the liner and wash it instead of scrubbing the shelf itself. It’s a small hack that saves time on future cleanings.
11. Clean the Coils for Better Efficiency
Most people never think about the back or bottom of their fridge—until it stops working. Dust and pet hair build up on the condenser coils over time, making the compressor work overtime. That extra strain leads to higher electricity bills and a shorter lifespan for your appliance.
Unplug the fridge and pull it away from the wall. Use a vacuum with a brush attachment to gently remove dust from the coils. If the buildup is heavy, a coil cleaning brush can help loosen it.
Do this every six months to keep your fridge running efficiently and avoid costly repairs.
Why Dusty Coils Are A Problem
Condenser coils release heat from the fridge. When they're coated in dust, heat can't escape, so the compressor runs longer and harder. That not only wastes energy but also wears out the compressor faster.
A clean coil can reduce energy use by up to 10%.
How To Access The Coils
Coils are usually located behind a kickplate at the bottom front or on the back of the fridge. For bottom-front coils, remove the kickplate by unscrewing or snapping it off. For rear coils, pull the fridge out carefully—watch the water line if you have an ice maker.
Vacuuming Tips For Best Results
Use a crevice tool or brush attachment on your vacuum. Go over the coils in a straight line, following their direction. For stubborn dust, use a coil cleaning brush from a hardware store.
Avoid damaging the fins—they bend easily.
12. Deodorize with Lemon and Cloves
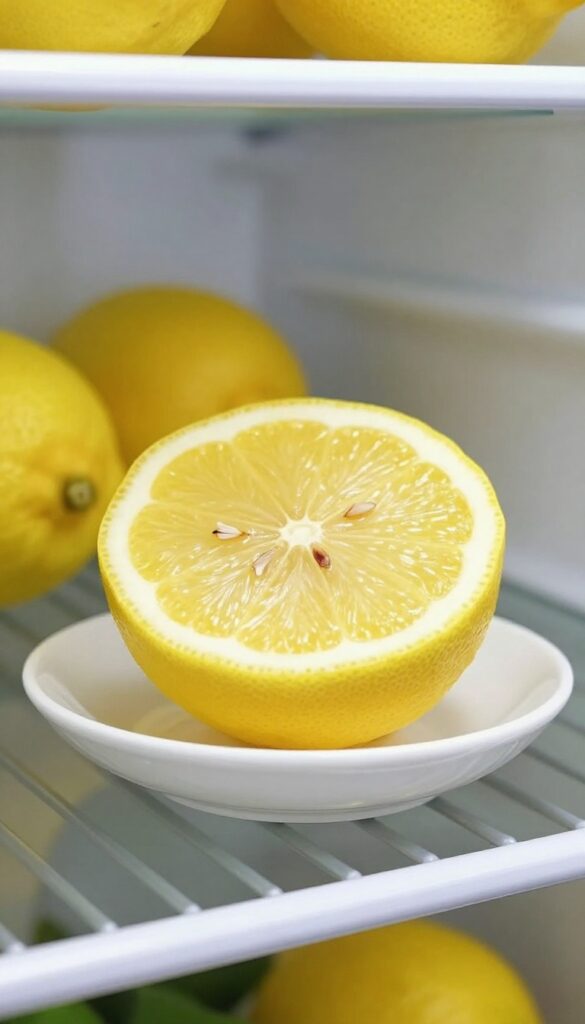
If your fridge still smells a bit off after a thorough wipe-down, a natural deodorizer can finish the job without any chemicals. Lemon and cloves are a classic combo that works surprisingly well. The lemon absorbs odors while the cloves add a warm, spicy scent that lingers pleasantly.
Cut a lemon in half, stick a few cloves into the flesh, and place it on a shelf. It freshens the air naturally. Replace every week until the smell is gone.
This simple trick is especially effective for neutralizing leftover onion or garlic odors.
Why This Works
Lemons are naturally acidic and contain citric acid, which helps break down odor-causing compounds. Cloves have eugenol, a compound with antimicrobial properties that also masks unpleasant smells. Together, they create a gentle, continuous deodorizing effect.
Tips For Best Results
Use a fresh lemon each time—dried-out lemons lose their effectiveness. Place the lemon on a small dish or saucer to catch any drips. For stubborn odors, you can also add a few drops of vanilla extract to the lemon half for an extra layer of freshness.
When To Replace
Swap the lemon every 5 to 7 days, or sooner if it starts to look shriveled or moldy. Once the smell is completely gone, you can stop using it. This method is safe for all fridge types and won't leave any residue.
13. Use a Steam Cleaner for Tough Grease
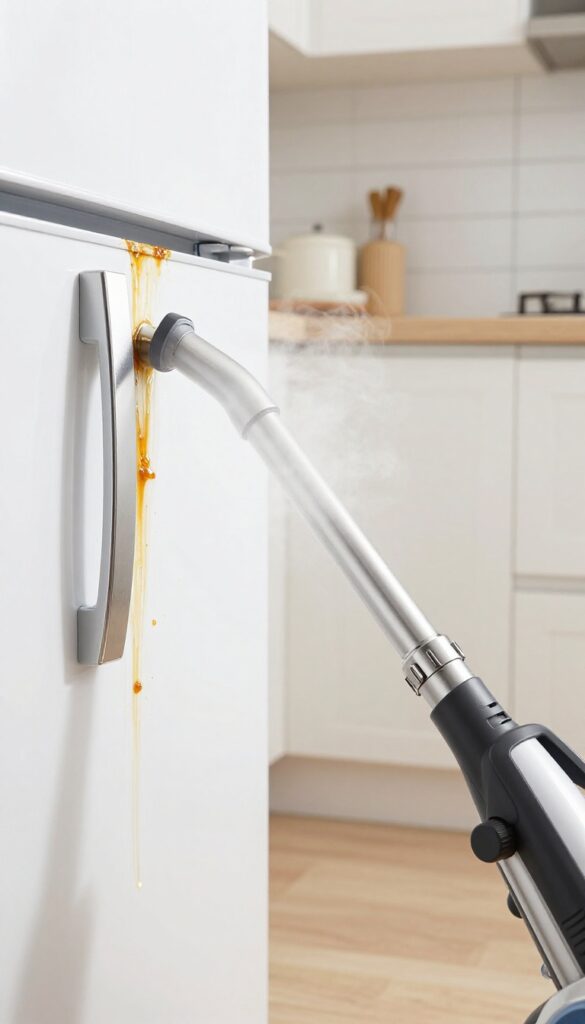
If you have a steam cleaner sitting in a closet, now’s the time to put it to work. Steam is a powerhouse for breaking down stubborn, baked-on grease that regular sponges can’t touch. The heat loosens grime without any chemicals, making it a safe choice for food-contact surfaces.
After steaming, just wipe away the residue with a clean cloth, and your shelves will look like new.
Steam cleaners are especially effective on fridge components that get caked with grease over time—like the top shelf where leftovers often drip, or the crisper drawer corners where sticky spills hide. The high temperature softens hardened grease instantly, so you don’t have to scrub aggressively. This method is also great for reaching into crevices and around seals without damaging rubber gaskets.
Where Steam Works Best
Focus on areas with visible grease buildup: the top shelf, door bins that hold oily condiments, and the back wall near the cooling vents. Steam can also sanitize the rubber gasket around the door, which often traps grime. Avoid using steam on electrical components or thin plastic parts that might warp.
How To Steam Clean Safely
Unplug the fridge and remove all food and loose shelves. Use the steam cleaner’s smallest nozzle attachment for precision. Hold the nozzle a few inches from the surface and move it slowly.
Let the steam sit for a few seconds before wiping with a microfiber cloth. Work in small sections to prevent excess moisture from pooling.
Drying After Steaming
After steaming, wipe down all surfaces with a dry cloth to remove moisture. Leave the fridge door open for 10–15 minutes to air out any residual dampness. This step prevents mold or mildew from forming in the newly cleaned areas.
14. Organize Food to Reduce Future Messes
A well-organized fridge isn't just pleasing to the eye—it's a secret weapon against future spills and odors. When everything has a designated spot, you're less likely to knock things over or forget leftovers until they turn into science experiments. Plus, an orderly layout makes cleaning faster because you can quickly pull out bins and shelves without rearranging a jumble of items.
Group similar items together and use clear bins. Store raw meat on the bottom shelf to prevent drips. An organized fridge is easier to clean and keeps food fresher.
Group By Category
Keep dairy together, condiments on the door, and produce in designated drawers. This not only streamlines meal prep but also prevents cross-contamination. When everything has a logical home, you can spot spills instantly and wipe them up before they harden.
Use Clear Bins And Lazy Susans
Transparent bins keep small items like yogurts, cheese sticks, and sauces from rolling around. A lazy Susan in the corner of a shelf makes reaching that jar of pickles effortless. Bins also catch drips and crumbs, so you can just lift them out for a quick rinse.
Store Raw Meat On The Bottom Shelf
Always place raw meat, poultry, and fish on the lowest shelf in a sealed container or on a plate. This prevents any juices from dripping onto ready-to-eat foods, reducing both mess and food safety risks. A dedicated meat drawer is even better if your fridge has one.
15. Schedule a Monthly Deep Clean

A quick wipe-down every week is great, but it’s the monthly deep clean that really keeps your fridge in top shape. Consistency prevents grime from building up and stops odors before they start. Mark your calendar—or set a phone reminder—so this habit becomes automatic.
Once a month, clear everything out and tackle every nook and cranny. Pull out shelves and drawers, wash them in warm soapy water, and dry them completely before putting them back. This is also the perfect time to check expiration dates and toss anything past its prime.
Make It A Routine
Pick a day that works for you—like the first Sunday of the month—and stick to it. A recurring calendar alert makes sure you never forget. Over time, this monthly reset becomes second nature, and your fridge stays fresh with minimal effort.
What To Focus On
During your deep clean, pay extra attention to the rubber door seals, the drip pan underneath (if accessible), and the condenser coils. These hidden spots collect dust and grime, affecting both smell and efficiency. A quick vacuum or wipe keeps everything running smoothly.
Pair It With A Weekly Wipe-down
A monthly deep clean works best when you also do a quick weekly wipe-down of surfaces and spills. Think of it as a one-two punch: the weekly pass handles the day-to-day mess, while the monthly deep clean resets the whole fridge. Together, they keep odors and stains from ever taking hold.
FAQ
How often should I clean my fridge?
Aim for a quick wipe-down weekly and a deep clean every month. This prevents spills from hardening and odors from setting in.
What's the best natural cleaner for fridge shelves?
A mix of equal parts white vinegar and water works great. It's non-toxic, cuts grease, and kills bacteria. Avoid using bleach as it can leave harmful residues.
How do I get rid of a strong smell in my fridge?
Start by removing spoiled food. Then place an open box of baking soda or a bowl of coffee grounds inside. For persistent smells, wipe surfaces with vinegar and water.
Can I use bleach to clean my fridge?
It's not recommended. Bleach can leave harmful residues and damage plastic surfaces. Stick to mild dish soap, vinegar, or baking soda for safe cleaning.
Why does my fridge smell even after cleaning?
Check for hidden spills under drawers or in the drip pan. Also, clean the door seals and coils. Sometimes odors linger in absorbent materials like plastic bins.
Conclusion
A clean fridge makes meal prep easier and keeps your food fresher longer. You don't need to tackle everything at once—just start with the spills or odors that bother you most.
Try one or two of these tips this weekend, and you'll see how much difference a few small habits can make. Your fridge will stay organized, smell fresh, and save you money on wasted groceries.