17 Cleaning Baseboards Tips for Dust and Scuff Marks
You walk into a room and notice the walls look great, but your eyes drift down to the baseboards. They’re dusty, scuffed, and frankly, a little embarrassing. It’s a small detail that can make a big difference in how clean a space feels.
Cleaning baseboards doesn’t have to be a dreaded chore. With the right tools and techniques, you can tackle dust and scuff marks quickly and keep them looking fresh longer.
These 17 tips will help you transform your baseboards from grimy to gleaming, saving you time and effort. Let’s get started.
1. Start with a Dry Dusting Routine
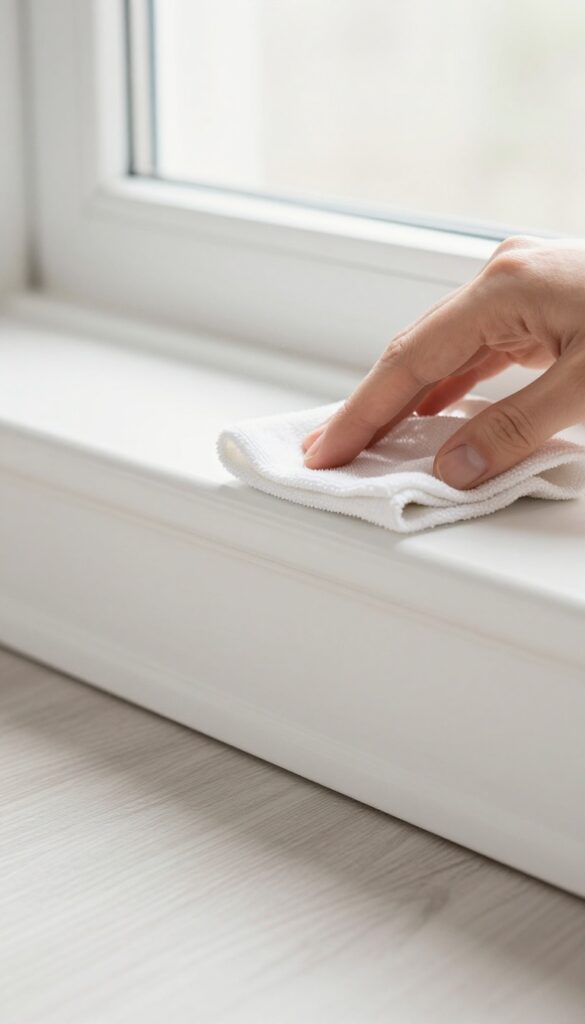
Before you bring out any sprays or scrub brushes, take a minute to dust your baseboards dry. This simple first step prevents dust from turning into a muddy mess when you add moisture. Plus, it cuts down on the elbow grease you'll need later.
Dry dusting is the foundation of a good baseboard cleaning routine. It removes loose particles that can scratch the surface when wiped with a wet cloth. Use a microfiber cloth or a long-handled dusting wand to reach the floor line comfortably.
Work from top to bottom, and don't forget the corners where cobwebs like to hide. This step alone can make your baseboards look noticeably better in just a few minutes.
Pick The Right Tool
Not all dusters are created equal. Microfiber cloths trap dust effectively without scattering it into the air. A flat microfiber mop or a dedicated dusting wand with a swivel head makes the job faster and spares your back.
Avoid feather dusters—they just move dust around.
Work In Sections
Break the room into manageable sections, like one wall at a time. This keeps you from missing spots and helps you stay organized. Start at the top of the baseboard and work downward, so any dust that falls gets captured on the way.
Don't Forget The Edges
Dust loves to settle where the baseboard meets the floor and the wall. Use the edge of your cloth or a soft brush attachment on a vacuum to get into those tight gaps. A quick pass here makes a big difference in the final look.
2. Use a Vacuum Attachment for Quick Cleanups
Your vacuum cleaner is probably the most underrated tool for baseboard maintenance. Before you reach for a cloth or duster, let the vacuum do the heavy lifting. It’s fast, effective, and saves you from stirring up dust into the air.
Attach a soft brush or crevice tool to your vacuum to suck up dust from baseboards without scratching the paint. This simple step removes loose debris before it gets ground into the surface during wiping. It’s especially helpful for textured or wooden baseboards where dust tends to cling.
Choose The Right Attachment
A soft brush attachment works best for flat baseboards because it gently loosens dust while the suction pulls it away. For tight corners or gaps near the floor, switch to a crevice tool. Avoid using a hard bristle brush, which can leave fine scratches on painted surfaces.
Work Top To Bottom
Start at the top edge of the baseboard and work your way down. This prevents dust from falling onto already cleaned areas. Move the attachment slowly along the length to give the vacuum time to capture everything.
Pay extra attention to corners and behind furniture legs.
Pair With A Microfiber Cloth For Stubborn Dust
After vacuuming, run a dry microfiber cloth over the baseboard to catch any remaining fine dust. This combo ensures you don’t miss anything. If you vacuum regularly, you might only need to do this once a month to keep baseboards looking fresh.
3. Try a Dryer Sheet for Static-Free Dusting
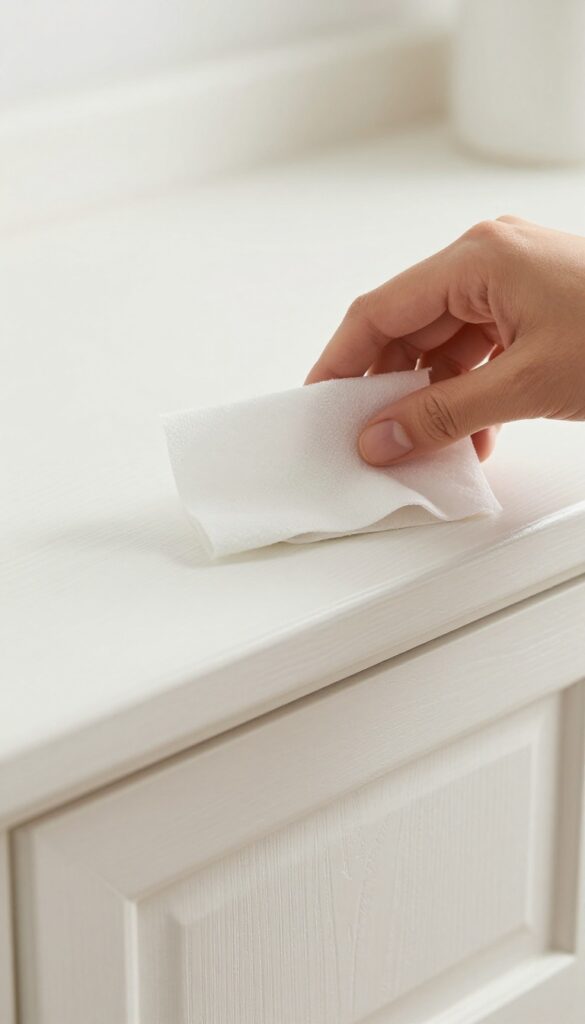
You've probably tossed used dryer sheets in the trash without a second thought. But those soft, lint-covered sheets are actually great for dusting baseboards. The anti-static agents in dryer sheets help repel dust, so your baseboards stay clean longer after you wipe them down.
It's a simple swap that makes a noticeable difference.
Dryer sheets work because they're designed to reduce static cling in the laundry. That same property helps them attract and hold dust particles from baseboards, rather than just pushing dust around. Plus, they leave behind a thin, waxy residue that repels future dust buildup.
This means you can go longer between cleanings, which is always a win. Just grab a used dryer sheet—it's already broken in and less likely to leave residue—and run it along the top edge and face of your baseboards. You'll see the dust cling to the sheet instantly.
For scuff marks, you might need a bit more pressure, but dryer sheets can often lift light scuffs too.
Why Dryer Sheets Work So Well
Dryer sheets contain fabric softeners and anti-static agents that neutralize the electric charge on surfaces. When you wipe a baseboard, the sheet attracts dust like a magnet, trapping it in the fibers instead of letting it fly into the air. The residual coating also makes future dusting easier because dust doesn't stick as stubbornly.
Best Way To Use A Dryer Sheet On Baseboards
Use a sheet that's already been through the dryer once—it's less greasy and still effective. Wrap it around your finger or a small sponge for better control. Start at one end of the baseboard and wipe in long, continuous strokes.
Flip the sheet as it gets dirty to expose a clean side. For stubborn scuffs, apply a little pressure or use the sheet with a tiny bit of water.
When Not To Use Dryer Sheets
Avoid dryer sheets on unfinished wood or painted surfaces that are sensitive to oils. Test in an inconspicuous spot first. Also, if your baseboards are very greasy or sticky, a dryer sheet alone won't cut it—use a degreaser first, then finish with the sheet for static protection.
4. Make a DIY Cleaning Solution with Vinegar and Water
Store-bought cleaners can be expensive and loaded with chemicals you might not want around your home. A simple mix of white vinegar and warm water does the job just as well on most baseboards. It cuts through dust, grime, and light scuff marks without leaving a sticky residue or harming the paint.
This solution is safe for almost all baseboard materials, including wood, MDF, and vinyl. Plus, you probably already have both ingredients in your kitchen. It's budget-friendly and eco-friendly, which is a win-win.
Mixing your own cleaner is quick and easy. Use a 1: 1 ratio of white vinegar to warm water in a spray bottle. Shake gently to combine.
For extra cleaning power, add a drop of dish soap. Spray the solution lightly onto a microfiber cloth—never directly onto the baseboard to avoid moisture seeping into cracks. Wipe along the baseboard, applying a bit of pressure for scuff marks.
The vinegar smell fades as it dries, leaving your baseboards clean and streak-free.
Why Vinegar Works So Well
White vinegar is mildly acidic, which helps break down dirt, grease, and grime. It also acts as a natural disinfectant. Unlike harsh chemical cleaners, it won't damage paint or wood finishes when used properly.
It's gentle enough for regular maintenance but effective enough for most messes.
When To Skip The Vinegar
Avoid vinegar on unsealed wood, marble, or stone baseboards. The acid can etch or dull these surfaces. Also, if your baseboards have a wax finish, vinegar can strip it over time.
For those cases, stick to a mild soap and water solution instead.
Tips For Best Results
Always test the solution on a hidden spot first. Use a clean microfiber cloth and change it frequently to avoid spreading dirt. For stubborn scuff marks, let the solution sit for a minute before wiping.
Rinse the cloth with plain water and do a final pass to remove any vinegar residue.
5. Use a Magic Eraser for Stubborn Scuff Marks
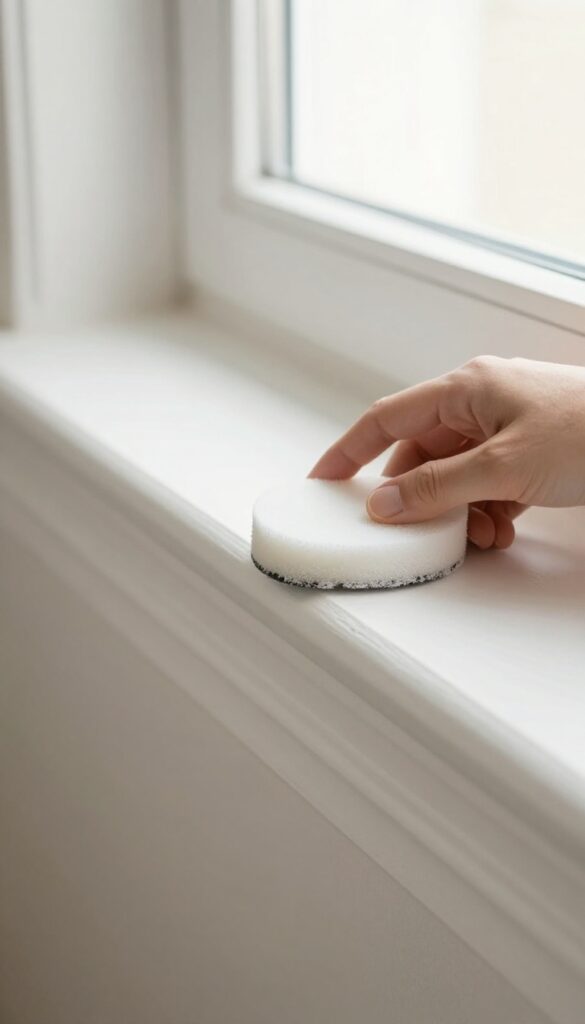
Some scuff marks just won't budge with regular cleaners. That's where a melamine sponge—commonly known as a Magic Eraser—comes in. It's like a super-fine sandpaper that lifts marks without scratching paint.
Dampen the sponge with water and squeeze out excess. Gently rub the scuff mark in a circular motion. You'll see it disappear in seconds.
For tougher marks, apply a bit more pressure, but always test on an inconspicuous spot first. This method works wonders on rubber marks from shoes or furniture, and it's safe for most painted surfaces.
Why Melamine Sponges Work So Well
The magic is in the micro-structure. Melamine foam acts like ultra-fine sandpaper, gently abrading the scuff mark away without damaging the paint. It's activated by water, so no harsh chemicals needed.
Just a light touch and a few passes, and those dark streaks vanish.
Best Practices For Safe Use
Always wet the sponge first—using it dry can be too abrasive. Test on a hidden area to ensure it doesn't remove paint. For glossy or semi-gloss finishes, use even lighter pressure.
Don't scrub too hard or you might create a dull spot. And remember, the sponge wears down as you use it, so flip to a fresh side for each new mark.
When Not To Use A Magic Eraser
Avoid using melamine sponges on unsealed wood, matte paint, or delicate surfaces like wallpaper. They can strip the finish or leave a sheen. Also, don't use them on porous surfaces that might absorb the foam particles.
Stick to painted, non-porous baseboards for best results.
6. Apply a Paste of Baking Soda and Water for Tough Stains
Some scuff marks just won't budge with regular cleaners. That's when a simple paste of baking soda and water comes to the rescue. It's gentle enough for painted surfaces but abrasive enough to lift stubborn grime without scratching.
Mix three parts baking soda with one part water to form a thick paste. Apply it directly to the stain using your finger or a soft cloth. Let it sit for about five minutes to break down the mark.
Then scrub gently with a soft-bristled brush or an old toothbrush. Wipe away the residue with a damp cloth, and you'll see the difference immediately.
Why Baking Soda Works
Baking soda is a mild alkali that reacts with acids and oils in dirt, helping to lift stains. Its fine, gritty texture provides just enough friction to scrub away scuffs without damaging paint or wood. Plus, it's non-toxic and safe for homes with kids and pets.
Best Application Tools
A soft-bristled toothbrush is ideal for getting into corners and crevices. For larger areas, use a microfiber cloth or a sponge with a gentle scrub pad. Avoid steel wool or abrasive scrubbers that can strip paint or leave scratches.
When To Use This Method
This paste works wonders on rubber scuff marks from shoes, dark streaks from furniture, and dried-on dirt. It's also great for cleaning grout lines along the baseboard. If the stain is especially stubborn, let the paste sit longer—up to 15 minutes—before scrubbing.
7. Use a Toothbrush for Detailed Cleaning
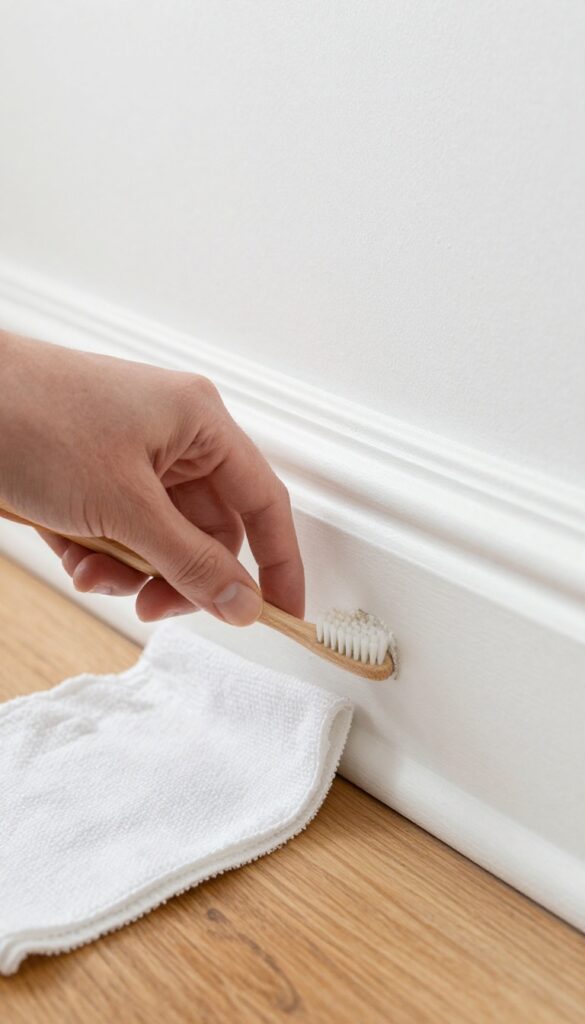
When you’ve wiped down the main surfaces but still see grime in corners or along textured baseboards, a toothbrush is your best friend. Its small bristles reach into crevices that cloths and sponges miss. Plus, it’s gentle enough not to damage paint.
Grab an old toothbrush (or a new one if you prefer) and pair it with a mild cleaner. Dip the bristles and scrub along edges, corners, and any decorative grooves. For stubborn dirt, let the cleaner sit for a minute before scrubbing.
Rinse with a damp cloth afterward to remove residue.
Target The Tricky Spots
Focus on the top edge where baseboard meets the wall, the bottom where it meets the floor, and any ornamental details. These areas collect dust and scuffs that a flat cloth can’t tackle. A toothbrush gets into every nook.
Pair With A Cleaner
Use a gentle all-purpose cleaner or a DIY mix of dish soap and warm water. Avoid harsh chemicals that could strip paint. For scuff marks, a dab of baking soda paste on the toothbrush works wonders.
Rinse And Dry
After scrubbing, wipe the area with a damp microfiber cloth to remove any soap residue. Follow with a dry cloth to prevent water spots. Your baseboards will look refreshed and spotless.
8. Try a Painters Tape Trick for Freshly Painted Baseboards
If you’ve just painted your baseboards, the last thing you want is to ruin them with cleaning splatters or drips. A simple trick with painter’s tape can keep your walls spotless while you wipe down the trim. It’s a small step that saves you from touching up paint later.
Here’s how to do it: Run a strip of painter’s tape along the top edge of the baseboard where it meets the wall. Press it down firmly so no cleaner seeps through. Then clean the baseboard as usual — spray, wipe, and let dry.
When you peel off the tape, you’ll have a crisp, clean line with no mess on the wall. This works especially well if you’re using a spray cleaner that might overspray. Just make sure the paint on your baseboards is fully cured before taping, or you might pull off fresh paint.
Why It Works
The tape creates a physical barrier that catches any drips or overspray. It also prevents your cleaning cloth from accidentally rubbing cleaner onto the wall, which can leave streaks or remove paint. For freshly painted baseboards, this extra protection is worth the minute it takes to apply the tape.
When To Skip The Tape
If your baseboards are old or have chipping paint, the tape might pull off more paint when removed. In that case, stick to a dry microfiber cloth or a barely damp sponge. Also, avoid leaving tape on for more than a few hours, especially in direct sunlight — it can leave sticky residue.
9. Use a Squeegee to Wipe Down Baseboards
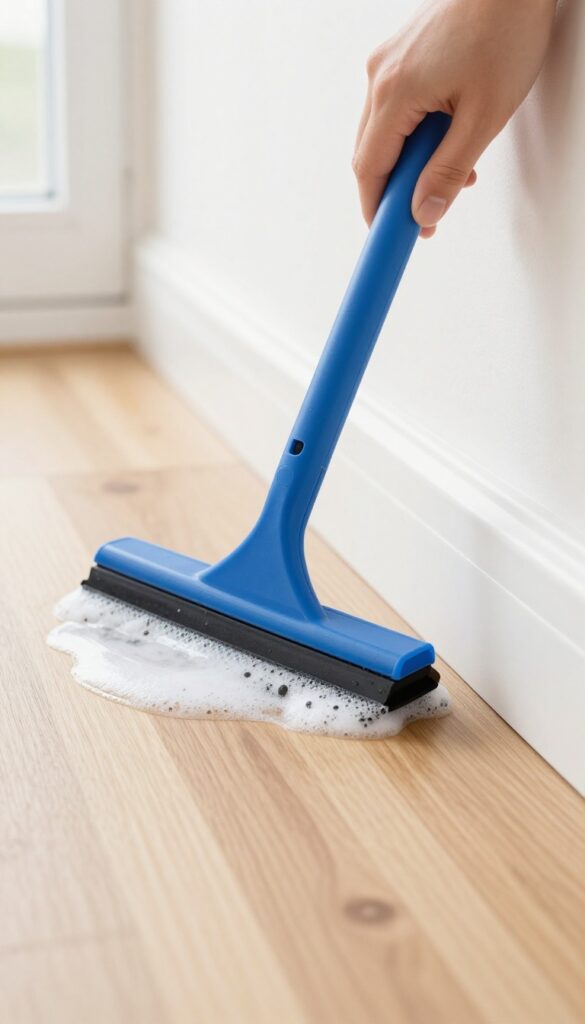
A squeegee isn't just for windows. It's also a surprisingly effective tool for cleaning smooth baseboards. The rubber blade glides over the surface, pushing cleaning solution and dirt into a neat line for easy cleanup.
You get streak-free results with minimal effort.
This method works best on flat, non-textured baseboards. It's quick, uses less water than a sponge, and leaves no lint behind. Perfect for a fast refresh between deep cleans.
Why A Squeegee Works
The squeegee's flat rubber edge creates a tight seal against the baseboard. As you pull it along, it lifts dirt and liquid without smearing. Unlike cloths or sponges, it doesn't leave streaks or fibers.
This makes it ideal for high-gloss or painted smooth surfaces where every mark shows.
How To Do It Right
Start by dusting the baseboard with a dry microfiber cloth or duster. Then spray your cleaning solution lightly onto the baseboard—don't soak it. Hold the squeegee at a slight angle and pull it in one continuous motion from one end to the other.
Wipe the blade clean on a rag after each pass. Repeat until the baseboard is dry and spotless.
Best Cleaning Solution For Squeegee Use
A mild solution of dish soap and warm water works great. Avoid anything too sudsy, as excess bubbles can leave residue. For tough scuffs, add a splash of white vinegar.
Test on an inconspicuous spot first to ensure the paint is sealed and won't react.
10. Clean Baseboards with a Swiffer or Dust Mop
Bending over to scrub baseboards is a backache waiting to happen. A Swiffer or flat dust mop lets you clean them while standing upright, saving your spine and your sanity. This method works best for light dust and surface grime, not heavy scuff marks.
Choose The Right Pad
Use a dry microfiber pad for dusting—it traps particles without scratching the paint. For sticky spots or light dirt, lightly dampen the pad with water or a gentle cleaner. Avoid soaking it, as excess moisture can drip onto floors and damage baseboard seams.
Technique Matters
Glide the mop head along the baseboard from one end to the other, applying gentle pressure. Overlap each pass slightly to avoid streaks. For corners or tight spaces, switch to a smaller attachment or a handheld duster.
Maintain Your Tool
Wash reusable pads after each use to prevent spreading dirt around. If using disposable Swiffer sheets, replace them when they look soiled. A clean pad is essential for a streak-free finish.
11. Use Rubbing Alcohol for Ink or Marker Stains
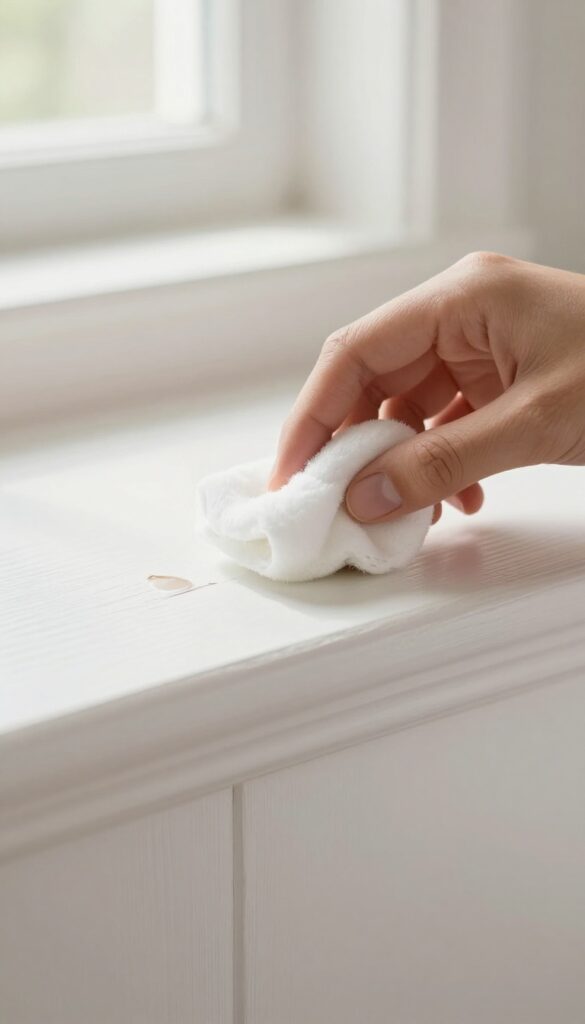
Ink and marker stains on baseboards can be frustrating, especially if you have kids or work from home. Regular cleaners often fail, but rubbing alcohol works like a charm. It dissolves the ink without damaging the paint—just use it carefully.
Rubbing alcohol is a go-to for stubborn ink and marker stains because it breaks down the pigments without harsh scrubbing. Always test on a hidden spot first to ensure it won't lift the paint. Dab a cotton ball or soft cloth with a small amount of alcohol, then gently blot the stain—don't rub, as that can spread the ink.
Repeat until the stain lifts, then wipe with a damp cloth to remove any residue. For dried markers, let the alcohol sit for a few seconds before blotting.
Why Rubbing Alcohol Works
Ink and marker stains are often alcohol-based or contain solvents that dissolve in isopropyl alcohol. This makes rubbing alcohol an effective solvent that breaks down the stain without damaging the paint underneath. It evaporates quickly, so you won't have to worry about moisture soaking into the baseboard.
How To Apply Safely
Start by testing an inconspicuous area, like behind a door or furniture. Dip a cotton ball or soft cloth in rubbing alcohol (70% or 91% works fine) and squeeze out excess. Gently blot the stain, working from the edges inward.
Avoid rubbing aggressively, as that can push the ink deeper. Once the stain is gone, wipe the area with a damp cloth and dry with a towel.
What To Do For Dried Stains
For old or dried marker stains, apply a few drops of rubbing alcohol directly to the stain and let it sit for 10–15 seconds to soften. Then blot with a clean cloth. You may need to repeat a couple of times for stubborn marks.
If the stain persists, try a magic eraser after the alcohol treatment.
12. Try a Steam Cleaner for Deep Cleaning
If you’re tired of scrubbing stubborn grime and want a deeper clean without harsh chemicals, a steam cleaner might be your new favorite tool. These handheld devices use high-temperature steam to loosen dirt, kill germs, and sanitize surfaces—all with just water. It’s especially effective on textured or painted baseboards where dust and scuff marks cling tight.
A steam cleaner can save you time and effort, but it’s important to use it correctly to avoid damaging your baseboards. Start by vacuuming or dusting first to remove loose debris. Then, hold the steam nozzle a few inches away and move slowly along the baseboard.
The steam will lift dirt and kill bacteria. Immediately follow up with a clean microfiber cloth to wipe away the loosened residue. This two-step process leaves baseboards spotless and dry quickly.
Choose The Right Steam Cleaner
Not all steam cleaners are created equal. For baseboards, a handheld model with a small, focused nozzle works best. Look for one with adjustable steam settings so you can control the moisture level.
Avoid using a large floor steam mop, as it may be too bulky and deposit too much water, which can seep behind the baseboard and cause damage.
Test On An Inconspicuous Area First
Before going all in, test your steam cleaner on a small, hidden section of baseboard. Some paints or finishes may react poorly to heat and moisture. If the paint bubbles or discolors, switch to a lower steam setting or stick to your regular cleaning method.
Better safe than sorry.
Pair With A Microfiber Cloth For Best Results
Steam alone loosens dirt, but you need to wipe it away to prevent streaks. Keep a dry microfiber cloth handy and wipe immediately after steaming. For extra dirty spots, use a damp cloth to capture the grime, then dry with a clean cloth.
This combo ensures a clean, streak-free finish every time.
13. Protect Baseboards with a Clear Wax or Sealant
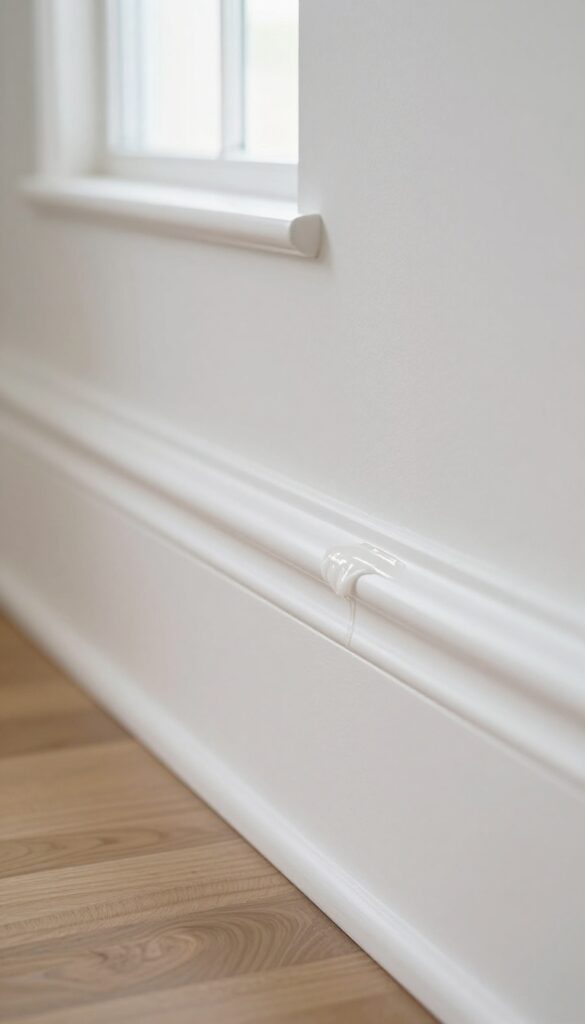
Once your baseboards are clean and dry, why not give them a little extra armor? A clear wax or sealant creates a protective layer that repels dust and makes scuff marks wipe away with a damp cloth. It’s like adding a shield to your baseboards, keeping them looking fresh longer and cutting down on future scrubbing sessions.
Applying a clear wax or water-based sealant is a simple step that pays off big time. It fills tiny pores in the paint, so dust doesn’t cling as easily. And when kids or pets bump into the baseboards, the scuff stays on the wax layer—not the paint.
You can wipe it off without damaging the finish. This is especially handy in high-traffic areas like hallways and living rooms.
Choose The Right Product
For painted baseboards, go with a clear furniture wax (like paste wax) or a water-based polyurethane sealant. Avoid oil-based products that can yellow over time. Test a small hidden spot first to make sure it doesn’t alter the sheen or color.
How To Apply It Right
Clean the baseboard thoroughly and let it dry. Dip a soft cloth into the wax or sealant, then rub it on in thin, even strokes. Let it dry according to the instructions, then buff with a clean cloth for a subtle shine.
One coat is usually enough, but you can add a second for extra protection.
When To Reapply
The protective layer will wear down over time, especially in busy spots. Check every few months—if dust starts sticking more or scuffs become harder to wipe off, it’s time for a fresh coat. A quick reapplication keeps your baseboards low-maintenance.
14. Use a Lint Roller for Quick Dust Pickup
Sometimes you just need a fast fix. A lint roller isn't just for clothes—it's a surprisingly effective tool for snatching dust, pet hair, and cobwebs off baseboards. Keep one in your cleaning caddy for those moments when a full wipe-down isn't practical.
Rolling a lint roller over your baseboards grabs loose debris in seconds without spreading dust into the air. It's perfect for high-traffic areas or homes with shedding pets. No bending, no damp cloth—just a quick pass and you're done.
Best Lint Rollers For The Job
Choose a wide lint roller (at least 4 inches) to cover more surface area quickly. Refillable ones with strong adhesive sheets work best. Avoid cheap rollers that leave sticky residue.
When To Use This Method
Use the lint roller for light maintenance between deep cleans. It's ideal for baseboards in bedrooms, hallways, and living rooms where dust accumulates fast. For greasy or sticky spots, stick to a damp cloth.
Pro Tip For Extra Efficiency
Keep a lint roller in a drawer near your baseboards. When you spot dust, grab it and roll. You'll save time and keep your baseboards looking fresh with minimal effort.
15. Clean Baseboards After Vacuuming Carpets
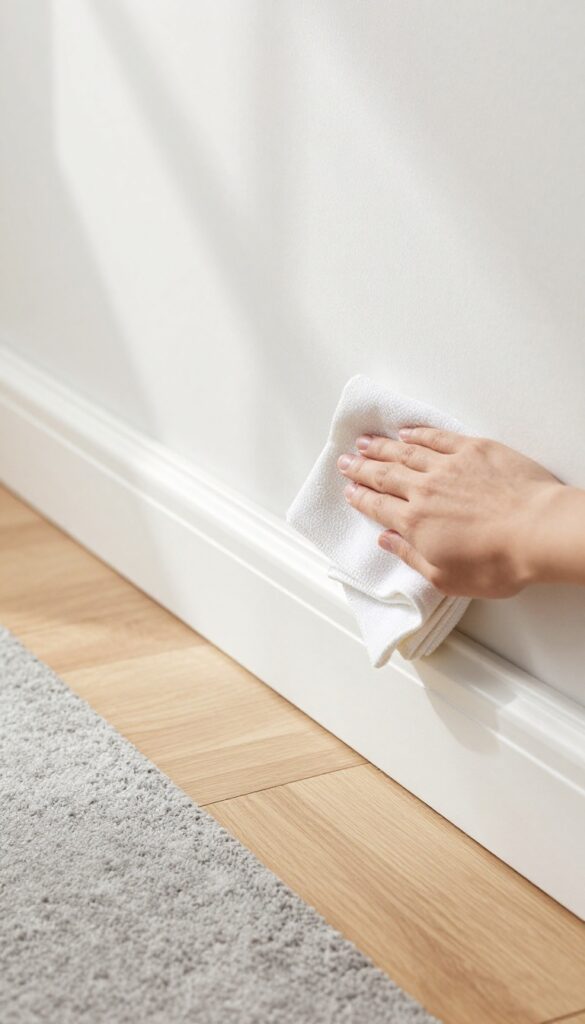
Vacuuming carpets kicks up a surprising amount of fine dust and allergens into the air. That dust eventually settles on every horizontal surface in the room, including your baseboards. If you clean baseboards before vacuuming, you're basically doing double work—the dust from the carpet will land right back on the freshly cleaned boards.
By making baseboard cleaning the final step after vacuuming, you catch that fresh layer of dust before it has time to settle and bond with the surface. This simple timing trick can cut your cleaning time in half and keep baseboards looking better longer.
Why Post-vacuum Cleaning Works
When you vacuum, the brush roll and suction disturb particles embedded in carpet fibers. These particles become airborne and can stay suspended for up to two hours. Cleaning baseboards immediately after vacuuming means you're wiping away dust that hasn't had a chance to stick or accumulate.
Best Tools For Quick Touch-ups
After vacuuming, use a microfiber cloth or a dusting wand to quickly wipe down the baseboards. For a faster approach, attach a soft brush to your vacuum's hose and run it along the baseboard trim. This picks up the loose dust without any extra bending or scrubbing.
Pairing With A Damp Cloth
For a deeper clean, lightly dampen a microfiber cloth with water or an all-purpose cleaner after the dry dusting. The moisture traps any remaining fine particles and removes scuff marks that dry dusting might leave behind. Just make sure the cloth is only slightly damp to avoid damaging the paint or wood.
16. Use a Spray Bottle with a Fine Mist
A spray bottle might seem straightforward, but using one incorrectly can lead to drips, streaks, or even damage to your walls. The trick is to avoid spraying directly onto the baseboards. Instead, mist your cleaning solution onto a microfiber cloth first.
This gives you control over how much moisture touches the surface and prevents excess liquid from seeping into gaps or running down onto the floor.
This method works especially well for painted baseboards where too much moisture can cause peeling or bubbling. By dampening the cloth rather than the baseboard, you also reduce the risk of overspray hitting your walls. For best results, choose a spray bottle that delivers a fine, even mist rather than a heavy stream.
This ensures the cloth is lightly moistened, not soaked.
Why Spraying Directly Can Backfire
When you spray directly onto baseboards, the liquid can pool at the bottom edge or run down into the carpet or flooring. Over time, this moisture can warp wood, loosen adhesive, or leave water stains. It also increases the chance of getting cleaning solution on your walls, which may require extra cleanup.
Choosing The Right Spray Bottle
Not all spray bottles are created equal. Look for one with an adjustable nozzle that can switch from a stream to a fine mist. A continuous spray bottle is even better because it delivers a consistent mist without pumping.
This gives you even coverage on your cloth and reduces hand fatigue during longer cleaning sessions.
How To Dampen Your Cloth Properly
Hold the cloth in one hand and spray it from about 6–8 inches away. Focus on the area that will make contact with the baseboard, not the entire cloth. You want the cloth to feel damp, not wet.
If it's dripping, you've used too much. Wring it out slightly before wiping to avoid excess moisture.
17. Establish a Regular Cleaning Schedule
Consistency is the secret to baseboards that always look good. Instead of waiting until they're coated in dust and grime, a simple schedule keeps them fresh with minimal effort. You'll spend less time scrubbing and more time enjoying your clean space.
Monthly Dusting
Set a recurring reminder on your phone for the first weekend of each month. Grab a microfiber cloth or a vacuum with a brush attachment and quickly wipe down all baseboards. This takes just a few minutes per room and prevents dust from building up into a thick layer.
Quarterly Deep Clean
Every three months, do a more thorough cleaning. Use a gentle cleaner or a DIY solution of warm water and mild dish soap. Wipe down each baseboard, paying attention to corners and edges where grime hides.
This routine catches scuff marks and stains before they become stubborn.
Seasonal Touch-ups
After holidays or big gatherings, give baseboards a quick once-over. Foot traffic and decorations often leave marks. A fast spot-clean with a magic eraser or damp cloth keeps them looking pristine without a full deep clean.
FAQ
How often should I clean my baseboards?
Dust baseboards every two weeks and do a deep clean (including scrubbing scuffs) every three to six months, depending on traffic and pets.
Can I use bleach on baseboards?
Bleach can damage paint and is too harsh for most baseboards. Stick to mild cleaners like vinegar and water or a gentle all-purpose cleaner.
What is the best way to remove scuff marks from baseboards?
A magic eraser (melamine sponge) works best for most scuffs. For tougher marks, try a baking soda paste or rubbing alcohol.
How do I clean baseboards without leaving streaks?
Use a microfiber cloth and wring it out well. Wipe with a damp cloth, then dry immediately with a clean cloth to avoid streaks.
Can I use a steam mop on baseboards?
Yes, but be careful. Use a handheld steamer or a steam mop with a soft attachment. Avoid excessive moisture on wood baseboards.
Conclusion
Baseboards don't have to be a constant battle. By picking just a few of these 17 tips—like using a dryer sheet to repel dust or a magic eraser for scuffs—you can keep them looking fresh with minimal effort. A quick weekly wipe-down prevents buildup, so you never have to scrub for hours.
Start with the most visible spots in your home, like the hallway or living room, and build a simple routine that works for you. Your baseboards will stay clean longer, and your whole space will feel more polished without the headache.