13 Cleaning a Cast Iron Skillet Tips After Every Meal
Your cast iron skillet is a kitchen workhorse, but keeping it in top shape requires more than just a quick rinse after each meal. A little post-cooking care goes a long way toward preserving that non-stick seasoning and preventing rust.
These 13 tips cover everything from cooling down to storing your pan, so you can enjoy years of reliable cooking without the guesswork.
No complicated routines—just simple, effective habits that make a real difference.
1. Cool Down Before You Clean
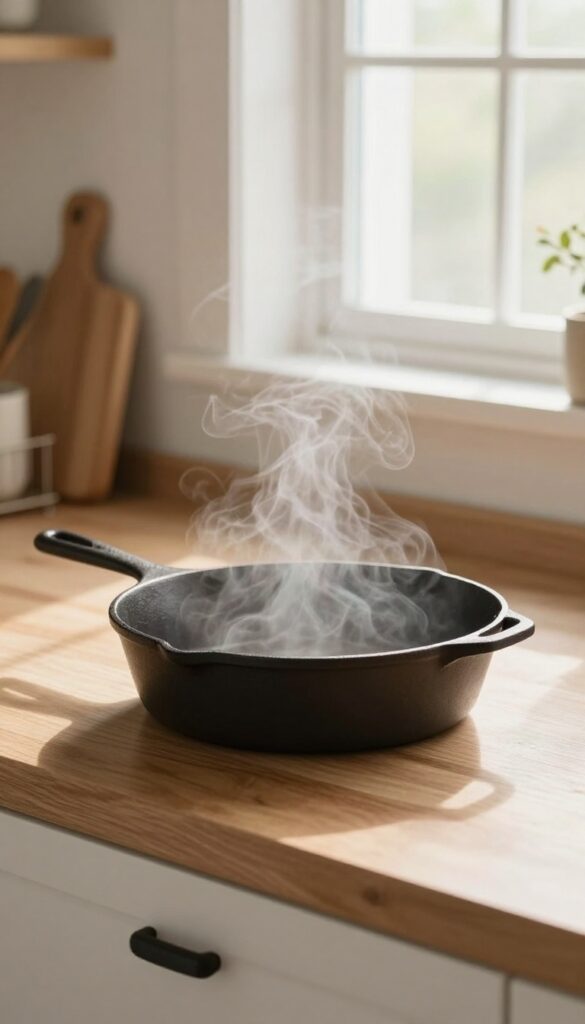
After cooking, it's tempting to wash the skillet right away, but that's a mistake. Letting it cool slightly prevents warping and makes cleaning easier. A hot pan hitting cold water can crack or distort the metal, ruining years of use.
Just a few minutes of patience saves you from costly damage.
Why Temperature Matters
Cast iron expands when hot and contracts when cool. Sudden temperature changes stress the metal, leading to warps or cracks. Cooling the pan to warm—not hot—before cleaning avoids this.
It also stops food from sticking stubbornly, as residues loosen as the pan cools.
How Long To Wait
Let the skillet sit for 10–15 minutes after cooking. If you're in a rush, run warm water over the bottom of the pan (not the cooking surface) to speed cooling. Never plunge a hot skillet into cold water—thermal shock is real.
The Safe Cleaning Window
Once the skillet is warm to the touch but not burning, it's ready. At this temperature, you can scrub without damaging the seasoning. If you wait too long and food hardens, just reheat the pan gently with a little water to loosen it.
2. Scrape Off Leftover Food Gently
One of the quickest ways to damage your skillet's seasoning is by attacking it with metal tools. A little patience and the right scraper make cleanup easier and keep your pan in great shape.
After you've finished cooking and the pan has cooled slightly, grab a wooden or silicone spatula to gently loosen any stuck-on bits. Avoid metal scrapers or steel wool, which can scratch the seasoning and create spots where rust can form. For really stubborn food, try adding a splash of water and letting it sit for a minute before scraping—the steam helps release the residue without any force.
Why Soft Tools Win
Wood and silicone are flexible enough to dislodge food without scratching the polymerized oil layer that makes cast iron non-stick. Metal utensils, on the other hand, can gouge the surface, leading to uneven seasoning and more sticking over time.
The Steam Trick For Tough Bits
If scraping alone isn't working, pour a small amount of water into the warm skillet and let it sizzle for a few seconds. The steam will loosen burnt-on food, making it easy to wipe away with a soft spatula or sponge. Just be sure to dry the pan thoroughly afterward.
When To Reach For A Chainmail Scrubber
For truly stubborn residue, a stainless steel chainmail scrubber is a safe option—it's gentle enough not to strip seasoning but effective at removing stuck food. Use it with a bit of water and a light touch, then rinse and dry immediately.
3. Rinse With Hot Water Only
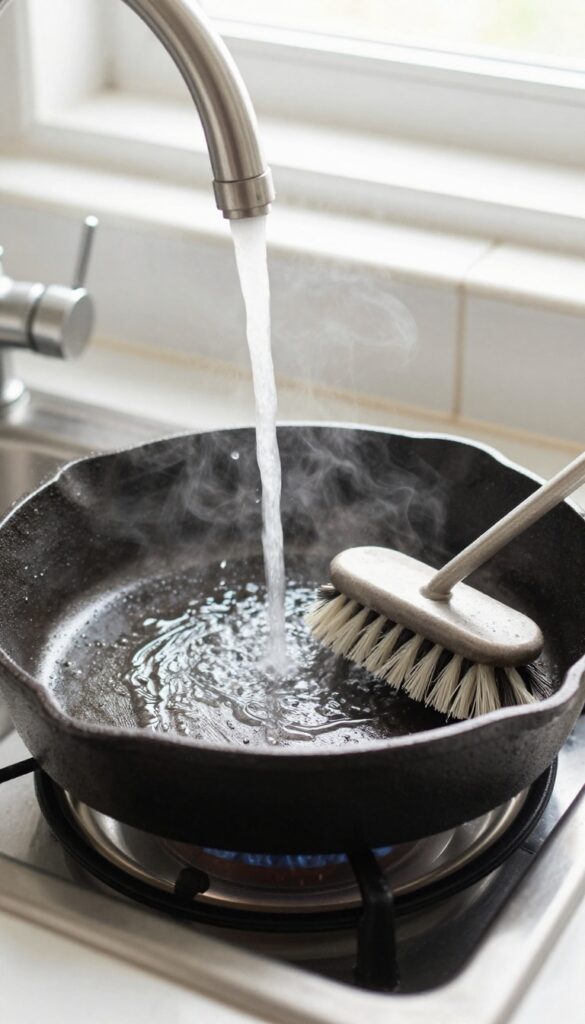
Hot water is your best friend when it comes to cleaning a cast iron skillet after a meal. It loosens grease and food residue without stripping the seasoning that makes your pan non-stick. Cold water, on the other hand, can shock the hot iron and cause it to warp or crack, plus it invites rust.
After you've finished cooking and the pan has cooled slightly (but is still warm), run it under hot tap water. Use a stiff brush or a non-scratch scrub pad to gently remove any stuck-on bits. The heat helps dissolve oils, so you rarely need soap.
If you must use soap, a tiny drop of mild dish soap is okay occasionally, but hot water alone does the job most of the time.
Why Cold Water Is A No-go
Pouring cold water into a hot skillet creates thermal shock. The rapid temperature change can warp the metal or cause the seasoning to flake off. Worse, cold water leaves the surface damp, which promotes rust.
Always stick with hot water from the tap.
Scrubbing Without Damage
Use a nylon brush, a chainmail scrubber, or a soft sponge. Avoid steel wool or abrasive pads that scrape away seasoning. For stubborn bits, let hot water sit in the pan for a minute to soften them, then scrub gently.
Drying Immediately After Rinsing
Once rinsed, dry the skillet thoroughly with a clean towel or by placing it on a low burner for a minute. Never let it air dry—that's a fast track to rust. A quick wipe with a thin layer of oil afterward keeps the seasoning in top shape.
4. Use a Stiff Brush or Chainmail Scrubber
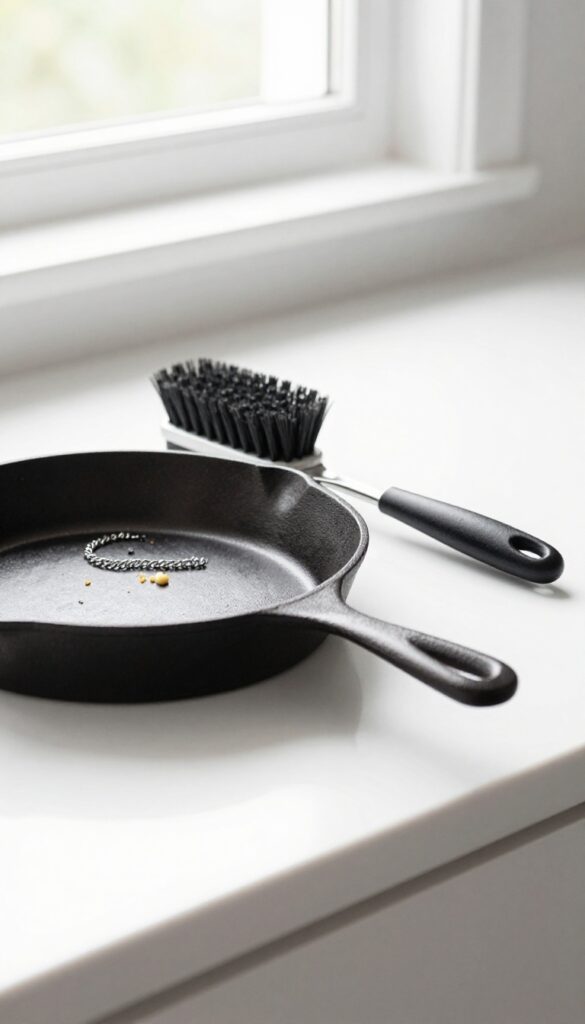
You don't need abrasive chemicals or steel wool to get a cast iron skillet clean. A stiff natural bristle brush or a chainmail scrubber does the job without damaging the seasoning. These tools are tough on stuck-on food but gentle on the pan's surface, making them a go-to for everyday cleaning.
When food clings to your skillet after cooking, reaching for a scrub brush or chainmail scrubber is a smart move. Both options physically dislodge residue without the harshness of metal scouring pads that can strip away the seasoning layer. A stiff brush works well for loose bits, while chainmail excels at tackling stubborn, baked-on spots.
Why These Tools Work
Natural bristle brushes are firm enough to scrape off food particles but soft enough to leave the seasoning intact. Chainmail scrubbers, made of linked stainless steel rings, provide a gentle abrasion that breaks up crusted residue without scratching the iron. Unlike soapy sponges, they don't leave behind fibers or chemicals.
How To Use Them
For a brush, run it under hot water and scrub the pan in circular motions, focusing on stuck areas. For chainmail, wet the scrubber and apply light pressure while rubbing the surface. Rinse both tools after use and let them air dry.
Avoid using them on a hot skillet—let it cool first to prevent warping or burns.
When To Choose Each
Use a stiff brush for quick cleanups after cooking eggs, pancakes, or sautéed vegetables. Reach for the chainmail scrubber when dealing with burnt-on cheese, caramelized sugars, or meat residue. Both can be used with a small amount of water or salt as a mild abrasive if needed.
5. Skip the Soap (Most of the Time)
There’s a persistent myth that soap will ruin your cast iron skillet. While harsh detergents and lye-based soaps from the past could strip seasoning, today’s mild dish soaps are far gentler. Still, that doesn’t mean you should reach for the bottle after every meal.
Frequent soap use can gradually wear down the seasoning layer, leaving your pan less non-stick over time.
For daily cleaning, hot water and a stiff brush are all you need. The heat helps loosen food particles, and the brush tackles stuck-on bits without damaging the seasoning. If you’ve cooked something particularly greasy or sticky, a little soap is fine—just use it sparingly and rinse thoroughly.
The key is to reserve soap for occasional deep cleans, not routine washes.
When Soap Is Actually Okay
If you’ve cooked fish, bacon, or anything with a strong odor, a drop of mild soap can help remove lingering smells. Also, if your skillet has visible residue that hot water won’t budge, a quick soap scrub is better than letting it sit. Just avoid soaking the pan or using abrasive sponges that could scratch the seasoning.
The Hot Water Scrub Method
After cooking, let the skillet cool slightly, then run hot water over it while scrubbing with a non-metal brush or chainmail scrubber. The thermal shock from cold water can warp the pan, so always use warm or hot water. For stubborn bits, boil a little water in the skillet to loosen them, then scrub and dry immediately.
Drying And Oiling After Washing
Even if you skip soap, always dry the skillet thoroughly to prevent rust. Place it on a low burner for a minute or two to evaporate any moisture. Then apply a thin layer of oil—just enough to give it a light sheen—before storing.
This maintains the seasoning and keeps the pan ready for next use.
6. Dry Thoroughly to Prevent Rust
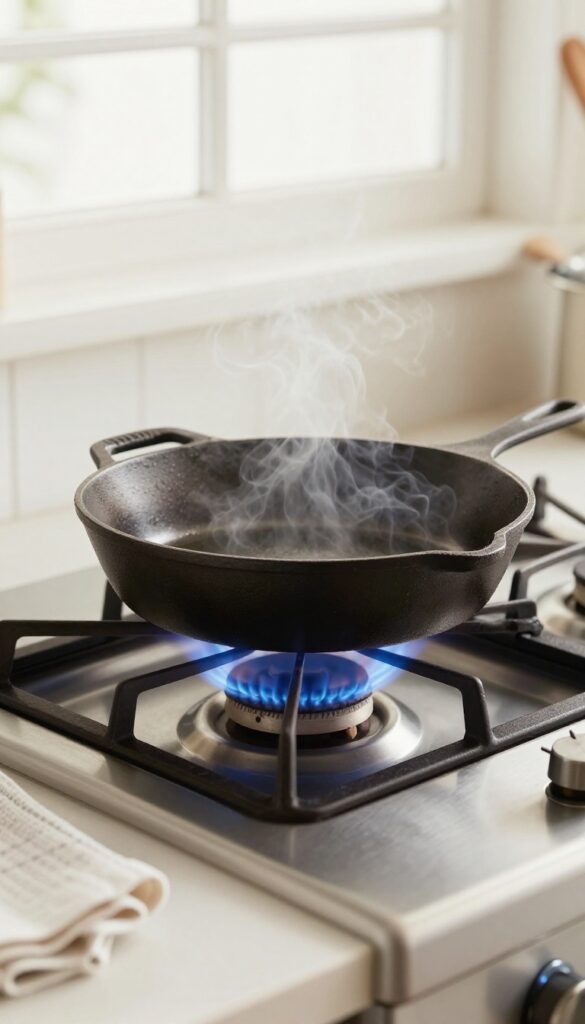
Rust is the enemy of cast iron, and moisture is its best friend. After washing, any water left on the surface can quickly lead to rust spots, especially if the pan isn't seasoned well. That's why drying your skillet completely is a non-negotiable step in your post-meal routine.
Towel Dry First
Start by wiping the skillet with a clean, lint-free towel or paper towel. Make sure you get into all the nooks and crannies, including the handle and the rim. Lint from regular towels can stick to the surface, so a lint-free cloth is best.
Stovetop Drying For Extra Safety
Even after towel drying, a thin layer of moisture can remain. Place the skillet on the stove over low heat for a minute or two. You'll see the last traces of water evaporate.
This also helps open the pores of the iron, making it ready for a light oiling if you choose to do that next.
Don't Air Dry
Letting your cast iron air dry is a recipe for rust. Water beads up and sits on the surface, especially if the pan is still warm. Always dry it immediately after washing.
A few extra seconds now can save you from scrubbing rust later.
7. Apply a Thin Layer of Oil
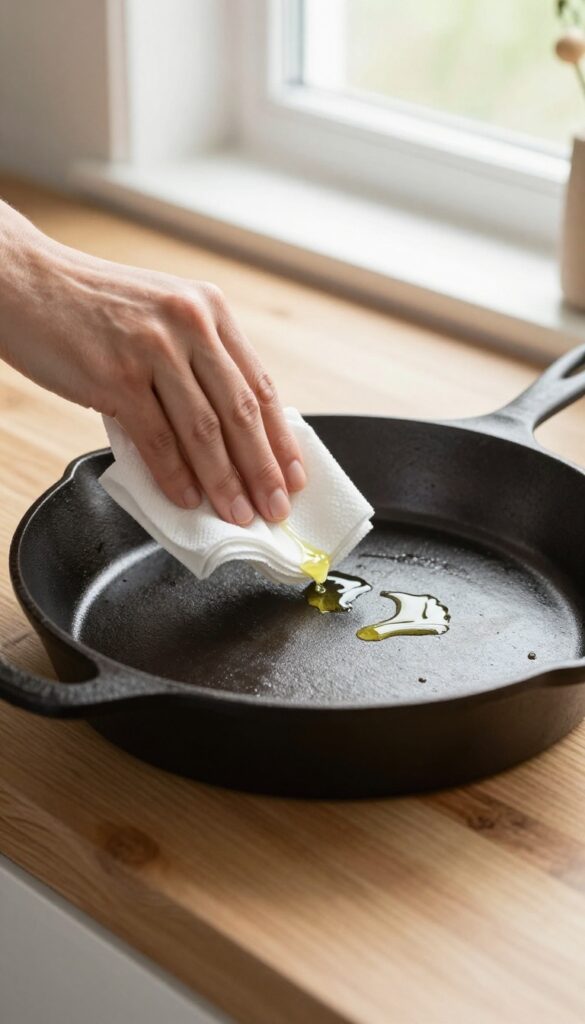
Once your skillet is completely dry, it's time for the final step that keeps the seasoning strong and the surface slick. A light coat of oil acts as a barrier against moisture and prepares the pan for its next use. This isn't about drenching the pan—just a tiny amount rubbed all over does the trick.
Grab a paper towel or a clean cloth and add a few drops of oil—vegetable, canola, or flaxseed work well. Rub it over the entire cooking surface, including the sides and handle if it's bare cast iron. Then take a fresh paper towel and buff off any excess; the pan should look barely oily, not greasy.
This thin layer polymerizes during the next cooking session, gradually building up that coveted non-stick finish.
Choose The Right Oil
Not all oils are created equal for seasoning maintenance. Flaxseed oil is a favorite because it creates a hard, durable coating, but it can be pricey and has a lower smoke point. Vegetable or canola oil are affordable and work well for everyday care.
Avoid olive oil—it tends to get sticky over time.
How Much Is Too Much?
The golden rule is less is more. If you can see pools of oil or feel a sticky residue, you've used too much. Excess oil can turn tacky and attract dust, plus it may flake off during cooking.
After rubbing the oil in, wipe the pan with a dry cloth until it feels almost dry to the touch.
When To Oil After Cleaning
Make oiling the last step every time you clean the skillet. Right after drying, while the pan is still warm (but not hot), the oil spreads easily and seeps into the pores of the iron. If you wait too long, the pan cools and the oil may not absorb as well.
8. Wipe Off Excess Oil
After you've dried your skillet and applied a thin layer of oil, it's tempting to leave it as is. But too much oil will turn sticky and gummy over time, ruining that smooth non-stick surface you've worked to build. The trick is to buff the pan until it looks dry but still feels slightly slick to the touch.
Grab a clean paper towel or a soft cloth and give the oiled surface a good wipe. You're not trying to remove all the oil—just the excess that hasn't bonded with the seasoning. The goal is a uniform, almost invisible sheen.
If you see any puddles or streaks, keep buffing. This simple step prevents that tacky residue that can attract dust and make your next meal stick.
Why Less Is More
A common mistake is thinking more oil equals better protection. Actually, a thick layer of oil won't polymerize properly—it'll stay wet and eventually turn rancid. That sticky mess is hard to remove and can affect the taste of your food.
A whisper-thin coat is all you need to shield the iron and maintain a slick cooking surface.
The Right Tool For The Job
Paper towels work fine, but they can leave tiny lint fibers behind. A lint-free cloth or a dedicated cast iron towel is even better. Some folks use a coffee filter or an old cotton t-shirt.
Whatever you choose, make sure it's clean and dry. Avoid using the same cloth for other chores to keep cross-contamination at bay.
Buffing Technique
Use a circular motion and apply light pressure. Start from the center and work your way to the edges, including the sides and handle if it's cast iron. Flip the towel to a clean spot as needed.
You'll know you're done when the surface looks matte and your fingers glide over it without feeling greasy.
9. Store in a Dry Place
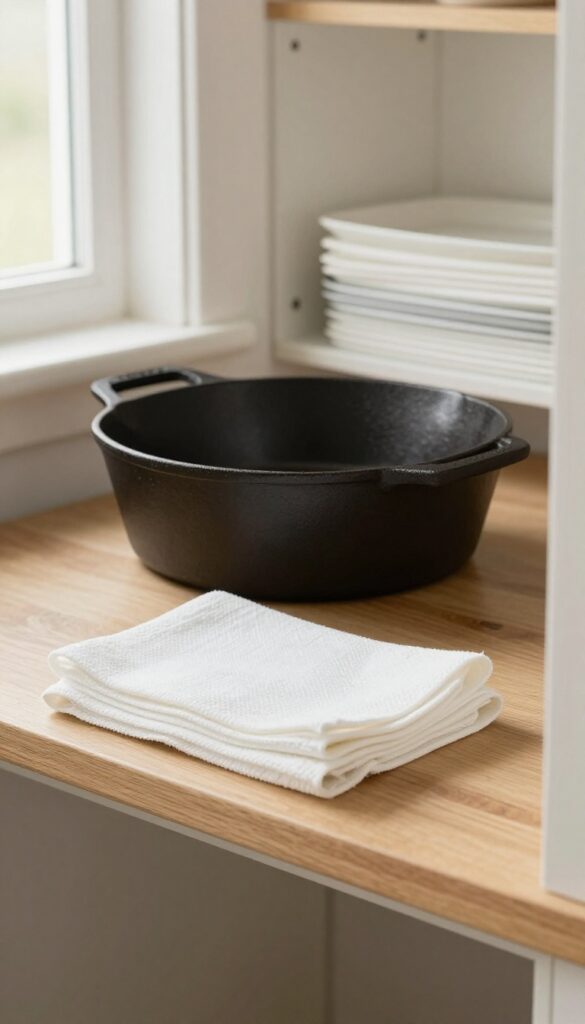
Where you keep your skillet between meals matters just as much as how you clean it. Even a perfectly dried pan can pick up moisture if it's stored in a damp cabinet or crammed under other cookware. A little thought about storage goes a long way in preventing rust and protecting that hard-earned seasoning.
Make sure your skillet lives in a consistently dry spot—a cabinet away from the sink or a stove where it can air out. If you stack other pans on top, place a paper towel or a soft cloth between them to avoid scratches and trapped humidity. This simple habit keeps your skillet ready for the next meal without any unpleasant surprises.
Choose The Right Spot
Avoid cabinets near the dishwasher or sink where steam can sneak in. A low-humidity drawer or a dedicated shelf works best. If you keep it on the stovetop, make sure the burner is completely cool and dry before setting the pan down.
Stacking With Care
Cast iron is heavy, and stacking other pans directly on top can chip the seasoning or cause scratches. Use a folded kitchen towel, a silicone trivet, or a paper towel as a buffer. This also helps absorb any residual moisture that might condense overnight.
Check Occasionally
Every few weeks, peek at your stored skillet. Wipe it with a dry cloth to remove any dust or slight dampness. If you spot a dull or sticky spot, give it a quick re-season before it becomes a problem.
10. Handle Stuck-On Food With Salt
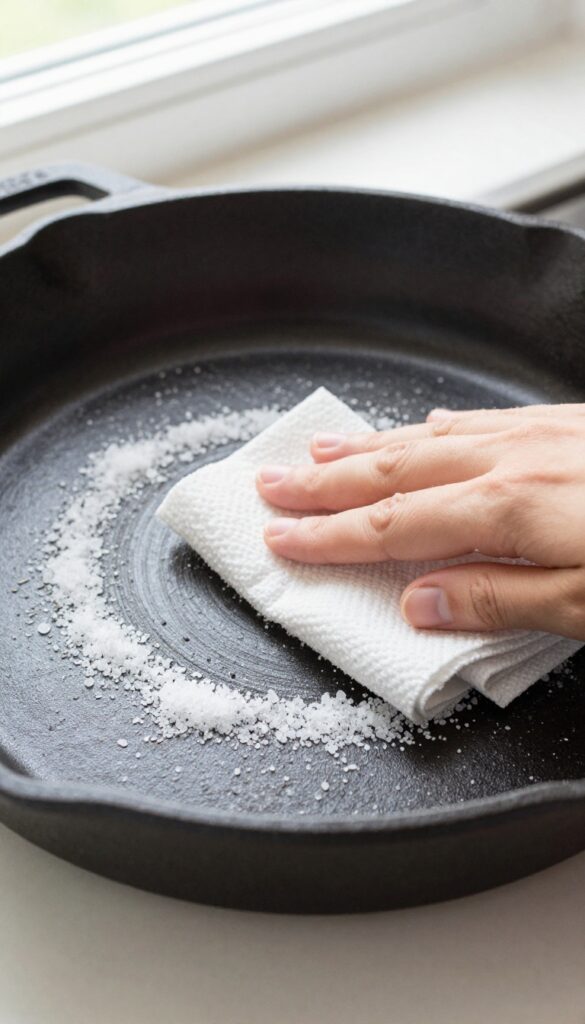
We've all been there—a beautiful sear on a steak leaves behind a crusty layer that won't budge. Before you reach for a metal scrubber or harsh chemicals, grab the salt shaker. Coarse salt is a surprisingly effective abrasive that lifts stubborn bits without damaging your skillet's seasoning.
When food sticks, the instinct might be to soak or scrape aggressively. But salt offers a gentler path. Pour a generous amount of coarse salt (kosher or sea salt works great) into the still-warm pan.
Use a folded paper towel or a stiff brush to scrub in circular motions. The salt grains act like tiny scrubbers, dislodging stuck particles while leaving the seasoning intact. Once the debris is loose, discard the salt and rinse the skillet with hot water.
This method saves your seasoning and keeps your pan ready for the next meal.
Why Salt Works Without Harsh Scrubbing
Coarse salt is hard enough to scrape off food but soft enough not to scratch the seasoning. Unlike steel wool or abrasive powders, salt dissolves in water, so there's no risk of residue. It's also naturally absorbent, pulling moisture from stuck-on bits and making them easier to remove.
Best Practices For Salt Scrubbing
Always use coarse salt—table salt is too fine and may dissolve too quickly. Make sure the skillet is warm, not hot, to avoid burns. If the stuck-on layer is thick, let the salt sit for a minute to soften the debris.
Use a paper towel or a natural-bristle brush; avoid plastic brushes that might melt.
When To Skip The Salt Method
If your skillet has deep scratches or the seasoning is flaking, salt scrubbing might be too abrasive. In that case, try boiling a little water in the pan to loosen food, then scrape with a wooden spatula. For everyday stuck-on food, though, salt is your go-to.
11. Boil Water for Tough Residue
Sometimes food just won't let go. Burnt-on bits after searing meat or baking cornbread can feel impossible to remove without damaging your seasoning. But there's a gentle trick that works every time: bring water to a boil right in the skillet.
The steam and heat loosen even the most stubborn gunk, making cleanup a breeze.
How To Do It
After cooking, let the skillet cool slightly, then add about half an inch of water. Place it back on the stove over medium heat and let the water come to a gentle boil. Use a wooden spatula or stiff brush to scrape the residue as the water bubbles.
Within a minute or two, the stuck-on food will lift away easily.
When To Skip This Step
Boiling water is best for heavy-duty messes, not for everyday cleaning. If you do it too often, you risk wearing down the seasoning. Reserve this method for when a simple wipe or salt scrub isn't enough.
And never boil water in a dry pan—always add water first to avoid cracking the iron.
Drying After Boiling
Once you've scraped off the residue, pour out the water and rinse the skillet with warm water. Immediately dry it thoroughly with a towel, then place it on a low burner for a minute to evaporate any remaining moisture. A quick oil rub afterward will protect the seasoning.
12. Re-Season When Needed
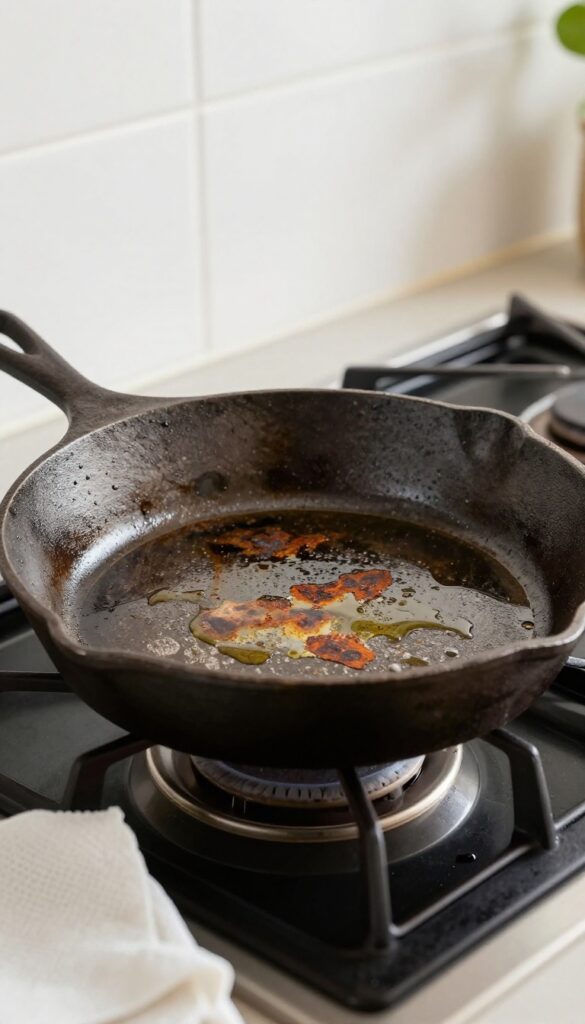
Even with the best care, your skillet's seasoning can wear thin over time. You'll know it's time when the surface looks dull, patchy, or food starts sticking more than usual. Instead of letting it slide, a quick stovetop re-seasoning can restore that non-stick magic in just a few minutes.
Spot The Signs
Before you reach for the oil, take a good look at your pan. A healthy seasoning has a dark, glossy sheen. If you see gray spots, rust-colored patches, or food clinging stubbornly, those are clear signals that the seasoning layer has worn down.
Don't wait until the problem gets worse—address it early.
Stovetop Method
For a quick fix, skip the oven and use your stovetop. Start by cleaning and drying the skillet thoroughly. Then apply a very thin layer of high-smoke-point oil like flaxseed, grapeseed, or canola.
Use a paper towel to wipe off any excess—you want just a barely-there film. Place the pan over medium-high heat and let it heat until the oil just starts to smoke. This polymerization process bonds the oil to the iron, rebuilding the seasoning.
Cool And Repeat If Needed
Once you see wisps of smoke, turn off the heat and let the pan cool completely. You'll notice the surface looks shinier and darker. If the pan still seems dull, repeat the process one or two more times.
This method is fast and effective, perfect for between deep cleanings or when you notice a sticky spot.
13. Avoid the Dishwasher at All Costs
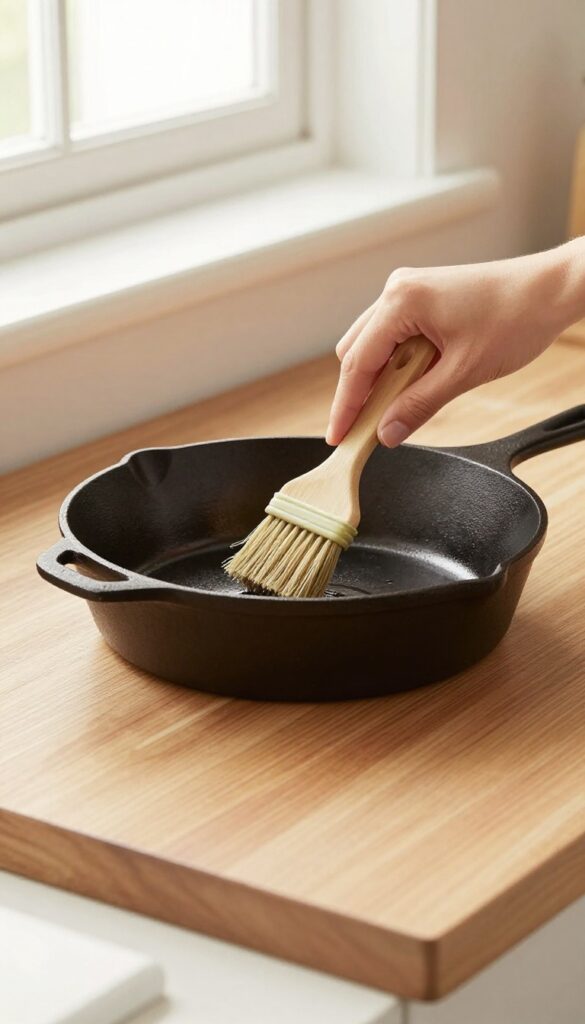
It might be tempting to toss your cast iron skillet into the dishwasher after a meal, especially when you're tired. But that convenience comes at a steep price. Dishwasher detergent is harsh and the high heat cycle will strip away the seasoning you've worked hard to build up.
Worse, the prolonged exposure to moisture can lead to rust spots that are tough to fix.
Hand washing is the only safe method for cast iron. It takes just a few minutes and keeps your pan in prime cooking condition. Never put your skillet in the dishwasher, no matter how dirty it is.
Why The Dishwasher Destroys Seasoning
Dishwasher detergents contain strong alkalis and abrasives that break down the polymerized oil layer that makes cast iron non-stick. The high heat and prolonged moisture also accelerate rust formation. Even a single cycle can cause visible damage.
The Right Way To Hand Wash
Use hot water and a stiff brush or a non-abrasive scrub pad. Avoid soap unless you're dealing with stuck-on food—then a tiny amount of mild dish soap is okay. Dry immediately with a towel and place on a warm stove to evaporate any remaining moisture.
What About The 'self-cleaning' Cycle?
Some people think running a cast iron skillet through the dishwasher's self-cleaning cycle will burn off gunk. Don't do it. That extreme heat can warp the pan and ruin the seasoning permanently.
Stick to gentle hand washing.
FAQ
Can I use soap on my cast iron skillet?
Yes, a tiny amount of mild dish soap is fine occasionally, but avoid harsh detergents. For daily cleaning, hot water and scrubbing work best.
How do I remove rust from cast iron?
Scrub rust with steel wool or a chainmail scrubber, then rinse and dry. Apply a thin layer of oil and re-season the pan in the oven.
Why does my cast iron skillet look sticky?
Stickiness usually means too much oil was left on the surface. Wipe off excess oil after seasoning, and heat the pan to polymerize the oil.
Can I cook acidic foods in cast iron?
Occasional acidic cooking is fine, but prolonged exposure can damage seasoning. Avoid simmering tomato sauce for long periods.
How often should I season my cast iron skillet?
Season after each cleaning if the pan looks dry, or whenever food starts sticking. Regular oiling after use maintains the seasoning.
Conclusion
Cleaning your cast iron skillet doesn't have to be intimidating. Once you make these simple habits part of your routine, you'll wonder why you ever stressed about it. A quick scrub, a thorough dry, and a light oil coat are all it takes to keep your pan in prime condition.
The payoff is a nonstick surface that only gets better with time. Stick with these tips, and your skillet will serve you well for decades—no fuss, no rust, just great cooking every time.