13 Cleaning a Blackstone Griddle Tips After Cooking
Your Blackstone griddle is the star of outdoor cooking, but a layer of burnt grease and food residue can quickly dull its performance. Cleaning it doesn't have to be a chore—with the right techniques, you can keep that cooking surface slick and ready for the next meal.
These 13 tips focus on practical, time-saving methods that work with the griddle's design, not against it. From scraping while it's still warm to seasoning after a deep clean, each tip helps you maintain that non-stick finish without damaging the surface.
Let's get your griddle looking and cooking like new again.
1. Scrape While It's Still Warm
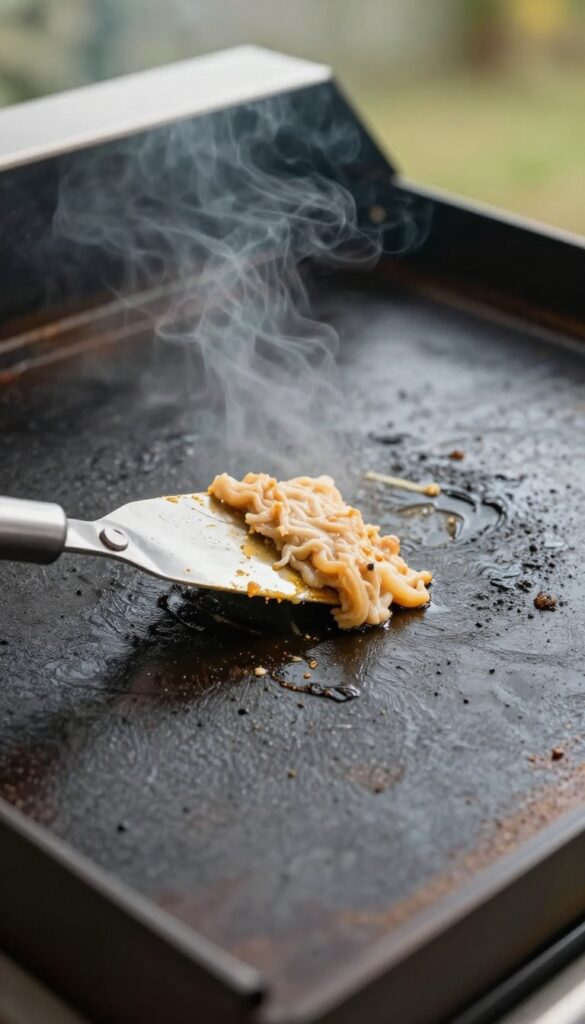
After you finish cooking, resist the urge to walk away and let the griddle cool completely. The heat is your ally here—it keeps grease and food particles soft and easy to remove. Scraping while the surface is still warm cuts down on elbow grease and helps you avoid the dreaded burnt-on crust that forms when residue cools and hardens.
A warm griddle means less scrubbing and better results. Use a flat metal scraper or a grill spatula with a straight edge to gently push debris toward the grease cup. Work in long, even strokes across the cooking surface, angling the scraper slightly to lift stuck bits without gouging the seasoning.
This quick pass removes the bulk of the mess in under a minute.
Why Warm Makes A Difference
When food residue cools, it bonds more tightly to the metal. The heat keeps oils liquid and particles loose, so they slide off rather than stick. Scraping warm also protects your seasoning layer—cold scraping can chip or flake the polymerized oil that gives your griddle its non-stick quality.
Tools That Work Best
A dedicated griddle scraper with a long handle keeps your hands away from the heat. Stainless steel scrapers are durable and won't rust. Avoid plastic scrapers—they can melt on a hot surface.
A heavy-duty spatula with a beveled edge also works if you don't have a scraper handy.
How To Scrape Without Damaging The Surface
Always scrape in the direction of the grease trough, not against it. Apply moderate pressure—you're lifting food, not digging into the metal. If you hit a stubborn spot, let it sit for a few seconds with a splash of water to steam it loose, then scrape again.
Never use abrasive pads or steel wool on a warm griddle.
2. Use a Griddle Scraper, Not a Metal Spatula
You might be tempted to reach for your metal spatula to scrape off stuck-on bits, but a dedicated griddle scraper does a much better job. Its straight, wide edge covers more surface area and applies even pressure, lifting gunk without gouging the seasoning. This simple swap makes cleaning faster and helps your griddle stay non-stick longer.
A griddle scraper is designed specifically for flat-top cooking surfaces. Unlike a spatula, which has a curved or angled edge, a scraper's flat blade sits flush against the griddle, allowing you to remove residue in one smooth pass. This reduces the risk of scratching or unevenly wearing down your seasoning.
Many scrapers also come with a comfortable handle and a built-in hook for hanging, making them easy to store near your cooking station. Invest in a quality scraper—it's a small tool that makes a big difference in your cleaning routine.
Why A Spatula Falls Short
A metal spatula is great for flipping food, but its curved edge only contacts the griddle at a single point. This means you have to make multiple passes to scrape a wide area, and you're more likely to dig into the seasoning. Over time, that repeated gouging can create thin spots where food sticks.
A scraper's straight edge distributes force evenly, so you remove debris without damaging the surface.
Choosing The Right Scraper
Look for a scraper with a stainless steel blade and a comfortable, non-slip handle. Some models have a beveled edge that helps lift stubborn residue without extra elbow grease. Avoid scrapers with sharp corners that could dig into the seasoning.
A 6-inch wide scraper is a good all-around size—wide enough to cover ground quickly but still maneuverable around the edges of the griddle.
Using The Scraper Correctly
Always scrape while the griddle is still warm—not hot enough to burn you, but warm enough that grease and food are still soft. Hold the scraper at a slight angle (about 30 degrees) and push away from you in long, even strokes. Work from one side to the other, collecting the gunk into a pile.
Then use a paper towel or cloth to wipe it off. For stubborn spots, let the griddle cool slightly, then apply a little water to create steam before scraping again.
3. Wipe with Paper Towels or a Cloth
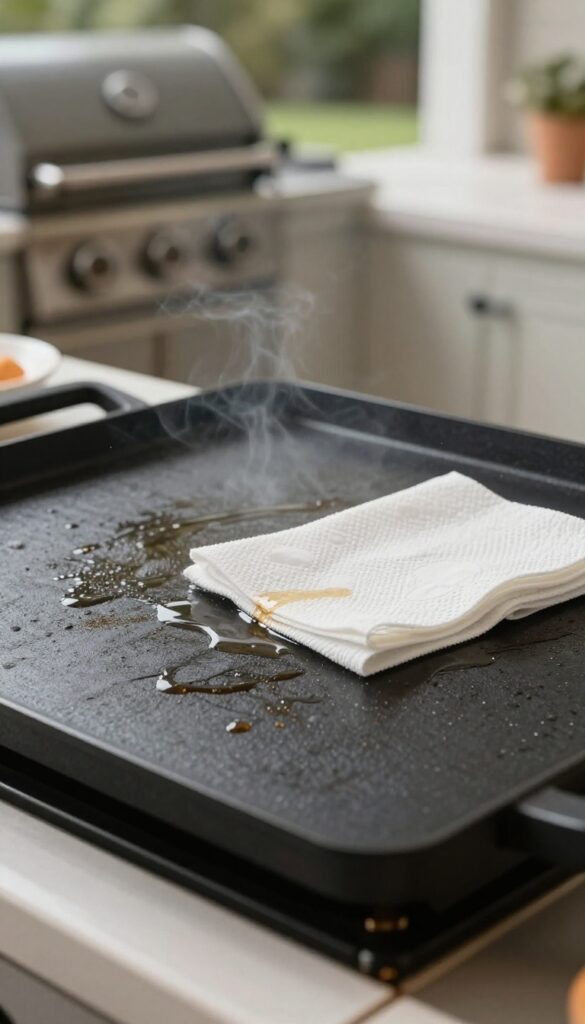
Once you've scraped off the big stuff, it's time to tackle the remaining grease and grime. A simple wipe-down with paper towels or a soft cloth can make a huge difference. This step is quick, easy, and helps prevent buildup that can affect your griddle's performance.
After scraping, grab a stack of paper towels or a soft, lint-free cloth. Fold them into a thick pad to protect your hands from the heat. If the griddle is still warm, the grease will be more fluid and easier to absorb.
Wipe the surface in long, even strokes, covering the entire cooking area. For stubborn spots, apply a little pressure or use a fresh towel. This method is especially effective for everyday cleaning after each cook.
Why Paper Towels Work So Well
Paper towels are disposable, so you can toss them after use without worrying about washing oily rags. They're also absorbent and gentle on the seasoning. Just make sure to use several layers to avoid burning your fingers.
When To Use A Cloth Instead
A soft, lint-free cloth is a great eco-friendly alternative. Microfiber cloths work particularly well because they trap grease without scratching the surface. Wash them separately after use to avoid transferring grease to other items.
Safety First: Handling Heat
Always be cautious of the griddle's temperature. Use tongs to hold the paper towels or cloth if the surface is too hot. Never use your bare hands, as the heat can cause burns.
Let the griddle cool slightly if needed, but wiping while warm is most effective.
4. Add Water for Stuck-On Bits
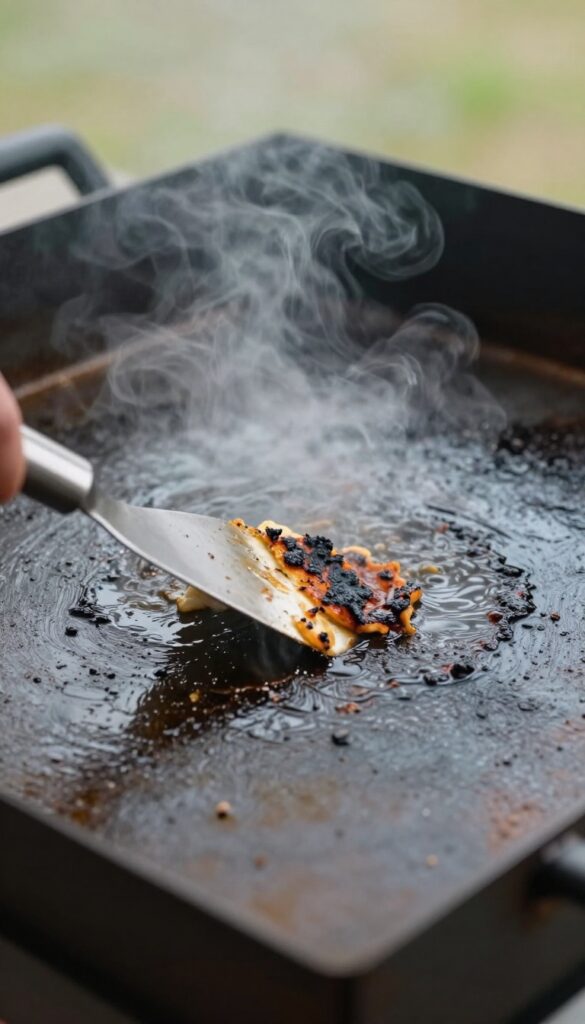
Sometimes scraping alone won't cut it, especially when food has bonded to the surface. A little water can change that fast. By adding water to a hot griddle, you create steam that lifts burnt-on residue, making it easy to scrape away.
This trick works because the rapid steam expansion breaks the bond between food and metal. It's a simple, effective method that doesn't require harsh chemicals or extra scrubbing.
Why Steam Works
When water hits a hot griddle, it instantly turns to steam. That steam gets under stuck-on bits and pushes them loose. The key is to add water while the griddle is still hot—around 300°F to 400°F—so the steam forms quickly.
How To Do It Right
After scraping off excess food, pour about 1/4 cup of water onto the hot surface. It will sizzle and steam immediately. Use your scraper or spatula to push the water across the griddle, loosening debris.
Then scrape everything into the grease trough.
When Not To Use Water
Avoid this method if your griddle is too cool, as the water will just sit and make a mess. Also, don't use water on a seasoned surface that's still delicate—it can strip seasoning if done too aggressively. Stick to this trick for heavy-duty cleanup after a greasy cook.
5. Use a Grill Stone for Tough Spots
Even with regular scraping and wiping, some spots just won't let go. Burnt-on cheese, caramelized marinades, or stubborn grease blobs can laugh at your standard tools. That's when a grill stone becomes your secret weapon.
A pumice grill stone is basically a gentle abrasive block that scrubs away carbonized residue without scratching the metal. It's softer than the griddle surface, so it won't mess with your seasoning. You just wet it and work the tough spots on a cool griddle.
When scraping and wiping fail, a grill stone steps in to save the day. It's perfect for those charred patches that have bonded to the surface. The pumice material is porous and self-sharpening, so it stays effective over time.
Use it with water to create a mild slurry that lifts grime without harsh chemicals.
When To Reach For A Grill Stone
Reserve the grill stone for after you've scraped and wiped the griddle. If you still see dark, crusty patches that won't budge, that's your cue. It's also great for cleaning around the edges where food tends to build up.
Just make sure the griddle is cool to the touch—using it on a hot surface can damage the stone and the seasoning.
How To Use It The Right Way
Lightly wet the stone and the griddle surface. Then, with gentle pressure, rub the stone in small circles over the tough spots. You'll see the residue break down into a paste.
Rinse the stone frequently to keep it clean. Once the area looks clean, wipe away the paste with a paper towel and apply a thin layer of oil to protect the seasoning.
Avoid These Mistakes
Don't press too hard—let the stone do the work. Avoid using it on a hot griddle, as that can cause the stone to crumble. Never use a grill stone on a non-stick coating or ceramic surface; it's meant for steel only.
And always rinse the stone after use and let it dry completely to prevent mold.
6. Avoid Soap Unless Necessary
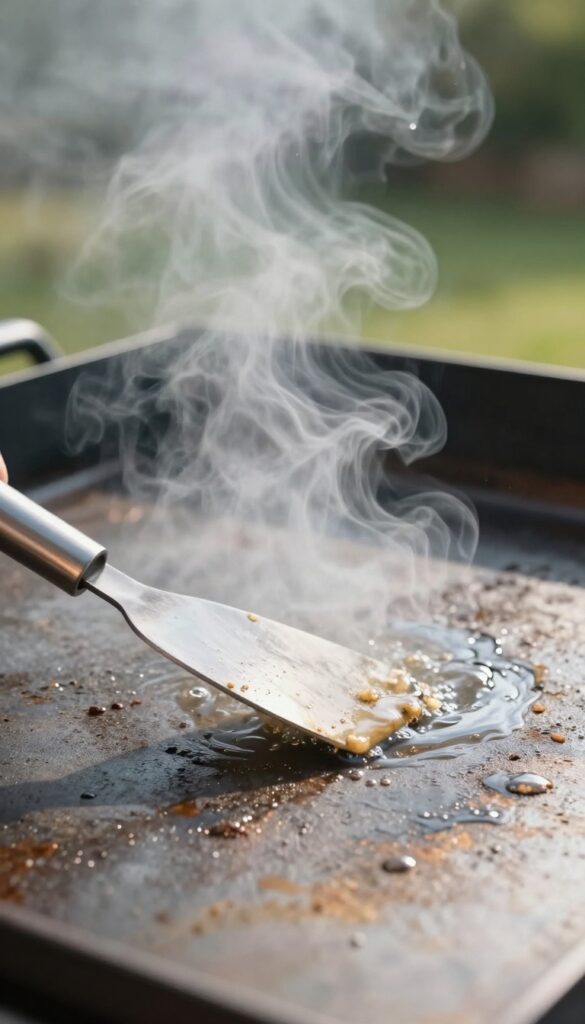
Soap is a kitchen staple, but on a Blackstone griddle, it can be more trouble than it's worth. The seasoning—that dark, non-stick layer built up from oils—is delicate. Harsh detergents strip it away, leaving your cooking surface vulnerable to rust and sticking.
That's why most of the time, hot water and a scraper are all you need. However, there are exceptions. If you've neglected your griddle for weeks and it's caked with old grease or showing signs of mold, a gentle soap wash can reset things.
Just know that after that deep clean, you'll need to re-season from scratch to restore that slick finish.
For everyday cleaning, skip the soap entirely. After scraping and wiping, a thin layer of oil is all that's needed to protect the surface. Soap should only come out when you're doing a full reset—maybe once every few months or after a long storage period.
Even then, use a mild, fragrance-free dish soap and rinse thoroughly. Any residue will interfere with seasoning.
When Soap Makes Sense
Deep cleaning is the one time soap is justified. If you see rust spots, sticky buildup that won't budge, or you're prepping the griddle for long-term storage, a soapy scrub can remove contaminants that compromise the surface. Use a soft sponge or non-abrasive pad—no steel wool—and rinse completely.
Dry immediately over low heat to prevent flash rust.
The Re-seasoning Step
After any soap wash, you must re-season the griddle. Apply a thin layer of high-smoke-point oil (like flaxseed or grapeseed) across the entire surface. Heat until it smokes, then let it cool.
Repeat 2–3 times. This rebuilds the protective polymer coating that makes your griddle non-stick. Skipping this step invites rust and food sticking.
Everyday Alternatives To Soap
For regular cleaning, use water and a scraper while the griddle is still warm. A chainmail scrubber or pumice stone can handle stubborn bits without chemicals. Wipe with paper towels, then apply a thin oil coat.
This routine preserves seasoning and keeps your griddle ready for the next cookout.
7. Dry Thoroughly to Prevent Rust
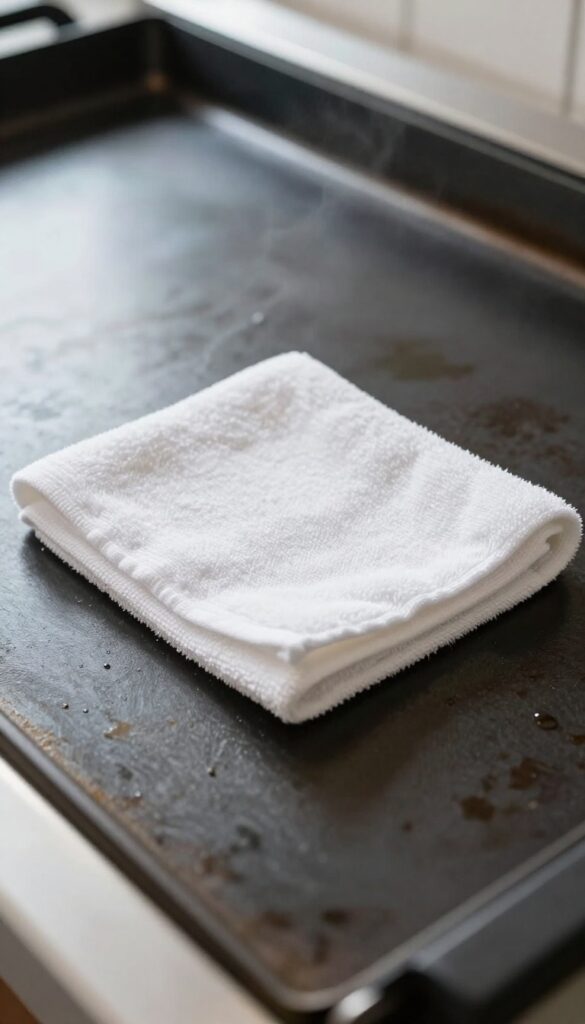
You've scrubbed and rinsed your griddle, but the job isn't done until it's bone dry. Moisture is the enemy of cast iron, and even a few drops left behind can lead to rust spots overnight. Drying thoroughly is a simple step that saves you from having to re-season or scrub off rust later.
After the final rinse, grab a clean, lint-free towel and wipe the entire cooking surface dry. Pay attention to the edges and corners where water tends to pool. For a more thorough approach, turn the burners on low heat for a few minutes to evaporate any remaining moisture.
This also helps open the pores of the metal for the next step—seasoning. Never let your griddle air-dry; that's an invitation for rust.
Why Rust Forms So Quickly
Blackstone griddles are made of rolled steel, which is essentially bare iron. Without a protective layer of oil or seasoning, the metal reacts with oxygen and moisture to form iron oxide—rust. Even a thin film of water from rinsing can trigger this reaction within hours.
That's why drying immediately after cleaning is non-negotiable.
The Towel Method Vs. Heat Method
Both methods work, but combining them is best. Start with a towel to remove bulk water, then use low heat to evaporate any moisture trapped in microscopic pits. The heat method also helps you spot any missed wet spots—they'll sizzle or steam.
Just don't crank the heat too high, or you could warp the griddle.
What To Do If You See Rust
If you find a small rust spot, don't panic. Scrub it off with a fine-grit sandpaper or a rust eraser, then rinse, dry, and re-season the area. For larger rust patches, you may need to strip and re-season the entire surface.
Regular drying prevents this hassle entirely.
8. Apply a Thin Layer of Oil
After you've cleaned and dried your Blackstone griddle, the final step is to protect that hard-earned seasoning. A thin coat of oil does more than just prevent rust—it keeps the surface non-stick and ready for your next cook. This quick habit takes less than a minute but makes a world of difference.
Applying oil after each cleaning locks in the seasoning and creates a barrier against moisture. It also means your next meal won't stick, and you'll spend less time scrubbing later. The key is using just enough—too much oil can turn gummy or rancid.
Why Oil Matters After Cleaning
Every time you clean, you strip away some of the protective seasoning. Replacing that layer with fresh oil keeps the surface conditioned. It also prevents flash rust, especially if you live in a humid area.
Without oil, your griddle can develop rust spots overnight.
Which Oil To Use
High smoke point oils like avocado, grapeseed, or canola work best. They polymerize well and won't break down under high heat. Avoid butter or olive oil—they burn too easily and leave sticky residue.
Flaxseed oil is another good option, but it can be pricey.
How To Apply It Right
Wait until the griddle is cool enough to handle but still warm—around 200°F. Dip a paper towel in oil and spread a thin, even coat across the entire surface. Use tongs to avoid burns.
Then wipe off any excess with a clean paper towel. You want a sheen, not a puddle.
9. Clean the Grease Cup Regularly
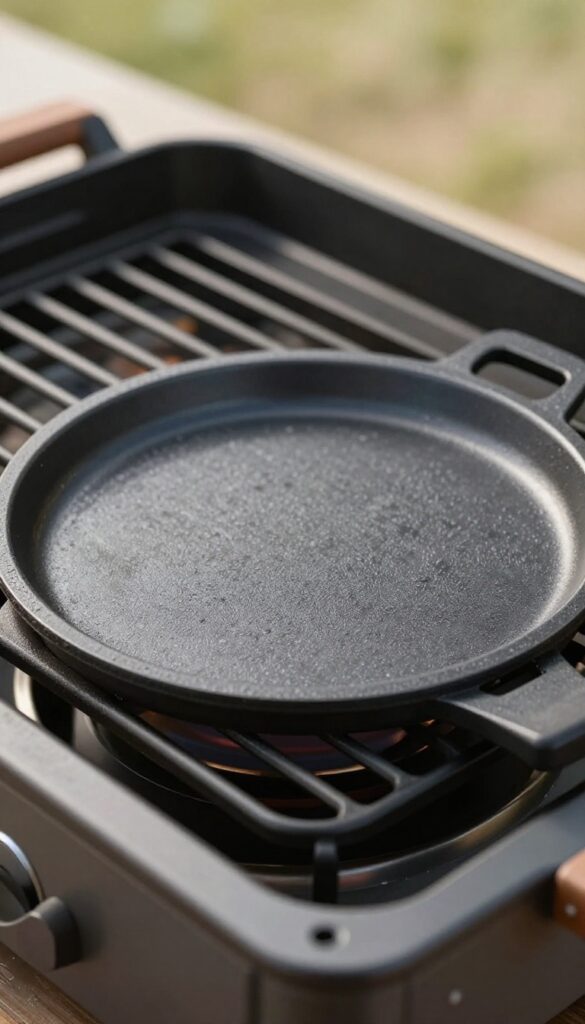
The grease cup is easy to ignore, but neglecting it can lead to unpleasant surprises. A full cup not only smells bad but also increases the risk of grease fires. Making it part of your routine keeps your griddle safe and your cooking area fresh.
Why It Matters
A clogged or overflowing grease cup can cause grease to pool on the griddle surface, leading to flare-ups and uneven cooking. Rancid odors from old grease can also transfer to your food. Regular cleaning prevents these issues and extends the life of your griddle.
How Often To Empty
Check the cup after every few cooks, especially if you've been cooking fatty foods like bacon or burgers. Empty it when it's about half full to avoid spills. For heavy use, empty after each cook.
Cleaning Steps
Let the grease cool slightly but not harden. Remove the cup and pour the grease into a disposable container. Wash the cup with warm soapy water, rinse, and dry thoroughly before reattaching.
A quick wipe with a paper towel between uses helps too.
10. Use a Griddle Cover When Not in Use
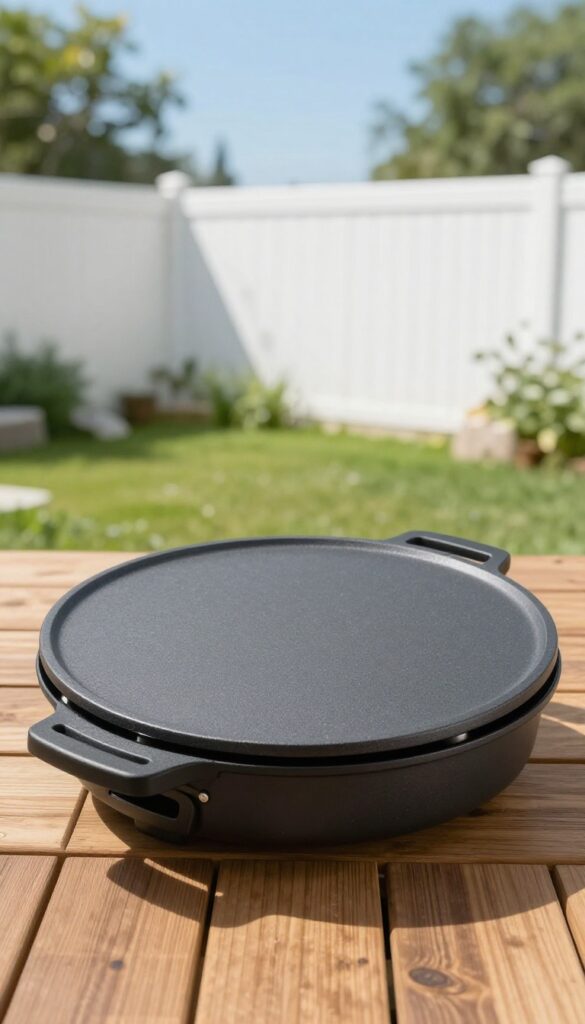
You put a lot of effort into cleaning your griddle, so why let it get dirty again before you even cook? A weatherproof cover is one of the simplest tools to keep your Blackstone ready to go. It blocks rain, dust, leaves, and even curious critters from turning your clean surface into a mess.
Skipping a cover means you'll often need to scrub off rust spots or wash away debris before each cook. That extra work adds up fast. A good cover saves time and protects your seasoning, so you can scrape, oil, and start cooking without a deep clean every time.
Choose A Custom-fit Cover
Generic covers might flap in the wind or let moisture sneak in. A cover made specifically for your Blackstone model hugs the griddle tightly and stays put. Look for heavy-duty, waterproof material with vents to prevent condensation buildup underneath.
Let It Cool Before Covering
Never put a cover on a hot griddle. Heat trapped under the cover can warp the metal or damage the coating. Wait until the surface is completely cool to the touch, usually 20–30 minutes after cooking, then wipe it down and put the cover on.
Clean The Cover Regularly
Dust and grime accumulate on the cover itself. Every few weeks, rinse it with a hose or wipe it with a damp cloth. A dirty cover can transfer grit back onto your griddle when you take it off, defeating the purpose.
11. Season After Deep Cleaning
Deep cleaning your Blackstone griddle—whether you stripped the seasoning or used soap—leaves the surface vulnerable. Without that protective layer, food will stick, and rust can creep in. Re-seasoning is the fix that brings back that slick, non-stick performance.
Re-seasoning is straightforward and only takes a few minutes. Start by heating the griddle on high until it smokes slightly, then turn off the burners. Apply a thin layer of high-smoke-point oil (like flaxseed, grapeseed, or canola) using a paper towel or cloth.
Spread it evenly across the entire cooking surface, including the edges. Let it cool completely before storing. For best results, repeat this process 2-3 times to build a durable seasoning.
When To Re-season
You don't need to re-season after every cook. Reserve it for times when you've stripped the surface—like after a deep scrub with soap, after removing rust, or if the griddle looks dull and patchy. If water beads up instead of spreading, that's a sign the seasoning is gone.
Oil Choices Matter
Not all oils work the same. Stick with oils that have a high smoke point, like avocado, grapeseed, or vegetable oil. Avoid butter or olive oil—they burn too quickly and leave a sticky residue.
Flaxseed oil is a favorite for its hard, durable finish, but it can be pricey.
The Heat Cycle
Heat is your friend during seasoning. Crank the griddle to high until it starts to smoke—that's the oil polymerizing. Then turn off the heat and let it cool naturally.
This heat cycle bonds the oil to the metal, creating that slick, non-stick layer. Don't rush it.
12. Keep Your Tools Clean Too
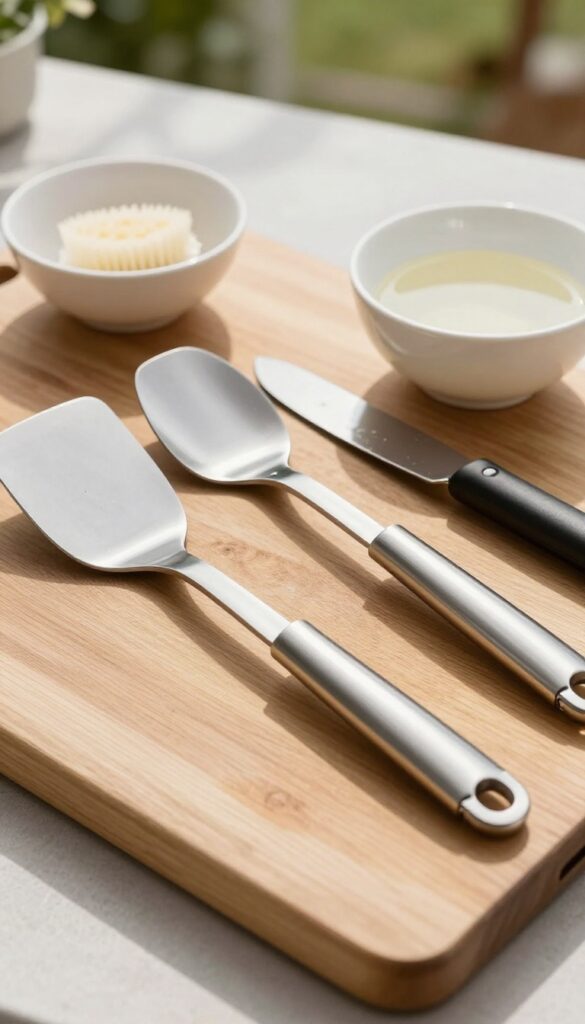
Dirty scrapers and spatulas can transfer grime back onto your freshly cleaned griddle. It's easy to overlook the tools you use for cooking and cleaning, but they accumulate grease, carbonized bits, and bacteria over time. Washing them after each use keeps them sanitary and prevents cross-contamination.
Your cooking tools come into direct contact with the griddle surface and your food. If they're covered in old grease or burnt residue, they'll undo all your hard work. A quick wash with warm soapy water and a scrub brush removes the buildup.
For metal scrapers, make sure to clean the blade edge where gunk hides. Let everything air dry completely before storing to avoid rust or mildew.
Wash After Every Cook
Make it a habit to clean your spatula, scraper, and tongs right after you finish cooking. Hot water and dish soap work fine. A stiff brush helps dislodge stuck-on bits.
Rinse thoroughly and dry with a clean towel or let them air dry.
Don't Forget The Scraper Handle
The handle of your scraper can get greasy from your hands. Wipe it down with a soapy cloth. If the handle is wooden, avoid soaking it—just wipe and dry quickly.
For plastic handles, a quick scrub is fine.
Store Tools Separately
Keep your clean tools in a dry place away from the griddle. A tool roll or drawer works well. Avoid tossing them into a bucket where they can pick up dirt or moisture.
This simple step extends their life and keeps them ready for the next cook.
13. Establish a Routine
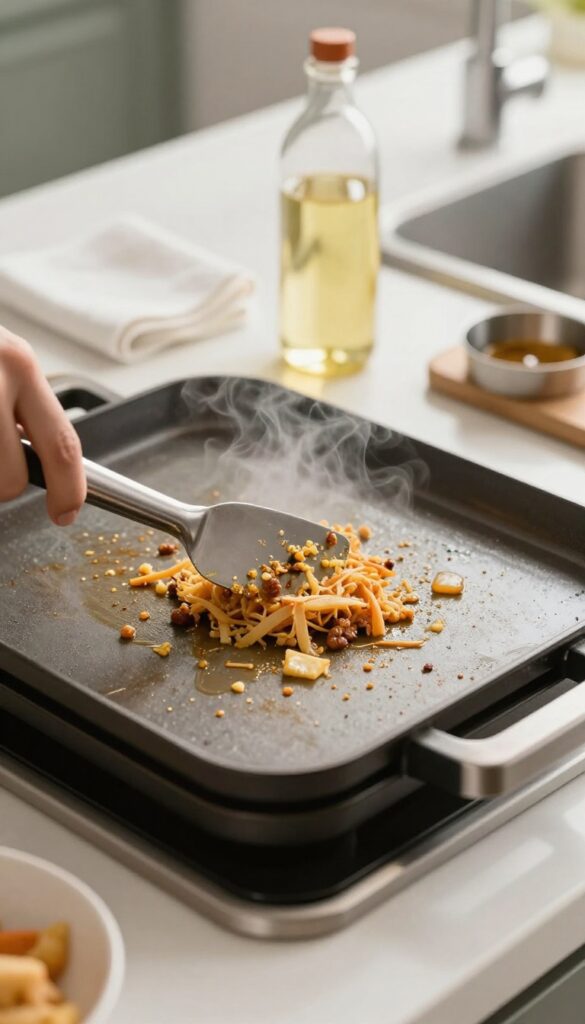
Consistency is the secret weapon of griddle owners who never struggle with stuck-on gunk. A quick 5-minute cleanup after every cook prevents buildup and makes each session easier than the last. Once it becomes habit, you'll wonder why you ever let it slide.
Why Routine Matters
When you clean immediately after cooking, food residue hasn't had time to harden and bond to the surface. That means less scraping, less elbow grease, and less risk of damaging the seasoning. A consistent routine also keeps the griddle looking great and ready to use at a moment's notice.
Your 5-minute Post-cook Flow
While the griddle is still warm (but not scorching hot), scrape off food debris into the grease cup. Wipe the surface with a damp paper towel to remove any remaining grease, then apply a thin layer of cooking oil to protect the seasoning. That's it—you're done.
For stubborn spots, a squirt of water creates steam that loosens them.
Building The Habit
Tie your cleanup to an existing habit, like letting the griddle cool while you eat. Set a timer for 5 minutes after your meal ends. Keep your scraper and oil bottle stored right next to the griddle so there's no excuse.
After a week, it'll feel automatic.
FAQ
Can I use soap on my Blackstone griddle?
It's best to avoid soap for regular cleaning because it strips the seasoning. If you must use it for deep cleaning, re-season the griddle afterward.
How often should I season my Blackstone griddle?
Season after every few cooks or whenever the surface looks dull. Always re-season after a deep clean or if you notice rust spots.
What oil is best for seasoning?
Oils with high smoke points like flaxseed, grapeseed, canola, or avocado oil work well. Avoid olive oil as it can become sticky.
Why does my griddle rust after cleaning?
Rust occurs when moisture is left on the surface. Always dry the griddle thoroughly and apply a thin oil layer after cleaning.
Can I use a wire brush on my Blackstone griddle?
No, wire brushes can scratch the surface and damage the seasoning. Stick to plastic scrapers, grill stones, or non-abrasive pads.
Conclusion
Once you get into the rhythm of cleaning your Blackstone griddle right after cooking, it stops feeling like a chore. A quick scrape, a wipe, and a thin oil layer are all it takes to keep that cooking surface in top shape.
The payoff is huge: no rust, no stuck-on food, and a griddle that's always ready for your next cookout. Stick with these habits, and your Blackstone will stay nonstick and reliable for years.