15 Cleaning Pots and Pans Bottoms Tips for Burnt Marks
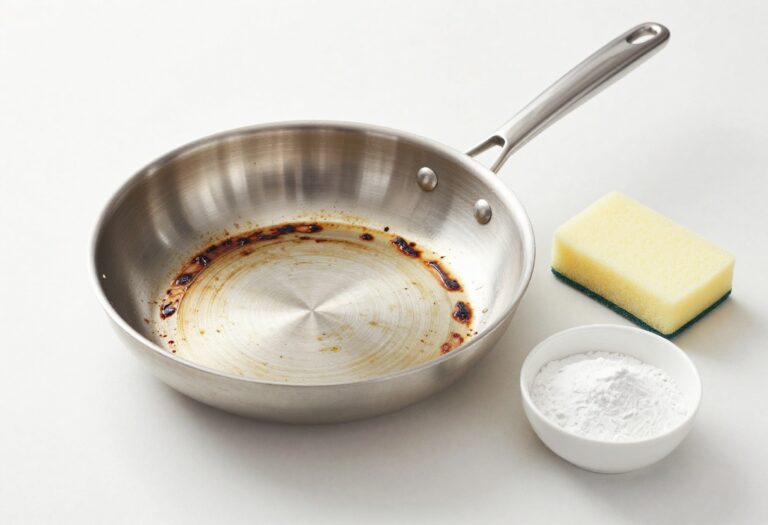
You pull out your favorite stainless steel pot, only to find the bottom covered in black, crusty scorch marks. It happens to the best of us—a moment of distraction, and dinner leaves a permanent souvenir. But those burnt-on stains don't mean your cookware is ruined.
With a few simple tricks using items you already have at home, you can bring those pots and pans back to life. No expensive specialty cleaners required, just a little patience and the right technique.
From baking soda pastes to surprising uses for dryer sheets, these 15 methods will help you scrub away burnt marks without damaging your cookware. Let's get those bottoms gleaming again.
1. Baking Soda and Water Paste
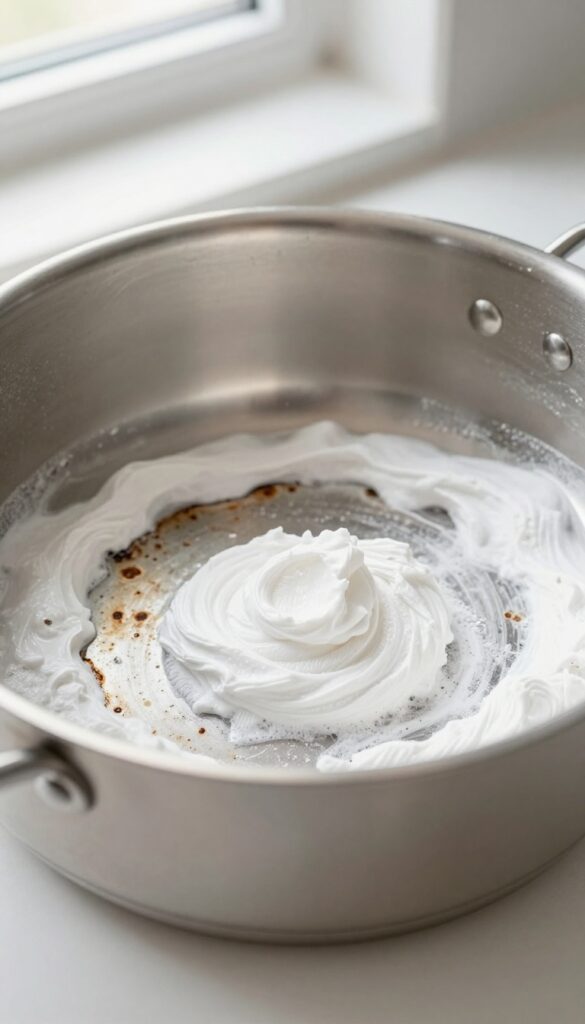
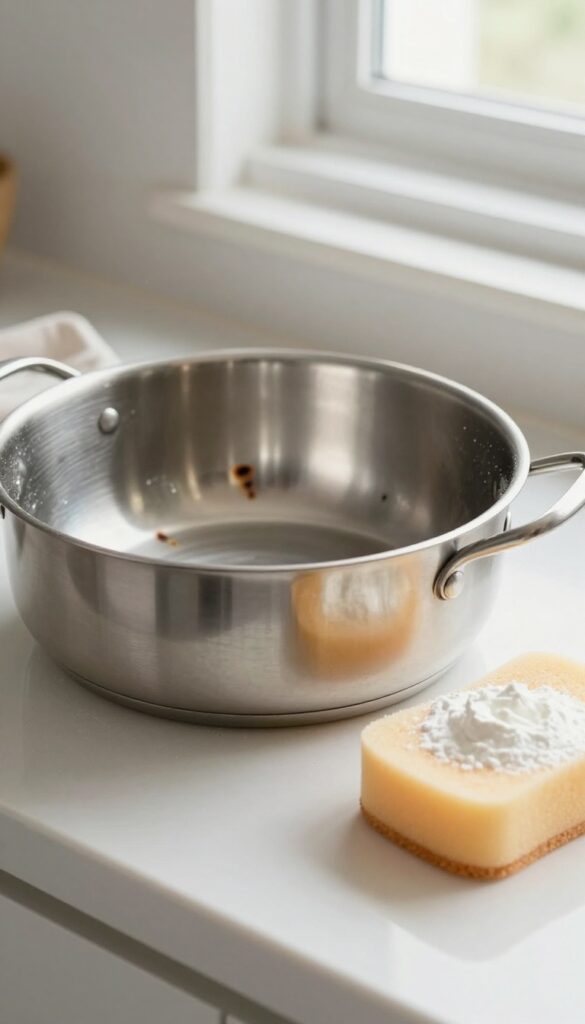
Baking soda is a gentle abrasive that works wonders on burnt cookware without scratching the surface. When mixed with water, it forms a paste that clings to scorch marks and helps lift them away. This method is perfect for light to moderate burns and uses ingredients you already have in your kitchen.
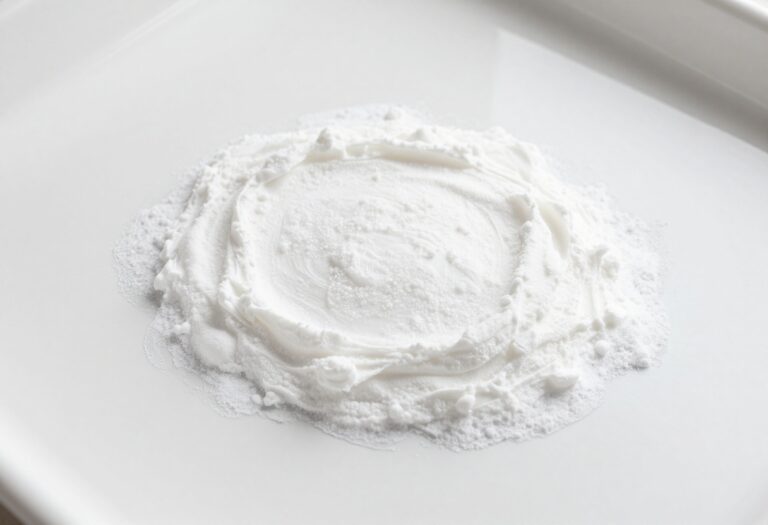
To start, combine three parts baking soda with one part water in a small bowl. Stir until you get a thick, spreadable paste. Apply a generous layer to the burnt areas of your pot or pan bottom, making sure to cover all the dark spots.
Let the paste sit for about 15 minutes—this gives the baking soda time to break down the burnt residue. After the wait, grab a non-abrasive sponge or soft scrub brush and gently scrub in circular motions. Rinse with warm water and check your progress.
For stubborn spots, repeat the process or let the paste sit longer. This method is safe for stainless steel, ceramic, and non-stick pans, but always test on a small area first if you're unsure.
Why Baking Soda Works
Baking soda has a mild alkaline pH that helps dissolve burnt-on food particles. Its fine crystalline structure provides just enough abrasion to scrub away stains without scratching metal or coatings. Unlike harsh chemicals, it's non-toxic and safe for kitchen use.
Tips For Best Results
Use warm water to make the paste—it activates the baking soda more effectively. If the paste dries out during the 15-minute wait, spritz a little water on top to keep it moist. For extra stubborn marks, add a few drops of dish soap to the paste for added grease-cutting power.
2. Boiling Vinegar Solution
White vinegar is a kitchen staple that pulls double duty as a powerful cleaner. When you boil it with water, the acid works to break down stubborn burnt residue without harsh scrubbing. This method is especially effective for stainless steel and enamel pots.
Fill the burnt pot with equal parts water and white vinegar, making sure the liquid covers the scorched area. Bring it to a boil, then let it simmer for 5–10 minutes. Turn off the heat and allow the solution to cool completely—this gives the acid time to penetrate the burnt bits.
Once cool, pour out the liquid and scrub gently with a non-abrasive sponge. Most of the burnt marks should lift away easily. For extra stubborn spots, sprinkle a little baking soda on the sponge before scrubbing.
Why Vinegar Works
Vinegar contains acetic acid, which reacts with the alkaline compounds in burnt food. This chemical reaction helps dissolve the charred layer, making it much easier to wipe away. It's a natural, non-toxic alternative to harsh chemical cleaners.
Best Practices
Always let the vinegar solution cool before scrubbing—hot liquid can cause burns. Use a soft sponge or cloth to avoid scratching the pot's surface. If the burnt marks are very thick, repeat the process or let the pot soak overnight in the cooled solution.
What To Avoid
Don't use vinegar on aluminum or cast iron cookware, as the acid can damage the metal or strip seasoning. Stick to stainless steel, glass, or enamel pots for this method. Also, avoid boiling vinegar for too long, as the strong fumes can irritate your eyes and throat.
3. Lemon and Salt Scrub
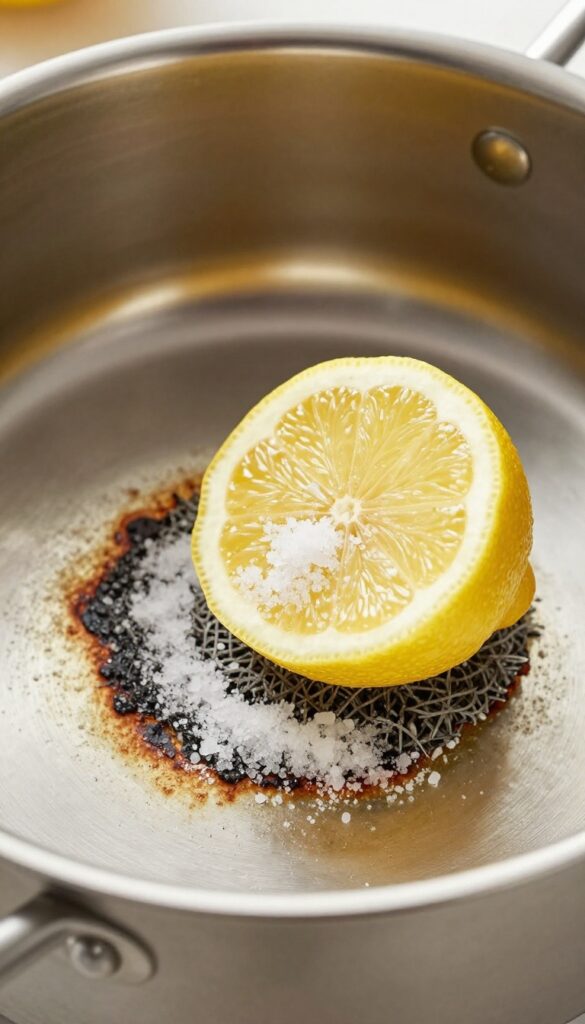
If you have a lemon sitting in your fruit bowl, you already have a powerful cleaning tool. The natural acidity of lemon cuts through grease and burnt-on residue, while salt provides just enough abrasion to lift stains without scratching your pans. It’s a simple, chemical-free method that leaves your cookware smelling fresh.
Cut a lemon in half, dip the cut side into a small dish of salt, and scrub the burnt bottom of your pot or pan directly. Use firm circular motions, focusing on the darkest areas. The salt acts as a gentle scrubber, while the lemon juice breaks down the burnt carbon.
Rinse thoroughly with warm water and repeat if needed. For extra stubborn marks, let the lemon-salt mixture sit on the stain for 5–10 minutes before scrubbing.
Why It Works
Lemons contain citric acid, a natural cleaner that dissolves mineral deposits and burnt food particles. Salt adds physical scrubbing power without the harshness of steel wool. Together, they create a paste-like action that lifts stains safely from stainless steel, enamel, and ceramic cookware.
Best Pans To Use This On
This method works best on stainless steel, enameled cast iron, and ceramic-coated pans. Avoid using it on bare cast iron or nonstick surfaces, as the acid can damage the seasoning or coating. For aluminum pans, test on a small area first to prevent discoloration.
Tips For Better Results
Use coarse salt like kosher or sea salt for better abrasion. If the lemon isn’t juicy enough, squeeze a little extra juice onto the salt. For large pans, scrub in sections and rinse the lemon half occasionally to remove buildup.
Always rinse and dry your cookware immediately after to prevent any acid residue from sitting too long.
4. Dishwasher Tablet Soak
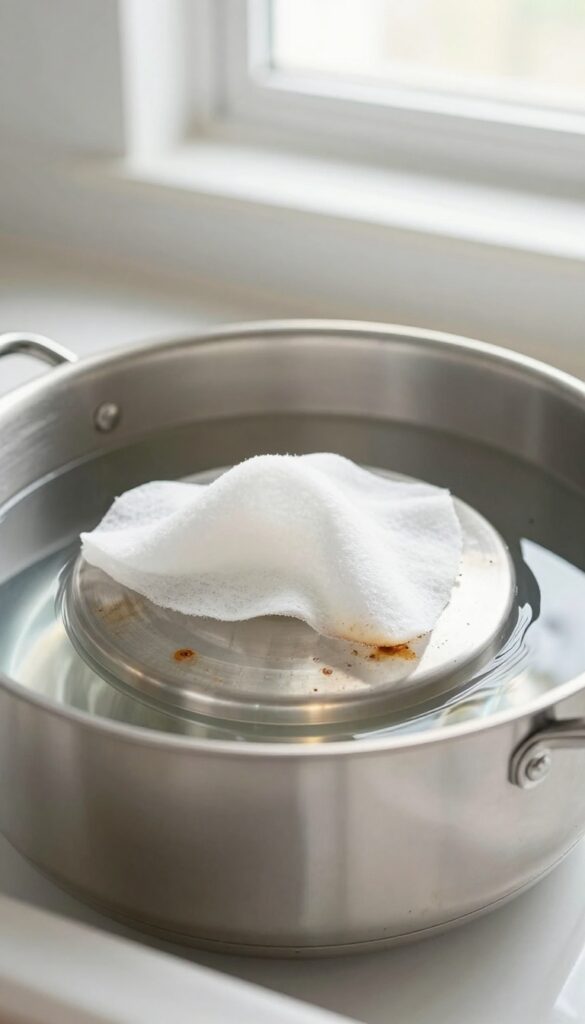
Dishwasher tablets aren't just for the machine. Drop one into your burnt pot, cover the bottom with hot water, and let it sit overnight. The enzymes and surfactants in the tablet actively break down stubborn burnt-on food without any scrubbing effort on your part.
This method is almost effortless. In the morning, you'll find the charred residue has softened significantly. A quick scrub with a sponge or brush is usually all it takes to reveal a clean surface.
Rinse thoroughly before using the pot again.
Why It Works
Dishwasher tablets contain powerful enzymes that target proteins and starches, plus surfactants that lift grease. When dissolved in hot water, they create a concentrated cleaning solution that penetrates burnt layers. The long soak gives the chemicals time to work, making even tough carbonized spots easy to remove.
Best For Non-stick And Stainless Steel
This method is safe for non-stick and stainless steel pots, but avoid using it on aluminum or copper, as the chemicals can cause discoloration. For best results, use a fresh tablet and enough water to fully cover the burnt area. If one soak doesn't do the trick, repeat the process or combine with a gentle scrub.
5. Cream of Tartar Paste
Cream of tartar isn't just for stabilizing egg whites—it's a surprisingly effective cleaner for burnt pot bottoms. When mixed with hydrogen peroxide or water, it forms a gentle yet powerful paste that lifts scorch marks without scratching stainless steel. This method is especially handy if you already have cream of tartar in your baking cupboard.
Cream of tartar is a mild acid that breaks down burnt-on residue without the harshness of abrasive cleaners. Combined with hydrogen peroxide, it creates a fizzing reaction that helps lift stains. For lighter marks, water works fine too.
The paste is easy to apply and requires minimal scrubbing, making it a go-to for regular maintenance.
How To Make The Paste
Mix two tablespoons of cream of tartar with enough hydrogen peroxide (or water) to form a thick paste. The consistency should be spreadable but not runny. For stubborn marks, use hydrogen peroxide for extra cleaning power.
Application And Waiting Time
Spread the paste evenly over the burnt areas, making sure it's thick enough to cover the stains. Let it sit for about 10 minutes—this gives the acid time to work. You might see some bubbling, which is normal.
Scrubbing And Rinsing
After the wait, scrub gently with a non-abrasive sponge or soft brush. The burnt marks should come off with little effort. Rinse thoroughly with warm water and dry with a soft cloth.
Your pot bottom will look noticeably cleaner.
6. Dryer Sheet Trick
Who knew your laundry room held the secret to clean cookware? Dryer sheets aren't just for softening clothes—they're surprisingly effective at lifting burnt-on food from pot bottoms. The fabric softener coating contains surfactants that help break down stubborn residue, making scrubbing almost effortless.
This method works best for light to moderate burnt marks. It's gentle enough for non-stick and stainless steel, but avoid using it on cast iron or aluminum.
How To Do It
Place one or two dryer sheets in the bottom of the burnt pot. Cover with warm water and add a drop of dish soap. Let it soak for at least an hour—overnight for tougher stains.
The fabric softener will loosen the burnt food. After soaking, discard the sheets and scrub with a sponge. Rinse thoroughly.
Why It Works
Dryer sheets contain cationic surfactants that reduce surface tension, helping water penetrate burnt residue. They also have mild abrasives that aid in lifting stains without scratching.
Tips For Best Results
Use unscented sheets if you're sensitive to fragrances. For extra stubborn marks, add a tablespoon of baking soda to the soak. Always rinse well to avoid any residue.
7. Bar Keepers Friend (Oxalic Acid)
Bar Keepers Friend is a classic powder cleaner that uses oxalic acid to dissolve burnt-on stains without harsh scrubbing. It's a go-to for stainless steel and ceramic surfaces, and it works fast. Just a sprinkle and a gentle rub can lift marks that seem permanent.
This cleaner is a mild abrasive, so it won't scratch your pots if you use a soft cloth or sponge. The oxalic acid breaks down carbonized food and discoloration, making it ideal for restoring shine. Always rinse thoroughly after use to avoid residue.
How To Use It
Start by wetting the bottom of your pot or pan. Sprinkle a generous amount of Bar Keepers Friend powder over the burnt areas. Let it sit for about a minute to activate.
Then, scrub gently with a damp soft cloth or non-scratch sponge in circular motions. Rinse well with warm water and dry immediately.
Best For Stainless Steel And Ceramic
Bar Keepers Friend is particularly effective on stainless steel, removing both burnt marks and rainbow discoloration from heat. It also works on ceramic cookware without damaging the glaze. Avoid using it on nonstick surfaces, as it can wear away the coating.
Safety Tips
Wear gloves to protect your hands from the mild acid. Work in a well-ventilated area. Never mix Bar Keepers Friend with bleach or other cleaners, as it can create harmful fumes.
After cleaning, wash the pot with dish soap to remove any leftover powder.
8. Salt and Ice Cubes
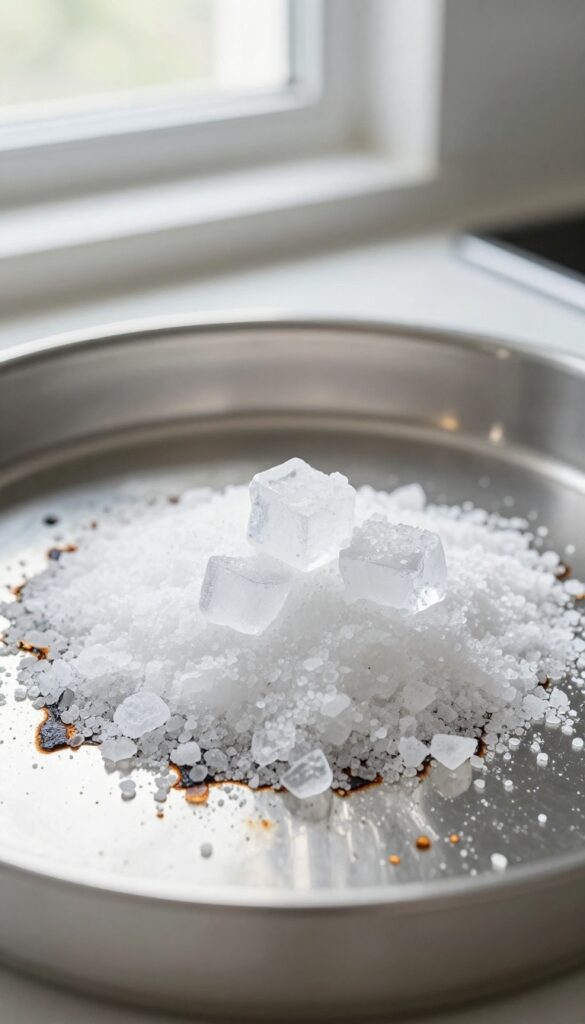
When you need a quick fix for fresh burnt marks, grab the salt and ice from your kitchen. This combo works like a gentle scrub that doesn't require harsh chemicals or elbow grease. The ice adds a bit of abrasion without scratching, while the salt scours away the burnt layer.
Sprinkle a generous layer of coarse salt over the burnt area. Drop a few ice cubes on top and let them sit for a minute to start melting. Use the ice cubes as your scrubber—rub them in circular motions over the salt.
The ice will slowly melt, creating a slushy paste that lifts the burnt residue. Rinse and repeat if needed.
Why It Works
The ice provides a hard, smooth surface that won't scratch your pot, while the salt acts as a mild abrasive. The melting water helps dissolve some of the burnt food, making it easier to scrub away. This method is especially effective on stainless steel and enameled cookware.
Best For Light To Medium Burns
This trick works wonders on fresh scorch marks that haven't had time to set. For older, darker stains, you may need to repeat the process a few times or combine it with a baking soda paste. It's a great first step before trying stronger methods.
9. Ketchup or Tomato Paste
Ketchup isn't just for fries—it's a surprisingly effective cleaner for burnt pot bottoms. The acidity in tomatoes works to break down stubborn carbon deposits without any harsh scrubbing. Plus, you probably already have a bottle in your fridge.
Spread a thick layer of ketchup or tomato paste directly over the burnt marks. Make sure the entire stained area is covered. Let it sit for at least 20 minutes—longer if the burn is severe.
The natural acids (citric and malic) in tomatoes gently dissolve the burnt residue. After the wait, rinse with warm water and wash as usual with dish soap. For tough spots, a soft sponge may help, but most of the stain should lift right off.
Why It Works
Tomatoes are naturally acidic, and that acidity is key. It reacts with the burnt-on carbon, breaking it down so it releases from the metal surface. Unlike abrasive methods, this is gentle on your cookware's finish.
Best For Light To Medium Burns
This method works wonders on fresh or moderate scorch marks. For thick, old buildup, you might need to repeat the process or combine it with a baking soda scrub afterward. But for everyday burnt spots, ketchup is a quick and easy fix.
Tips For Best Results
Use full-fat ketchup or paste—low-sugar versions may not be as effective. Spread evenly and don't skimp on the layer. If the paste dries out during sitting, spritz a little water on it.
Rinse thoroughly to avoid any sticky residue.
10. Baking Soda and Vinegar Fizz

When burnt marks refuse to budge, a classic kitchen reaction comes to the rescue. Baking soda and vinegar create a fizzy foam that lifts carbonized gunk without scrubbing your arm off. This dynamic duo is gentle enough for non-stick pans but tough on scorched stainless steel.
Start by sprinkling a generous layer of baking soda over the burnt area. Then spray or pour white vinegar directly onto the soda—watch it bubble and fizz. Let the mixture sit for about 10 minutes so the chemical reaction can break down the burnt residue.
After the fizzing stops, scrub with a non-abrasive sponge or brush. Rinse and check; if marks remain, repeat the process. This method works best on fresh to moderate burns, but even stubborn stains often lighten after a second round.
Why This Combo Works
Baking soda is a mild alkali that reacts with the acid in vinegar to produce carbon dioxide gas. Those bubbles help physically lift burnt food particles away from the metal surface. The paste that forms also provides gentle abrasion to scrub off softened residue.
Best Pans To Use This On
This technique is safe for stainless steel, enameled cast iron, and ceramic non-stick coatings. Avoid using it on raw cast iron or aluminum, as the acid can dull the seasoning or cause discoloration. For those materials, stick to a plain baking soda paste.
Pro Tips For Stubborn Marks
If the first fizz doesn't do the trick, make a thick baking soda paste with just a little water and spread it over the burnt spots. Let it sit for 15 minutes, then add a splash of vinegar and scrub. For extra stubborn areas, heat the pan gently on the stove after applying the paste to activate the cleaning power.
11. Hydrogen Peroxide and Baking Soda
Hydrogen peroxide isn't just for first aid—it's a powerhouse when paired with baking soda for cleaning burnt pot bottoms. The peroxide acts as a mild bleach and oxidizer, while baking soda provides gentle abrasion. Together, they create a fizzing reaction that helps lift stubborn carbon deposits without harsh scrubbing.
This combination works especially well on white or light-colored cookware, where burnt marks stand out most. The hydrogen peroxide helps brighten the surface while the baking soda scrubs away grime. It's a safe alternative to harsh chemicals and won't damage your pots or pans.
Making The Paste
In a small bowl, mix three parts baking soda with one part hydrogen peroxide to form a thick paste. The consistency should be spreadable but not runny. If it's too thin, add more baking soda; if too thick, a few more drops of peroxide.
Application And Waiting
Spread the paste evenly over the burnt areas on the bottom of your pot. Let it sit for about 15 minutes. During this time, you'll see some fizzing as the peroxide reacts with the burnt residue.
This reaction helps loosen the stains.
Scrubbing And Rinsing
After 15 minutes, scrub the area with a non-abrasive sponge or soft brush. The burnt marks should come off easily. Rinse thoroughly with water and dry with a towel.
For stubborn spots, repeat the process or let the paste sit longer.
12. Pumice Stone (Wet Method)
A pumice stone isn't just for rough feet—it's a surprisingly gentle abrasive that can erase burnt marks from ceramic and glass cookware. The trick is to keep it wet, so it glides smoothly without scratching. This method works best on smooth surfaces like enameled cast iron or glass stovetops, where tough carbon deposits need a little extra help.
Pumice stones are made from volcanic glass, which is porous and lightly abrasive. When wet, they become soft enough to lift burnt residue without damaging the underlying surface. This technique is especially effective for cookware that can't handle harsh chemicals or metal scouring pads.
How To Use A Pumice Stone Safely
Start by soaking the pumice stone in water for a few minutes. Wet the burnt area on your pot or pan as well. Gently rub the stone over the marks using light pressure—let the stone do the work.
Rinse the stone frequently to remove residue and keep it wet. Once the marks are gone, wash the cookware with soap and water to remove any stone grit.
Best Cookware For Pumice Stone Cleaning
This method shines on ceramic, glass, and enameled surfaces. It's also safe for stainless steel, but avoid using it on non-stick coatings or aluminum, as the abrasion can cause scratches. Always test on a small hidden area first if you're unsure.
Pro Tips For Best Results
Use a dedicated pumice stone for cleaning—don't reuse one from the bathroom. Keep a bowl of water nearby to dip the stone often. For stubborn marks, add a drop of dish soap to the water for extra lubrication.
Never use a dry stone, as that can cause scratches.
13. Aluminum Foil Ball Scrub
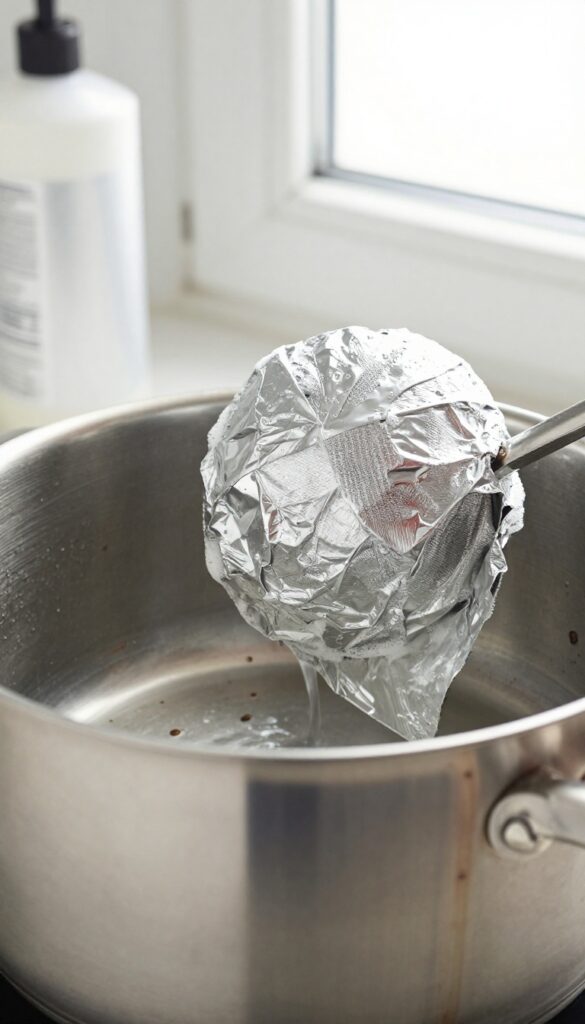
You probably already have a roll of aluminum foil in your kitchen drawer. It turns out that same foil can be a surprisingly effective scrubber for burnt pot bottoms. Instead of reaching for a harsh steel wool pad that might scratch your stainless steel, crumple up a piece of foil into a tight ball.
Dip it in warm soapy water and start scrubbing the burnt area. The foil is firm enough to lift stubborn residue but soft enough to leave your cookware's surface unharmed.
Aluminum foil works as a gentle abrasive because its texture is softer than stainless steel but harder than burnt-on food. When you crumple it, the crinkled edges create many tiny scraping points that break down carbon deposits without gouging the metal. Plus, the soapy water helps lubricate the process and lift away loosened grime.
This method is especially good for fresh scorch marks that haven't had time to bake into a thick crust.
How To Make The Foil Ball
Tear off a sheet of aluminum foil about 12 inches long. Crumple it loosely into a ball roughly the size of a golf ball. Don't compress it too tightly—you want some air pockets and crinkles to create scrubbing edges.
If the ball flattens out as you work, just re-crumple it or make a fresh one.
Scrubbing Technique
Wet the foil ball with warm water and add a drop of dish soap. Scrub the burnt bottom using circular motions and moderate pressure. Focus on the darkest spots first.
Rinse the pot occasionally to check your progress and remove loose debris. For stubborn patches, let the soapy water sit on the mark for a few minutes before scrubbing again.
When To Use This Method
This trick works best on stainless steel pots and pans. Avoid using it on non-stick, ceramic, or enameled surfaces, as the foil can scratch those coatings. It's also a good choice when you don't want to mix up a baking soda paste or use a chemical cleaner.
The foil ball is disposable, so cleanup is easy—just toss it in the recycling.
14. Oven Cleaner (Heavy Duty)
When burnt-on gunk has hardened into a thick, black crust that refuses to budge, it's time to bring out the big guns. Oven cleaner is formulated to dissolve baked-on grease and carbon, making it surprisingly effective on pot and pan bottoms. This method is best reserved for severe burns that have resisted gentler approaches.
How It Works
Oven cleaners contain strong alkaline chemicals like sodium hydroxide that break down carbonized food and grease. When sprayed onto the burnt bottom, the cleaner penetrates the crust and starts dissolving it. The key is giving it enough time—usually 15 to 20 minutes—to work its magic.
Step-by-step Application
First, make sure the pan is cool and dry. Spray a generous layer of oven cleaner over the burnt area, covering it completely. Let it sit for the time recommended on the product label (typically 15–20 minutes).
You'll see the burnt marks start to bubble and soften. Then scrub with a non-abrasive sponge or nylon brush. Rinse thoroughly with warm water and dish soap to remove any chemical residue.
Safety First
Oven cleaner is potent stuff. Always wear rubber gloves to protect your skin, and work in a well-ventilated area—open a window or turn on a fan. Avoid inhaling the fumes, and keep the cleaner away from aluminum cookware, as it can cause discoloration.
After cleaning, wash the pan with soap and water before using it again.
15. Professional Restoration Products

Sometimes, the toughest burnt marks call for heavy-duty solutions. For cookware that holds sentimental value or cost a pretty penny, specialized restoration products can work wonders without the elbow grease. These aren't your everyday cleaners—they're formulated to tackle stubborn carbon buildup while being gentle on the surface.
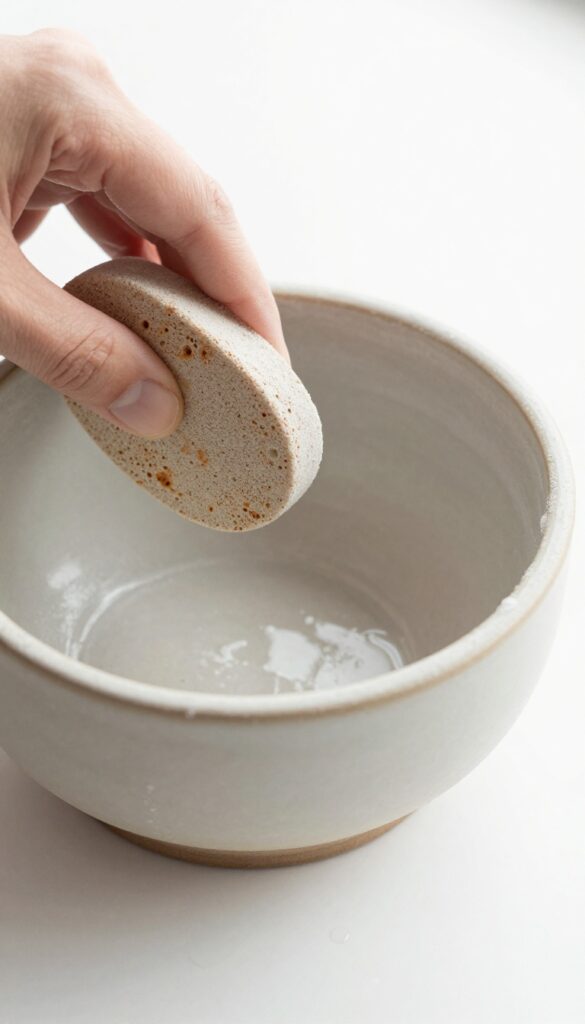
When home remedies fall short, professional restoration products like 'The Pink Stuff' or 'The Miracle Cleaner' can be game-changers. These pastes are designed to lift burnt-on residue without scratching, making them ideal for stainless steel, ceramic, and enamel cookware. Always test on a small hidden area first, and follow the manufacturer's instructions to the letter.
A little goes a long way—apply with a damp sponge, let it sit for a few minutes, then scrub gently. Rinse thoroughly and dry immediately to prevent water spots. These products can restore your pots to near-new condition, but they should be used sparingly to avoid wearing down the finish over time.
What To Look For
Choose a product specifically labeled for cookware restoration. Avoid harsh abrasives that can scratch. Look for non-toxic, biodegradable options if you're concerned about chemicals.
Reading reviews from other home cooks can help you pick a reliable brand.
How To Apply
Apply a small amount to a damp, non-abrasive sponge or cloth. Work in circular motions, focusing on the burnt areas. Let the product sit for the recommended time—usually 5-10 minutes—then scrub gently.
Rinse with warm water and dry with a soft towel.
When To Use
Reserve these products for your most valuable cookware or for burnt marks that have resisted other methods. Overuse can dull the finish, so use them only when necessary. They're especially effective on stainless steel and ceramic surfaces.
FAQ
Can I use steel wool on burnt pot bottoms?
Steel wool can scratch stainless steel and non-stick surfaces. Use a non-abrasive sponge or a pumice stone for ceramic and glass. For stainless steel, a soft scrub or aluminum foil ball is safer.
Will these methods work on non-stick pans?
Be cautious with non-stick coatings. Avoid abrasive scrubs and harsh chemicals. Stick to gentle methods like baking soda paste, vinegar soak, or dishwasher tablet soak.
Always test a small area first.
How do I prevent burnt marks on pot bottoms?
Use medium heat instead of high, stir frequently, and don't leave cookware unattended. Also, ensure the pot bottom is dry before placing on the burner to avoid scorching.
Can I use bleach to clean burnt pots?
Bleach is not recommended for burnt food residue. It can damage the metal and is not effective on carbonized stains. Stick to acidic or enzymatic cleaners like vinegar or dishwasher tablets.
How often should I deep clean my pots and pans?
Deep clean as needed when burnt marks appear. For regular maintenance, wash after each use with mild soap and a soft sponge. Avoid stacking pots without protection to prevent scratches.
Conclusion
Burnt marks on pots and pans don't have to be permanent. With these 15 tips, you can restore your cookware without harsh chemicals or endless scrubbing. Pick the method that matches your pan type and the severity of the burn.
A little patience and the right technique go a long way. Your kitchen gear will look like new, and you'll save money replacing them.