17 Cleaning Wood Furniture Tips for Dust and Shine
Your grandmother's oak dining table doesn't have to look like it's been through a century of neglect. With the right approach, you can bring back that warm, rich glow that made you fall in love with it in the first place.
Dust and grime build up over time, dulling the finish and hiding the wood's natural character. But cleaning wood furniture isn't complicated—it just requires a few smart techniques and a bit of patience.
These 17 tips will help you remove dust, tackle sticky spots, and add a brilliant shine without damaging the surface. Let's get started.
1. Dust with a Microfiber Cloth, Not a Feather Duster
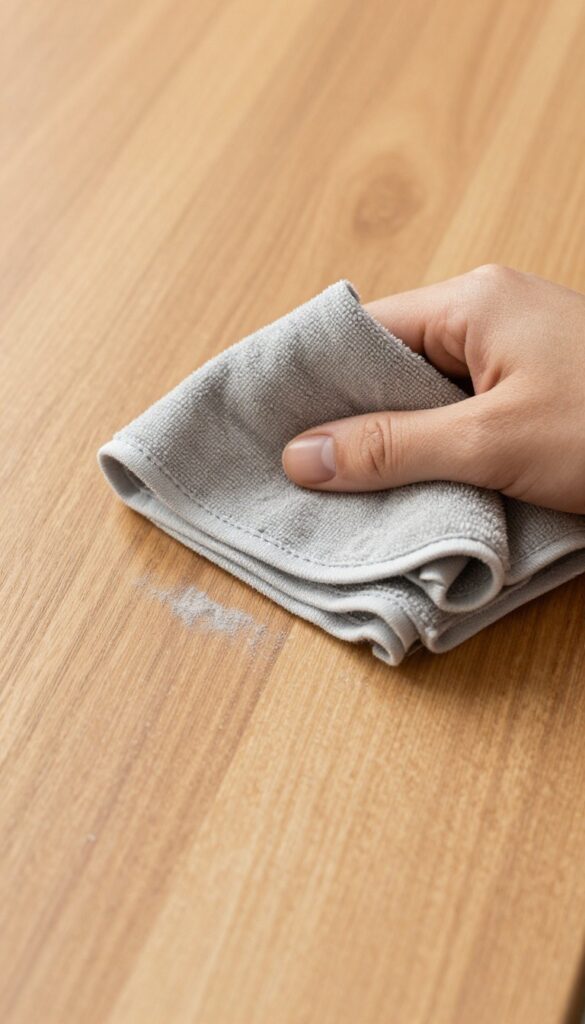
Feather dusters might look elegant, but they're actually one of the worst tools for cleaning wood furniture. Those fluffy fronds simply push dust into the air, where it eventually settles right back down—often scratching the surface as it goes. Microfiber cloths, on the other hand, are designed to trap dust particles like a magnet, lifting them away without any abrasive contact.
Switching to microfiber is the single easiest upgrade you can make to your cleaning routine. The ultra-fine fibers create a static charge that pulls dust off the wood and holds it inside the cloth. That means less airborne dust, fewer scratches, and a cleaner finish in half the time.
Plus, microfiber is reusable—just toss it in the wash and it's good to go again.
Why Feather Dusters Fail
Feather dusters are notorious for scattering dust rather than collecting it. The feathers can also snag on wood grain or loose varnish, causing tiny scratches that dull the finish over time. Even the best feather duster leaves a trail of particles that resettle within minutes.
How To Use Microfiber Correctly
For best results, use a clean, dry microfiber cloth. Fold it into quarters so you can flip to a fresh side as it gets dirty. Gently wipe the surface in the direction of the wood grain—this prevents swirl marks and ensures you're not grinding dust into the finish.
Avoid pressing too hard; let the cloth do the work.
When To Wash Your Microfiber Cloths
Wash microfiber cloths after every few uses, or whenever they look visibly soiled. Use warm water and mild detergent—skip fabric softener, which clogs the fibers and reduces static cling. Air-dry or tumble dry on low heat.
A clean cloth picks up dust far better than a dirty one.
2. Use the Right Wood Cleaner for Your Finish
You wouldn't use the same soap on a silk blouse and a pair of jeans. Wood furniture is no different—the cleaner that works wonders on a varnished table might strip the oil finish off a teak chair. The trick is knowing what's under that layer of dust.
Once you match the cleaner to the finish, you'll avoid dull spots, sticky residue, and long-term damage.
Before you reach for a spray bottle, take a moment to identify your furniture's finish. Varnished and lacquered surfaces are sealed and can handle mild soap-and-water solutions. Oiled or waxed finishes are more porous and need gentle, solvent-free cleaners.
A quick test: dab a drop of water on an inconspicuous spot. If it beads up, the finish is sealed. If it soaks in, you're dealing with an oil or wax finish.
Use that info to pick your cleaner.
For Varnished Or Lacquered Finishes
These are the most common finishes on modern furniture. They're tough and water-resistant, so a gentle cleaner works fine. Mix a few drops of mild dish soap with warm water, dampen a soft cloth (never soak it), and wipe the surface.
Follow immediately with a dry cloth. Avoid all-purpose sprays with silicones or waxes—they can build up and attract more dust.
For Oil-finished Wood
Oiled wood, like teak or Danish oil finishes, needs a different approach. Use a cleaner specifically made for oiled surfaces, or a mild solution of vinegar and water (1 tablespoon vinegar to 1 quart water). Apply with a damp cloth, then buff dry.
Never use ammonia or harsh detergents—they'll strip the oil and leave the wood looking dry and blotchy.
For Antique Or Shellac Finishes
Antique furniture often has shellac or French polish, which is sensitive to water and alcohol. Stick to a dry, soft cloth for dusting. For deeper cleaning, use a slightly damp cloth with distilled water and dry immediately.
Better yet, consult a professional if the piece is valuable. A wrong cleaner can ruin the finish permanently.
3. Test Any Cleaner on a Hidden Spot First
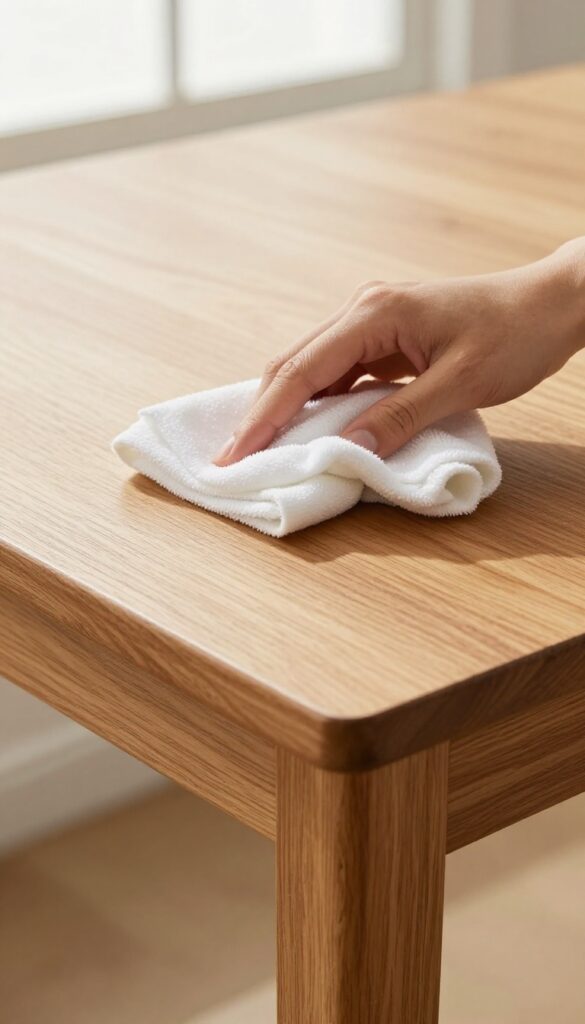
Before you go all in with a new polish or homemade solution, take a minute to test it on a spot nobody will ever see. This simple step can save you from a blotchy, ruined finish that's much harder to fix than a little dust buildup. Think of it as insurance for your furniture's good looks.
Even gentle cleaners can react unexpectedly with certain varnishes, lacquers, or waxes. A quick test on the underside of a table or the back of a leg will tell you if the product is safe. Wait a few minutes, then check for discoloration, stickiness, or a dull patch.
If everything looks fine, you're good to go.
Why Hidden Spots Matter
The finish on wood furniture isn't uniform—age, sunlight, and previous treatments can create variations. A cleaner that works on one area might lift the finish on another. Testing on a hidden spot gives you a realistic preview without risking damage where it shows.
How To Perform The Test
Dab a small amount of cleaner onto a soft, white cloth (so you can see any color transfer). Rub it gently on the hidden area, then wait at least five minutes. Wipe away the residue and inspect closely.
If the wood looks unchanged, the cleaner is likely safe for the whole piece.
What To Look For
Watch for three things: color change (darkening or lightening), stickiness (indicating the finish is softening), and a cloudy or dull haze. Any of these signals that the cleaner is too harsh. Stick to milder options like diluted dish soap or specialized wood cleaners instead.
4. Wipe with the Grain, Not Against It
Wood has a natural direction to its fibers, much like the nap on velvet or the weave in fabric. Wiping against that grain is like brushing your hair the wrong way—it creates friction, lifts tiny particles, and leaves behind a messy, streaky finish. Following the grain is one of the simplest ways to protect your furniture's surface.
It reduces the chance of scratching the finish and helps dust and polish settle evenly, giving you that smooth, uniform shine you're after.
What Does “with The Grain” Actually Mean?
Run your hand gently across the surface. If it feels smooth in one direction and slightly rough in the other, you've found the grain. The smooth direction is with the grain.
On most furniture, the grain runs lengthwise—along the tabletop, down the legs, across the drawer fronts. When in doubt, look at the wood's natural lines and follow them.
How To Wipe Without Damaging The Finish
Use a soft, lint-free cloth—microfiber or an old cotton t-shirt works great. Fold it into a pad and start at one end, moving in long, straight strokes along the grain. Don't press hard; let the cloth do the work.
For curved or carved areas, follow the contour of the wood as closely as possible, still moving in the direction of the grain.
Why This Simple Habit Makes A Big Difference
Wiping against the grain can create micro-scratches that dull the finish over time. It also pushes dust and debris into the pores, making the surface look cloudy. By sticking with the grain, you're preserving the wood's integrity and keeping that polished look longer.
It's a small change that pays off every time you clean.
5. Remove Sticky Residue with a Gentle Solution
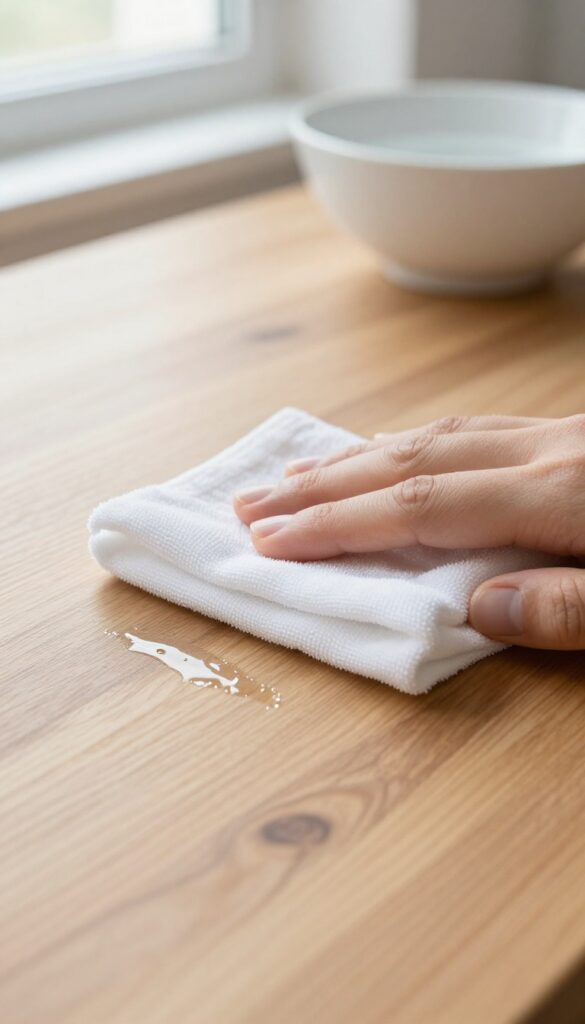
Sticky spots on wood furniture are annoying, but reaching for a harsh cleaner can do more harm than good. A simple mix of dish soap and warm water is often all you need to lift that gunk without stripping the finish. The key is to be gentle and patient.
Sticky residue from spills, labels, or old polish can make your furniture look grimy. Instead of scrubbing with abrasive cleaners, try a mild soap solution first. It’s safe for most finishes and won’t leave behind a dull film.
Why Harsh Cleaners Are A Bad Idea
Strong chemicals like ammonia, bleach, or acetone can dissolve the protective finish on wood, leaving it vulnerable to moisture and stains. Even some all-purpose cleaners contain ingredients that can cloud or discolor the surface. Stick to gentle, pH-neutral options to keep your furniture looking its best.
How To Mix And Apply The Solution
Fill a small bowl with warm water and add just one drop of mild dish soap. Swirl to mix, then dip a soft, lint-free cloth into the solution. Wring it out well—you want it damp, not wet.
Gently rub the sticky area in a circular motion. The residue should start to lift within a few seconds. If it’s stubborn, let the cloth sit on the spot for a minute before wiping.
Rinse And Dry Thoroughly
After removing the stickiness, dampen a clean cloth with plain water and wipe the area to remove any soap residue. Then immediately dry with a soft towel. Leaving moisture on wood can cause water rings or raise the grain, so don’t skip this step.
6. Tackle Water Rings with Mayonnaise or Toothpaste
White rings from a cold glass or a sweating vase can make a beautiful table look sad. But before you panic, know that these marks are usually just trapped moisture in the finish—not permanent damage. Two common kitchen staples can lift them right out.
Mayonnaise works because the oils penetrate the white haze and replace the trapped moisture, allowing the finish to clear. Non-gel toothpaste acts as a mild abrasive that gently buffs away the ring without harming the underlying varnish or lacquer. Both methods are safe for most sealed wood surfaces.
The Mayonnaise Method
Dab a small amount of full-fat mayonnaise onto a soft cloth and apply it directly over the water ring. Let it sit for a few hours or overnight—the longer, the better. Wipe off with a clean, damp cloth and buff dry.
The ring should be noticeably lighter or gone.
The Toothpaste Trick
Use a non-gel, non-whitening toothpaste (the plain white kind works best). Put a dab on a soft, damp cloth and gently rub the water ring in a circular motion. Work slowly and check your progress every 10–15 seconds.
Wipe away residue with a damp cloth and dry immediately.
When To Call It Quits
If the ring doesn't fade after two attempts, the moisture may have penetrated the stain or the wood itself. At that point, you're looking at a refinishing job. But for most surface-level rings, mayonnaise or toothpaste will save the day.
7. Polish with a Homemade Vinegar and Oil Mix
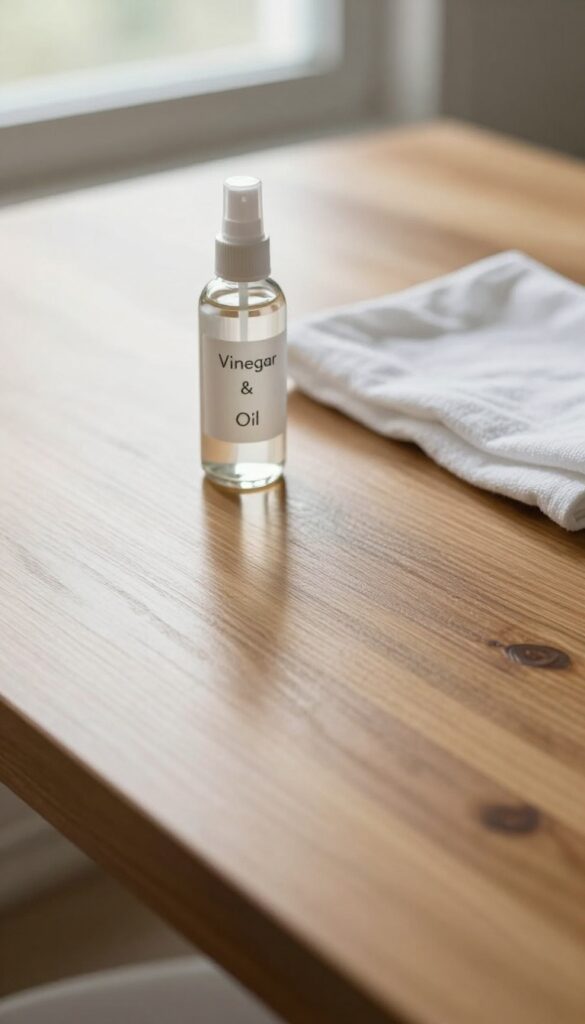
Store-bought polishes often contain silicones and waxes that build up over time, leaving a dull film. A simple blend of vinegar and olive oil cuts through grime naturally while conditioning the wood. It’s cheap, non-toxic, and surprisingly effective.
This DIY polish works best on finished wood—sealed surfaces like lacquer, varnish, or polyurethane. The vinegar’s mild acidity lifts dirt and grease, while the oil moisturizes the wood, preventing it from drying out. Shake the mixture well before each use, apply sparingly with a soft cloth, and buff to a soft sheen.
The Right Ratio Matters
Stick to one part white vinegar and three parts olive oil. Too much vinegar can strip the finish, and too much oil leaves a sticky residue. A small spray bottle makes application easy—just mist the cloth, not the furniture, to avoid oversaturating the wood.
Buff, Don’t Rub
Apply the mixture in the direction of the wood grain using a lint-free cloth. Let it sit for a minute, then buff with a dry section of the cloth. You’ll see the wood deepen in color and develop a gentle glow without any greasy feel.
When To Skip This Method
Avoid this polish on unfinished, raw, or waxed wood. The oil can penetrate unevenly, causing dark spots, and the vinegar may damage delicate surfaces. Always test in an inconspicuous area first.
For antiques or heirloom pieces, consult a professional.
8. Avoid Silicone-Based Polishes
That shiny spray polish might make your coffee table gleam for a day, but it's likely doing more harm than good in the long run. Many commercial polishes contain silicone, which creates a temporary shine while slowly building up a stubborn layer that's nearly impossible to remove. Once that silicone film hardens, refinishing the piece becomes a nightmare—the new finish won't adhere properly, and you'll be left with a blotchy mess.
Silicone-based polishes are common because they produce an instant, streak-free gloss. But that gloss comes at a cost. Over time, repeated applications create a waxy, plastic-like coating that traps dirt and dulls the wood.
When you finally decide to strip the piece for refinishing, the silicone can penetrate into the wood grain, causing fisheyes and adhesion problems with new stain or varnish. Professional furniture restorers often cringe when they see silicone buildup because it means extra work and sometimes irreversible damage.
How To Spot Silicone In Your Polish
Check the ingredient list for words like dimethicone, amodimethicone, or anything ending in -cone. If the label boasts "long-lasting shine" or "water-repellent protection, " it's likely silicone-based. Another telltale sign: if water beads up on your furniture after polishing, you've got a silicone barrier.
To test an existing finish, apply a small drop of water and watch—if it beads, silicone is present.
Better Alternatives For A Lasting Shine
Skip the aerosol cans and reach for natural options instead. Paste wax made from carnauba or beeswax provides a warm, durable finish that's easy to maintain. For a quick dusting spray, mix a few drops of olive oil with vinegar and water.
Or simply buff the wood with a dry microfiber cloth—often that's all you need to restore natural luster without any buildup.
9. Use Furniture Wax for a Protective Shine
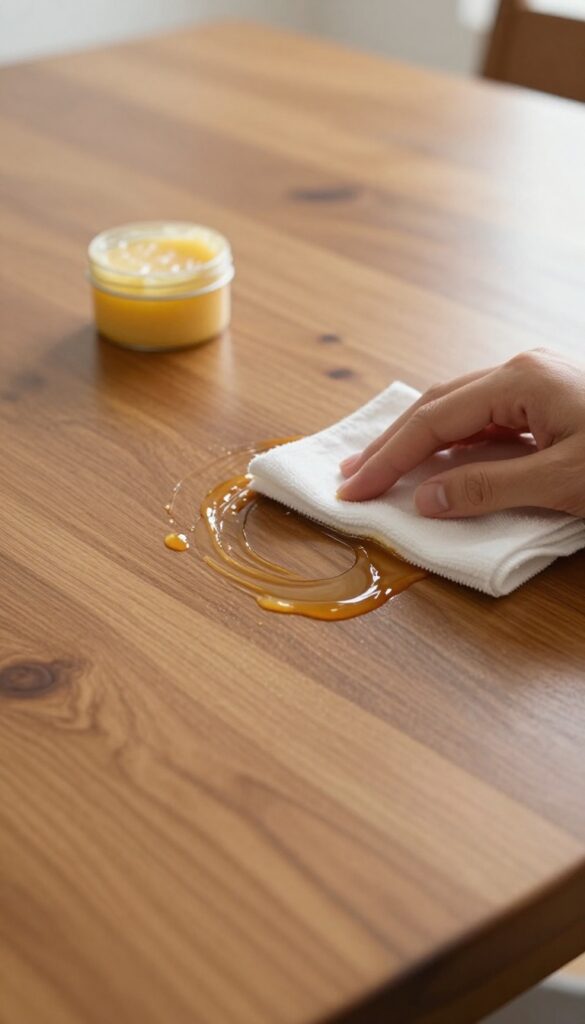
Liquid polishes are convenient, but nothing beats the deep, lasting glow of a good paste wax. Wax not only adds shine—it creates a protective barrier against dust, moisture, and everyday wear. The key is applying it correctly: thin layers, proper buffing, and the right type of wax for your furniture.
Paste wax is a blend of natural waxes (like carnauba or beeswax) and solvents that evaporate, leaving a hard, protective coating. Unlike spray polishes that sit on the surface, wax bonds with the finish, filling tiny scratches and adding depth. It's ideal for antique or high-use pieces like dining tables and dressers because it repels dust and makes future cleaning easier.
How To Apply Paste Wax
Start with a clean, dry surface—no dust or residue. Dip a soft, lint-free cloth into the wax and rub it onto the wood in a thin, even layer, following the grain. Let it haze for about 15–20 minutes (check the manufacturer's instructions).
Then buff with a clean cloth using firm, circular motions until you see a soft sheen. For best results, apply two thin coats, buffing between each.
When To Wax And When To Skip
Wax is great for finished wood—varnished, lacquered, or oiled surfaces. But avoid wax on unfinished or raw wood (it can seep in and look blotchy) or on surfaces with a wax buildup that's already cloudy. Also skip wax on kitchen tables that get heavy use and frequent wiping, as the wax can wear off unevenly.
Stick to waxing every 6–12 months for a lasting protective shine.
10. Buff with a Soft, Lint-Free Cloth
You've applied polish or wax, and the wood looks better already. But the real magic happens during the buffing step. A gentle buff removes excess product, evens out the shine, and gives the surface that smooth, professional glow.
Skipping this step or using the wrong cloth can leave streaks, haze, or tiny fibers stuck to the finish.
Buffing is the final touch that transforms a good cleaning job into a great one. The key is to use a soft, lint-free cloth—old cotton T-shirts, microfiber towels, or flannel squares work perfectly. Avoid paper towels or rough fabrics that can scratch the finish or leave lint behind.
Buff in small, circular motions with light pressure, then finish with long, straight strokes along the wood grain. This technique polishes the surface evenly and removes any remaining residue. For an extra glow, let the polish or wax cure for a few minutes before buffing, and use a second clean cloth for the final pass.
Why Lint-free Matters
Lint from regular towels or rags sticks to the wax or polish and dries into the finish, creating a fuzzy, dull appearance. Lint-free cloths are tightly woven so they don't shed, leaving a perfectly smooth surface. Microfiber is especially good because its fibers trap dust and excess product rather than just pushing them around.
The Right Motion For Maximum Shine
Start with circular motions to work the product into the wood and pick up any leftover residue. Then switch to straight strokes following the grain. This two-step method ensures even coverage and a streak-free shine.
Use a light touch—pressing too hard can remove the wax or polish you just applied.
When To Buff Again
If the surface feels tacky or looks hazy after buffing, you may have used too much product. Wait a few minutes and buff again with a fresh cloth. For paste wax, a second buffing after 20–30 minutes often deepens the shine.
With practice, you'll learn the right amount of pressure and product for your specific furniture.
11. Keep Wood Away from Direct Sunlight
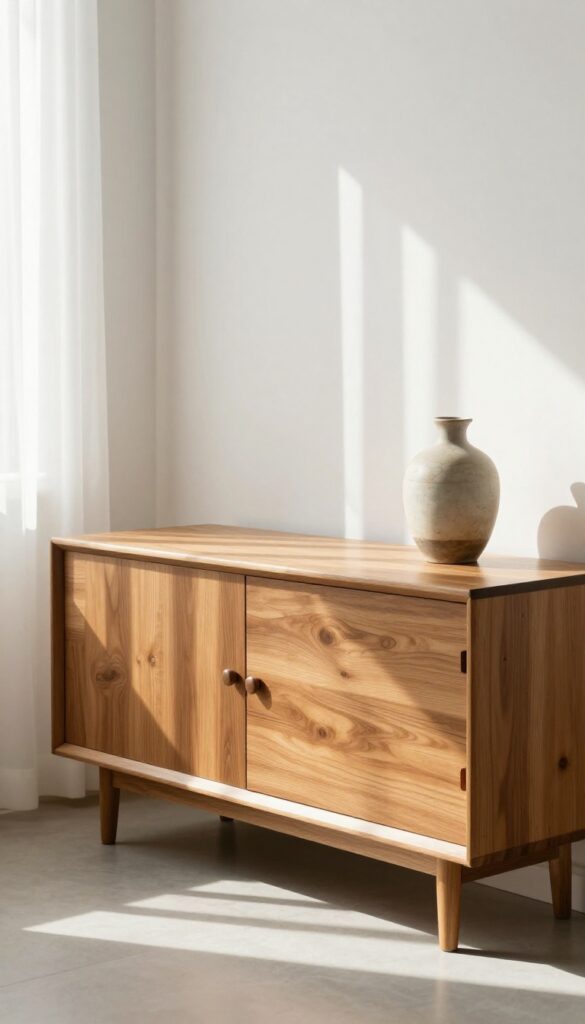
Sunlight does more than warm a room—it can slowly damage your wood furniture. UV rays break down the finish over time, causing fading, drying, and cracking. The good news is that a little prevention goes a long way.
Position your furniture away from windows where possible, or use curtains, blinds, or UV-filtering window film. Rotate decorative pieces occasionally so fading is even. For valuable antiques, consider keeping them out of sunny spots entirely.
How Sunlight Damages Wood
UV radiation attacks the lignin in wood, which acts like a natural glue. This leads to discoloration, brittleness, and a faded appearance. Even indirect sunlight can cause gradual harm over months or years.
Simple Protective Measures
Sheer curtains diffuse light while still brightening the room. Blinds let you control exposure throughout the day. UV-blocking window film is an invisible option that filters out harmful rays without changing the look of your windows.
What To Do If Damage Has Already Occurred
If you notice uneven fading, try moving the piece to a shadier spot and applying a quality furniture wax to restore some luster. For severe damage, professional refinishing may be needed.
12. Maintain Humidity Levels to Prevent Cracking
Wood is a living material that constantly reacts to its environment. When the air gets too dry, wood loses moisture and shrinks, leading to cracks and loose joints. On the flip side, high humidity causes wood to swell, which can warp panels or make drawers stick.
Keeping your home's humidity steady is one of the best things you can do for your furniture's long-term health.
The sweet spot for wood furniture is between 40% and 55% relative humidity. In winter, when heating systems dry out the air, a humidifier in the room can make a huge difference. Aim for a consistent level—sudden swings are worse than a stable slightly-dry or slightly-moist environment.
A simple hygrometer costs little and takes the guesswork out of monitoring.
Why Humidity Matters
Wood fibers absorb and release moisture like a sponge. In dry conditions, they contract, causing the wood to shrink and potentially crack. In humid conditions, they expand, which can cause drawers to stick or tabletops to buckle.
By controlling humidity, you prevent these physical stresses and keep your furniture looking its best.
Simple Ways To Stabilize Humidity
Use a room humidifier during dry months, especially in rooms with hardwood floors or large wood furniture. In damp seasons, a dehumidifier or air conditioner can help. Grouping plants together can also add moisture naturally.
Just avoid placing furniture near vents, radiators, or drafty windows where humidity changes are most extreme.
When To Take Extra Care
Antique or heirloom pieces are especially vulnerable because the wood has already settled over decades. New furniture needs time to acclimate to your home's humidity before you even start cleaning or polishing. If you live in a climate with big seasonal swings, consider using a whole-house humidifier for consistent protection.
13. Use Coasters and Placemats Religiously
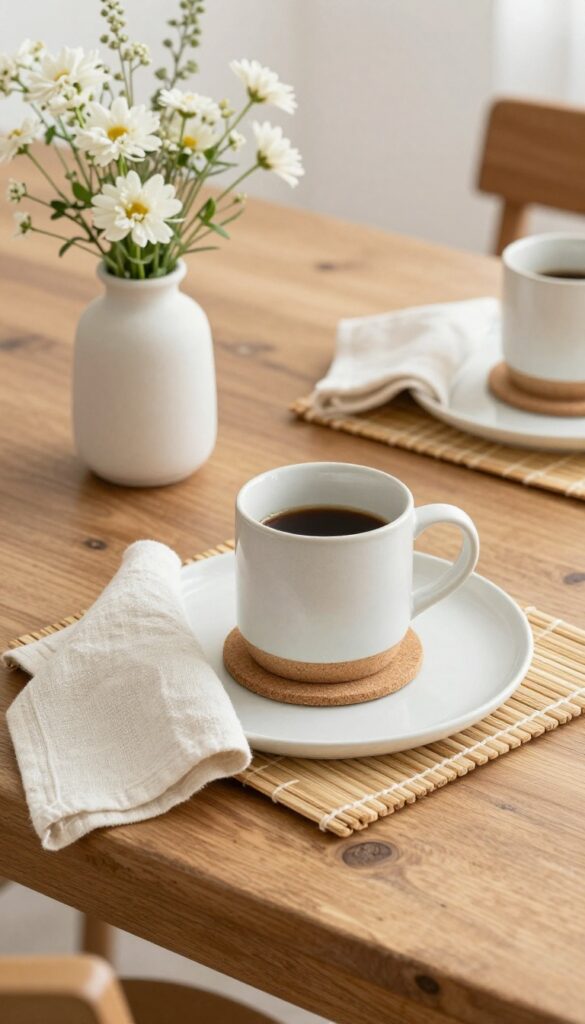
Heat and moisture are two of the biggest threats to wood furniture. A hot mug can leave a white ring that's tough to remove, and a spilled drink can seep into the finish and cause staining or warping. Coasters and placemats are simple, cheap insurance that keeps your tables and desks looking pristine.
Why Coasters Matter More Than You Think
When you set a cold glass on wood, condensation forms and sits against the finish. Over time, that moisture can penetrate the protective layer and create cloudy marks. Coasters with a cork or felt backing absorb condensation and lift the glass away from the surface.
For hot drinks, the heat can soften the finish and trap moisture underneath, leading to those dreaded white rings. A coaster acts as a heat shield.
Choose The Right Materials
Not all coasters are wood-friendly. Avoid coasters with rough bottoms that can scratch the finish. Felt-backed coasters are gentle, while stone or ceramic coasters can be heavy and may scratch if slid around.
Silicone coasters are non-slip and absorb moisture well. Placemats should be made of fabric or bamboo rather than plastic, which can trap moisture against the wood.
Make It A Habit For Everyone
Train your family and guests to use coasters by keeping them visible and accessible. Place a coaster caddy on your coffee table or sideboard. For dining tables, set out placemats before meals.
If you have kids, get fun, colorful coasters they'll want to use. Consistency is key—one forgotten glass can cause a stain that takes hours to fix.
14. Clean Spills Immediately
A splash of water or a ring from a cold glass might seem harmless at first. But wood is porous, and liquids that sit too long can seep through the finish, leaving stubborn stains or raising the grain. The key is to act fast and blot—never rub.
When a spill happens, grab a soft, dry cloth or paper towel and gently blot the liquid. Rubbing spreads it deeper into the wood and can damage the finish. For sticky spills like juice or soda, follow up with a slightly damp cloth, then dry immediately.
Always wipe with the grain to avoid scratches.
Why Blotting Beats Rubbing
Rubbing pushes the liquid into the wood fibers and can lift the finish. Blotting absorbs the spill from the surface, minimizing contact. Think of it like dabbing a stain on fabric—gentle pressure works best.
The One-minute Rule
Try to address any spill within 60 seconds. That’s usually enough time to prevent penetration. Keep a clean cloth handy near dining tables and sideboards for quick action.
What About White Rings?
White rings from moisture are often trapped in the finish, not the wood. If you catch them quickly, a gentle wipe with a dry cloth may suffice. For set-in rings, a dab of mayonnaise or toothpaste can help—but that’s a tip for another day.
15. Deep Clean Annually with a Gentle Soap
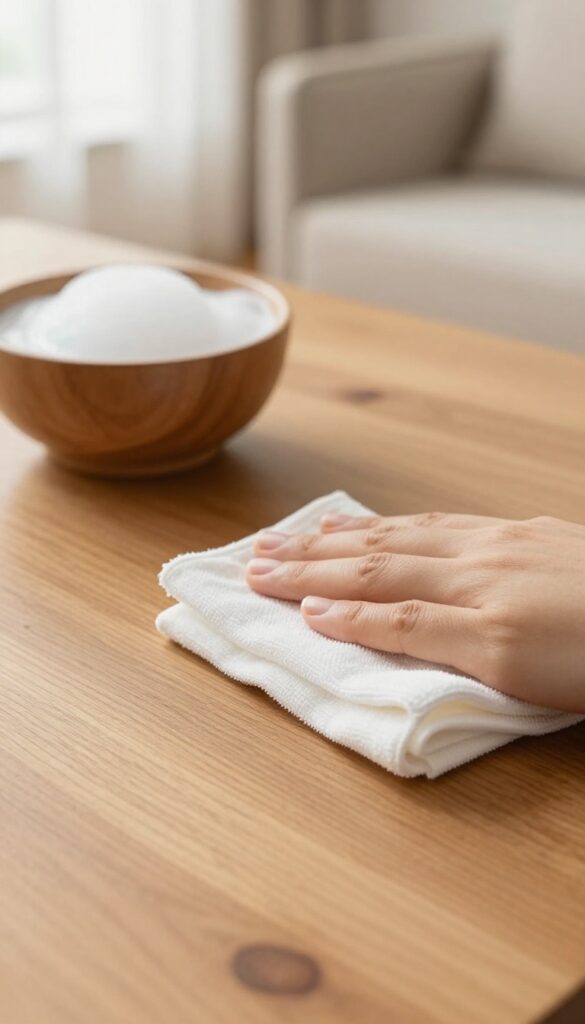
Over the course of a year, dust, oils, and grime can build up even on well-maintained wood furniture. A simple wipe-down won't always cut it. That's why an annual deep clean with a gentle soap solution helps reset the surface and prepare it for a fresh coat of polish or wax.
Deep cleaning once a year removes the invisible layer of dirt that can dull the finish. It's a straightforward process: mix a few drops of mild dish soap with warm water, dip a soft cloth, wring it out well, and wipe the surface in the direction of the grain. Rinse with a separate damp cloth, then dry immediately with a clean towel.
Avoid soaking the wood or using harsh detergents that can strip the finish.
Choosing The Right Soap
Not all soaps are safe for wood. Use a mild dish soap or a specialized wood cleaner. Avoid anything with bleach, ammonia, or abrasives.
A drop of Murphy Oil Soap in water works well for most finishes, but test on an inconspicuous area first.
The Rinse Step Matters
Soap residue left on wood can attract more dust and cause a cloudy film. After washing, go over the surface with a cloth dampened with plain water. Then dry thoroughly with a soft towel to prevent moisture from seeping into the grain.
When To Skip This Step
If your furniture has an antique or delicate finish, or if it's unsealed wood, skip the soap and use a barely damp cloth instead. For valuable pieces, consult a professional conservator before any wet cleaning.
16. Restore Dull Finish with a Touch of Mineral Oil
Even after a good cleaning, some wood furniture still looks tired and lifeless. The finish might be intact, but the luster has faded. Before you reach for harsh polishes or waxes, try mineral oil—it's a gentle way to bring back that warm glow without stripping the existing finish.
Why Mineral Oil Works
Mineral oil is a lightweight, odorless oil that penetrates the wood's pores and temporarily fills tiny scratches and micro-abrasions. This smooths the surface, allowing light to reflect evenly and restoring depth to the grain. It's non-toxic and safe for finished wood, making it a great choice for kitchen tables or children's furniture.
How To Apply It
Apply a few drops of mineral oil to a soft, lint-free cloth—not directly onto the furniture. Rub it into the wood in the direction of the grain, using light pressure. Work in small sections (about a square foot at a time) so the oil doesn't dry before you buff it.
Let it sit for 2–3 minutes, then buff thoroughly with a clean dry cloth to remove any excess.
When To Use (and When To Skip)
Mineral oil works best on wood that has a factory-finished or varnished surface that's just looking dull. It's not for raw or unfinished wood—that would soak it up unevenly. Also avoid it if your furniture has a wax finish, as mineral oil can dissolve wax.
Test on a hidden spot first to be sure it doesn't darken the wood too much.
17. Know When to Call a Professional
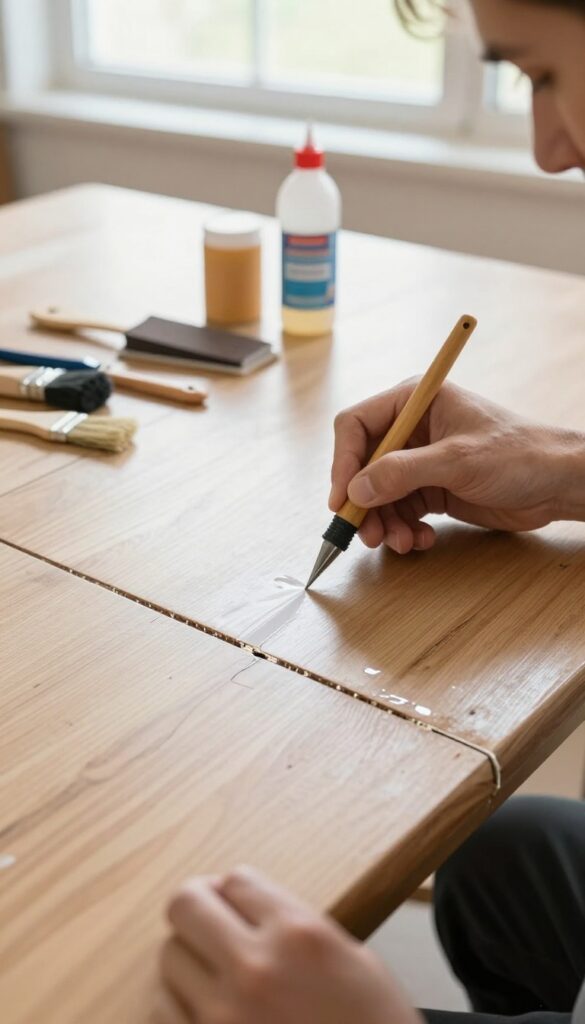
Not every wood furniture problem has a DIY fix. Sometimes the damage is too deep, the finish too complicated, or the piece too valuable to risk a mistake. Knowing when to step back and call a pro can actually save you money and heartache in the long run.
Professional restorers have the tools, experience, and products to handle issues that go beyond surface cleaning. They can repair cracks, replace missing veneer, strip old finishes safely, and apply new coatings that look like new. If your piece has sentimental or monetary value, a pro is worth the investment.
Signs You Need A Pro
Look for deep scratches that go through the finish into the wood, water rings that won't buff out, peeling or alligatoring finish, loose joints, or structural damage like a broken leg. If you smell mildew or see mold, a professional can treat it without harming the wood.
What To Expect From A Professional
A good restorer will assess the piece first, explain the options, and give you a quote. They often use techniques like French polishing, spray lacquering, or hand-rubbed oil finishes that are hard to replicate at home. Ask about their experience with your type of wood and finish.
Cost Vs. Value
Restoration costs vary widely, from $50 for a simple touch-up to hundreds for a full refinish. Compare that to the cost of replacing a quality piece or the risk of ruining it yourself. For heirlooms or antiques, the peace of mind alone is worth it.
FAQ
Can I use vinegar on all wood furniture?
Vinegar is safe for most sealed wood finishes, but avoid it on unsealed or waxed surfaces as it can strip the finish. Always test first.
How often should I dust wood furniture?
Dust at least once a week to prevent buildup. Use a microfiber cloth to avoid scratching.
What's the best way to remove sticky residue?
Mix a few drops of dish soap with warm water, dampen a cloth, and gently wipe. Dry immediately. Avoid abrasive cleaners.
Can I use olive oil to polish wood?
Yes, but use it sparingly and mix with vinegar or lemon juice to avoid a greasy residue. Too much oil can attract dust.
How do I fix a water ring on wood?
Apply a small amount of mayonnaise or non-gel toothpaste to the ring, let it sit for a few hours, then wipe off and buff.
Conclusion
Your wood furniture doesn't need complicated routines to stay dust-free and gleaming. Start with the simplest habit—like dusting with a microfiber cloth—then add conditioning and polishing as needed. A little regular care keeps the finish protected and the shine lasting.
Pick two or three tips that match your furniture's current condition and make them part of your weekly cleaning. Your tables and chairs will reward you with that warm, natural glow that makes any room feel more inviting.