12 Clever Dream Pantry Ideas That Keep Food Easy to Find
A dream pantry isn't about fancy cabinets or expensive renovations. It's about making food easy to see and grab, so you spend less time digging and more time cooking. The best ideas are simple, affordable, and save you money by preventing duplicate purchases.
You don't need a walk-in closet to achieve this. Even a small reach-in pantry can work like a dream with a few smart tweaks. The key is visibility and grouping—when everything has a home, you'll never lose a can of beans again.
These 12 ideas are tested, realistic, and won't break the bank. They focus on what actually works in real kitchens, not Pinterest-perfect setups that fall apart after a week.
1. Clear Bins for Everything
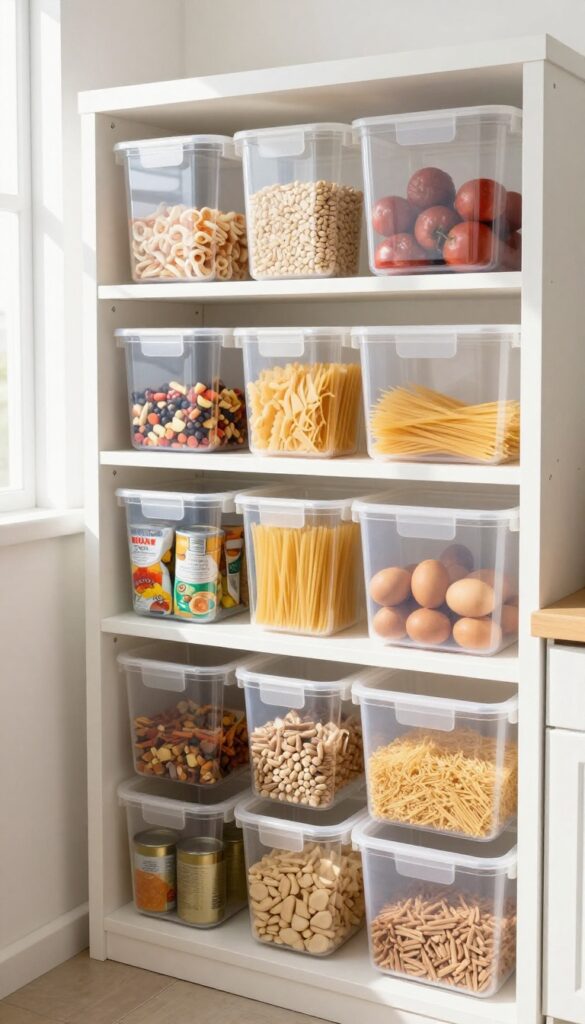
Clear bins are the unsung heroes of an organized pantry. They let you see exactly what you have at a glance, so you never buy a duplicate jar of salsa or forget about that bag of lentils hiding in the back. Plus, they keep similar items corralled together, making grabbing ingredients a breeze.
Start by measuring your shelves and buying stackable clear bins in a few standard sizes. Group items by category: snacks, baking supplies, canned goods, pasta, and grains. Then label each bin with a simple tag or a piece of chalk if you use chalkboard labels.
This system works because you can spot when you're running low on something without pulling out every container. And when you bring home groceries, you just drop new items into the right bin—no fuss, no digging.
Choose The Right Bins
Look for bins that are BPA-free, dishwasher-safe, and have smooth sides for easy cleaning. Rectangular bins use shelf space more efficiently than round ones, and ones with handles make it easy to pull them off the shelf. A set of small, medium, and large bins gives you flexibility.
Labeling That Lasts
Use a label maker or write on chalkboard stickers with a white chalk pen. For a no-fuss option, just use a permanent marker on a piece of masking tape—it's cheap and easy to change. Place labels on the front of the bin, not the lid, so you can read them when bins are stacked.
Stacking For Maximum Space
Stack bins of the same size to create vertical storage. Keep heavier items on the bottom and lighter ones on top. If your shelves are deep, place less-used bins in the back and daily-use bins in the front.
This way, you can reach the most-used items without unstacking everything.
2. Lazy Susans for Corner Shelves
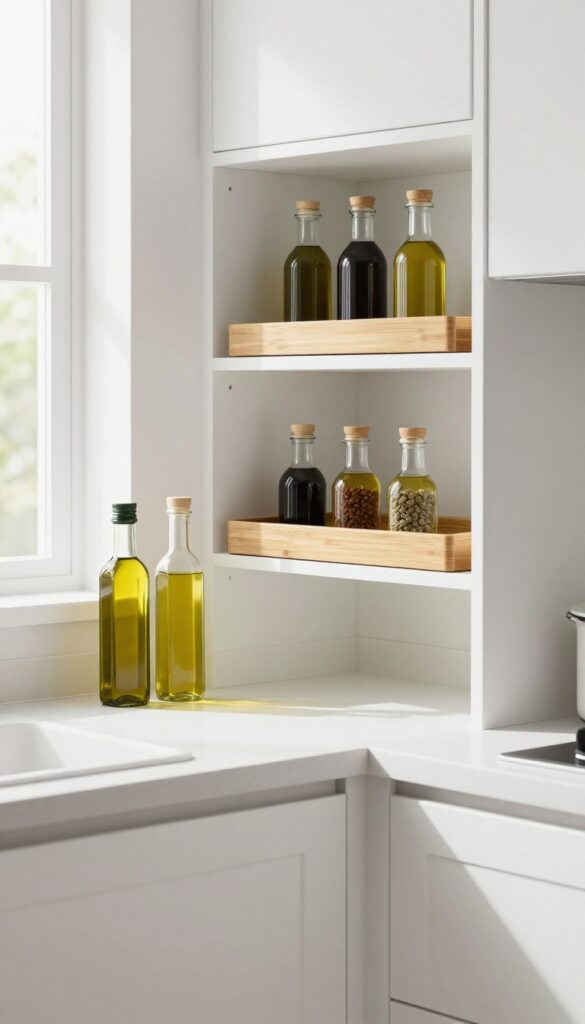
Corner shelves are notorious black holes where jars and bottles disappear into the shadows. A lazy Susan turns that dead space into a rotating carousel of convenience. Just give it a spin, and everything you need is right in front of you.
Lazy Susans are one of the cheapest and most effective fixes for deep or corner cabinets. They work especially well for oils, vinegars, spices, and condiments—items that tend to get shoved to the back and forgotten. By keeping everything visible and within reach, you'll stop buying duplicates and start using what you already have.
Pick The Right Size And Material
Measure your shelf depth and height before buying. A 12-inch diameter works for most standard cabinets, but go smaller if you have tight corners. Choose a sturdy material like bamboo or heavy-duty plastic that can handle the weight of glass bottles.
Avoid cheap, wobbly versions that tip over when loaded.
Group Like Items Together
Use one lazy Susan for cooking oils and vinegars, another for sauces and condiments, and a third for spice jars if you have the space. Grouping keeps the carousel logical—no more spinning through five different items to find the soy sauce. Label the surface with a small sticker if you share the pantry with others.
Maintenance And Rotation Tips
Wipe down the lazy Susan periodically to catch spills before they become sticky. Rotate your stock when you add new bottles—move older items to the front so they get used first. If the turntable starts to squeak, a dab of food-grade lubricant on the bearing keeps it spinning smoothly.
3. Tiered Shelf Risers
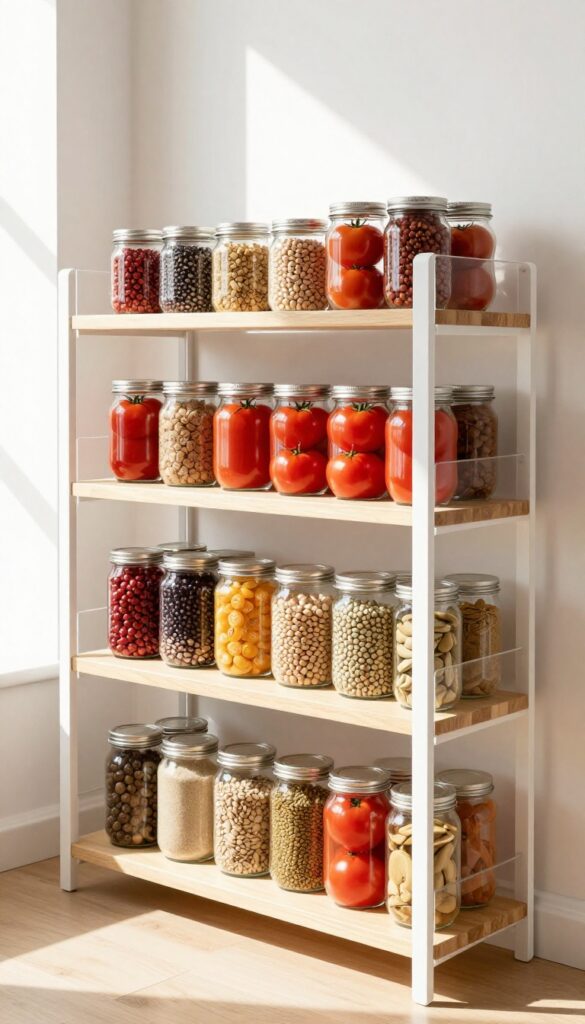
If you've ever had to pull out a whole row of cans just to reach the tiny tomato paste hiding in the back, you know the struggle. Tiered shelf risers solve that by giving every item its own front-row seat. They're cheap, easy to install, and instantly double your shelf's usability.
Tiered risers are essentially mini staircases for your pantry shelves. They lift cans, jars, and bottles at an angle so you can see every label at a glance. No more guessing what's behind the tall cereal box or forgetting about that can of coconut milk until it expires.
Just slide a riser onto an existing shelf and arrange your items from shortest in front to tallest in back. The result is a stadium-seating effect that makes everything accessible without digging.
Choose The Right Riser Height
Not all risers are created equal. For standard pantry shelves, look for risers that are about 4 to 6 inches high in the back and taper down to 1 inch in the front. This slope works well for most cans and jars.
If your shelves are deeper than 12 inches, consider a two-tier system: a lower riser for small items and a taller one for larger bottles. Measure your shelf depth and the tallest item you plan to store before buying.
Diy Options That Save Money
You don't have to spend a lot on fancy acrylic risers. A simple DIY solution is to repurpose sturdy cardboard boxes or plastic bins cut at an angle. Cover them with contact paper for a clean look.
Another option is to use wire cooling racks turned upside down—they create a natural slope and are dishwasher-safe. For a more permanent fix, install wooden ledges or small shelves at a slight angle using brackets from the hardware store.
Best Items To Put On Risers
Risers work best for canned goods, spice jars, small condiment bottles, and packets. Avoid placing heavy or tall items on the front edge, as they might tip over. Group similar items together: all beans on one riser, all soups on another.
This makes grabbing what you need even faster. For items like olive oil or vinegar, use a riser with a lip or guard to prevent bottles from sliding off.
4. Door-Mounted Wire Racks
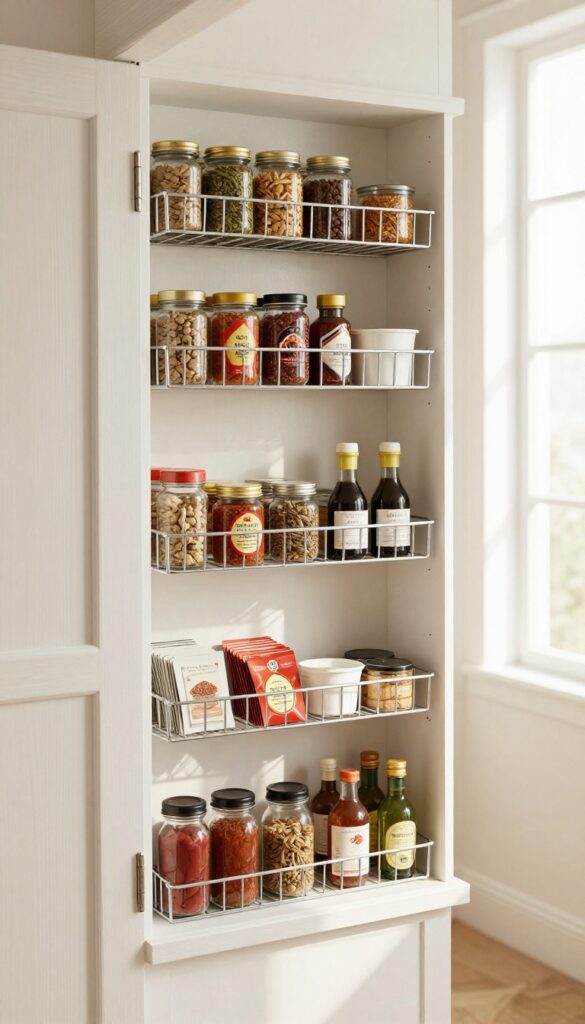
Pantry doors are often wasted real estate. Slap a wire rack on the back of the door and suddenly you have a vertical staging area for all those small items that clutter your shelves. Spices, sauce packets, tiny bottles of olive oil—they all get a home without taking up a single inch of shelf space.
Door-mounted wire racks are a game-changer for small pantries. They keep frequently used items at eye level, so you can grab a spice or a packet without moving anything else. Plus, they free up shelf space for larger staples like cans and jars.
The key is to use racks with adjustable shelves or hooks so you can customize the layout to fit your specific items.
What To Store
Stick with lightweight, everyday items: spice jars, seasoning packets, small condiment bottles, tea bags, or even snack bars. Avoid heavy cans or glass bottles that could pull the rack off the door. Group similar items together—spices on one side, packets on the other—so you can grab what you need in a second.
Installation Tips
Most over-the-door racks hang over the top of the door with hooks, so no drilling required. Make sure the rack fits your door thickness and that the door can close fully without hitting shelves or items on the opposite side. If you have a hollow-core door, avoid loading it too heavily to prevent damage.
Organization Hacks
Use small baskets or bins on the rack shelves to corral loose packets or tiny bottles. Label each bin if you're storing multiple types of items. For spices, arrange them alphabetically or by frequency of use.
Consider adding a small hook on the side for measuring spoons or a kitchen timer.
5. Label Everything (Even the Obvious)
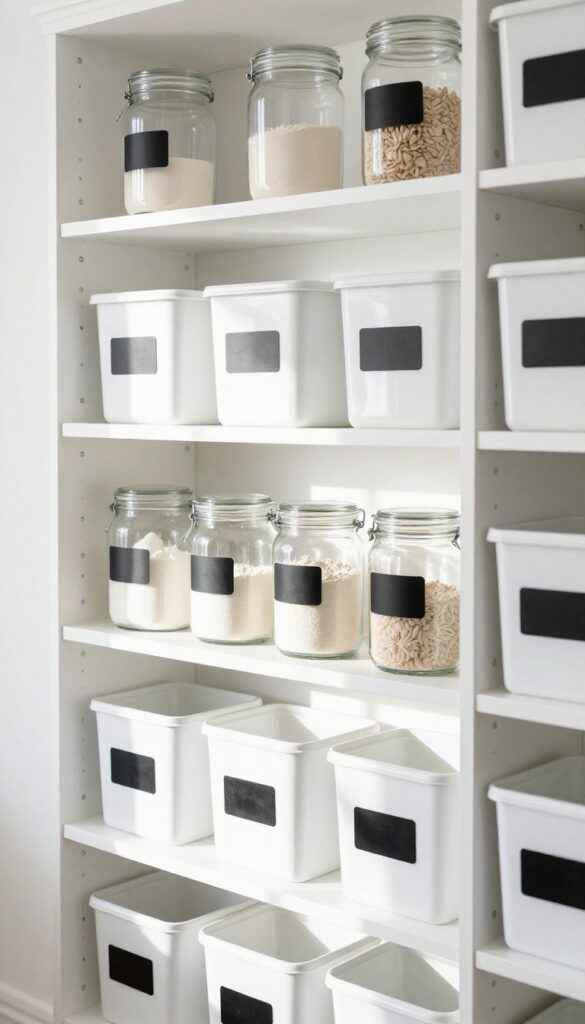
Labels turn a chaotic pantry into a self-explanatory system. When every bin, jar, and shelf has a clear tag, you eliminate the guesswork for everyone in the household. No more wondering where the pasta goes or if that unmarked container holds flour or powdered sugar.
It's a small step that pays off every time you restock or search for an ingredient.
Start with a label maker or even simple chalk labels. The key is consistency—use the same font, size, and placement so the system feels intuitive. Label shelves by category (e. g. , "Canned Vegetables, " "Breakfast Items") and individual bins by their contents.
This makes it easy for family members to put things back correctly, and it speeds up inventory checks. Plus, when you can see at a glance what's where, you're less likely to buy duplicates.
Choose Your Label Style
A label maker gives a clean, uniform look, but chalk labels or washi tape work just as well. If you want flexibility, use removable labels so you can update them as your pantry evolves. For a polished feel, stick to a single color scheme—white labels with black text are classic and easy to read.
Where To Put Labels
Don't just label the front of bins. Add shelf-edge labels at eye level so you can see categories from a distance. For jars and containers, label the lid and the side so you can identify contents whether they're stacked or lined up.
And yes, label the obvious—even the sugar jar benefits from a tag when you're in a hurry.
Involve The Whole Family
Labels work best when everyone follows the system. Have a quick family meeting to explain where each category lives. Consider color-coding labels for different family members or food groups (e. g. , red for snacks, blue for baking).
This turns restocking into a team effort and keeps the pantry organized longer.
6. Baskets for Loose Items
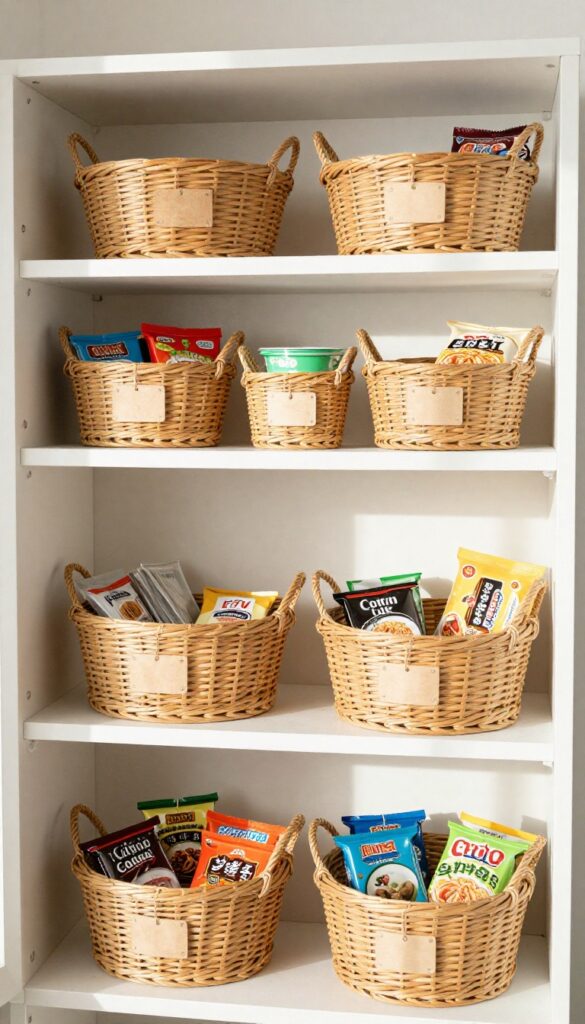
Loose packets are the chaos agents of any pantry. Instant noodles, tea bags, snack bars, and soup mixes tend to slide behind taller items or get crushed under heavier cans. Small baskets solve this by giving each category a contained home that stays tidy and accessible.
Grouping loose items in baskets creates visible, grab-and-go zones. You can pull out an entire basket to browse options without disturbing the rest of the shelf. This also prevents packets from scattering or getting lost in the back.
Choose The Right Size
Use shallow baskets for single-layer items like tea bags or instant oatmeal packets. Deeper baskets work for taller packets like pasta or ramen. Measure your shelf depth so the basket doesn't stick out or waste space.
Label For Quick Identification
Add a simple label on the front of each basket—"Snack Bars, " "Noodles, " "Tea. " This makes restocking and finding items effortless. Use chalk labels or removable stickers so you can swap categories easily.
Stack Or Nest When Possible
If you have multiple baskets of the same size, stack them vertically on sturdy shelves. For deep shelves, nest smaller baskets inside larger ones to create tiered storage. Just ensure each basket is easy to lift out without spilling.
7. Vertical Dividers for Baking Sheets
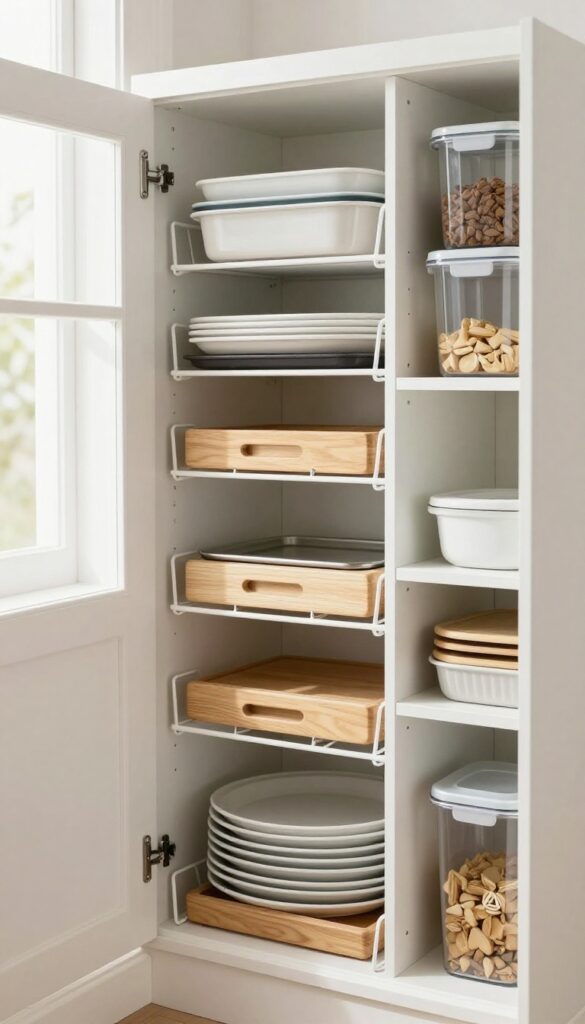
Baking sheets, cutting boards, and trays are notorious for turning into a precarious tower that collapses every time you reach for one. Vertical dividers solve this by letting you store them upright, like files in a cabinet. It's a small change that makes a big difference in how quickly you can grab what you need.
Vertical dividers are inexpensive and easy to install. You can buy purpose-made wire or plastic dividers, or repurpose a metal file organizer from an office supply store. The key is to place them in a cabinet or on a shelf where you can slide sheets in and out without wrestling with a stack.
Why Upright Storage Works
When you store baking sheets flat, the weight of the stack makes the bottom ones hard to pull out. Upright storage eliminates that pressure. Each sheet stands on its edge, so you can grab any one without disturbing the others.
It also prevents scratches and warping.
Where To Put Dividers
The best spot is a lower cabinet near your oven, but any wide, shallow cabinet works. If you have a deep pantry, install dividers on a pull-out shelf. For cutting boards, a narrow slot beside your stove or sink is ideal.
Measure your tallest sheet before buying dividers to ensure a good fit.
Diy Options That Look Great
You don't have to spend much. Wooden dowels glued between two strips of wood create custom dividers that match your cabinet. Or use tension rods vertically between shelves to create slots.
Even cardboard dividers from shipping boxes can work temporarily.
8. Pull-Out Drawers for Deep Shelves
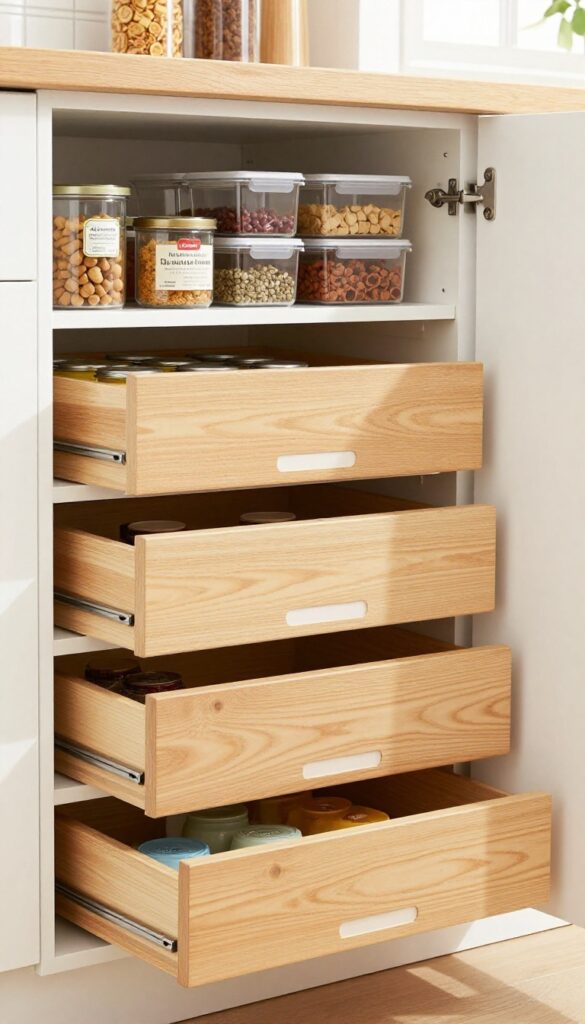
Deep shelves are the Bermuda Triangle of pantries—things go in and are never seen again. Pull-out drawers or sliding baskets solve that by bringing everything forward. You can see what you have, grab what you need, and put things back without playing Tetris.
Installing pull-out drawers doesn't have to be a major renovation. Many are designed as retrofit kits that slide onto existing shelves. They work especially well for canned goods, spices, and baking supplies.
The key is to measure carefully and choose a weight capacity that matches your storage needs.
Easy Retrofit Options
You don't need a carpenter. Wire sliding baskets and adhesive-mounted drawer kits are affordable and install in minutes. They're perfect for renters or anyone who wants a quick upgrade.
Just make sure the slides are smooth and can handle the load.
Organization Tips
Group similar items together in each drawer. Use small bins or dividers to keep things from sliding around. Label the front of each drawer so you know what's inside at a glance.
This turns a deep cabinet into a series of shallow, accessible zones.
9. Can Dispensers for Soda or Beans
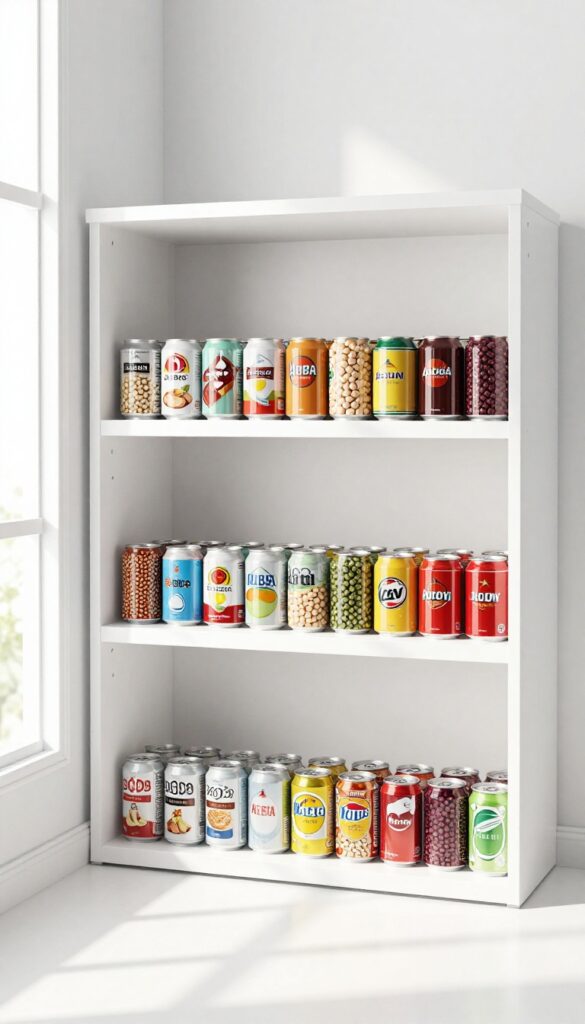
Gravity-fed can dispensers are a game-changer for canned goods. They roll cans forward as you remove one, keeping stock rotated and easy to grab. No more digging to the back or forgetting what you have.
These dispensers work like mini vending machines for your pantry. Load them from the top, and cans slide down to the front. They're perfect for soda, beans, tomato sauce, or any uniformly sized cans.
The oldest cans get used first, reducing waste. Install them on shelves or inside cabinets to maximize vertical space.
Where To Install
Mount dispensers on the back of a pantry door, inside a cabinet, or on a dedicated shelf. They work best in narrow spaces where stacking cans isn't efficient. Measure your can heights to ensure a snug fit.
Best Cans To Use
Standard 12-ounce soda cans and 15-ounce food cans fit most dispensers. Taller cans like 28-ounce tomatoes may require deeper models. Stick with uniform sizes for smooth operation.
Diy Vs. Store-bought
You can buy ready-made dispensers online or build your own using wooden dowels and a slanted board. Store-bought options are durable and easy to install, while DIY lets you customize dimensions.
10. Magnetic Strips for Metal Lids
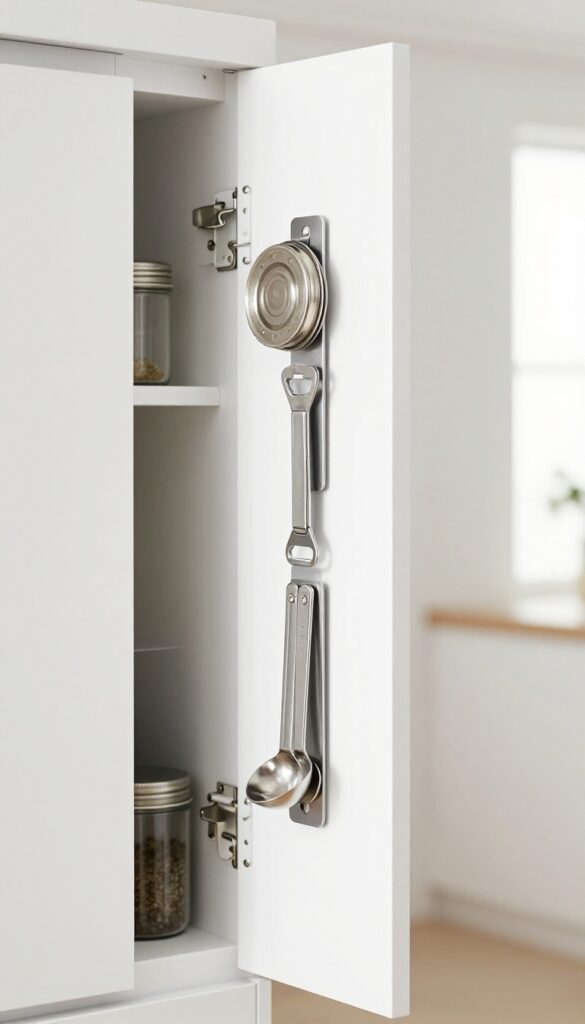
Magnetic strips aren't just for knives. Stick one on the inside of your pantry door, and suddenly all those metal lids and small tools have a home. It's a zero-effort way to reclaim shelf space and keep frequently used items within arm's reach.
A magnetic strip mounted vertically or horizontally on the pantry door transforms wasted vertical real estate into a catch-all for metal items. Think jar lids, bottle openers, small spice tins, or even scissors. The key is to use a strong enough magnet so nothing falls off when you close the door.
This trick works especially well for keeping lids from rolling around in drawers or getting lost in the back of cabinets.
What To Store
Stick with lightweight metal items. Lids from jam jars, honey tins, or spice containers are perfect. You can also hang metal measuring spoons, a bottle opener, or even a small pair of kitchen shears.
Avoid heavy glass jars or anything that could break if knocked off.
Installation Tips
Use adhesive-backed magnetic strips rated for the weight you plan to hang. Clean the door surface with alcohol before sticking. For a more permanent solution, screw the strip into the door.
Position it where it won't interfere with shelves or items inside the pantry.
Maintenance
Wipe the strip occasionally to remove dust and grease. If items lose their grip, check for metal shavings or debris on the magnet. A quick clean usually restores full holding power.
11. Step Stool for High Shelves
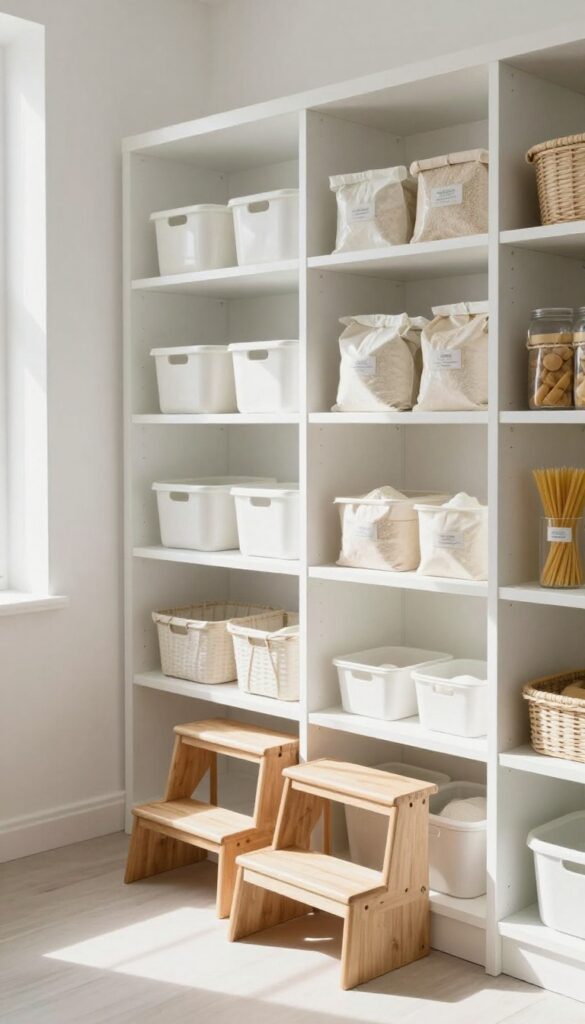
High shelves can be a black hole for forgotten items. A simple step stool changes that by making every inch of your pantry accessible. Keep one folded or tucked nearby, and suddenly those top shelves become prime real estate for overflow stock.
A step stool is a small investment that pays off in safety and convenience. No more stretching, climbing on countertops, or risking a fall. Store a lightweight, foldable stool in a gap beside the pantry or hang it on a hook inside the door.
Use high shelves for bulk items, seasonal goods, or rarely used appliances. Reserve waist-level shelves for daily staples like oils, spices, and canned goods. This simple zoning keeps your workflow smooth and your space efficient.
Choose The Right Stool
Look for a stool with a wide, non-slip step and a sturdy frame. A two-step stool gives you extra reach without being bulky. Foldable models tuck away easily.
Avoid flimsy plastic ones that wobble.
Zone Your Shelves
Label high shelves with categories like “baking supplies” or “paper goods. ” Keep a small basket or bin at the top for items you buy in bulk. This way, you only need the stool when restocking, not every day.
Safety First
Always face the stool and keep both feet on the step. Never overreach—move the stool instead. If you have kids, store the stool out of reach to prevent climbing accidents.
12. Weekly Meal Prep Zone
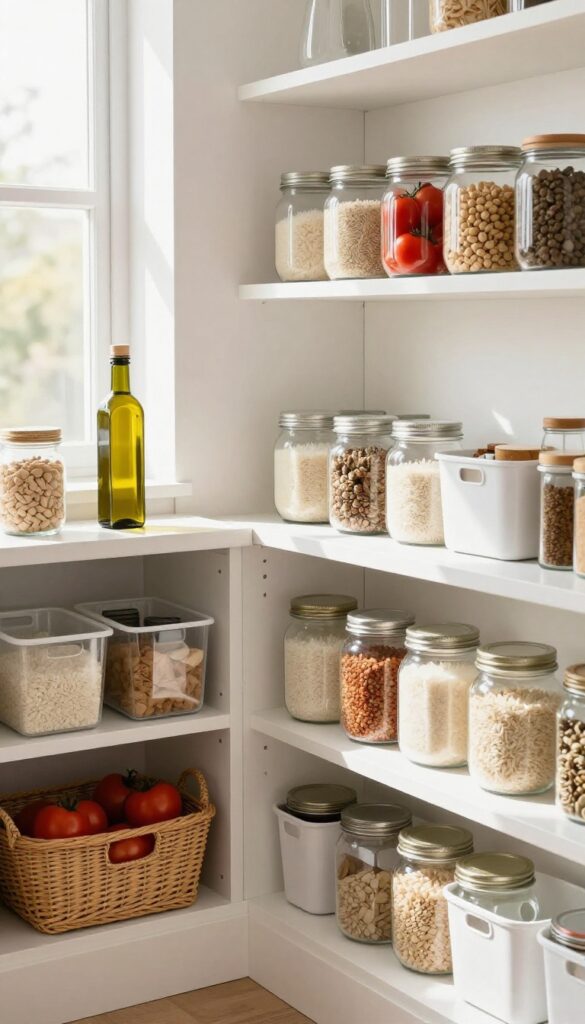
Meal prep can feel like a chore when you have to hunt for ingredients across the entire pantry. A dedicated weekly meal prep zone changes that. By grouping everything you need for the next few days in one spot, you cut down on decision fatigue and make cooking a breeze.
Designate a shelf, a bin, or even a section of a lazy Susan for your meal prep ingredients. Each week, as you plan your meals, pull the items you'll need—canned tomatoes, rice, spices, oils—and place them in that zone. When it's time to cook, you grab the whole bin or shelf's contents and get started.
No more digging through the pantry wondering where that can of coconut milk went.
How To Set Up Your Zone
Choose a spot that's easy to reach, ideally at eye level or on a countertop if you have space. Use clear bins or baskets so you can see what's inside. Label them by day or recipe if that helps.
The goal is to make the zone obvious and accessible, so you actually use it.
What Goes In The Zone
Include non-perishables like grains, canned goods, and spices that your recipes call for. For fresh items, keep a small section in the fridge dedicated to meal prep. This way, you're not just organizing dry goods—you're creating a complete grab-and-go system for the week.
Maintaining The System
Each week, clear out the zone and restock with new ingredients. This prevents old items from piling up and keeps the system fresh. It also helps you track what you actually use, so you can adjust your shopping list and reduce waste.
FAQ
What is the most important rule for pantry organization?
Group similar items together and keep them visible. Use clear containers and labels so you can see what you have at a glance.
How do I organize a small pantry on a budget?
Start with free or cheap solutions like repurposing shoeboxes, using binder clips for bag clips, and adding tension rods for vertical storage.
Should I decant food into containers or keep original packaging?
Decanting into clear, airtight containers makes it easier to see quantities and keeps food fresher. But it's not necessary for everything—focus on items you use often.
How often should I reorganize my pantry?
Do a quick tidy every month and a deep clean every season. Check expiration dates and rotate stock to avoid waste.
What are the best containers for pantry storage?
Look for clear, BPA-free plastic or glass containers with airtight lids. Uniform shapes stack better and save space.
Conclusion
A dream pantry doesn't have to be expensive or complicated. Start with one or two ideas that fit your space and budget, then build from there. The goal is to make your daily routine smoother, not to create a showroom.
Remember, the best system is the one you'll actually use. Keep it simple, keep it visible, and adjust as your needs change. Your future self will thank you every time you grab a can without digging.