13 Open Space Living Room and Kitchen Interior Design Ideas
A combined living room and kitchen can make your home feel twice as big, twice as bright, and twice as easy to hang out in. But without a plan, that open space can turn into a loud, cluttered blur where cooking smells drift onto the couch.
The good news is you don't need a renovation crew to fix it. Small moves—like a rug change, a smart island, or a well-placed shelf—can separate zones while keeping the airy feel you fell in love with.
These 13 ideas cover real solutions for real homes, from tiny apartments to wide-open great rooms. Pick what fits your space and skip the rest.
1. Use a Kitchen Island as a Natural Room Divider
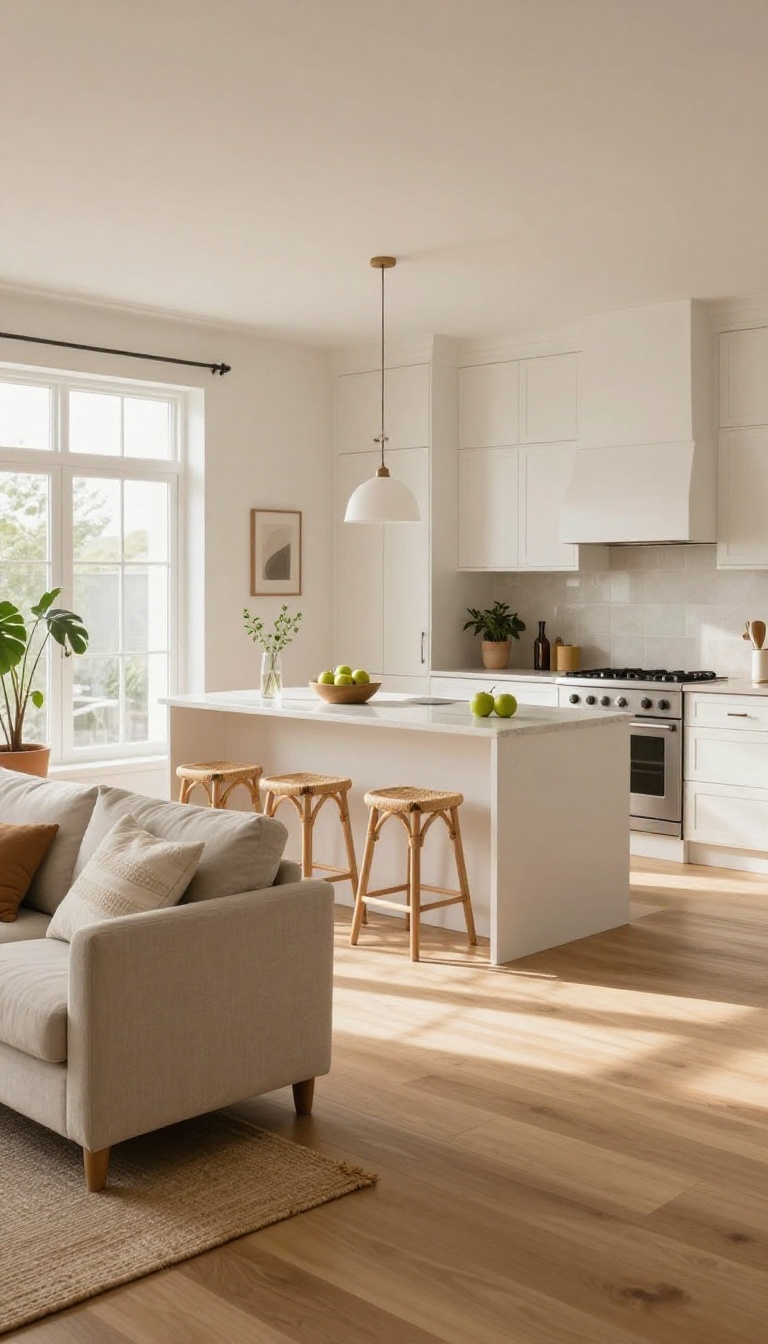
A kitchen island does more than give you extra counter space. It quietly marks where the kitchen ends and the living room begins, without putting up a wall. That makes it one of the simplest ways to bring order to an open floor plan.
The trick is placement. An island that sits parallel to your cooking zone creates a clear boundary, but it still lets you see and talk to whoever is on the couch. You get separation and connection at the same time.
Think of the island as a low, friendly wall. It blocks some of the mess and motion from the kitchen, but it never closes you in. That balance is exactly what open-concept homes need.
You also get bonus storage and seating, which means the island earns its footprint twice over. It's a work surface, a divider, and a hangout spot all in one.
Pick The Right Size And Shape
A long, narrow island works best in most open layouts because it divides without swallowing the room. Aim for at least 36 inches of walkway on both sides so people can move freely. If your space is tight, a peninsula attached to a wall or cabinet run gives you the same dividing effect with less bulk.
It's a smart swap for small apartments.
Keep Sightlines Open
Choose a counter height that lets you see over it when you're standing in the kitchen. Standard 36-inch islands usually do the job. Skip tall backsplashes or raised bar tiers that block the view.
The whole point is to separate zones, not hide them from each other.
Style It To Bridge Both Rooms
Use the island to tie the two areas together. Pick counter stools that match your living room seating, or repeat a wood tone from your coffee table. A pendant light or two above the island also helps define the kitchen zone without adding walls.
It's a subtle cue that says 'this part is for cooking. '
2. Anchor the Living Area with a Large Area Rug
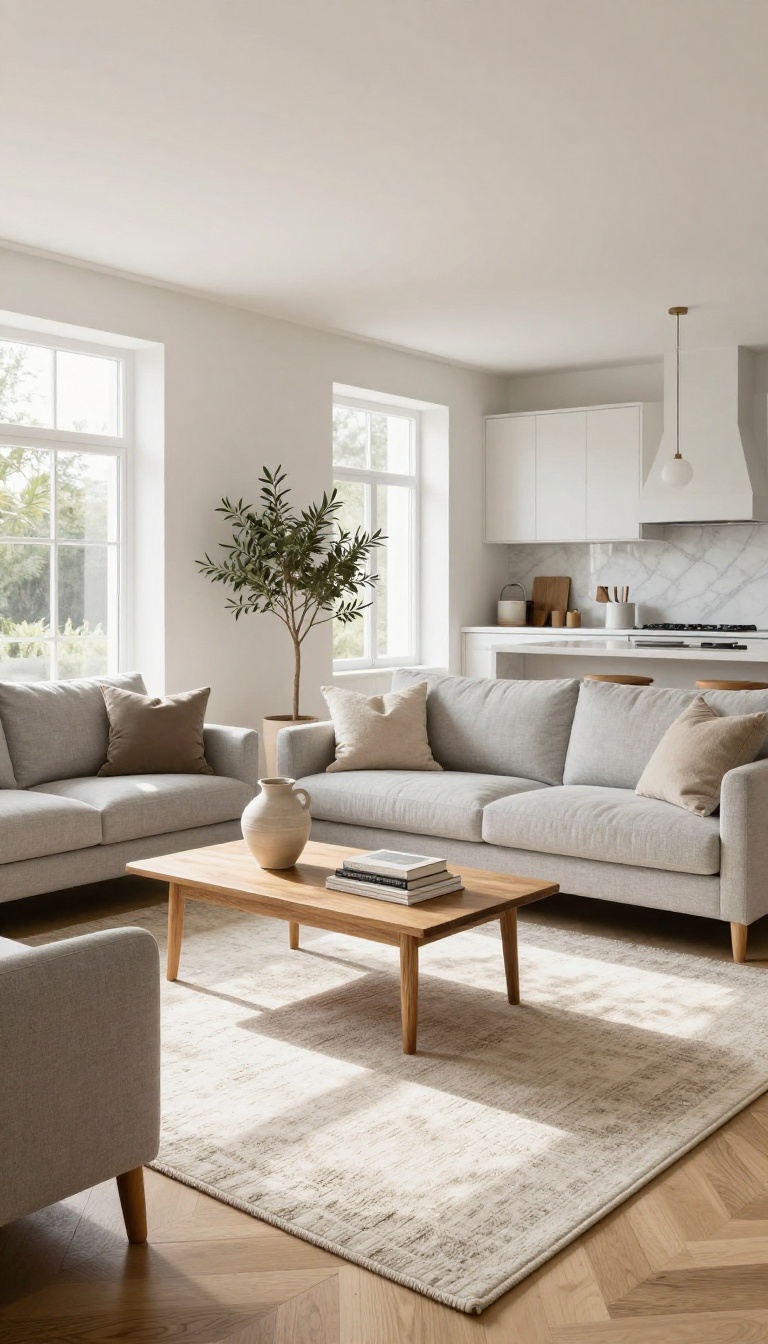
A large area rug does more than look pretty. It draws an invisible border around your living zone, so the sofa and chairs feel like a real room instead of furniture floating in a big open box. It also softens footsteps, muffles echoes, and adds a layer of warmth that hard floors just can't match.
In an open layout, your eye needs a place to land. A rug gives it that landing spot. It tells everyone—including your brain—that this is where you relax, not where you chop vegetables.
Size matters more than color or pattern here. A rug that's too small makes the space feel choppy and unfinished. You want the front legs of your sofa and chairs to sit on the rug, with a little breathing room around the edges.
That usually means at least 8×10 feet for a standard living area, or 9×12 for a bigger great room. Material choice depends on your lifestyle. Wool is durable and hides dirt well.
Cotton or jute works for a casual, beachy vibe. If you have pets or kids, a low-pile or flatweave rug is easier to clean and won't show every paw print. Color can be bold or neutral.
A neutral rug keeps the space calm and lets your furniture stand out. A patterned rug adds energy and can hide stains better than a solid light color. Either way, pick something that feels good underfoot and doesn't fight with your kitchen cabinets.
Get The Size Right
Measure your seating area before you shop. The rug should extend at least six inches beyond the edges of your sofa and chairs. If you're unsure, go bigger.
A too-small rug is the most common mistake in open-plan living.
Pick A Practical Material
Wool is a classic for a reason—it's soft, durable, and naturally stain-resistant. For high-traffic homes with pets or kids, try a washable rug or a flatweave in jute or polypropylene. They handle spills and muddy paws without stress.
Use Color To Define The Zone
A rug in a contrasting color or pattern visually separates the living area from the kitchen. If your floors are light, a darker rug adds depth. If your kitchen is bold, a quieter rug keeps things balanced.
3. Choose a Consistent Color Palette Across Both Zones
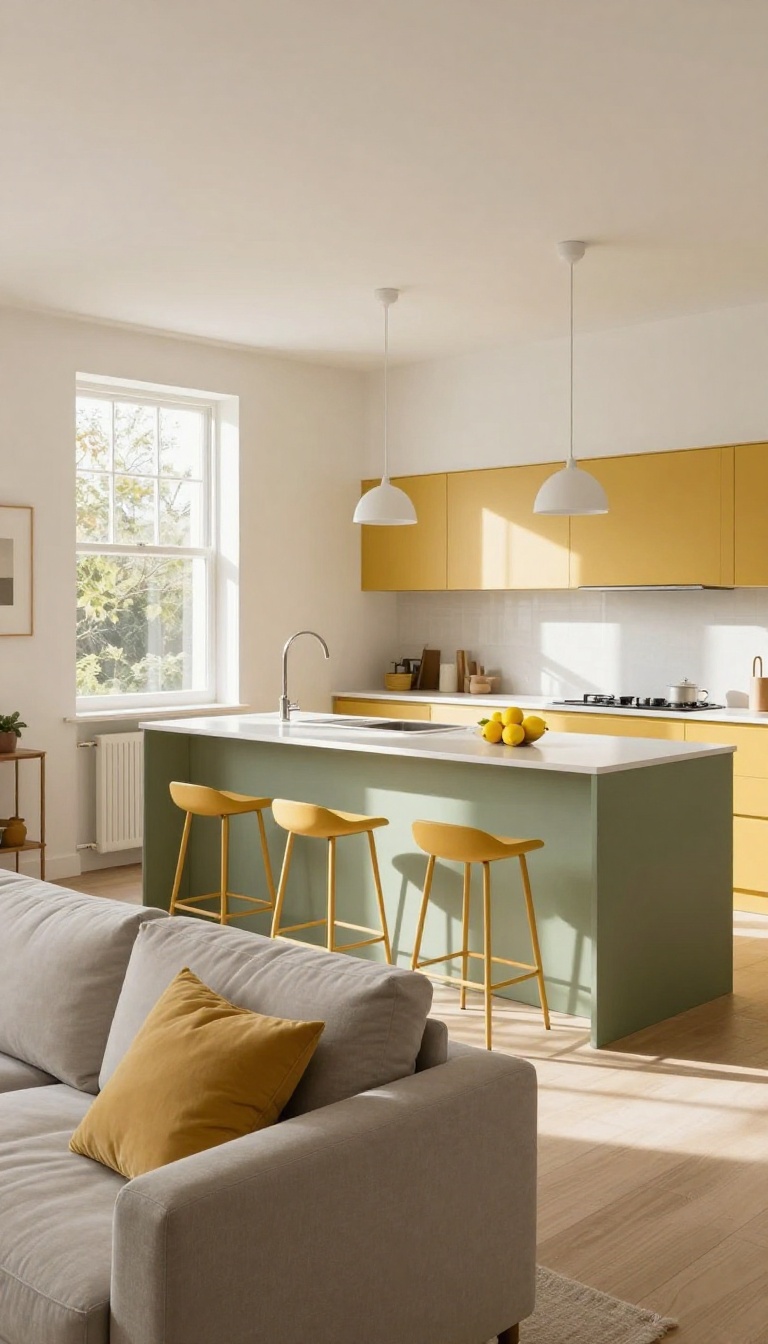
A consistent color palette is the quiet glue that holds an open-plan kitchen and living room together. When your cabinets, sofa, and curtains all pull from the same two or three colors, your eye glides through the space instead of stopping at an invisible border. The trick is to repeat those colors in different materials and scales, so the room feels layered, not matchy.
Start by picking a base color that covers most of the walls and large furniture. Then choose one or two accent colors that show up in smaller doses—think cushions, bar stools, or a backsplash. You don't need a lot of each accent; just enough to create a visual echo from one zone to the next.
Keep the palette tight. Three colors max, plus a neutral like white, cream, or gray. That restraint makes the whole space look intentional and calm, even when life gets messy.
Use the 60-30-10 rule as a rough guide: 60% dominant color, 30% secondary, 10% accent. In an open layout, that balance keeps the kitchen from feeling like a separate planet from the living room.
Pick A Base And Two Accents
Your base color should be something you won't tire of—warm white, soft gray, or a muted sage. Then choose two accent colors that play well together. For example, navy and mustard, or terracotta and olive.
Repeat the base on walls and big pieces like the sofa and lower cabinets. Use the accents on smaller items: a bowl on the island, a throw on the couch, a set of pendant lights. The repetition is what ties the zones together without screaming 'theme. '
Repeat Colors In Different Materials
Color feels richer when it shows up in different textures. A navy blue can appear on a velvet cushion, a ceramic vase, and a painted cabinet door. Each material catches light differently, so the color reads as a family rather than a flat match.
Try weaving one accent color into both zones through metal, fabric, and wood finishes. That subtle variety keeps the space from looking like a showroom.
Keep The Palette Visible From Every Angle
Stand in the kitchen and look toward the living room, then reverse it. You should spot at least one accent color from each zone in the other. If the living room is all beige and the kitchen is all black, the divide will feel harsh.
Add a small black frame or a beige runner in the kitchen to bridge the gap. It's a simple check that makes a big difference.
4. Add a Sofa Back or Console Table Behind Seating
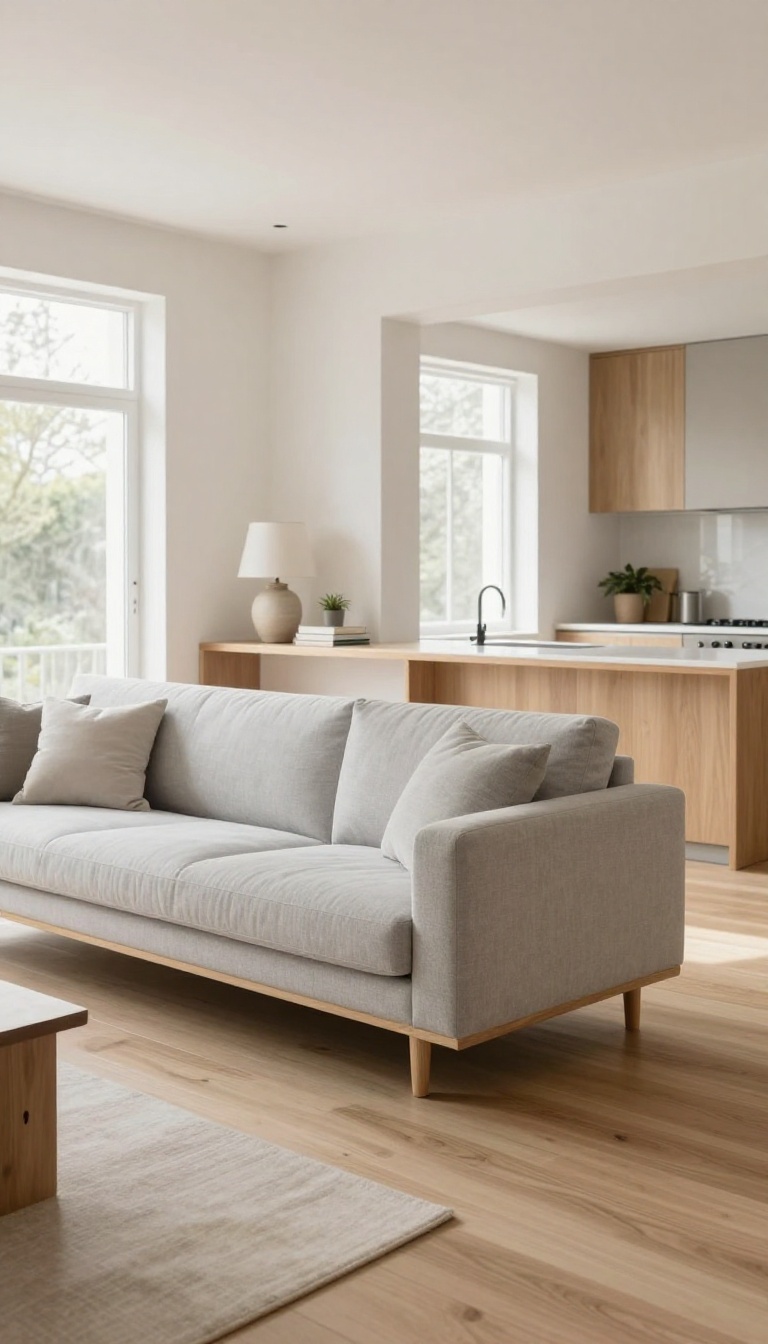
A sofa floating in the middle of an open room can feel unfinished, like it's not sure where it belongs. A low console or sofa table behind it changes that instantly. It gives the couch a proper back and creates a gentle line between your living zone and the kitchen.
This move is simple, affordable, and surprisingly effective. You're not building a wall—just adding a slim piece that says 'this side is for lounging, that side is for cooking. ' It also gives you a spot for a lamp, a few books, or a tray of drinks, which makes the whole area feel more intentional.
Pick The Right Height And Depth
You want the table to sit just below the top of your sofa back, usually around 28 to 32 inches high. Depth-wise, 12 to 15 inches is plenty—anything deeper starts to feel like a bulky piece of furniture. Measure your sofa first, then look for a console that's a few inches shorter so it doesn't stick out on the ends.
Style It Without Clutter
A console behind a sofa is not a dumping ground. Keep it light: one lamp, a small plant, maybe a stack of two or three books. If you need storage, choose a console with a lower shelf or a couple of drawers.
That way you can hide remotes, coasters, or kids' stuff without visual noise.
Use It To Define The Kitchen Edge
If your kitchen has a peninsula or island facing the living area, a console on the sofa's back can mirror that line. It creates a subtle corridor between zones without blocking sightlines. You still get that open, airy feel, but now the couch has a clear home base.
5. Hang Pendant Lights to Define the Kitchen Zone
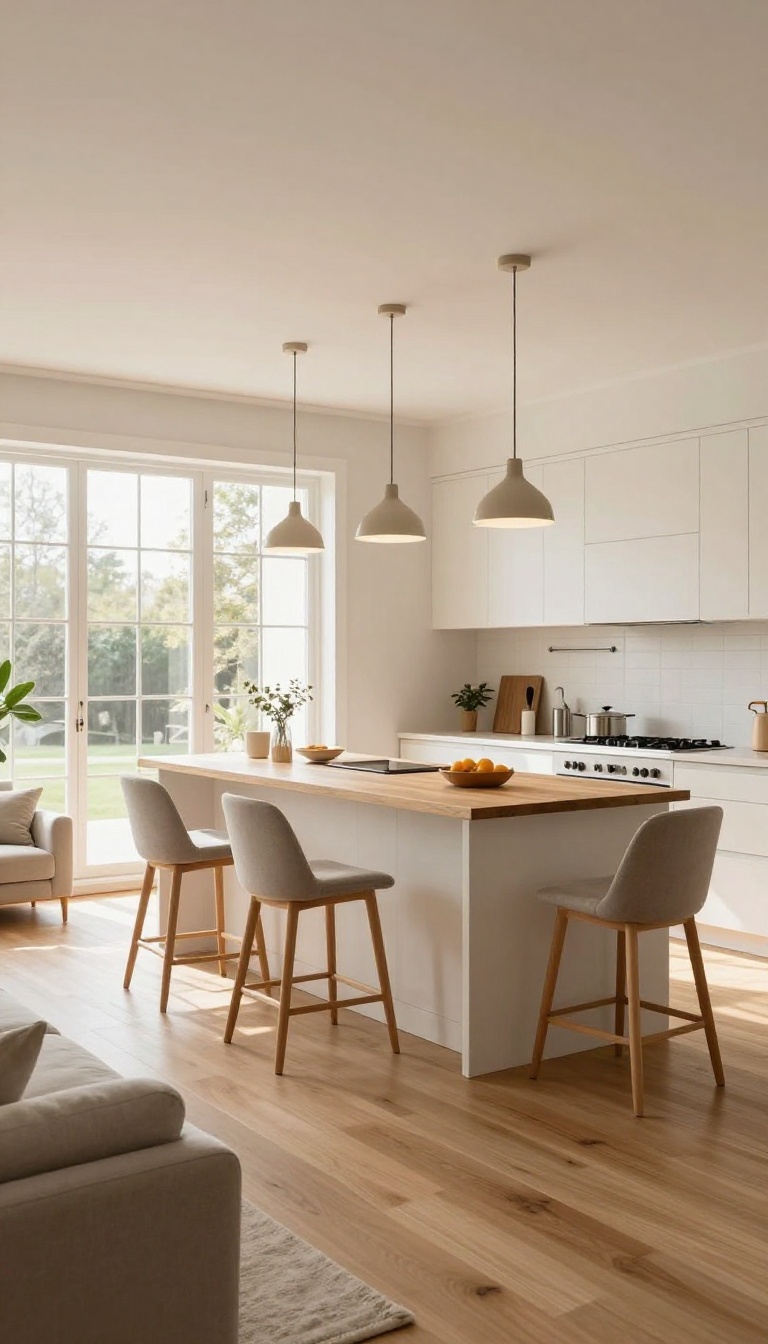
Pendant lights do more than brighten a room. They create a visual boundary that tells your brain, 'the kitchen starts here. ' In an open layout, that cue is gold. When you hang pendants over an island or peninsula, you're not just adding light.
You're drawing an invisible line between cooking and lounging without putting up a single wall. It's one of the simplest ways to bring order to a wide-open space. And it looks great, too.
Pendant lights are like jewelry for your kitchen. They catch the eye, add personality, and quietly do the heavy lifting of separating zones. In a big open room, your eye needs a place to land.
Pendants give it one. The key is to treat them as a cluster or a row, not scattered dots. That grouping becomes a visual anchor.
Suddenly, the kitchen has its own little ceiling, even if the ceiling is 20 feet high. You can go modern with sleek cylinders, farmhouse with metal shades, or glam with glass globes. Whatever your style, the pendants should feel intentional.
They're not just lighting; they're a signal.
How Many Pendants Do You Need?
For a standard island, two or three pendants usually work best. If your island is longer than 6 feet, go with three. For a small peninsula, two is plenty.
Spacing matters more than the exact count. Leave about 30 to 36 inches between each pendant. That keeps the light even and the look balanced.
If you have a very long island, you might need four. But don't overcrowd. More isn't always better—sometimes it just looks busy.
Pick The Right Height
Hang pendants 30 to 36 inches above your countertop. That's the sweet spot. Too high, and they float away from the kitchen zone.
Too low, and you'll bump your head. If you have tall ceilings, you might be tempted to hang them higher. Don't.
The pendants should feel connected to the island, not lost in space. A good trick: stand at the island and make sure the bottom of the pendant is at eye level or slightly above. That feels natural.
Match The Style To Your Space
Your pendants should echo the overall vibe of your home. In a modern space, go with clean lines and matte finishes. In a rustic room, try wood or black metal.
Don't be afraid to mix materials. A glass pendant with brass accents can bridge both worlds. Just keep the shape consistent.
Also, think about the light itself. Warm bulbs (2700K) make the kitchen feel cozy. Cool bulbs (4000K) are better for tasks.
A dimmer lets you switch between the two moods.
6. Use Open Shelving to Keep the Space Feeling Airy
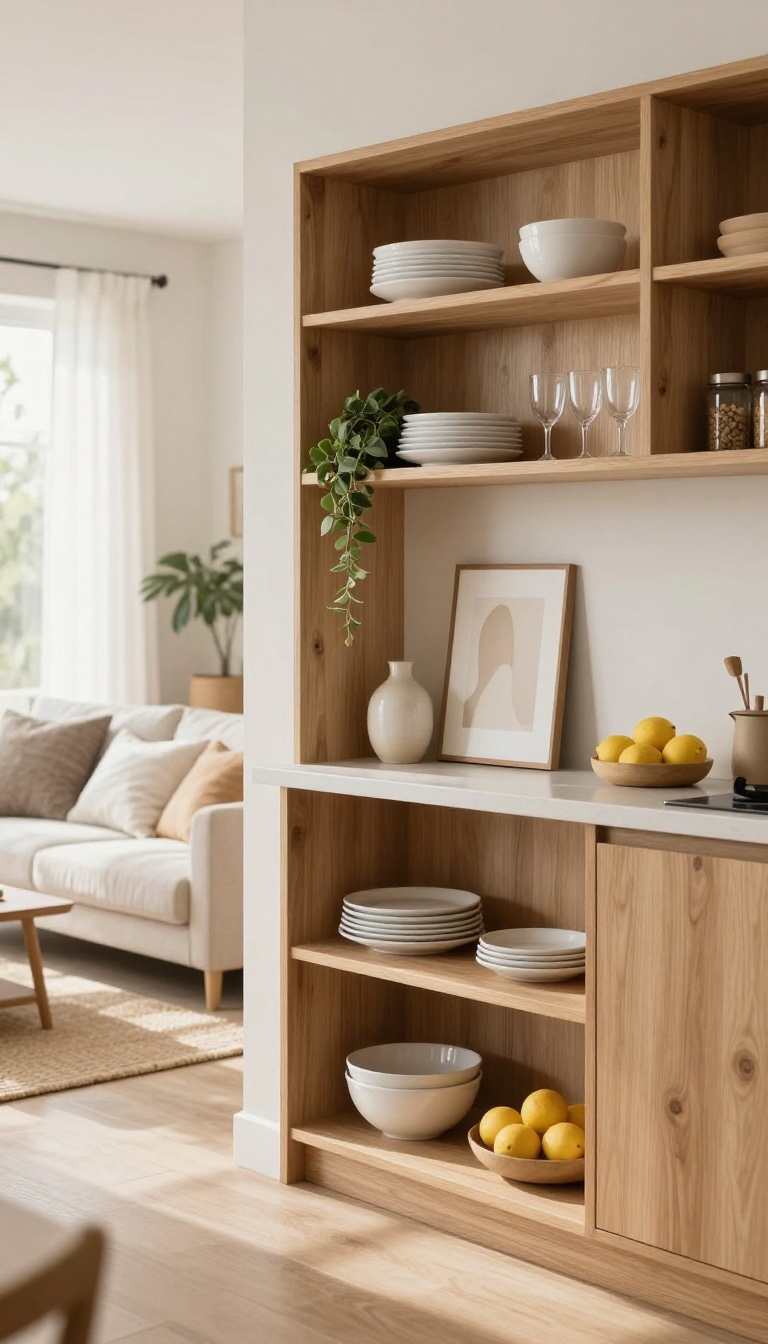
Solid upper cabinets can make a shared wall feel like a heavy block, especially when they stretch from the counter to the ceiling. Open shelves solve that problem by holding what you need without boxing in the view. You still get storage, but the wall stays visually light and the two zones keep breathing.
The trick is treating shelves as a display and a workhorse at the same time. Put daily dishes, glasses, and spices within easy reach, then let a few pretty pieces do the decorating for you. When the shelves look intentional, the whole room feels calmer and more open.
Pick The Right Wall
The best spot for open shelves is usually the wall that separates the kitchen from the living area. That way they act like a soft divider without blocking light or sightlines. Avoid hanging them where they'll collect grease from the stove or clutter from the entry.
Style Without The Clutter
Stick to a simple rule: one-third practical, two-thirds pretty. Stack plates and bowls in neat piles, then add a small plant, a framed print, or a ceramic vase. Leave some empty space between items so the shelves don't look packed.
Keep It Low-maintenance
Open shelves show dust faster than closed cabinets, so keep a microfiber cloth handy. A quick wipe every week or two is usually enough. If you cook a lot, choose shelves that are easy to reach and avoid storing items you rarely use up high.
7. Pick Furniture with Low Profiles to Preserve Sightlines
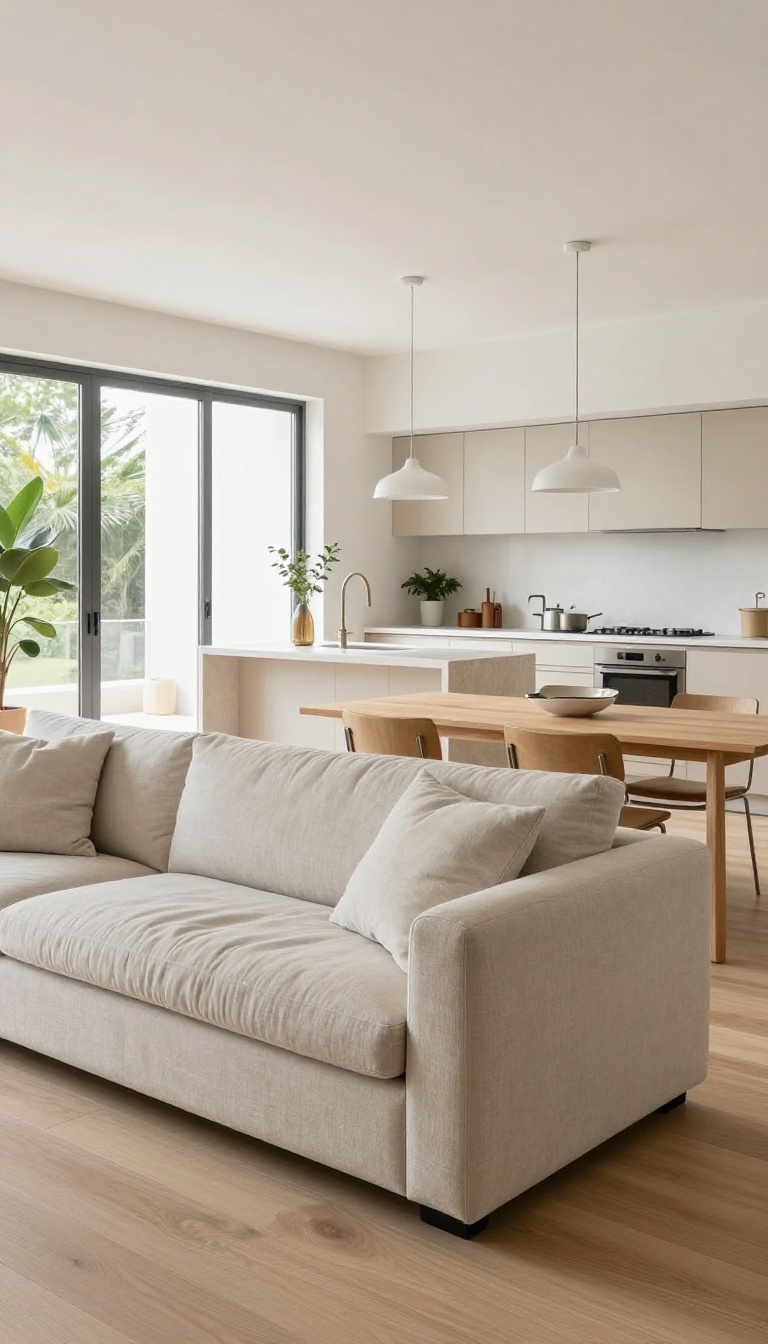
Furniture with a low profile keeps your open space feeling open. When sofas and chairs sit closer to the floor, your eyes can travel across the room without hitting a wall of upholstery. That simple shift makes the kitchen and living area feel like one connected space instead of two separate boxes.
Think about what happens when you walk into a room with a tall, overstuffed sofa. It blocks the view of everything behind it, and suddenly your open plan feels chopped into pieces. Low-back sofas and slim dining chairs solve that problem by staying out of the way.
They let you see the kitchen counters, the windows, and the rest of the room from almost anywhere you sit. This doesn't mean you have to sacrifice comfort. Plenty of low-profile pieces are deep, cushioned, and genuinely cozy.
The trick is choosing furniture that supports your body without towering over it. Once you make that switch, you'll notice the whole room breathes a little easier.
Choose Sofas That Sit Low And Deep
A low-back sofa with a deep seat gives you the best of both worlds. You can sink in and relax, but the top of the sofa stays below eye level when you're standing in the kitchen. That keeps the connection between zones intact.
Look for models with a back height around 28 to 32 inches. Anything taller starts to feel like a room divider.
Go Slim On Dining Chairs
Dining chairs with thin frames and low backs barely register in your peripheral vision. They slide under the table cleanly and don't create a visual barrier between the table and the living area. Metal or wood frames with simple lines work better than bulky upholstered chairs.
If you want cushioning, choose a slim pad instead of a full back.
Keep Coffee Tables And Media Units Low Too
Coffee tables and media consoles follow the same rule. A low, leggy coffee table keeps the floor visible, which makes the room feel larger. Media units that sit close to the ground won't block the view to the kitchen.
Avoid tall bookcases or cabinets in the middle of the room. Save the height for walls where it won't interrupt sightlines.
Test The View From Every Angle
Before you buy, stand in the kitchen and look toward the living area. Then sit on the sofa and look back at the kitchen. If a piece of furniture cuts that view in half, it's too tall.
You want to see over and around everything. A quick walkthrough from multiple spots will tell you if your layout works.
8. Create a Dedicated Dining Transition Zone
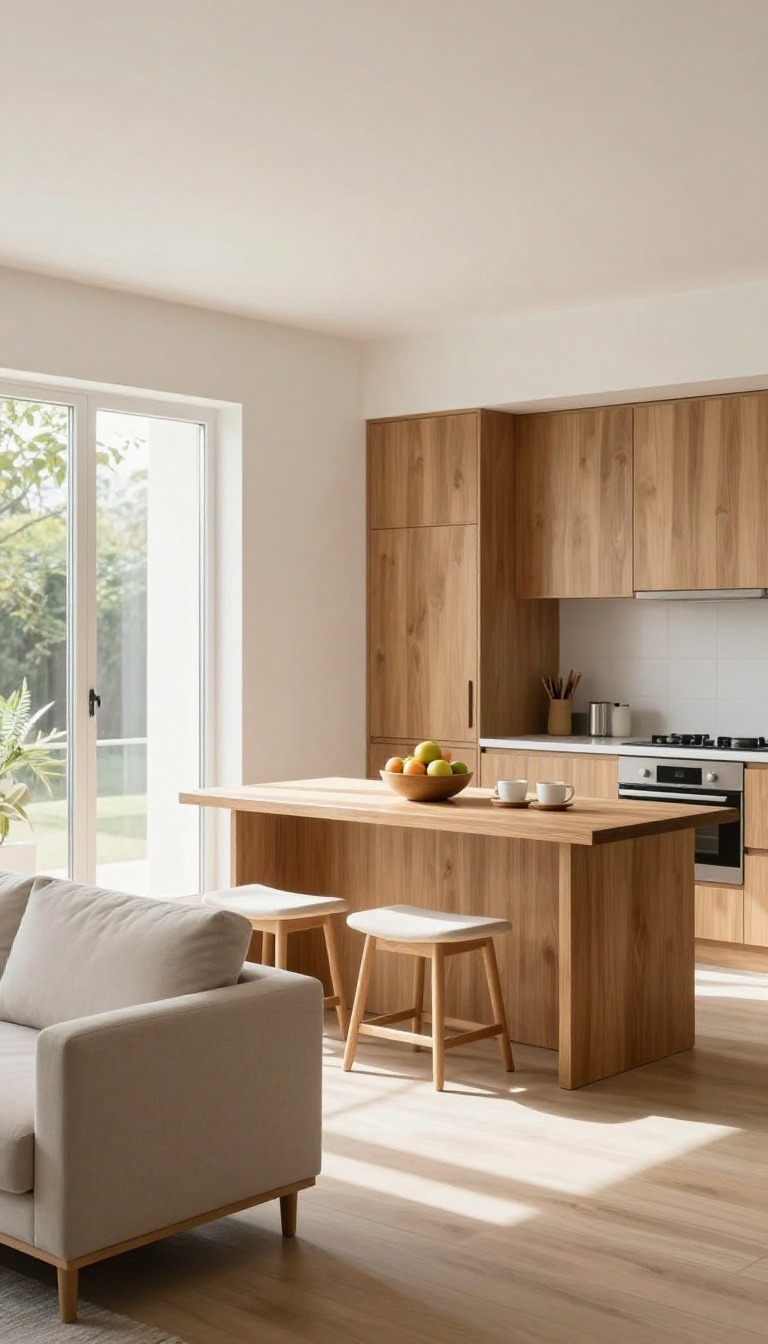
A dining transition zone is the sweet spot between your kitchen and living room—a small table or breakfast bar that acts as a gentle bridge. It gives eating a home without walling off the space, and it doubles as extra prep space when you're cooking. Think of it as a handshake between two rooms that never quite touch.
You don't need a full dining set to make this work. A slim console table with two stools, a drop-leaf table, or a simple breakfast bar can all do the job. The key is placement: put it right where the kitchen ends and the living area begins, so it feels like a natural pause rather than a roadblock.
This zone also solves a common open-plan problem—where do you put your plate when you're cooking and snacking? A dedicated spot keeps crumbs and cups from migrating to the coffee table. And when guests come over, it becomes a casual hangout spot that keeps them out of your way while you finish dinner.
Pick The Right Size For Your Space
Measure the gap between your kitchen's last counter and your sofa's edge. That's your footprint. A table that's too big will choke the flow; too small and it feels like an afterthought.
Aim for at least 36 inches of walkway on all sides so people can move without squeezing. For tight spots, a wall-mounted drop-leaf table or a narrow bar cart on casters works wonders.
Choose A Style That Blends Both Zones
Your transition piece should borrow from both rooms. If your kitchen has warm wood cabinets, pick a table in a similar tone. If your living room leans modern, go for clean lines and a simple silhouette.
A breakfast bar with stools that match your kitchen counter height feels seamless. The goal is to make it look like it belongs to both worlds, not like it was dropped in from a different house.
Make It Work Harder Than Just Dining
This spot can pull double duty as a prep station, a laptop perch, or a homework hub. Add a couple of outlets nearby or a small basket for mail and keys. A bar cart tucked underneath holds extra plates and napkins.
When you're cooking, clear the surface and use it for chopping or staging. That way, it earns its square footage every single day.
9. Match Flooring or Use a Deliberate Contrast
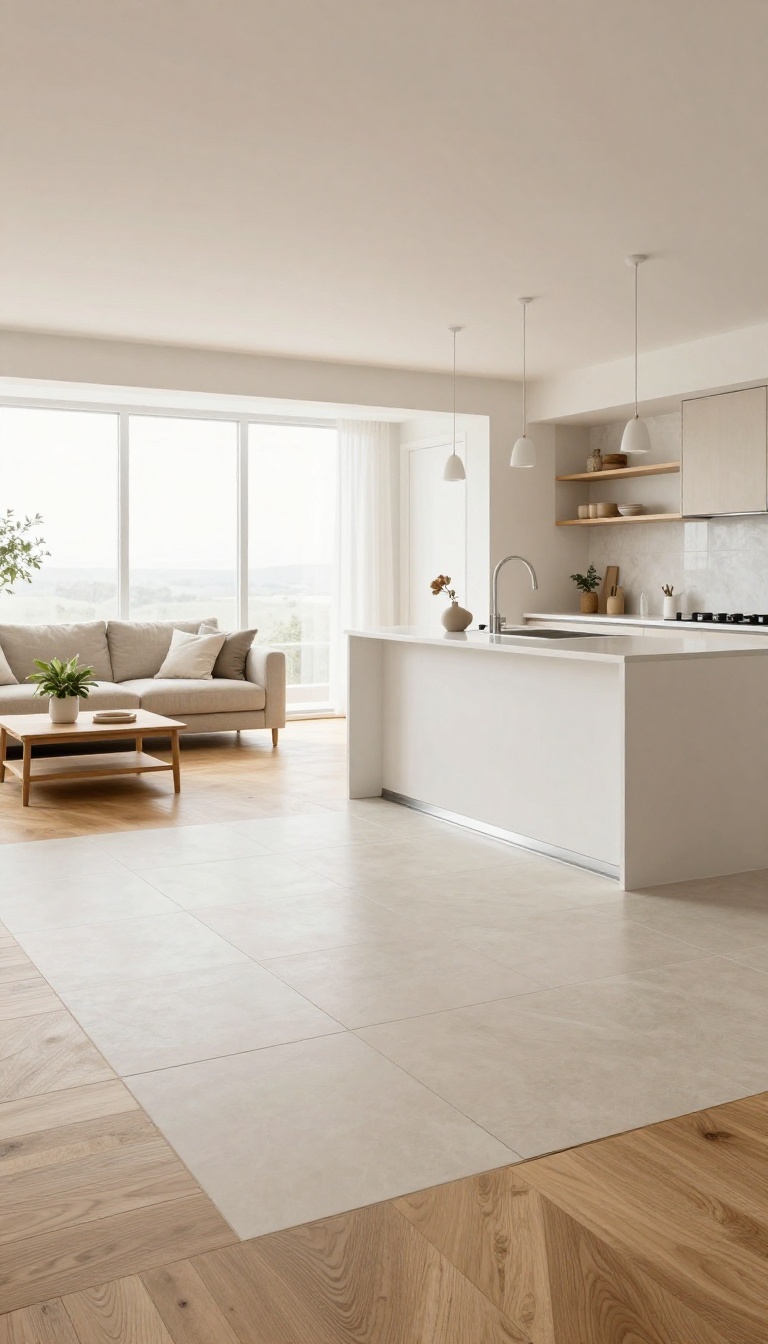
Flooring quietly tells your brain where one room ends and another begins. In an open plan, you can either run the same material everywhere for a seamless look or switch it up to draw a clear line. Both work—you just need to pick the message you want your space to send.
The trick is to make the choice on purpose. A random flooring change looks like a mistake, but a planned one looks like design. Think about how you use each zone, how much traffic they get, and how much visual noise you can handle.
One Floor, Zero Interruption
Running the same flooring from the kitchen into the living area makes a small space feel bigger and calmer. It also cuts down on transition strips and awkward thresholds that trip you up. Just pick a material that can handle both spills and sock feet—luxury vinyl plank, porcelain tile, or sealed hardwood all work.
A Clean Break That Makes Sense
Switching from tile in the kitchen to wood in the living room is a classic move, but the line has to land somewhere logical. Align the change with a cabinet edge, an island, or a beam overhead so it looks intentional. A flush transition strip keeps the shift smooth underfoot.
When Contrast Goes Wrong
Two busy patterns fighting each other will make your open plan feel chaotic. If you want contrast, keep one side quiet—like a solid tile against a subtle wood grain. Also watch the height difference; even a quarter inch can become a trip hazard if you're not careful.
10. Incorporate a Double-Sided Fireplace or Room Divider
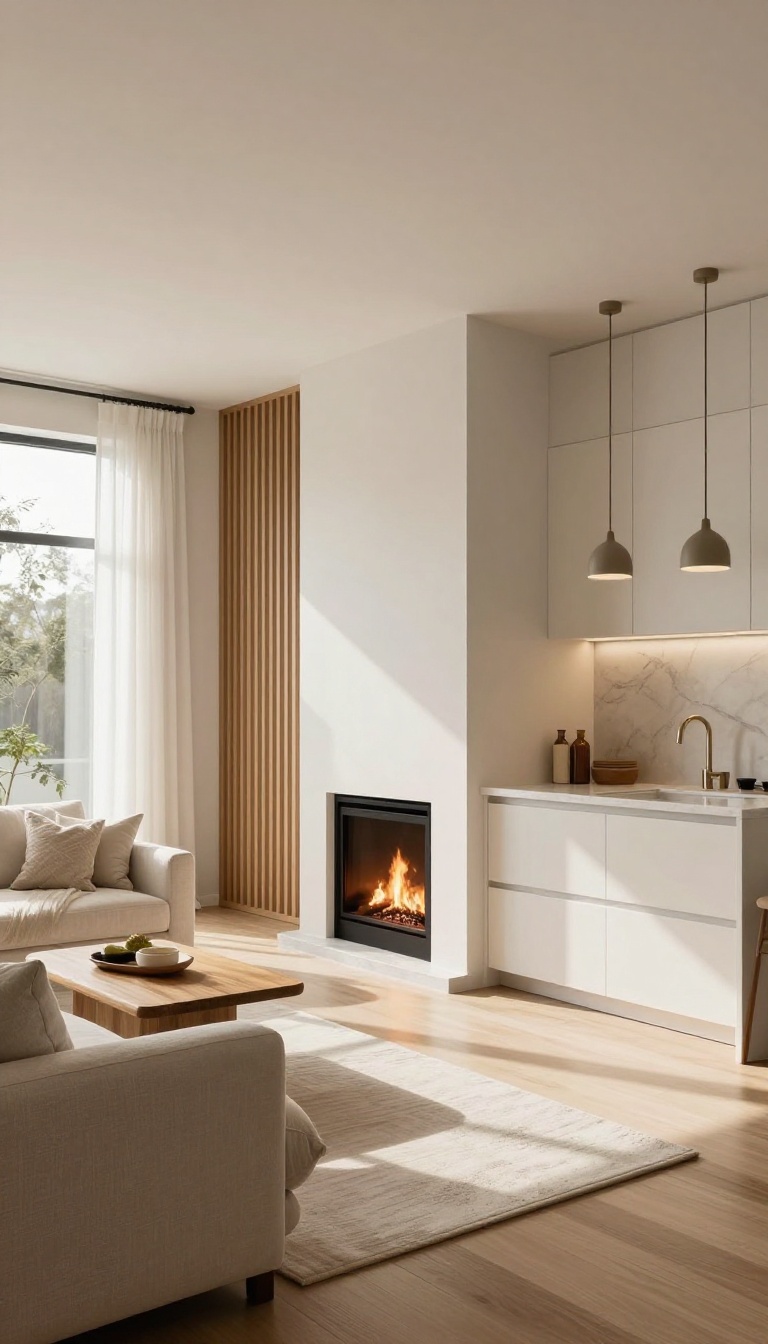
A double-sided fireplace or a partial room divider gives you the best of both worlds: it breaks up the space without boxing it in. You get a visual anchor that says "kitchen here, lounge there" while air and light still move freely. It's a design move that feels intentional, not accidental.
Unlike a full wall, these features keep sightlines open so you can chat with guests while you cook. They also add a touch of architecture to an otherwise flat plan. Whether you go for a see-through fireplace or a slatted divider, the goal is separation with connection.
A double-sided fireplace or a partial wall works like a soft boundary. It defines zones without cutting off the flow. You can still see and hear everything, but each area gets its own identity.
This approach is especially handy in long, rectangular rooms where furniture alone can't do the job. It gives your eye a place to land and your layout a clear structure. ### Fireplace as a Focal Point A two-way fireplace is a natural centerpiece. It draws people in and creates a cozy gathering spot on both sides.
In winter, it's the heart of the home; in summer, it's a sculptural element. You can mount a TV above it on one side and leave the other side clean for conversation. Just make sure the fireplace is vented properly and meets local codes. ### Partial Walls and Slatted Dividers Not ready for a fireplace?
A half-wall or a slatted divider does the same job for less. A half-wall can double as a breakfast bar or a shelf for books and plants. Slatted dividers, whether wood or metal, add texture and let light pass through.
They're great for renters because they're often freestanding or easy to remove. ### Placement and Proportion Where you put your divider matters. Centering it between the kitchen and living area usually works best, but you can also offset it to create a walkway. Keep the height in check.
A divider that's too tall feels like a wall; too short and it disappears. Aim for something that's tall enough to block sightlines when seated but low enough to see over when standing. ### Materials That Blend In Choose materials that tie both zones together. If your kitchen has warm wood cabinets, a wood slatted divider echoes that.
If your living room has a stone accent, a stone-clad fireplace bridges the gap. You can also paint the divider the same color as your walls to make it recede, or go bold with a contrasting shade to make it a feature.
Fireplace As A Focal Point
A two-way fireplace is a natural centerpiece. It draws people in and creates a cozy gathering spot on both sides. In winter, it's the heart of the home; in summer, it's a sculptural element.
You can mount a TV above it on one side and leave the other side clean for conversation. Just make sure the fireplace is vented properly and meets local codes.
Partial Walls And Slatted Dividers
Not ready for a fireplace? A half-wall or a slatted divider does the same job for less. A half-wall can double as a breakfast bar or a shelf for books and plants.
Slatted dividers, whether wood or metal, add texture and let light pass through. They're great for renters because they're often freestanding or easy to remove.
Placement And Proportion
Where you put your divider matters. Centering it between the kitchen and living area usually works best, but you can also offset it to create a walkway. Keep the height in check.
A divider that's too tall feels like a wall; too short and it disappears. Aim for something that's tall enough to block sightlines when seated but low enough to see over when standing.
Materials That Blend In
Choose materials that tie both zones together. If your kitchen has warm wood cabinets, a wood slatted divider echoes that. If your living room has a stone accent, a stone-clad fireplace bridges the gap.
You can also paint the divider the same color as your walls to make it recede, or go bold with a contrasting shade to make it a feature.
11. Use Curtains or Sliding Panels for Flexible Privacy
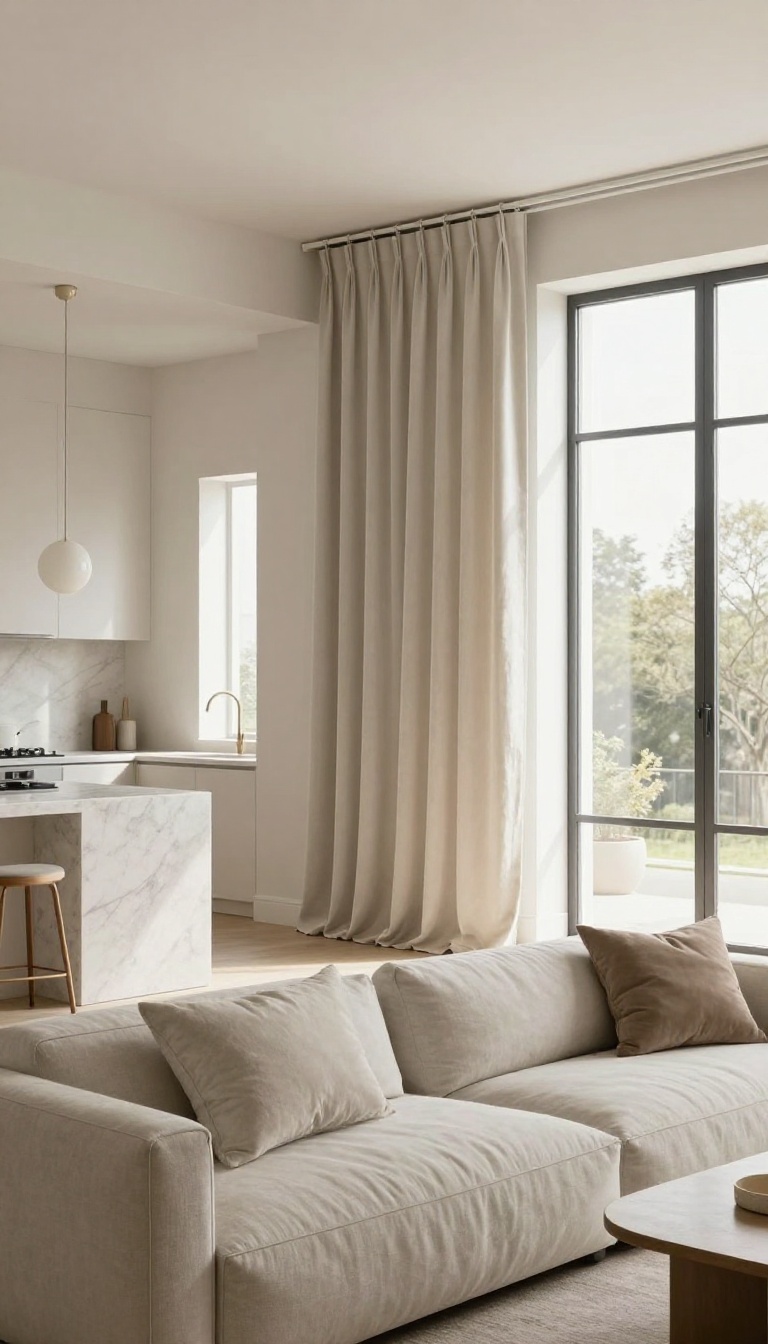
Open-plan living looks amazing until you're trying to cook dinner and your partner is watching TV at full volume. Curtains and sliding panels give you a way to close things off without building a wall. They're affordable, easy to install, and you can open them up again the second you want that wide-open feel back.
The trick is picking the right type for your space and hanging it so it actually works. A flimsy curtain won't block sound or smells, and a heavy barn door might feel like overkill. Below are the options that hold up in real homes, plus a few installation tips that make a big difference.
Ceiling-mounted Curtains That Actually Work
A ceiling-mounted track is the cleanest way to add a curtain between your kitchen and living area. Because it attaches to the ceiling, there's no bulky rod breaking up the sightline, and the curtain can run the full width of the opening. Choose a track that matches your ceiling color so it practically disappears when the curtain is open.
For the curtain itself, go with a heavyweight fabric like velvet, blackout-lined cotton, or a dense linen blend. Lightweight sheers look pretty but won't do much for noise or cooking smells. You want something with a bit of body that hangs in soft folds and slides easily.
A double track lets you layer a sheer for daytime privacy and a heavy panel for when you're searing steak.
Sliding Panels And Barn Doors For A Cleaner Look
If curtains feel too soft for your style, sliding panels give you a more architectural solution. A single large panel on a top-mounted track can slide across the kitchen opening and park against the wall when not in use. Choose a material that ties into your existing finishes—reclaimed wood, frosted glass, or even a painted MDF panel with trim.
Barn-door hardware is popular for a reason: it's sturdy, easy to install on a header, and adds a bit of character. Just measure your opening carefully and make sure the panel is wide enough to cover it completely, with a few inches of overlap on each side. For a lighter feel, consider a slatted wood panel or a metal screen that lets some light through while still creating a visual break.
Installation Tips That Save You Headaches
Before you drill anything, figure out where the curtain or panel will stack when it's open. You don't want it blocking a cabinet door or smacking into a light fixture. Measure twice, and if you're mounting into drywall without a stud, use heavy-duty toggle anchors—curtains can get yanked more than you'd think.
For curtains, add a few extra inches of track beyond the opening on both sides so the fabric can gather completely out of the way. For sliding panels, make sure the track is perfectly level or the panel will drift on its own. And if sound is your main concern, pair your curtain with a thick rug and some soft furniture—fabric absorbs noise, hard surfaces bounce it around.
When To Open And When To Close
The beauty of this setup is that you control the vibe. Keep everything open during the day when you want light and flow. Close it up when you're cooking something smoky, hosting a dinner that runs late, or just want to hide the pile of dishes before guests arrive.
You can also use curtains to create a cozy movie-night feel in the living area while the kitchen stays bright for cleanup. It's a small habit that makes a shared space feel more intentional. And because nothing is permanent, you can change your mind later without a single regret.
12. Keep Countertops Clutter-Free with Smart Storage
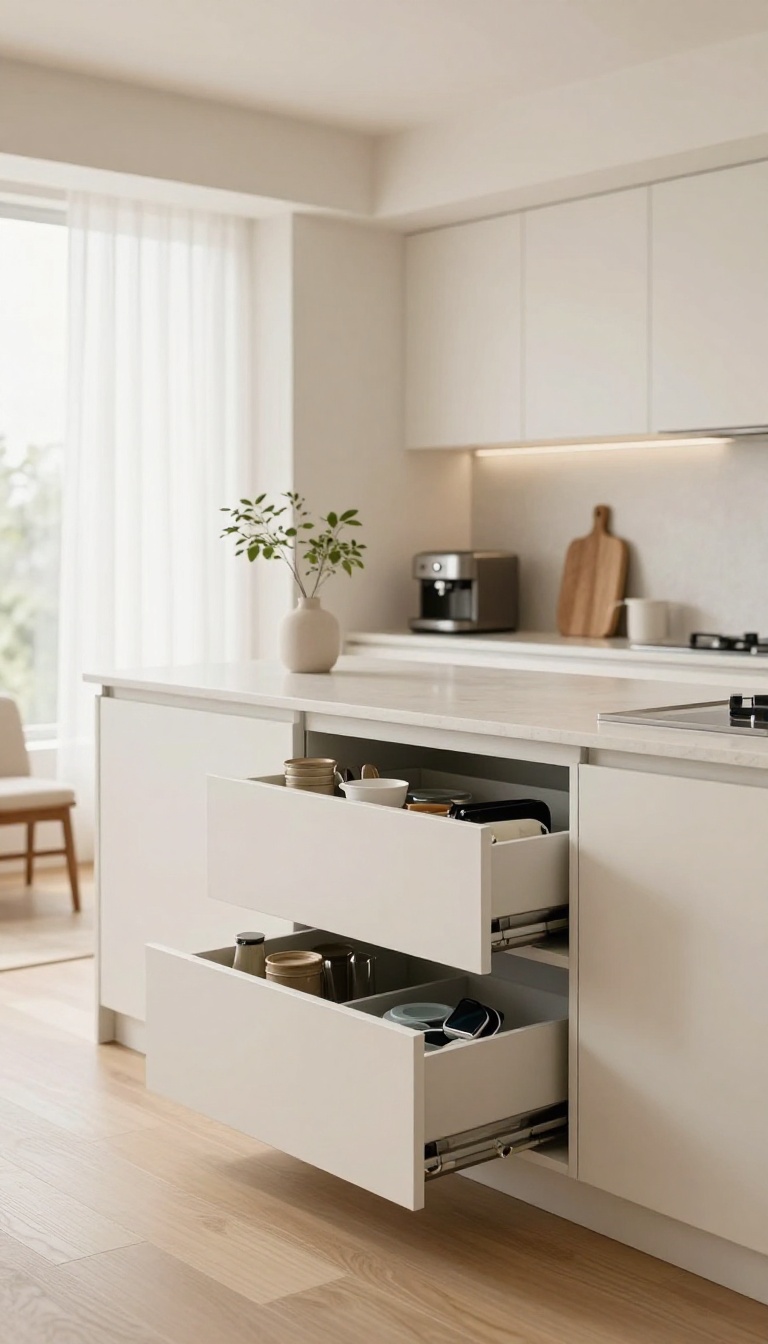
A messy countertop is the fastest way to make an open-plan home feel chaotic. From the sofa, every appliance, mail pile, and charging cable is on full display. Smart storage keeps the kitchen side looking clean without hiding the things you actually use every day.
The trick is giving every item a home that's easy to reach but out of sight. You don't need a bigger kitchen—just smarter spots for the stuff that usually ends up on the counter.
Drawer Organizers That Actually Work
Deep drawers become useless when everything piles on top of everything else. Adjustable dividers and insert trays keep utensils, lids, and small gadgets separated and visible. You'll grab what you need in one motion and stop dumping random items on the counter.
Appliance Garages For The Daily Tools
A countertop appliance garage is a small cabinet that sits on the counter and hides your coffee maker, toaster, or blender behind a roll-up or flip-up door. You keep them plugged in and ready, but the living room view stays clean. Just make sure the garage has a back panel cutout for cords.
Hidden Charging Stations
Phones, tablets, and smartwatches love to camp out on the kitchen counter. Install a charging drawer with a power strip inside, or add a small cabinet with a built-in USB outlet. Everything charges out of sight, and you lose the tangled cable look.
The One-touch Reset Rule
Even the best storage fails if you don't use it. Adopt a simple habit: before you leave the kitchen, spend sixty seconds putting stray items back in their spots. It keeps the open space guest-ready without a full cleanup every time.
13. Add Plants and Texture to Soften the Open Plan
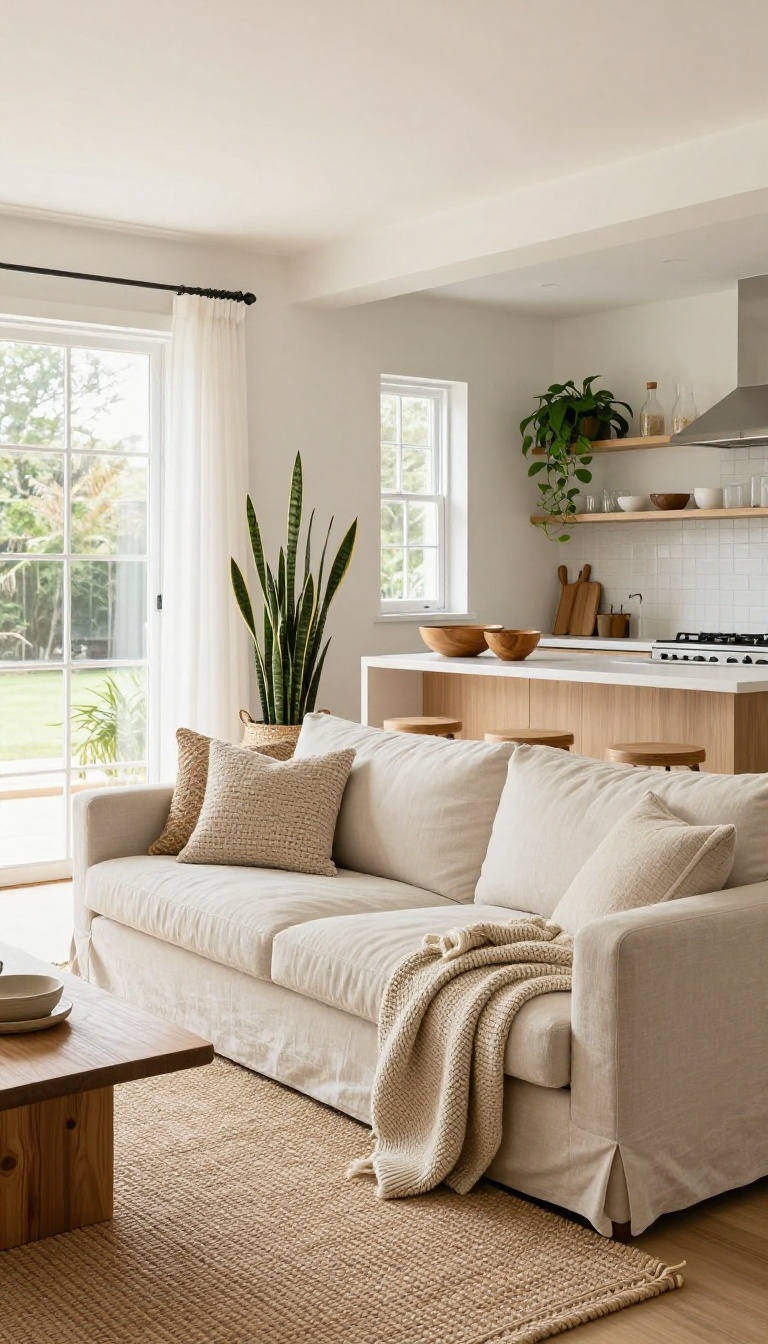
Hard surfaces dominate most open-plan rooms. You've got countertops, floors, maybe a big island, and a lot of glass. All that smoothness makes the space feel echoey and a little cold.
Plants and texture fix that without blocking sightlines or closing off the room. A few leafy corners, some woven baskets, and layered fabrics add warmth and visual quiet. This is the easiest idea on the list because you can start with one plant and one rug.
No contractor, no permits, just a trip to the nursery or your favorite home store.
Texture is the secret weapon in open-plan design. It breaks up the sameness of drywall, stone, and glass. When your eye lands on something soft or woven, the room feels less like a showroom and more like a home.
You don't need to fill every corner. A few well-placed pieces do more than a dozen random accessories. The goal is to create small moments of softness that balance the hard bones of the space.
Pick Plants That Earn Their Keep
Not every plant thrives in a bright, drafty open room. Go for sturdy types like snake plants, ZZ plants, or rubber trees. They handle temperature shifts and low light without drama.
Place a tall one near the edge of the kitchen zone to visually separate it from the living area. A smaller cluster on a shelf or island adds life without stealing counter space. If you kill plants easily, start with a pothos—it forgives almost anything.
Layer In Woven And Natural Materials
Baskets, jute rugs, and wooden bowls bring instant texture. Use a large woven basket to hold throw blankets next to the sofa. A jute runner in the kitchen zone feels warm underfoot and defines the cooking area.
Swap plastic or metal accessories for natural ones where you can. A wooden cutting board left out, a ceramic utensil holder, or a woven tray on the coffee table all add depth. These small swaps cost little and make a big difference.
Use Textiles To Absorb Sound And Add Softness
Open rooms echo. Curtains, throw pillows, and upholstered stools soak up some of that noise. Choose a linen or cotton curtain for the biggest window and hang it wide to soften the wall.
Add a washable runner in front of the sink and a plush rug under the coffee table. Even a single upholstered bench at the island helps. The more fabric you introduce, the calmer the room feels.
FAQ
How do I separate a living room and kitchen without building a wall?
Use furniture, rugs, lighting, and flooring changes to create visual zones. An island, sofa console, or pendant lights can define each area without blocking light or flow.
What color should I paint an open-plan living room and kitchen?
Pick a neutral base like warm white or greige for walls, then repeat two accent colors across both zones. This keeps the space cohesive and prevents it from feeling choppy.
How can I reduce cooking smells in an open living space?
Install a strong range hood, crack a window while cooking, and use a small air purifier. A ceiling fan on low can also help move air without blowing out burners.
Should the kitchen and living room have the same flooring?
Not necessarily. Continuous flooring makes the space feel larger, but a deliberate change—like tile in the kitchen and wood in the living area—can clearly mark the transition.
What is the best layout for a small open-plan living room and kitchen?
Keep the kitchen along one wall or in an L-shape, use a peninsula instead of a full island, and place the sofa facing the kitchen with a clear walkway between them.
Conclusion
An open living room and kitchen works best when it feels effortless, not staged. Pick one idea from this list that solves your biggest daily annoyance, whether that is a dark corner, a cluttered island, or a dining table nobody uses. Live with that change for a week before layering in another.
Two or three smart moves done well will always beat a rushed weekend of shopping. Your combined space should feel open, useful, and genuinely yours.