15 Well-Planned Shower Lighting Ideas for Ceilings
Shower lighting usually gets whatever fixture the builder left behind, and it shows every morning. A single dull dome light can make great tile look flat and turn a simple rinse into a squint fest.
The fix rarely means rewiring the whole house. Most of these upgrades are ceiling-based, budget-friendly, and doable in a weekend or a single electrician visit.
We put together fifteen well-planned ceiling lighting ideas that cover recessed LEDs, dimmers, moisture-rated fixtures, and smart bulbs. Each one comes with practical notes on coverage, steam, and cost so you can pick what actually fits your bathroom.
1. Recessed LED Downlights for Even Coverage
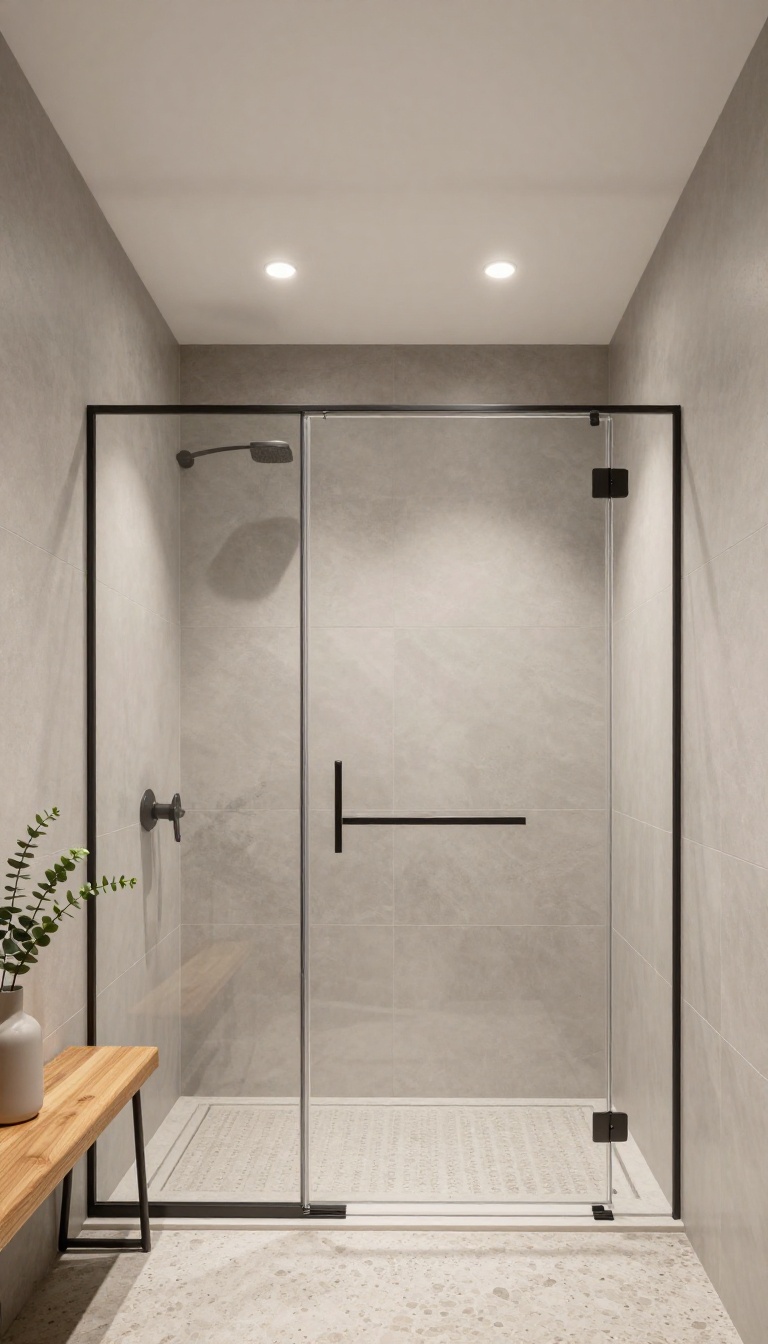
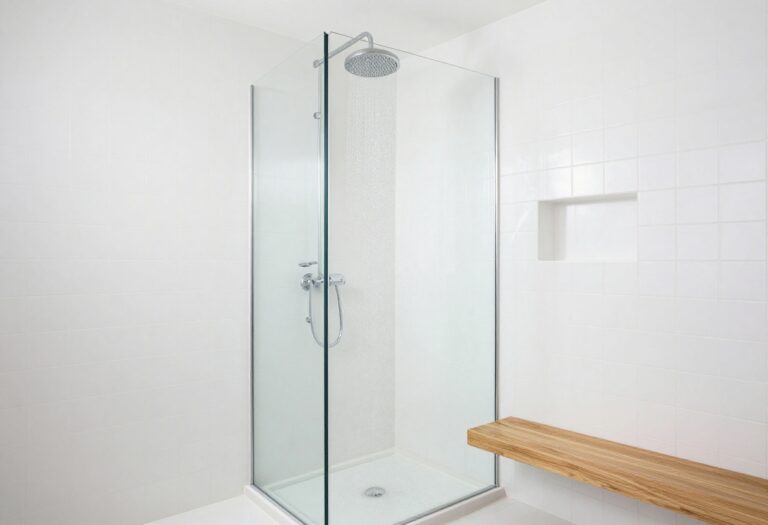
Recessed LED downlights sit flush with the ceiling, so nothing dangles into your shower space or catches steam on the way down. They push light straight to the floor instead of throwing it sideways, which means fewer dark corners and a lot less squinting. For most showers, this is the simplest way to get bright, even coverage without changing the room's look.
The cans disappear into the ceiling, and the light does all the talking.
A recessed downlight is basically a small can tucked up into the ceiling with an LED module inside. Because the trim sits nearly flush, water and condensation have nowhere to pool, and you never bump your head on a hanging fixture. The trick is spacing them so the light overlaps.
One lonely downlight in the middle of a big shower creates a bright hot spot and shadowy edges. Two or three smaller ones working together spread the glow across the whole stall. How many do you actually need? A standard 3-by-3-foot shower does well with two 4-inch downlights placed on either side of the center line. Step up to a 4-by-5-foot stall and three lights arranged in a loose triangle cover it nicely.
Aim for roughly one downlight per 8 to 10 square feet of shower floor. That keeps the brightness even without turning the space into an operating room. Wet-rated or damp-rated? This matters more than most people realize. A fixture rated for damp locations handles humidity, but a wet-rated fixture is built to survive direct spray and heavy steam.
Look for an IP65 or higher rating if the light sits anywhere inside the shower footprint. If it's just outside the glass, a damp-rated can is usually fine. Always check the label before you buy, because returns on installed lights are a pain. Color temperature and beam angle Stick with 3000K to 3500K for a clean, natural look that flatters tile and skin tones.
Anything above 4000K starts feeling clinical, and 2700K can look yellow against cool-toned stone. A 60- to 90-degree beam angle gives you a good mix of spread and punch. Narrow beams create drama but also harsh shadows, which is the opposite of what you want over a wet floor. Cost and install notes A basic wet-rated LED downlight runs about $25 to $60 each.
Add an electrician if you need new wiring, and you're looking at roughly $150 to $300 per light installed, depending on your area. If you already have a ceiling light, a remodel-style can often drops into the existing hole with minimal drywall work. That keeps the project cheap and fast.
How Many Do You Actually Need?
A standard 3-by-3-foot shower does well with two 4-inch downlights placed on either side of the center line. Step up to a 4-by-5-foot stall and three lights arranged in a loose triangle cover it nicely. Aim for roughly one downlight per 8 to 10 square feet of shower floor.
That keeps the brightness even without turning the space into an operating room.
Wet-rated Or Damp-rated?
This matters more than most people realize. A fixture rated for damp locations handles humidity, but a wet-rated fixture is built to survive direct spray and heavy steam. Look for an IP65 or higher rating if the light sits anywhere inside the shower footprint.
If it's just outside the glass, a damp-rated can is usually fine. Always check the label before you buy, because returns on installed lights are a pain.
Color Temperature And Beam Angle
Stick with 3000K to 3500K for a clean, natural look that flatters tile and skin tones. Anything above 4000K starts feeling clinical, and 2700K can look yellow against cool-toned stone. A 60- to 90-degree beam angle gives you a good mix of spread and punch.
Narrow beams create drama but also harsh shadows, which is the opposite of what you want over a wet floor.
Cost And Install Notes
A basic wet-rated LED downlight runs about $25 to $60 each. Add an electrician if you need new wiring, and you're looking at roughly $150 to $300 per light installed, depending on your area. If you already have a ceiling light, a remodel-style can often drops into the existing hole with minimal drywall work.
That keeps the project cheap and fast.
2. A Single Centered Ceiling Light for Small Showers
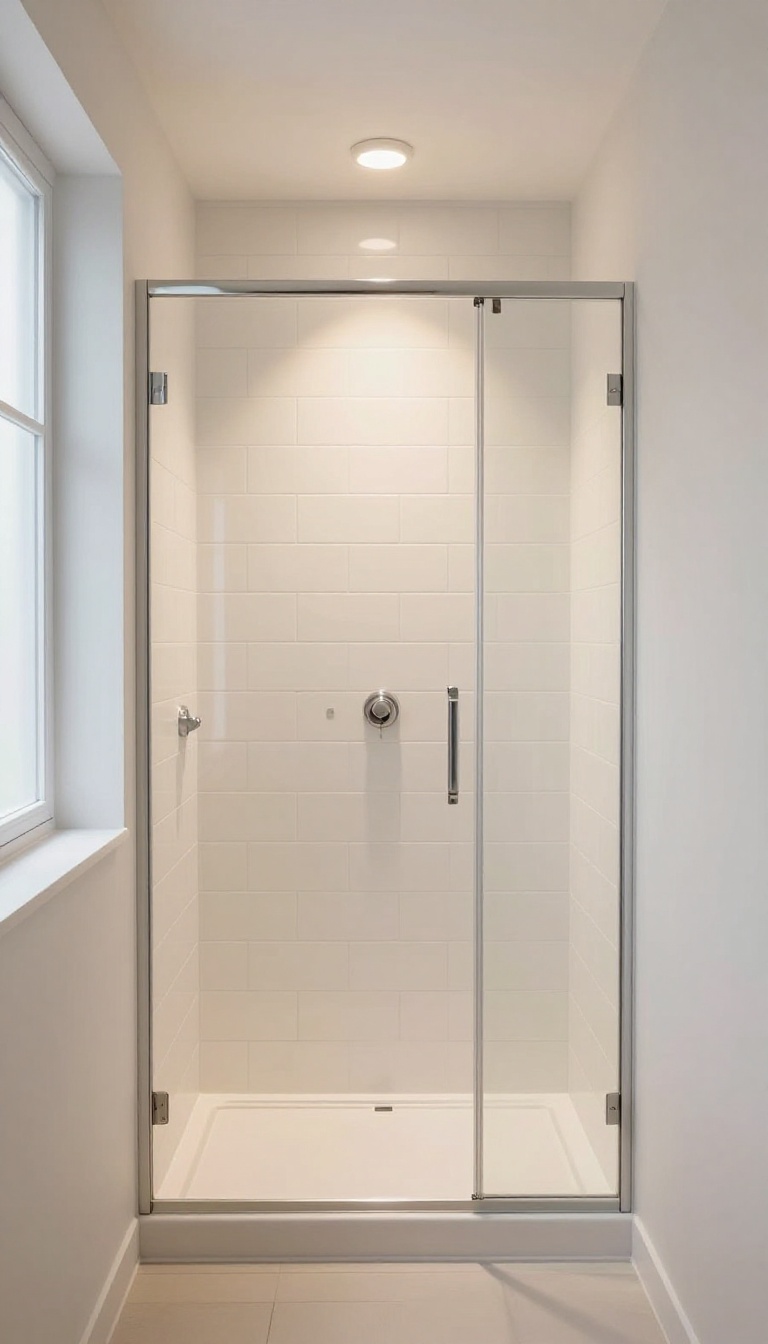
Small showers don't need a lighting grid. One fixture in the middle of the ceiling can cover the whole stall if you pick the right one and place it well. It's the simplest upgrade on this list, and for tight spaces, it often works better than a complicated layout.
A single centered light keeps the ceiling clean and the budget intact. You're not cutting multiple holes or running extra cable, so the install stays quick. The key is choosing a fixture that spreads light evenly instead of blasting one bright spot.
Why Centered Works
In a shower under about 36 square feet, a centered fixture throws light to all four corners without shadows. The walls bounce light back into the stall, so the whole space feels brighter than the fixture alone suggests. You also avoid dark pockets near the shampoo shelf or the floor.
Pick The Right Fixture
Go with a flush-mount LED or a recessed can with a wide beam angle. Look for a fixture rated for damp or wet locations, and keep the trim simple so it doesn't collect water. A 3000K to 4000K color temperature keeps things clean and neutral, not yellow or harsh blue.
Placement And Dimming
Center the light over the middle of the shower floor, not over the showerhead. That keeps glare out of your eyes when you look up. Add a dimmer if you like a softer glow for evening showers, and make sure the fixture is rated for use with a dimmer.
3. Dimmable Ceiling Lights for Morning and Night
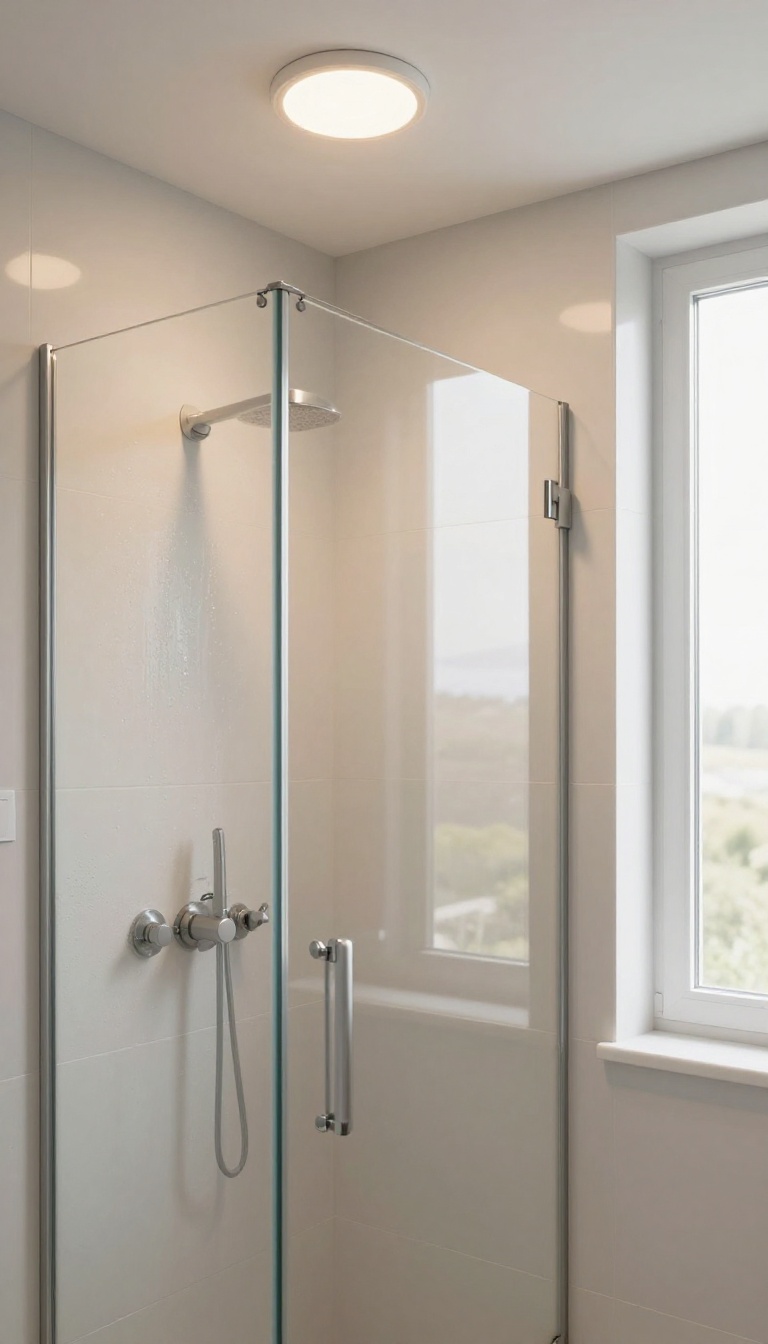
A dimmer switch gives you two bathrooms in one: a bright, energizing space for your morning routine and a soft, relaxing retreat for evening showers. You don't need to swap fixtures or add extra lights. Just one dimmable ceiling fixture, wired to a dimmer, covers both moods.
The trick is choosing a dimmable LED that plays well with a dimmer and produces good light at both ends of the range. Some cheap LEDs flicker or buzz when dimmed, so a little homework pays off. Once it's set up, you'll wonder how you ever lived with a single harsh setting.
Dimmable ceiling lights are a simple upgrade that makes your shower feel custom without a custom price tag. The same fixture that wakes you up can also wind you down, and you control it with a swipe or a tap. Here's what to know before you buy, install, or swap out that old switch.
Pick A Dimmer That Matches Your Leds
Not all dimmers work with all LEDs. You need a dimmer rated for LED loads, and ideally one that's compatible with the specific bulb or fixture you choose. Check the fixture's spec sheet for a list of recommended dimmers, or look for a universal LED dimmer that handles a wide range.
If you're using smart bulbs instead of a wall dimmer, make sure they're dimmable and that you leave the wall switch on. Otherwise, someone will flip it off and kill your smart control.
Get The Color Temperature Right
Dimming changes brightness, not color, so pick a color temperature that works for both morning and night. A soft white around 3000K is a safe middle ground: crisp enough for shaving or makeup, warm enough for a relaxing evening shower. If you want more flexibility, tunable white fixtures let you shift from cool to warm as the day goes on.
That's a nice touch if you share the bathroom with someone who likes different light than you do.
Set The Low End So It's Actually Useful
Some dimmers bottom out at a level that's still too bright for a midnight bathroom trip. Look for a dimmer with an adjustable low-end trim, or choose a fixture that dims down to 5% or lower. Test it before you button everything up.
Stand in the shower with the light at its lowest setting and see if it feels right. If it's still harsh, you can usually adjust the trim or swap the dimmer.
Keep Moisture Out Of The Equation
Dimmers and steam don't mix, so make sure your dimmer is installed outside the shower zone. A standard wall dimmer in a dry area is fine, but if it's near the shower, use a damp-location-rated dimmer and a proper cover plate. The ceiling fixture itself should be rated for wet or damp locations, just like any other shower light.
The dimming function doesn't change the moisture requirements.
4. Warm White vs. Cool White: Choosing the Right Color Temperature
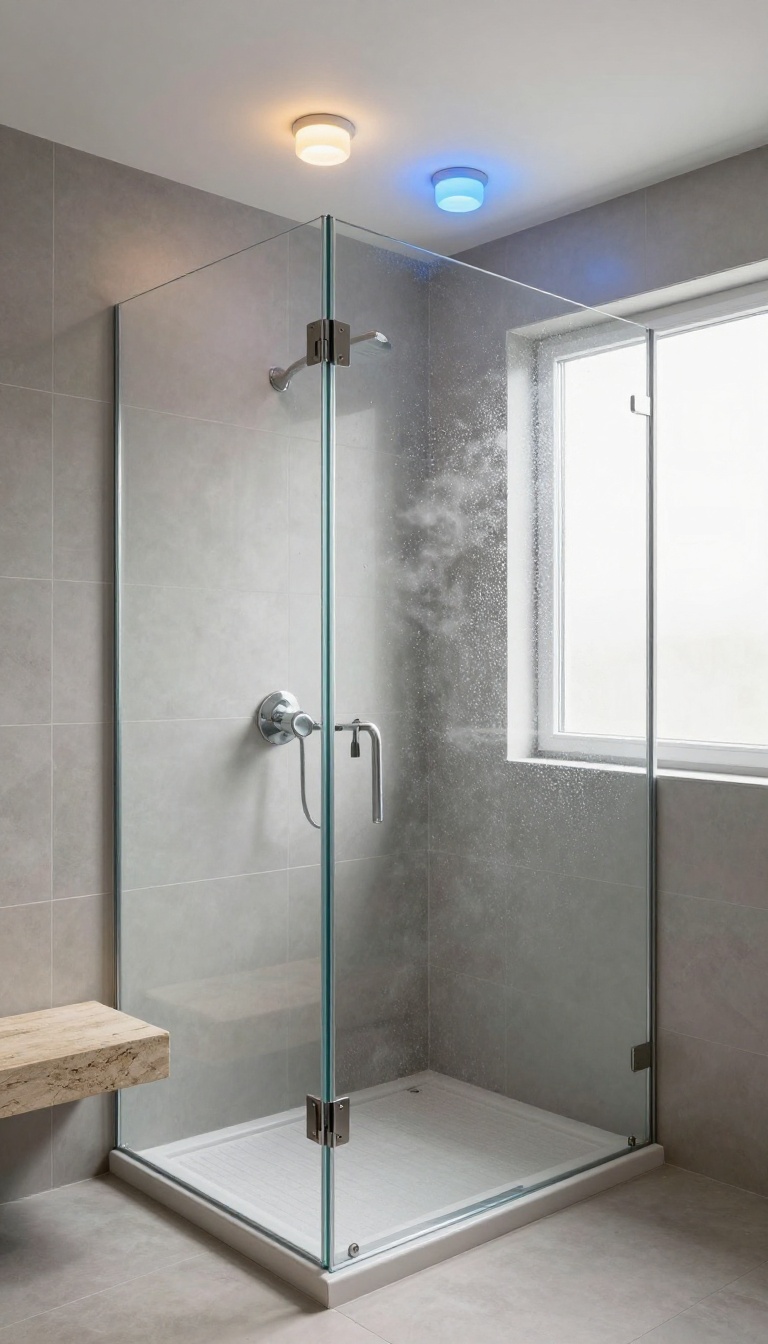
Color temperature changes how your shower feels more than almost any other lighting choice. Warm white (around 2700K–3000K) glows like candlelight and flatters skin tones, while cool white (4000K–5000K) mimics daylight and makes every surface look crisp and clean. Neither is wrong.
The right pick depends on whether you want your shower to feel like a spa retreat or a bright, no-nonsense start to the day. And you don't have to choose just one—dimmers and smart bulbs let you shift the mood whenever you want.
Most people don't think about color temperature until they install a light and realize it makes their bathroom feel like a hospital or a cave. That's because Kelvin (K) isn't about brightness—it's about the color of the light itself. Lower numbers are warmer and more yellow; higher numbers are cooler and more blue.
In a shower, that difference is amplified by tile, glass, and steam. Warm light softens reflections and makes skin look healthy. Cool light bounces off white surfaces and can make the space feel clinical, but it also helps you see clearly for shaving or makeup.
The trick is matching the temperature to your routine and your finishes.
When Warm White Wins
Warm white is the go-to for relaxation. It pairs beautifully with natural stone, wood accents, and earthy tiles, and it won't wash out your skin tone in the mirror. If your shower is part of a master bath you use to unwind, 2700K–3000K is the sweet spot.
Just avoid going too warm (below 2700K) in a small shower—it can feel dim and yellow.
When Cool White Makes Sense
Cool white shines in high-contrast, modern bathrooms with white subway tile, chrome fixtures, and lots of glass. It makes the space feel clean and awake, which is great for morning showers. Stick to 4000K—anything above 5000K starts looking blue and harsh, especially on bare skin.
If you share the shower with someone who does detailed grooming, cool white gives them the visibility they need.
How To Get Both (without Ripping Out Your Ceiling)
You don't have to commit to one temperature forever. Smart bulbs and tunable white LED fixtures let you switch from warm to cool with an app or a voice command. A simpler option: install two separate circuits—one warm, one cool—and control them with a double dimmer.
Even a single dimmable warm-white LED can feel cooler when turned up to full brightness, so play with levels before you swap fixtures.
5. Moisture-Rated Fixtures That Handle Steam
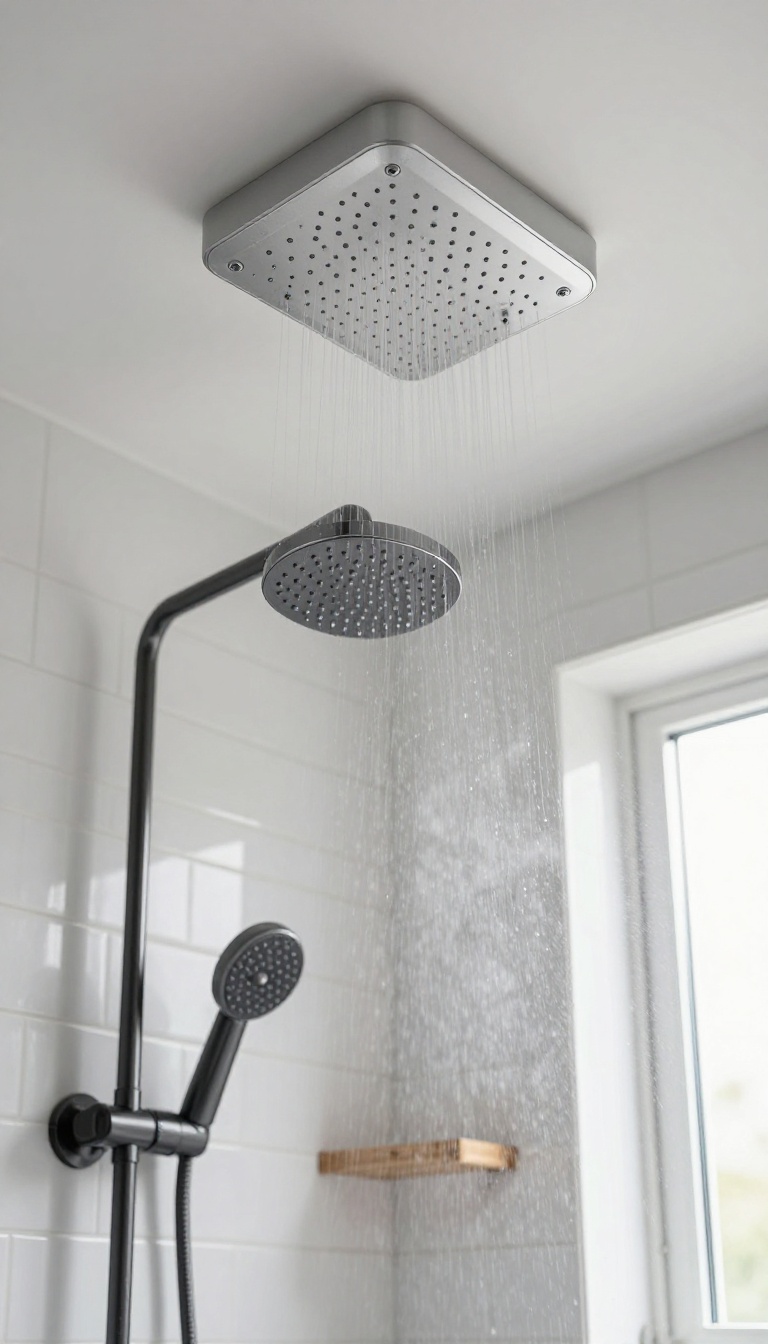
Steam is the quiet enemy of bathroom lighting. A standard fixture might look fine for a few months, then start fogging up, flickering, or rusting around the edges. Moisture-rated fixtures are built to shrug off that daily dose of humidity.
You'll see two main ratings: damp-rated and wet-rated. Damp-rated fixtures handle steamy air but not direct spray. Wet-rated ones can take splashes and are the safer bet if the light sits inside the shower zone.
Look for sealed housings and gasketed lenses. Those small details keep water vapor away from the wiring and the bulb, which means fewer replacements and less worry.
A moisture rating isn't just a label—it's a promise about where the fixture can live. Damp-rated lights work in bathrooms with good ventilation, as long as they're not getting hit by water directly. Wet-rated lights are designed for the splash zone, so they're the right call for a light mounted right above the showerhead or on a low ceiling where spray reaches.
Sealed housings matter because steam finds its way into everything. A fixture with a tight gasket around the lens keeps condensation out of the electrical components. That's what stops the corrosion and short circuits that kill cheap fixtures early.
You don't need to spend a fortune. Plenty of affordable wet-rated ceiling lights exist, especially in the recessed and flush-mount categories. The key is checking the rating before you buy, not after the first sign of rust.
Damp Vs. Wet: Which One Goes Where
Damp-rated fixtures are fine for most bathroom ceilings as long as they're at least a few feet from the showerhead. They resist humidity but not direct water contact. Wet-rated fixtures are built for the splash zone—think directly over the tub or inside a large walk-in shower.
If you're unsure, go wet-rated. It costs a little more but removes the guesswork.
Sealed Housings And Gaskets
A sealed housing keeps steam away from the wiring and the bulb. Look for a rubber gasket around the lens and a tight fit where the housing meets the ceiling. These small barriers make a big difference in how long the fixture lasts.
You'll also see fewer bugs and dust inside, which is a nice bonus.
Installation Tips For Steamy Rooms
Even a wet-rated fixture needs a solid install. Seal the ceiling cutout with caulk if there's a gap, and make sure the junction box is rated for the location. If your bathroom has no exhaust fan, add one—no fixture can outlast constant, trapped moisture.
A $20 fan can double the life of your lighting.
6. Layered Lighting with a Ceiling Light and Wall Sconce
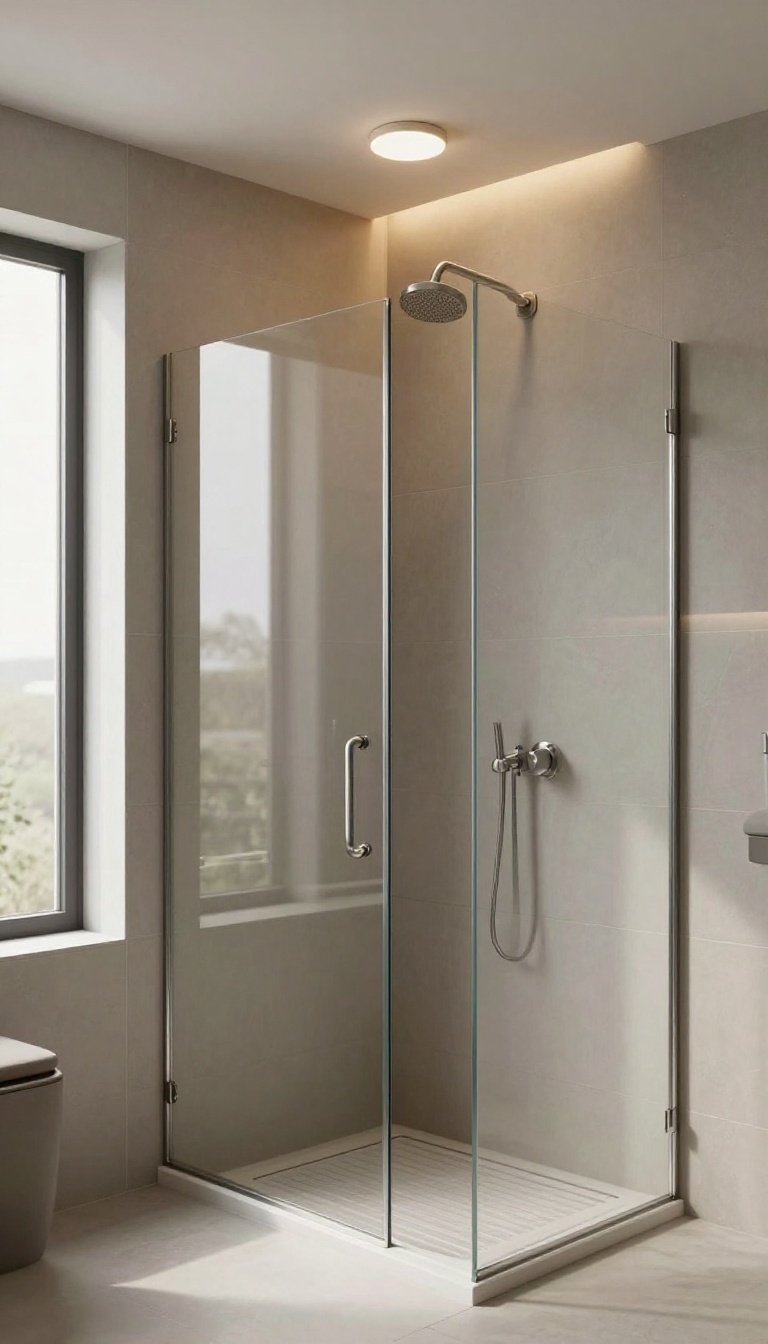
One light source in a shower creates harsh shadows and flat light. Layering a ceiling light with a wall sconce fixes that by adding depth and softening the light on your face and body. This setup also gives you flexibility: bright overhead light for cleaning or shaving, and a softer sconce glow for a relaxing rinse.
It's a simple upgrade that makes your shower feel more like a spa and less like a utility closet.
Layering isn't about adding more fixtures for the sake of it. It's about placing light where it flatters and functions. A ceiling light handles overall brightness, while a sconce fills in the sides and reduces the cave effect.
The result is even, comfortable light that doesn't make you squint or cast weird shadows on the tile.
Picking The Right Ceiling Light
For the overhead layer, a flush-mount or recessed fixture works best in a shower. Look for one rated for wet locations and made of materials that won't rust, like aluminum or plastic. A single bright light in the center is fine, but if your shower is large, two smaller ones spread the light better.
Choosing A Sconce That Handles Steam
Wall sconces in a shower need a wet-location rating and a sealed design. Glass shades with metal bases are common, but make sure the metal is powder-coated or stainless steel. Place the sconce on the wall opposite the showerhead, about eye level, so it lights your face without glaring.
Wiring And Control Tips
If you want to control the layers separately, you'll need two switches or a smart dimmer. A single dimmer for both fixtures is simpler and still lets you adjust the mood. Just check that your dimmer is compatible with the LED bulbs you choose to avoid flickering.
7. Low-Profile Flush Mounts for Low Ceilings
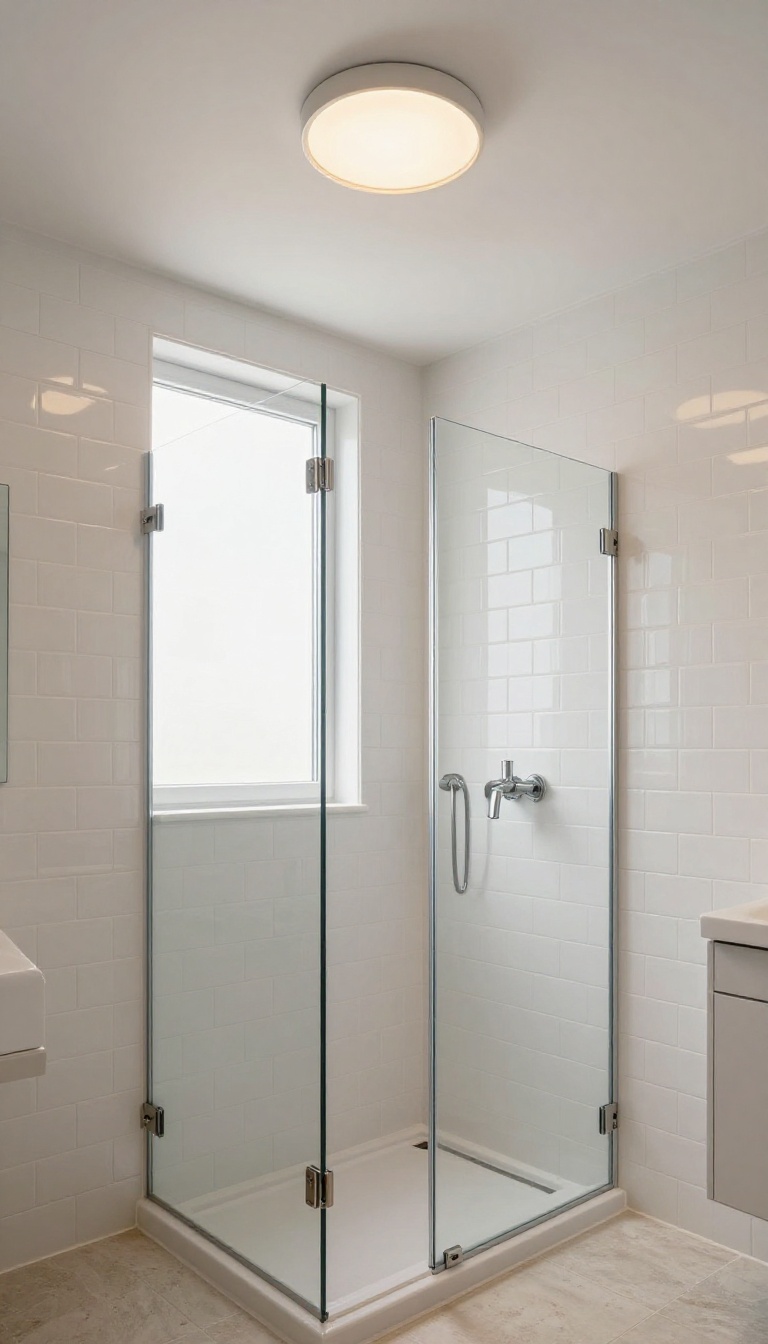
Low ceilings make every lighting choice feel like a trade-off. You want decent brightness in the shower, but a bulky fixture hanging down turns the stall into a cave. A low-profile flush mount solves that squeeze by sitting almost flat against the ceiling while still pushing out plenty of light.
It's one of the simplest swaps you can make, and it works in almost any bathroom style.
The whole point of a flush mount is that it hugs the ceiling. Most slim models stick out less than two inches, so you keep every bit of headroom you started with. That matters in basements, older homes, and any shower tucked under a sloped or standard eight-foot ceiling.
You also get a cleaner look. Instead of a hanging pendant or a chunky dome that draws the eye upward, a flat fixture blends into the ceiling and lets the tile do the talking.
What To Look For
Stick with a fixture that's rated for damp or wet locations, since shower steam will find it either way. A glass or polycarbonate diffuser spreads the light evenly and hides the bulb, which keeps glare down. Look for a model under two inches deep and check the width, because a wider disc covers more of the shower floor with soft light.
Bulb And Brightness Notes
An integrated LED flush mount is the easiest route because you never have to chase a replacement bulb. Aim for around 800 to 1, 100 lumens for a standard shower, and pick a warm-neutral color temperature near 3000K so skin tones look natural. If the fixture is dimmable, pair it with a compatible dimmer and you can drop the output for evening showers.
Installation Reality Check
Most flush mounts use a standard ceiling box, so the swap is often a screwdriver-and-wire-nuts job. Cut the breaker first, and if the old fixture was mounted on a bare bulb or a loose box, have an electrician tighten things up. In a low-ceiling shower, keep the fixture centered over the drain so the light lands where you actually stand.
8. Skylight or Sun Tunnel for Natural Light
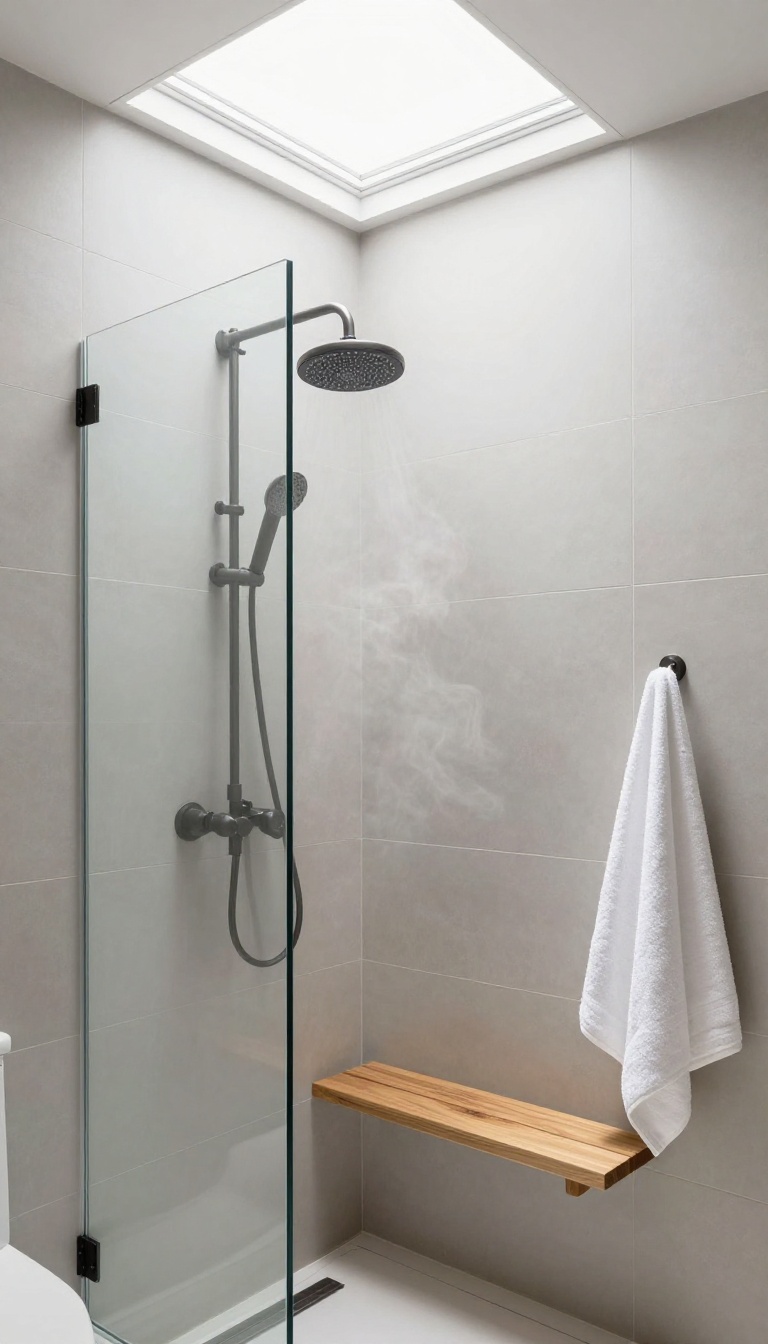
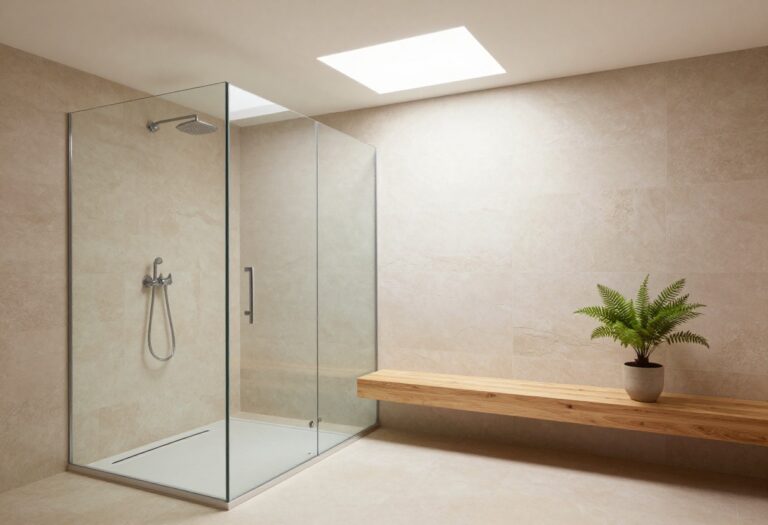
Nothing beats real daylight in a shower. A skylight or sun tunnel brings that natural brightness straight to the ceiling, so you can cut back on electricity and make the space feel bigger. It's a bigger project than swapping a bulb, but the payoff is a shower that feels open and airy every morning.
A skylight is exactly what it sounds like: a window in the roof. A sun tunnel, sometimes called a tubular skylight, is a smaller dome on the roof connected to a reflective tube that carries light down to a diffuser in your ceiling. Both flood the shower with natural light without adding a window to the wall, which matters if privacy or wall space is tight.
They also help with ventilation if you choose a vented model, pulling steam out while letting light in. Costs vary widely. A basic sun tunnel runs $300 to $800 installed, while a fixed skylight can be $1, 000 to $3, 000 depending on size and roof complexity.
Vented skylights cost more but combine light and exhaust. You'll need a roofer and possibly an electrician if you add a vent fan. The biggest factor is your roof: asphalt shingles are straightforward, while tile or metal may need special flashing.
Maintenance is minimal but not zero. Sun tunnels have a dome that can collect debris, and skylights may need occasional cleaning if they're accessible. Condensation can be an issue in humid bathrooms, so look for double-pane glass with a good seal.
Some models come with remote-controlled shades or diffusers to dim the light when you want a softer mood. That's a nice bonus for evening showers.
Skylight Vs. Sun Tunnel: Which Fits Your Shower?
A skylight gives you a wide, open view of the sky and works best on a roof with a good pitch. It's ideal if you want maximum light and don't mind the higher cost. A sun tunnel is narrower and can fit into tight roof spaces, even between rafters.
It's less expensive and easier to install in some cases, but it delivers a more focused beam of light. If your bathroom is small, a sun tunnel often does the job without overwhelming the space.
Installation And Moisture Considerations
Both options require cutting into your roof, so hire a licensed roofer who has experience with bathroom venting. Proper flashing and sealing are critical to prevent leaks. In a shower, humidity is constant, so choose a unit with tempered glass and a thermal break to reduce condensation.
If you opt for a vented skylight, make sure it exhausts steam directly outside, not into the attic. Also, check local building codes—some areas have restrictions on skylights for energy efficiency.
Cost, Savings, And Resale Value
You'll spend more upfront than on a new light fixture, but you'll save on electricity over time. Natural light means you can keep the lights off during the day, and a vented skylight can reduce reliance on an exhaust fan. Home appraisers often note that natural light boosts perceived value, especially in dark bathrooms.
If you plan to sell, a well-installed skylight or sun tunnel can be a strong selling point. Just keep receipts for the warranty.
9. LED Strip Lighting Along the Ceiling Edge
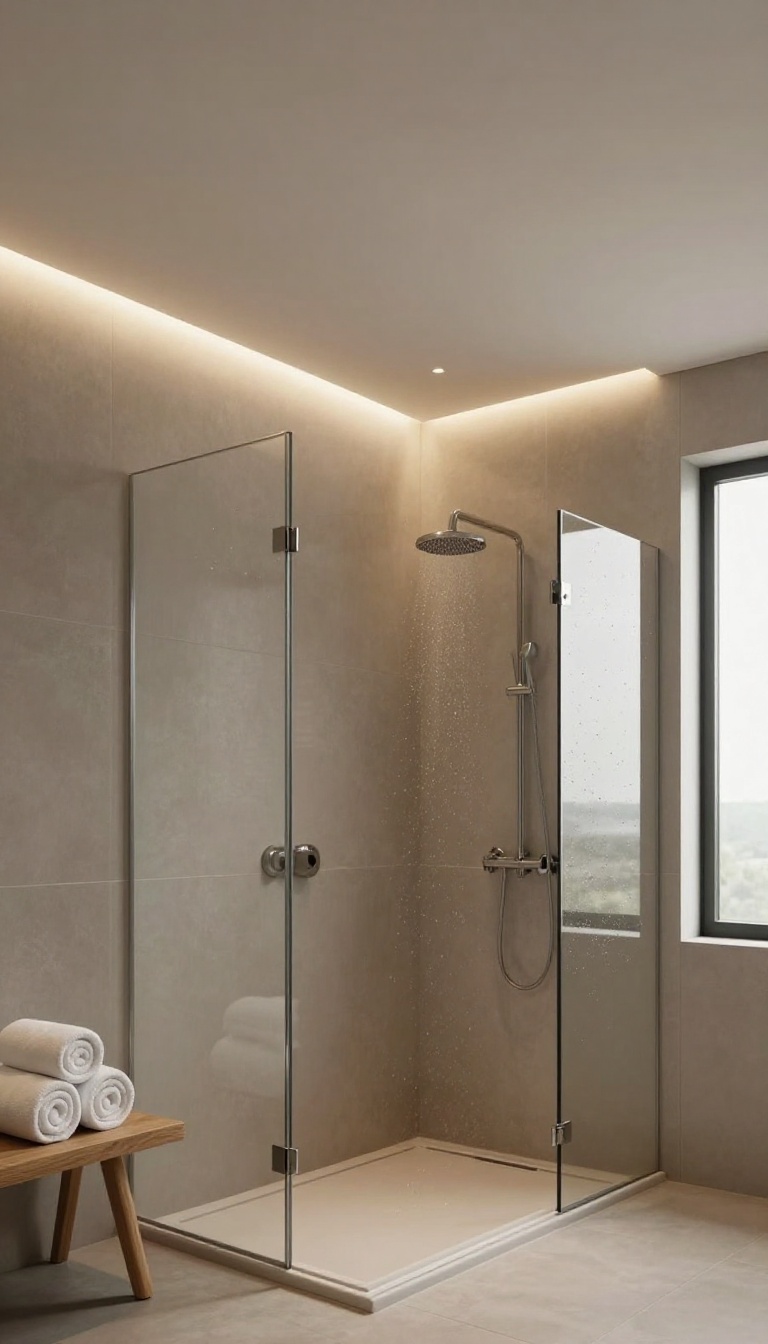
LED strip lighting along the ceiling edge is a clean way to add ambient glow without a bunch of visible fixtures. You tuck a flexible strip into a small channel or cove around the perimeter, and it washes the ceiling with soft, even light. It’s a favorite in modern bathrooms because it looks custom and keeps the space feeling open.
The strip itself is low-voltage and usually comes on a reel with adhesive backing. You can cut it at marked intervals to fit your ceiling size, then connect it to a driver that plugs into a standard outlet or ties into your wiring. Most kits are dimmable, so you can go from a gentle nightlight glow to bright task lighting with a remote or wall switch.
Because the LEDs sit behind a lip or inside a channel, you don’t see individual diodes. That’s what gives the effect its smooth, high-end look. It also means less glare when you look up, which matters in a shower where water and steam already bounce light around.
Why The Ceiling Edge Works
Running the strip around the perimeter turns your entire ceiling into a reflector. The light bounces down and fills the room without casting hard shadows on your face. It’s especially helpful in showers with dark tile or matte finishes that tend to swallow direct light.
Wet-area Safety And Installation
You need strips rated for damp or wet locations, plus a driver that can handle bathroom humidity. Keep the driver outside the shower zone, like in a nearby closet or vanity cabinet. Seal the channel with a diffuser cover to protect the LEDs from direct spray and make cleaning easier.
Pairing With Other Lights
Use the strip as your ambient layer and add a recessed LED or two over the shower for task lighting. A dimmer lets you run just the strip for late-night trips or crank both for full brightness. That combo covers everything from a quick rinse to a long, steamy shower.
10. Smart Bulbs and Voice Control for Hands-Free Operation
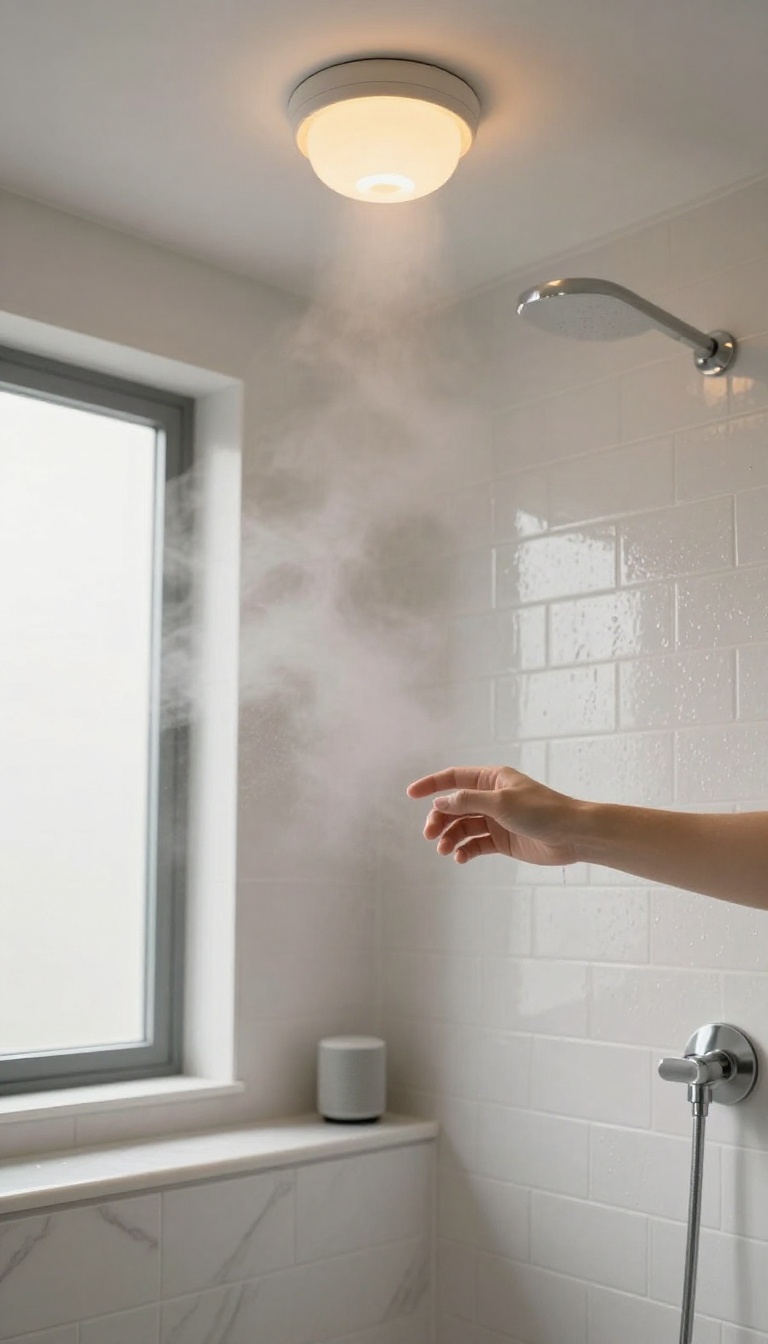
Wet hands and light switches don't mix. Smart bulbs solve that by letting you control brightness and color with your voice or a phone app, so you never have to fumble for a switch mid-shower. They also add a level of customization that regular bulbs can't touch, from warm morning light to cool, bright white when you need to wake up.
The best part? You can install them in most existing fixtures without an electrician.
Smart bulbs are a simple upgrade that makes a big difference in a shower. They screw into standard sockets, so you can keep your current ceiling fixture and just swap the bulb. Once connected to your Wi-Fi, you control them through an app or a smart speaker.
That means you can say, "Hey Google, dim the shower light to 20 percent, " and it happens. No wet hands on a switch, no slipping on a wet floor trying to reach a pull chain.
Why Voice Control Wins In A Wet Room
Voice control is more than a gimmick when your hands are covered in soap. You can adjust lighting without touching anything, which reduces the risk of shock and keeps your focus on the shower. It's also great for setting the mood before you even step in.
Say a command and the room is ready.
Choosing The Right Smart Bulbs
Not all smart bulbs are built for damp locations. Look for ones rated for use in bathrooms or at least in high-humidity areas. Brands like Philips Hue and LIFX offer models that handle moisture well.
Also check that the bulb fits your fixture and that the base type matches (usually E26). If you want color, make sure the bulb supports it.
Setting Up Routines And Scenes
You can schedule your smart bulbs to turn on at certain times or create scenes for different activities. A "morning" scene might be bright and cool, while an "evening" scene could be warm and dim. Some apps even let you set a gradual fade-in to wake up gently.
Pair with a motion sensor for automatic lighting when you enter.
11. Ceiling-Mounted Exhaust Fan with Built-In Light
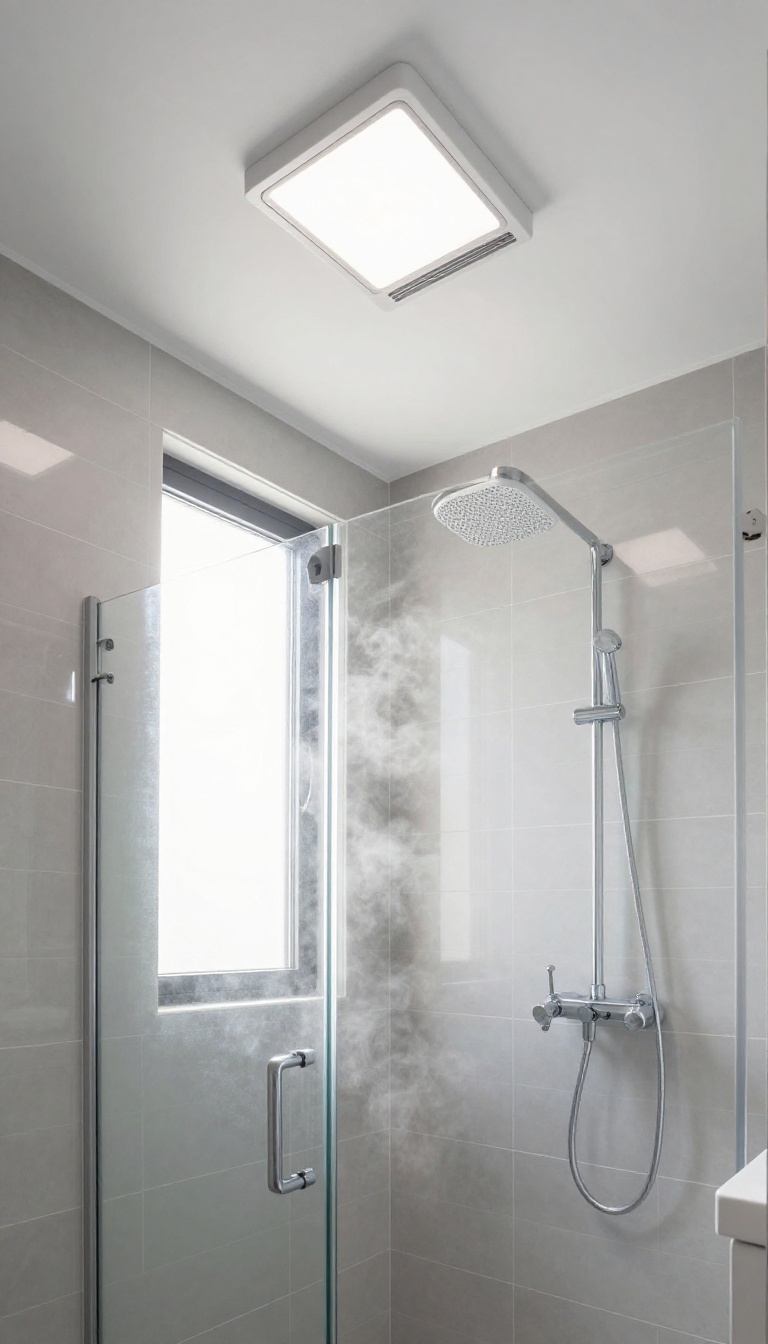
Steam has to go somewhere, and a plain ceiling light does nothing about it. A combo exhaust fan with a built-in light handles both jobs from the same cutout. You get brighter light and better airflow without adding another fixture to the ceiling.
These units look like a standard ceiling fan-light combo, just sized for a bathroom. The fan pulls moist air out while the light fills the shower below. One switch or a dual switch controls both functions, so operation stays simple.
Most models fit a 4-inch or 6-inch duct, which matches what many bathrooms already have. If you are replacing an old fan, the wiring is often already there. That makes this one of the easier upgrades on this list.
Why It Works In A Shower
Moisture is the real enemy in a shower, not darkness alone. A combo unit moves air while you wash, which cuts down on fog and surface dampness. Less standing moisture means less chance of mold creeping into grout and paint.
The light also sits high and central, so it spreads evenly instead of pooling in one spot. You get function and prevention in one move.
Picking The Right Size And Power
Match the fan's CFM rating to your bathroom's square footage. A small shower room might need 50 to 80 CFM, while a larger bath can call for 110 or more. Check the sone rating if noise matters to you.
Under 1. 5 sones is quiet enough for early mornings. For light output, look for at least 800 to 1000 lumens and a color temperature around 3000K to 4000K.
Install And Maintenance Notes
Most units mount to a ceiling joist or a brace bar, so check what your ceiling can support. If you are not comfortable with electrical work, hire an electrician for the hookup. Clean the grille every few months to keep airflow strong.
Dust and lint build up fast in bathrooms, and a clogged fan works harder and moves less air. A quick vacuum or wipe keeps it running for years.
12. Adjustable Spotlight for Targeted Brightness
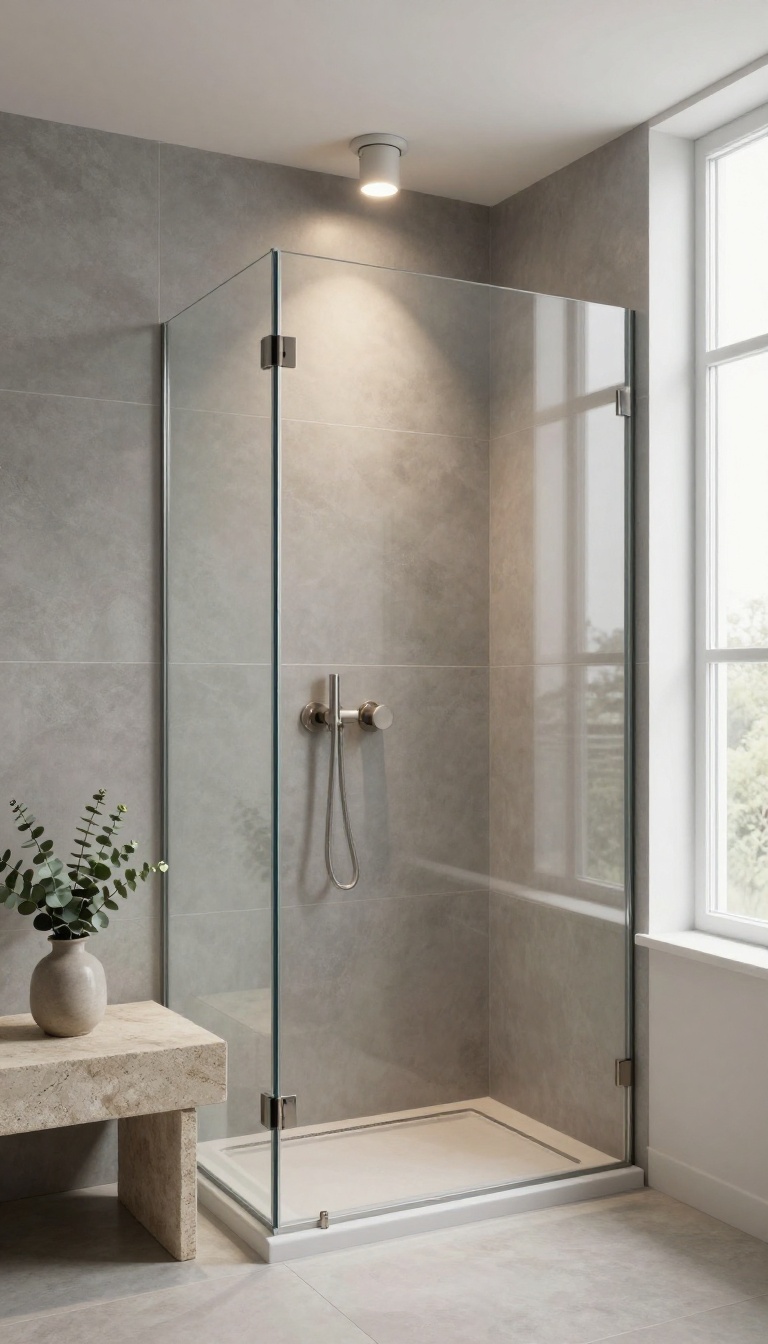
A fixed ceiling light floods the whole shower with the same brightness, whether you need it or not. An adjustable spotlight changes that by letting you aim a beam exactly where you want it. That means bright light over a bench or shaving mirror, and softer light everywhere else.
Directional spots work well in showers because you can point them away from your eyes and toward the task. They also add a bit of drama to tile and glass without much effort. The key is picking the right fixture and aiming it once, not fiddling with it every day.
Most adjustable spotlights use a gimbal or eyeball design, so the head swivels and tilts inside the ceiling trim. You can rotate them after installation, which is handy when you change your shower layout or just want to shift the focus. They come in recessed and surface-mounted versions.
Recessed looks cleaner and keeps a low profile, while surface-mounted is easier to install if you don't want to cut into the ceiling. Either way, make sure the fixture is rated for damp or wet locations. A single spotlight usually covers a small area, so plan on two or three if you want even light across a larger shower.
Pair them with a dimmer and you get both task lighting and a relaxed evening glow.
Aim It Where You Need It
Point one spotlight at the bench or seat so you can see what you're doing when you shave or scrub. Angle another toward the shower controls if they're in a dark corner. Just avoid aiming them directly at eye level, or you'll get glare every time you look up.
Pick The Right Beam And Bulb
Narrow beams (around 25 degrees) work best for tasks because they concentrate light. Wider beams (40 degrees or more) give softer, more general illumination. LED bulbs run cool and last for years, which matters in a steamy space.
Keep It Safe And Simple
Choose a fixture with a sealed trim so moisture can't get inside the housing. If you're not comfortable working around water and wiring, hire an electrician. A single adjustable spot is an easy upgrade, but it still needs to be done right.
13. Budget-Friendly DIY Swap: Replace the Old Fixture
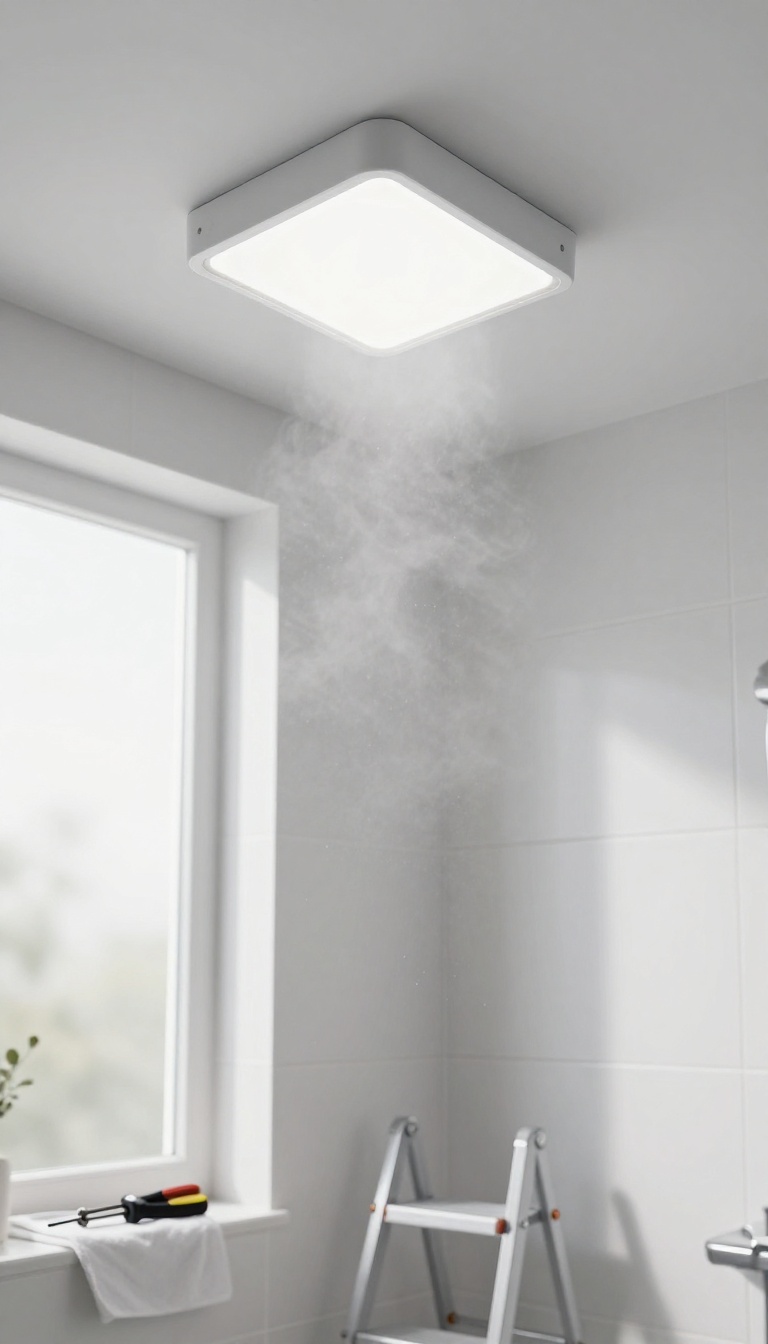
That old ceiling light in your shower? It’s probably the cheapest fixture the builder could find, and it’s been collecting steam and dust for years. Swapping it for a new moisture-rated LED model is one of the easiest upgrades you can do yourself.
No major rewiring, no contractor required—just a few tools and about an hour of your time.
You don’t need to be an electrician to pull this off. Most shower ceiling lights are wired the same way: a couple of screws, a wire nut or two, and you’re done. The key is picking a replacement that’s rated for wet or damp locations, because regular fixtures will rust and short out fast in a steamy bathroom.
Before you buy anything, turn off the power at the breaker and double-check with a voltage tester. Then remove the old fixture and take a photo of the wiring before you disconnect it. That photo will save you if you forget which wire goes where.
When you’re shopping, look for an LED fixture with a high IP rating (IP44 or higher) and a color temperature around 3000K to 4000K. That range gives you bright, clean light without feeling like a hospital. Many new models also have a built-in dimmer or can work with a compatible dimmer switch you already have.
Tools And Materials You’ll Need
Gather a screwdriver, wire strippers, a voltage tester, and wire nuts. You’ll also want a new moisture-rated LED fixture and maybe a fresh gasket or foam seal to keep steam out. A ladder or step stool is a must—shower ceilings are usually higher than you think.
Step-by-step Swap (without The Stress)
Kill the power, remove the old fixture, and disconnect the wires. Match the new fixture’s wires to the ones in the ceiling—black to black, white to white, ground to ground. Secure the new fixture to the ceiling box, restore power, and test it.
If it flickers, turn the breaker back off and check your connections.
What To Look For In A Replacement
Stick with fixtures labeled for wet or damp locations. LED integrated models last longer and use less energy than bulbs. A sealed lens or gasket keeps moisture out, and a slim profile won’t crowd a low ceiling.
If you want dimming, make sure the fixture is dimmable and your switch supports it.
14. Statement Pendant for High Ceilings (With Safety in Mind)
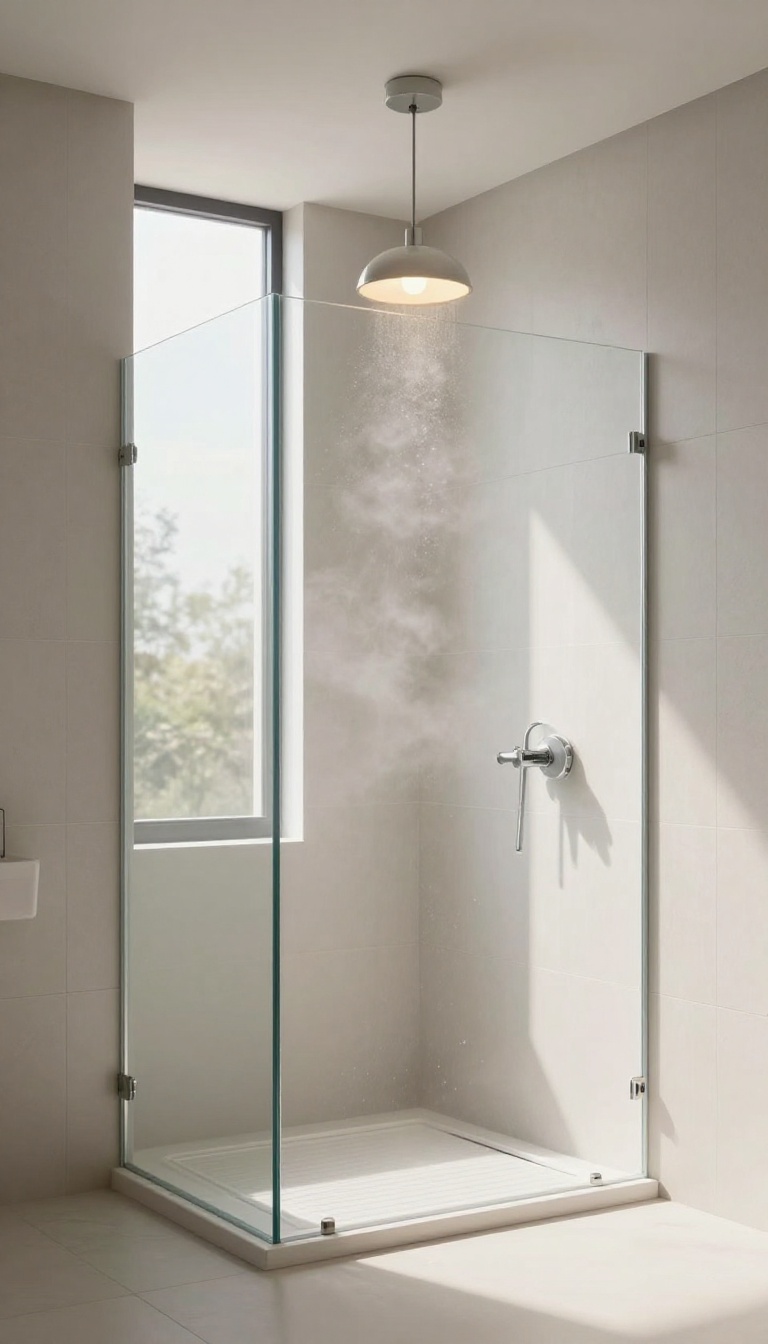
High ceilings in a shower can feel grand, but they also swallow light. A pendant hung from above can bring warmth and style right where you need it. Just remember: water and electricity don't mix, so safety ratings matter more than looks here.
A pendant light in a tall shower adds a designer touch that recessed lights can't match. It draws the eye upward and provides focused light for shaving or rinsing. But because it hangs lower, it's closer to the splash zone.
That means you need a fixture specifically rated for wet locations and installed high enough to stay out of the spray.
Wet-rated Or Bust
Not all pendants are built for bathrooms. Look for a UL listing that says 'wet location' or 'damp location' at minimum. Wet-rated fixtures have sealed components that keep steam and water out.
If it's only dry-rated, skip it—it's an accident waiting to happen.
Height Matters
Hang the pendant so the bottom sits at least 7 feet above the shower floor. That keeps it above the splash zone and out of reach of tall family members. If your ceiling is extra high, you might need a longer chain or cord.
Just don't let it dangle so low that it becomes a head-bonking hazard.
Style That Works
Choose a pendant with a glass or metal shade that's easy to wipe down. Open-bottom designs let steam escape and are simpler to clean. Avoid fabric shades or anything with crevices where mildew can grow.
A sleek, sealed pendant looks modern and stays low-maintenance.
15. Zoned Lighting: Separate Switches for Shower and Vanity
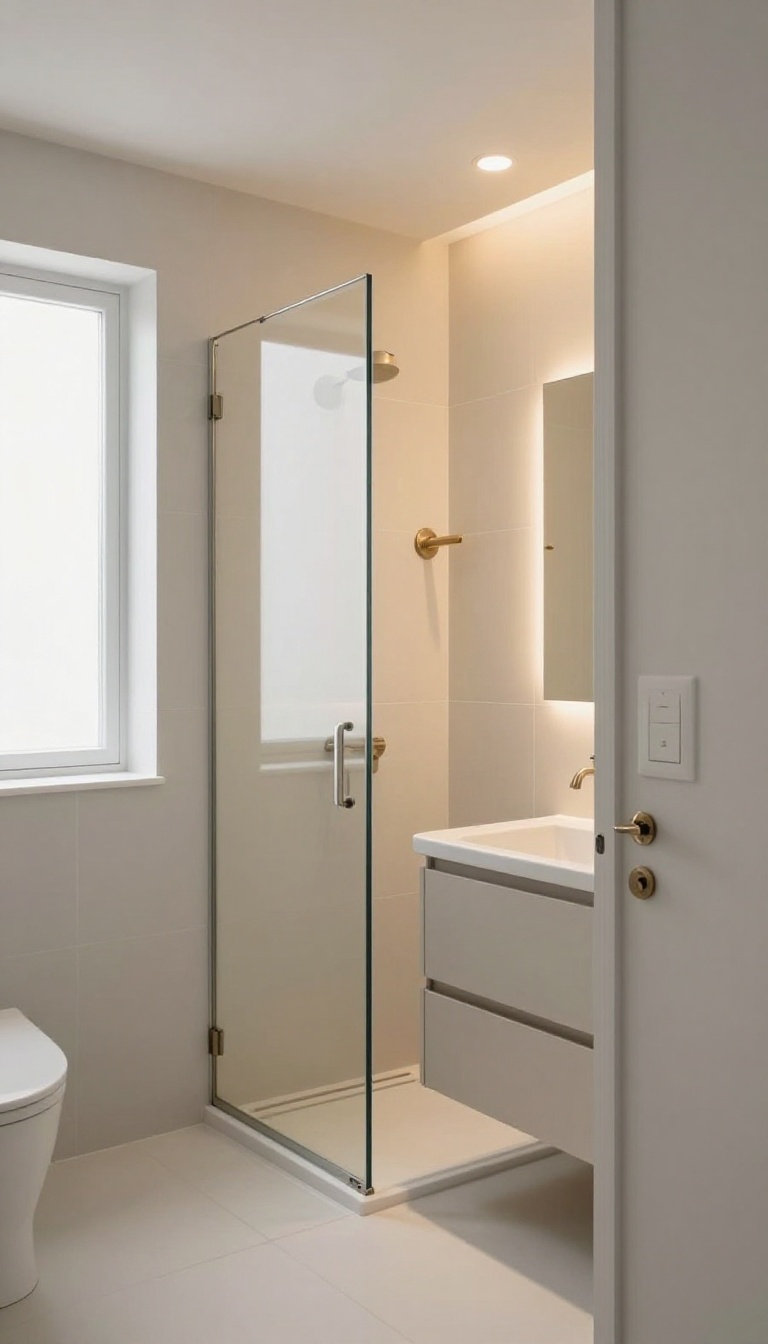
One switch for the whole bathroom means every light comes on at once, whether you need it or not. Zoned lighting splits the shower and vanity onto separate switches so you can light only the area you're using. It's a simple change that makes your morning routine feel more intentional and your bathroom more energy-efficient.
Zoned lighting isn't complicated. You just run the shower light and the vanity lights on different circuits, each with its own switch. That way, you can flip on the shower light for a quick rinse without flooding the whole room, or brighten the vanity for detailed tasks like shaving or makeup without lighting up the shower stall.
It's a small wiring tweak that pays off every day.
How To Plan The Zones
Start by deciding which fixtures belong together. Typically, you'll want the shower light on its own, and the vanity lights on another. If you have a separate water closet or a tub area, those can be their own zones too.
Sketch out your bathroom and mark where you want independent control. This plan will guide your electrician and ensure you get the functionality you want without extra cost.
Wiring And Switch Options
You'll need to run separate cables from the switch box to each zone. If you're remodeling, this is easy to do before the walls go up. In an existing bathroom, it might mean a bit of drywall work, but it's usually manageable.
For switches, consider dimmers for each zone so you can fine-tune brightness. A double-gang switch box with two dimmers is a clean, compact solution.
When To Call An Electrician
If you're comfortable with basic wiring and your local codes allow it, you might DIY this. But if you're unsure, hire a licensed electrician. They'll make sure the circuits are properly grounded and meet safety standards.
Plus, they can advise on the best switch placement for easy access. It's a small investment for peace of mind.
FAQ
What type of ceiling light is best for a shower?
Choose a fixture rated for wet or damp locations, ideally a sealed LED recessed light or flush mount. It should handle steam and splashes without rusting or shorting out.
How bright should shower ceiling lighting be?
Aim for around 500 to 800 lumens for general shower use. If you shave or do detailed tasks, go closer to 1, 000 lumens and add a dimmer for flexibility.
Can I put a regular ceiling light in a shower?
No. Standard fixtures aren't built for moisture. You need a wet-rated or damp-rated light, and it should be installed by someone who knows bathroom electrical codes.
Do I need a special switch for shower lights?
A GFCI-protected circuit is required for bathroom lighting. A dimmer switch is optional but highly recommended for comfort and energy savings.
How high should a shower ceiling light be mounted?
Recessed lights typically sit flush with the ceiling. For surface mounts or pendants, keep them at least 6. 5 to 7 feet above the floor and away from direct spray.
Conclusion
Shower lighting does not need to be complicated or expensive to get right. Pick one or two ideas from this list that match your ceiling height, wiring situation, and daily routine, then build from there. You can always add a dimmer, swap a trim kit, or layer in a second fixture later.
Start with the change that solves your biggest annoyance, whether that is shadowy corners or harsh glare in the morning. Live with it for a week before adding more. Good shower light should feel invisible, and once it does, the whole bathroom just works better.