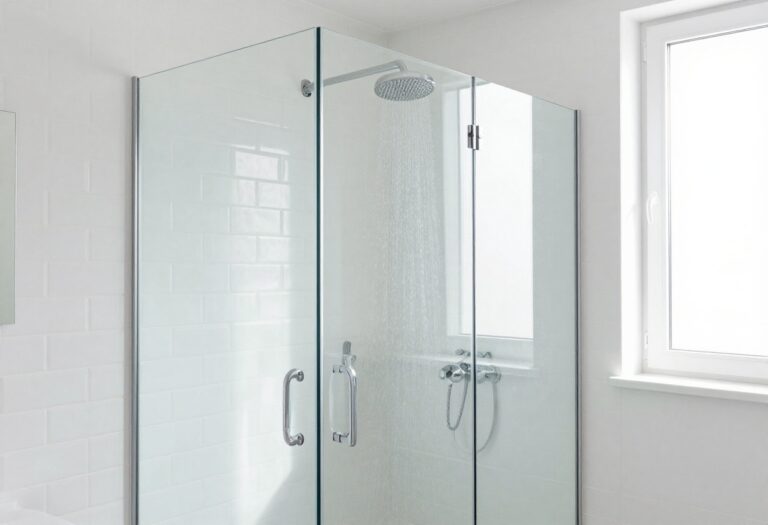
13 Clever Knee Wall Shower Ideas with Stylish, Usable Design
A knee wall can feel like a design afterthought, but it's actually one of the hardest-working features in a shower. Done right, it hides plumbing, blocks spray, and adds a custom look without a full glass enclosure.
These 13 ideas focus on real-world solutions: better storage, easier cleaning, and layouts that work in small or awkward bathrooms. You'll see how materials, height, and glass choices change everything.
Whether you're remodeling or just dreaming, use these as a starting point. Mix and match details to fit your space, budget, and style.
1. Half-Wall with Built-In Niche Storage
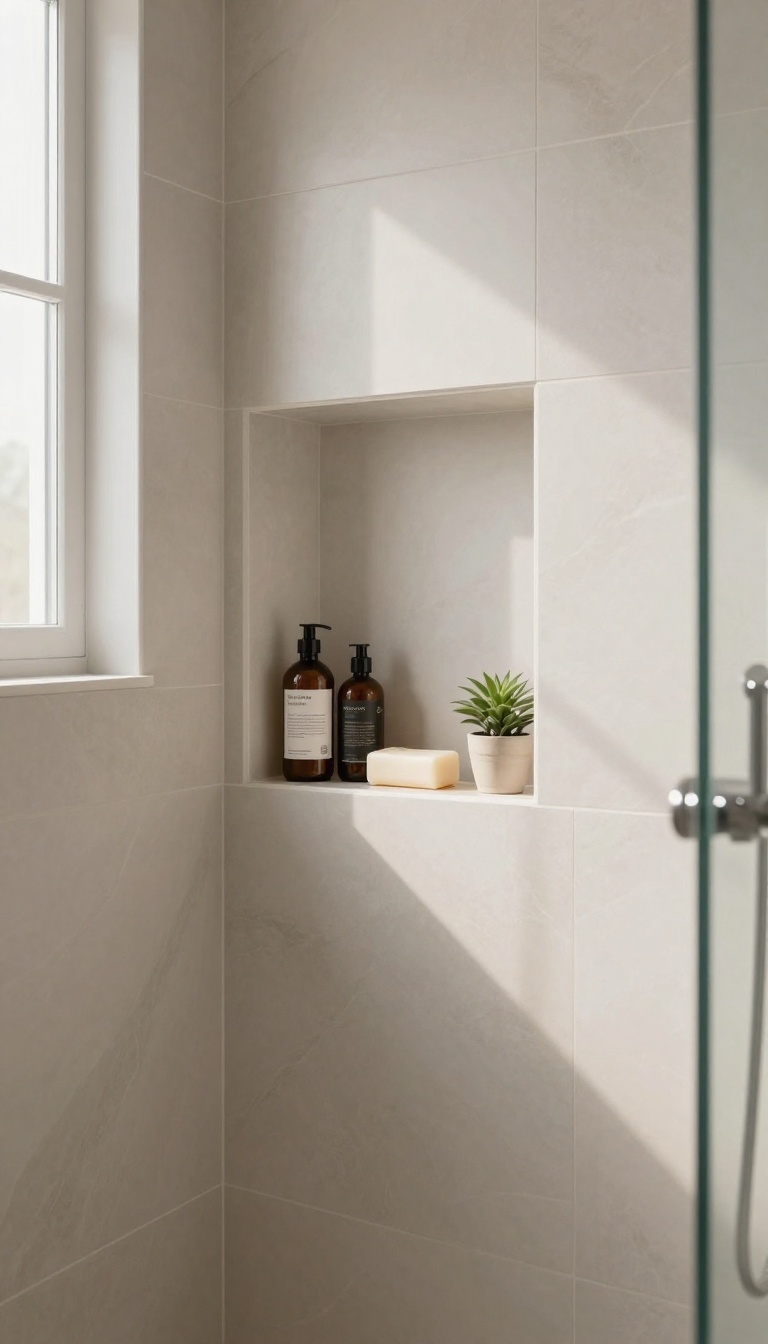
A half-wall already does a lot: it blocks overspray, hides plumbing, and gives you a place to anchor glass. But the shower side of that wall is often wasted space. Recessing a niche into it turns dead square footage into a shelf that holds shampoo, soap, and whatever else clutters your floor.
A niche is just a recessed box framed into the wall cavity. On a knee wall, the depth is usually there—typically 3. 5 to 5.
5 inches—so you can carve out a shelf without stealing room from the shower. The result feels custom because it is. You're using the structure you already have, not adding a bulky caddy or a hanging organizer that rusts in six months.
The trick is planning the niche before the wall gets closed up. Once tile is on, retrofitting is messy and expensive. So if you're in the design phase, this is the moment to decide.
If your knee wall is already tiled, you can still add a surface-mounted niche that mimics the look, though it won't be truly recessed. Both work; one just feels more seamless.
Sizing And Placement That Actually Works
Most niches land between 12 and 16 inches wide and 20 to 24 inches tall. That's enough for tall bottles without looking like a medicine cabinet. Place the bottom shelf at least 18 inches above the shower floor so you're not bending awkwardly, and keep the top within easy reach—usually around 48 to 60 inches from the floor.
If you have a fixed showerhead, center the niche on the knee wall. With a handheld, offset it slightly toward the valve so you can grab products without stepping into the spray. Small moves like that make the niche feel intentional rather than decorative.
Materials And Waterproofing Details
The niche needs the same waterproofing as the rest of the shower: cement board, a liquid or sheet membrane, and sealed corners. Skipping that step is how you get mold behind the tile. For the shelf itself, slope it slightly toward the drain—about 1/8 inch per foot—so water runs off instead of pooling.
Tile the niche in the same material as the walls for a clean look, or use a contrasting stone or glass mosaic to make it a focal point. A marble threshold as the bottom shelf is a classic choice, but porcelain slabs and quartz remnants work just as well and cost less. Just avoid porous natural stone unless you seal it regularly.
Lighting And Finishing Touches
A small LED strip or a recessed waterproof light inside the niche makes it feel like a hotel bathroom. It also helps you see what you're grabbing when the shower is steamy. Run the wiring before the wall is closed up, and make sure the fixture is rated for wet locations.
On the shower side, consider a slim shelf or a built-in hook for a loofah or razor. On the dry side of the knee wall, you can add a towel bar or robe hook. That way the wall works from both directions, and you get more function out of the same footprint.
2. Glass Panel on Top for an Open Feel
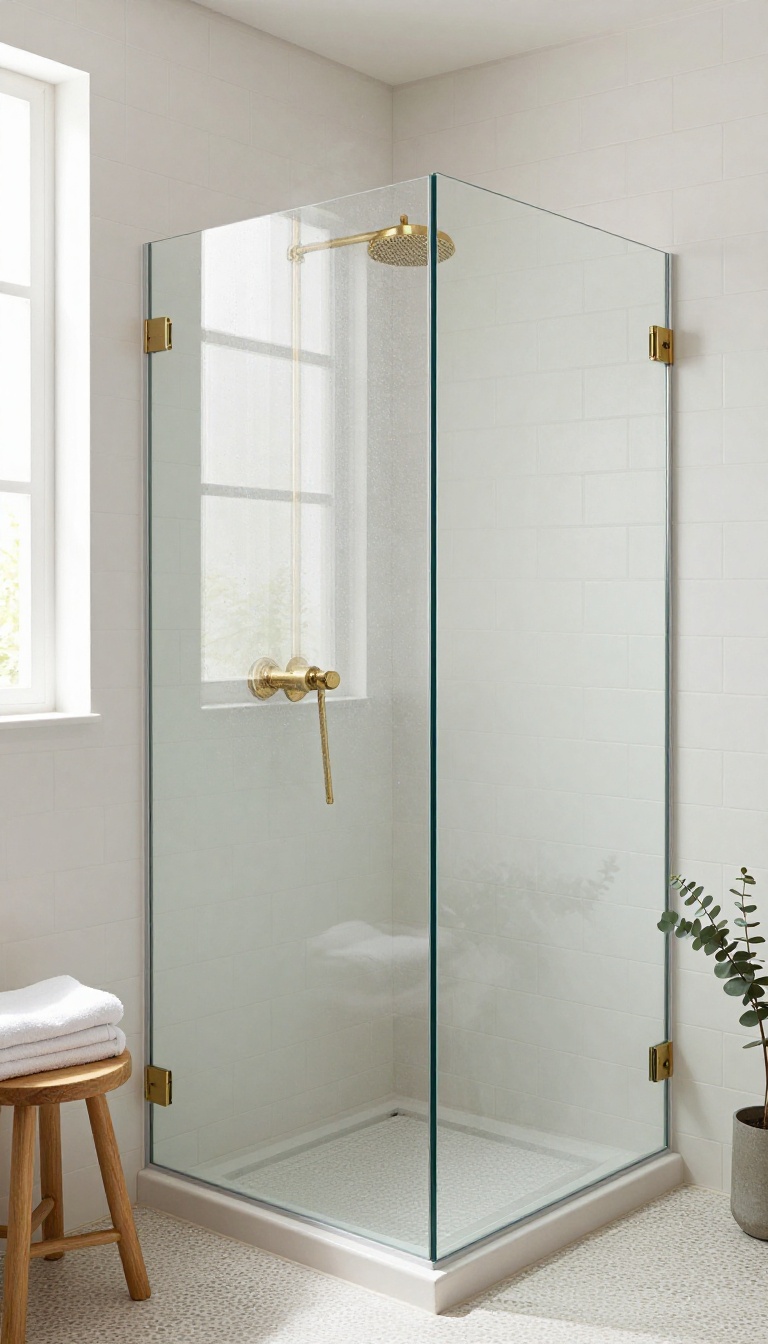
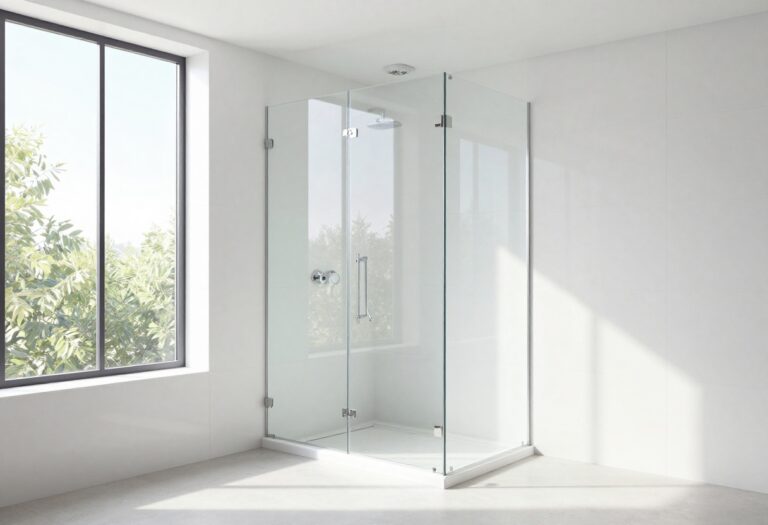
A knee wall capped with a fixed glass panel gives you the best of both worlds: solid privacy where you need it and open sightlines above. It blocks water from escaping while letting light and air move freely through the room. This setup feels more spacious than a full glass enclosure and more polished than a shower curtain.
The glass panel typically sits on top of a half-wall that's 36 to 48 inches high, extending up another 12 to 24 inches. That extra height stops most spray without boxing you in. You get a clean, custom look that works in small bathrooms where a full glass door would feel cramped.
Why It Works
Water hits the solid knee wall first, so the glass only has to handle splash and steam. That means you can use a single fixed panel instead of a heavy door with hinges and seals. The open top also lets humidity escape, which helps prevent mold and keeps the room from feeling steamy.
Choosing The Right Glass
Go with 3/8-inch tempered glass for safety and stability. Clear glass keeps the space bright, while frosted or low-iron options add privacy or reduce green tint. If you want a seamless look, ask for a polished edge and minimal hardware.
Installation Tips
The glass panel needs a secure channel or clips anchored into the knee wall. Make sure the wall is level and sturdy enough to support the weight. A professional glazier can template the panel for a perfect fit, especially if your walls aren't perfectly square.
3. Tile-to-Ceiling Knee Wall for a Seamless Look
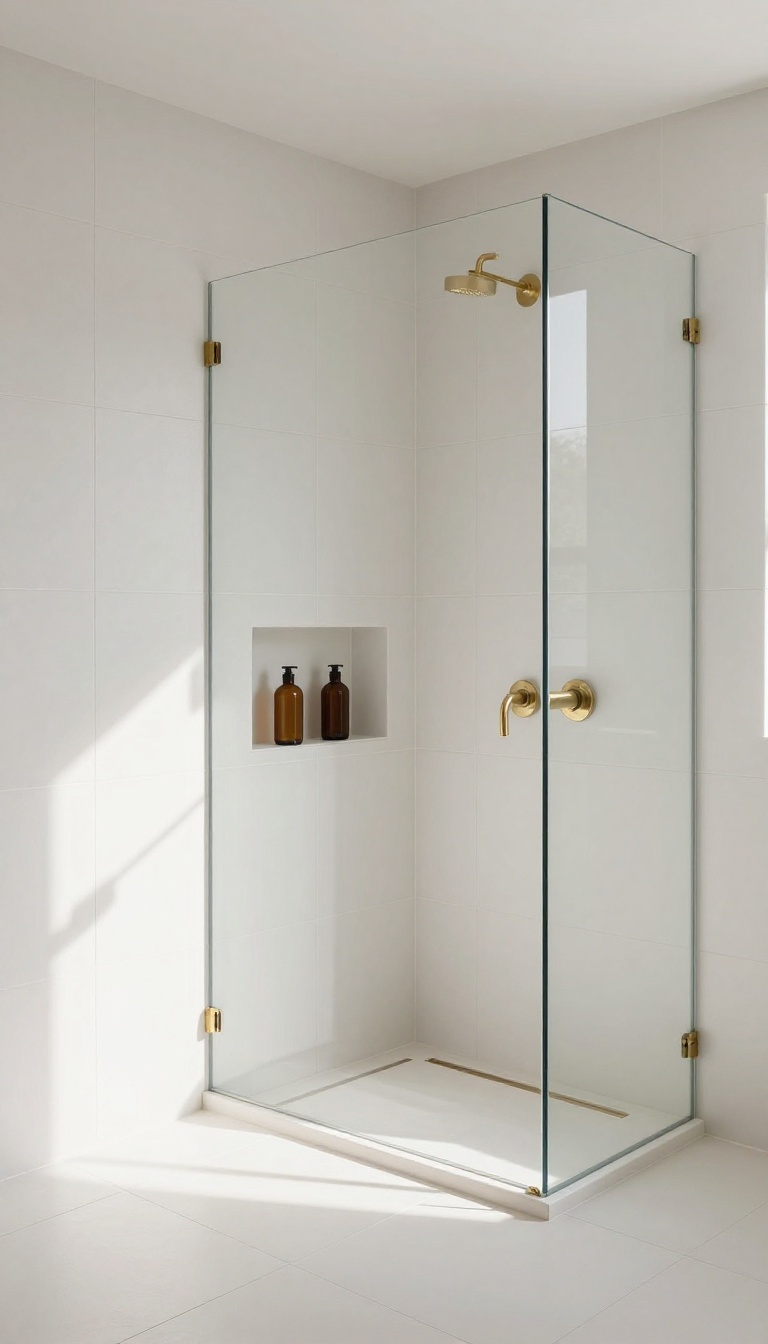
Running tile from the shower floor all the way to the ceiling—and over the knee wall—creates a continuous, uninterrupted surface that instantly makes the space feel taller and more polished. It also eliminates the awkward line where tile usually stops, which can make a bathroom look pieced together. Beyond looks, that full-height tile protects the knee wall and the drywall above it from steam and splashes.
It's a smart move if you want low-maintenance walls that still feel custom.
The basic approach is simple: choose a tile you love, then run it from the shower pan up the walls, across the top of the knee wall, and all the way to the ceiling. No borders, no bullnose trim at the top—just a clean edge where the tile meets the ceiling paint or a simple caulk line. The knee wall gets wrapped in the same tile on both sides, so it reads as part of the shower rather than a separate element.
This works with almost any tile material, but large-format porcelain or ceramic sheets give the most seamless look because there are fewer grout lines. If you prefer the texture of subway tile or zellige, that's fine too—just keep the grout color close to the tile so the pattern doesn't chop up the vertical flow.
Why It Makes The Room Feel Bigger
Vertical lines draw the eye upward, and uninterrupted tile does exactly that. When the tile stops at the knee wall or a standard 6-foot height, your eye catches that horizontal line and the room feels shorter. By taking tile to the ceiling, you remove that visual stop and the whole bathroom reads as taller.
It also creates a more cohesive look because there's no mismatched paint or drywall above the shower. Everything feels intentional and finished.
Moisture Protection You Can't Ignore
Steam and spray don't stay inside the shower—they rise and spread. If the wall above your knee wall is just painted drywall, it's vulnerable to peeling, bubbling, and even mold over time. Tile acts as a waterproof barrier that wipes clean and won't degrade.
Make sure the substrate behind the tile is properly waterproofed, especially in the shower area. A liquid waterproofing membrane or cement backer board with a vapor barrier will keep moisture from getting into the walls.
Design Details That Make It Work
Keep the tile pattern consistent from floor to ceiling. If you're using a mosaic on the shower floor, transition to a larger wall tile above, but keep the color palette tight. A linear drain or a simple tile-in shower floor can continue the seamless look.
For the top edge, you have two options: tile all the way to the ceiling and caulk the joint, or stop just below the ceiling and add a slim trim piece. Caulking is cleaner and more modern, but trim can hide uneven ceiling lines. Either way, use a matching caulk, not grout, where the tile meets the ceiling to allow for movement.
Cost And Installation Notes
Tile-to-ceiling uses more material and labor than a standard shower, so budget accordingly. But the payoff is a high-end look that can add value to your home. If you're DIYing, plan carefully—tiling a ceiling requires extra adhesive and support until the thinset sets.
Hiring a pro is often worth it for the ceiling portion, especially if you're using heavy large-format tiles. They'll know how to prep the surface and avoid sagging. And don't forget to seal any natural stone tile regularly to keep it looking fresh.
4. Bench and Knee Wall Combo
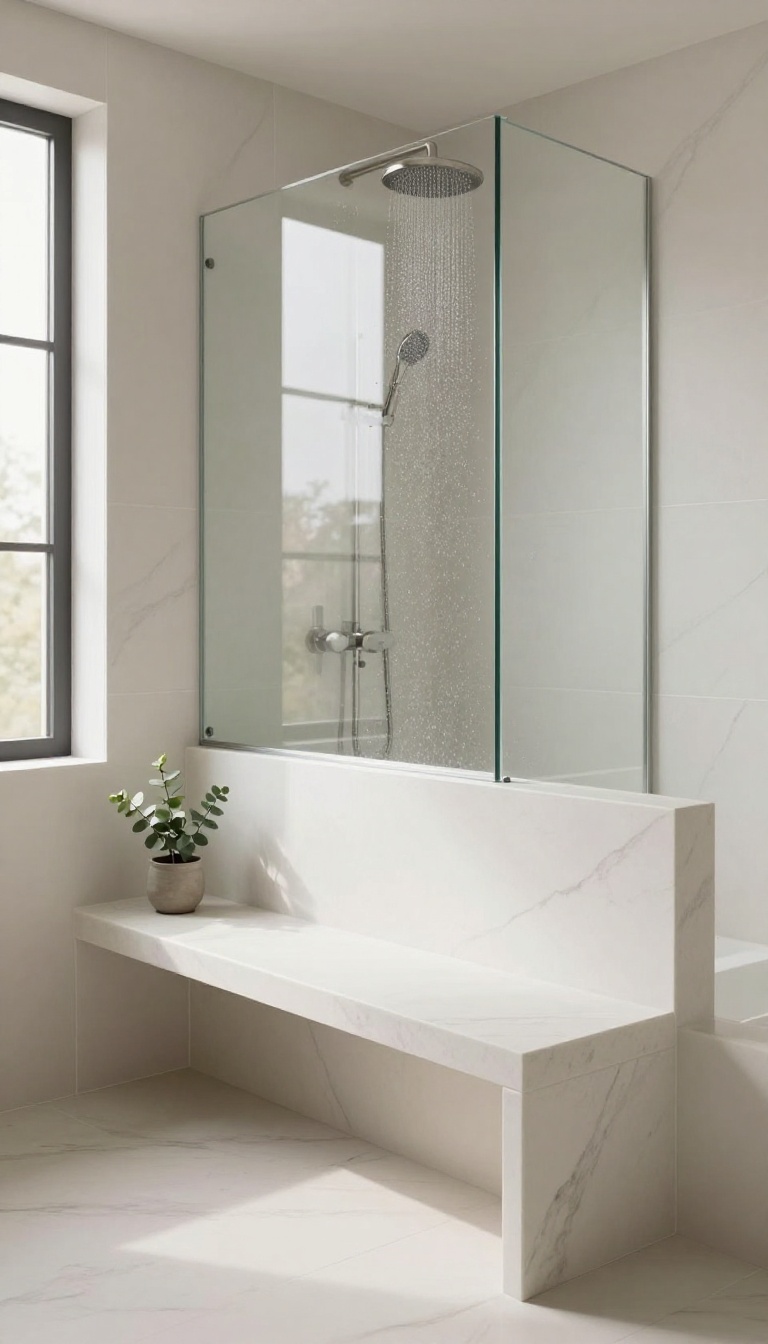
A bench that grows out of the knee wall feels like it was always meant to be there. Instead of a separate seat plopped in the corner, the knee wall becomes the backrest or side support, so the whole thing reads as one piece. It's a smart way to add seating without eating up floor space, and it gives you a spot to shave, sit, or just enjoy the steam.
The trick is making the bench look intentional, not tacked on. When the bench ties into the knee wall, you get a seamless transition that's both sturdy and stylish. Here's how to pull it off.
How To Build The Connection
You can frame the bench so it butts right up against the knee wall, then tile over both for a continuous surface. A floating bench works well here—it's anchored to the wall studs and the knee wall, so it stays rock solid without legs. If you prefer a more traditional look, a supported bench with a tiled base also works, but floating keeps the floor open and easier to clean.
Materials That Hold Up
Use the same tile or stone on the bench and knee wall to make them feel like one unit. For the bench top, a solid slab of quartz or marble adds a nice contrast and won't show water spots. Just make sure everything is sloped slightly toward the drain so water doesn't pool.
Size And Placement Tips
A bench depth of 15 to 18 inches is comfortable for sitting, and it should be about 17 to 19 inches high. If your knee wall is on the shorter side, you can still attach a bench that extends past it—just keep the proportions balanced so it doesn't look top-heavy. And leave enough room between the bench and the showerhead so you can stand up without bumping your head.
5. Knee Wall as a Towel Shelf
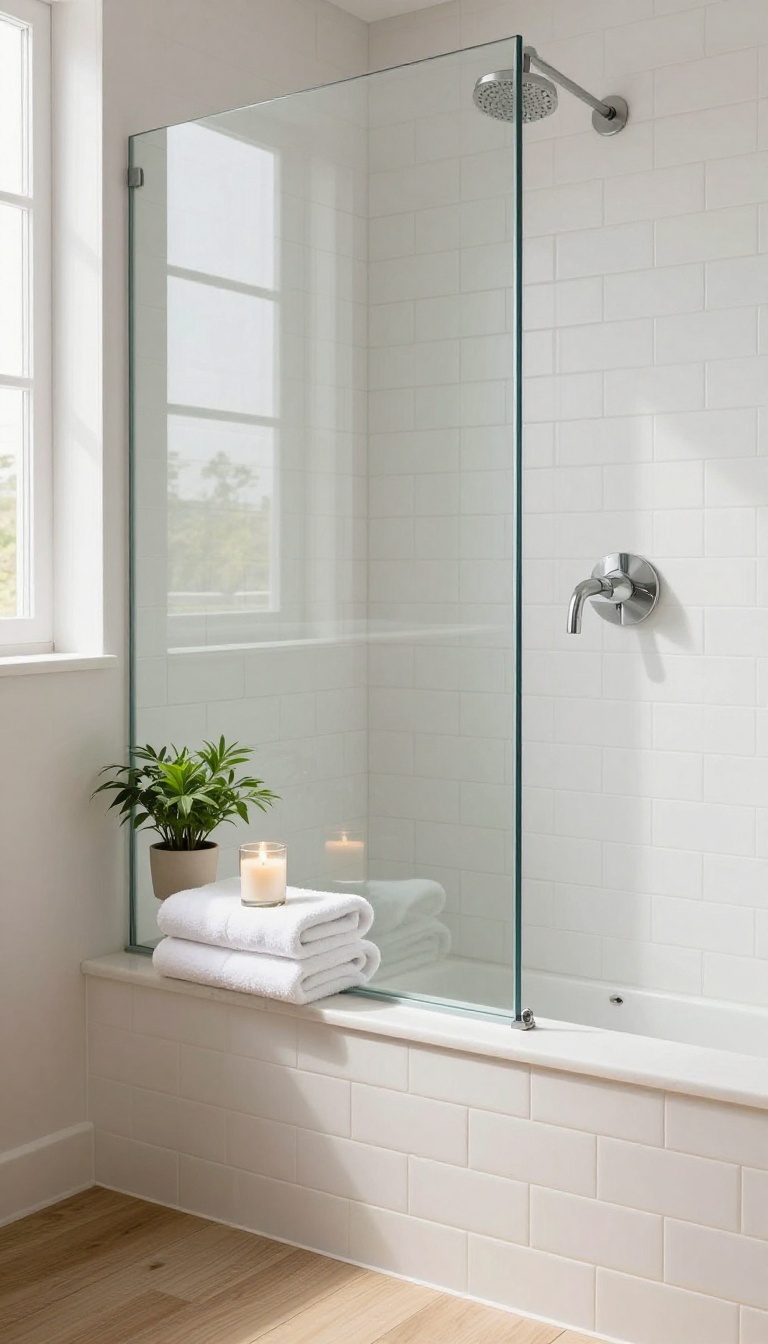
A knee wall doesn't have to stop at blocking water. Widen the top a few inches and it becomes a handy ledge for folded towels, a candle, or a small plant. The trick is keeping that ledge far enough from the spray so everything stays dry and ready to use.
This works best when the knee wall sits opposite the showerhead or off to the side. If it's directly in the line of fire, you'll end up with soggy towels and water spots on your decor. A depth of 6 to 8 inches gives you enough room for a stack of towels without turning the wall into a bulky room divider.
You can also add a subtle slope toward the shower so any splashes drain back inside. That tiny detail keeps the ledge dry and prevents water from pooling on top. Pair it with a glass panel above, and you get a clean, open look that still feels intentional.
How Wide Is Wide Enough?
A 6-inch top is the sweet spot for most bathrooms. It holds a folded bath towel or two without stealing floor space. Go wider only if you have the room and want to display a candle or a small tray.
Keep It Dry
Position the ledge at least 18 inches from the showerhead, or angle it away from the spray. A slight tilt toward the shower helps runoff find its way back inside. If your layout puts the wall in the splash zone, skip the towels and use it for decorative items only.
Finishing Touches
Cap the knee wall with the same stone or tile as the shower for a seamless look. A piece of quartz or marble adds a polished edge that's easy to wipe clean. Just avoid porous materials that soak up water and stain over time.
6. Curved Knee Wall for Softness
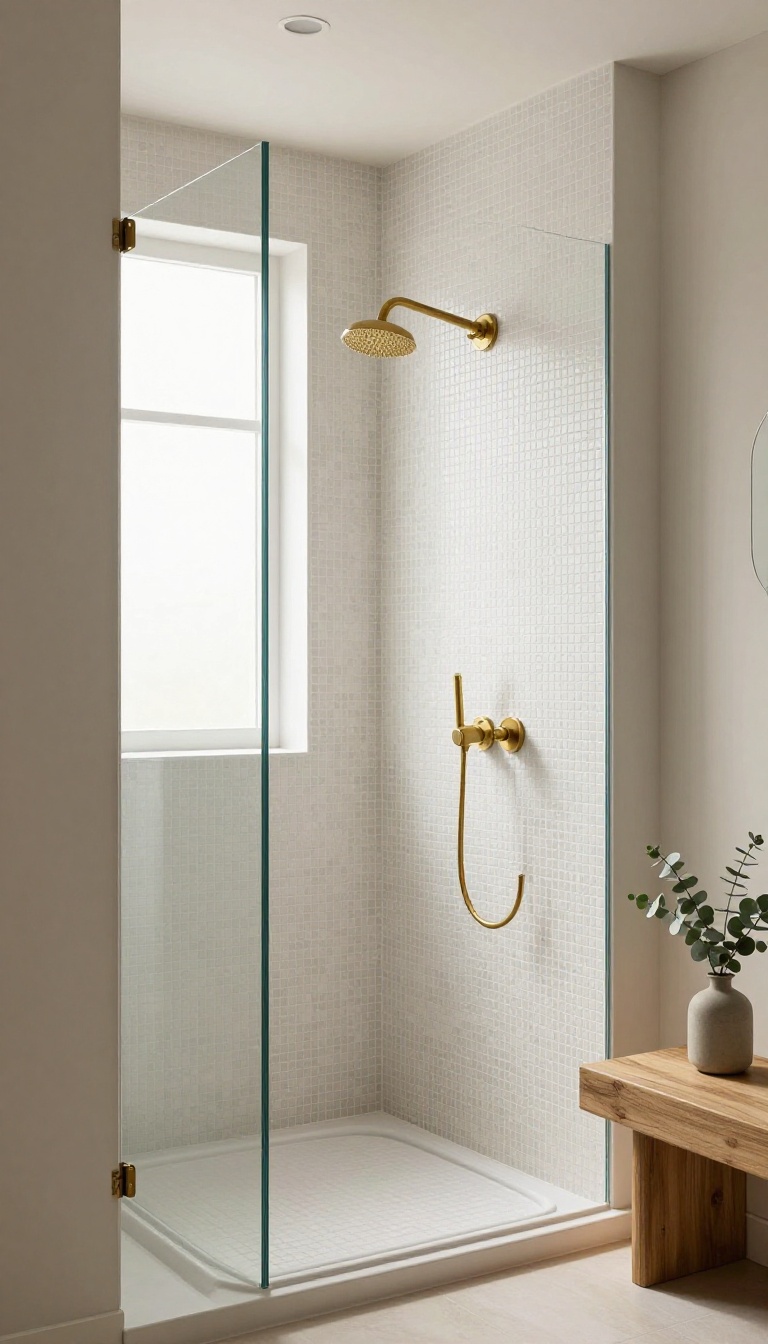
Straight lines dominate most bathrooms, which is why a curved knee wall feels like a breath of fresh air. Instead of a rigid rectangle, you get a gentle arc that softens the whole shower area and guides you through the space. It costs more to build, but the custom, organic feel is hard to replicate with standard materials.
A curved knee wall isn't just a pretty face. It can improve flow in tight bathrooms by eliminating sharp corners that catch your hip or elbow. The curve also makes small showers feel less boxy and more inviting.
You'll need a skilled carpenter or tile setter to frame and finish it, but the payoff is a one-of-a-kind look that blends function with sculpture.
Framing And Materials
You can't just bend a standard 2×4. Most curved knee walls start with a flexible plywood or a series of closely spaced studs cut to a template. Once the curve is framed, a cement backer board goes on top, followed by tile.
Porcelain and glass mosaics handle curves best because they're small and forgiving. Large-format tiles will fight you every step of the way.
Glass That Follows The Curve
A curved knee wall usually pairs with a custom glass panel that mirrors the arc. That means templating the glass after the tile is set, which adds time and cost. But the result is a seamless transition from wall to glass.
If budget is tight, you can stop the curve at the knee wall and use a straight glass panel above—just make sure the transition looks intentional.
Where It Works Best
Curved knee walls shine in small bathrooms where a standard rectangular shower feels cramped. They also work well in powder rooms or guest baths where you want a focal point. Avoid them in very narrow showers, though—the curve eats up precious inches.
And if you have a tight budget, a curved wall might not be the best place to splurge.
7. Two-Tone Tile on the Knee Wall
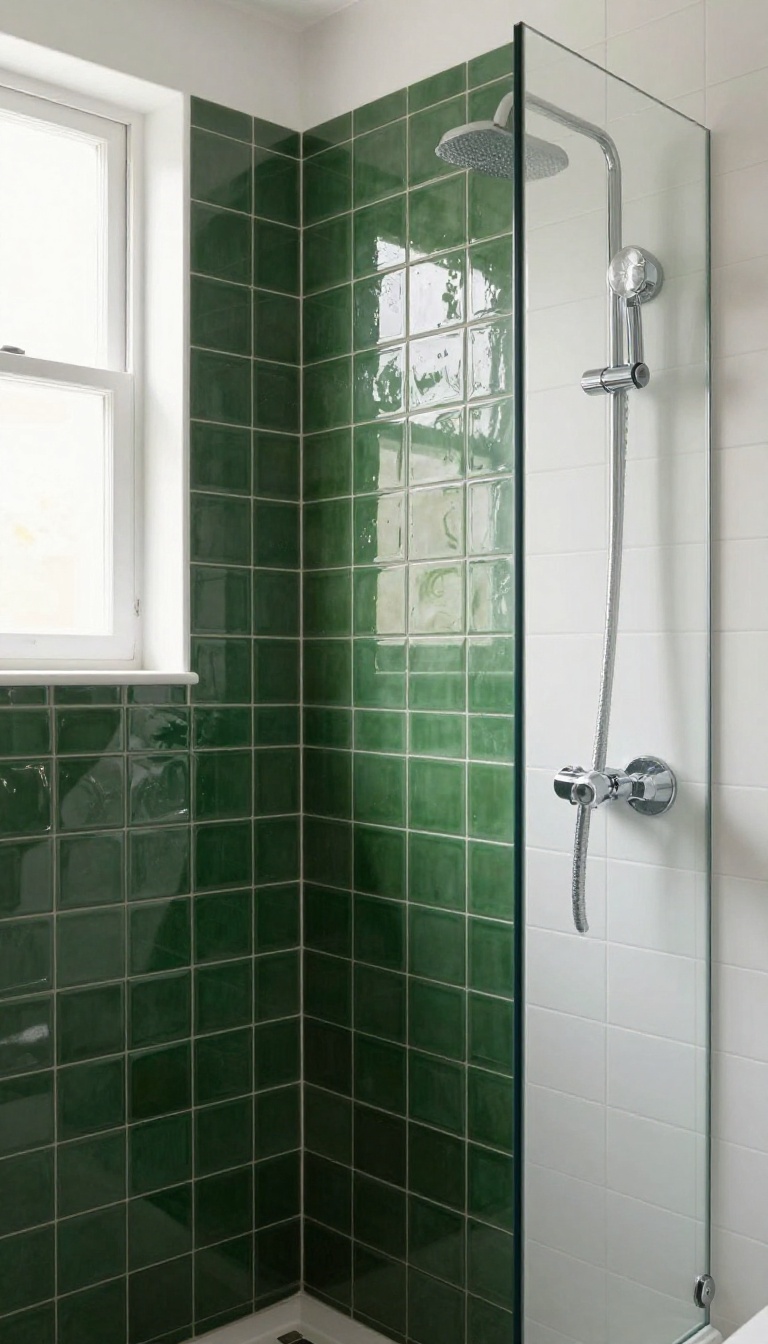
Tile is one of the easiest ways to make a knee wall look intentional instead of leftover. When you switch colors or finishes right at that half-height wall, the eye lands there and the whole shower feels designed rather than default. It's a small move with a big payoff, and it doesn't require rethinking your entire bathroom palette.
The trick works because the knee wall is a natural border. You already have a break in the surface there, so a color change reads as deliberate. You get a focal point without turning every wall into a statement.
Two-tone tile is exactly what it sounds like: one tile on the main shower walls, a different tile on the knee wall. The contrast can be subtle or bold, depending on how far apart the two colors sit on the spectrum. Either way, the knee wall becomes the thing people notice first.
This approach suits almost any style. A crisp white field tile with a deep green or navy knee wall feels classic. Warm terracotta against cream reads Mediterranean.
Even a matte and glossy version of the same color counts as two-tone and looks surprisingly rich.
Where To Make The Switch
The cleanest break happens at the outside corner of the knee wall, where the main wall tile ends and the knee wall begins. Keep that transition on a full tile edge if you can, so the line looks sharp. If your knee wall wraps around a corner, carry the accent color across the whole return so it doesn't look like a patch.
Choosing Colors That Play Well
Pick two tiles that share a tone—both warm, both cool, or both neutral—so the contrast feels calm rather than clashing. A darker knee wall grounds the shower and hides water spots better than a pale one. If you want the wall to recede, go lighter on the knee wall and let the main tile carry the weight.
Grout And Trim Details
Match grout to the tile it sits between, or use one neutral grout throughout for a quieter look. A contrasting grout line on the knee wall can double down on the two-tone effect, but it also draws attention to every joint. Finish the top edge with a matching trim piece or a bullnose tile so the color change looks finished, not accidental.
8. Knee Wall with Integrated Lighting
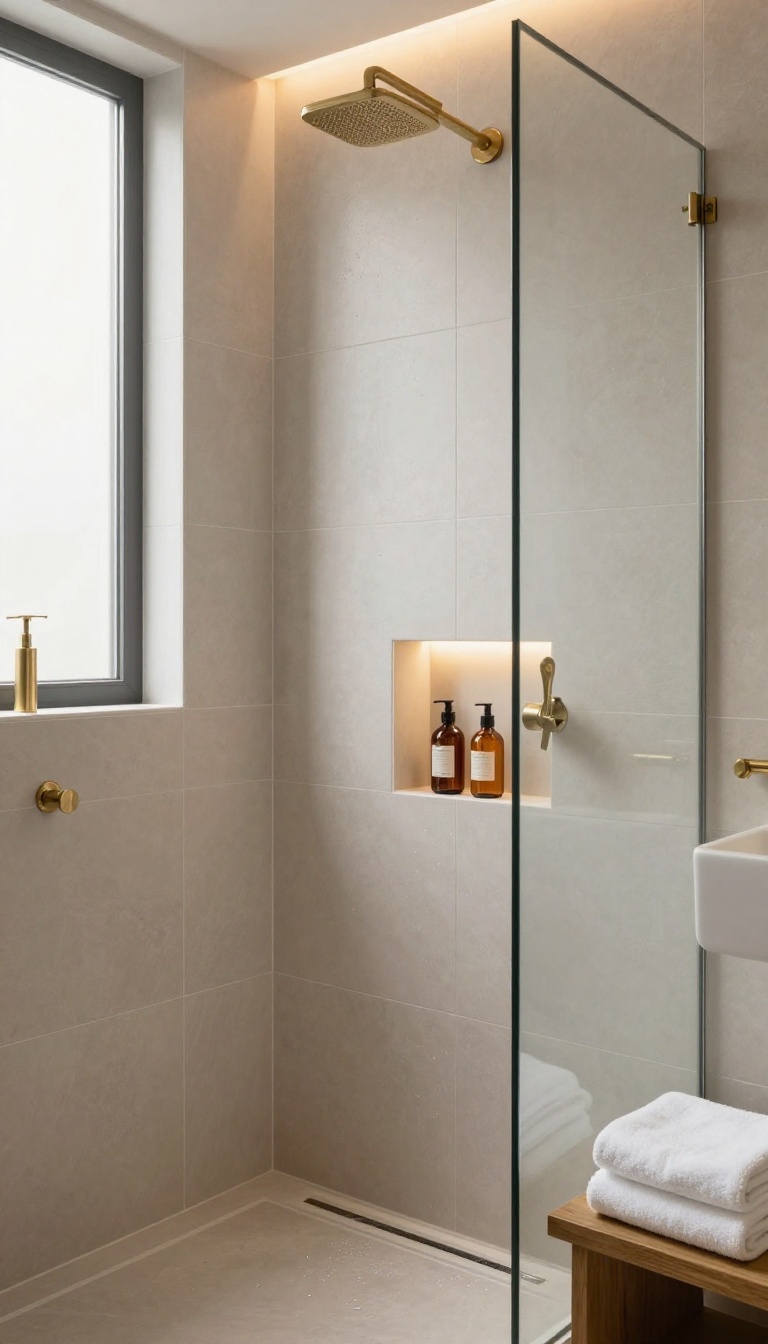
Lighting rarely gets the attention it deserves in a shower remodel, yet it changes how the whole space feels. A knee wall gives you a built-in ledge, cap, or niche where you can tuck LED strips out of sight. The result is a soft glow that helps at night and makes the shower look like a boutique hotel.
You don't need a big budget or an electrician on speed dial for every version of this idea. Some setups plug into an existing GFCI outlet, while others tie into a dimmer switch for full control. The key is planning the wiring before tile goes up, because retrofitting later means opening walls.
Once it's in, the payoff is a knee wall that reads as a design feature instead of a divider.
Where To Hide The Led Strip
The cleanest spot is under the cap. Route a slim LED channel along the underside, facing down toward the shower floor. It washes light over the tile without glaring in your eyes.
If your knee wall has a niche, run the strip along the top inside edge. That turns a storage cutout into a glowing display for shampoo bottles and soap.
Wiring And Safety Basics
Showers are wet zones, so use LED strips rated for damp locations and keep the driver box outside the spray area. A GFCI circuit is non-negotiable. If you want a dimmer, choose one compatible with your LED driver to avoid flicker.
For a simple plug-in kit, hide the cord behind the wall or inside a nearby vanity cabinet.
Choosing The Right Color Temperature
Warm white (2700K–3000K) feels cozy and flattering for evening showers. Cool white (4000K–5000K) mimics daylight and works better if you shave or apply makeup in the shower. Many smart strips let you switch between the two, so you get both moods from one install.
Test the strip against your tile before committing, since color can shift on different surfaces.
Making It Look Custom, Not Cluttered
Hide the strip inside an aluminum channel with a diffuser lens. That eliminates the dotted-LED look and spreads light evenly. Match the channel finish to your shower fixtures—brushed nickel, matte black, or chrome—so it blends in.
Keep the run continuous and avoid sharp corners that create dark spots. Done well, guests won't see the hardware, just the glow.
9. Low Knee Wall for Curbless Showers
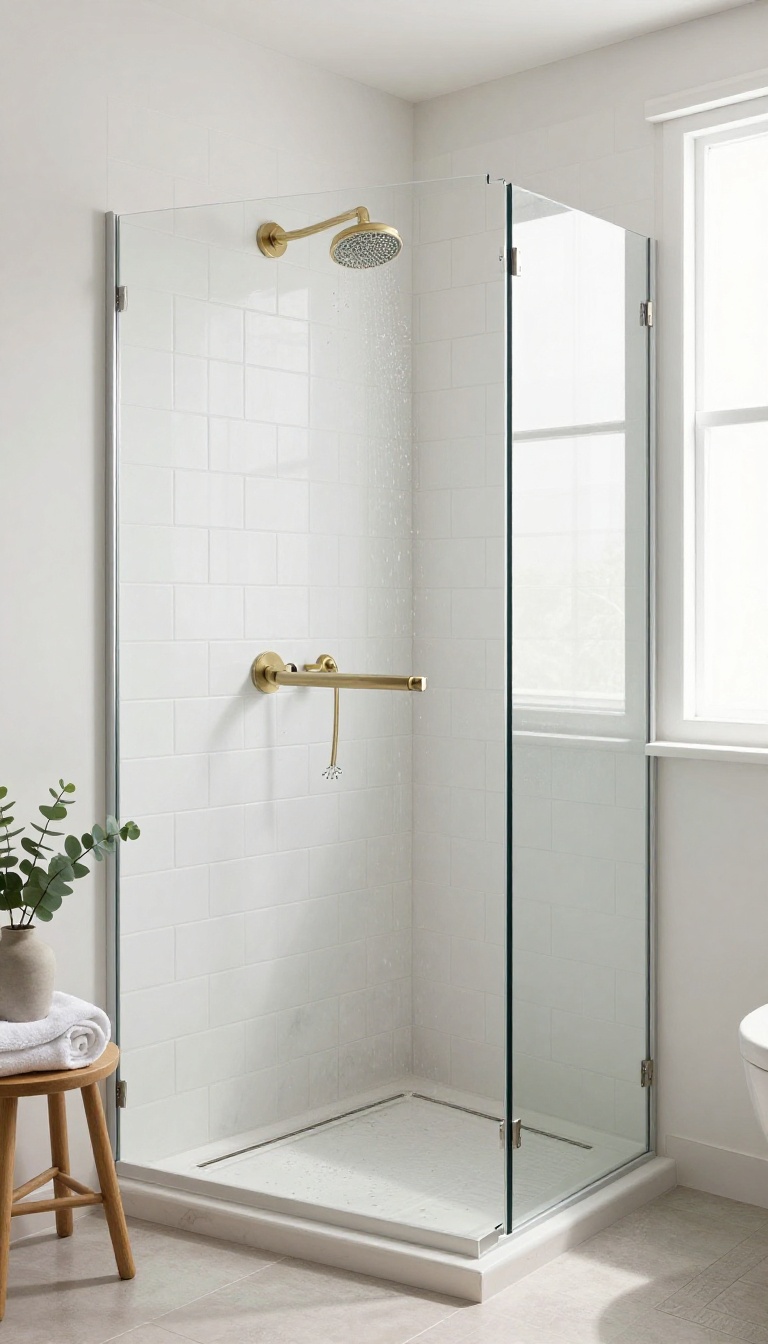
Curbless showers look sleek and feel open, but they come with a real challenge: water control. A low knee wall—typically 12 to 24 inches tall—can act as a gentle barrier without turning your shower into a closed-in box. It keeps spray from wandering while preserving the easy step-in access that makes curbless designs so appealing.
A low knee wall in a curbless shower works because it's tall enough to catch splashes but short enough to step over or see across. It won't block light or make the space feel cramped, and it can double as a subtle shelf or a place to mount a hand shower. The key is getting the height and placement right so it feels intentional, not like a leftover stub.
Height And Placement
Most low knee walls land between 12 and 24 inches. That range blocks most spray from a standard showerhead without creating a visual wall. Place it on the side where water tends to escape—usually opposite the showerhead or near the entry—so it catches the worst of the splash.
If you have a bench, you can run the knee wall at bench height for a seamless look.
Water Containment Without A Curb
Even with a curbless floor, you still need a way to keep water from pooling outside the shower. A low knee wall works with a slight slope in the tile and a linear drain to manage runoff. The wall itself doesn't stop everything, but it slows water down and gives it a chance to drain properly.
Pair it with a good shower curtain or a partial glass panel for extra protection.
Materials And Finishing
Since the knee wall sits low, it's a great spot to show off a favorite tile or stone. Use the same material as the shower floor or walls for a cohesive look, or go with a contrasting slab for a modern touch. Cap it with a solid piece of quartz or marble to prevent water from sitting on the top edge.
Make sure all surfaces are sealed and sloped slightly toward the drain.
10. Knee Wall with a Built-In Shower Caddy
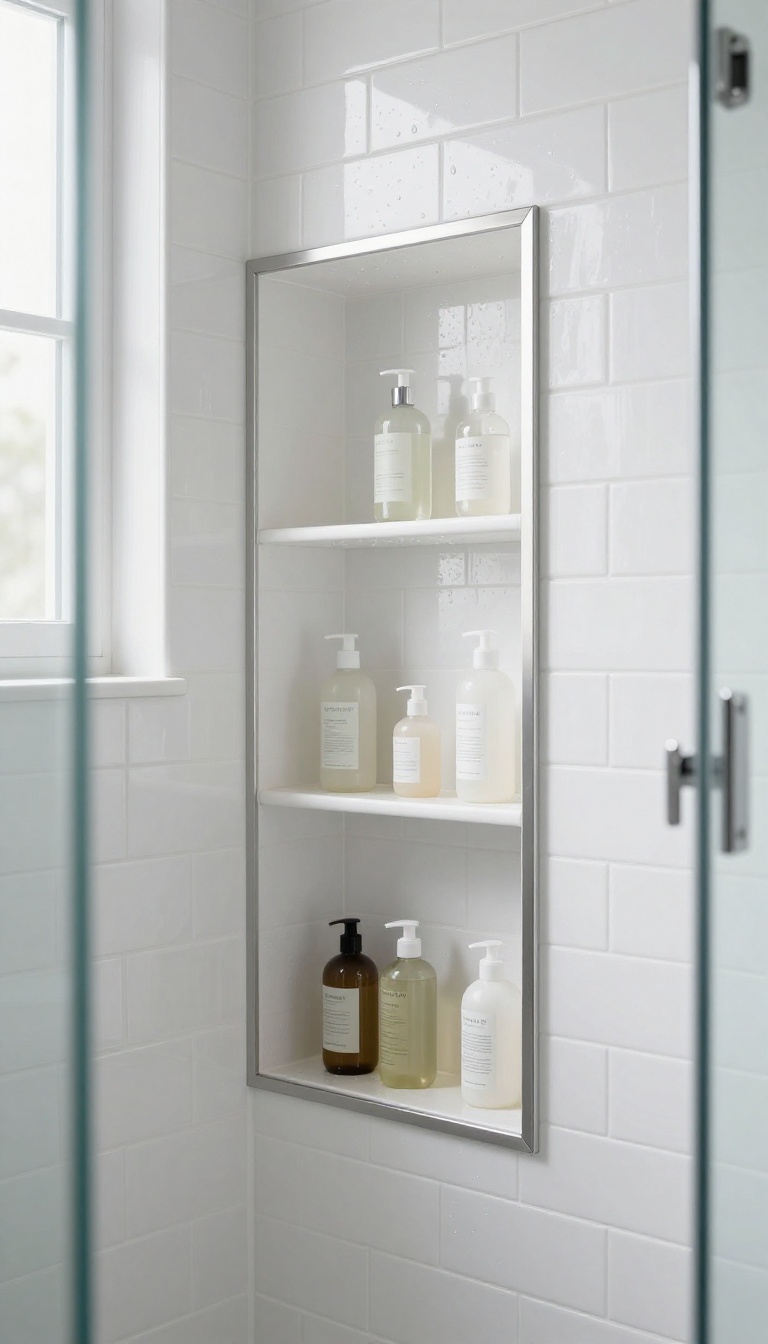
Hanging caddies drip, rust, and eventually crash into the tub at 2 a. m. A built-in caddy solves that by turning the knee wall into a slim storage column. It keeps bottles off the floor and out of your way, without adding a bulky shelf.
The trick is to frame a narrow niche into the knee wall before tile goes up. You're not carving into a load-bearing wall—just using the depth you already have. A 4- to 6-inch-deep column fits most shampoo bottles, and you can stack two or three shelves vertically.
The result looks custom because it is.
Framing The Column
Your contractor adds vertical studs and a backer board inside the knee wall cavity. Keep the opening at least 12 inches wide so you can reach in comfortably. Line the interior with waterproof membrane before tiling—this is non-negotiable in a wet zone.
Shelf Spacing And Drainage
Angle each shelf slightly toward the shower so water runs out instead of pooling. Leave a half-inch gap between the shelf and the back wall for airflow. Two shelves usually beat three—tall bottles need room, and crowded shelves defeat the purpose.
Finishing Touches
Use the same tile inside the niche as the shower walls for a seamless look, or go with a contrasting stone slab for a focal point. A thin metal or stone edge protects the tile corners and makes cleaning easier. Skip glass doors on the niche—open shelves dry faster and cost less.
11. Half-Wall with a Plant Shelf
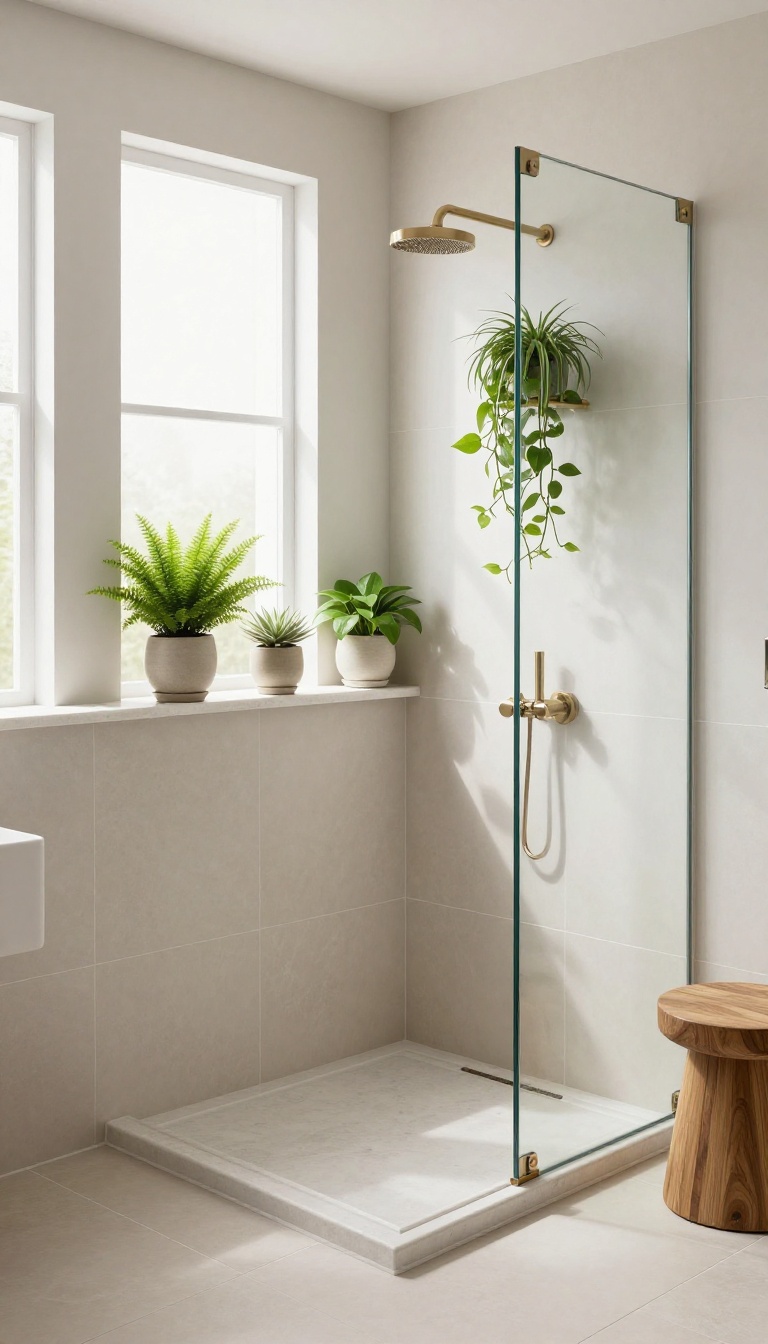
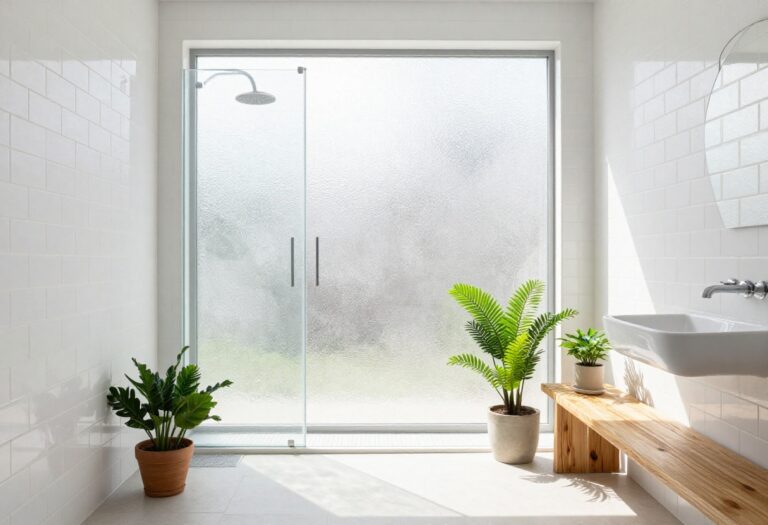
A knee wall that stops at half height gives you a natural ledge, and if your shower gets decent light, that ledge is prime real estate for plants. A small shelf on top turns a plain divider into a living display that softens tile and glass. It looks intentional, not tacked on, and it costs almost nothing compared to bigger upgrades.
The trick is treating the shelf as part of the wall, not an accessory. Build it into the cap or add a slim floating ledge that matches your tile or stone. Then choose plants that actually like steam and indirect sun.
You get a shower that feels less sterile and more like a small greenhouse corner.
Pick Plants That Love Humidity
Ferns, pothos, spider plants, and orchids all handle moist air better than most succulents. They also tolerate the filtered light that comes through a frosted window or glass block. Skip anything that needs dry soil, because a shower is the opposite of that.
Build The Shelf To Shed Water
A slight slope toward the shower keeps standing water from pooling under pots. Use a solid surface like quartz or sealed stone, and run a thin bead of silicone where it meets the wall. That way drips run off instead of soaking into grout.
Keep Pots Small And Stable
Tiny pots tip over when you bump them, so choose low, wide containers with a bit of weight. A hidden strip of museum putty or a shallow tray keeps everything in place. You can also group two or three small pots instead of one big one for a fuller look.
12. Knee Wall as a Privacy Screen
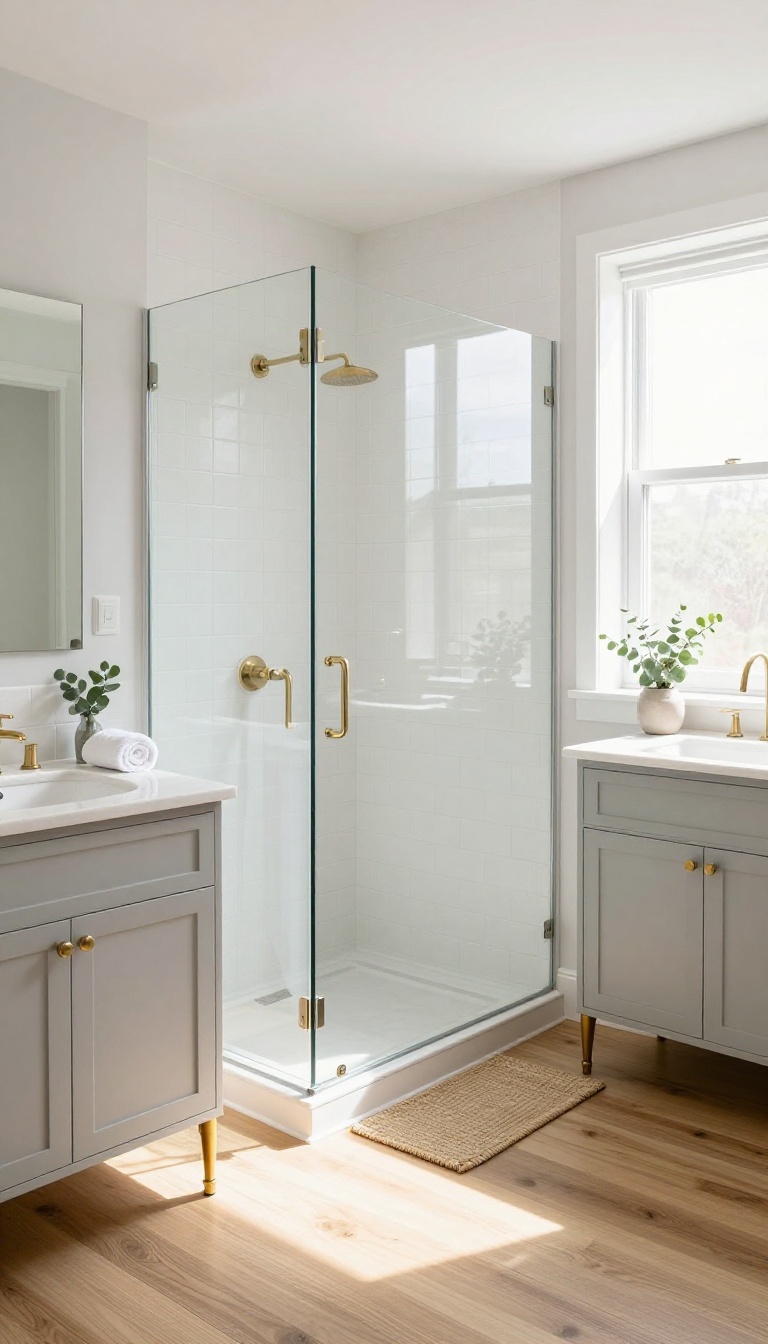
Sharing a bathroom with a partner or roommate means juggling schedules, and sometimes you just want to shower without an audience. A taller knee wall can act as a privacy screen, shielding the shower from the vanity or toilet area. It's a smart way to carve out personal space without walling yourself off completely.
Unlike a full-height wall, a knee wall that reaches chest or shoulder height gives you visual separation while still letting light and air move through the room. It's a middle ground that feels open but not exposed. The key is getting the height and placement right so it blocks sightlines without making the bathroom feel cramped.
Choosing The Right Height
For real privacy, the wall should be tall enough to hide you from someone standing at the vanity. That usually means 48 to 60 inches from the shower floor. But go too tall and you lose the open feel.
A good rule: stand at the vanity and see where your line of sight hits. If the wall covers you from chest down, it's probably enough. You can also add a glass panel on top for extra shielding without full enclosure.
Placement That Works
Put the knee wall between the shower and the busiest part of the bathroom, like the double vanity or the main walkway. If the shower is in a corner, a single wall on the open side often does the trick. For a tub-shower combo, a wall at the foot of the tub can screen the shower area from the rest of the room.
Just make sure it doesn't block the door swing or create a tight squeeze.
Materials And Style
Tile is the obvious choice for the shower side, but the side facing the room can match your bathroom's style. Paint it the same color as the walls for a seamless look, or add a wood cap for warmth. Glass blocks are another option—they let light through but obscure the view.
Whatever you pick, waterproof the shower side properly and seal the top edge to prevent water damage.
13. Textured Stone or Brick Knee Wall
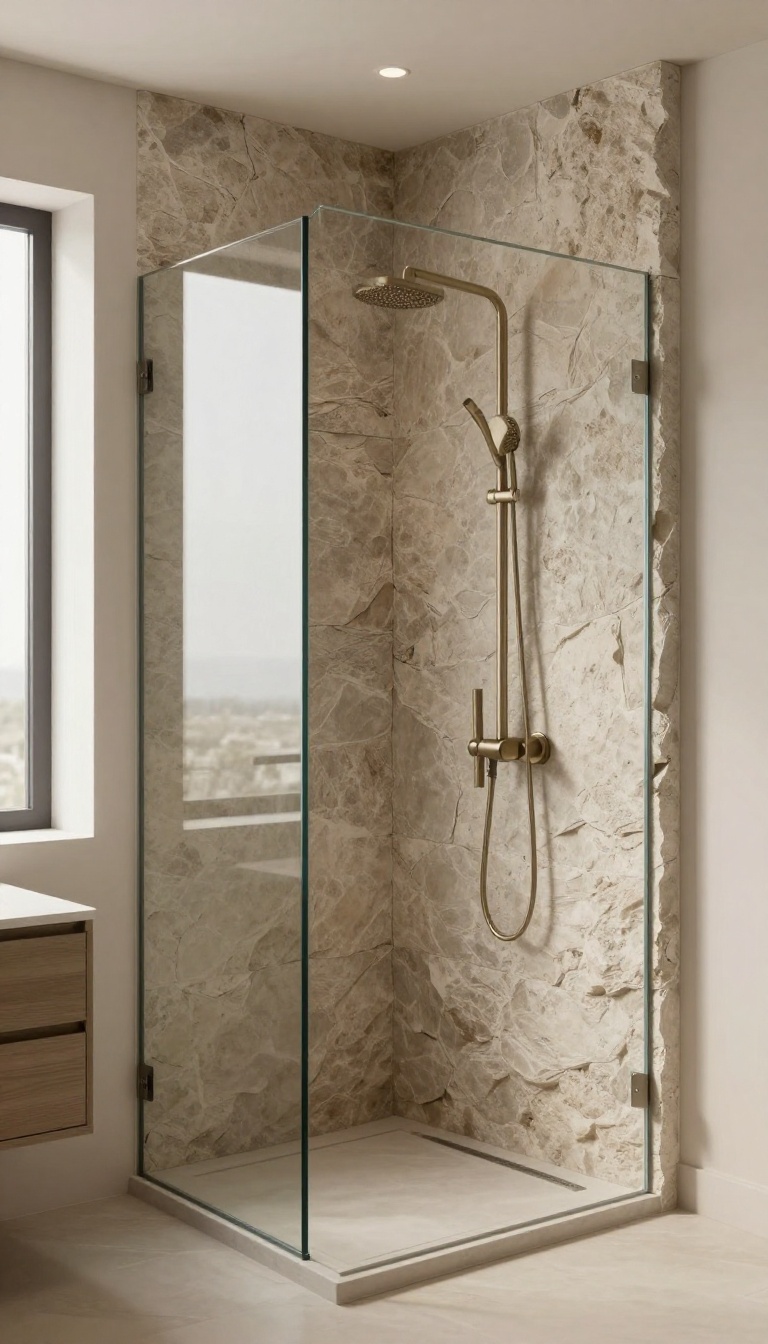
Stone and brick bring a tactile, earthy quality that smooth tile often lacks. A knee wall faced in one of these materials instantly becomes a focal point, adding warmth and character without overwhelming the space. This approach works especially well when you balance the roughness with sleek glass and modern fixtures.
The contrast keeps the shower from feeling like a cave while still delivering that cozy, built-in look. Whether you choose stacked stone, tumbled brick, or a thin veneer, the key is to let the texture do the talking. Pair it with simple, clean-lined hardware so the wall remains the star.
Choosing The Right Material
Not all stone and brick are created equal in a wet environment. Natural stone like travertine or slate offers unique variations but needs regular sealing to resist moisture and staining. Brick, especially thin brick veneer, brings a handmade feel and holds up well when properly sealed.
For a more uniform look, consider manufactured stone veneer. It's lighter, easier to install, and often more affordable than full-thickness stone. Just make sure it's rated for wet areas and comes with a warranty.
Sealing And Maintenance
Texture means crevices, and crevices mean you'll need to stay on top of cleaning. A penetrating sealer applied every year or two will keep water out and make wiping down easier. Avoid acidic cleaners on natural stone; they can etch the surface over time.
A soft brush and mild pH-neutral cleaner are your best friends here. If you go with brick, a stiff brush helps remove soap scum from the rough face without damaging it.
Pairing With Glass And Fixtures
A textured knee wall can handle a lot of visual weight, so keep the glass simple. Frameless clear glass is the go-to choice because it disappears and lets the stone or brick stand out. If you want a bit of privacy, consider a low-iron glass with a subtle tint.
For fixtures, stick with matte black, brushed nickel, or polished chrome. These finishes feel modern and won't compete with the rustic texture. A rain shower head or a sleek handheld unit adds a clean, contemporary touch.
FAQ
How high should a shower knee wall be?
Most knee walls are 36 to 48 inches high. That's tall enough to block most spray but low enough to keep the space feeling open. If you want more privacy, go taller or add glass on top.
Do I need glass above a knee wall?
Not always, but it helps. Without glass, water can splash out, especially in a small shower. A fixed glass panel on top gives you the best of both worlds: openness and containment.
Can I put a niche in a knee wall?
Yes, and it's a great use of space. Just make sure the wall is thick enough to recess the niche. You'll need to waterproof it properly to prevent moisture issues.
What materials work best for a knee wall?
Tile, stone, and brick are all popular. Porcelain tile is low-maintenance and water-resistant. Natural stone needs sealing, but it adds a high-end look.
Is a knee wall cheaper than a full glass enclosure?
Often, yes. A knee wall uses less glass, which is the expensive part. But if you add custom tile or lighting, costs can add up.
Get a few quotes to compare.
Conclusion
A knee wall works hardest when it does two jobs at once, like hiding plumbing while giving you a ledge for shampoo. Pick the idea that solves your biggest layout problem first, then layer in storage or a glass panel later. You do not need to commit to everything at once.
Live with the change for a week before adding more. Adjust the height, swap the tile, or add a niche if something feels off. Get the wall right and the rest of the shower tends to fall into place.