11 Unique Curbless Shower Ideas for Better Safety Underfoot
Slippery shower floors are a real hazard, especially for older adults or anyone with mobility concerns. A curbless design removes the tripping risk of a raised threshold, but the safety doesn't stop there.
The right layout, textures, and features can make a walk-in shower both stunning and secure. From drainage placement to grab bars that blend in, these 11 ideas focus on practical upgrades that keep footing steady.
Whether you're planning a full remodel or just tweaking an existing space, these options help you build a bathroom that's safer without sacrificing style.
1. Linear Drain at the Entrance
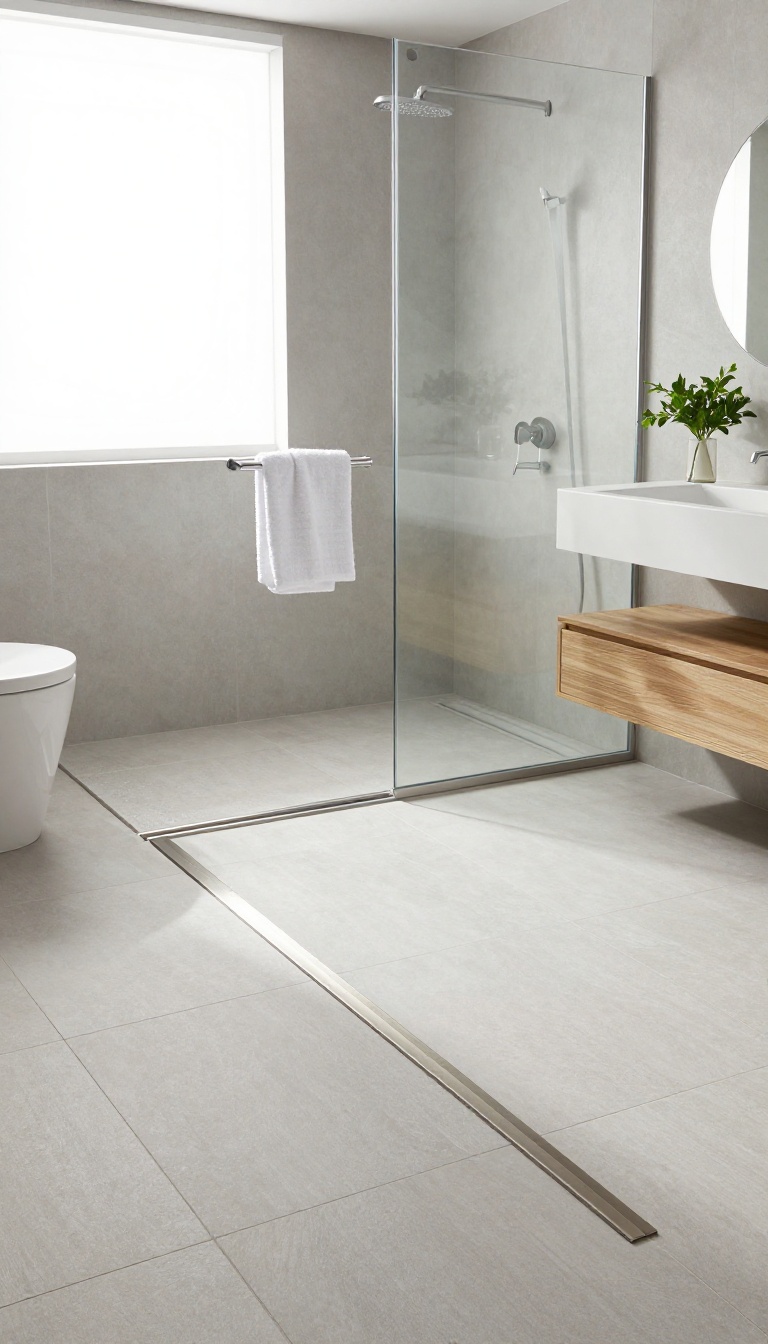
Water management is the unsung hero of bathroom safety. A curbless shower looks seamless, but without proper drainage, water can wander across the floor, turning a stylish space into a slip hazard. Placing a linear drain right at the opening changes the game entirely.
A linear drain at the shower entrance acts as a subtle barrier, catching water the moment it tries to escape. Unlike traditional center drains that let water pool and spread, this placement intercepts flow before it reaches the dry floor. The result is a bathroom that stays drier, safer, and more comfortable underfoot.
Why Placement Matters
Water naturally follows the path of least resistance, and in a curbless shower, that path often leads straight onto the bathroom floor. A drain at the entrance creates a low-point that captures runoff before it travels far. This simple shift in positioning reduces the wet zone dramatically, giving you a larger safe area to stand and move.
Design And Installation Tips
Install the drain slightly recessed with a gentle slope toward it from the shower interior. Choose a drain with a removable grate for easy cleaning—hair and soap scum love to collect there. Many modern linear drains come in sleek finishes like brushed nickel or matte black, so you can match your fixtures without compromising function.
Safety And Aesthetics Combined
The low-profile design of a linear drain blends seamlessly with tile, creating a clean, minimalist look. Because it sits flush with the floor, there’s no lip to trip over, which is a huge plus for anyone with mobility issues. You get a barrier that works invisibly, keeping the floor dry while preserving the open feel of your curbless shower.
2. Textured Tile for Non-Slip Surface
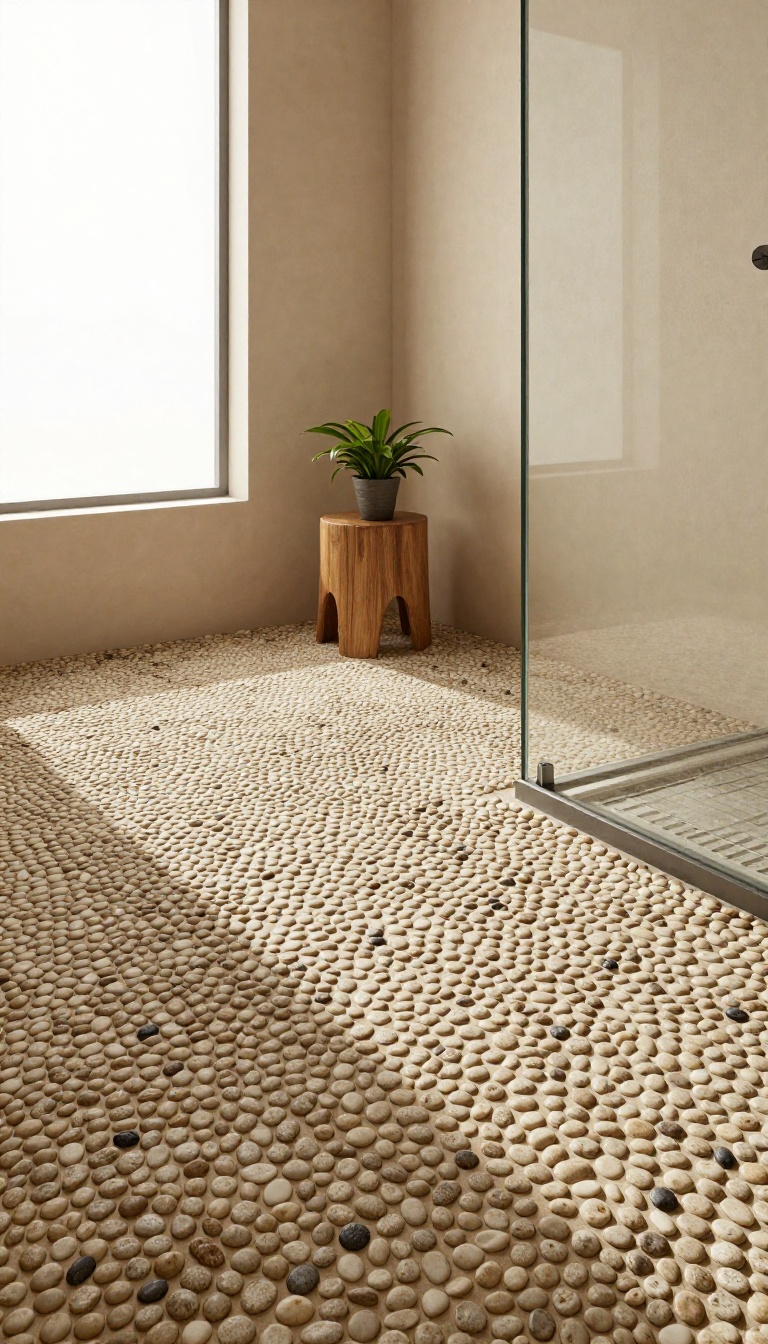
Smooth, glossy tiles might look sleek, but they turn into a skating rink the moment water hits them. Textured surfaces give your feet something to grip, and that little bit of traction makes a big difference. Pebble tiles, in particular, are a favorite for curbless showers because they feel like a natural foot massage while keeping you stable.
Choosing the right texture is about balancing safety with comfort. You want enough grip to prevent slips, but not so much that it feels rough on your feet. Let's look at some options that work well in a curbless shower.
Pebble Tiles: Nature's Grip
Pebble tiles are small, rounded stones mounted on mesh sheets, creating a bumpy surface that's perfect for wet areas. They provide excellent traction without being sharp. Plus, they add a spa-like, organic feel to your shower.
When installing, make sure the grout lines are level with the pebbles to avoid tripping hazards.
Textured Porcelain: Style Meets Safety
If you prefer a more uniform look, textured porcelain tiles offer a subtle grip without sacrificing aesthetics. They come in various finishes, like matte or slate, which are less slippery than glossy. Look for tiles with a high Coefficient of Friction (COF) rating, especially those rated for wet areas.
This gives you peace of mind without compromising on design.
Mosaic Patterns: Extra Grout Lines
Mosaic tiles, especially those with small pieces, create more grout lines, which naturally increase traction. The grout acts as a gentle abrasive, helping your feet stay put. You can choose from ceramic, stone, or even glass mosaics, but make sure the surface isn't too smooth.
A matte finish or a slightly rough texture is ideal.
3. Wet Room Design with Central Drain
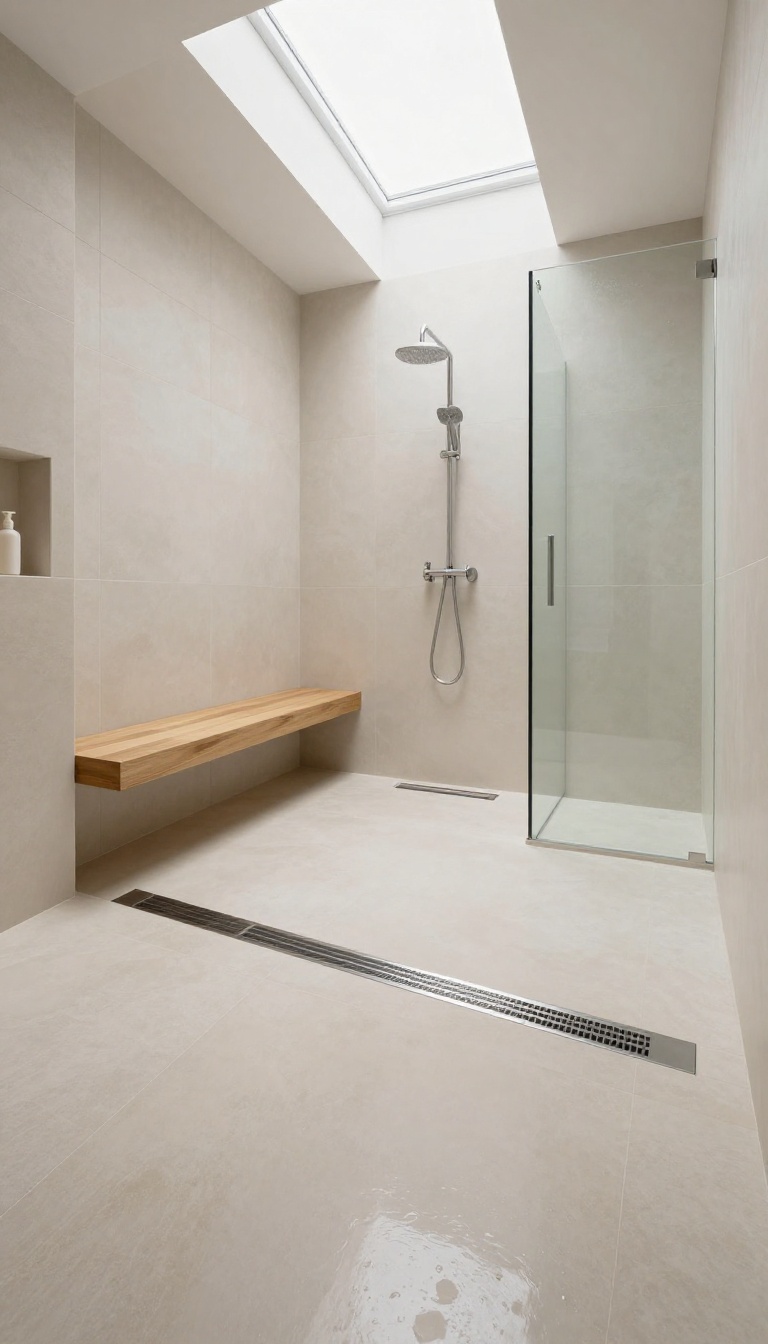
A wet room takes the curbless concept to its logical extreme: the entire bathroom becomes the shower. With waterproofing across the floor and walls, plus a central drain and a subtle slope, you get a completely open, barrier-free space that's as safe as it is liberating. There's no step, no threshold, and no confined shower zone—just one continuous, easy-to-navigate surface.
This design is a game-changer for safety because it eliminates all transitions and obstacles. The gentle slope toward the central drain ensures water moves away efficiently, reducing puddles and slippery spots. Plus, the open layout gives you plenty of room to move around, making it ideal for wheelchair users or anyone who needs extra space to maneuver.
It's a minimalist, spa-like approach that prioritizes function without sacrificing style.
Why A Central Drain Works Best
A central drain is the heart of a wet room. It allows for a symmetrical slope from all walls, which means water flows naturally without pooling in corners. This even gradient also makes the floor more predictable underfoot, reducing the chance of unexpected unevenness.
For safety, you want a drain that's large enough to handle high water flow, like a linear drain or a round grate with a high-capacity trap.
Choosing Slip-resistant Flooring
The floor is where safety really lives. In a wet room, you need tiles with a high coefficient of friction, even when wet. Textured porcelain or natural stone with a honed finish are excellent choices.
Avoid glossy or polished surfaces—they're a slip hazard. Also, consider smaller tiles with more grout lines, as the grout provides extra grip. And don't forget to check the slip rating (like COF or R-value) before you buy.
Waterproofing And Slope Essentials
Proper waterproofing is non-negotiable. You'll need a tanking membrane applied to the entire floor and up the walls, at least to splash height. The slope should be about 1/4 inch per foot, directing water to the drain.
This subtle pitch is barely noticeable underfoot but crucial for drainage. Work with a professional to ensure the slope is perfectly executed—it's the difference between a functional wet room and a waterlogged disaster.
Adding Safety Features Without Clutter
Even in a wet room, you can integrate safety features that blend in. Install a wall-mounted fold-down seat for resting, and add grab bars that match your fixtures or are finished in a complementary tone. Use a handheld showerhead on a slide bar for flexibility.
And consider a niche or shelf for toiletries, so you don't have to bend or reach awkwardly. These additions enhance safety without making the space feel clinical.
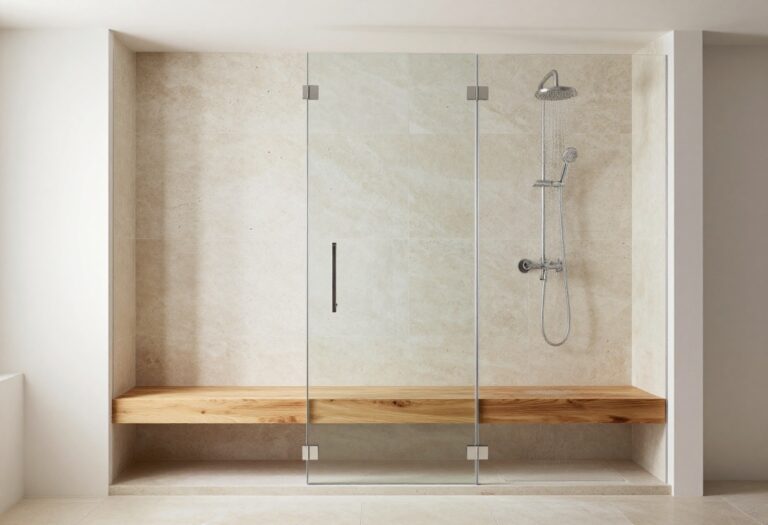
4. Built-In Bench with Grab Bar
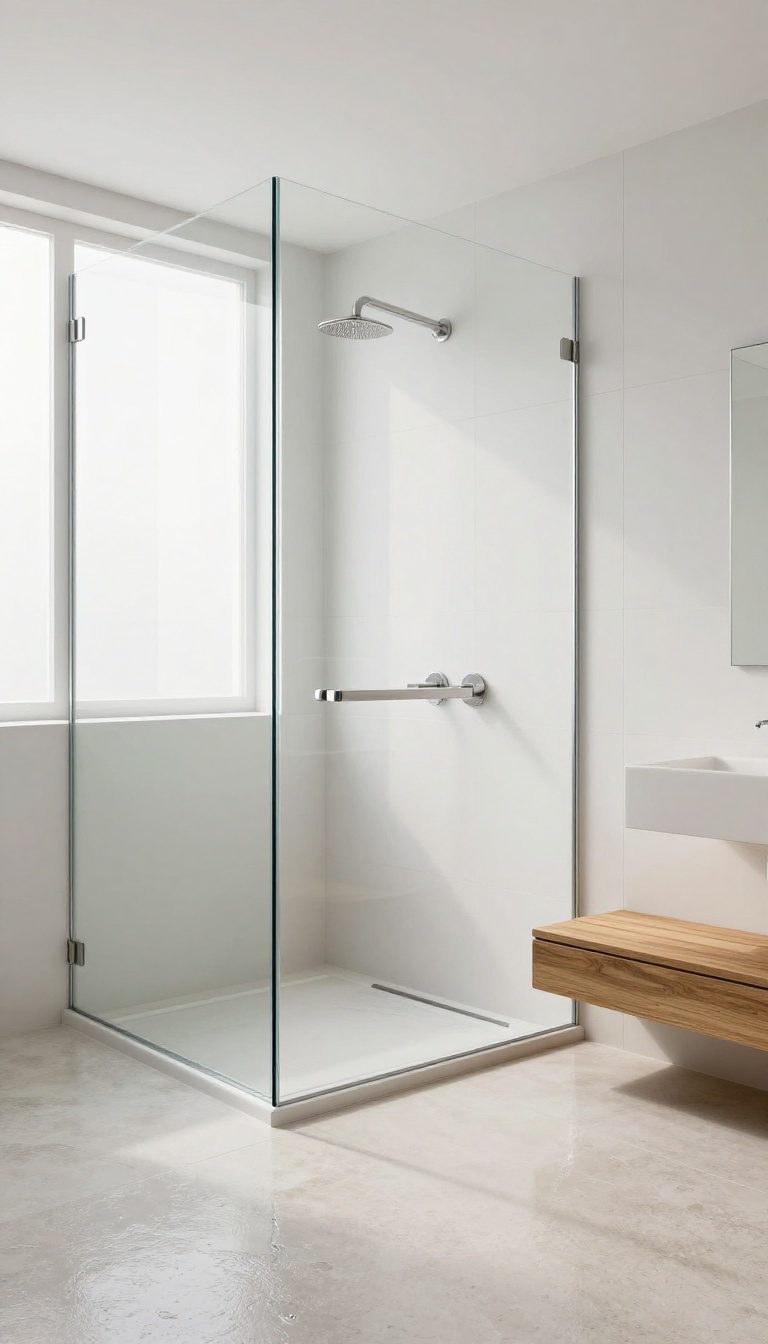
A built-in bench is a game-changer for anyone who needs to sit while showering, but it can also be a stylish focal point. The key is to integrate a grab bar that's both functional and discreet, so you get support without the clinical look. This combination turns your shower into a safe, comfortable space that still feels like a spa.
When you're planning a curbless shower, think about the bench as more than just a place to sit. It's a spot to rest, to shave your legs, or to simply enjoy the steam. By building the bench into the shower structure, you avoid the clutter of a portable stool and create a seamless look.
The real trick is pairing it with a grab bar that's mounted at the right height and angle, so it's there when you need it but doesn't dominate the design.
Why A Bench Makes Sense
A built-in bench offers a stable, permanent seat that's always there when you need it. It's perfect for anyone with balance issues, chronic pain, or just a desire to sit and relax. Unlike a moveable stool, a built-in bench can be designed to match your tile and layout, making it look like it was always meant to be there.
Hiding The Grab Bar In Plain Sight
Grab bars don't have to look like hospital equipment. You can choose a bar that matches your fixtures, like brushed nickel or matte black, or go for a towel bar style that serves double duty. The key is to mount it securely into the wall studs and place it where you'll naturally reach for it, like near the bench or at the entrance.
Placement And Height Tips
For the bench, aim for a depth of about 15 to 18 inches and a height that lets you sit with your feet flat on the floor. The grab bar should be mounted horizontally, about 33 to 36 inches above the floor, and within easy reach from the bench. If you're not sure, ask your contractor to install blocking behind the tile so you can adjust later.
5. Recessed Lighting for Visibility
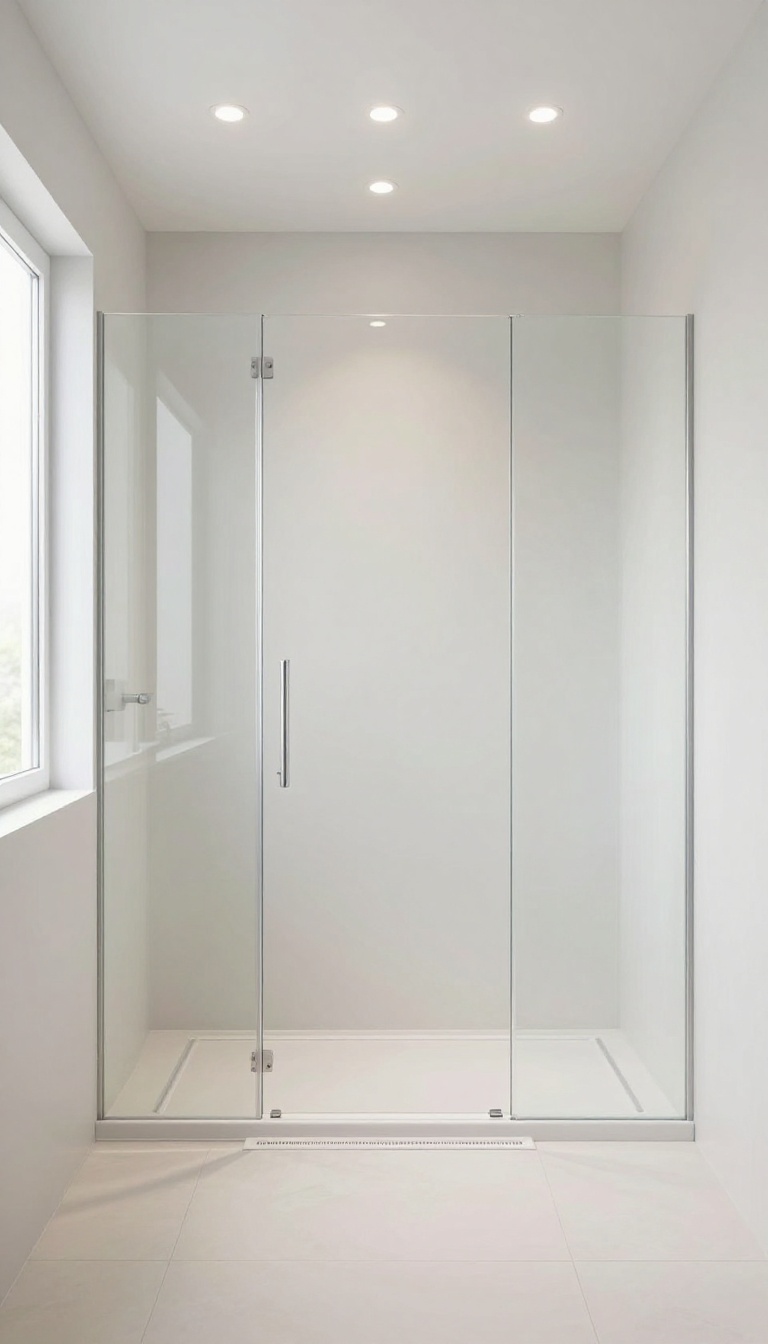
Good lighting is a silent safety feature. A dimly lit shower can hide hazards like soap residue or an uneven surface, and stepping into a dark space is risky. Recessed lighting offers a clean, modern look while ensuring every corner of your curbless shower is clearly visible.
Recessed lights sit flush with the ceiling, keeping the shower's open feel intact. They provide even illumination without bulky fixtures that could collect moisture or interfere with movement. For a curbless shower, this type of lighting is a practical choice that enhances both safety and style.
Choose The Right Ip Rating
Not all recessed lights are safe for wet areas. Look for fixtures with an IP65 rating or higher, which are fully protected against water jets and dust. This ensures durability and prevents electrical hazards.
Also, consider using low-voltage LED bulbs—they emit less heat and are energy-efficient.
Placement Matters
Position lights to eliminate shadows, especially around the showerhead and entry point. A common approach is to install two or three lights evenly spaced, or place one directly above the showerhead and another near the drain. Avoid placing lights directly over the seating area if you have a bench, as that can create glare.
Dimmer Switches For Flexibility
Adding a dimmer lets you adjust brightness to suit different needs. Bright light for morning showers, softer light for evening relaxation. It also helps conserve energy.
Make sure the dimmer is rated for wet locations and compatible with your LED bulbs.
6. Frameless Glass Panel with Low Threshold
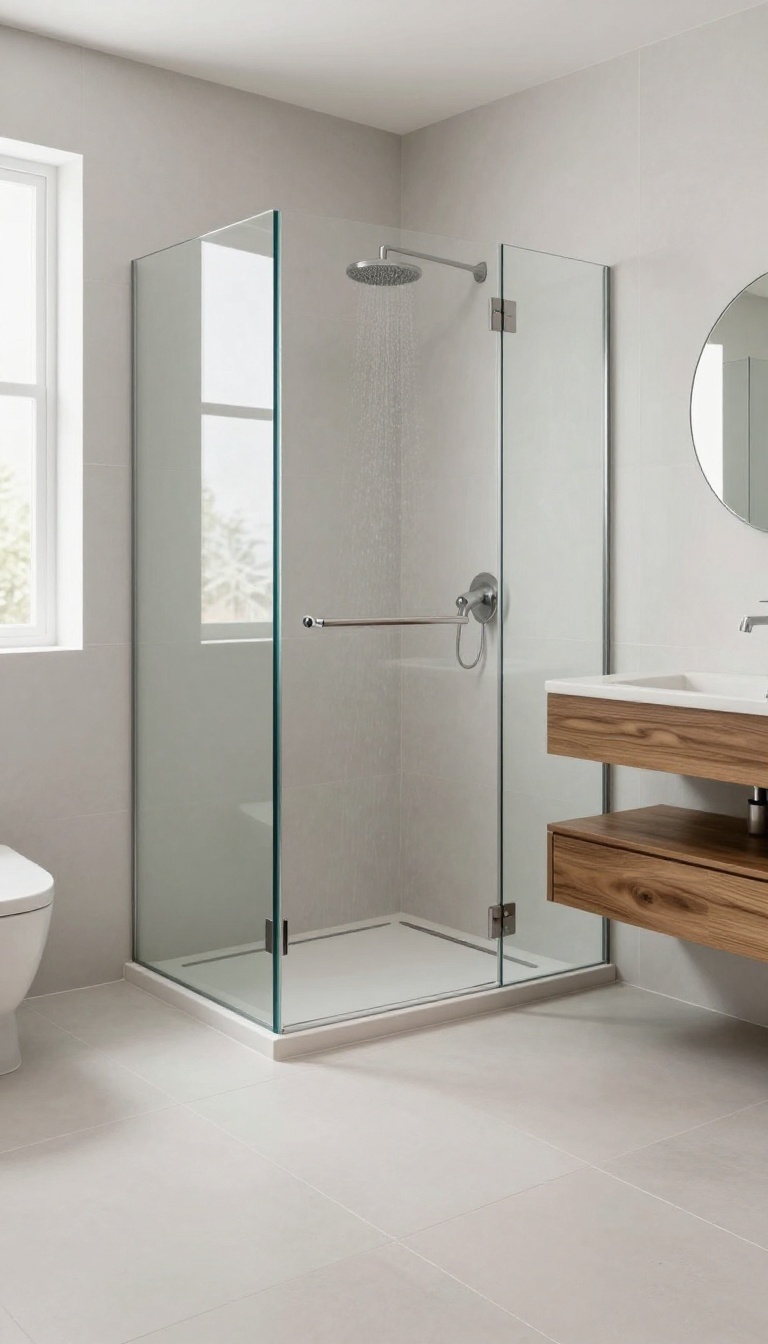
A curbless shower doesn't have to mean water everywhere. A frameless glass panel paired with a minimal threshold—just half an inch tall—keeps the entry nearly level while still doing its job of containing splashes. It’s a clean, modern look that doesn't compromise on safety or practicality.
This setup gives you the open feel of a fully barrier-free shower without the hassle of a completely open design. The low threshold acts as a subtle water stop, while the glass panel prevents spray from escaping. For anyone who wants a sleek aesthetic but still needs a bit of protection, this is a smart middle ground.
Why A Half-inch Threshold Works
A half-inch bump is low enough to avoid tripping, but it still creates a slight change in elevation that helps direct water back toward the drain. It’s a compromise that many homeowners find ideal—safer than a standard curb, but more contained than a fully open wet room. Plus, it’s easier to install than a true zero-threshold system.
Glass Panel Placement And Size
The glass panel doesn’t need to be huge—often a fixed panel about 24 to 36 inches wide is enough. Positioning it near the showerhead side keeps water from splashing out while leaving the rest of the opening open for easy access. Hinged or fixed, the choice depends on your space and preference.
Drainage And Slope Considerations
Even with a low threshold, proper drainage is key. The floor should slope gently toward the linear drain, which sits flush with the tile for a seamless look. A linear drain at the shower entrance can catch water before it reaches the threshold, reducing the chance of puddles outside.
7. Heated Floor for Comfort and Safety
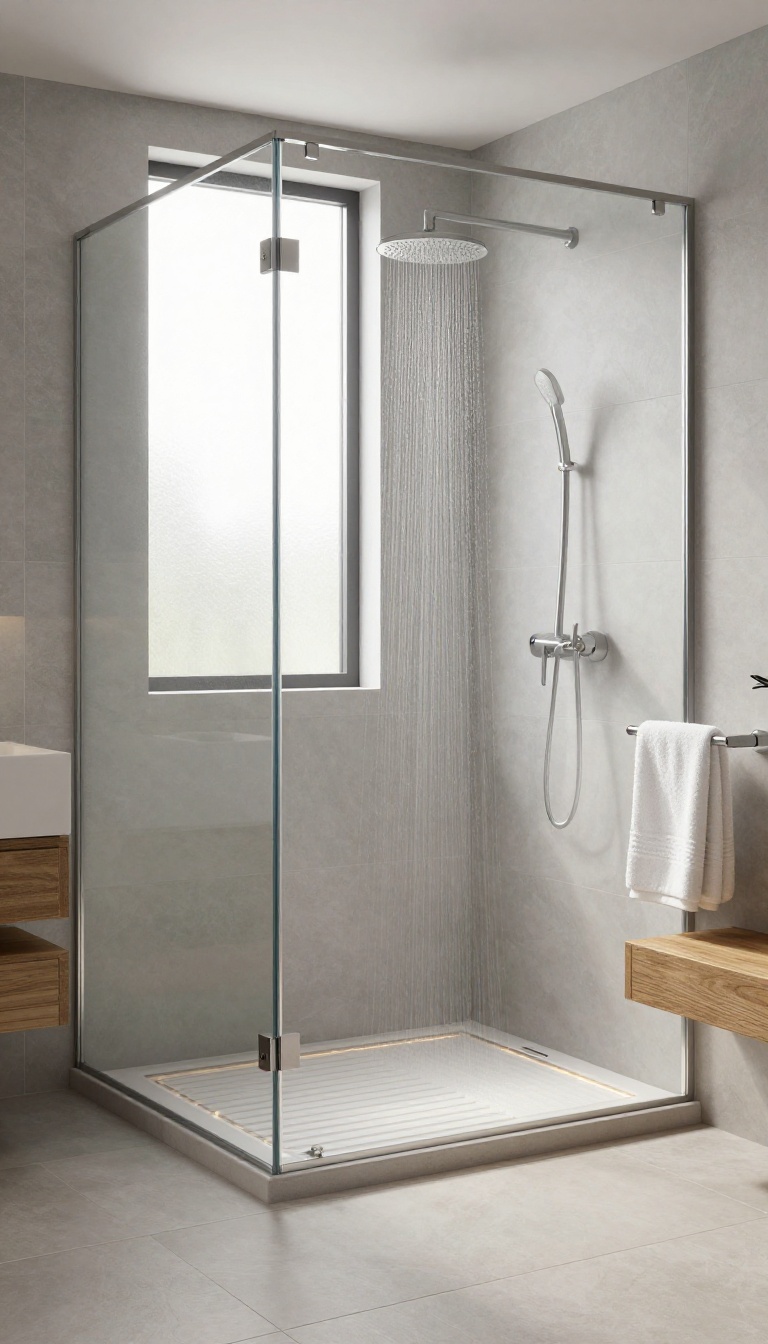
Cold tile underfoot can make you tense up, and that tension can throw off your balance. Radiant floor heating solves that by keeping the surface warm and welcoming. It also speeds up drying, which cuts down on the moisture that makes floors slick.
Radiant heating isn't just a luxury—it's a practical safety upgrade. A warm floor dries faster, so you're less likely to step onto a wet, slippery surface. Plus, the consistent warmth helps prevent the sudden chill that can make you lose your footing.
Whether you choose electric mats or hydronic tubing, this feature turns your curbless shower into a cozy, secure retreat.
Why Warm Floors Are Safer
When your feet are warm, your body feels more stable and grounded. Cold surfaces can cause you to shuffle or step cautiously, increasing the risk of slips. Radiant heat also evaporates water quickly, reducing the window where the floor is wet and hazardous.
Electric Vs. Hydronic Systems
Electric radiant mats are easier to install and ideal for retrofits, while hydronic systems use warm water pipes and are more efficient for larger areas. For a single shower, electric is usually the practical choice. Both work well under tile, stone, or concrete, so you can match your design without sacrificing warmth.
Installation And Thermostat Tips
Install the heating elements before the final floor layer and use a dedicated thermostat with a floor sensor. Set it to a comfortable temperature—around 80°F (27°C)—and consider a timer so it's warm when you need it. This keeps energy use low while ensuring the floor is never icy.
8. Shower Niche with Non-Slip Shelf
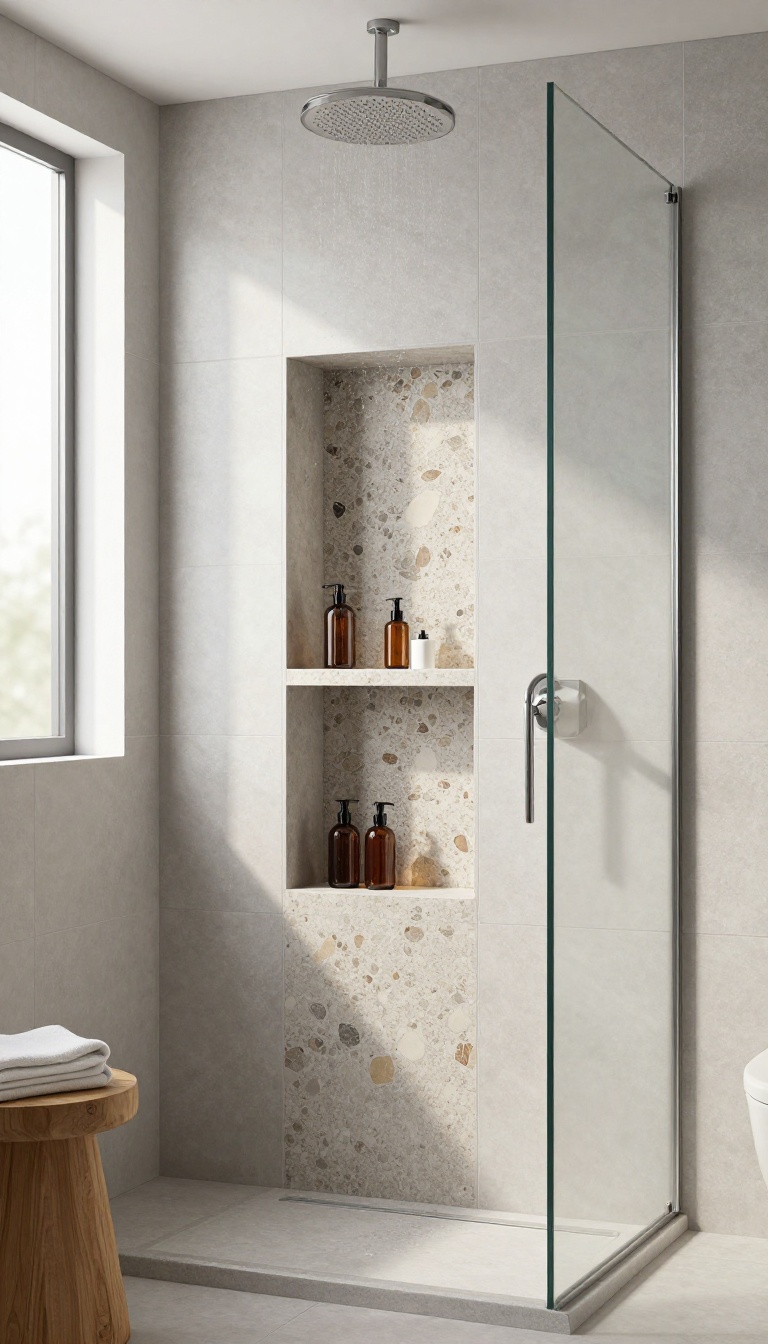
A shower niche is a practical storage solution, but it can also be a safety hazard if you have to stretch or bend to reach your shampoo. That's where a non-slip shelf comes in. By adding a textured surface to the niche, you can keep your toiletries within easy reach without worrying about them sliding off or having to overextend your body.
The idea is simple: design a recessed shelf with a textured surface to hold toiletries. This reduces the need to bend and reach, which can cause falls. The texture prevents bottles from sliding, so you can grab them without looking.
It's a small change that makes a big difference in safety and convenience.
Why Texture Matters
Smooth tile shelves look sleek but can be treacherous. When water and soap mix, a smooth surface becomes a slip hazard for your bottles and for your hands. A textured surface, like a matte finish or a pebble tile, provides grip.
This means your shampoo won't slide off when you reach for it, and you won't have to fumble around in a slippery environment.
Placement For Easy Access
Where you put the niche is just as important as how it's textured. Place it at waist or chest height, so you can reach it without bending or stretching. Avoid placing it too low or too high, which forces awkward movements.
Also, consider the location relative to the showerhead. You don't want water spraying directly into the niche, which can cause soap to run and make the shelf more slippery.
Materials That Grip
For the shelf itself, choose materials that offer natural grip. Textured porcelain or a pebble mosaic are popular choices. You can also use a metal shelf with a non-slip mat or a built-in rubber surface.
The key is to ensure that the shelf's surface is slip-resistant, even when wet. This adds an extra layer of safety without compromising style.
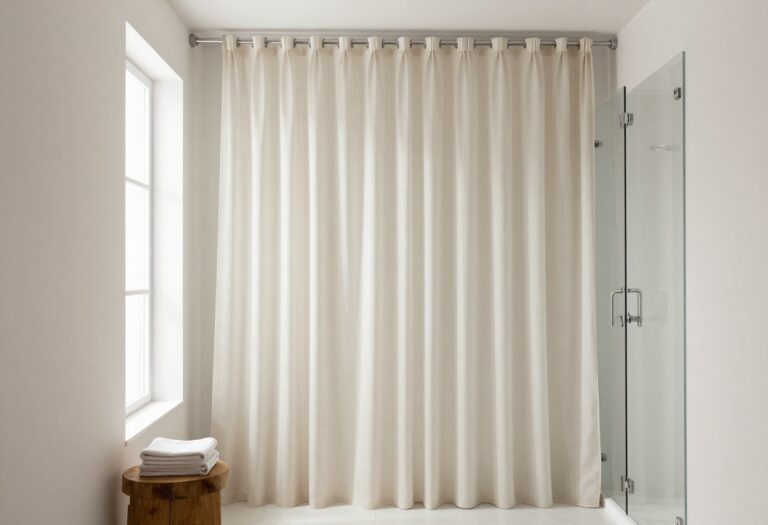
9. Curved Shower Rod for Extra Space
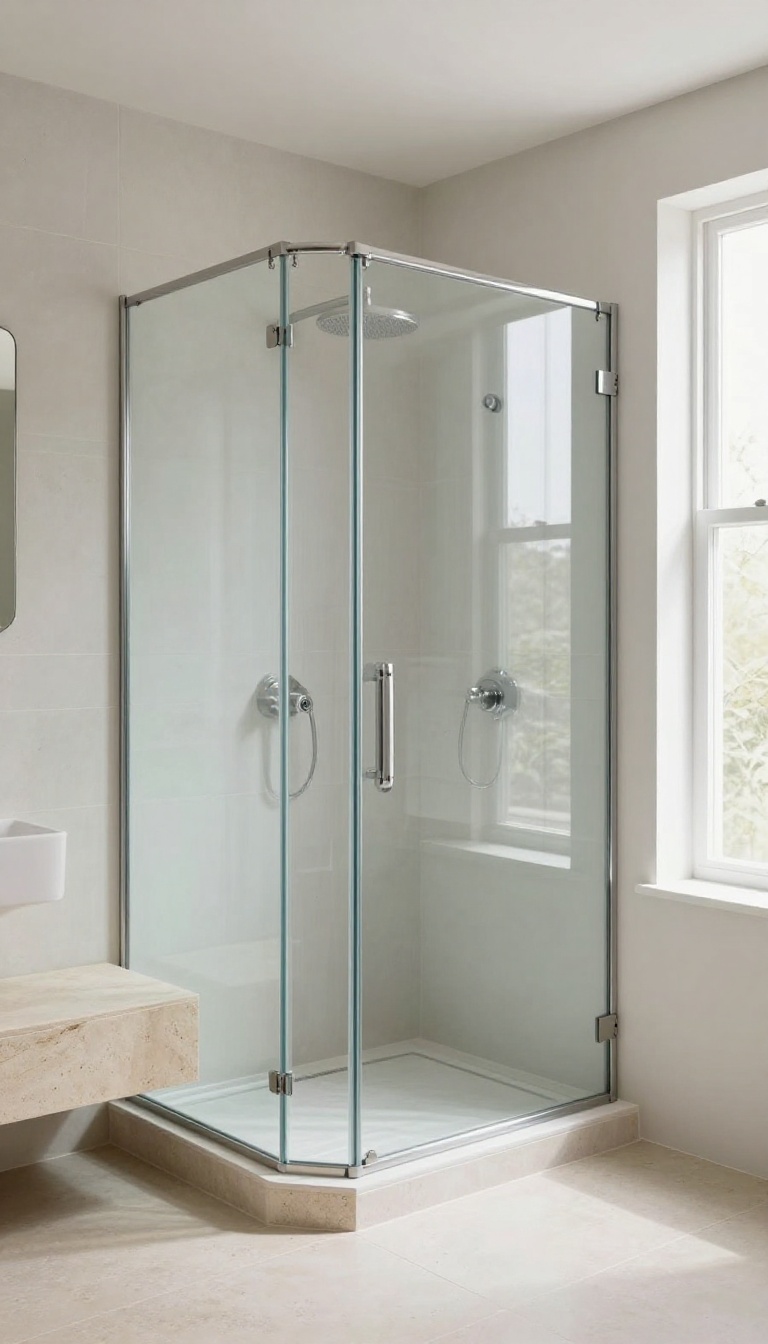
A curved shower rod is a simple swap that can make a big difference in how roomy your curbless shower feels. By bowing outward, it adds several inches of elbow room without taking up any extra floor space. That extra room can help you move more freely and reduce the chance of bumping into the curtain or glass.
When you're stepping into a curbless shower, the last thing you want is to feel cramped. A curved rod pushes the curtain or glass outward, giving you more space to maneuver. This is especially helpful if you use a shower chair or need a little extra room to turn around safely.
Plus, it keeps water from clinging to the curtain and dripping onto the floor, which is a bonus for slip prevention.
Why Curved Beats Straight
A straight rod forces the curtain to hang close to the tub or shower edge, which can feel tight. A curved rod, on the other hand, arcs outward, adding up to 6 inches of space. That extra room gives you more clearance to move, bend, or reach without feeling boxed in.
It also helps keep the curtain away from your body, so you don't accidentally brush against wet fabric.
Choosing The Right Curve
Not all curved rods are the same. Some have a gentle bend, while others have a more pronounced arc. For a curbless shower, you want a rod that provides enough clearance without interfering with the shower opening.
Measure the width of your shower and check the rod's depth to ensure it fits comfortably. Also, consider the material—stainless steel or aluminum with a corrosion-resistant finish works best in a humid bathroom.
Installation Tips For Safety
Installing a curved rod is usually a straightforward DIY project, but getting it right matters for safety. Make sure the rod is securely anchored into studs or use heavy-duty anchors if you're mounting it into tile. A wobbly rod can be a hazard, especially if you use it for support.
If you're not comfortable with the installation, a professional can ensure it's rock-solid.
10. Handheld Showerhead with Slide Bar
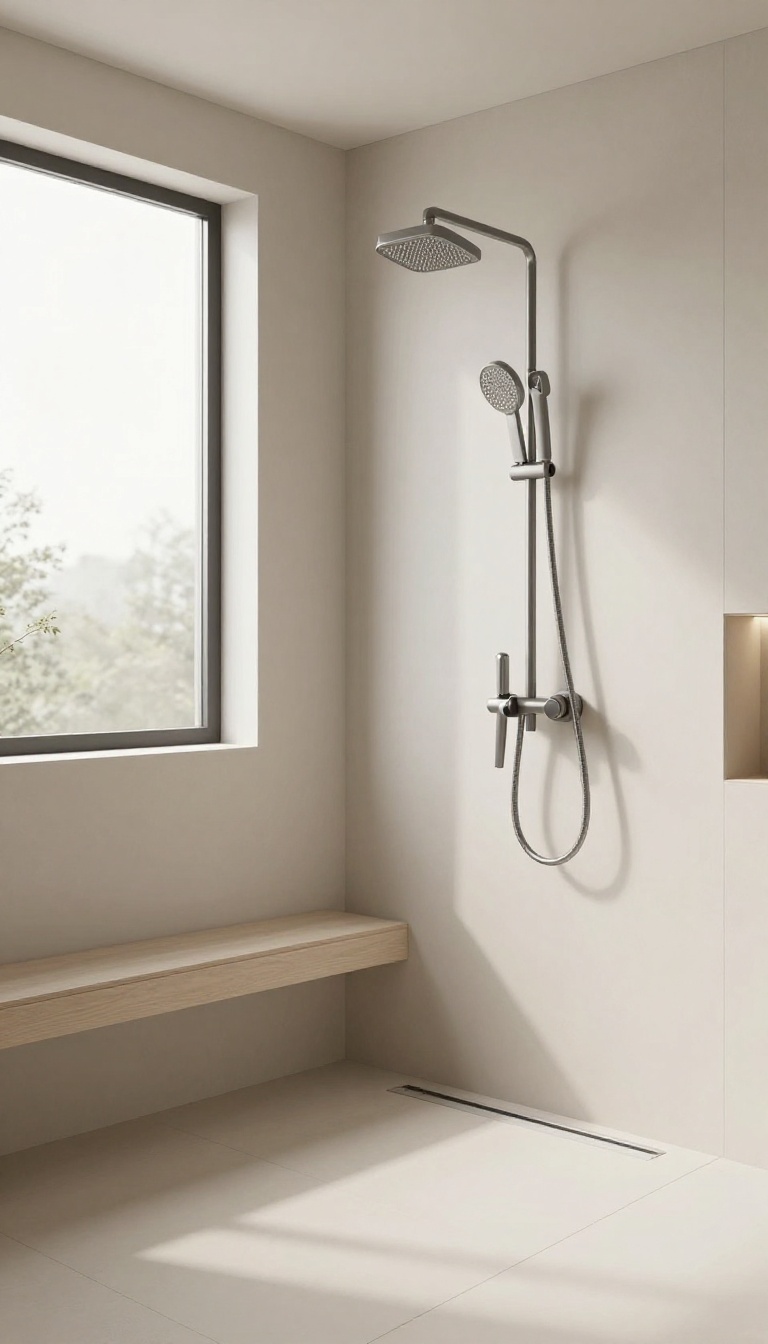
A fixed showerhead can be a real stretch if you're seated or need to keep a hand on the wall. A handheld model on a slide bar changes that, putting the water right where you need it. The slide bar lets you adjust the height in seconds, so it works for everyone in the house.
It also makes rinsing off the floor or cleaning the shower a whole lot easier.
This setup is a small change with a big payoff. It gives you control, reduces awkward reaching, and adds a layer of safety that's easy to use every day.
Why A Slide Bar Beats A Fixed Head
A fixed showerhead is stuck at one height, which can force you to bend or stretch. A slide bar lets you move the head up or down smoothly, so you can set it at shoulder level when standing or lower it to hip height when seated. That flexibility helps you stay balanced and avoids sudden movements that could lead to a slip.
Best Placement For Safety And Convenience
Mount the slide bar on the wall opposite the shower entrance, within easy reach from a shower bench if you use one. Position it so the hose can reach your body without tangling. Keep the control lever on the same side as the bar so you don't have to reach across the shower to adjust the water.
Choosing The Right Handheld Showerhead
Look for a model with a long hose (at least 60 inches) and a easy-grip handle. A pause button on the head is handy for turning off the water while you soap up. Also, pick a finish that matches your fixtures and a spray pattern that feels comfortable—some have a soft, wide spray that's gentler on sensitive skin.
Installation Tips For A Secure Setup
Make sure the slide bar is anchored into wall studs or use heavy-duty toggle bolts if you're mounting on tile. A wobbly bar is a hazard. Test the height adjustment before you finalize the position, and consider adding a small shelf nearby for your shampoo so you don't have to reach far.
11. Anti-Fog Mirror Inside the Shower
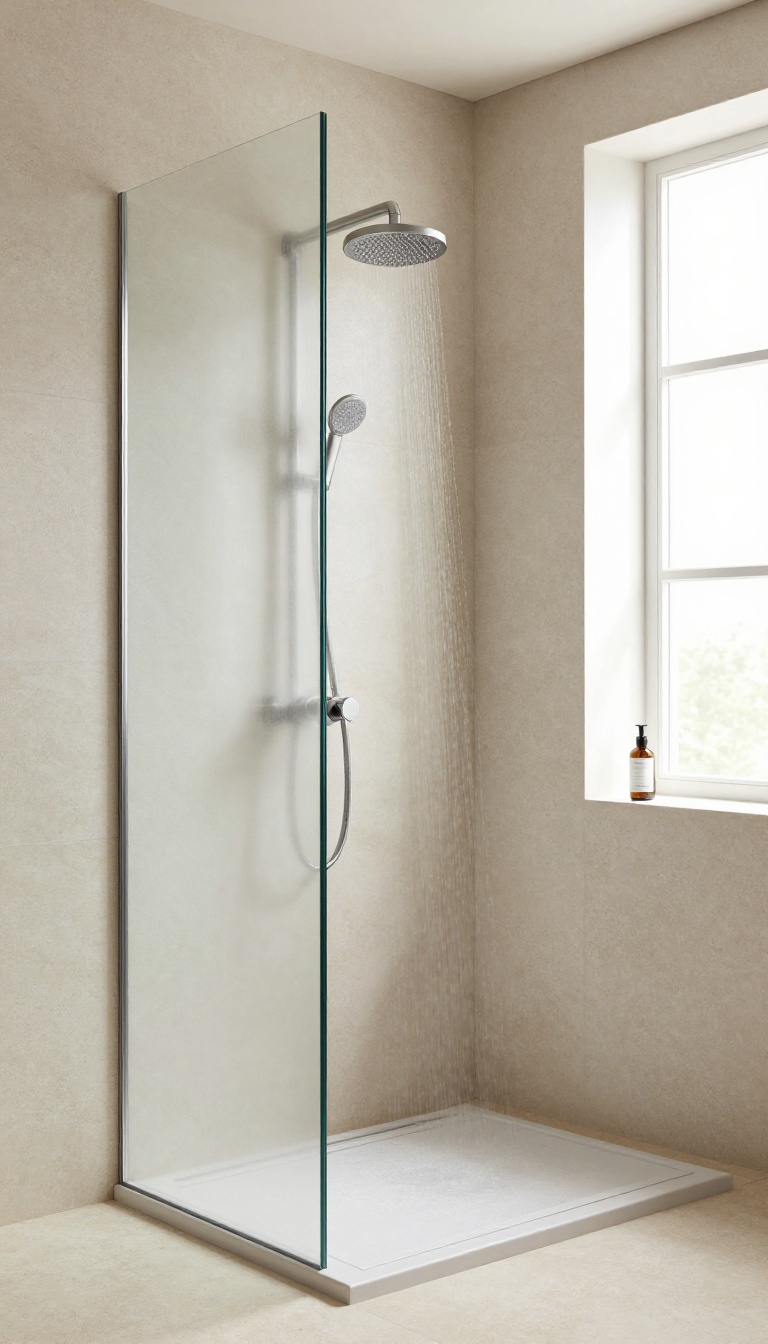
Stepping out of a warm shower to check your shave or wash your face can be a slippery dance on wet tile. An anti-fog mirror inside the curbless shower keeps you steady by letting you handle those tasks right where you are. It's a small addition that adds a big layer of convenience and safety.
A dedicated mirror inside the shower means you don't have to step out onto a potentially wet floor to see what you're doing. That's one less trip hazard, especially when your feet are still soapy. Plus, it makes your morning routine smoother—everything you need is right there.
Why It Matters For Safety
The main safety benefit is reducing the need to step in and out of the shower mid-task. When you're shaving or washing your face, you're often leaning forward or moving around. Having a mirror inside lets you stay in one place, keeping your footing secure on the textured floor.
Choosing The Right Spot
Place the mirror where it's easy to see without stretching or twisting. A common spot is on a side wall, angled toward you, or on a swing arm that you can adjust. Make sure it's within reach but not directly in the water spray, so it stays clear and functional.
What To Look For
Look for a mirror with a built-in heating element or a special coating that prevents fogging. Some are battery-operated, while others use a low-voltage connection. Choose one with a sturdy mount that can handle the humid environment, and consider a model with a magnifying side for detailed tasks.
FAQ
Are curbless showers more expensive to install?
Curbless showers can be more costly due to the need for proper waterproofing and slope adjustments, but they add value and safety.
Do curbless showers require special maintenance?
They require regular cleaning of drains and tiles, but no more than traditional showers. Ensure proper ventilation to avoid mold.
Can I convert my existing shower to curbless?
Yes, but it may involve raising the floor or adjusting the subfloor. Consult a professional to assess feasibility.
What is the best flooring for a curbless shower?
Textured porcelain or natural stone tiles with high slip resistance are ideal. Avoid glossy finishes.
How do I prevent water from splashing out of a curbless shower?
Use a slight slope, a linear drain, and a glass panel or shower curtain to contain water. Proper placement of fixtures helps too.
Conclusion
Curbless showers are more than a safety upgrade—they're a chance to rethink how your bathroom looks and functions. From linear drains to textured tile, each idea tackles the slip factor while giving you room to express your style. Start with the change that solves your biggest concern, whether that's water management or accessibility.
Small adjustments can make a big difference in comfort and confidence. Pick one approach, plan it out, and enjoy a shower that feels open, secure, and entirely your own.