13 Creative Wood Tile Shower Ideas with Fresh, Refined Style
Wood tile in the shower brings warmth that stone or ceramic simply can't match, turning a daily rinse into something closer to a retreat. The beauty is in the range—from light, airy planks that open up a compact space to deep, moody tones that add drama.
Each of these 13 ideas pairs wood-look tile with a specific design move, like a contrasting niche or a herringbone layout, so you can pick the style that fits your bathroom's personality.
Get ready to see how a simple material swap can completely transform the feel of your shower.
1. Full Wood Tile Enclosure for a Spa-Like Retreat
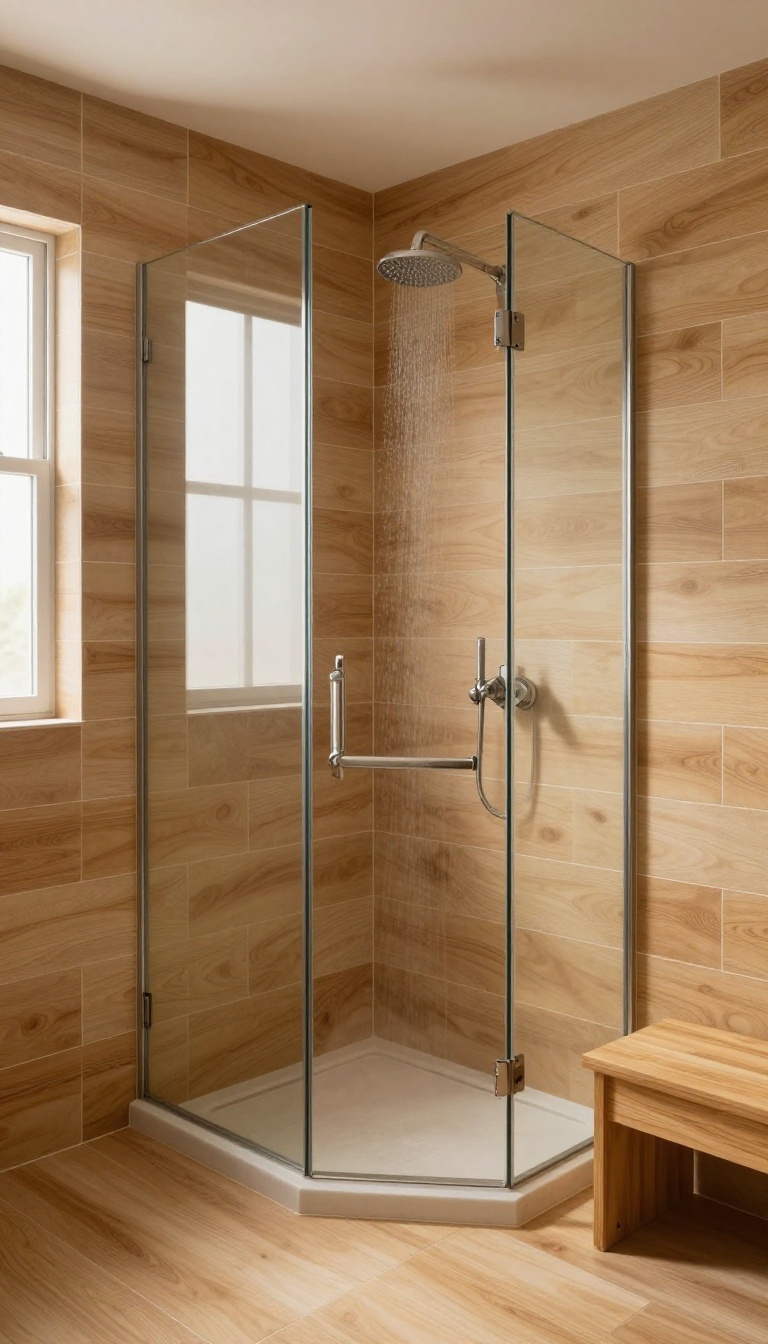
Imagine stepping into a shower that feels like a warm wooden sauna, where every surface wraps you in natural comfort. That's the magic of a full wood tile enclosure. By covering all four walls with wood-look planks, you create a seamless, cocooning effect that instantly relaxes you.
The key is choosing large-format tiles to keep grout lines minimal, letting the wood grain take center stage.
A full wood tile enclosure is the boldest way to embrace the wood aesthetic. It transforms the shower into a focal point, making the space feel larger and more inviting. The continuous visual flow eliminates visual breaks, which is especially effective in smaller bathrooms.
To pull it off, focus on the tile size, color, and finish to match your desired mood.
Why Large-format Planks Work Best
Large-format planks, like 6×24 or 8×36 inches, reduce the number of grout lines, creating a more seamless and natural look. Fewer lines mean less visual clutter and a smoother texture underfoot. They also make the shower appear bigger, as the eye isn't interrupted by frequent joints.
Plus, they're easier to clean and maintain over time.
Choosing The Right Wood Tone
The tone of your wood tile sets the entire mood. Light oak or ash tones brighten the space and give an airy, Scandinavian feel. Medium walnut adds warmth and richness, while dark charcoal or ebony creates a dramatic, intimate spa vibe.
Consider your bathroom's lighting and existing fixtures to pick a shade that complements rather than clashes.
Finishing Touches For A Spa Feel
Pair the wood enclosure with natural elements like a pebble floor, a rainfall showerhead, and frosted glass doors. Add a wooden bench or teak accessories for extra warmth. Keep the rest of the bathroom simple—neutral walls and minimal decor—so the shower remains the star.
Soft, warm lighting completes the retreat-like atmosphere.
2. Wood Tile Accent Wall Behind the Bench
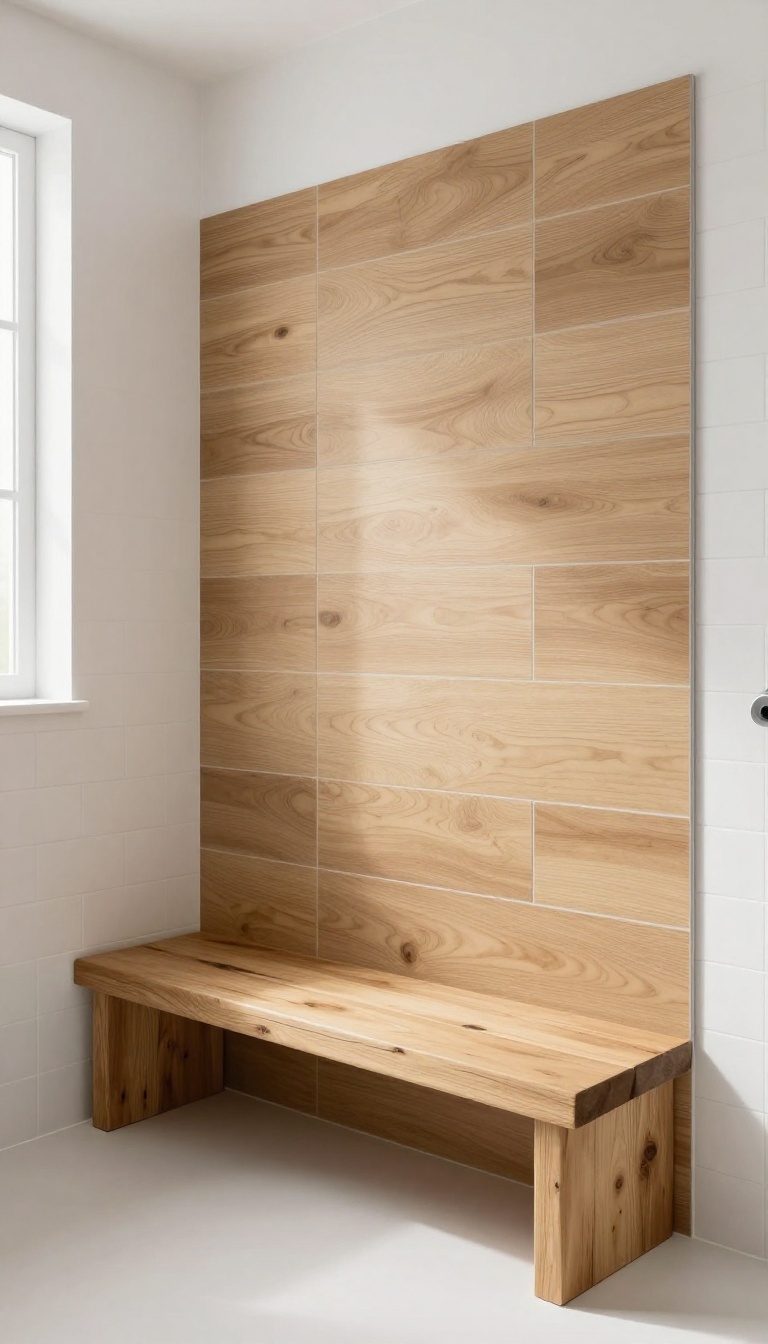
A shower bench is a natural gathering spot—a place to sit, rest a foot, or set toiletries. Giving the wall behind it a wood tile accent makes that corner feel intentional and warm. It’s a focused design move that adds character without covering every surface in wood.
The key is to treat the accent wall as a backdrop, not a full statement. By limiting the wood tile to the area directly behind the bench, you create a visual anchor that draws the eye and adds texture. This approach works especially well in showers with neutral or white tile elsewhere, as the wood becomes a warm contrast.
Why It Works
The bench already breaks up the wall, so the accent feels like a natural extension. It gives the eye a place to rest and adds a cozy, spa-like vibe. Plus, you get the warmth of wood without the risk of overwhelming the space with too much pattern or color.
Choosing The Right Tile
Look for wood-look porcelain or ceramic tiles with a matte finish to avoid slipping. Horizontal planks make the wall feel wider, while vertical planks add height. Lighter woods like oak or ash keep the space airy, while darker walnut or teak adds drama.
Pairing With Bench Materials
If your bench is made of natural stone or concrete, the wood tile adds a soft, organic contrast. For a seamless look, choose a wood tile that matches the bench’s undertones. You can also add a small shelf or niche in the same wood tile to tie everything together.
3. Mixed Horizontal and Vertical Planks for Visual Interest
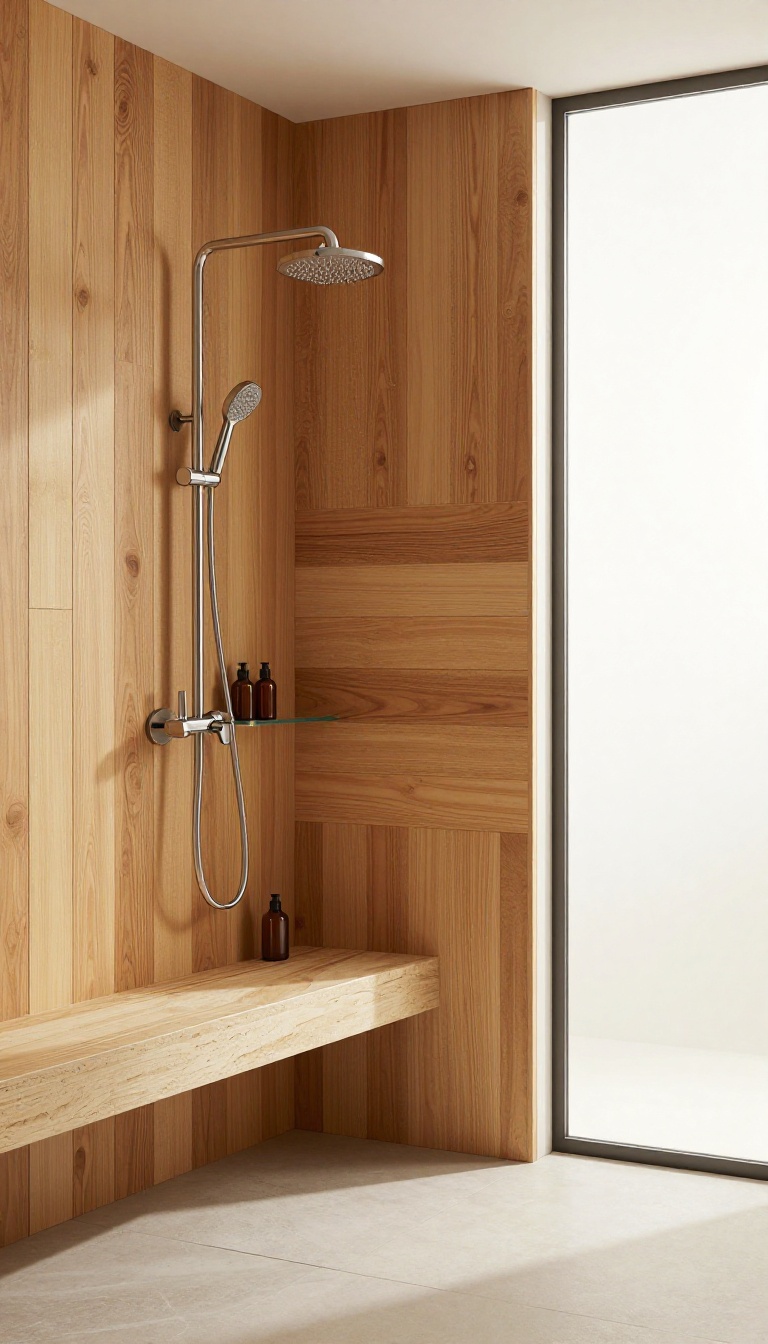
Switching up the direction of your wood tile planks can change the entire feel of the shower. Horizontal lines stretch the space, while vertical ones add height and a sense of calm. Mixing both creates a dynamic, custom look that feels intentional and fresh.
This pattern works especially well in larger showers where there's room to play with orientation. You can use vertical planks on the main wall and horizontal ones on the accent wall or niche. The contrast draws the eye upward and makes the ceiling feel higher.
It's a simple trick that adds architectural interest without extra materials or cost.
Why Mixing Directions Works
Horizontal planks naturally make a room feel wider, which is great for narrow showers. Vertical planks, on the other hand, add height and a spa-like elegance. When you combine them, you get the best of both worlds—a space that feels balanced and more expansive.
The visual break also helps define different areas, like the main shower wall versus the shampoo niche.
Where To Apply The Pattern
A popular approach is to use vertical planks on the main wall where the showerhead is, and horizontal ones on the side walls or the bench. You can also create a feature wall with vertical planks and keep the rest horizontal. For a subtle touch, try vertical planks only on the ceiling or in the niche.
The key is to keep the pattern consistent and let the contrast do the work.
Installation Tips To Keep It Clean
Plan the layout carefully before you start. Use a laser level to keep lines straight, and decide on the transition point between directions—usually at a corner or a change in wall. Make sure the tile is properly waterproofed behind it, and use a high-quality adhesive that can handle moisture.
If you're not confident, hire a pro who has experience with wood-look tile.
4. Light Wood Tiles to Brighten a Small Shower
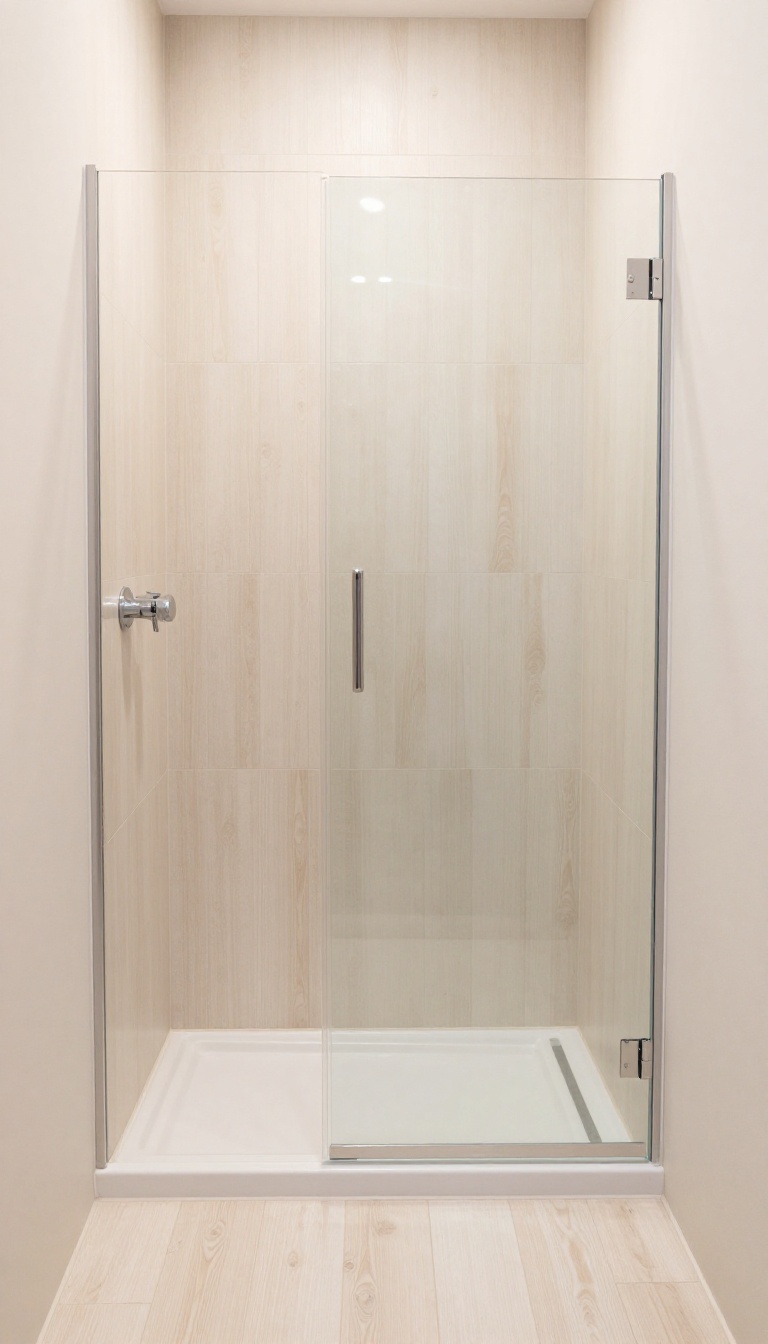
A compact shower can feel boxy and dark, but the right tile tricks the eye into seeing more space. Pale, whitewashed wood-look planks reflect light instead of absorbing it, instantly opening up the room. The result is a fresh, airy vibe that makes your morning routine feel less cramped and more like a spa escape.
When square footage is tight, every design choice matters. Light wood tiles are a smart pick because they bring warmth without weighing down the space. The pale tones bounce natural and artificial light around, making the shower feel larger and more welcoming.
Plus, the subtle grain pattern adds texture without visual clutter, so the eye isn't overwhelmed.
Why Light Wood Works In Small Showers
Darker tiles absorb light, which can shrink an already small space. Light wood-look tiles do the opposite—they reflect light and create an illusion of depth. The pale, whitewashed finish also hides water spots and soap scum better than you'd think, which is a practical bonus.
And because the tone is neutral, it pairs well with almost any fixture or accent color.
Pairing Light Wood With Bright Grout
Grout color can make or break the visual effect. For a seamless, expansive look, choose a grout that closely matches the tile's light shade. This minimizes the grid pattern and lets the wood grain shine.
If you want a bit more definition, a slightly darker grout adds subtle contrast without darkening the overall feel. Either way, keep it light to maintain that open, airy quality.
Maximizing Light With Layout And Finishes
The way you lay the tiles also affects brightness. A horizontal plank layout can visually widen a narrow shower, while a vertical stack draws the eye upward, making the ceiling feel higher. Pair the light wood with a glass shower door instead of a curtain to keep sightlines clear.
Add a large mirror or a light-colored ceiling to bounce even more light around the room.
5. Dark Wood Tiles for a Dramatic, Moody Vibe
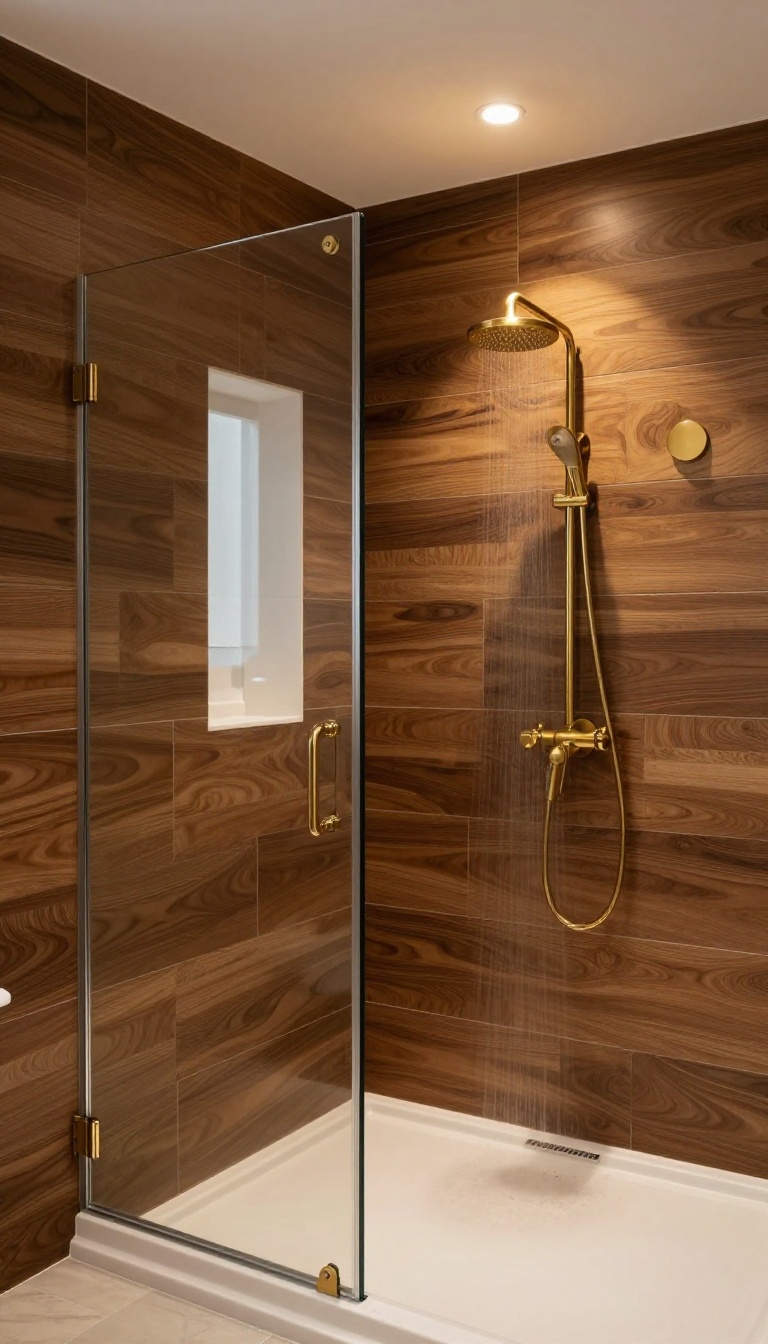
Deep espresso or walnut wood tiles bring a sense of luxury and drama to your shower. The dark tones create a cocooning effect that feels intimate and refined, especially when paired with the right lighting and fixtures. Warm lighting and brass fixtures are key to softening the moodiness, preventing the space from feeling too heavy.
This combination balances the dark wood with a touch of warmth and elegance.
Dark wood tiles are a bold choice that can transform your shower into a statement piece. The richness of the wood grain adds depth, while the darkness creates a contrast that makes other elements, like a white niche or a glass door, pop. To make the most of this look, consider the lighting carefully—warm LED strips or a dimmer switch can enhance the ambiance.
Brass or gold fixtures add a touch of luxury and break up the monotony of the dark surface. If you're worried about the space feeling too small, use large-format tiles to minimize grout lines and keep the visual flow uninterrupted.
Lighting To Complement The Dark
Dark wood tiles absorb light, so you need to plan your lighting carefully. Recessed ceiling lights with warm bulbs can create a soft glow, while wall sconces near the vanity or shower add a spa-like touch. Consider a skylight if possible, or use a glass shower door to let in natural light from the rest of the bathroom.
The goal is to make the space feel cozy, not cave-like.
Fixture Finishes That Pop
Brass, copper, or matte black fixtures stand out beautifully against dark wood. Brass adds a classic, warm contrast, while matte black gives a more modern, edgy vibe. Choose one finish and stick with it for all hardware—faucets, showerhead, and handles—to create a cohesive look.
Don't forget the shower frame: a black or bronze frame can tie the whole design together.
Balancing With Light Accents
To prevent the dark wood from overwhelming the space, introduce light accents. A white or cream shower bench, a light-colored niche for toiletries, or a pale stone floor can break up the darkness and add visual interest. Plants, like eucalyptus or ferns, also bring a fresh, organic element that softens the moody vibe.
6. Wood Tile Shower Niche with Contrasting Frame
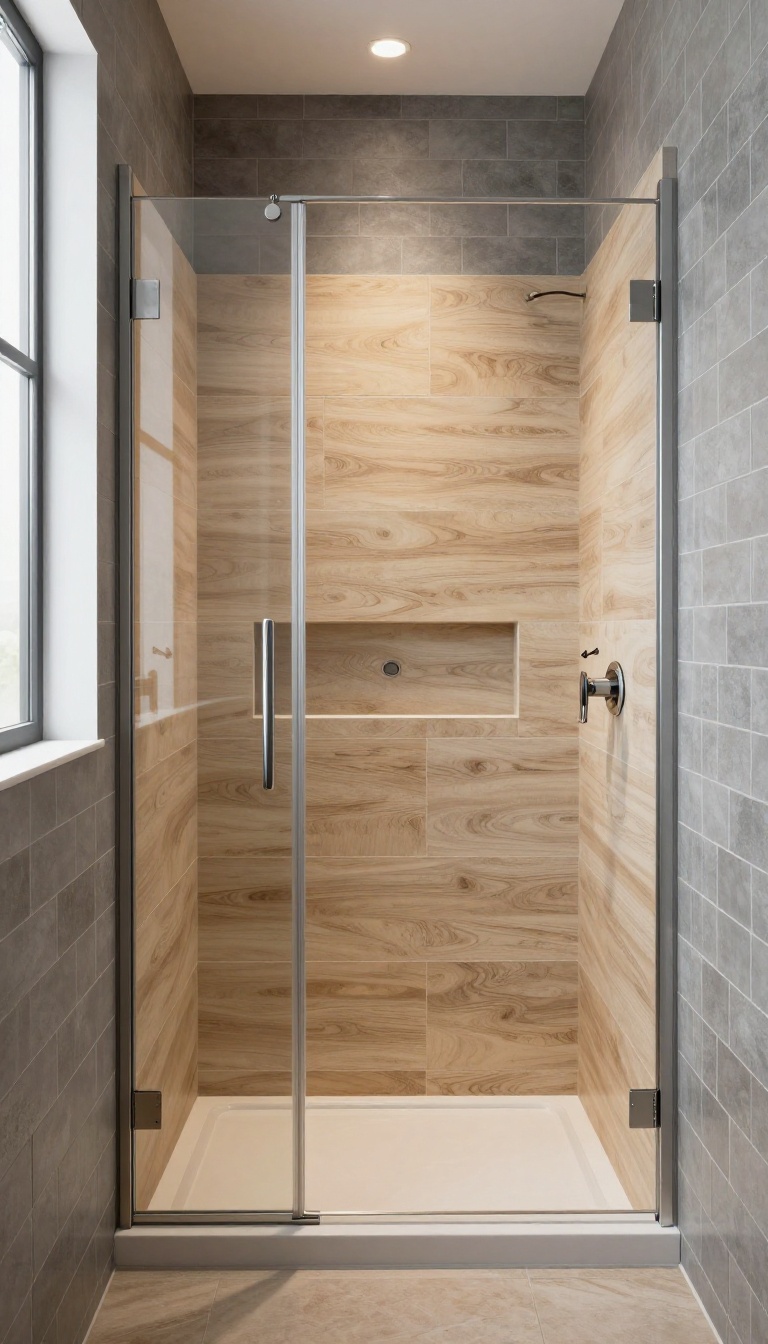
A shower niche is a practical spot for shampoo and soap, but it can also be a design feature. By framing it with wood-look tile while the rest of the shower uses a different material, you create a focal point that draws the eye and adds depth. This contrast works especially well when the niche is placed at eye level, making it a natural centerpiece.
The key is to choose materials that complement each other. If your main shower tile is a cool gray or white subway, a warm oak wood tile will pop beautifully. Conversely, if your shower walls are already wood-look, consider a niche framed with a contrasting stone or a different wood tone for a subtle yet striking effect.
The frame doesn't have to be thick—even a few inches of wood tile around the niche can make a big difference.
Choose The Right Contrast
Think about the mood you want. A light wood frame against dark tile creates a crisp, modern look. A dark wood frame against light tile adds warmth and coziness.
You can also match the wood tone to other elements in the bathroom, like a vanity or mirror frame, for a cohesive feel.
Placement And Proportions
Place the niche at a comfortable height, usually around chest level, and consider its size relative to the shower. A larger niche can handle a bolder frame, while a smaller niche might look better with a thinner border. Make sure the frame is proportional to the niche so it doesn't overwhelm the space.
Finishing Touches
To make the niche stand out even more, add subtle lighting inside. A small LED strip or a recessed light can highlight the wood texture and create a spa-like ambiance. Also, think about the edges—using a matching trim or bullnose tile can give the frame a clean, finished look.
7. Herringbone Pattern Wood Tile for a Classic Twist
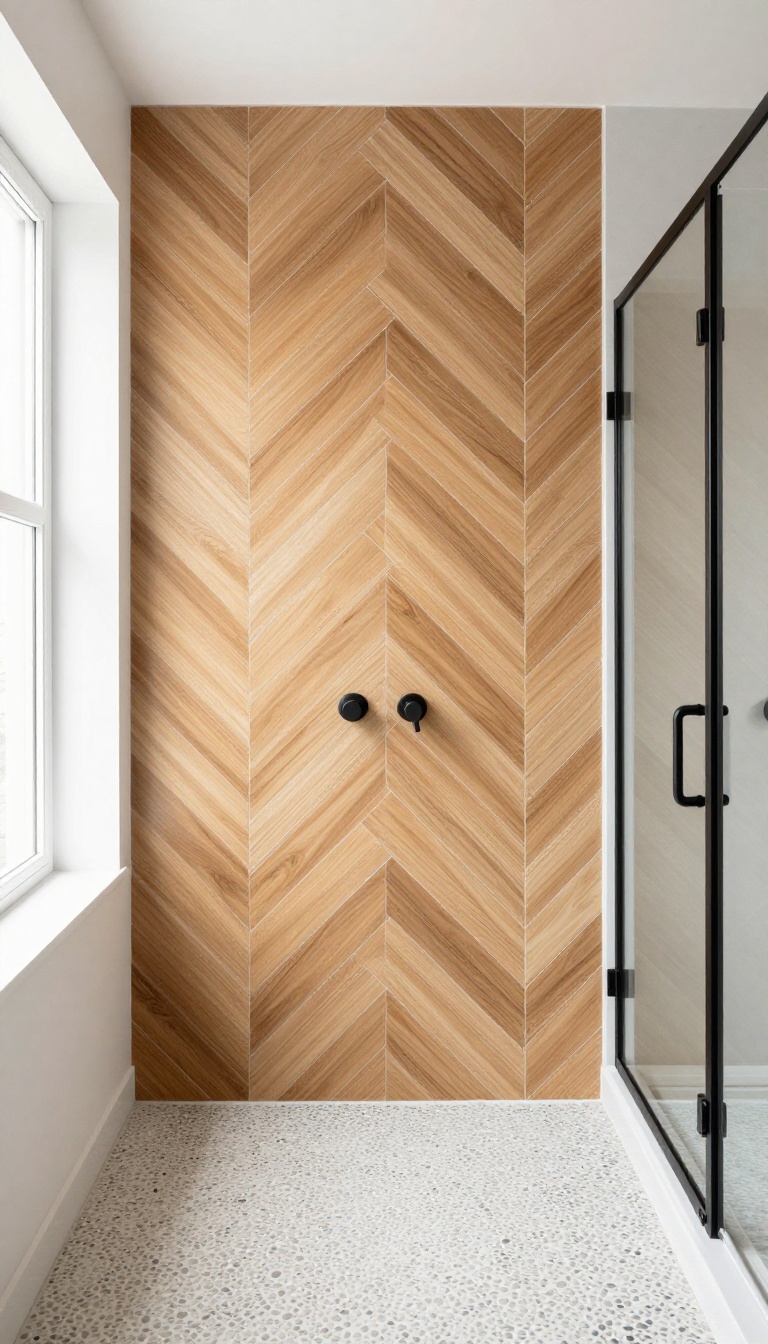
Herringbone is one of those patterns that instantly adds a sense of craft and intention. When you apply it to wood-look tile, you get the warmth of timber with a geometric rhythm that feels both classic and fresh. It's a versatile choice that works in a variety of bathroom styles, from modern farmhouse to urban loft.
The herringbone pattern involves laying rectangular tiles in a zigzag formation, which creates a dynamic V-shaped motif. This layout draws the eye and adds texture, making it a great way to elevate a simple shower design. You can use it on a single accent wall to create a focal point, or on the floor for a more immersive effect.
Accent Wall Vs. Full Coverage
A herringbone accent wall behind the shower bench or fixture adds visual interest without overwhelming the space. Full coverage, on the other hand, makes a bold statement and can make a small shower feel more expansive due to the pattern's movement. Consider your shower's size and the overall look you want to achieve.
Color And Grout Choices
Light wood tones with white or light gray grout keep the space airy and bright, perfect for a spa-like feel. Darker wood with contrasting grout creates a more dramatic, high-contrast look. Match the grout color to the tile for a seamless appearance, or choose a contrasting shade to highlight the pattern.
Pairing With Other Materials
Herringbone wood tile pairs beautifully with natural stone, such as pebble or slate, for a textured, organic look. It also works well with matte black or brushed nickel fixtures, which add a modern edge. Keep the rest of the shower simple to let the pattern shine.
8. Wood Tile Wainscoting with Glass Upper Walls
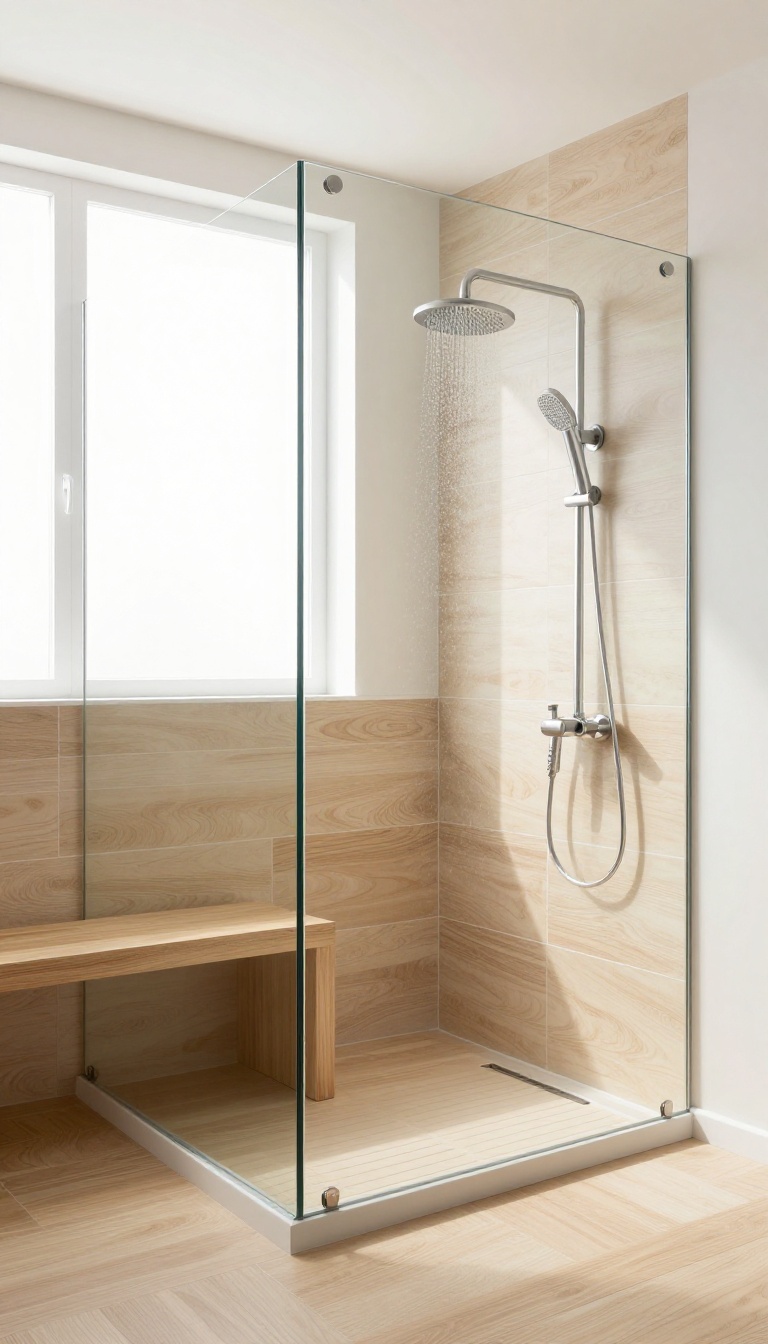
Sometimes you want the warmth of wood without closing off the shower. Wainscoting with wood-look tile on the lower half and glass or clear tile above gives you that balance. It's a smart way to add texture and depth while keeping the space feeling open and bright.
The contrast between the solid, grounded base and the airy transparency above creates a modern look that's both fresh and refined. Plus, it's a practical choice for smaller bathrooms where you want to avoid a heavy, all-wood feel.
This approach works especially well in showers with higher ceilings or where you want to let in natural light. The wood tile anchors the space, while the glass upper walls make the ceiling feel higher and the whole area more spacious. You can use clear glass panels or even glass tiles with a subtle texture for added interest.
When choosing your wood tile, think about the tone and grain. Lighter woods like oak or ash keep things airy, while darker woods add a touch of drama. The key is to make sure the wood tile and the glass work together, not compete.
Why This Combo Works
The wood tile below gives you that cozy, spa-like vibe, while the glass above prevents the shower from feeling like a cave. It's a classic design trick: using a solid material on the lower portion to ground the space, and a transparent one above to open it up. This also helps with maintenance, since the lower walls are easier to clean than glass that gets soap scum.
Choosing The Right Glass
You have a few options for the upper walls: clear glass panels, frosted glass, or even glass blocks. Clear glass is the most modern and keeps the view open, but frosted glass offers more privacy. Glass blocks add a retro touch and diffuse light beautifully.
Think about your privacy needs and the style you're going for.
Installation Tips
Make sure the transition between the wood tile and the glass is clean and waterproof. Use a metal channel or trim piece to create a neat edge. Also, consider the height of the wainscoting—usually around 4 to 5 feet works well, but it depends on your ceiling height and personal preference.
Work with a professional to ensure proper waterproofing behind the glass.
9. Wood Tile Shower Floor with Pebble Accents
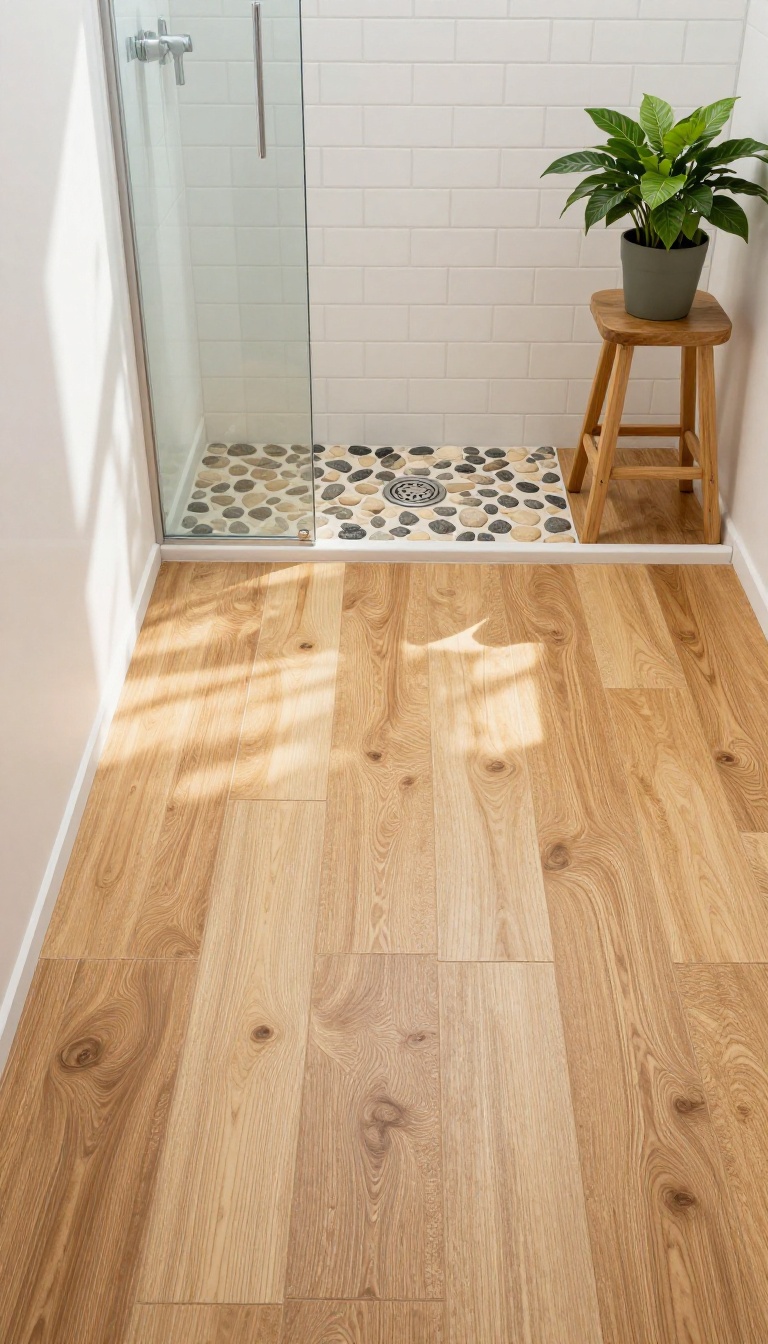
Mixing textures is one of the easiest ways to make a shower feel custom and spa-like. Wood-look tile on the floor already brings warmth, but adding a pebble strip or mat area takes that natural vibe even further. The contrast between smooth planks and rounded stones is both visually interesting and practical underfoot.
The pebble accents break up the expanse of wood tile, adding a tactile element that feels great on tired feet. It's also a smart safety feature—the grout lines between pebbles provide extra traction when the floor is wet. You can place the pebbles in a continuous strip near the drain or create a larger mat area where you stand.
Either way, the blend of wood and stone creates a grounded, organic look that pairs well with earthy tones and greenery.
Why Pebbles Work With Wood Tile
Pebble tile adds a different texture and visual weight, which prevents the wood floor from feeling monotonous. The stones come in various shades—from soft beige to deep gray—so you can match them to the undertones of your wood-look tile. The combination mimics a natural riverbed or forest floor, bringing an organic element into your bathroom that's both calming and grounding.
Placement Ideas For Pebble Accents
You don't have to cover the entire floor with pebbles. A narrow strip running along the back wall or a rectangular mat right at the shower entrance creates a subtle transition. For a more dramatic effect, make the pebble area the main standing zone, with wood tile surrounding it.
This keeps the wood tile dominant while giving you a functional, slip-resistant spot to stand.
Choosing The Right Pebble Tile
Pebble tiles come in mesh-backed sheets that are easy to install, but the size and shape of the stones vary. Opt for smaller, flatter pebbles for a smoother surface underfoot—larger, rounder stones can be uncomfortable to stand on for long periods. Also, consider the color of the grout; a lighter grout will make the pebbles stand out, while a darker grout blends them together for a more uniform look.
10. Wood Tile and Stone Combination for Earthy Elegance
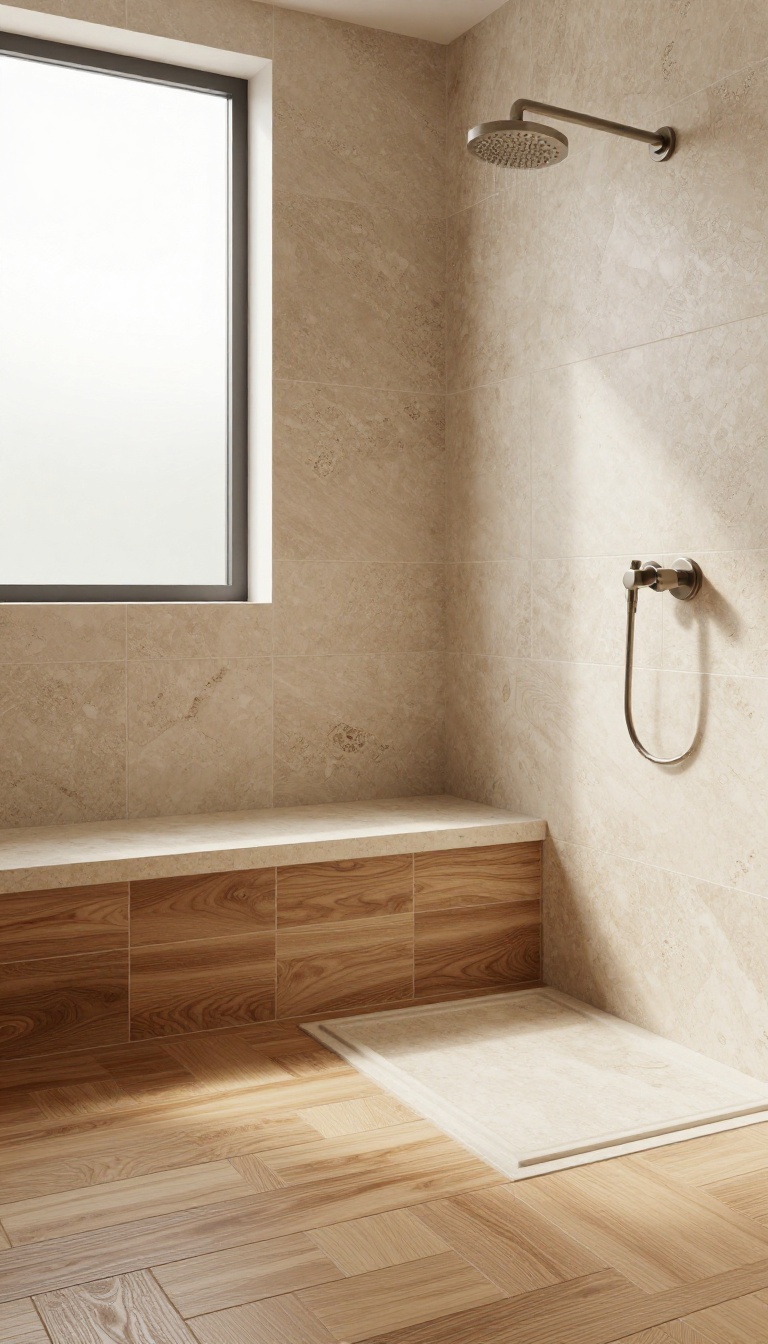
Pairing wood-look tile with natural stone creates a shower that feels grounded and organic, like a spa carved out of the earth. The contrast between warm wood and cool stone adds depth and texture, making the space feel more intentional and refined. Whether you choose travertine, slate, or marble, this combination brings a timeless quality to your bathroom.
The key to this look is balance. You don't want the wood and stone to compete for attention; instead, let one dominate and the other accent. For example, large-format stone tiles on the walls with wood-look planks on the floor create a solid, earthy foundation.
Or, use wood on the walls and a stone bench or niche to break up the warmth. The mix of materials also helps define different zones within the shower, like a wet area versus a dry area.
Choosing The Right Stone
Not all stone pairs well with wood. For a lighter, airy feel, opt for travertine or limestone in soft beige or cream tones. If you prefer more contrast, go with slate or dark marble for a dramatic, high-end look.
Consider the texture too: a honed or tumbled finish will feel more natural and rustic, while a polished stone adds a touch of luxury.
Placement Ideas
A popular approach is to use wood-look tile on the main shower walls and a stone accent wall behind the bench or niche. This creates a focal point without overwhelming the space. Alternatively, you can use stone on the floor and a wood-look wainscot on the lower half of the walls, with stone above.
This adds visual interest and makes cleaning easier.
Tying It Together With Grout And Fixtures
The grout color plays a big role in how the materials blend. For a seamless look, choose a grout that matches the stone. For a more defined look, use a contrasting grout.
Your fixtures also matter: brushed nickel or matte black can complement both wood and stone, while bronze adds extra warmth. Keep the rest of the bathroom simple so the shower remains the star.
11. Wood Tile Shower with Black Fixtures for Modern Contrast
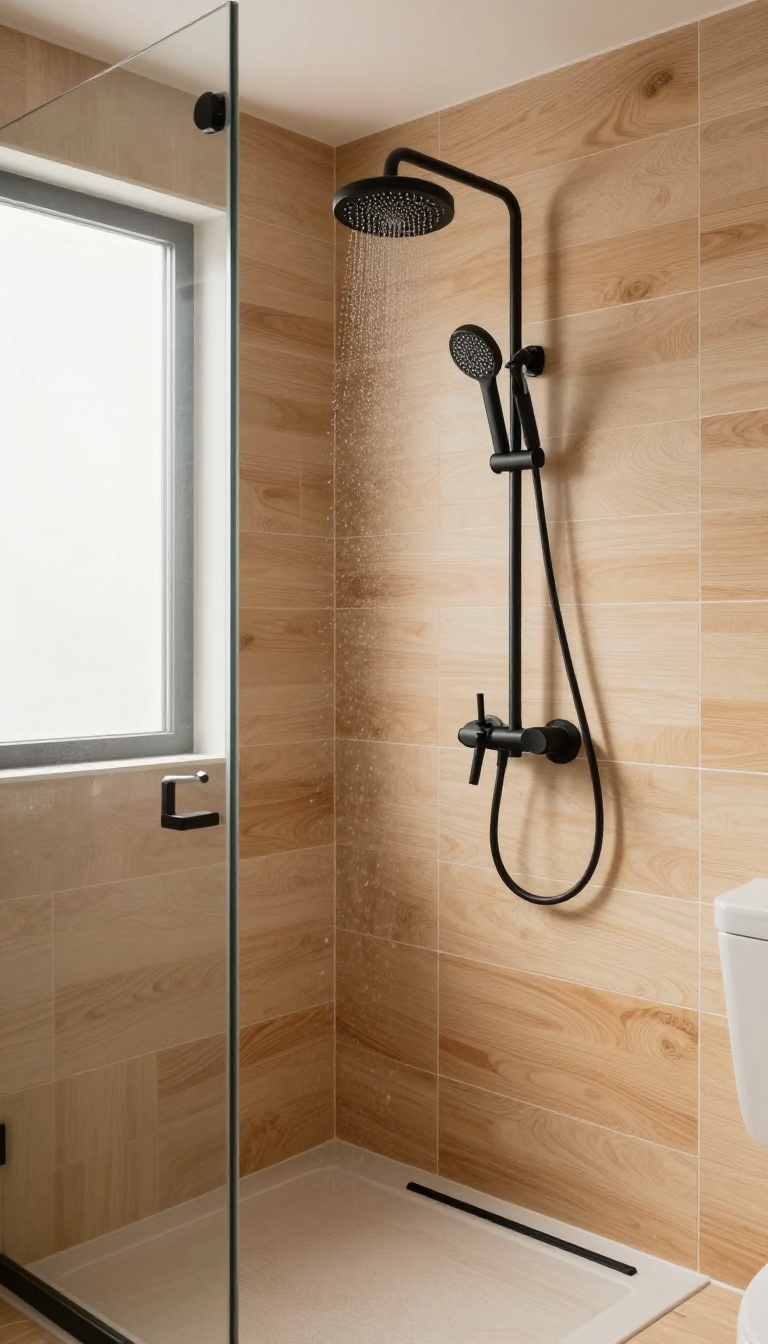
Matte black fixtures against warm wood-look tile create a striking visual balance that feels both current and timeless. The dark metal adds a crisp edge to the organic texture of the wood grain, making the shower feel intentional and polished. It's a pairing that works especially well in bathrooms that lean contemporary or transitional.
This design move is all about contrast—the softness of wood against the hardness of black metal. The fixtures become more than functional; they act as jewelry for the space. Whether you choose a rainfall showerhead, a handheld sprayer, or sleek wall-mounted taps, the matte black finish grounds the warm tones and gives the shower a sophisticated, grounded feel.
Choosing The Right Wood Tone
The wood-look tile you select will set the mood. Lighter oak or ash planks keep the space airy and bright, letting the black fixtures pop without overwhelming the room. For a cozier, more dramatic vibe, go with walnut or teak tones—the dark hardware will blend more seamlessly while still adding definition.
Think about how much natural light your bathroom gets and choose accordingly.
Mixing Finishes And Textures
Matte black doesn't have to be the only metal in the room. You can mix in brushed nickel or chrome accents in other areas, like a towel bar or mirror frame, to add depth. But keep the shower fixtures consistent—using all matte black within the shower itself creates a cohesive, uncluttered look.
The key is to let the wood tile be the star while the black hardware plays a supporting role.
Balancing Light And Shadow
Dark fixtures can sometimes make a space feel smaller, so it's important to balance the contrast. Add a glass shower door instead of a curtain to keep sightlines open. Consider a recessed niche with a backlight or a small LED strip to highlight the wood texture.
These touches prevent the shower from feeling too heavy and keep the focus on the tile's natural beauty.
12. Wood Tile Ceiling for a Cozy Enclosure
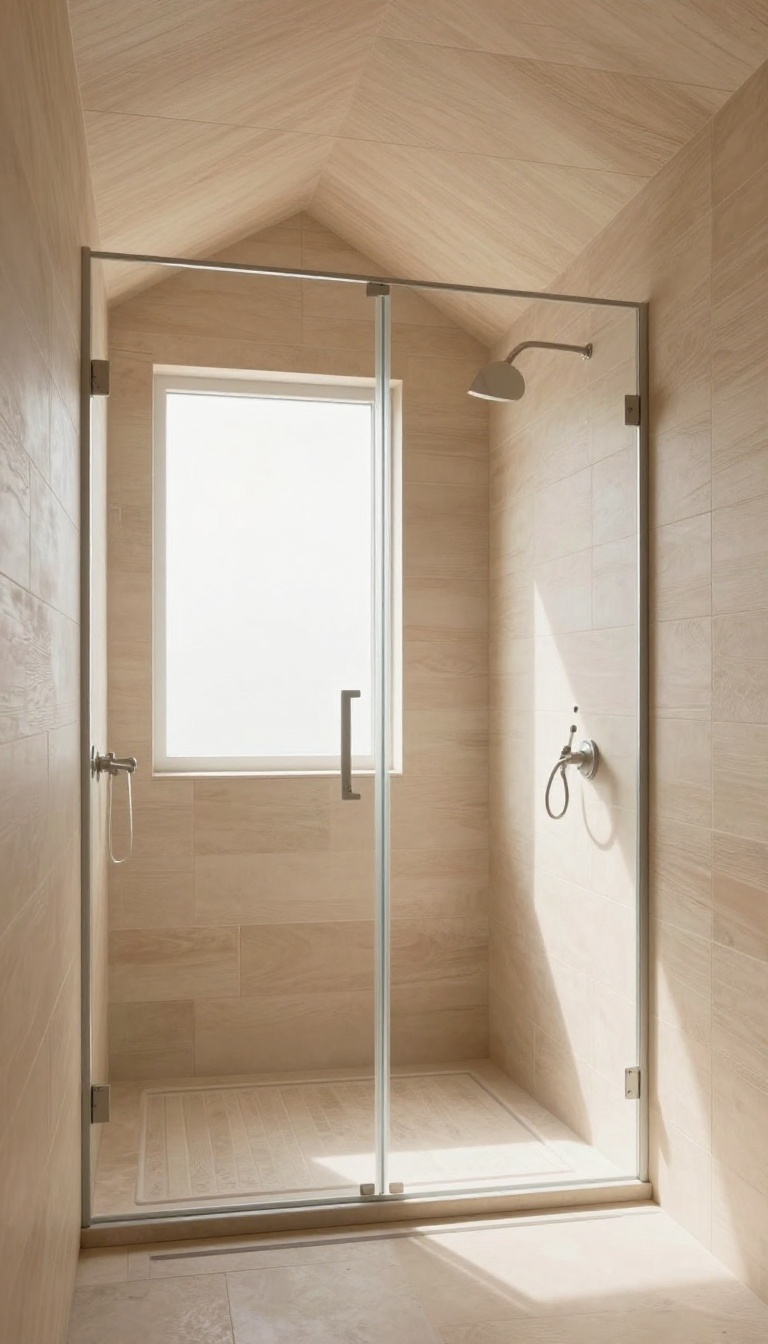
When you think of wood-look tile, the ceiling probably isn't the first place that comes to mind. But taking the planks all the way up creates a shower that feels like a warm, intimate hideaway—especially in larger spaces that might otherwise feel cavernous. It's a bold move that pays off with a unique, cocooning effect.
Extending wood-look tile to the ceiling wraps the entire shower in warmth, making the space feel more enclosed and personal. This works particularly well in walk-in showers with high ceilings, where the vertical expanse can otherwise feel cold and impersonal. The continuous wood surface draws the eye upward and adds an unexpected design element that guests will notice immediately.
Why The Ceiling Works
A wood ceiling adds a sense of intimacy without making the shower feel smaller. In fact, by covering all surfaces, you create a seamless, monolithic look that can make the space feel more expansive. The warm tones also soften the acoustics, making the shower feel more like a spa retreat.
Choosing The Right Tile
Opt for lighter wood tones if your shower is on the smaller side, as they reflect more light and keep the space feeling open. For larger showers, you can go darker and moodier, but make sure the tile has a matte or low-sheen finish to avoid glare from overhead lighting.
Installation Tips
Ceiling installation requires extra care, so hire a pro who has experience with vertical and overhead tile work. Use a high-quality thinset and consider a waterproofing membrane over the entire ceiling before tiling. Also, plan the layout so that the planks run in the same direction as the walls for a cohesive flow.
13. Wood Tile Shower with Glass Door and Minimal Grout
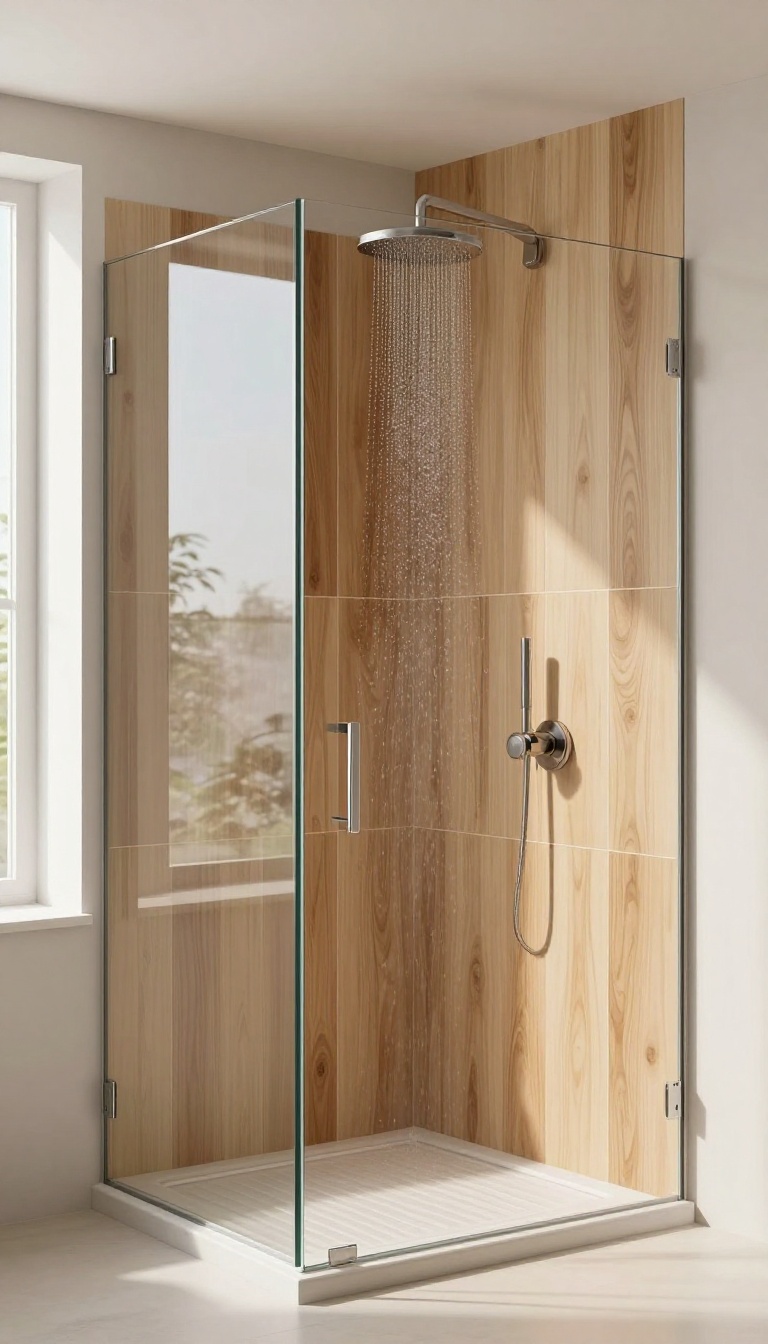
A frameless glass door can make a wood-tile shower feel open and airy, letting the natural grain take center stage. When you pair large-format planks with thin grout lines, the surface reads almost like real wood, minus the upkeep. This approach is all about clean lines and a smooth, continuous look that makes the shower feel more like a spa retreat than a utilitarian space.
The key to this design is minimizing visual interruptions. Large-format wood-look tiles (like 6×24 or 8×48 inches) reduce the number of grout joints, and using a grout color that closely matches the tile helps the planks blend together. A frameless glass door—either hinged or sliding—keeps the view unobstructed, so the wood texture becomes the star.
This setup also simplifies cleaning: fewer grout lines mean fewer places for soap scum and mildew to hide.
Why Large-format Tiles Work Best
Bigger tiles mean fewer grout lines, which creates a smoother, more continuous surface. They also make a small shower feel larger because the eye isn't broken up by a busy grid. Look for rectified edges—these are precisely cut so you can install them with very thin grout lines, sometimes as narrow as 1/16 inch.
The result is a clean, modern look that still has the warmth of wood.
Choosing The Right Grout Color
To keep the wood effect seamless, pick a grout that matches the dominant tone of the tile. For light oak or ash planks, use a warm beige or greige grout. For darker walnut or espresso tones, go with a charcoal or dark brown.
If you want a subtle contrast, you can choose a slightly lighter or darker grout, but avoid anything too stark—it will break the illusion of real wood.
Frameless Glass Door Options
A frameless glass door uses thicker tempered glass (usually 3/8 or 1/2 inch) and minimal hardware, so it feels almost invisible. You can choose a hinged door that swings out or a sliding barn-style door to save space. For a truly seamless look, consider a glass panel that runs from floor to ceiling with a minimal threshold.
Just make sure the glass is clear (not frosted) to show off the tile.
Maintenance And Cleaning Tips
Even with minimal grout, you'll want to keep the surface in top shape. Use a squeegee after each shower to reduce water spots on the glass and tile. For the grout, seal it once a year to prevent staining.
Since wood-look tile is porcelain or ceramic, it's waterproof and won't warp—just wipe down with a mild cleaner. Avoid harsh abrasives that could dull the glaze.
FAQ
Is wood tile in the shower slippery?
Wood-look tile can be slippery when wet, but you can choose tiles with a textured or matte finish. For the shower floor, consider smaller tiles with more grout lines for better traction.
Can real wood be used in a shower?
Real wood is not recommended for wet areas because it can warp and rot. Wood-look porcelain or ceramic tile offers the same aesthetic with waterproof durability.
How do you clean wood tile in a shower?
Use a mild, pH-neutral cleaner and a soft brush or cloth. Avoid harsh abrasives that could scratch the tile surface. Regular wiping helps prevent soap scum buildup.
What grout color works best with wood tile?
Choose a grout that matches the tile color for a seamless look, or use a contrasting grout to highlight the plank pattern. For a natural wood appearance, a matching or slightly darker grout is ideal.
Does wood tile need sealing?
Porcelain and ceramic wood-look tiles do not require sealing. However, if you use natural stone tiles that mimic wood, they may need periodic sealing to protect against moisture.
Conclusion
Wood tile showers bring warmth and texture without the upkeep of real wood, and the ideas above show how versatile this look can be. Whether you lean into a spa-like retreat or a bold statement wall, the right pattern and finish make all the difference. Start with one area that excites you most, then build around it.
With so many styles to choose from, you can easily craft a shower that feels both fresh and refined. Enjoy the process and the payoff.