17 Cleaning Refrigerator Tips for Spills and Fresh Food
A clean refrigerator doesn't just look good—it keeps your food fresher and your kitchen smelling better. Spills happen, but knowing how to handle them quickly can save you from sticky shelves and lingering odors.
You don't need harsh chemicals or expensive gadgets. A few simple habits and everyday ingredients are all it takes to maintain a fridge that's both hygienic and organized.
These 17 tips are designed to be practical and easy to follow. Whether you're dealing with a recent spill or just want to refresh your fridge, you'll find actionable advice that makes a real difference.
1. Wipe Spills Immediately to Prevent Stains
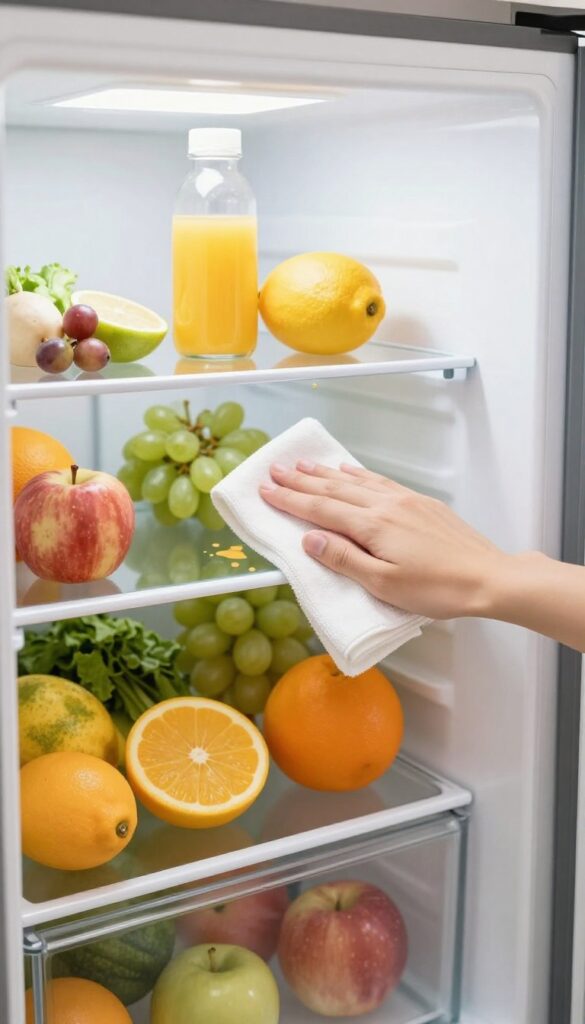
You open the fridge and spot a puddle of juice under the fruit drawer. It's tempting to walk away and deal with it later—but that's exactly how stains set in. Liquids seep into tiny cracks, dry, and become stubborn messes that require scrubbing.
A quick wipe now saves you time and effort later.
Spills are inevitable, but they don't have to be permanent. The key is speed. As soon as you notice a spill, grab a clean cloth or paper towel and blot it up.
For sticky liquids like syrup or jam, follow with a damp cloth to remove any residue. This simple habit keeps your fridge looking fresh and prevents odors from developing.
Why Immediate Action Matters
Liquids can seep into the plastic lining and even under shelves, where they become breeding grounds for bacteria. Once dried, they're harder to remove and may require harsh cleaners. By wiping immediately, you avoid deep cleaning sessions later.
What To Keep Handy
Store a microfiber cloth or a roll of paper towels near your fridge. Some people keep a small spray bottle with a vinegar-water solution for quick cleanups. Having supplies within arm's reach makes it easy to act fast.
How To Handle Sticky Spills
For spills like honey or jam, use warm water on your cloth to dissolve the sugar. If it's already dried, let a damp cloth sit on the spot for a minute to soften it before wiping. Avoid abrasive scrubbers that can scratch the surface.
2. Use Baking Soda Paste for Sticky Residue
Sticky spots from spilled soda, jam, or syrup can be stubborn. Instead of scrubbing until your arm hurts, reach for baking soda. This gentle abrasive lifts gunk without scratching plastic or glass shelves.
Mix three parts baking soda with one part water to form a spreadable paste. Apply it directly to the sticky area and let it sit for five minutes. The paste breaks down sugars and adhesives, making them easy to wipe away with a damp cloth.
Why Baking Soda Works
Baking soda is slightly alkaline, which helps neutralize acids in sticky spills. Its fine particles provide just enough abrasion to loosen residue without damaging surfaces. Plus, it's non-toxic and safe around food.
How To Apply For Best Results
Use a soft sponge or your fingers to spread the paste. For dried-on messes, let it sit longer—up to 10 minutes. Then wipe with a microfiber cloth.
Rinse the area with water afterward to remove any remaining paste.
When Not To Use Baking Soda
Avoid baking soda on aluminum or unsealed wood surfaces, as it can cause discoloration. Stick to glass, plastic, and stainless steel shelves. If unsure, test on a small hidden spot first.
3. Remove Shelves and Drawers for a Deep Clean
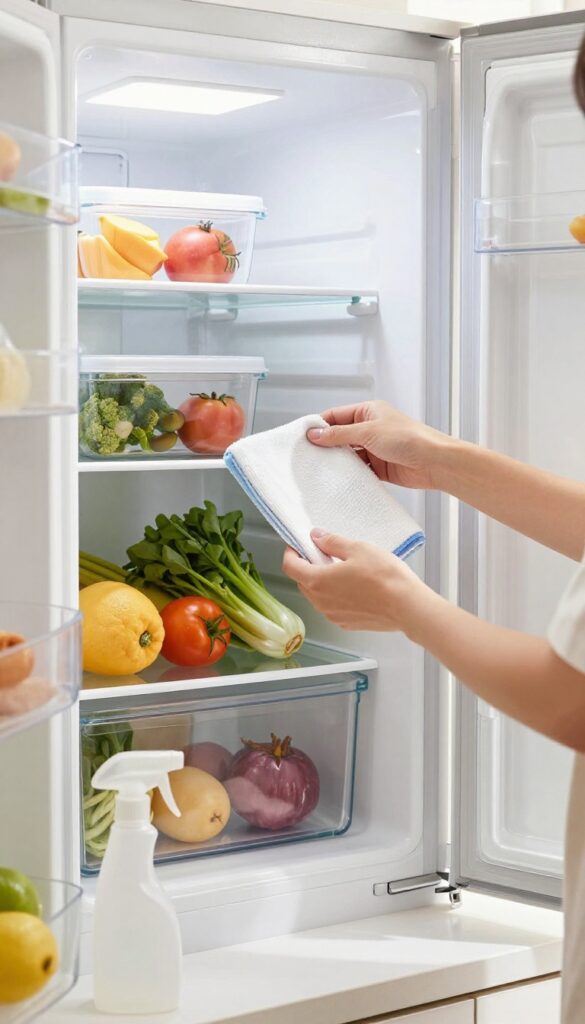
You might be tempted to just wipe around the shelves, but that leaves dirt and bacteria hiding underneath. Taking everything out is the only way to get a truly clean fridge. It also gives you a chance to check for expired food and wipe down every nook and cranny.
Start With A Plan
Before you start pulling things out, have a game plan. Clear off a counter or table where you can set the shelves and drawers. Grab a bucket of warm, soapy water, a soft sponge, and a microfiber cloth.
This way, you won't be scrambling mid-task.
Wash With Care
Most removable parts are dishwasher-safe, but check the manual first. If you're hand washing, use mild dish soap and warm water. Avoid abrasive scrubbers that can scratch glass or plastic.
Rinse thoroughly and let them air dry completely before putting them back.
Don't Forget The Tracks And Seals
While the shelves are out, take a moment to clean the tracks where they slide in. Crumbs and sticky residue love to collect there. Also wipe down the rubber door gaskets with a damp cloth.
A clean seal helps the fridge close tightly and saves energy.
4. Line Shelves with Easy-to-Clean Mats
One of the easiest ways to cut down on cleaning time is to stop spills from reaching the glass in the first place. Silicone or plastic shelf liners act like a protective layer that catches drips, crumbs, and sticky messes. When something leaks, you just lift out the mat and wash it—no scrubbing the shelf itself.
Shelf liners are a simple upgrade that makes a big difference. They come in various sizes and can be cut to fit your fridge exactly. The best part?
They’re reusable and dishwasher-safe, so cleanup is almost effortless. Plus, they add a non-slip surface that keeps bottles and jars from sliding around.
Choose The Right Material
Silicone mats are flexible, heat-resistant, and won’t warp over time. Plastic liners are cheaper but can crack in cold temperatures. For most fridges, silicone is the better bet—it stays put and is easy to wipe down.
Look for BPA-free options to keep your food safe.
Cut To Fit And Secure
Measure your shelves before buying. Many liners come in rolls you can trim with scissors. Once cut, place them flat on the shelf.
If they curl up at the edges, a tiny dab of water underneath can help them stick. Avoid using double-sided tape—it leaves residue.
Clean Mats Regularly
Even though mats catch spills, they still need occasional washing. Every couple of weeks, remove them and rinse with warm soapy water. For stubborn stains, a baking soda paste works wonders.
Let them dry completely before putting them back to prevent mold.
5. Store Produce in Breathable Bags
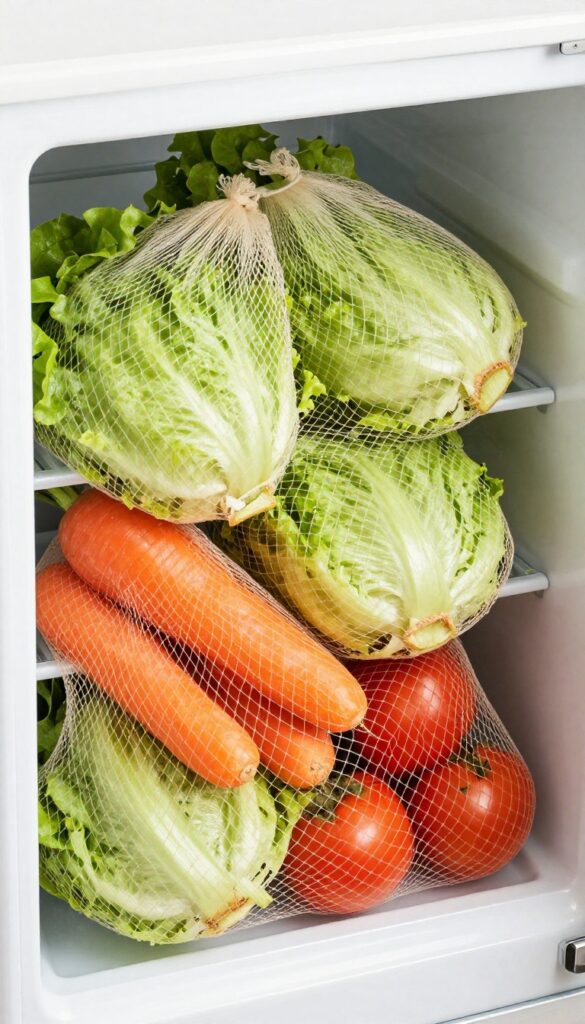
Plastic bags trap moisture, turning crisp lettuce into a soggy mess and causing fruits to sweat. That extra humidity leads to slimy spills and faster spoilage. Switching to breathable bags is a simple swap that keeps produce fresh and your fridge cleaner.
Mesh or perforated bags allow air circulation while holding in just enough humidity. This balance prevents condensation from pooling at the bottom of drawers. You'll notice fewer wet spots and less need to wipe down produce bins.
Choose The Right Bag
Look for reusable mesh bags or bags with small perforations. Avoid completely sealed plastic. Cotton or linen produce bags also work well.
They let air flow while keeping fruits and vegetables contained.
Store Similar Items Together
Keep ethylene-producing fruits like apples and bananas separate from ethylene-sensitive veggies like leafy greens. Even in breathable bags, grouping compatible items reduces premature ripening and spills from overripe produce.
Wash And Dry Before Bagging
Damp produce invites mold and bacteria. Wash and thoroughly dry fruits and veggies before placing them in breathable bags. A salad spinner works great for greens.
Dry berries gently with a paper towel to avoid bruising.
6. Keep an Open Box of Baking Soda to Absorb Odors
Even the cleanest fridge can develop funky smells over time. Leftover takeout, forgotten produce, and spills all leave their mark. Instead of masking odors with scented sprays, try a simple box of baking soda.
It works silently in the background, absorbing smells without adding any artificial fragrance.
Place an open box of baking soda on a middle shelf, away from the back wall so air can circulate around it. Replace it every three months—mark your calendar or set a phone reminder. For extra freshness, you can also sprinkle a little baking soda directly on spills before wiping them up.
It helps lift stains and neutralizes odors at the source.
Where To Place The Box
Put the open box on a middle shelf, not in the door or near the back. Airflow is key—the box needs to breathe to absorb odors effectively. Avoid tucking it behind tall containers or produce bins.
How Often To Replace It
Every three months is the sweet spot. Write the date on the box with a marker when you first open it, so you know when to swap it out. If your fridge gets heavy use or strong smells, consider replacing it every two months.
Bonus: Use It For Spills Too
When a jar leaks or a container tips over, sprinkle baking soda directly on the spill. Let it sit for a few minutes to absorb the liquid and odor, then wipe it up with a damp cloth. It makes cleanup easier and prevents smells from lingering.
7. Use White Vinegar to Disinfect and Deodorize
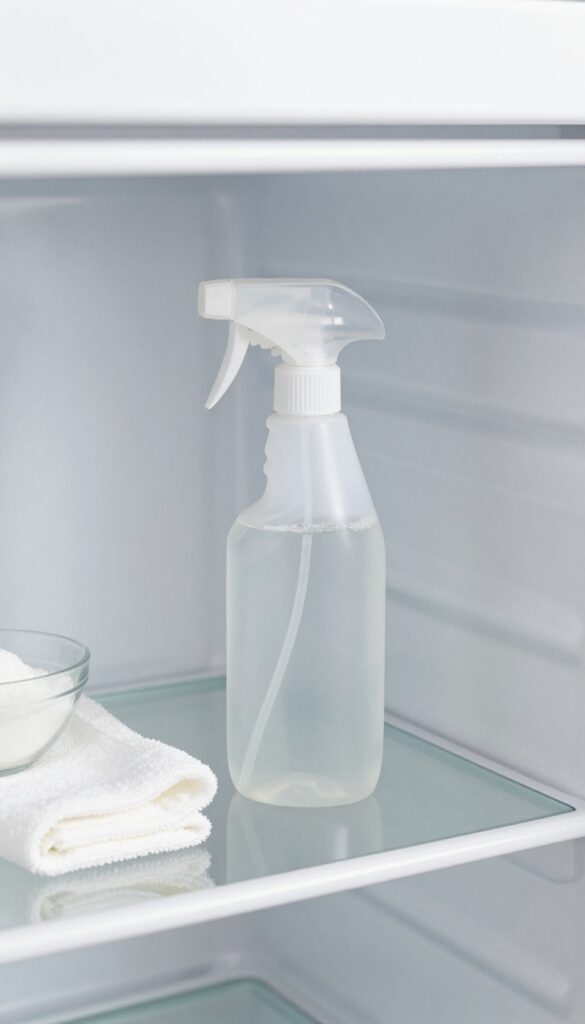
White vinegar is one of those kitchen staples that does way more than just dress your salad. When it comes to cleaning the fridge, it's a powerhouse. A simple 50/50 mix of white vinegar and water kills bacteria, cuts through grime, and neutralizes odors without leaving any harsh chemical residue.
Forget expensive sprays or bleach wipes. Vinegar is cheap, non-toxic, and surprisingly effective. It tackles sticky spills, prevents mold growth, and leaves your fridge smelling clean—not like a chemical lab.
Plus, it's safe for all surfaces, including glass, plastic, and metal shelves.
How To Mix And Apply
Combine equal parts white vinegar and water in a spray bottle. Spray directly onto interior surfaces, then wipe with a microfiber cloth. For stubborn spots, let the solution sit for a minute before wiping.
No rinsing needed—the vinegar smell evaporates quickly.
Targeting Odors At The Source
Vinegar doesn't just mask smells; it neutralizes them. If your fridge has a persistent odor, wipe down all surfaces, including drawers and door bins. Pay extra attention to corners and crevices where spills can hide.
For extra odor-fighting power, leave a small bowl of baking soda in the fridge after cleaning.
A Note On Safety And Surface Care
Vinegar is gentle enough for daily use but acidic enough to disinfect. Avoid using it on unsealed stone or aluminum surfaces, as it can cause etching or discoloration. For most fridge interiors, it's perfectly safe.
Always test on a small hidden area first if you're unsure.
8. Clean the Condenser Coils for Better Efficiency
Your fridge works hard to keep things cold, but it can't do its job well if the condenser coils are caked with dust and pet hair. These coils release heat, and when they're dirty, the compressor has to run longer and harder. That means higher energy bills and more moisture inside, which leads to spills and spoilage.
Cleaning the coils is one of those maintenance tasks that people forget about, but it makes a big difference. You don't need a pro—just a vacuum with a brush attachment and a few minutes every six months. The payoff is a fridge that runs efficiently, stays cooler, and keeps your food fresher longer.
Where Are The Coils?
Most refrigerators have coils either at the back (exposed) or underneath (behind a kickplate). Check your manual if you're not sure. For back coils, simply pull the fridge away from the wall and vacuum the dust off.
For bottom coils, remove the kickplate (usually snaps off or has screws), then vacuum the coils and the area around them.
What You'll Need
A vacuum with a crevice tool or brush attachment works best. If you have a lot of pet hair, a lint roller can help pick up stubborn clumps. Some people use a coil cleaning brush, but it's not necessary.
Just avoid using water or any liquid—dry cleaning is key.
How Often To Do It
Every six months is the sweet spot for most homes. If you have pets that shed a lot or a dusty kitchen, bump it up to every three months. Mark it on your calendar so you don't forget.
It's a quick job that saves you from costly repairs down the road.
9. Check and Replace Door Seals if Needed
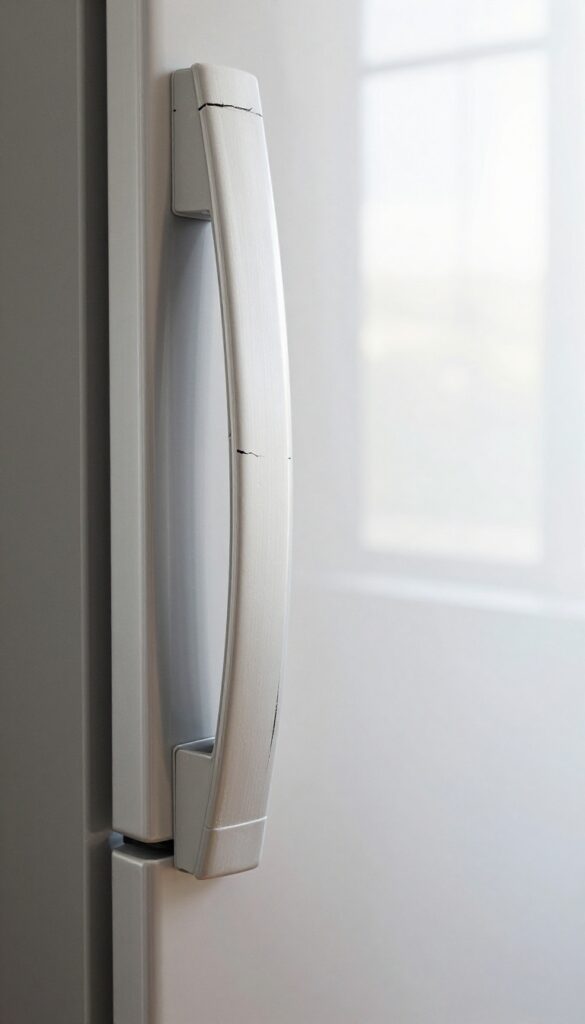
A worn-out door seal lets cold air escape, making your fridge work harder and causing frost to build up. It also means spills and odors can seep out more easily. Checking the gasket is a quick task that pays off in energy savings and better food preservation.
Inspect the rubber gasket around your refrigerator door for cracks, tears, or areas where it feels loose. A simple test: close the door on a piece of paper. If you can pull the paper out easily, the seal is weak and needs attention.
Clean the gasket with warm, soapy water to remove grime that can prevent a tight fit. If cleaning doesn't help, replacement gaskets are available online or at appliance parts stores. Most are easy to install with basic tools.
A tight seal keeps cold air in, reduces frost, and helps your fridge maintain a consistent temperature, which also prevents spills from freezing or spoiling too quickly.
How To Test Your Door Seal
Close the door on a dollar bill or a piece of paper. If it slides out with little resistance, the seal is too loose. Repeat this test at several spots around the door.
You can also feel for cold air leaks by running your hand along the edge of the closed door.
Cleaning Vs. Replacing The Gasket
Sometimes dirt or food residue prevents a good seal. Wipe the gasket with a soft cloth dipped in warm, soapy water, then rinse and dry. If the rubber feels brittle or has visible cracks, replacement is the better option.
Most gaskets are held in place by screws or snap into a channel, making DIY replacement straightforward.
Why A Good Seal Matters For Spills And Freshness
A tight seal keeps humid air out, which reduces frost and ice buildup. It also contains spills and odors inside the fridge, so they don't affect the kitchen environment. Plus, your fridge runs more efficiently, saving energy and keeping food at a stable temperature.
10. Organize by Food Type to Minimize Cross-Contamination
Where you place food in the fridge matters more than you think. Raw meat dripping onto fresh produce is a fast track to food poisoning. Smart zoning keeps everything safer and makes spills easier to contain.
By grouping similar foods together, you reduce the chance of cross-contamination and make cleaning a breeze. If something leaks, it only affects one section instead of the whole fridge.
Bottom Shelf For Raw Meat
Raw meat, poultry, and seafood belong on the bottom shelf. That way, any juices that drip won't land on ready-to-eat foods. Store them in a shallow pan or on a plate to catch leaks.
Upper Shelves For Dairy And Eggs
Dairy products and eggs should go on upper shelves where the temperature is most consistent. Keep them away from the door to avoid temperature swings.
Crisper Drawers For Produce
Use separate drawers for fruits and vegetables. Many fridges have humidity controls: high for leafy greens, low for fruits. This keeps produce fresh longer and prevents moldy spills.
11. Use Clear Containers for Leftovers
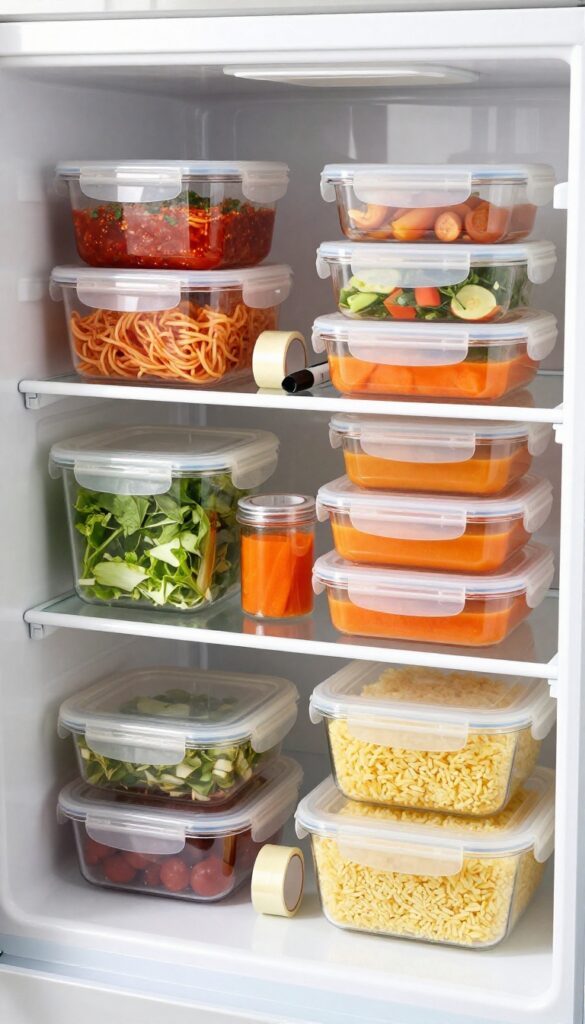
Leftovers often get pushed to the back of the fridge and forgotten until they start growing science experiments. Clear containers solve this problem by letting you see exactly what's inside without opening a single lid. They also stack neatly, save space, and make it easy to grab a quick lunch without playing fridge roulette.
Switching to clear containers is one of the simplest upgrades you can make for both organization and food waste reduction. When you can see the contents at a glance, you're far less likely to let leftovers languish until they leak or spoil. Plus, clear containers make it easier to keep track of what needs to be eaten first.
Pair them with a simple labeling system using masking tape and a marker, and you'll never wonder again if that container holds last night's chili or something from two weeks ago.
Choose The Right Material
Glass containers are great because they don't stain or absorb odors, and they're microwave and dishwasher safe. But they can be heavy and breakable. BPA-free plastic is lightweight and shatterproof, making it a good choice for kids' lunches or for stacking in tight spaces.
Look for containers with snap-lock lids to prevent leaks.
Go For Uniform Shapes
Square and rectangular containers use space more efficiently than round ones. They stack neatly and allow you to fill every inch of shelf space. A set of matching containers also looks tidy and makes it easier to find lids.
Avoid odd shapes that waste room and create dead zones.
Label And Rotate
Even with clear containers, it helps to label each one with the contents and date. Use a dry-erase marker on glass or stick a piece of painter's tape on plastic. Then practice first-in, first-out: put newer leftovers behind older ones so you use up the oldest food first.
This simple habit cuts down on waste and keeps your fridge from turning into a science fair.
12. Freeze Items Before Storing to Avoid Drips
Liquids like soups, stews, or sauces are notorious for leaking in the fridge. Even a well-sealed container can tip over or develop a slow drip. The solution is simple: freeze them first.
By freezing liquids in portion-sized bags or containers before refrigerating, you eliminate the risk of spills. This trick also helps with meal prep—you can grab a frozen portion and thaw it when needed. Plus, frozen items cool down the fridge less than warm liquids, saving energy.
Portion Control Made Easy
Use freezer-safe bags laid flat to freeze soups or sauces in single servings. Once solid, you can stack them upright like books. This saves space and prevents any accidental leaks from sloshing around.
No More Condensation Puddles
When you put a warm container of liquid in the fridge, condensation forms and can pool on shelves. Freezing first means no condensation, so your fridge stays dry and clean. Just transfer the frozen block to a container before refrigerating if you plan to use it within a day or two.
13. Place a Drip Tray Under Fresh Produce
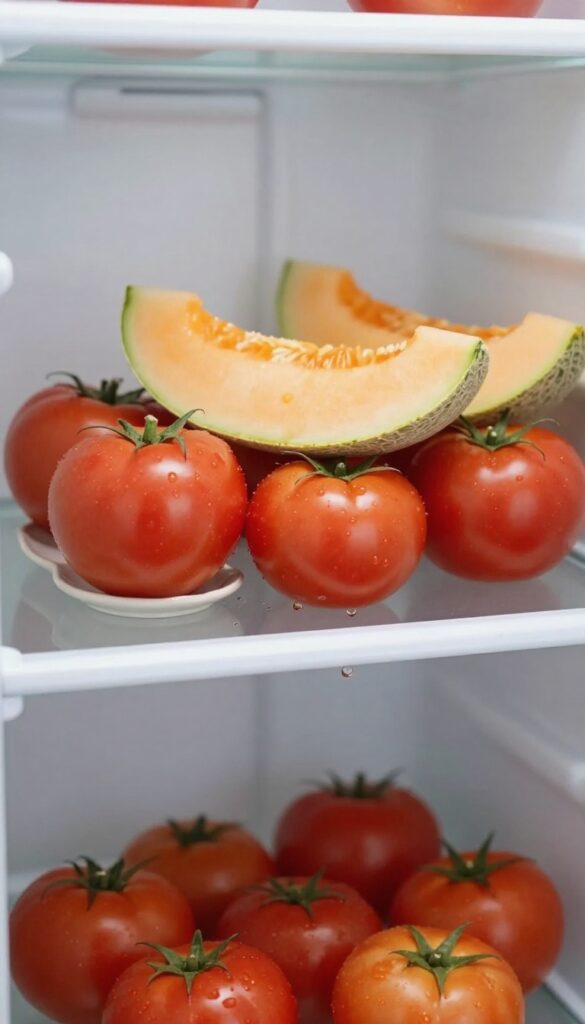
Tomatoes, melons, and other juicy fruits can leave sticky puddles on your fridge shelves. That sugary residue not only attracts fruit flies but also hardens into a crust that's tough to scrub off. A simple drip tray catches those drips before they become a problem.
A small tray or plate placed under high-moisture produce collects any juices that escape. This keeps your shelves clean and makes cleanup as easy as rinsing the tray. Plus, it prevents cross-contamination if something starts to spoil.
Choose The Right Tray
Pick a shallow tray or plate that fits easily under your produce without overcrowding. Glass or ceramic options are best because they don't stain or absorb odors. Avoid porous materials like unsealed wood or plastic that can get sticky over time.
Clean The Tray Regularly
Empty and wash the drip tray every few days to prevent mold or bacteria buildup. A quick rinse with hot soapy water does the trick. If you notice sticky residue, a little vinegar helps cut through it.
Pair With A Liner For Extra Protection
For even easier cleanup, place a paper towel or a silicone liner under the tray. This catches any overflow and can be tossed or wiped down in seconds. It's a small step that saves you from scrubbing dried-on juice later.
14. Wipe Down Handles and Buttons Weekly
Refrigerator handles and control panels are some of the most touched surfaces in your kitchen. Every time you grab a snack or open the door, you transfer bacteria and grime. A quick weekly wipe-down prevents buildup and keeps these high-touch areas sanitary.
Start by mixing a few drops of dish soap with warm water or using a diluted all-purpose cleaner. Dampen a microfiber cloth—never spray directly onto buttons or handles to avoid moisture seeping into electronics. Wipe all handles, knobs, and touch panels thoroughly.
For stubborn stickiness, let the cleaner sit for a minute before wiping. Dry with a separate cloth to prevent streaks and water spots. This simple habit cuts down on cross-contamination and keeps your fridge looking clean from the outside in.
Why Handles Harbor Bacteria
Think about how often you touch the fridge handle with raw meat or unwashed produce hands. Studies show refrigerator handles can be dirtier than a toilet seat. Weekly disinfection reduces the risk of spreading pathogens like salmonella or E. coli to your food and family.
Best Cleaners For Buttons And Screens
Avoid harsh chemicals like bleach or ammonia that can damage plastic or electronic displays. A 50/50 water and vinegar solution works well for most fridges. For stainless steel handles, use a dedicated stainless steel cleaner or a little olive oil on a cloth to restore shine and resist fingerprints.
Don’t Forget The Water Dispenser And Ice Maker
If your fridge has a water dispenser or ice maker, the lever or paddle also needs attention. Wipe it down with a disinfectant wipe or cloth dampened with soapy water. Clean the drip tray underneath too—it can grow mold and slime quickly.
15. Use Lemon Juice to Remove Tough Stains
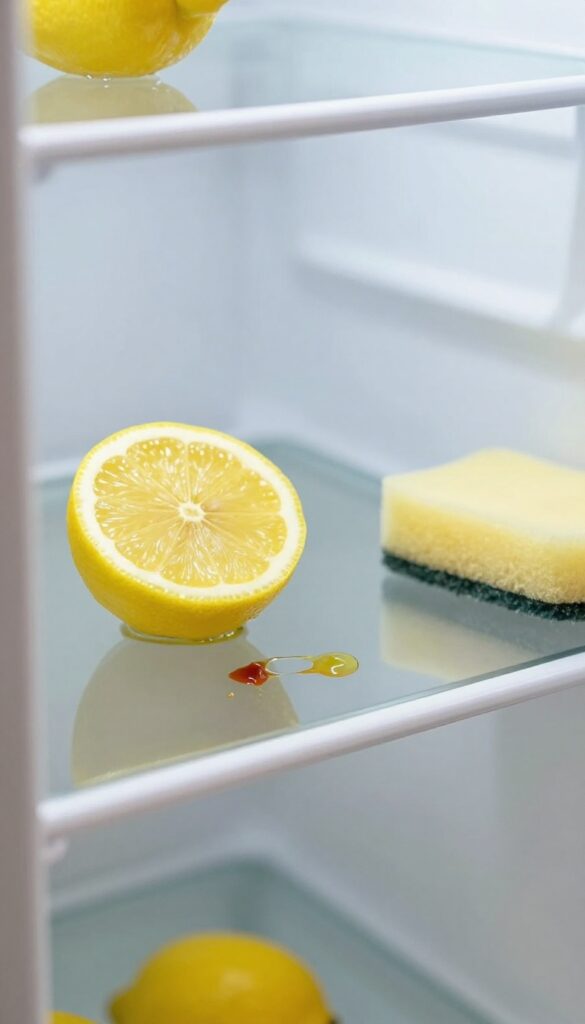
Some stains just won't budge with regular soap and water. Dried tomato sauce, berry juice, or coffee spills can leave stubborn marks on your fridge shelves. Lemon juice offers a natural solution that's both effective and safe for food surfaces.
Lemon juice's acidity breaks down the compounds in many food stains, making them easier to wipe away. It also leaves a fresh, clean scent behind. This method works best on non-porous surfaces like glass or plastic shelves.
How To Apply Lemon Juice
Squeeze fresh lemon juice directly onto the stain, or use bottled lemon juice if that's what you have. Let it sit for about 10 minutes to penetrate the residue. Then scrub gently with a soft sponge or cloth.
Rinse with water and dry.
When To Use A Lemon Paste
For extra stubborn stains, mix lemon juice with baking soda to form a paste. Apply the paste, let it sit for 15 minutes, then scrub. The combination adds gentle abrasion without scratching surfaces.
Safety Tips
Avoid using lemon juice on aluminum or unsealed wood, as the acid can cause damage. Always rinse thoroughly after cleaning to prevent any residue from affecting food.
16. Schedule a Monthly Empty-and-Clean Routine
It's easy to let fridge cleaning slip until something starts smelling. A once-a-month deep clean stops grime from building up and makes everyday spills easier to handle. This routine doesn't have to take all afternoon—just a focused hour can leave your fridge looking like new.
A monthly empty-and-clean routine is your best defense against sticky shelves and funky odors. By clearing everything out, you can wipe down every nook and cranny, check for expired items, and reorganize so food stays fresh longer. Plus, it gives you a chance to spot any spills or leaks before they become stubborn stains.
Gather Your Supplies First
Before you start, grab a bucket of warm water, mild dish soap, a microfiber cloth, and a baking soda solution for tough spots. Having everything ready means you won't have to leave the fridge open while hunting for a sponge. Also, set aside a cooler or insulated bag to keep perishables cold while you work.
Work Top To Bottom
Start with the top shelves and work your way down. That way, any crumbs or drips fall onto already-dirty surfaces you'll clean next. Remove drawers and shelves if possible and wash them separately in the sink.
Don't forget the door bins—they often collect sticky residues from condiments.
Check Expiration Dates As You Go
While everything is out, take a moment to check dates on leftovers, dairy, and sauces. Toss anything past its prime or that looks questionable. This not only frees up space but also prevents mystery smells from developing.
It's a good habit to keep a small trash bag nearby for quick disposal.
Wipe Down Seals And Vents
The rubber gaskets around the door and the vents inside the fridge can trap grime and affect temperature. Use a toothbrush or small brush to gently clean these areas. A clean seal ensures the door closes tightly, saving energy and keeping your food at the right temperature.
17. Keep a Small Trash Bin Nearby for Quick Disposal
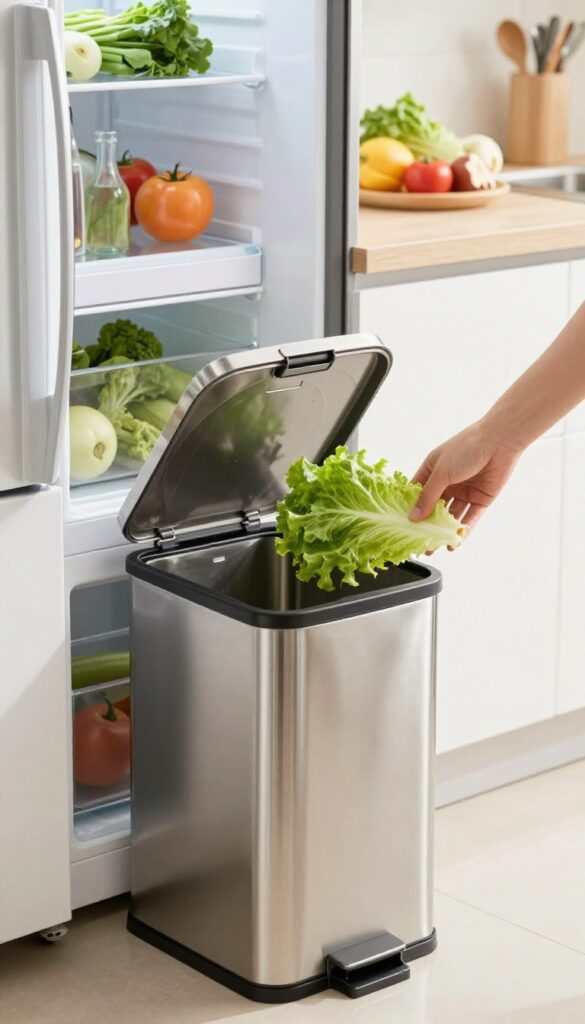
Expired leftovers and forgotten produce can quickly turn your fridge into a science experiment. The longer they sit, the more they leak, smell, and attract mold. A simple solution is to place a small trash bin right next to your refrigerator or on the counter nearby.
This way, you can toss out old items the moment you spot them, preventing spills and odors before they start.
Having a dedicated bin within arm's reach makes fridge maintenance effortless. You'll be more likely to check expiration dates and clear out wilted veggies when disposal is just a step away. This habit also reduces the risk of cross-contamination from spoiled food touching fresh items.
Keep the bin lined and empty it regularly to avoid any lingering smells.
Choose The Right Size And Location
A small bin, about 2 to 3 gallons, works best—big enough for a few items but not so large that it becomes a catch-all. Place it on the counter next to the fridge or on the floor nearby, but out of the main walkway. If you have a kitchen island, tuck it under the overhang for easy access.
Use A Lid To Contain Odors
A bin with a tight-fitting lid helps trap smells from discarded food, especially if you can't take out the trash immediately. Look for a step-can design so you can open it hands-free while holding spoiled items. This keeps your kitchen smelling fresh even between trash runs.
Make It A Routine
Set a weekly reminder to check the fridge and toss anything past its prime. Pair this with your regular trash day so the bin is emptied right after. Over time, this becomes an automatic habit that keeps your fridge clean and organized.
FAQ
How often should I clean my refrigerator?
Aim for a quick wipe of spills as they happen and a thorough clean every month. Deep cleaning the coils and seals every six months is also recommended.
What is the best natural cleaner for fridge interiors?
A mixture of equal parts white vinegar and water works well. It disinfects and deodorizes without harsh chemicals.
How can I prevent my fridge from smelling bad?
Keep an open box of baking soda inside, and replace it every three months. Also, promptly remove expired or spoiled food.
Can I use bleach to clean my refrigerator?
It's best to avoid bleach as it can leave harmful residues and damage surfaces. Stick to mild soap, vinegar, or baking soda.
Why does my fridge have water pooling inside?
This could be due to a clogged defrost drain, a faulty door seal, or overfilling. Check the drain and seal first.
Conclusion
Keeping your fridge clean doesn't have to be a hassle. With these 17 tips, you can handle spills as they happen and keep your food fresh longer.
Pick a few tricks that fit your routine, and soon you'll have a fridge that looks great and works better.