17 Fridge Cleaning Tips for a Fresh Organized Kitchen
You open the fridge and a funky smell hits you. Leftover spills, forgotten veggies, and sticky shelves are a common kitchen headache. A clean fridge isn't just about looks—it keeps food fresher longer and makes cooking less stressful.
But scrubbing a fridge can feel like a big chore. Where do you even start? The good news is you don't need harsh chemicals or hours of free time.
These 17 fridge cleaning tips break the job into simple, doable steps. Each tip solves a real problem, from stubborn stains to messy drawers. Let's get that fridge sparkling.
1. Clear Everything Out First
You can't clean what you can't see. Pulling everything out of the fridge gives you a blank slate and a clear view of what's actually inside. It also prevents you from pushing grime around or missing hidden spills.
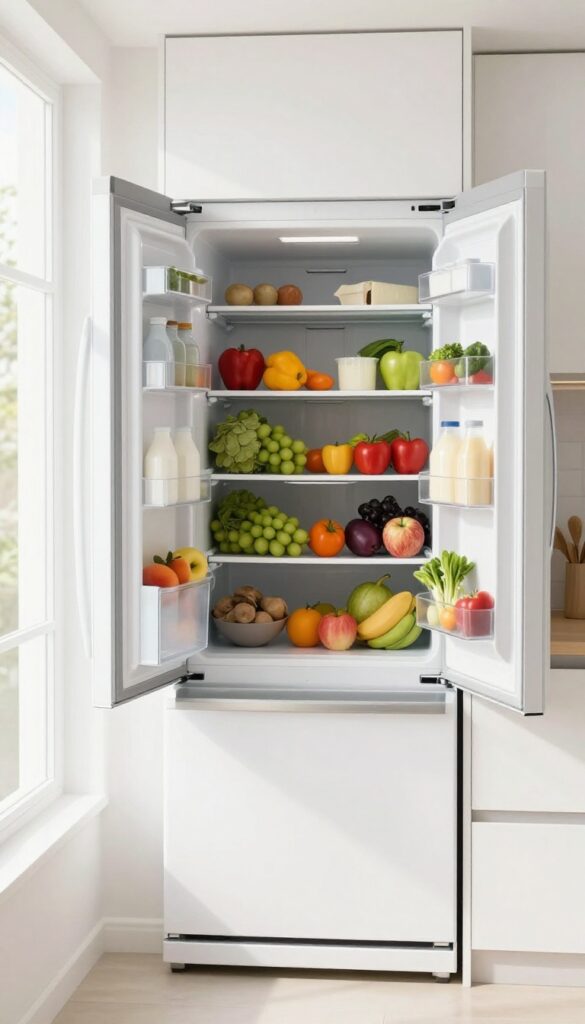
Start by removing all items—shelves, drawers, condiments, leftovers, everything. As you go, toss anything past its prime or that you know you won't eat. Group similar foods together on your counter or a cooler: dairy with dairy, produce with produce, meats with meats.
This makes it easier to wipe down the interior and later reorganize efficiently.
Check Expiration Dates As You Go
While you're emptying, glance at dates on jars, bottles, and packages. Toss anything that's expired or smells off. This is the easiest time to declutter—no need to put back items that should have been thrown out weeks ago.
Keep Perishables Cool
To keep food safe, place dairy, meat, and leftovers in a cooler with ice packs or in a chilled insulated bag. Don't leave them out for more than two hours. This way you can take your time cleaning without worrying about spoilage.
Group Similar Items Together
As you set items on the counter, organize them by category. This not only helps you see what you have but also makes restocking the fridge logical and quick. You'll know exactly where the cheese, veggies, and condiments go.
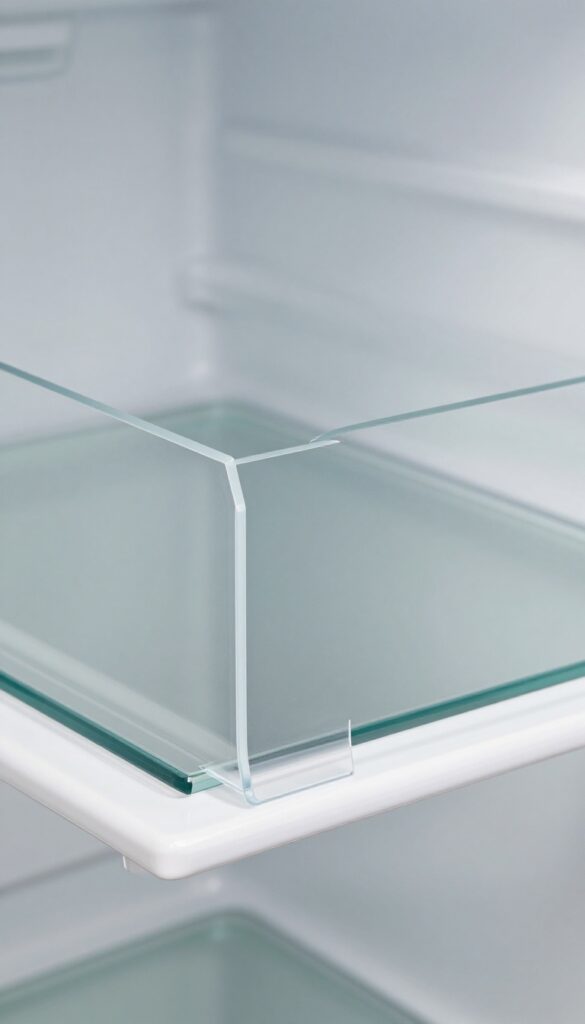
2. Remove All Shelves and Drawers
Cleaning a fridge with everything still inside is like trying to mop a floor with furniture in the way. You’ll miss spots, and grime will keep hiding in corners. Taking out removable parts isn’t just easier—it’s the only way to get truly clean.
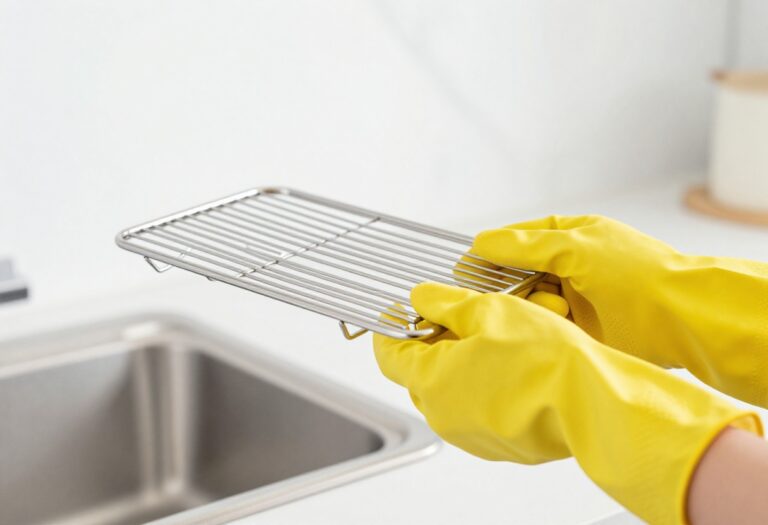
Start by pulling out every shelf, drawer, and bin. Check the manufacturer’s guide if you’re unsure how—some shelves slide out, others lift up. Once removed, wash them in warm, soapy water.
Use a soft sponge to avoid scratches, and rinse thoroughly. Let them air dry completely before putting them back. This step alone eliminates most of the hidden grime that causes odors.
Don’t Forget The Small Parts
Crisper drawer dividers, egg holders, and bottle racks often get overlooked. They trap crumbs and sticky residue just as much as the big pieces. Soak them in soapy water for a few minutes, then scrub gently.
A toothbrush works great for tight grooves.
Wash In The Right Order
Clean the interior first while the shelves are out—you’ll have full access. Then wash the shelves and drawers. This way, you’re not putting clean parts back into a dirty fridge.
It’s a simple sequence that saves time and effort.
Dry Completely To Prevent Mold
Moisture trapped under shelves or in drawer corners can lead to mold. After washing, set everything on a clean towel and let it air dry. If you’re in a hurry, pat dry with a microfiber cloth.
Never reassemble while parts are still wet.
3. Wipe Down Interior Walls and Ceiling
Most people scrub the shelves and drawers but ignore the interior walls and ceiling. That's a mistake. Condensation from cold air and warm food creates a sticky film on these surfaces, which can harbor mold and bacteria over time.
Giving them a thorough wipe-down is a quick win for a truly clean fridge.
Use a microfiber cloth and a mild cleaner—like a mix of water and dish soap or a 50/50 vinegar solution. Start at the top and work your way down so drips don't re-soil cleaned areas. Pay extra attention to the ceiling; it's easy to overlook but often has the most buildup.
Wipe in one direction to avoid streaks. For stubborn spots, let the cleaner sit for a minute before scrubbing.
Why The Ceiling Gets Grimy
Every time you open the fridge, warm air rushes in and hits the cold ceiling. That causes condensation, which mixes with dust and food particles to form a sticky residue. Over time, it can even drip onto your food.
Cleaning it monthly prevents that buildup.
Best Cleaners For The Job
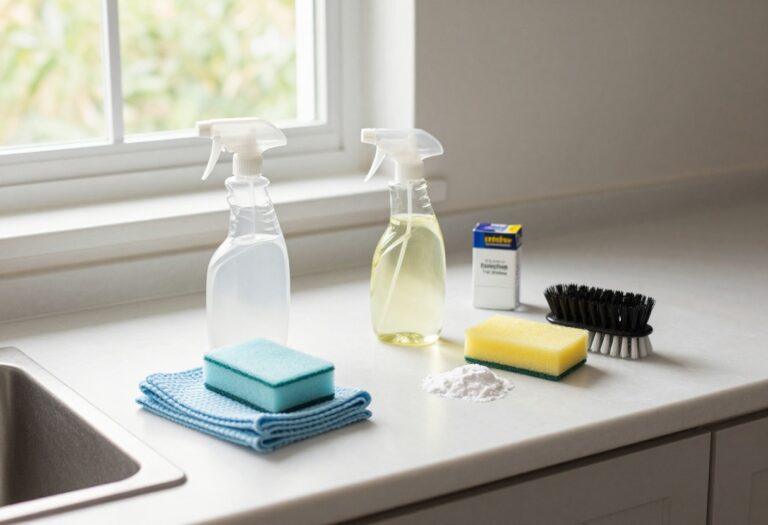
Stick to mild, non-abrasive cleaners to avoid damaging the interior lining. A simple mix of warm water and baking soda works wonders for odors and grime. For tougher spots, a vinegar solution is effective but rinse with water afterward to avoid a lingering smell.
Avoid bleach or ammonia-based products—they can leave harmful residues.
How To Reach Every Corner
Use a step stool if needed to reach the top ceiling comfortably. An extendable duster or a microfiber mop head on a handle can make the job easier. For tight corners, wrap a cloth around a butter knife or use a soft-bristled toothbrush.
Don't forget the rubber gasket around the door—it's a magnet for mold.
4. Clean the Rubber Door Gasket
That rubber seal around your fridge door works hard to keep cold air in and warm air out. But it's also a magnet for crumbs, spills, and mold. A dirty gasket can't seal properly, making your fridge work harder and your food spoil faster.
Give it some attention and your fridge will thank you.
Why The Gasket Gets So Gross
Every time you open the fridge, tiny food particles and moisture get trapped in the folds of the gasket. Over time, this creates a perfect breeding ground for mold and mildew. You might not notice it until you see black spots or smell a musty odor.
Ignoring it can lead to a weak seal and higher energy bills.
The Toothbrush & Vinegar Trick
Mix equal parts white vinegar and warm water in a small bowl. Dip an old toothbrush into the solution and scrub along the entire gasket, paying extra attention to the crevices. The vinegar kills mold and cuts through grime without harsh chemicals.
For stubborn buildup, let the solution sit for a few minutes before scrubbing.
Don't Forget The Top Edge
The top of the gasket where it meets the fridge frame often gets overlooked. Run a damp cloth along that edge to remove dust and sticky residue. Then dry everything with a clean towel.
A dry gasket seals better and prevents future mold growth.
Quick Maintenance Between Deep Cleans
Wipe down the gasket with a damp cloth every time you clean a spill or do a quick fridge tidy. This takes seconds and stops grime from building up. If you notice the gasket is cracked or no longer flexible, it might be time for a replacement.
A tight seal keeps your fridge efficient and your food fresh.
5. Soak Drawers in Baking Soda Paste
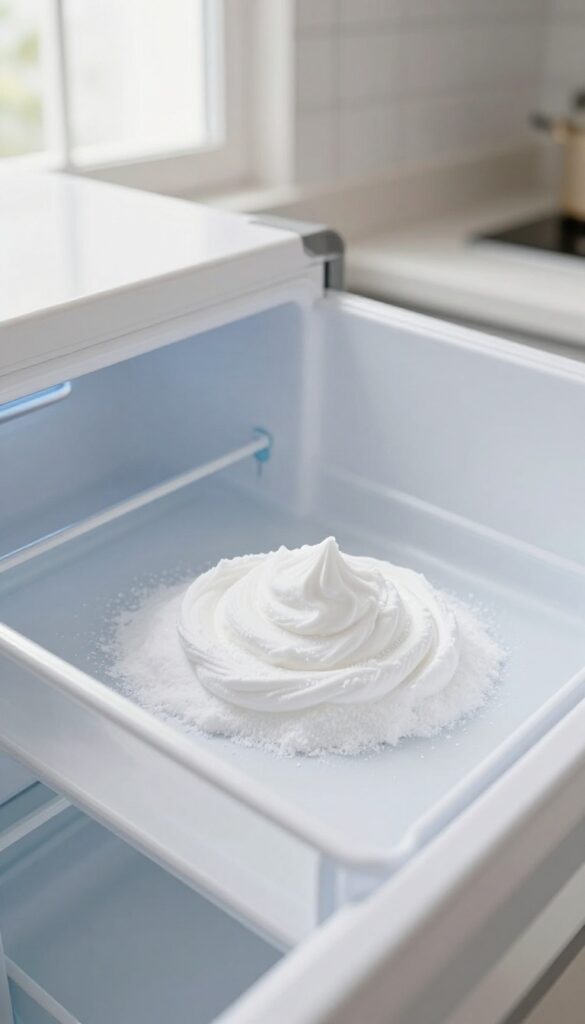
Crisper drawers take the brunt of sticky spills and grime. A simple baking soda paste lifts tough stains without scratching plastic. This method is gentle, cheap, and works wonders on even the most neglected drawers.
Mix three parts baking soda with one part water to form a thick paste. Spread it over stained areas and let it sit for 15 minutes. The paste breaks down grease and absorbs odors.
Then scrub with a soft sponge and rinse thoroughly. For extra stubborn spots, add a splash of white vinegar to the paste.
Why Baking Soda Works
Baking soda is a mild abrasive that scrubs away residue without damaging surfaces. Its alkaline nature neutralizes acidic spills like tomato sauce or fruit juice. Plus, it deodorizes naturally, leaving drawers smelling fresh.
Step-by-step Soaking
Remove the drawers and empty them. Apply the paste generously, focusing on stains. Let it sit for 15 minutes—longer for dried-on messes.
Scrub in circular motions with a non-abrasive pad, then rinse with warm water. Dry completely before sliding back in.
Preventing Future Stains
Line the bottom of clean drawers with paper towels or a thin silicone mat. They catch spills and make cleanup quick. Also, store fruits and veggies in separate bags or containers to reduce direct contact with the drawer surface.
6. Deodorize with Activated Charcoal
Baking soda is the go‑to fridge deodorizer for most people, but activated charcoal works even better. It’s highly porous and traps odor molecules instead of just masking them. A small bowl placed on a middle shelf can absorb smells for up to three months, making it a low‑maintenance solution.
Activated charcoal is a natural, non‑toxic absorbent that pulls odors and even some ethylene gas out of the air. Unlike baking soda, which loses potency after a few weeks, charcoal keeps working for months. You can buy it in loose granules or in pre‑packed pouches designed for fridges.
Just remember to replace it every three months for best results.
Where To Place It
Put the charcoal bowl on a middle shelf where air can circulate freely. Avoid the back wall or crisper drawers, because airflow is limited there. If your fridge has multiple levels, one bowl is usually enough for a standard size refrigerator.
Diy Vs. Store‑bought
You can buy activated charcoal in bulk from pet stores or online and pour it into a small open container. Or grab ready‑made fridge odor absorbers that use charcoal—they often come with a fabric cover to prevent spills. Both work equally well, so choose whichever fits your routine.
When To Replace
Mark your calendar or set a phone reminder for three months. If you notice smells creeping back before then, replace it sooner. Some brands include a date label on the pouch to help you track freshness.
7. Use Shelf Liners for Easy Cleanup
Shelf liners are a simple upgrade that saves you from scrubbing sticky messes off glass or plastic. A clear, washable liner catches spills before they reach the shelf, so you can remove it, wipe it down, and pop it back in seconds. No more scraping dried sauce or mystery goo from the corners.
Choose The Right Material
Look for liners made of non-slip silicone or clear PVC. These are waterproof, easy to cut to size, and dishwasher-safe. Avoid paper or fabric liners—they absorb moisture and can get moldy.
A good liner should be flexible enough to lift out but firm enough to stay flat under heavy jars.
Install Without Residue
Measure each shelf before cutting. Lay the liner flat and trim with scissors, leaving a tiny gap around the edges for airflow. Don't use adhesive liners—they leave sticky residue that's hard to remove.
The loose-fit style works best because you can lift it out for a quick rinse.
Clean And Replace Regularly
Every couple of weeks, take out the liners and wash them with warm soapy water or toss them in the dishwasher. Dry them completely before putting them back. If a liner gets stained or starts to smell, replace it—they're cheap and worth the swap for a fresh fridge.
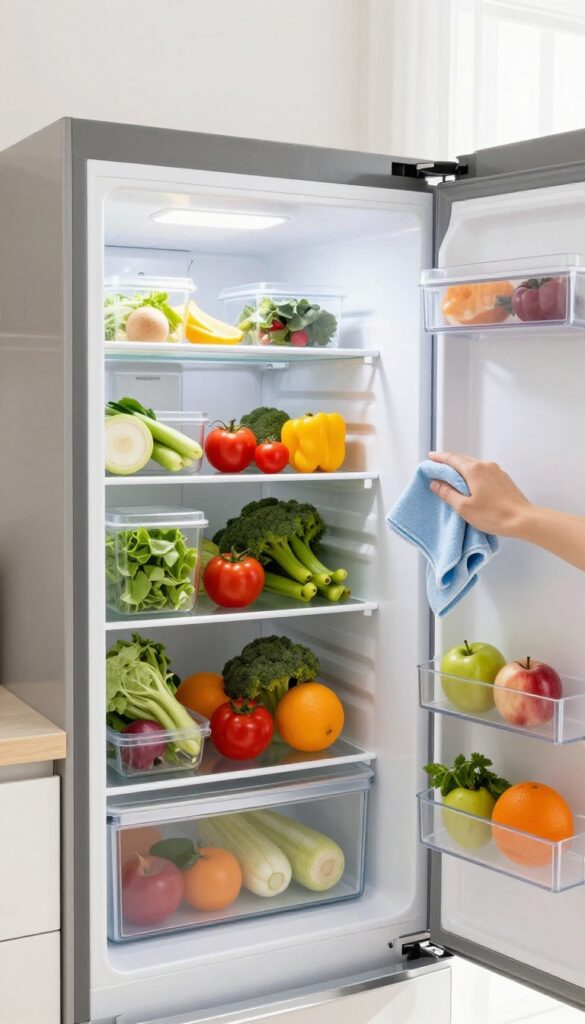
8. Organize by Food Temperature Zones
Not all fridge shelves are created equal. Temperature varies from top to bottom, and storing food in the wrong spot can lead to spoilage or even food safety issues. By grouping items according to their ideal temperature zones, you keep everything fresher longer and reduce the risk of cross-contamination.
Understanding your fridge's temperature gradient is the first step. The coldest part is usually the bottom shelf, while the door is the warmest. Middle shelves are consistently cold but not as frigid as the bottom.
Use this knowledge to assign homes for different food types. Dairy and eggs go on the middle shelf where temperatures are stable. Raw meat, poultry, and fish belong on the bottom shelf to prevent juices from dripping onto other foods.
Leftovers and ready-to-eat items go on upper shelves for easy access. Fruits and vegetables stay in crisper drawers with humidity control. The door is for condiments, juices, and other items that can tolerate temperature fluctuations.
The Coldest Zone: Bottom Shelf
Reserve the bottom shelf for raw meat, poultry, and seafood. This is the coldest part of the fridge, which keeps these items fresh longer. More importantly, storing them on the bottom prevents any drips or leaks from contaminating other foods.
Place them in a container or on a plate to catch any juices.
The Stable Zone: Middle Shelves
Dairy products, eggs, and leftovers thrive on the middle shelves. Temperatures here are consistent, which is ideal for milk, yogurt, cheese, and eggs. Leftovers also stay safe and are easy to grab.
Avoid storing eggs in the door—the temperature fluctuates too much there.
The Flexible Zone: Upper Shelves & Door
Upper shelves are great for ready-to-eat foods like deli meats, drinks, and snacks. The door is the warmest part, so use it for condiments, pickles, and juices that can handle temperature swings. Never store raw meat or dairy in the door.
9. Label and Date Everything
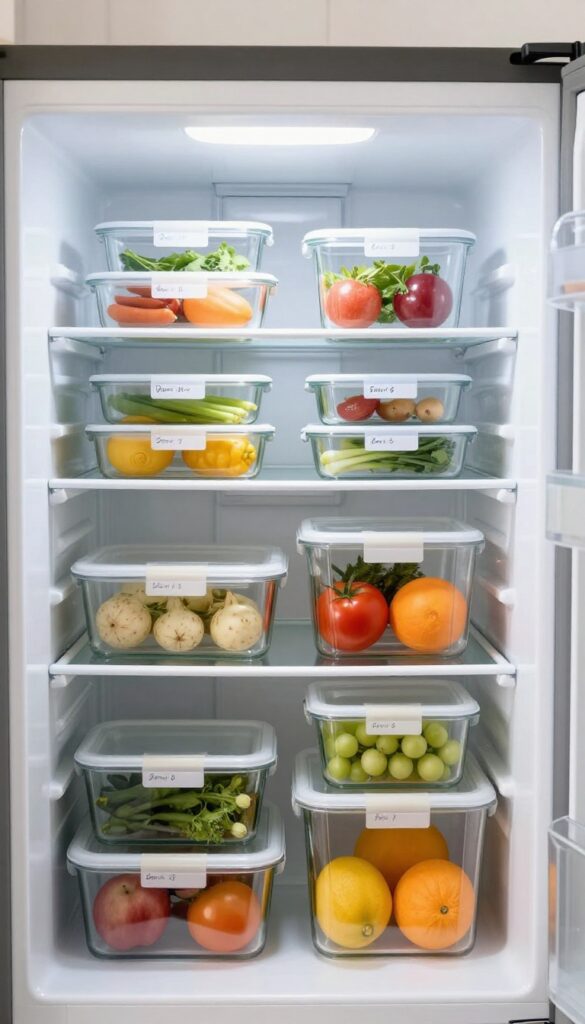
You open the fridge and see a mystery container. Is that soup from Tuesday or last month? Masking tape and a marker solve that puzzle instantly.
Labeling every container with its contents and date takes seconds but saves you from guessing games and food waste.
When you label and date everything, you always know what's inside and how long it's been there. This simple habit prevents forgotten leftovers from turning into science experiments. It also helps you use ingredients before they spoil, saving money and reducing waste.
What You Need
Grab a roll of masking tape and a permanent marker. Masking tape sticks well to plastic, glass, and metal containers but peels off easily without leaving residue. Keep them near the fridge so labeling becomes a reflex.
How To Label
Write the name of the dish and the date you cooked or stored it. For leftovers, add a "use by" date based on typical fridge storage times—three to four days for most cooked foods. For raw ingredients, note when you bought them.
Make It A Routine
Every time you put something in the fridge, label it before closing the door. When you grab a container, check the date first. If it's past its prime, toss it immediately.
This habit keeps your fridge organized and your meals safe.
10. Keep a Fridge Inventory List
Ever bought a jar of salsa only to find three already hiding in the back? A fridge inventory list stops that cycle. It's a simple tool that saves money, cuts waste, and makes meal planning easier.
Tape a whiteboard or paper list to the door and update it weekly. You'll always know what you have and what needs using up.
A fridge inventory list is a game-changer for reducing food waste and streamlining grocery shopping. By keeping a visible list, you avoid buying duplicates and remember to use items before they spoil. It also helps you plan meals around what's already in the fridge, saving time and money.
What To Include
List categories like dairy, produce, meats, and leftovers. Note quantities and expiration dates. Use a simple table or bullet points.
Update as you use items or add new ones. Keep it concise so it's easy to maintain.
How To Make It Stick
Use a dry-erase board for easy updates. Place it at eye level on the fridge door. Set a weekly reminder to review and refresh the list.
Involve the whole family so everyone knows what's available.
Digital Alternatives
If you prefer tech, apps like AnyList or OurGroceries let you share lists with family. They sync across devices and can include notes like 'use by Friday. ' Choose what fits your routine best.
11. Use Clear Bins for Small Items
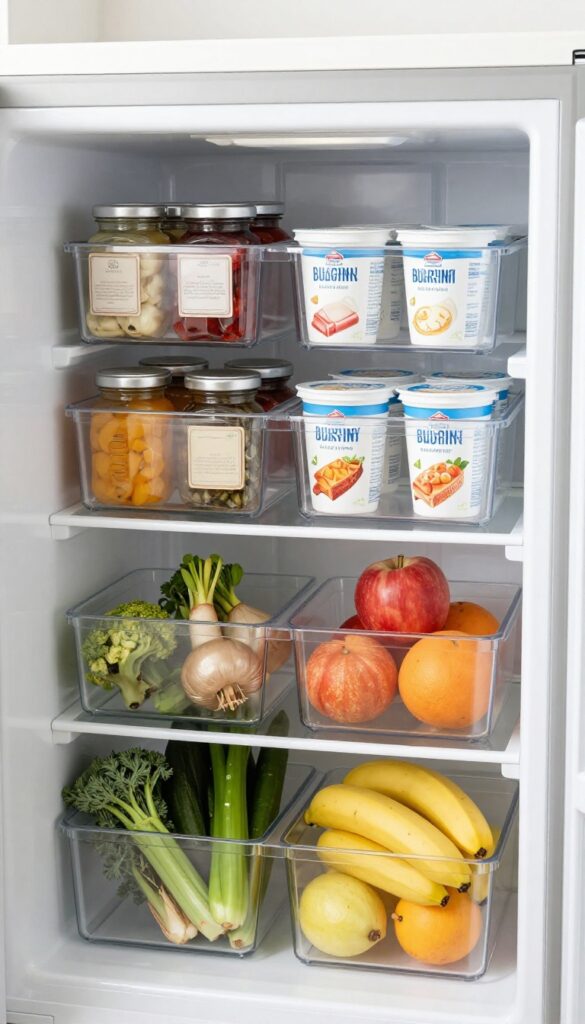
Small jars, sauce packets, and snack bags have a way of disappearing into the abyss of a crowded fridge. Clear bins solve that problem instantly. They group similar items together and let you see everything at a glance, so nothing gets forgotten until it's too late.
Clear bins are a game-changer for fridge organization. They keep condiments, sauces, and snacks contained and easy to access. When you can see every item without digging, you're less likely to let things expire.
Plus, bins slide out easily for quick cleaning or restocking.
Group By Category
Assign a bin for condiments (ketchup, mustard, hot sauce), another for sauces (soy sauce, sriracha, salad dressing), and a third for snacks (cheese sticks, yogurt, fruit cups). This way, you always know where to find what you need. It also makes shopping easier—just glance at the bins to see what's running low.
Choose The Right Size
Not all bins are created equal. Measure your fridge shelves first, then pick bins that fit without wasting space. Shallow bins work best for shorter items like jam jars, while deeper bins can hold taller bottles.
Look for bins with handles or cutouts for easy gripping.
Label For Extra Clarity
If multiple people use the fridge, labels help everyone put things back in the right spot. Use a label maker or simple chalk labels. You can even color-code bins for different categories.
This small step keeps the system intact even after a busy week.
12. Rotate Food Weekly
Grocery shopping is the perfect time to play fridge Tetris—but with a purpose. Before you load in new items, take five minutes to move older products to the front. This simple habit, often called 'first in, first out, ' stops food from getting buried in the back and forgotten until it's too late.
Rotating food weekly isn't just about organization; it's a money-saving strategy. When you see what you already have, you're less likely to buy duplicates. Plus, you'll actually use those condiments and leftovers before they turn into science experiments.
Make it a ritual: every shopping day, do a quick front-of-fridge shuffle.
Set A Weekly Reminder
Pick a day—say, Saturday morning or the night before your big shop. Set a phone alarm or stick a note on the fridge. Consistency is key.
After a few weeks, the rotation will feel automatic, and you'll wonder how you ever lived without it.
Group By Expiration
As you rotate, group items with the nearest expiration dates together. Dairy, deli meats, and fresh herbs often go bad fastest. Keep them at eye level so you grab them first.
This also makes meal planning easier—you can build dinners around what needs to be eaten soon.
Don't Forget The Freezer
The same principle works in your freezer. Move frozen veggies, meats, and leftovers from last month to the front. Label anything you can't identify.
A quick weekly freezer rotation prevents freezer burn and helps you actually use those frozen berries before they become ice cubes.
13. Clean the Condenser Coils Twice a Year
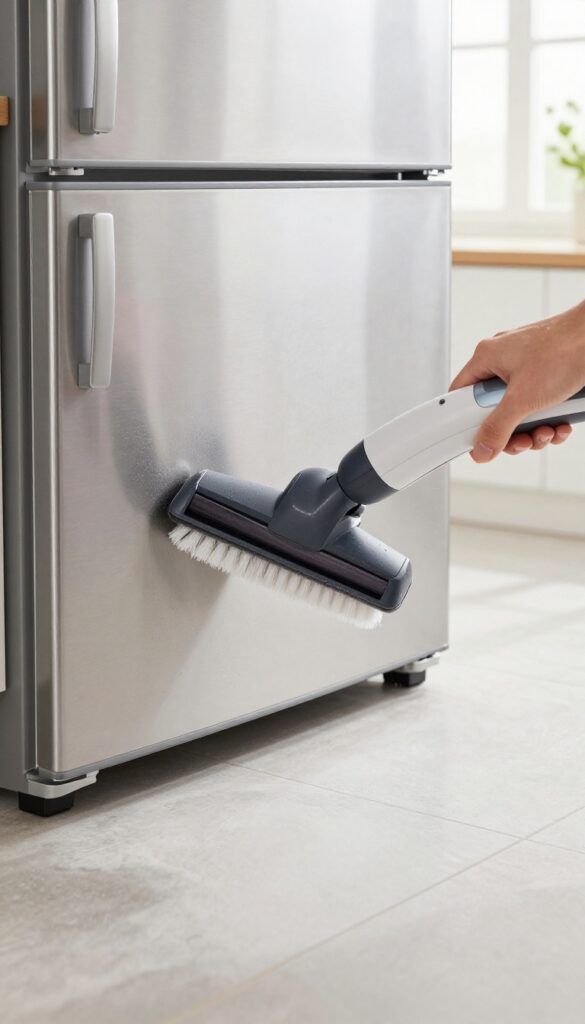
Most people never think about the back or bottom of their fridge. But those dusty coils are working hard to keep things cool. When they get clogged with dirt and pet hair, the fridge has to run longer and uses more energy.
A quick vacuum every six months makes a big difference.
Condenser coils release heat from the fridge. If they're coated in dust, heat can't escape, and the compressor strains to keep up. That extra work shortens the life of your fridge and jacks up your electricity bill.
Cleaning them is one of the easiest maintenance tasks you can do—no tools required beyond a vacuum with a brush attachment.
Where To Find The Coils
On most modern fridges, the coils are either on the back (exposed) or underneath behind a kickplate. For rear coils, simply pull the fridge out and unplug it. For bottom coils, remove the front grille—usually it snaps off or has a few screws.
Check your manual if you're unsure.
How To Vacuum Without Damage
Use the brush attachment to gently loosen dust, then vacuum it up. Avoid using a metal tool that could scratch the coils. If the coils are very dirty, you can also use a coil cleaning brush (available at hardware stores).
Don't forget to vacuum the floor area behind the fridge too.
Set A Reminder For Twice A Year
It's easy to forget, so tie it to something you already do. Clean the coils when you change your clocks for daylight saving time, or every time you deep clean the kitchen. Mark it on your calendar or set a phone reminder.
Your fridge will thank you with lower bills and a longer life.
14. Wipe Spills Immediately
A small spill today turns into a rock-hard crust tomorrow. Waiting even a few hours can make cleanup ten times harder, especially with sticky liquids like juice or sauce. The secret is to catch messes the moment they happen.
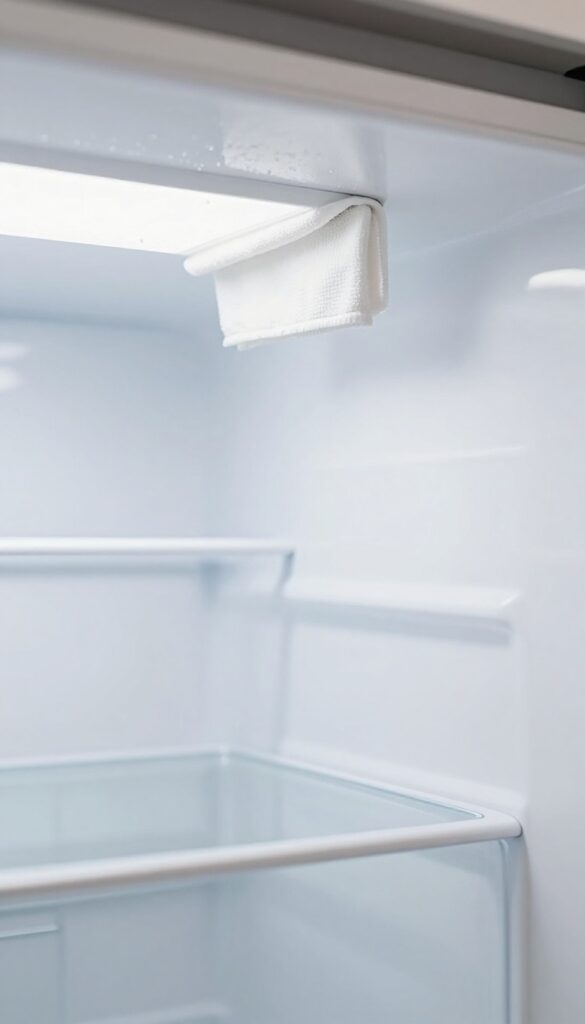
Keep a microfiber cloth or a small towel tucked inside your fridge door. When you knock over a bottle or a jar drips, grab that cloth and wipe it up right away. If the spill is sticky, a quick pass with a damp sponge does the trick.
This habit prevents stains from setting and stops odors before they start. Plus, you avoid the dreaded task of scrrocking dried-on gunk later. Make it part of your routine: every time you close the fridge, give a quick glance for any fresh messes.
Why Speed Matters
Spills that sit for hours become sticky, hard to remove, and can even attract pests. Sugary spills like soda or fruit juice turn into a glue-like residue that requires elbow grease. Wiping immediately means you use less effort and fewer cleaning products.
Best Tools For The Job
A small microfiber cloth is ideal because it absorbs liquid quickly and doesn't leave lint. Keep a spray bottle of water with a drop of dish soap nearby for stubborn spots. Avoid paper towels—they can shred and leave bits behind.
Where To Store Your Cloth
Tuck the cloth in the door shelf or between two bottles. Change it out every few days to avoid bacteria buildup. Having it right there makes it easy to grab without searching for a rag.
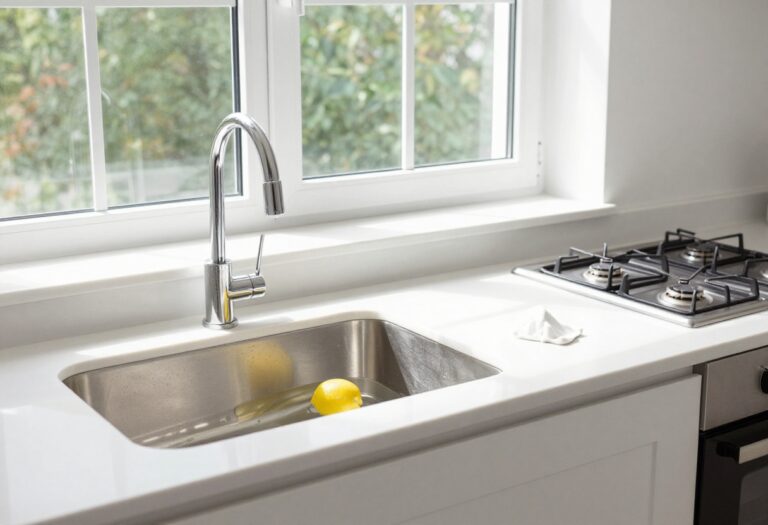
15. Use a Lemon and Water Spray
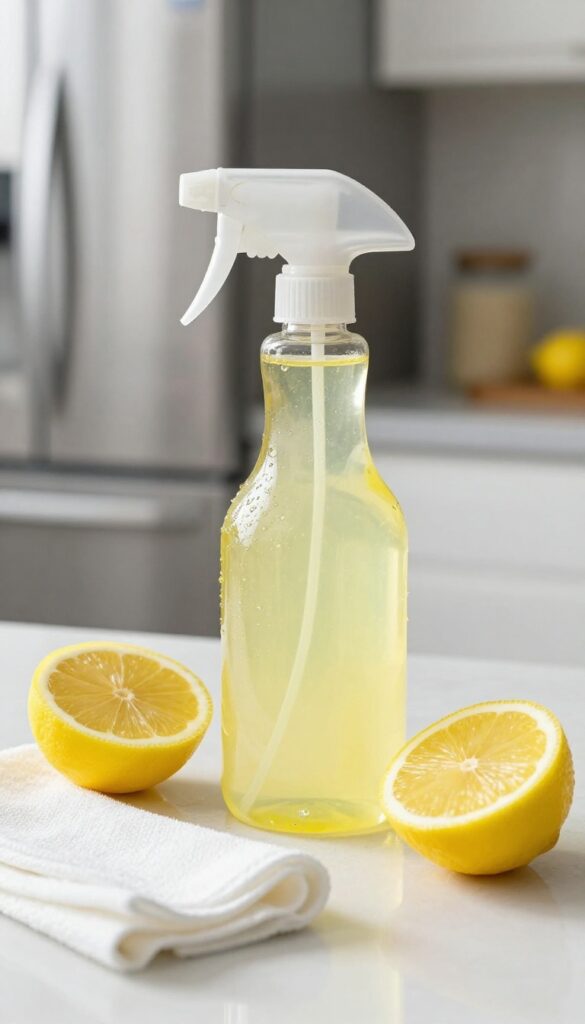
A simple lemon and water spray can tackle grease and odors without any harsh chemicals. Lemons are natural degreasers and leave behind a clean, fresh scent that lingers. This DIY solution is safe for all fridge surfaces and takes just seconds to make.
Mix equal parts lemon juice and water in a spray bottle. Shake well and spritz directly onto shelves, drawers, and walls. Let it sit for a minute, then wipe with a damp cloth.
The citric acid cuts through sticky residue and neutralizes odors. For extra stubborn spots, add a splash of white vinegar. This spray is especially great for cleaning the rubber gasket around the door—just spray on a cloth and wipe to avoid drips.
Why Lemon Works So Well
Lemon juice is acidic enough to break down grease and grime but gentle on plastic and glass. It also has natural antibacterial properties, so you're sanitizing while you clean. Plus, the fresh scent replaces any lingering food smells without artificial fragrances.
How To Make And Use The Spray
Fill a spray bottle halfway with fresh lemon juice (or bottled, but fresh is stronger). Top off with water. No need for exact measurements—a 50/50 ratio is fine.
Spray onto surfaces, let sit for a minute, then wipe with a microfiber cloth. Rinse with water if you want to avoid any sticky residue.
Where To Use It (and Where To Skip)
Perfect for glass shelves, plastic drawers, and interior walls. Avoid using on unfinished wood or metal that might react with the acid. For stainless steel exteriors, use a separate cleaner to avoid streaks.
16. Check and Adjust Temperature Settings
Your fridge might be running, but is it running at the right temperature? Many people set the dial and forget it, but even a few degrees off can shorten the life of your groceries. Taking a moment to verify and adjust the temperature is one of the easiest ways to keep food fresh and reduce waste.
The Ideal Range
The sweet spot for your fridge is between 37°F and 40°F (3°C to 4°C). For the freezer, 0°F (-18°C) is the gold standard. These temperatures slow bacterial growth without freezing your produce or turning your milk into a slushy.
If your fridge has a digital display, it's a good starting point, but don't rely solely on it.
Use A Thermometer For Accuracy
Built-in thermostats can be off by several degrees. Grab an inexpensive appliance thermometer and place it in the center of the fridge, not near the door or vents. Check it after 24 hours.
If it reads outside the ideal range, adjust the dial in small increments and recheck. For the freezer, do the same—a simple thermometer can save you from a freezer-burned disaster.
Seasonal Adjustments
Your fridge works harder in summer when the kitchen is warmer, and it might run less in winter. If you notice milk spoiling faster or ice cream getting too soft, consider tweaking the settings with the season. A quick temperature check every few months keeps everything in balance.
17. Schedule a Monthly Deep Clean
A deep clean once a month keeps your fridge from turning into a science experiment. It’s not about scrubbing every inch every week—just a focused session to reset the space. This habit catches small messes before they become big problems.
Set A Recurring Reminder
Pick a day that works for you—like the first Sunday of the month—and set a phone reminder. Treat it like a mini appointment. Consistency is what makes this tip effective, not the length of the cleaning session.
What To Tackle Each Month
Focus on three things: wipe down all shelves and drawers with warm soapy water, toss anything expired or questionable, and check the door seals for crumbs or mold. This takes about 20 minutes and keeps odors and bacteria in check.
Prevent Buildup Before It Starts
Monthly cleaning stops sticky spills from hardening and prevents mold from taking hold. It also helps you spot potential issues like leaking containers or temperature fluctuations early. A little routine saves you from a big scrub later.
FAQ
How often should I deep clean my fridge?
Aim for a thorough deep clean every 3 to 4 months. Quick wipe-downs and spoil checks should happen weekly to stay on top of messes.
What's the best natural cleaner for fridge interiors?
A mix of equal parts white vinegar and water works great. For tougher stains, use a baking soda paste. Both are safe and effective.
How can I prevent my fridge from smelling bad?
Keep an open box of baking soda or a bowl of activated charcoal inside. Also, regularly toss expired food and wipe spills immediately.
Is it safe to put hot food directly in the fridge?
It's best to let hot food cool to room temperature first (within two hours). Placing hot food inside can raise the fridge temperature and spoil other items.
What should I do if my fridge has mold?
Remove all food and clean affected areas with a solution of one tablespoon bleach per quart of water. Rinse thoroughly and dry before restocking.
Conclusion
A clean fridge isn't just about looks—it keeps your food fresher longer and saves you money. Start with a quick shelf wipe-down or tackle that forgotten drawer next time you have a few minutes.
Pick one or two of these tips to try this week, and you'll see how small habits make a big difference. Your fridge will stay organized with way less effort.