20 Cleaning Hardwood Floors Tips for Lasting Shine
That dull, scratched look on your hardwood floors isn't inevitable. You can keep them gleaming for years without harsh chemicals or expensive treatments. The secret lies in a few simple habits that protect the finish while cutting down your cleaning time.
Most people unknowingly damage their floors with the wrong tools—string mops leave excess water, vacuums scratch the surface, and vinegar strips the sealant. These 20 tips cover everything from daily dusting to furniture care, so you can stop guessing and start preserving that showroom shine.
Ready to make your floors last? Let's get into the practical steps that actually work.
1. Dust Daily with a Microfiber Mop
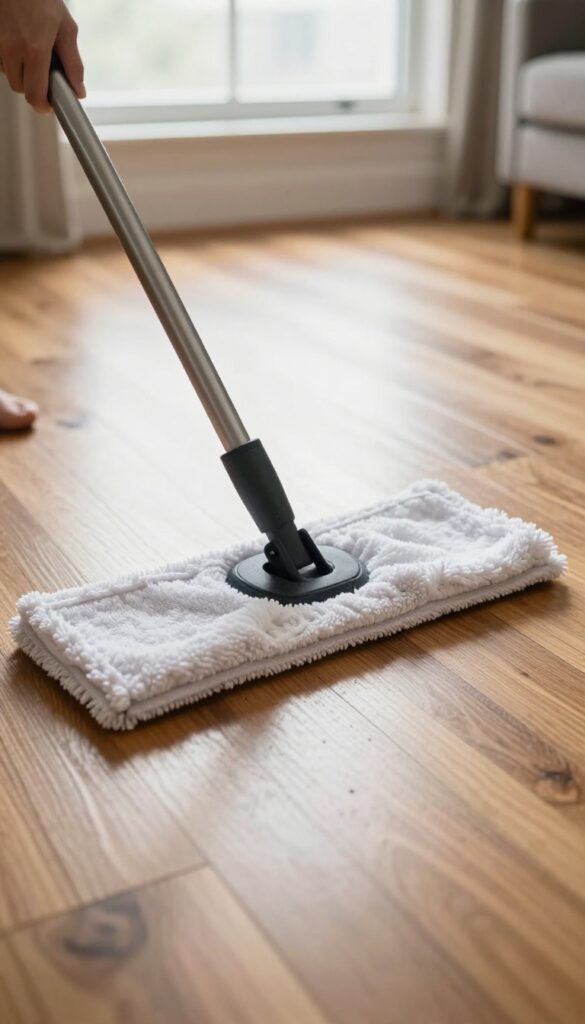
You might think your floors look clean, but tiny particles of grit and dust are constantly settling on the surface. Every time you walk across the room, that debris gets ground into the finish like sandpaper. A quick daily pass with a dry microfiber mop is the simplest way to stop scratches before they start.
Microfiber is a game-changer for hardwood care. Unlike traditional brooms that just push dust around, microfiber traps particles in its fibers, lifting them off the floor instead of scattering them. It's also gentle on the finish—no bristles scraping or leaving tiny marks.
Keep a mop handy near the entryway or in a closet, and make it part of your evening routine. Two minutes is all it takes to keep that showroom shine.
Why Microfiber Works Best
Standard cotton mops and brooms can actually do more harm than good. Cotton tends to leave lint and moisture behind, while broom bristles can be stiff enough to micro-scratch the sealant. Microfiber, on the other hand, uses split fibers that create a static charge, attracting dust like a magnet.
It's also machine-washable, so you can reuse it hundreds of times without losing effectiveness.
How To Mop Without Damaging The Floor
Always use the mop dry for daily dusting—no water or cleaning solution needed. If you need to tackle sticky spots, lightly mist the mop with a hardwood-safe cleaner, but never soak it. Excess moisture is the enemy of hardwood; it can seep into seams and cause warping or discoloration.
A barely-damp mop is all you need for a quick touch-up.
2. Choose the Right Vacuum Attachments
Not all vacuums are floor-friendly. A standard beater bar can leave fine scratches that dull the finish over time. The good news is you don't need a special machine—just the right attachment or setting.
Soft Brush Attachment
A soft brush attachment is your best friend for hardwood. It gently lifts dust and debris without scratching. Use it on the floor and along baseboards for a thorough clean.
Turn Off The Beater Bar
Many vacuums have a switch to disable the rotating brush. If yours doesn't, look for a "hard floor" mode that reduces brush speed or lifts it. Always check the manual.
Vacuum Designed For Hardwood
Some vacuums come with felt or rubber bristles that are safe for wood. If you're in the market, look for models labeled "hardwood floor safe. " They often include a dedicated hard floor tool.
3. Ditch the String Mop
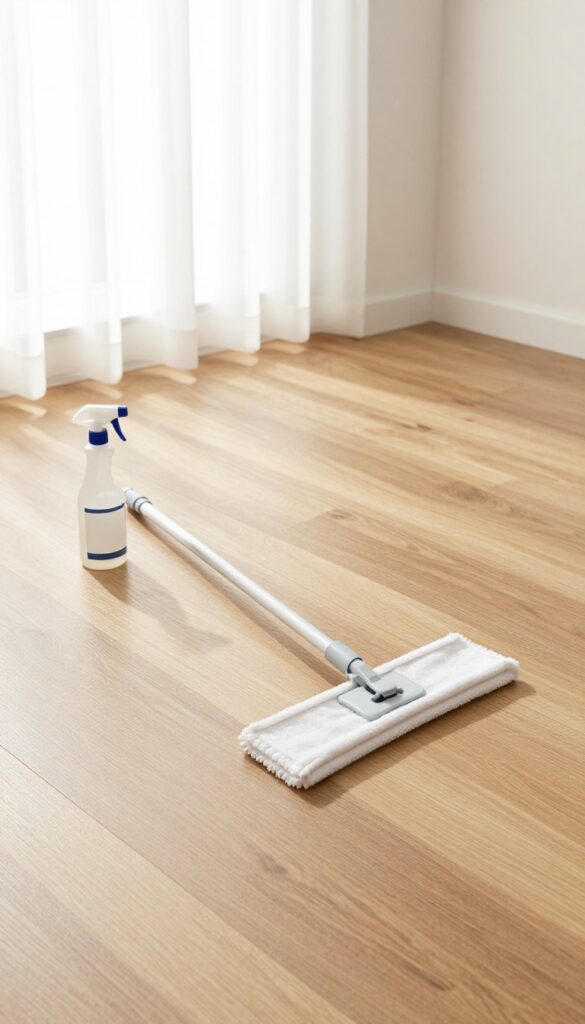
That old string mop in your closet might be doing more harm than good. Traditional string mops hold a surprising amount of water, which seeps into the wood seams and causes warping over time. The finish also takes a beating from the excess moisture, leaving floors looking dull and cloudy.
Switching to a flat microfiber mop is one of the easiest upgrades you can make. Microfiber picks up dust and grime without soaking the floor, and you control exactly how much moisture is applied. Spray the mop head lightly with your cleaning solution, not the floor itself, and you'll avoid puddles that damage the wood.
Plus, microfiber heads are washable and reusable, so you save money and reduce waste.
Why String Mops Fail
String mops are designed for tile or linoleum, not hardwood. The thick cotton strands trap water and release it unevenly, leaving puddles that sit on the surface. Over time, that moisture seeps into the wood grain, causing swelling, cupping, and finish damage.
Even wringing them out by hand doesn't remove enough water to make them safe for hardwood.
The Microfiber Advantage
Flat microfiber mops have a thin, absorbent pad that glides over the floor without soaking it. The microfiber fibers are split to trap dirt and dust, so you're actually cleaning, not just moving water around. You can spray the pad lightly with a hardwood-safe cleaner, which gives you full control over moisture.
No puddles, no streaks, just a clean, dry floor.
How To Use A Microfiber Mop Correctly
Start by dusting or vacuuming the floor to remove loose debris. Then spray a small amount of cleaner onto the mop pad—never directly onto the floor. Mop in the direction of the wood grain, and flip the pad when one side gets dirty.
Rinse or swap pads between rooms to avoid spreading grime. When you're done, let the pad air dry or toss it in the wash.
4. Wring Out Your Mop Thoroughly
Even if you've switched to a flat mop, you can still drown your floors if you skip the wringing step. Excess water seeps into the seams, causes wood to swell, and leaves behind a dull film. The goal is a mop that's barely damp—so damp that the floor dries within seconds, not minutes.
This one habit alone can double the life of your finish.
When your mop head is too wet, you're basically soaking the wood. Over time, that moisture warps planks and lifts the sealant. A good rule: after wringing, press the mop against your palm—it should feel cool and moist, not leave a puddle.
If you see drips when you lift the mop, wring again. Microfiber pads are great because they hold less water than cotton, but they still need a solid squeeze. Work in small sections so the water doesn't sit while you mop the next area.
And always follow the grain—it helps the water run off instead of pooling.
The Two-bucket Method
Use one bucket for clean soapy water and another for rinsing. Dip the mop in the soap bucket, wring it over the rinse bucket, then dip in the rinse bucket to remove dirt, wring again, and go. This keeps you from spreading dirty water across the floor.
Check Your Mop Head
Old, frayed mop heads hold more water and are harder to wring. Replace them every few months or when they start looking ragged. A fresh microfiber pad wrings out more consistently and picks up finer grit.
Speed Matters
Mop in a figure-eight pattern and let the floor air dry completely before walking on it. If you notice puddles forming, you're using too much water. Open windows or turn on fans to speed drying, especially in humid weather.
5. Use a pH-Neutral Cleaner
Not all cleaners are created equal when it comes to hardwood. Many household favorites—like vinegar or all-purpose sprays—can slowly eat away at your floor's protective finish. The result?
A dull, hazy look that's tough to reverse. That's why reaching for a pH-neutral cleaner is one of the smartest moves you can make.
Why Ph Matters
The pH scale runs from 0 (acidic) to 14 (alkaline). Your hardwood finish sits comfortably in the neutral zone around 7. Vinegar clocks in around 2–3, while ammonia-based cleaners can hit 11 or 12.
Both extremes attack the sealant over time, causing micro-cracks and cloudiness. A pH-neutral cleaner (around 7) is gentle enough to lift dirt without stripping the coating.
What To Look For On The Label
Don't just grab any bottle that says "wood floor" on the front. Flip it over and check the ingredients or specs. Look for phrases like "pH balanced, " "neutral pH, " or a specific pH number between 6 and 8.
Avoid anything with bleach, ammonia, or strong citrus oils—they're often too acidic or alkaline for long-term use.
How To Use It Right
Even the best cleaner can cause problems if you overdo it. Follow the dilution ratio on the bottle—usually a capful or two per gallon of water. More isn't better; it just leaves residue.
Spray or mop lightly, then dry the floor with a microfiber mop or cloth. Never let the solution pool or sit on the surface.
6. Avoid Vinegar and Ammonia
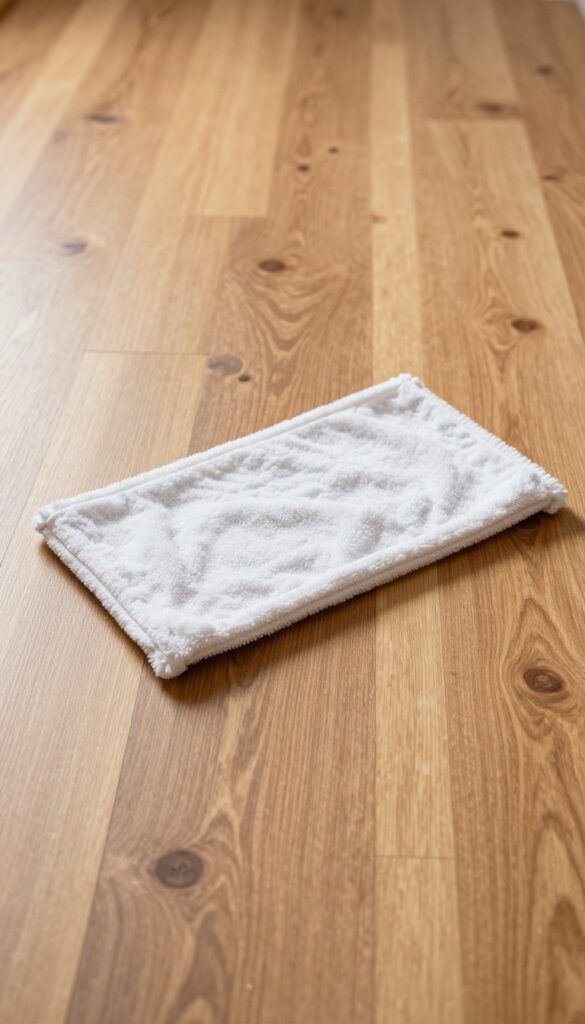
You've probably heard that vinegar is a miracle cleaner, but for hardwood floors, it's a disaster in disguise. The acidity slowly eats away at the protective finish, leaving your floors dull and vulnerable. Ammonia is even worse—it's harsh enough to strip the sealant completely.
Stick with products specifically made for wood.
Why Vinegar Fails
Vinegar's pH is around 2. 5, which is acidic enough to break down polyurethane and other finishes over time. At first, your floors might look fine, but repeated use causes a cloudy, hazy appearance.
You're better off using a pH-neutral cleaner that preserves the sealant.
Ammonia Is Too Harsh
Ammonia-based cleaners are designed for tough grease, not delicate wood. They can cause the finish to crack or peel, and they leave behind a dull residue. Even diluted, ammonia is risky—it's better to avoid it entirely.
What To Use Instead
Look for cleaners labeled 'hardwood floor safe' or 'pH-neutral. ' Brands like Bona, Murphy's Oil Soap, and Method make gentle options. You can also mix a few drops of mild dish soap with water for a DIY solution that won't strip the finish.
7. Clean Spills Immediately
A spilled drink might seem harmless if you wipe it up in the next few minutes, but even a short delay can let moisture seep into the wood seams. Hardwood floors are surprisingly porous, and standing liquid can cause swelling, warping, or permanent dark stains. The fix is simple: act fast and blot, don't rub.
When a spill happens, grab a clean, dry cloth or paper towel and press it firmly against the liquid to absorb as much as possible. Avoid scrubbing, which can push the spill deeper into the grain or spread it across the finish. For sticky spills like juice or soda, follow up with a slightly damp cloth and then dry the area thoroughly with another towel.
Never let spills sit overnight—even water can leave a cloudy mark if left too long.
Why Speed Matters
Hardwood planks expand when they absorb moisture, and that expansion can cause cupping or buckling. The finish on your floors is a protective layer, but it's not completely waterproof—liquids can still find their way through tiny gaps or scratches. Blotting within 30 seconds drastically reduces the risk of damage.
What To Use For Different Spills
For water-based spills like coffee or tea, a dry microfiber cloth works best. For oily spills like salad dressing or butter, blot first with a paper towel, then use a mild dish soap solution on a damp cloth to remove residue. Always dry the area immediately after cleaning to prevent moisture from sitting on the surface.
Common Mistakes To Avoid
Don't use a wet mop or steam cleaner on a fresh spill—you'll just add more water. Also, avoid harsh cleaners like bleach or ammonia, which can strip the finish. And never let a spill dry on its own; dried-on stains are much harder to remove and may require sanding or refinishing.
8. Use Doormats at Every Entrance
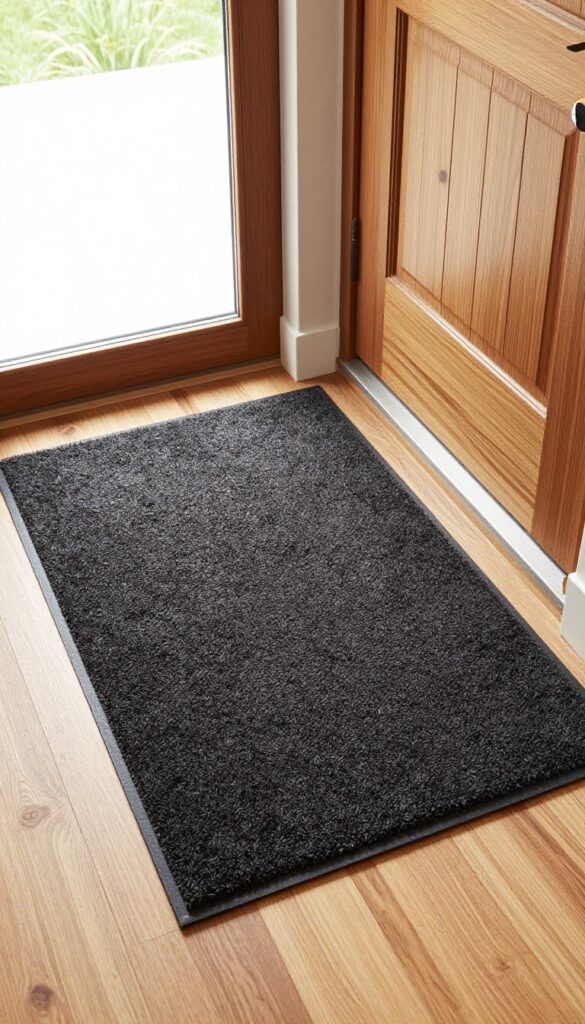
Most of the dirt, sand, and grit that scratches your hardwood comes from outside. A simple doormat strategy can trap up to 80% of that debris before it ever touches the floor. It's one of the cheapest and most effective ways to protect your finish.
Place a high-quality, coarse mat outside each exterior door to scrape off large particles. Then add an absorbent mat just inside to catch any remaining moisture and fine dust. This two-mat system drastically reduces the amount of abrasive material tracked onto your hardwood.
Clean the mats regularly by shaking them out or vacuuming to keep them effective.
Choose The Right Material
Outdoor mats should be made of coarse fibers like coir or rubber to scrape dirt off shoes. Indoor mats should be absorbent and non-slip, such as microfiber or cotton. Avoid rubber-backed mats that can trap moisture against the wood and cause discoloration.
Placement Matters
Put mats at every door that leads to the outside, including garage and patio entries. Make sure they are large enough so people naturally step on them—at least 3 feet long so both feet land on the mat. This maximizes dirt removal before anyone steps onto the hardwood.
Maintain Your Mats
Mats lose effectiveness when they are full of dirt. Shake outdoor mats out weekly and vacuum indoor mats. Wash machine-washable mats monthly.
Replace them when they become worn or flattened, typically every year or two.
9. Put Felt Pads Under Furniture
Furniture legs are like little hammers tapping away at your floor's finish every time you slide a chair or drag a table. Over time, those tiny movements add up to scratches, scuffs, and worn patches. The fix is cheap, easy, and takes five minutes.
Felt pads act as a buffer between hard furniture legs and your delicate hardwood. They absorb the friction that causes scratches and let you slide furniture without leaving marks. Check them every few months and replace any that are dirty or worn down, because once the felt is gone, the hard plastic or wood underneath will start doing damage again.
Choose The Right Size And Stickiness
Felt pads come in different diameters and thicknesses. For chair legs, pick pads that are slightly smaller than the leg's footprint so they don't stick out. For heavier furniture like sofas or tables, go with thicker pads and self-adhesive ones with strong glue.
If you have an uneven floor, look for felt pads with a metal slider base—they glide better and last longer.
Don't Forget The Backs Of Chairs
Chairs that tilt back or get pushed in often scrape the floor with the back legs. Even if you have pads on the front legs, the back ones can still cause damage. Stick pads on all four legs of every chair, including dining chairs, desk chairs, and bar stools.
Replace Worn Pads Before They Fail
Felt pads collect dirt and grit over time, turning into sandpaper that scratches your floor. Check them monthly, especially in high-traffic areas. When the felt looks matted, dirty, or starts peeling off, swap them out immediately.
Keeping a spare pack in your cleaning caddy makes it easy to replace them on the spot.
10. Lift, Don’t Drag Furniture
It’s tempting to just shove that sofa a few inches to the left, but dragging furniture across hardwood is one of the fastest ways to ruin the finish. Even if you have felt pads attached, the weight and friction can still gouge or scratch the surface. The simple rule: always lift furniture completely off the floor before moving it.
Why Dragging Damages More Than You Think
Felt pads help reduce friction, but they aren’t a free pass to slide heavy pieces. Over time, dirt and grit get trapped under the pads, turning them into sandpaper. Dragging also concentrates pressure on small points—like chair legs or sofa feet—which can dent the wood or strip the finish.
Lifting distributes the weight evenly and avoids that concentrated stress.
How To Lift Furniture Safely
Get a friend or use furniture sliders designed for hardwood (the kind that slide without scratching). For heavy items like dressers or bed frames, empty them first to reduce weight. Tilt the piece slightly and slide a moving blanket or thick towel underneath, then slide it instead of dragging.
Better yet, disassemble if possible. Always lift from the base, not the top, to avoid tipping.
Quick Tips For Daily Furniture Moves
Place felt pads on all furniture legs and check them monthly for wear. Replace any that are dirty or worn down. For chairs you move often—like dining chairs—consider self-stick felt pads that are easy to swap.
And when you do need to drag something short distances, place a smooth piece of cardboard or a rug under the legs first.
11. Keep Pet Nails Trimmed
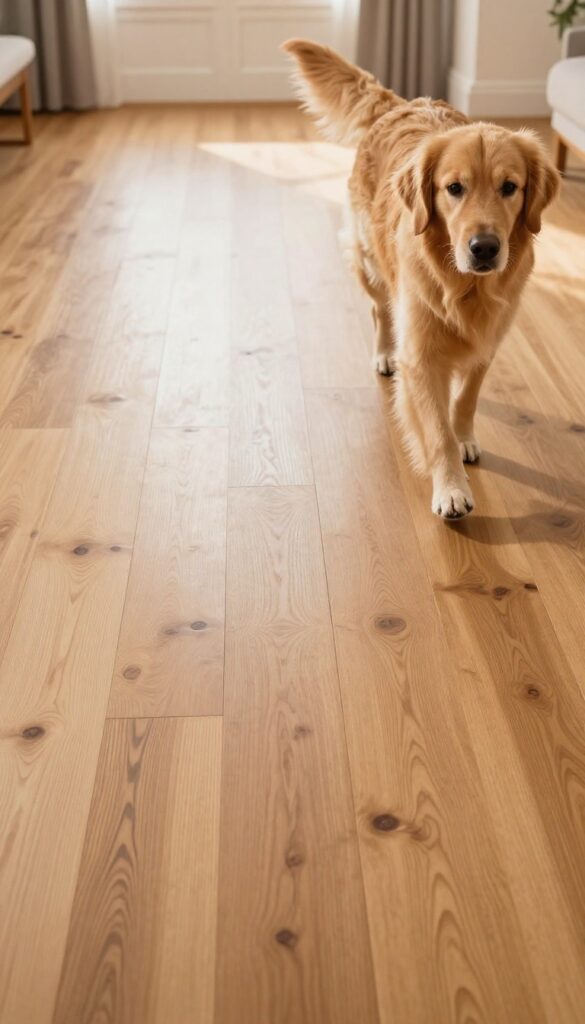
If you share your home with a dog or cat, their nails are essentially tiny claws scraping across your floor every time they walk, run, or jump. Over time, even well-behaved pets can leave fine scratches that dull the finish. The good news is that a simple grooming routine can prevent most of that damage.
Long nails act like miniature keys, gouging the surface as your pet moves. Regular trims keep nails short and blunt, reducing the risk of scratches. For pets that hate clippers, try a nail grinder or schedule professional grooming every few weeks.
Nail caps are another option—they cover the nail tip with a soft silicone cap that glides across wood without scratching.
How Often To Trim
Most dogs need nail trims every 3–4 weeks, while cats may go 4–6 weeks. Check weekly by listening for clicking on hard floors—if you hear it, it's time for a trim. Keep a file handy to smooth any rough edges after cutting.
Alternatives To Clipping
If your pet won't tolerate clippers, consider a scratch board (a sandpaper-covered board they scratch naturally) or nail caps like Soft Paws. These caps are glued on and last 4–6 weeks, providing a smooth, non-scratch surface.
Protect High-traffic Zones
Place rugs or runners in areas where your pet frequently runs or plays, like hallways and near doors. This extra layer absorbs impact and reduces scratching from sudden stops or zoomies.
12. Avoid Walking on Floors with High Heels
Stilettos might look great, but they’re one of the worst things for your hardwood floors. Those thin heels concentrate your entire body weight into a tiny point, and the pressure can dent or scratch the finish. Even a quick walk across the room can leave permanent marks if the floor is soft or the finish is thin.
The best fix is simple: take them off at the door or invest in heel protectors that spread the weight.
Why High Heels Are So Damaging
The physics is straightforward. A typical stiletto heel has a contact area of less than a square inch. When you walk, the force per square inch can exceed 1, 000 psi—enough to dent many hardwood species.
The damage often looks like small dimples or crescent-shaped gouges, especially if you pivot or turn. Over time, these tiny marks accumulate and dull the finish.
Simple Prevention Habits
Create a no-shoe zone near your entryway. Add a small bench and a shoe rack so guests can slip off heels before stepping onto the wood. If you must wear heels inside for an event, consider using rubber heel caps or plastic protectors that clip onto the heel tip.
They’re cheap, discreet, and absorb most of the impact.
What To Do If You Already Have Dents
Minor dents can sometimes be lifted with a damp cloth and a warm iron. Place a damp towel over the dent and run a household iron on low heat for a few seconds. The steam swells the wood fibers back up.
For deeper gouges, you may need wood filler and a touch-up marker that matches your floor’s finish.
13. Use Area Rugs in High-Traffic Zones
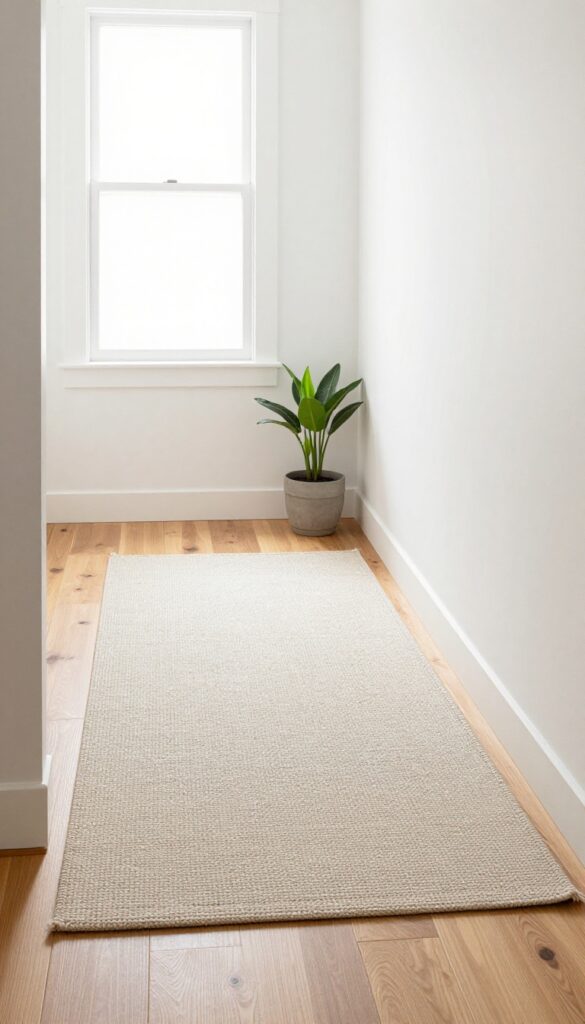
Hallways, entryways, and kitchen areas take the most abuse. Placing washable rugs in these spots catches dirt and reduces wear on your hardwood. It's a simple, effective way to protect the finish where it matters most.
Not all rugs are created equal when it comes to hardwood protection. Choose flat-weave or low-pile rugs that won't trap moisture underneath—rubber-backed mats can cause discoloration. Washable rugs are ideal because they let you remove grit regularly.
Rotate them every few months to ensure even wear and sun exposure. And don't forget to vacuum underneath weekly to prevent dust buildup that can scratch the floor.
Pick The Right Rug Material
Avoid rugs with hard rubber backing that can stick to the finish. Instead, look for natural fibers like cotton or wool with a breathable latex backing. These allow air circulation and prevent moisture damage.
For high-moisture areas like kitchens, use a washable cotton rug that can be tossed in the laundry.
Place Rugs Strategically
Focus on entry points and paths where people walk most. A 2×3 foot rug at the front door catches dirt before it spreads. In hallways, use a runner that covers the entire length.
In the kitchen, place a rug in front of the sink and stove where spills and foot traffic are highest.
Maintain Your Rugs
Shake out or vacuum rugs weekly to remove embedded dirt. Wash them according to the manufacturer's instructions—usually every month or two. If a rug gets wet, let it dry completely before placing it back on the floor to prevent mold and warping.
14. Rotate Rugs and Furniture
Sunlight streaming through windows and heavy foot traffic can cause uneven fading on hardwood floors. Without rotation, areas covered by rugs or furniture stay darker while exposed sections lighten over time. This creates a patchy, worn look that's hard to fix later.
A simple rotation schedule helps your floor age evenly and keeps its color consistent.
Rotating rugs and furniture is a low-effort habit that pays off in the long run. Aim to move large rugs 90 degrees or swap their position with another rug every six months. For furniture, shift pieces a few inches in any direction—just enough to expose the previously covered area to light and foot traffic.
This distributes wear and prevents permanent discoloration.
How Sunlight Affects Your Floor
UV rays from windows slowly bleach hardwood, especially on sunny sides of the room. Even with UV-blocking window film, some fading occurs over years. Rugs and furniture act as shields, so the covered wood retains its original shade.
By rotating, you give the covered areas a chance to catch up, minimizing contrast.
A Simple Rotation Schedule
Mark your calendar for spring and fall—these are ideal times to rotate. Move area rugs to a different spot or flip them if they're reversible. For heavy furniture like sofas or bookcases, slide them a few inches sideways or swap positions with another piece.
Use felt pads to make sliding easier and prevent scratches.
What About High-traffic Zones?
Hallways and entryways see the most foot traffic, so rugs there wear faster. Rotate these rugs more often—every three months—to spread out the wear. If you have a runner, swap its ends so the part near the door moves to the other side.
This evens out the compression and dirt buildup.
15. Control Humidity Levels
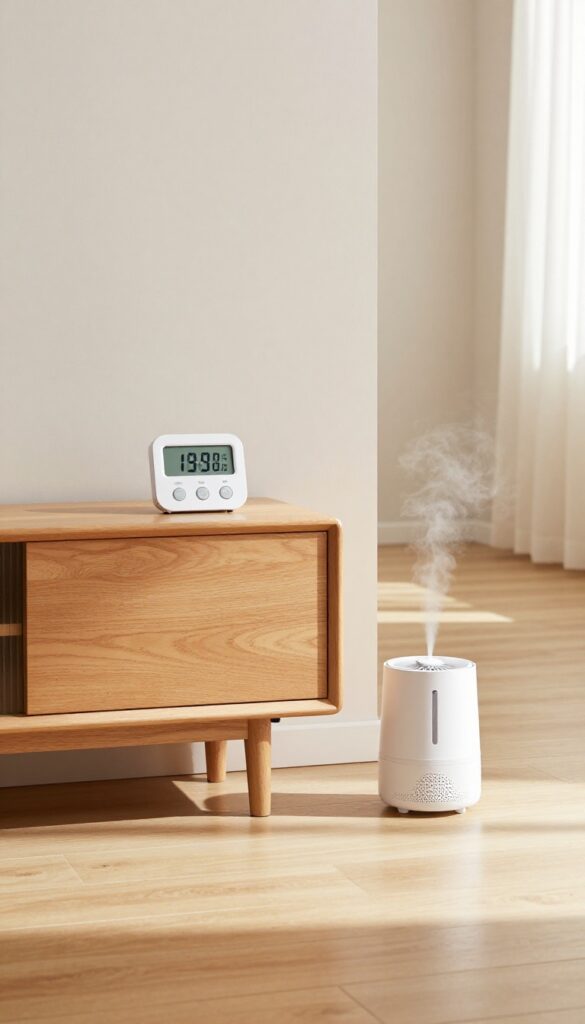
Wood is a living material that responds to its environment. When the air is too dry, boards shrink and gaps appear; when it's too humid, they swell and cup. Keeping your home's relative humidity between 30% and 50% is one of the simplest ways to prevent costly damage and maintain a smooth, gap-free floor.
Why Humidity Matters
Hardwood floors expand and contract with seasonal changes. In winter, dry indoor air can pull moisture from the wood, causing cracks and splinters. In summer, excess humidity makes boards swell, leading to buckling or crowning.
Consistent humidity keeps the wood stable and your finish intact.
Tools To Monitor And Adjust
A hygrometer costs under $20 and gives you real-time readings. In dry months, use a humidifier in rooms with hardwood. In humid seasons, run a dehumidifier or your AC to pull moisture out.
Aim for the 30–50% sweet spot year-round.
Quick Tips For Stability
Place a humidifier near your floor's most exposed areas—like hallways or open living rooms. Avoid large humidity swings by not cranking the heat too high at night. And if you notice gaps in winter, don't panic; they often close when humidity returns.
But persistent gaps mean you need better control.
16. Use Curtains or Blinds to Block Direct Sun
Sunlight streaming through windows might make your room feel warm and inviting, but it's silently damaging your hardwood floors. UV rays can darken or fade the wood unevenly, leaving patchy discoloration that's impossible to reverse. The good news?
A simple window treatment can stop the damage before it starts.
How Uv Rays Affect Hardwood
Prolonged exposure to direct sunlight breaks down the chemical bonds in wood and finish. This causes the color to shift—usually yellowing or fading—and the protective coating to weaken. Over time, you'll notice lighter patches near windows and darker areas in shaded spots, creating a blotchy look.
Best Window Coverings For Protection
Sheer curtains filter light without darkening the room completely. For stronger protection, go with blinds or shades that have a UV-blocking coating. Cellular shades are especially effective because they trap air and block most UV rays.
If you prefer curtains, choose lined or blackout versions for maximum defense.
When To Draw The Curtains
The most intense sunlight hits your floors during midday, usually between 10 a. m. and 2 p. m. If you're not in the room, close the blinds or curtains during those hours. For south- and west-facing windows, consider keeping them covered all afternoon.
A little habit like this can prevent years of fading.
17. Deep Clean Occasionally with a Damp Mop
Even with regular sweeping and spot cleaning, your floors will eventually need a deeper refresh. A damp mop—not wet—can lift embedded grime that dusting alone misses. The trick is using the right cleaner and wringing the mop until it's barely damp.
Every three to six months, give your hardwood floors a thorough cleaning with a microfiber mop and a pH-neutral hardwood floor cleaner. Spray the cleaner directly onto the mop pad, not the floor, to avoid pooling. Work in small sections, following the grain, and dry immediately with a clean cloth.
Never use steam mops or excessive water, as moisture can warp the wood and damage the finish.
Choose The Right Cleaner
Avoid vinegar, ammonia, or all-purpose cleaners—they can strip the finish over time. Instead, pick a cleaner specifically labeled for hardwood floors. Look for pH-neutral formulas that are safe for polyurethane or wax finishes.
A little goes a long way; you only need a few spritzes per section.
The Wring Test
Before mopping, wring the mop until no water drips when you squeeze it. If you can wring out visible water, it's too wet. A damp mop should feel moist but not leave streaks or puddles.
For best results, use a microfiber mop with a washable head—it traps dirt better than cotton.
Dry Immediately
After mopping a small area, go over it with a dry microfiber cloth or a clean towel. This step prevents moisture from sitting on the wood and causing damage. Work in 3×3 foot sections, and don't move on until the previous section is dry.
The whole process takes about 15 minutes for an average room.
18. Test Cleaners in an Inconspicuous Spot
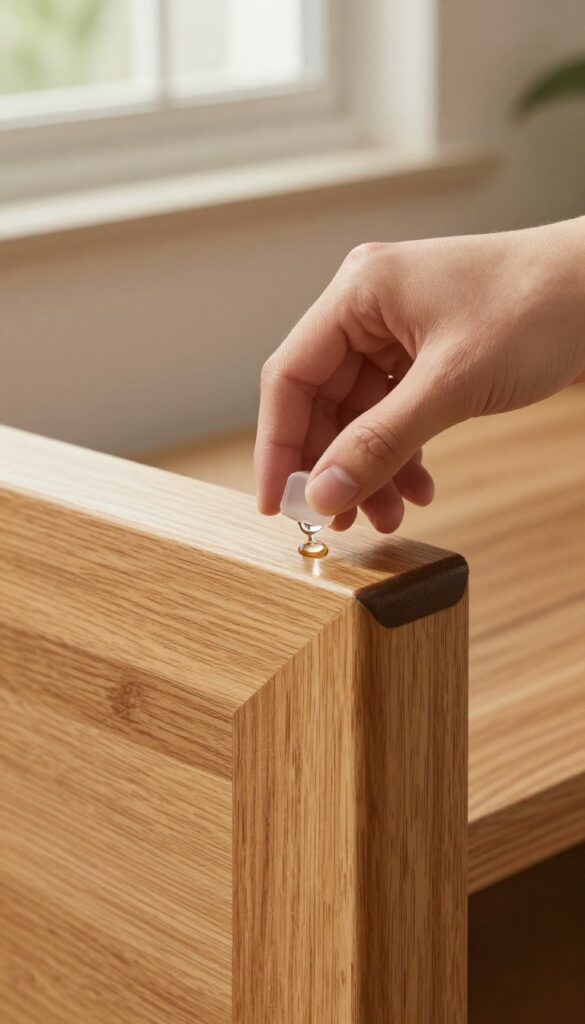
You wouldn't dye your hair without a strand test first, so why risk a new cleaner on your whole floor? Some products that claim to be safe for hardwood can actually dull or discolor the finish. A quick test in a hidden area saves you from a costly mistake.
Before using any new product, test it in a closet or under furniture to ensure it doesn't discolor or damage the finish. This simple step can prevent permanent damage and save you from costly refinishing.
Why Testing Matters
Even products labeled "hardwood safe" can react differently depending on your floor's sealant, age, and wear. A spot test reveals any adverse reactions like cloudiness, discoloration, or dullness before you commit to the whole floor.
How To Test Properly
Apply a small amount of the cleaner to a hidden area—like inside a closet or under a rug. Wait at least 24 hours, then check for any changes. Rub the area gently; if the finish feels sticky or looks hazy, skip that product.
What To Look For
After drying, examine the test spot under different lighting. Look for color shifts, white residue, or a cloudy film. Also check if the wood feels rough or tacky—that's a sign the cleaner is stripping the finish.
19. Buff Out Light Scratches with a Touch-Up Kit
Light scratches are almost impossible to avoid on hardwood floors, but that doesn't mean you have to live with them. A simple touch-up kit—usually a marker or wax stick—can make those marks disappear in seconds. It's a quick fix that keeps your floors looking fresh without sanding or refinishing.
When you notice a scratch, grab a touch-up marker or wax stick that matches your floor color. Clean the area first, then apply the product directly into the scratch. For deeper marks, use a wax stick, let it dry, and buff gently with a soft cloth.
This trick works wonders on surface-level damage and costs way less than a professional repair.
Choosing The Right Color Match
Hold the marker or stick against an inconspicuous area of the floor to test the shade. Many brands offer a range of wood tones, so take your time to find the closest match. If you're between two shades, go lighter—you can always layer it.
Application Tips For Best Results
Apply the marker or wax stick in the direction of the grain for a natural look. Don't press too hard; let the product fill the scratch on its own. After application, wait a few minutes and buff with a dry microfiber cloth to blend the repair.
When To Skip The Touch-up Kit
If the scratch goes through the stain into the raw wood, a touch-up kit won't cut it. In that case, you'll need a wood filler or a professional refinishing. For minor surface scratches, though, this is your best friend.
20. Schedule Professional Refinishing When Needed
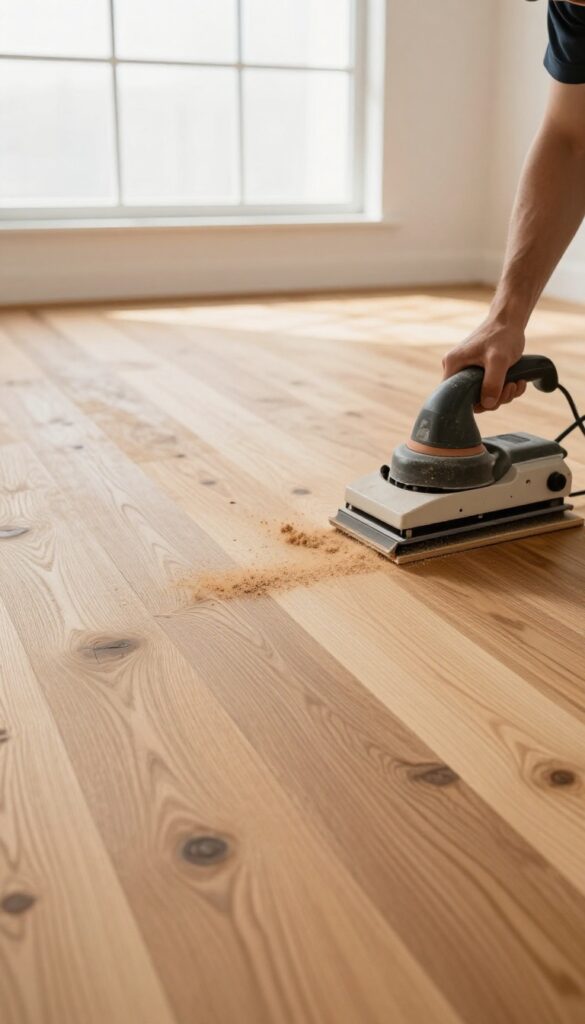
Even the best cleaning routine has its limits. Over time, the protective finish on your hardwood floors wears thin, and no amount of mopping or polishing will bring back that original luster. That’s when it’s time to call in a pro for a sand and refinish—a full reset that makes your floors look brand new.
Knowing when to refinish can save you from costly replacements. Look for signs like deep scratches, dull spots that won’t buff out, or water damage that has penetrated the finish. If your floors look tired no matter how much you clean, it’s probably time.
Most hardwood floors need refinishing every 5 to 10 years, depending on foot traffic and pet activity.
Signs It’s Time To Refinish
Check for worn-through finish in high-traffic areas like hallways and doorways. If you see bare wood or dark stains from moisture, refinishing is overdue. Another clue: water no longer beads up on the surface—it soaks in, meaning the sealant is gone.
What To Expect During Refinishing
Professionals will sand down the top layer of wood, removing scratches and stains, then apply new stain and sealant. The process takes a few days and requires you to stay off the floors while they cure. But the result is a like-new surface that’s ready for another decade of wear.
How To Extend Time Between Refinishes
Use rugs in high-traffic zones, keep pet nails trimmed, and clean up spills immediately. Regular maintenance with a dust mop and pH-neutral cleaner will also protect the finish. These habits can stretch the interval between refinishings to 10 years or more.
FAQ
Can I use a steam mop on hardwood floors?
No, steam mops are not recommended for hardwood. The heat and moisture can damage the finish and cause warping over time.
How often should I mop hardwood floors?
Dust or vacuum daily, and mop with a damp cloth every 1-2 weeks, or as needed based on traffic and spills.
Is vinegar safe for cleaning hardwood floors?
Vinegar is acidic and can dull the finish. It's safer to use a pH-neutral hardwood floor cleaner.
What is the best way to remove scuff marks from hardwood?
Rub the mark gently with a tennis ball or a soft eraser. For stubborn marks, use a dab of baking soda paste on a damp cloth.
How can I prevent my hardwood floors from scratching?
Use felt pads under furniture, keep pet nails trimmed, avoid high heels, and place doormats at entrances to trap grit.
Conclusion
You don't need a cabinet full of expensive polishes to keep your hardwood floors gleaming. These 20 tips focus on simple habits and the right tools—like microfiber mops and pH-neutral cleaners—that protect the finish and prevent dull buildup. Start with daily dusting and weekly damp mopping, then layer in the deeper care as needed.
Your floors will reward you with a lasting shine that looks professional without the hefty price tag. Try one new tip this week and watch the difference unfold.