25 Cleaning Tile Floors Tips for Grout and Sticky Dirt
Grout lines turning gray and sticky spots clinging to your tile floors? You don't need harsh chemicals or expensive steamers to get them sparkling again.
A few simple household ingredients and the right technique can make a huge difference. From daily sweeping habits to annual sealing, these 25 tips target both the tile surface and the grout, so every corner of your floor looks clean and fresh.
No guesswork, just practical methods that actually work.
1. Sweep or Vacuum Daily to Prevent Grit Buildup
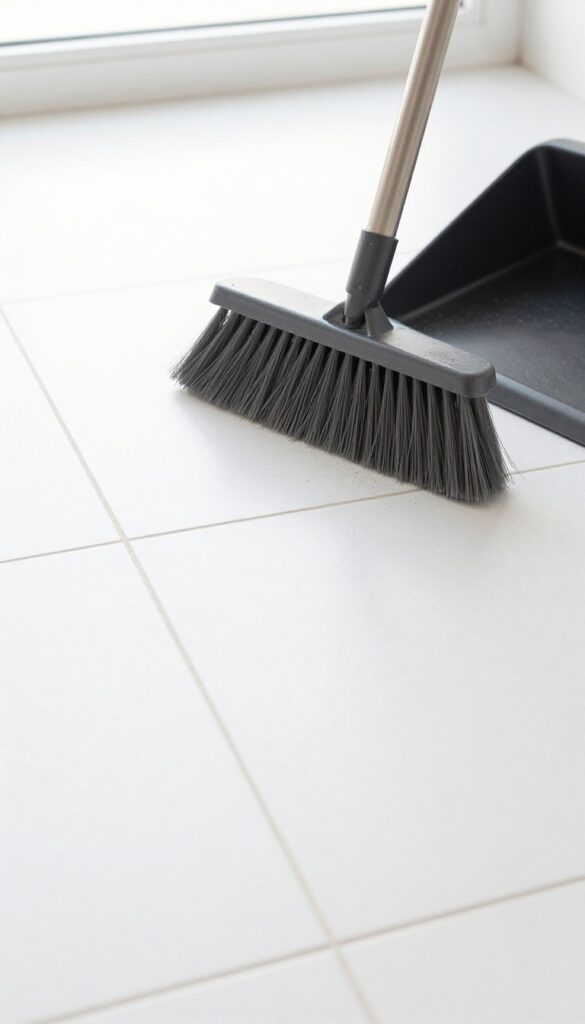
The easiest way to keep tile floors and grout looking new is to stop dirt from settling in the first place. Grit and sand act like sandpaper, scratching tile surfaces and grinding into porous grout. A quick daily sweep or vacuum removes that abrasive layer before it causes damage.
Make it a habit to sweep or vacuum high-traffic areas every day. Use a soft-bristle broom or a vacuum with a hard floor setting to avoid scratching. Focus on corners and along baseboards where dirt tends to collect.
This simple step reduces the need for deep cleaning and keeps grout lines lighter longer.
Choose The Right Broom Or Vacuum
Not all cleaning tools are tile-friendly. A soft-bristle broom or a microfiber dust mop picks up fine particles without scratching. For vacuums, switch off the beater bar or use a hard floor setting to prevent debris from being flung around.
Don't Forget The Grout Lines
When sweeping, pay extra attention to grout lines. A narrow dustpan brush or a stiff-bristle hand brush can dislodge dirt hiding in the grooves. This prevents buildup that leads to discoloration over time.
Use A Doormat To Cut Down On Dirt
Place a high-quality doormat at every entrance to trap grit before it reaches your tile. A mat that's at least two steps long gives shoes enough contact to remove most debris. This reduces the amount of daily sweeping needed.
2. Use a Microfiber Mop for Streak-Free Shine
Switching to a microfiber mop is one of the simplest upgrades you can make for your tile floors. Unlike traditional cotton mops that just push dirty water around, microfiber uses static electricity and split fibers to trap dust, grime, and moisture. The result is a truly clean surface that dries fast without streaks or residue.
Microfiber mops are gentle on tile and grout, but tough on sticky dirt. They require less water and cleaner, which means less chemical residue left behind. Plus, they're easy to wash and reuse, making them an eco-friendly choice.
Why Microfiber Beats Cotton
Cotton mops tend to leave behind lint and excess water, which can seep into grout lines and cause mold. Microfiber, on the other hand, absorbs up to eight times its weight in water and releases it only when wrung. This controlled moisture keeps your floors damp, not soaking wet, reducing drying time and preventing water damage.
Best Technique For Streak-free Results
Use a spray mop or a bucket with a built-in wringer to control water flow. Work in small sections, using a figure-eight motion to pick up dirt without spreading it. Rinse the mop head frequently in clean water, and replace it when it starts to smell or lose its texture.
Maintaining Your Microfiber Mop
Wash mop heads separately from other laundry, using a mild detergent and no fabric softener (softener ruins the fibers). Air dry or tumble dry on low. A well-cared-for microfiber mop can last through dozens of cleaning sessions.
3. Tackle Sticky Spots with a Baking Soda Paste
Sticky spots on tile floors are annoying, especially when they won't budge with regular mopping. Whether it's dried juice, soda spills, or cooking grease, these patches can trap dirt and look grimy. Instead of reaching for harsh chemicals, try a simple baking soda paste that's gentle yet effective.
Baking soda is a mild abrasive that lifts sticky grime without scratching your tile or damaging grout. It's also non-toxic and safe for homes with kids and pets. The paste clings to vertical surfaces and stays put, giving it time to break down the sticky residue.
How To Make The Paste
In a small bowl, mix three parts baking soda with one part water. Stir until it forms a thick, spreadable paste. If it's too runny, add more baking soda; if too dry, add a few drops of water.
The consistency should be like toothpaste.
Application And Wait Time
Using an old spoon or your finger, apply the paste directly onto the sticky spots. Spread it evenly, covering the entire area. Let it sit for 10 to 15 minutes.
This dwell time allows the baking soda to penetrate and loosen the grime.
Scrubbing And Rinsing
After waiting, scrub gently with a soft-bristled brush or a sponge. Work in small circles to lift the sticky residue. Rinse the area with clean water and wipe dry with a cloth.
Repeat if needed for stubborn spots.
4. Steam Clean Grout for Deep Sanitization
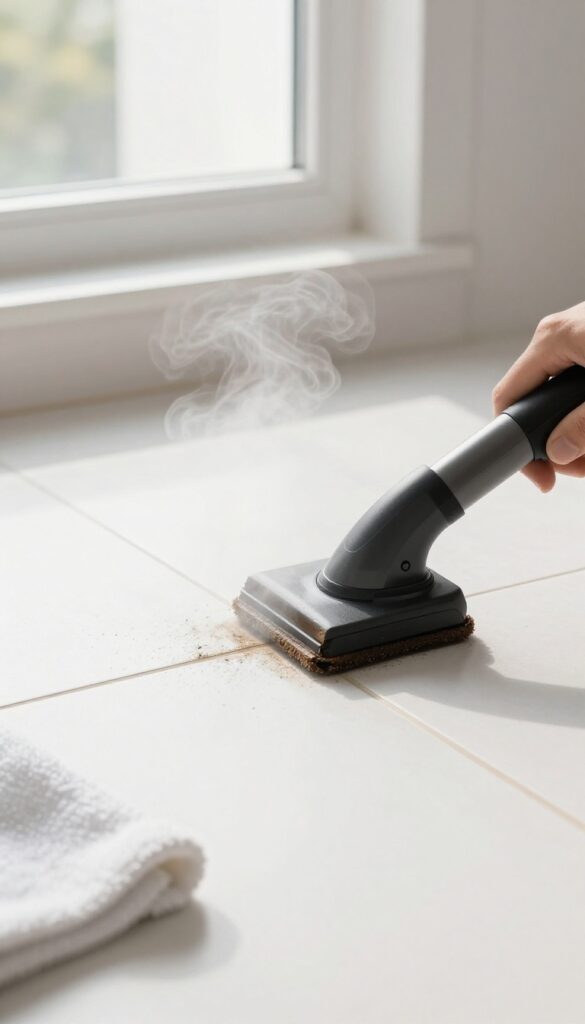
A steam cleaner uses high-temperature vapor to loosen dirt and kill bacteria in grout lines. It's chemical-free and effective on even the toughest grime. If you've been scrubbing grout by hand without much luck, steam cleaning might be the game-changer you need.
Steam cleaning is a powerful method that penetrates porous grout, dissolving embedded dirt and killing germs without harsh chemicals. It's especially useful for kitchens and bathrooms where hygiene matters most. The heat also helps loosen sticky residues that regular mopping can't touch.
How Steam Cleaning Works On Grout
Steam cleaners heat water to over 200°F, producing vapor that breaks down grime on contact. The high temperature kills bacteria, mold, and mildew naturally. For grout, the steam softens dirt deep within the pores, making it easy to wipe away with a microfiber cloth or brush.
Best Practices For Steam Cleaning Tile Floors
Start by sweeping or vacuuming to remove loose debris. Fill the steamer according to the manufacturer's instructions and let it heat up. Work in small sections, holding the nozzle close to the grout lines.
For stubborn spots, use a grout brush attachment. Wipe away loosened dirt immediately to prevent it from resettling.
When To Avoid Steam Cleaning
Steam cleaning isn't suitable for all tile types. Avoid using it on unsealed natural stone like marble or limestone, as the heat and moisture can damage them. Also, if your grout is cracked or missing, steam can push moisture underneath, causing further issues.
Always test in an inconspicuous area first.
5. Seal Grout Annually to Repel Stains
Grout is porous by nature, which means it soaks up spills and dirt like a sponge. That’s why even after a deep clean, grout can look dingy again within weeks. The fix is simpler than you think: a good grout sealer.
Sealing grout creates a protective barrier that repels moisture and dirt. It doesn’t make grout completely stain-proof, but it buys you a lot of time between cleanings. Annual resealing is usually enough for most households, though high-traffic areas might need it twice a year.
The process is straightforward: clean the grout thoroughly, let it dry completely, apply the sealer with a small brush or applicator, and wipe off any excess before it dries. Always choose a penetrating sealer rather than a topical one, because topical sealers can peel or yellow over time.
Why Annual Sealing Matters
Unsealed grout absorbs spills almost instantly, leading to stubborn stains that require scrubbing or even replacement. Sealing buys you time to wipe up messes before they set. It also reduces the amount of dirt that gets trapped in the porous surface, making routine mopping more effective.
How To Apply Sealer Correctly
Start with a clean, dry floor. Apply the sealer along the grout lines using a small brush or a squeeze bottle with a fine tip. Let it sit for the time recommended on the label (usually 5–10 minutes), then wipe away any sealer that got on the tile surface.
A second coat is often recommended for extra protection. Avoid walking on the floor until the sealer has fully cured, typically 24 hours.
Choosing The Right Sealer
For most tile floors, a water-based penetrating sealer is the safest bet. It’s low-odor, easy to clean up, and works well on both sanded and unsanded grout. If your grout is in a wet area like a shower or laundry room, look for a sealer labeled as “waterproof” or “mold-resistant. ” Avoid solvent-based sealers indoors unless the room is well-ventilated.
6. Use a pH-Neutral Cleaner for Regular Mopping
Many store-bought cleaners are loaded with harsh chemicals that can slowly eat away at tile sealants and discolor grout. A pH-neutral cleaner is the safest bet for daily maintenance, gently lifting dirt without causing long-term damage. It keeps the finish intact and the grout looking fresh, making your cleaning routine both effective and gentle.
Switching to a pH-neutral cleaner is a small change that pays off big time. Unlike acidic or alkaline formulas, these cleaners won’t react with the tile or grout, so you avoid etching, dulling, or yellowing over time. They’re also safer for your family and pets, and they don’t leave behind a sticky residue that attracts more dirt.
For best results, follow the dilution instructions on the bottle—using too much concentrate can leave a film, while too little won’t clean effectively. A quick mop with a pH-neutral solution once a week is usually enough to keep floors looking great between deeper cleanings.
Why Ph Matters For Tile And Grout
Tile and grout are sensitive to extreme pH levels. Acidic cleaners can etch natural stone tiles like marble or travertine, while alkaline ones can damage glazed ceramic or porcelain. Grout is especially vulnerable because it's porous and can absorb chemicals, leading to discoloration or crumbling.
A pH-neutral cleaner (around 7 on the pH scale) is balanced, so it cleans without reacting chemically with the surfaces.
How To Choose A Good Ph-neutral Cleaner
Look for products labeled specifically as pH-neutral or safe for natural stone. Avoid anything with bleach, ammonia, or strong acids like vinegar or lemon juice—these are not pH-neutral. Many brands offer concentrated formulas that you dilute with water; these are cost-effective and last longer.
Check reviews to ensure the cleaner doesn’t leave a film or require excessive rinsing.
Application Tips For Best Results
Always sweep or vacuum before mopping to remove loose dirt. Mix the cleaner according to the manufacturer’s instructions—usually a capful per gallon of warm water. Use a microfiber mop for even application and less water on the floor.
Wring the mop well so it’s damp, not soaking wet, to prevent water from seeping into grout lines. Mop in sections, rinsing the mop head frequently to avoid spreading dirty water. No need to rinse afterward unless the label says so.
7. Blot Spills Immediately to Avoid Stains
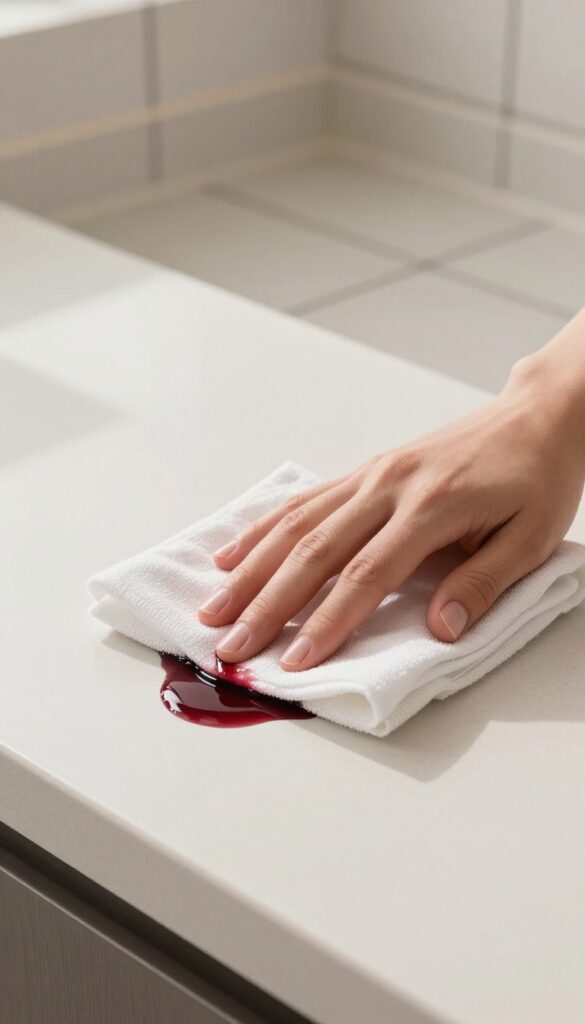
Spills happen, but how you handle them in the first few seconds makes all the difference. The faster you blot, the less time liquid has to seep into porous grout and leave a permanent mark. Keep a clean cloth handy in the kitchen or bathroom so you can act fast.
Blotting is simple but many people get it wrong. Rubbing a spill only spreads it deeper into the grout and pushes dirt into a wider area. Instead, press a dry or slightly damp cloth onto the spill and lift.
Repeat with a fresh section of the cloth until no more liquid transfers. This method works for wine, coffee, juice, and even greasy spills.
Why Speed Matters
Grout is like a sponge—it absorbs liquid quickly. Within 30 seconds, a spill can start staining. That's why you should grab a cloth immediately.
For acidic spills like lemon juice or vinegar, the clock ticks even faster because the acid can etch the tile surface. Blot first, then clean with a pH-neutral cleaner.
The Right Technique
Use a white or light-colored cloth so you can see how much liquid you're picking up. Fold the cloth to use a clean area each time. Press firmly but gently—no scrubbing.
If the spill is sticky, like syrup or soda, blot up the excess, then dab with a little warm water to dilute the residue before blotting again.
What To Do For Set-in Spills
If a spill has already dried or stained, don't panic. Make a paste of baking soda and water, apply it to the stain, and let it sit for 15 minutes. Then blot with a damp cloth.
For tougher grout stains, a hydrogen peroxide and baking soda paste works well. Test in an inconspicuous area first.
8. Make a Vinegar Solution for Tough Grout Lines
White vinegar is a powerhouse cleaner that tackles grout grime without the harsh fumes. Its acidity breaks down mineral deposits and grease that get trapped in porous grout, leaving lines brighter. Best of all, it's cheap and already in your pantry.
For a simple but effective grout cleaner, mix equal parts white vinegar and water in a spray bottle. Spray the solution directly onto the grout lines, saturating them well. Let it sit for about 5 minutes to let the vinegar work on the dirt.
Then, scrub with a stiff-bristled brush—an old toothbrush works great for tight spots. Rinse with water and wipe dry. For extra-stubborn stains, use undiluted vinegar, but test on a small area first to ensure it doesn't damage the tile.
Why Vinegar Works So Well On Grout
Grout is porous and alkaline, so it naturally attracts acidic stains and oily residues. Vinegar's mild acidity neutralizes alkaline deposits and dissolves soap scum, hard water buildup, and sticky grime. It's also a natural disinfectant, killing many bacteria and mold spores on contact.
Unlike bleach, vinegar won't produce toxic fumes or discolor colored grout when used correctly.
How To Boost The Cleaning Power
For really tough grout lines, add a few drops of dish soap to the vinegar solution—this helps break down grease even faster. You can also warm the vinegar slightly (microwave for 15 seconds) to increase its cleaning action. Another trick: make a paste with baking soda and the vinegar solution, apply it to the grout, let it fizz for a few minutes, then scrub.
The fizzing action lifts dirt from deep within the grout pores.
Safety Tips And What To Avoid
Never mix vinegar with bleach or hydrogen peroxide—this creates toxic chlorine gas or peracetic acid, which is irritating. Also, avoid using vinegar on natural stone tiles like marble, travertine, or slate, as the acid can etch the surface. Always rinse the floor thoroughly after cleaning to remove any residue that could attract more dirt.
9. Try Hydrogen Peroxide for Whitening Grout
If your grout has yellowed or darkened over time, hydrogen peroxide can bring it back to life. This common medicine cabinet staple works as a mild bleach, lifting stains without the harsh smell of chlorine bleach. It's especially good for light-colored grout that needs a brightness boost.
Apply hydrogen peroxide directly to discolored grout, let it fizz for a few minutes, then scrub. It's a natural bleach alternative that brightens without harsh fumes.
How To Apply It
Pour 3% hydrogen peroxide into a spray bottle or apply it directly from the bottle onto the grout lines. Let it sit for 5 to 10 minutes—you'll see it fizz as it breaks down dirt and stains. Scrub with a stiff brush, then wipe away residue with a damp cloth.
When To Use A Paste
For stubborn, deeply embedded stains, mix hydrogen peroxide with baking soda to form a thick paste. Spread it over the grout lines, let it sit for 15 minutes, then scrub. The combination creates a gentle abrasive that lifts grime without scratching tile.
Safety Tips
Always test hydrogen peroxide on an inconspicuous spot first, especially if your grout is colored or sealed. It can lighten some dyes. Avoid mixing with vinegar or ammonia, as that creates harmful fumes.
Keep the area ventilated and wear gloves if you have sensitive skin.
10. Use a Grout Brush for Precision Cleaning
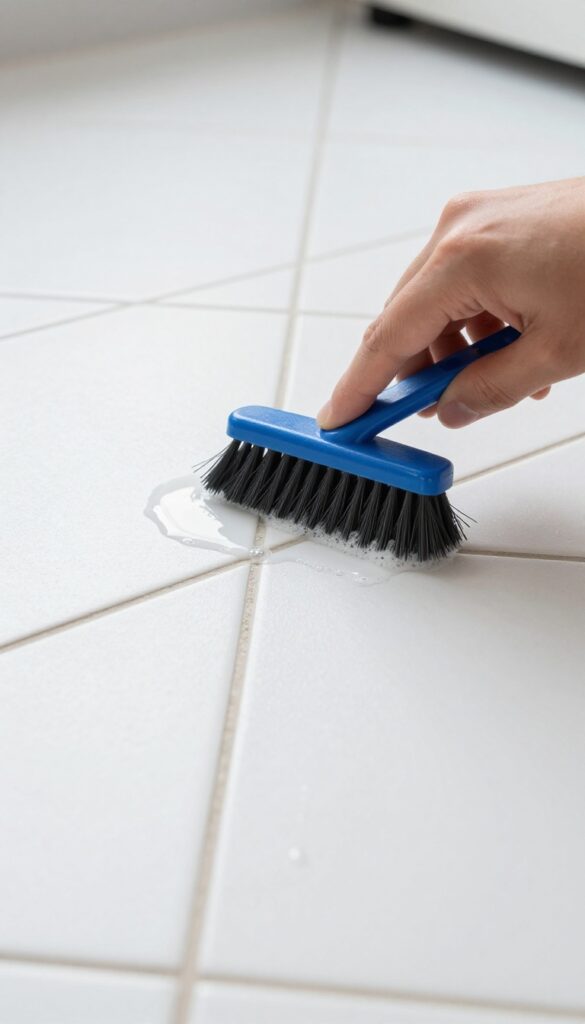
A grout brush is a small but mighty tool that makes a big difference. Its stiff bristles are designed to dig deep into grout lines, loosening dirt and grime that a mop or sponge can't reach. Pair it with your favorite cleaner for targeted scrubbing that leaves tile surfaces untouched.
Grout brushes come in various sizes and stiffness levels. Look for one with a comfortable handle and bristles that are firm but not too abrasive. Use it with a gentle cleaner to avoid damaging the grout.
Work in small sections, applying the cleaner and scrubbing with the brush in a circular motion. Rinse thoroughly with water and wipe away residue with a clean cloth.
Choosing The Right Brush
Not all grout brushes are created equal. A brush with a long handle helps you avoid bending over, while a short handle gives you more control. Nylon bristles are durable and safe for most grout types.
Avoid wire brushes, which can scratch tile and damage grout.
Pairing With Cleaners
For best results, use a cleaner that matches your grout type. A baking soda paste works well for gentle scrubbing, while a diluted vinegar solution tackles tougher stains. Always test the cleaner on a small, hidden area first to ensure it doesn't discolor the grout.
Technique Tips
Apply the cleaner and let it sit for a few minutes to break down dirt. Scrub with the grout brush using firm, circular motions. Rinse the brush frequently to avoid spreading dirt.
After scrubbing, wipe the area with a damp cloth and dry with a towel to prevent water spots.
11. Avoid Wax or Oil-Based Cleaners on Tile
It might seem like a good idea to use a wax or oil-based cleaner to make your tile floors shine, but that glossy finish comes at a cost. These products leave behind a sticky residue that actually attracts dust, dirt, and grime, making your floors look dull and dirty faster than before. Worse, they can create a slippery surface that's a safety hazard, especially in kitchens and bathrooms.
Stick to water-based or pH-neutral cleaners for a safe, clean finish. These products effectively remove dirt without leaving a film, so your tiles stay clean longer and your grout doesn't get clogged with residue. Here's how to make the switch and keep your floors in top shape.
Why Wax And Oil Cleaners Are Trouble
Wax and oil-based cleaners are designed for surfaces like wood or stone that benefit from a protective coating. On ceramic or porcelain tile, that coating just sits on top, trapping dirt and making the floor feel sticky. Over time, the residue builds up in grout lines, turning them dark and attracting mold.
Plus, that slick film can be dangerous—especially when the floor gets wet.
What To Use Instead
Look for cleaners labeled "pH-neutral" or "water-based. " These are gentle on tile and grout, and they rinse clean without leaving any film. You can also make your own simple cleaner by mixing a few drops of mild dish soap with warm water.
For routine mopping, that's all you need. For tougher grout stains, use a baking soda paste or hydrogen peroxide—not a heavy-duty wax.
How To Remove Old Residue
If you've been using wax or oil-based cleaners, you'll need to strip the residue first. Mix a solution of warm water and a cup of white vinegar (or a commercial tile stripper) and mop the floor thoroughly. Rinse with clean water and let it dry.
After that, switch to a pH-neutral cleaner. You'll notice the floor looks cleaner longer and feels less slippery.
12. Clean with Club Soda for a Natural Shine
Club soda isn't just for mixing drinks—it's a surprisingly effective tile floor cleaner. The carbonation helps lift dirt and grime from the surface, while the mild acidity cuts through sticky residues without damaging grout or finish. It's a chemical-free way to get streak-free shine.
Using club soda is simple: pour it directly onto the floor or into a spray bottle, mop as usual, and let it dry. No rinsing needed. The bubbles do the work, loosening dirt so it wipes away easily.
Plus, it leaves no soapy film behind, making it ideal for high-traffic areas or kitchens where sticky spills are common. For extra cleaning power, add a few drops of dish soap to the club soda. This combination tackles grease and grime while still being gentle on tile.
Just avoid using it on unsealed natural stone, as the acidity can etch the surface over time.
How Club Soda Works On Tile
The carbonation in club soda creates tiny bubbles that help dislodge dirt particles from tile and grout. The mild acidity (from carbonic acid) breaks down grime and sticky residues without harsh chemicals. It's especially effective on ceramic and porcelain tiles, leaving them shiny and residue-free.
Best Way To Apply Club Soda
Fill a spray bottle with club soda and mist the floor lightly, then mop with a microfiber mop. For larger areas, pour club soda directly onto the floor and mop as usual. Let it air dry—no rinsing required.
For tough spots, let it sit for a minute before scrubbing.
When To Avoid Club Soda
Avoid using club soda on unsealed natural stone (like marble, travertine, or limestone) because the acidity can etch the surface. Also, don't use it on waxed floors, as it can strip the wax. Always test in an inconspicuous area first.
13. Use a Magic Eraser on Stubborn Marks
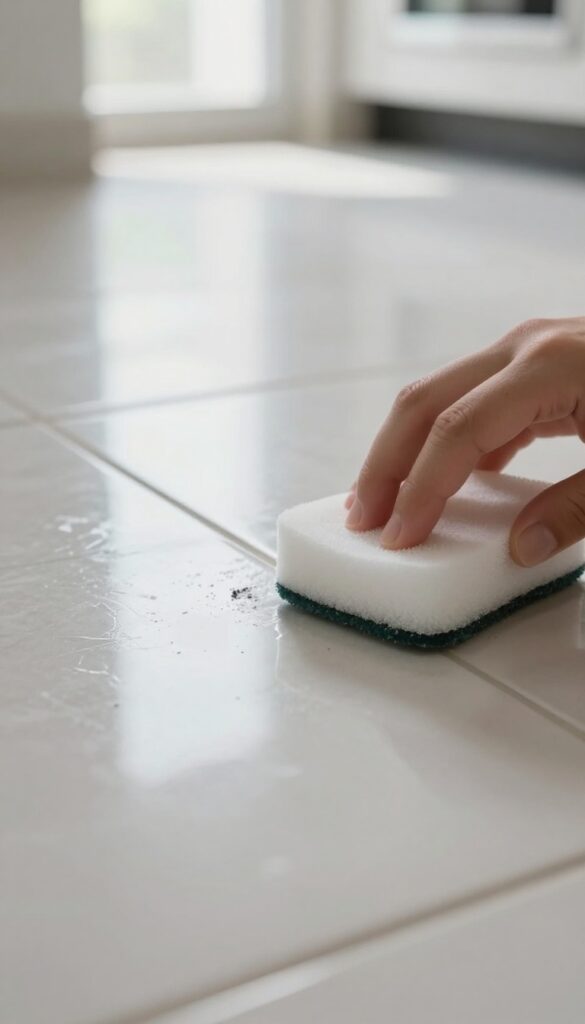
Sometimes a simple wipe won't cut it. Scuff marks from shoes or sticky residue from spills can cling to tile like they own the place. That's where a melamine sponge—often called a magic eraser—comes in handy.
It's like a gentle sandpaper that lifts marks without scratching the tile surface.
Dampen the sponge until it's just moist, not dripping. Gently rub the mark in small circles. You'll see it fade away almost instantly.
Rinse the area with water afterward to remove any residue. This works best on glazed ceramic or porcelain tiles; avoid using it on unsealed natural stone like marble or travertine, as it can be too abrasive.
How It Works
Melamine foam acts like ultra-fine sandpaper. When dampened, it creates a mild abrasive action that lifts dirt and scuffs from the tile's surface. It's especially effective on sticky spots that won't budge with regular cleaners.
When To Use It
Reach for a magic eraser when you see black scuff marks from shoes, sticky residue from tape or stickers, or dried-on food spills. It's also great for cleaning the grout lines if they have light staining—just be gentle.
Tips For Best Results
Always test on an inconspicuous area first. Don't press too hard—let the sponge do the work. Replace the sponge when it starts to crumble or lose its shape.
And remember, this is a one-time-use cleaner; the sponge disintegrates as you use it.
14. Dry Mop After Wet Mopping to Prevent Water Spots
You might think the job is done once you've mopped the floor, but skipping one final step can leave behind ugly water spots and streaks. A quick dry mop pass picks up leftover moisture before it dries, giving you a spotless, streak-free shine.
After wet mopping, switch to a clean, dry microfiber mop head and go over the entire floor. This absorbs the thin film of water left behind, preventing minerals from forming white spots. It also speeds up drying time, so you can walk on the floor sooner without leaving footprints.
Why Water Spots Form
Tap water contains minerals like calcium and magnesium. When water evaporates, these minerals are left behind as white spots or hazy streaks. A dry mop removes that water before it can evaporate, stopping spots before they start.
Best Mop For The Job
Use a microfiber flat mop with a removable, washable pad. Microfiber is highly absorbent and traps particles, unlike cotton string mops that can redeposit dirt. Keep a separate dry pad dedicated for this final step.
When To Dry Mop
Dry mop immediately after wet mopping, while the floor is still damp but not soaking wet. Work in sections if your floor is large, so you don't miss areas that have already started drying.
15. Apply a Paste of Cream of Tartar for Stubborn Stains
Some stains just won't budge with regular scrubbing. Rust rings from metal furniture or hard water deposits around drains can leave tile and grout looking worse for wear. That's where cream of tartar comes in—a mild acid that works wonders on mineral-based stains without damaging your flooring.
Cream of tartar is a pantry staple that doubles as a gentle yet effective cleaning agent. When mixed with lemon juice, it forms a paste that targets tough stains like rust and limescale. The acidity helps dissolve mineral deposits while the paste texture gives you something to scrub against.
It's safe for most tile types, including ceramic and porcelain, but always test on an inconspicuous area first. Apply the paste directly to the stain, let it sit for about 15 minutes, then scrub with a soft brush or sponge. Rinse thoroughly and repeat if needed.
This method is especially useful for spots that resist standard cleaners.
Why Cream Of Tartar Works On Stubborn Stains
Cream of tartar is potassium bitartrate, a byproduct of winemaking. It's a mild acid that reacts with alkaline mineral deposits like rust and hard water scale. Unlike harsh chemical descalers, it won't etch or discolor your tile or grout.
The lemon juice adds extra acidity and a fresh scent, making the paste more effective without being abrasive.
How To Make And Apply The Paste
Mix two parts cream of tartar with one part lemon juice until you get a thick, spreadable paste. Apply it directly to the stain using an old toothbrush or a small spatula. Let it sit for 10 to 15 minutes—don't let it dry completely.
Scrub gently in circular motions, then rinse with warm water. For vertical surfaces, you can add a bit more lemon juice to keep the paste from sliding off.
Best Uses And Precautions
This paste is ideal for rust spots from metal furniture legs, hard water rings around drains, and set-in grout stains. Avoid using it on natural stone tiles like marble or limestone, as the acidity can etch the surface. Always test on a hidden area first.
If the stain is particularly stubborn, you can let the paste sit for up to 30 minutes, but check periodically to ensure it's not drying out.
16. Use a Squeegee in Wet Areas to Reduce Grime
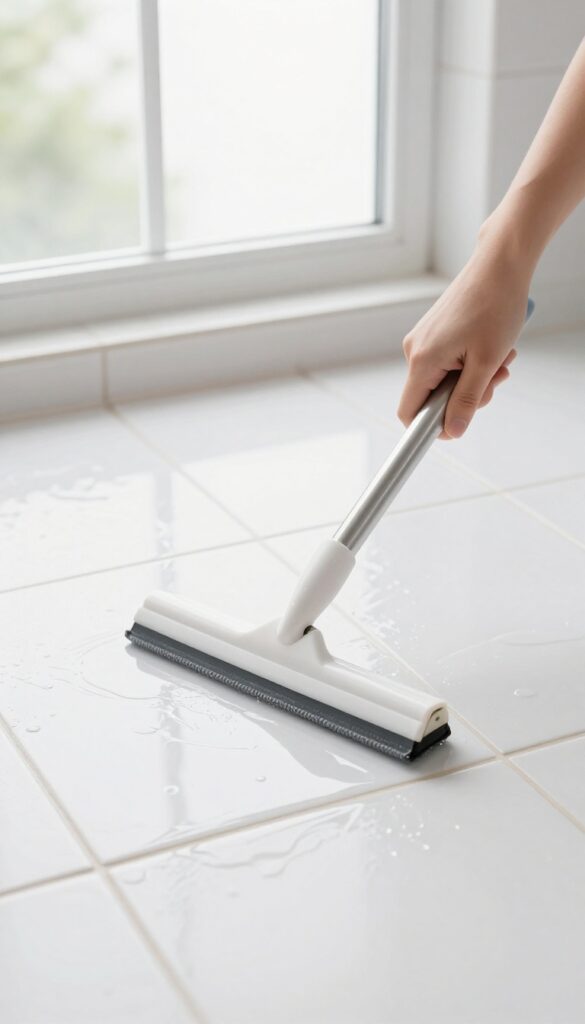
Bathrooms and kitchens are prime spots for soap scum and mold, especially on tile floors. A simple squeegee can cut down the grime dramatically by removing standing water after every use. It takes just a few seconds, but the payoff is huge: less scrubbing, fewer harsh cleaners, and tiles that stay looking fresh longer.
Keep one hanging in the shower or near the kitchen sink for quick access.
Why It Works
Tile and grout are porous, so standing water seeps in and creates a breeding ground for mold, mildew, and soap scum. A squeegee wipes away the moisture before it can settle, cutting off the grime cycle at the source.
Best Squeegee For Tile Floors
Look for a squeegee with a soft rubber blade that won't scratch the tile. A floor squeegee with a long handle is ideal for bathrooms, while a smaller handheld one works for kitchen backsplashes and countertops.
Quick Daily Habit
After a shower or washing dishes, spend 15 seconds running the squeegee over the wet tile. No need to dry afterward—just let the remaining film evaporate. Over time, this habit keeps grout lines lighter and reduces the need for deep cleaning.
17. Clean Grout with a Toothbrush for Small Areas
An old toothbrush is perfect for spot-cleaning grout around edges or corners. Dip it in cleaner and scrub in circular motions for detailed results.
When grout lines are narrow or tucked into tricky corners, a large brush just won't do the job. That's where a retired toothbrush shines. Its small head and firm bristles let you target exactly the stained area without splashing cleaner onto the tile surface.
Plus, it's free—just grab one you'd otherwise toss. For best results, dip the bristles into your chosen cleaner (baking soda paste or diluted vinegar work well) and scrub in tight circles. The circular motion lifts dirt from the porous grout.
Rinse with a damp cloth afterward. This method is especially effective for bathroom corners, kitchen backsplashes, and entryway edges where sticky dirt accumulates.
Why A Toothbrush Works Best
Standard grout brushes can be too wide for narrow lines. A toothbrush's tapered tip reaches deep into crevices without scrubbing the tile itself. The bristles are stiff enough to dislodge grime but gentle on grout—no scratching or widening of the lines.
Step-by-step Spot Cleaning
Start by wetting the grout with a little water. Dip the toothbrush in your cleaner, then scrub in small circles for about 30 seconds per section. Wipe away loosened dirt with a damp microfiber cloth.
Repeat if needed. For stubborn spots, let the cleaner sit for a few minutes before scrubbing.
When To Use This Technique
This method is ideal for small areas—around a toilet base, along a shower threshold, or near a door jamb. It's also great for touch-ups between deep cleans. Don't use it for large floors; that would take forever.
Save it for precision work.
18. Rinse Thoroughly After Cleaning to Avoid Residue
You might think the job is done once you've mopped the floor, but skipping one final step can leave behind ugly water spots and streaks. Leftover cleaner can attract dirt and dull the tile. Always rinse with clean water after mopping or scrubbing to leave floors residue-free.
Rinsing is the step that makes or breaks a clean tile floor. Many cleaning solutions leave a thin film that traps dust and makes grout look dingy faster. A simple fresh-water mop pass removes that film and restores the tile's natural shine.
It's especially important for natural stone, which can be etched by acidic cleaners if left on too long. For best results, use a clean mop head or a separate bucket of plain water. Change the rinse water frequently if you're covering a large area.
Why Residue Is A Problem
Residue acts like a magnet for dirt and grime. Over time, it builds up and makes your floors look dull even after cleaning. It can also cause sticky spots that attract more debris, creating a cycle of constant cleaning.
For grout, residue can seep into the porous surface and cause discoloration that's hard to reverse.
How To Rinse Properly
Use a clean mop or microfiber cloth dipped in fresh water. Wring it out well so you're not leaving puddles. Mop in a figure-eight pattern to pick up any leftover cleaner.
For large areas, change the rinse water every few minutes. If you see suds or foam, that means there's still cleaner on the floor, so keep rinsing.
Drying After Rinsing
After rinsing, let the floor air-dry or use a dry microfiber mop to speed things up. Avoid walking on wet tiles until they're completely dry to prevent footprints and streaks. In humid areas, open a window or use a fan to help the floor dry faster and prevent mold growth.
19. Use Rubbing Alcohol for Sticky, Greasy Spots
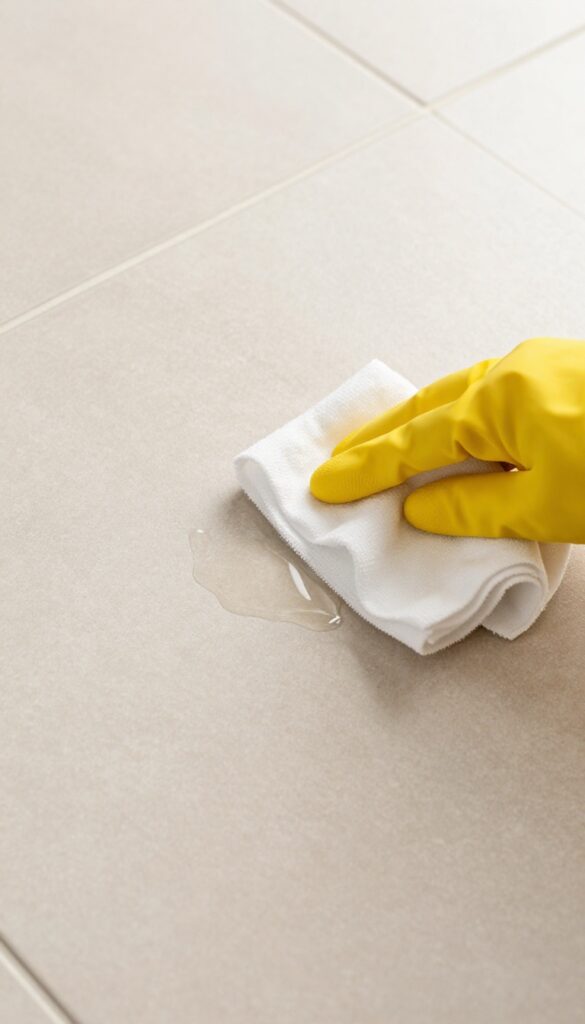
Sticky residues from glue, tape, or spilled food can be a pain to remove from tile floors. Regular cleaners often just smear the mess around. Rubbing alcohol cuts through the grease and stickiness without leaving any film, making it a perfect spot treatment.
Dab a cloth with rubbing alcohol and wipe the sticky spot. It evaporates quickly, so you don't have to worry about residue. This works great on adhesive left by stickers or tape, as well as greasy spots near cooking areas.
Always test on a hidden area first, especially on unsealed grout, as alcohol can dry out certain materials.
Why It Works So Well
Rubbing alcohol is a solvent that breaks down sticky substances without harsh scrubbing. It evaporates fast, so it won't soak into grout or cause damage. Plus, it leaves behind a clean, dry surface with no streaks.
How To Apply It Safely
Dampen a microfiber cloth with rubbing alcohol—don't soak the floor. Gently rub the sticky spot until it lifts. For tough spots, let the alcohol sit for a few seconds before wiping.
Avoid using on waxed or unsealed tiles, as it may strip the finish.
When To Use This Method
Use it for small, isolated sticky messes like price tag residue, dried syrup, or candle wax drips. It's not meant for whole-floor cleaning, but it's a lifesaver for those annoying spots that won't come off with water or all-purpose cleaner.
20. Place Doormats at Entrances to Trap Dirt
Most of the dirt, grit, and grime that ends up on your tile floors gets tracked in from outside. A good doormat is your first line of defense, catching debris before it has a chance to scratch tiles or settle into grout lines. Placing mats at every entry point—both inside and outside—can dramatically reduce how often you need to mop and scrub.
Doormats work by scraping and absorbing dirt from shoe soles. For best results, use a coarse, scraper-style mat outside to remove large particles, and a softer, absorbent mat inside to catch any remaining moisture and fine dust. This two-mat system can trap up to 80% of outdoor dirt.
Remember to shake out or vacuum both mats weekly to keep them effective. Over time, this simple habit preserves your tile's finish and keeps grout lighter for longer.
Choosing The Right Mat Material
Not all doormats are created equal. For outdoor use, look for rubber, coir (coconut fiber), or polypropylene mats that can handle heavy foot traffic and weather. Indoors, opt for fabric, microfiber, or rubber-backed mats that won't slide around.
Avoid mats with latex backing on tile, as they can trap moisture and cause mildew.
Placement Tips For Maximum Effectiveness
Put mats at every exterior door, including garage and patio entries. Make sure they're large enough for a few steps—at least 3 feet long—so people naturally wipe their feet. If space allows, place a mat inside and outside each door.
In high-traffic areas like the kitchen, consider adding a runner or smaller mat at the main entrance.
Maintaining Your Doormats
Mats only work if they're clean. Shake out dirt weekly, vacuum fabric mats, and hose down rubber or coir mats monthly. Let them dry completely before putting them back to prevent mold.
Replace mats that become worn or matted down, as they lose their scraping ability.
21. Use a Pressure Washer for Outdoor Tile Grout
Patio and pool tiles see a lot of abuse from weather, foot traffic, and dirt. Grout lines can get caked with grime that no scrub brush can handle. That's where a pressure washer comes in handy.
A pressure washer with a grout cleaning attachment blasts away dirt from deep within the grout lines. The rotating jet gets into every crevice without you having to scrub on your hands and knees. Just keep the pressure low—under 1, 500 PSI—to avoid damaging the grout or loosening tiles.
Work in small sections, holding the nozzle at a slight angle, and let the water do the work. Rinse thoroughly afterward to remove any dislodged debris.
Choose The Right Attachment
Standard spray nozzles are too aggressive for grout. Use a dedicated grout cleaning attachment or a turbo nozzle that focuses the water into a rotating stream. These attachments concentrate the pressure into a small area, making them much more effective at cleaning grout lines without overspray.
Pre-treat Stubborn Stains
For oily or moldy grout, apply a grout cleaner or a bleach solution (1 part bleach to 4 parts water) before pressure washing. Let it sit for 10 minutes, then rinse with the pressure washer. This pre-treatment loosens organic growth and makes the pressure washing step more efficient.
Protect Surrounding Surfaces
Cover nearby plants, furniture, and walls with plastic sheeting to protect them from overspray and cleaning chemicals. Also, wet the area around the tile to prevent the pressure washer from etching concrete or damaging adjacent materials. Always test on an inconspicuous spot first.
22. Try a Commercial Grout Cleaner for Heavy Stains
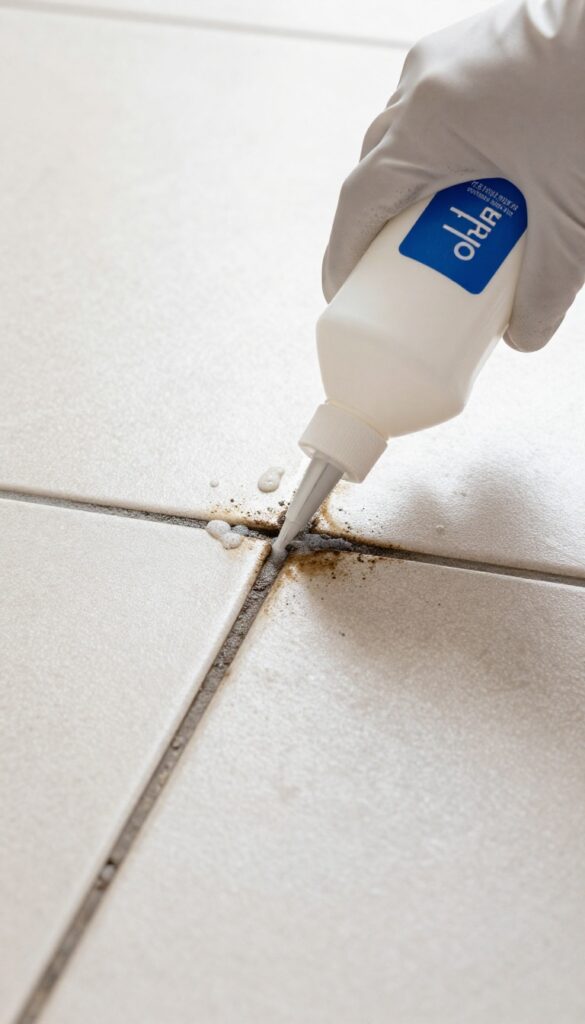
Sometimes the toughest grout stains just won't budge with baking soda or vinegar. That's when a specialized commercial grout cleaner steps in to save the day. These products are formulated to penetrate deep into porous grout and break down years of grime, oil, and discoloration.
When natural methods fall short, a dedicated grout cleaner can restore your grout's original color. Look for one containing oxygen bleach, which lifts stains without damaging the grout. Always follow the instructions carefully—some require a soak time, others need scrubbing.
Wear gloves and ventilate the area, as these cleaners can be strong. After application, rinse thoroughly to avoid residue.
Choosing The Right Product
Not all grout cleaners are created equal. For heavy stains, pick a cleaner with oxygen bleach or a mild acid (like oxalic acid) if you have ceramic or porcelain tile. Avoid acidic cleaners on natural stone—they can etch the surface.
Check the label for compatibility with your tile type.
Application Tips For Best Results
Apply the cleaner directly to dry grout lines using a small brush or the product's applicator. Let it sit for the recommended time—usually 5 to 15 minutes. Scrub with a stiff brush or grout brush, then wipe away with a damp cloth.
Rinse with clean water and dry with a towel to prevent new stains from setting.
Safety First
These cleaners often contain strong chemicals. Always wear rubber gloves and work in a well-ventilated area. Keep children and pets away during application.
If the product splashes on your skin, rinse immediately with water. For extra protection, wear safety glasses.
23. Keep a Spray Bottle of Cleaner Handy for Quick Touch-Ups
You don't always need a full mop session to keep tile floors looking great. A spray bottle with your favorite cleaner lets you tackle small messes the moment they happen, so stains and sticky spots don't get a chance to set in.
Mixing a small batch of cleaner in a spray bottle is a game-changer for daily maintenance. Use a solution of equal parts water and white vinegar, or a few drops of dish soap in warm water. Keep it under the sink or in a caddy for easy access.
When you see a spill or a spot, just spritz and wipe with a microfiber cloth. This habit prevents grime from building up and reduces the need for deep scrubbing later. It's especially useful in high-traffic areas like the kitchen or entryway.
Why A Spray Bottle Works Better Than A Mop For Quick Spills
A mop is overkill for a single spot. Dragging out the bucket and mop for a small spill takes time and can spread the mess. A spray bottle targets the exact area, using less product and water.
This means less drying time and less chance of leaving residue on the tile or grout.
Best Cleaner Recipes For Your Spray Bottle
For everyday grime, a 50/50 mix of water and white vinegar works wonders. If you prefer something gentler, try a teaspoon of dish soap in a cup of warm water. For sticky spots like juice or soda, add a splash of rubbing alcohol to help dissolve the sugar.
Always label your bottle and avoid using harsh chemicals that could damage the tile or grout.
When And Where To Use Your Spray Bottle
Keep the spray bottle in areas where spills happen most: the kitchen, bathroom, and near pet bowls. Use it immediately after a spill occurs. For dried-on spots, let the cleaner sit for a minute before wiping.
This quick routine keeps your tile floors looking clean without a full mop session every day.
24. Use Furniture Pads to Prevent Scratches
Furniture legs can be brutal on tile floors, especially when you slide chairs or tables across the surface. Over time, that scraping leaves visible scratches and scuff marks that are tough to clean. Felt pads are a cheap, simple fix that protects your tiles and makes moving furniture a breeze.
Sliding a chair across tile creates micro-scratches that collect dirt and make the floor look dull. Felt pads create a smooth barrier that glides easily without damaging the tile or grout. They also reduce the amount of dust and debris that gets trapped under furniture legs, so your floors stay cleaner longer.
Stick-on felt pads are easy to apply and come in various sizes to fit different furniture styles. Replace them every few months or when they start to wear thin.
Choosing The Right Pads
Not all felt pads are created equal. Look for thick, dense felt with a strong adhesive backing. Self-adhesive pads work well on most furniture, but for heavy pieces like sofas or cabinets, consider nail-on glides or rubber caps that won't peel off.
Measure the diameter of your furniture legs to get the right fit.
Installation Tips
Clean the bottom of each furniture leg with rubbing alcohol to remove dust and grease before applying the pad. Press firmly and let the adhesive set for at least 24 hours before moving the furniture. For uneven legs, use adjustable glides or multiple small pads to level the piece and prevent rocking.
Maintenance And Replacement
Check pads regularly for wear, especially on chairs that get moved often. Replace them as soon as the felt becomes thin or the adhesive fails. A quick inspection every few months keeps your tile floors scratch-free and looking new.
25. Schedule a Deep Clean Every Season
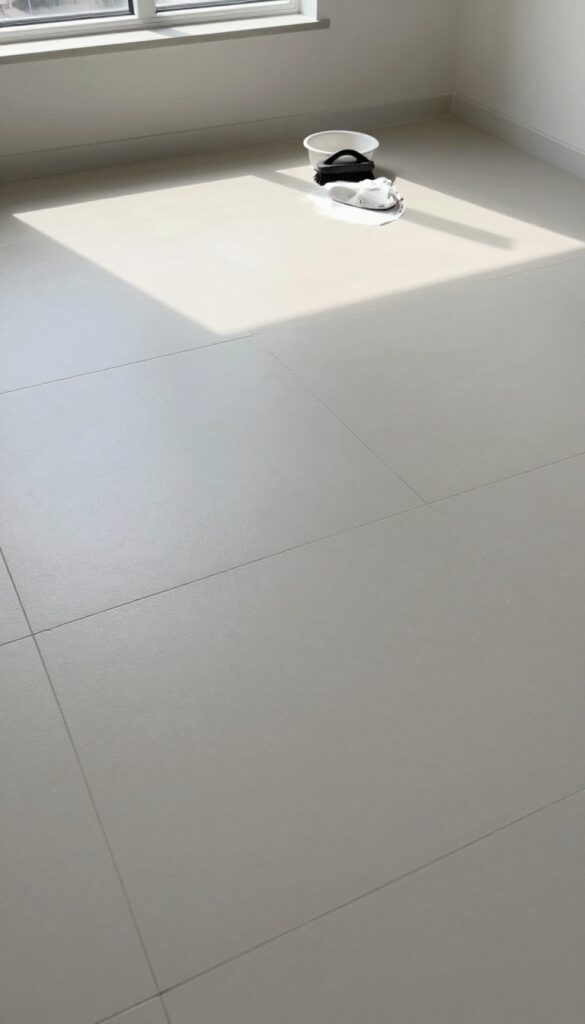
A quick weekly mop keeps things tidy, but tile floors need a deeper reset every few months. Seasonal deep cleaning removes built-up grime that regular cleaning misses, especially in grout lines and along edges. Think of it as a reset button for your floors.
Set aside a few hours each season for a thorough cleaning session. Start by moving all furniture and rugs out of the room. Sweep or vacuum thoroughly, then mop with a cleaner suited for your tile type.
Pay extra attention to grout lines, using a stiff brush and a baking soda paste or a commercial grout cleaner. After the grout dries, inspect for cracks or missing sections and repair as needed. Finally, apply a penetrating sealer to protect the grout from future stains and moisture.
This seasonal ritual keeps your tile looking new and prevents long-term damage.
Why Seasonal Deep Cleaning Matters
Over time, dirt, soap scum, and oils accumulate in grout pores and on tile surfaces. A weekly mop only removes surface dust. Seasonal deep cleaning lifts embedded grime, reduces the risk of mold and mildew, and extends the life of your tile and grout.
It also gives you a chance to inspect for damage early.
Step-by-step Seasonal Deep Clean
Clear the room completely. Sweep or vacuum to remove loose debris. Mix a tile-safe cleaner (like warm water with a few drops of dish soap) and mop the entire floor.
For grout, apply a baking soda and water paste, scrub with a stiff brush, then rinse. Let everything dry fully before sealing.
When To Reseal Grout
After cleaning, test your grout by sprinkling a few drops of water on it. If the water soaks in quickly, it's time to reseal. Apply a penetrating grout sealer according to the manufacturer's instructions, usually with a small brush or applicator.
Allow it to penetrate for the recommended time, then wipe off excess. Resealing once a year is typically enough for most households.
FAQ
What is the best homemade cleaner for tile floors?
A mixture of warm water and a few drops of dish soap is safe for most tiles. For grout, a paste of baking soda and water works well. Avoid vinegar on unsealed grout as it can damage it.
How often should I clean tile floors?
Sweep or vacuum daily to remove grit. Mop weekly with a pH-neutral cleaner. Deep clean grout every 1-3 months, and reseal grout annually.
Can I use bleach on grout?
Bleach can whiten grout but may weaken it over time. Use it sparingly and rinse thoroughly. Hydrogen peroxide is a gentler alternative.
Why does my tile floor look dull after mopping?
Residue from cleaners or hard water can cause dullness. Rinse with clean water after mopping and dry with a microfiber cloth. Avoid using too much cleaner.
How do I remove sticky residue from tile?
Apply rubbing alcohol or a baking soda paste to the sticky area, let it sit for a few minutes, then scrub gently. For tough spots, use a plastic scraper.
Conclusion
Grout and sticky dirt don't stand a chance once you add these 25 tips to your cleaning routine. Start with the simplest fixes—like a baking soda paste for grout or a vinegar solution for sticky residue—then work your way up to deeper scrubs as needed. Consistency matters more than elbow grease.
Pick two or three tips that target your biggest frustrations and make them a habit. Your tile floors will look cleaner and last longer with just a little regular attention.