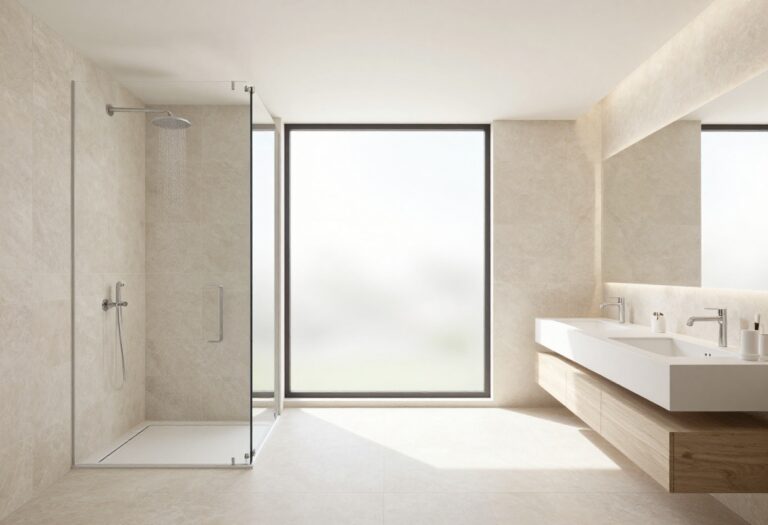
11 Quadrant Shower Room Ideas for a Calm, Comfortable Space
A quadrant shower room earns its keep in tight bathrooms, but the standard version often feels more like a cubicle than a retreat. The good news is you do not need a full remodel to change that. Small, deliberate upgrades can make the same footprint feel calmer and far more comfortable.
We pulled together eleven ideas that range from cheap swaps to bigger splurges. Some take an afternoon, others need a tiler, and a few you can knock out over a weekend with basic tools.
Each one comes with realistic notes on cost, effort, and where it actually pays off. Work through the list and pick what fits your space and budget.
1. Choose a Frameless Glass Enclosure for an Open Feel
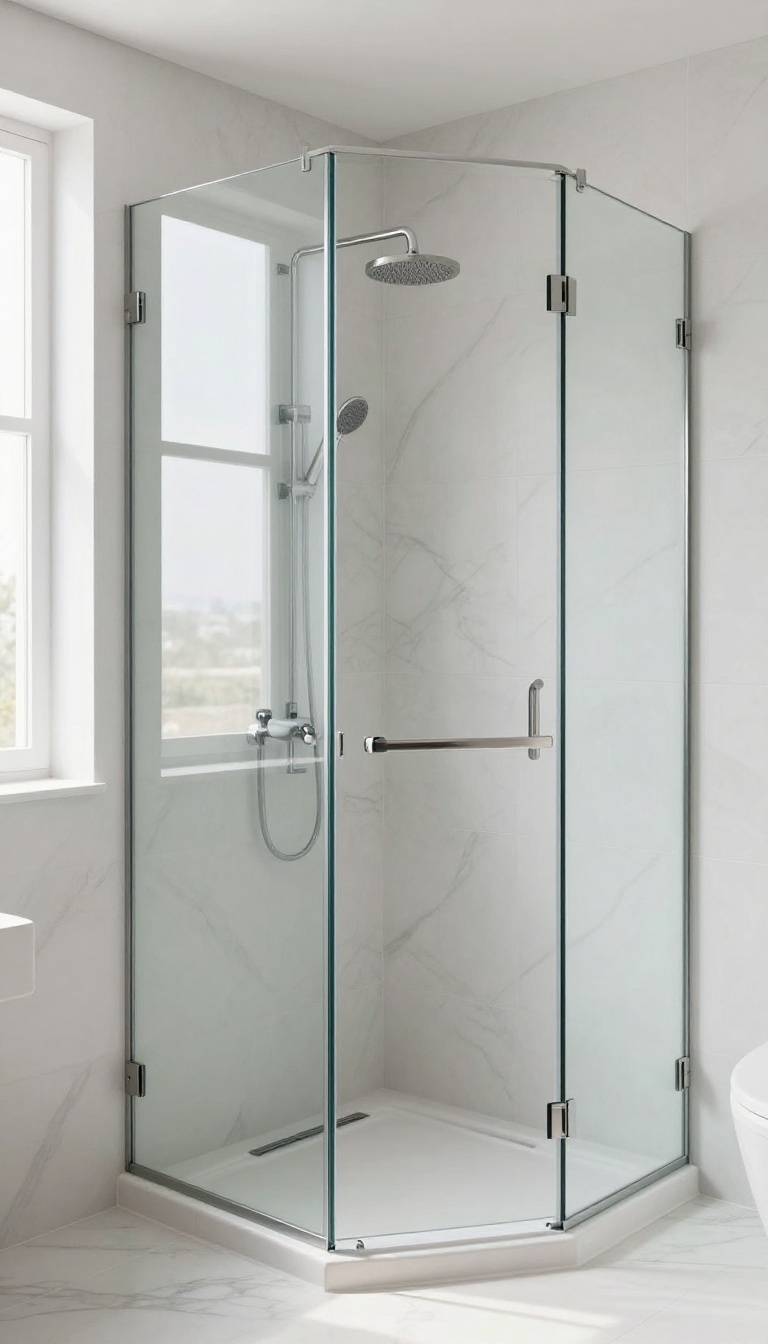
Frameless glass is the quickest way to make a quadrant shower stop looking like a boxed-in afterthought. With no chunky metal frame around the edges, your eye reads the whole corner as open space instead of a barrier. It also lets more light bounce around the room, which matters a lot in a small bathroom.
The magic here is simple: less visible hardware means less visual noise. A framed enclosure draws attention to itself with thick profiles and overlapping tracks. Frameless glass almost disappears, so the tile behind it becomes the feature.
That shift alone can make a tight quadrant feel calmer and more modern.
What Frameless Actually Means
True frameless enclosures use thick tempered glass, usually 8mm or 10mm, held together with minimal metal clips or a discreet channel at the wall. You will still see a hinge or two, but the panels meet almost seamlessly. Cheaper "semi-frameless" versions keep a metal strip along the top or bottom, which can look dated fast.
If the budget allows, go fully frameless for the cleanest result.
Cost And Effort
Expect to pay somewhere between $400 and $1, 200 for a decent frameless quadrant enclosure, depending on size and glass thickness. Installation is not a DIY-friendly job for most people because the glass is heavy and unforgiving if you get the angles wrong. A pro will usually handle it in half a day.
Measure your tray carefully before ordering, since quadrant curves vary between manufacturers.
Making It Work In A Small Room
Pair frameless glass with large-format tiles or a single slab wall to double down on the open look. Skip busy mosaics inside the shower, because they add visual clutter that fights the glass. A slim, low-profile tray in white or light stone keeps the floor line quiet.
If privacy is a concern, add a simple frosted film on the lower half instead of going back to a framed panel.
2. Add a Low-Profile Shower Tray for Easy Access
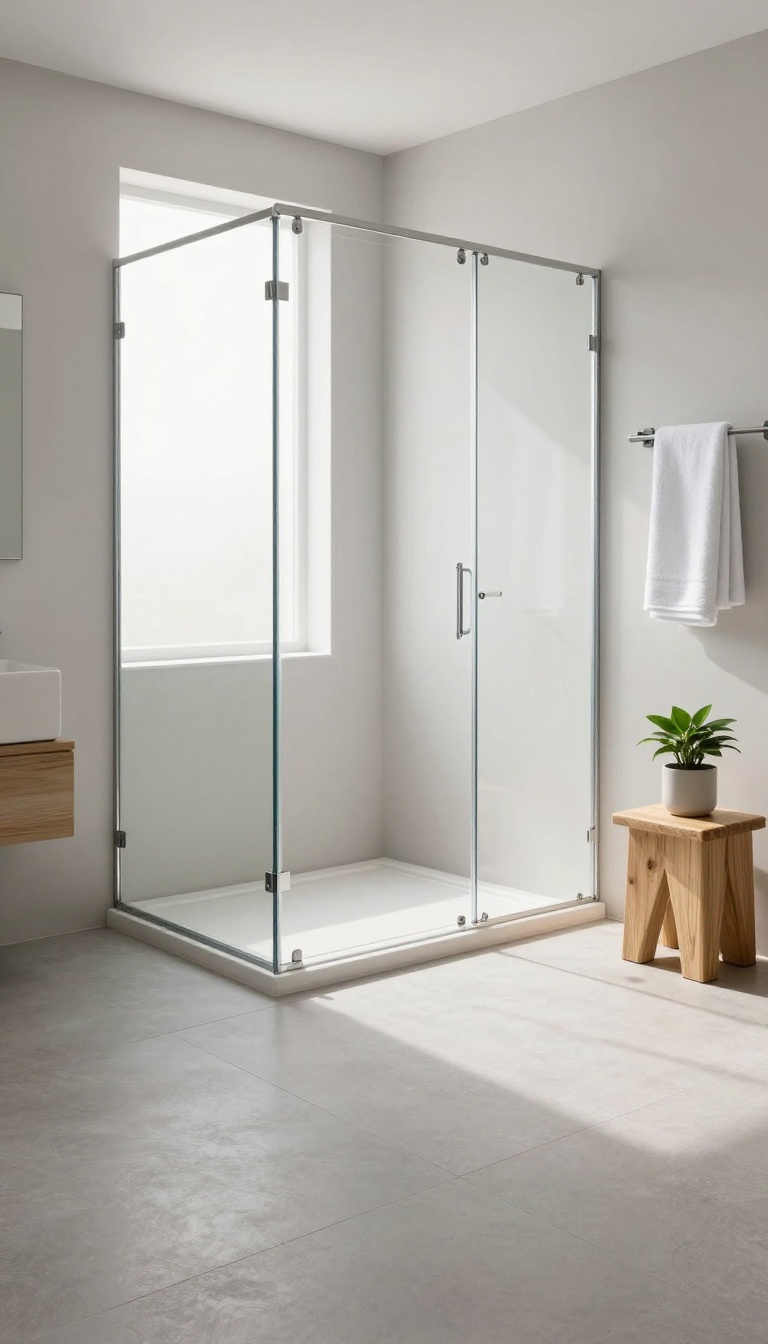
A low-profile shower tray sits almost flush with the floor, so you step in without a big lip or awkward hop. It instantly makes a quadrant enclosure feel more open and modern, and it cuts down on the chance of tripping when your feet are wet. The swap is simple in theory, but a few details decide whether it looks seamless or slightly off.
Most standard trays rise 40 to 60mm above the floor, which creates a visible step and a spot where water can pool. A low-profile version usually sits around 25 to 30mm, and some go as slim as 15mm. That small drop changes how the whole room reads.
Your eye glides from tile to tray without a chunky interruption. It also makes cleaning easier. There is less of a rim to scrub, and a smooth transition means fewer places for soap scum to hide.
If you or anyone in the house has mobility issues, the lower step is a genuine safety upgrade, not just a style choice.
Check Your Floor And Waste Position First
Low-profile trays need enough depth below the floor for the waste pipe and trap. If you are on a concrete slab, you may need to raise the tray slightly or reroute the waste. On timber floors, you often have more room to play with.
Measure the trap depth before you buy, and confirm the waste outlet lines up with your existing pipework or can be moved without major surgery.
Match The Tray To Your Tile And Glass
A white acrylic tray is the budget-friendly default, but it can look a bit plain against busy tiles. Stone resin trays come in matte finishes that feel more premium and hide water spots better. If your quadrant glass has a chrome frame, a slim chrome waste cover ties it together.
For frameless glass, a brushed or black waste keeps the look clean and modern.
Installation And Cost Realities
Swapping a tray is not a same-day job if you need to adjust plumbing or level the floor. A straightforward replacement might take a plumber and tiler a day or two. Budget roughly £150 to £400 for the tray itself, plus labour if you are not doing it yourself.
The payoff is a safer step, easier cleaning, and a shower that feels less like a box and more like part of the room.
3. Install a Rainfall Shower Head for a Spa Experience
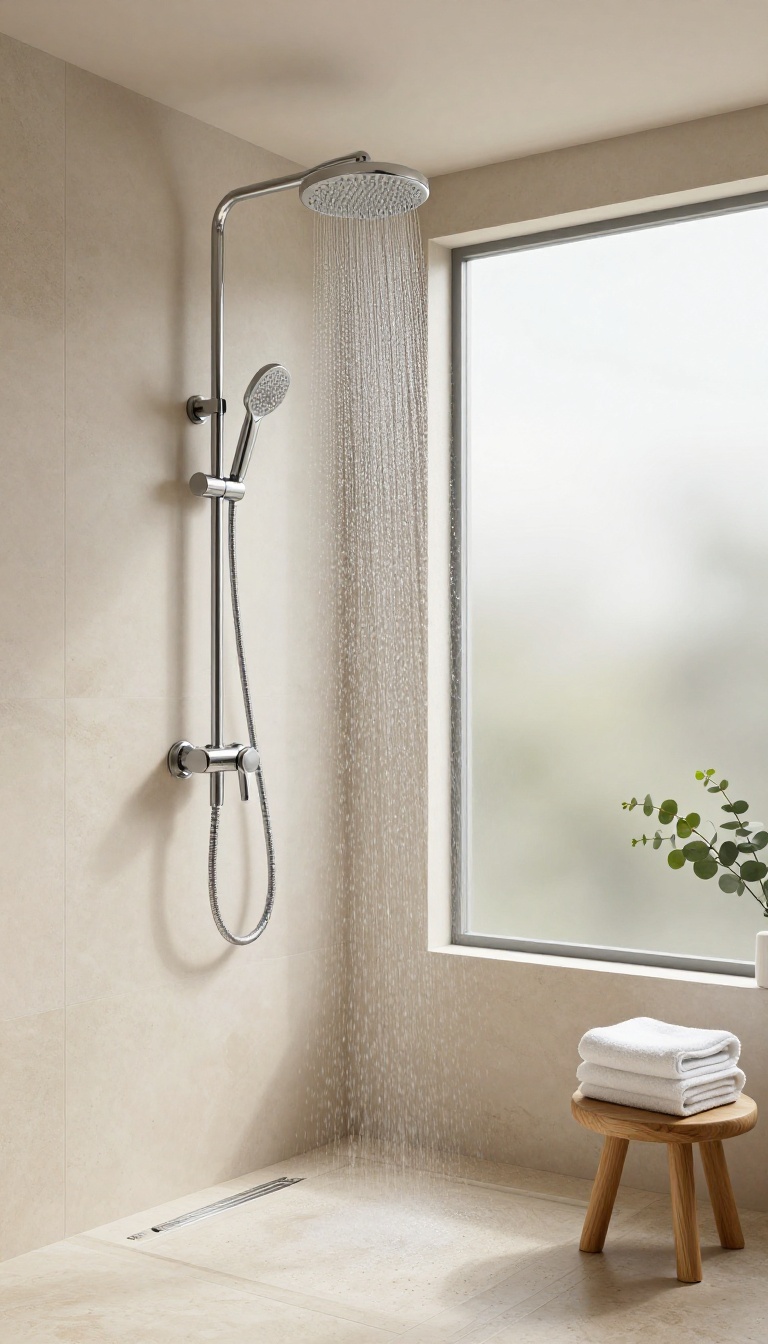
A rainfall shower head turns your daily rinse into something you actually look forward to. Instead of a sharp, targeted spray, it drops water from above like a warm summer shower. That gentle, even coverage feels luxurious without requiring a full bathroom overhaul.
The best part is how little it takes to make the switch. Most rainfall heads screw onto your existing shower arm, so you can swap one out in minutes. You do not need a plumber or a permit.
Just a wrench, some thread tape, and a free afternoon. Once it is in, the difference is immediate. The water falls in soft, wide streams that cover your whole body at once.
No more dodging a single jet or chasing the spray around the stall. It feels calmer, more deliberate, and a lot more like a spa than a standard shower.
Why It Changes The Whole Mood
A standard shower head blasts water at an angle. It gets the job done, but it can feel aggressive. Rainfall heads let gravity do the work, so the water lands softly and evenly.
That small shift in delivery makes the whole experience feel slower and more intentional. The sound is different too. Instead of a harsh hiss, you get a steady, gentle patter.
It is the kind of background noise that helps you unwind after a long day. In a small quadrant shower, that calm atmosphere matters even more because you are standing in a compact space.
What To Look For Before You Buy
Not all rainfall heads are created equal. Check the flow rate first. A 2.
5 GPM model gives you strong pressure, while a 1. 8 GPM option saves water but feels lighter. If your home has low water pressure, look for a head with a booster or a wider spray face.
Size matters too. A 12-inch head feels generous, but it can overwhelm a tiny quadrant stall. An 8-inch or 10-inch round or square head usually fits better.
Also, consider the finish. Brushed nickel and matte black hide water spots well, while chrome shows every drop.
Installation Tips For A Small Stall
In a quadrant shower, the shower arm often comes out of the wall at an angle. That can make a rainfall head sit off-center. If yours does, a curved or extendable arm can fix the aim without moving the plumbing.
Just make sure the arm is long enough to clear the glass. You might also want a handheld attachment on a diverter. That way you get the rainfall experience plus the flexibility to rinse corners or wash your hair with more pressure.
It is a small upgrade that adds a lot of practicality.
Budget Vs. Splurge Options
You can spend $30 on a basic rainfall head or $300 on a thermostatic system with multiple settings. The cheap ones work fine, but they may have plastic parts that wear out. Mid-range models around $80 to $150 often hit the sweet spot with solid brass fittings and a decent warranty.
If you want the full spa feel, look for a set that includes a rain head, a handheld wand, and a mixing valve. That combo lets you control temperature precisely and switch between spray modes. It costs more upfront, but it turns a simple shower into a daily ritual you actually enjoy.
4. Use Soft, Neutral Colors for a Calming Palette
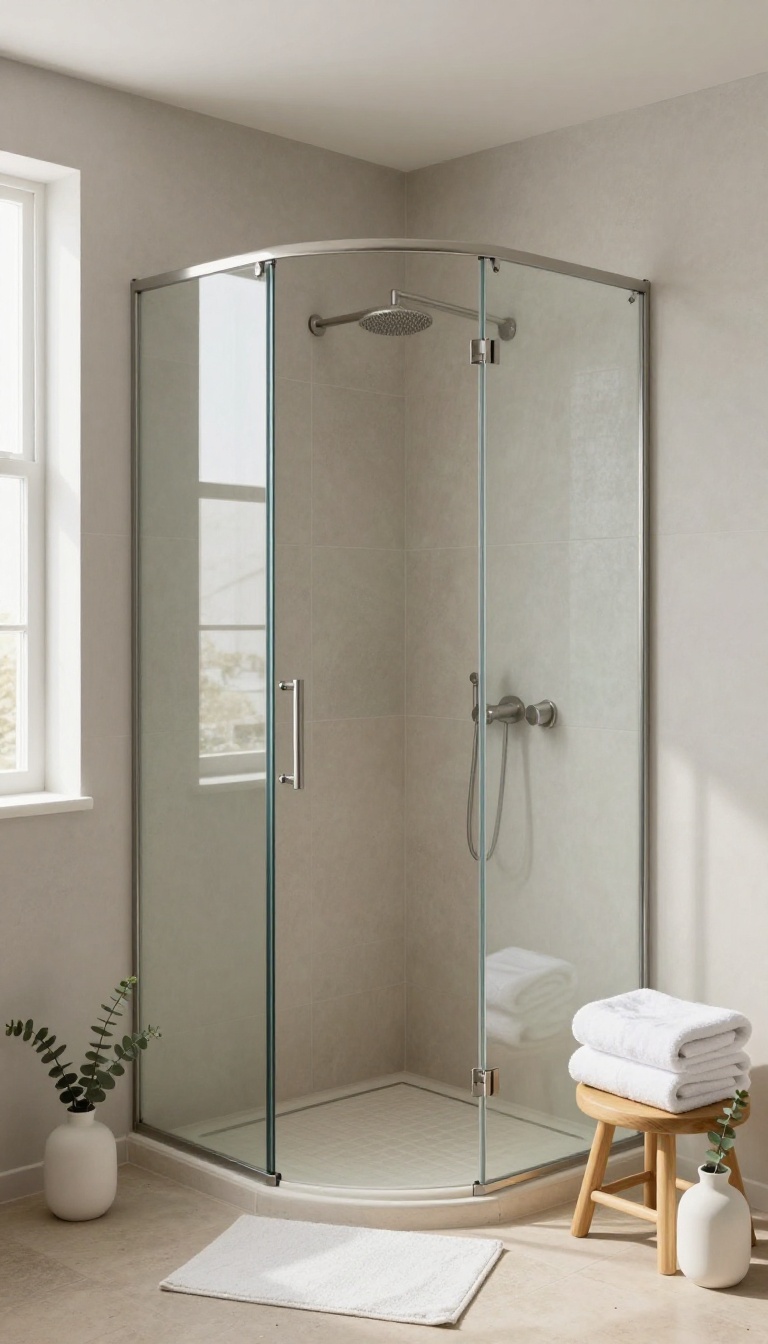
Color sets the mood before you even step inside. In a small quadrant shower, bold hues can shrink the space and make it feel busy. Soft neutrals do the opposite—they open things up and keep the vibe relaxed.
Think warm gray, soft blue, or sandy beige. These shades bounce light around and make even a compact shower feel airy. The goal is a palette that feels like a deep breath, not a shout.
You don't need to paint the whole bathroom to get the effect. Focus on the shower area first: walls, tray, and maybe a feature tile. Keep the ceiling and adjacent walls in a similar tone so the eye flows without interruption.
When picking your neutral, look at it in your bathroom's light. North-facing rooms tend to feel cooler, so a warm gray or greige works better there. South-facing rooms get more sun, so cooler tones like soft blue or pale sage hold their own without going washed out.
Don't forget the floor and fixtures. A light tray and matte fixtures in brushed nickel or chrome will blend in, while a dark tray can anchor the space if you want a bit of contrast. The key is low contrast overall—no jarring jumps between shades.
Pick A Base And Stick With It
Choose one main neutral for the walls and tray, then add one or two slightly lighter or darker versions for tiles and accents. This keeps things cohesive without feeling flat. For example, warm gray walls with a sandy beige tile and a soft white ceiling.
Test Colors In Your Light
Paint sample patches on the shower wall and check them at different times of day. Morning light can make a color look totally different than evening artificial light. Live with the samples for a few days before committing.
Keep Fixtures And Accessories Muted
Shiny chrome or bold black fixtures can break the calm. Go for brushed nickel, matte black, or even white fixtures that disappear into the palette. Same goes for towels and bath mats—stick to tone-on-tone or very subtle patterns.
5. Incorporate Natural Materials Like Wood or Stone
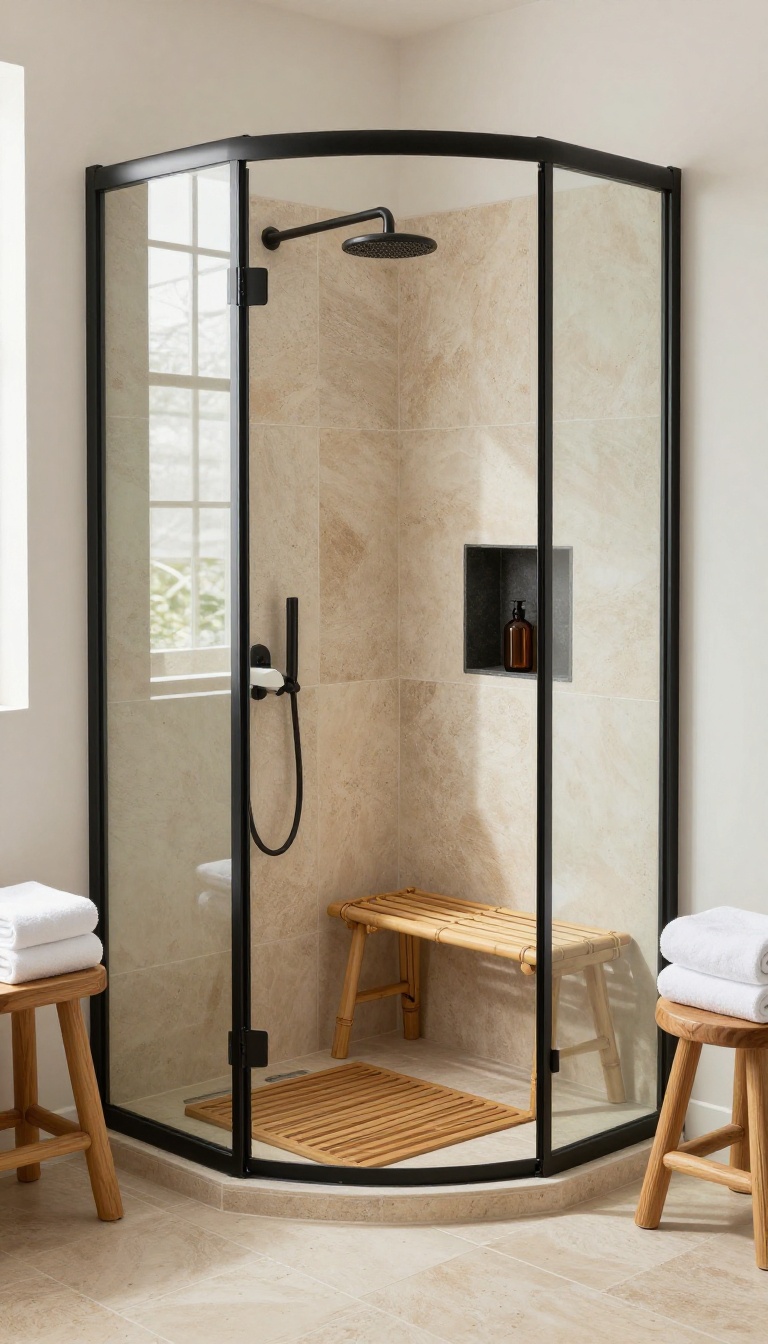
Glass and tile dominate most shower rooms, and that’s fine, but they can leave the space feeling cold and clinical. Adding a touch of wood or stone changes the whole mood. These materials bring warmth, texture, and a subtle connection to nature that makes your shower feel less like a utility and more like a mini escape.
You don’t need to cover every surface. A single accent—a teak mat, a slate niche, or a bamboo bench—can do the heavy lifting. The key is to choose materials that handle moisture well and fit your existing color palette.
Get that right, and the room instantly feels more grounded and comfortable.
Natural materials are having a moment in bathroom design, and for good reason. They soften the hard edges of glass and porcelain, and they age gracefully. In a quadrant shower, where space is tight, even a small dose of wood or stone can make a big difference.
Here’s how to work them in without creating a maintenance nightmare.
Teak And Bamboo: Warmth That Withstands Water
Teak and bamboo are the go-to woods for wet areas because they naturally resist rot and warping. A teak shower mat or bench adds instant warmth underfoot and gives you a spot to sit or shave. Bamboo is a more budget-friendly option and comes in slatted designs that drain well.
Just make sure any wood you use is specifically rated for bathrooms—untreated wood will swell and crack. A quick oil treatment every few months keeps it looking rich.
Slate And Travertine: Stone That Grounds The Space
Stone tiles or a solid stone base bring a sense of permanence and luxury. Slate offers a dark, moody look with natural cleft texture, while travertine is lighter and more neutral. You can use stone for the shower floor, a niche shelf, or even a low partition.
It’s heavier and pricier than ceramic, but it’s incredibly durable and adds a tactile quality you just can’t fake with porcelain. Seal it properly to prevent staining.
Mixing Materials Without Clutter
You don’t want to turn your shower into a showroom. Pick one dominant natural material and let it be the star. If you go with a teak floor mat, keep the walls simple.
If you install a slate accent wall, skip the bamboo accessories. Two materials max, and make sure they share a similar undertone—warm woods with warm stones, cool stones with cool metals. That way the space feels cohesive, not chaotic.
Practical Care For Natural Finishes
Natural materials need a little love to stay beautiful. Wood should be dried after each use if possible, and re-oiled every few months. Stone needs periodic sealing—usually once a year—to keep water and soap from soaking in.
Avoid harsh chemical cleaners; mild soap and a soft brush are enough. With minimal upkeep, these materials will outlast trendy finishes and keep their character.
6. Maximize Storage with Corner Shelves or Niches
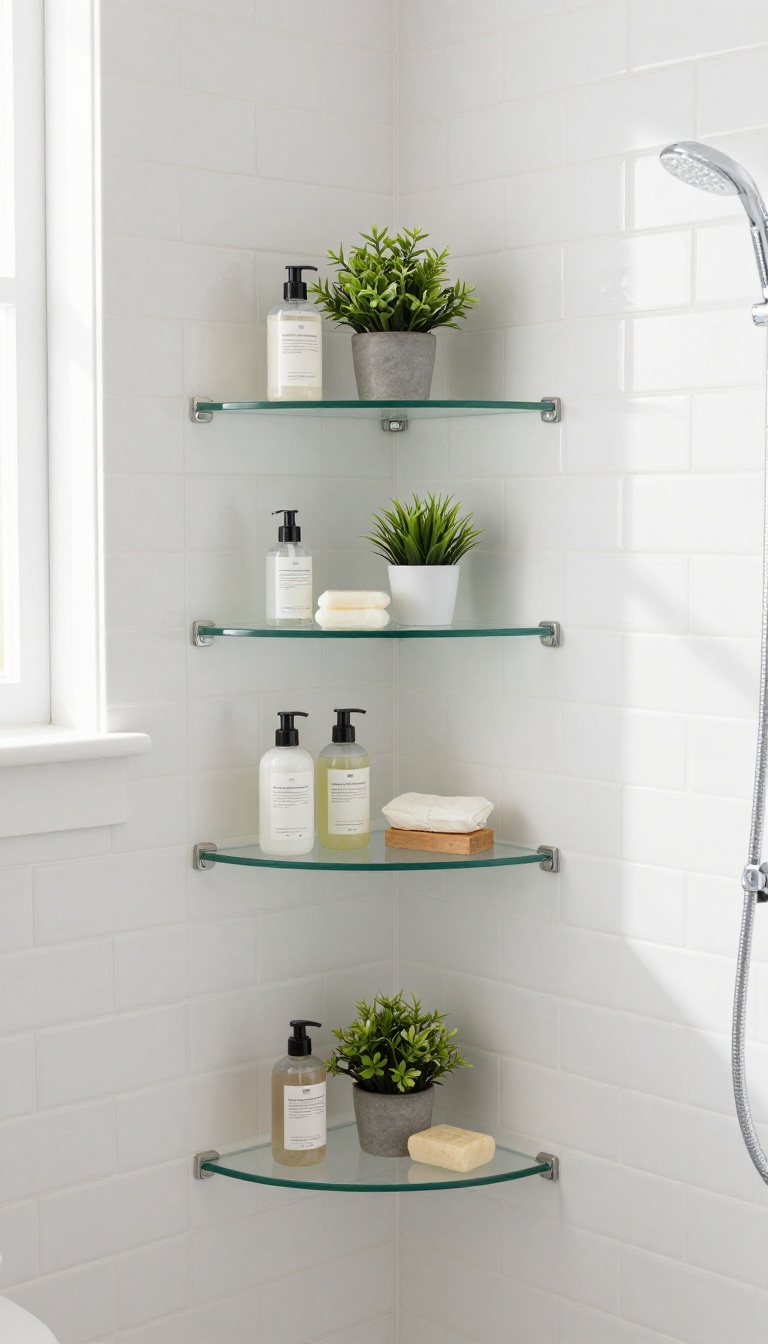
Clutter kills calm faster than almost anything else in a small shower room. When bottles line the floor and shampoo tubes crowd the tray edge, even a beautiful quadrant enclosure starts to feel messy. Built-in storage solves that without eating into your standing space.
Corner shelves and recessed niches use the geometry of a quadrant shower to your advantage, tucking toiletries out of the way while keeping them within reach. The result is a shower that stays tidy, functions better day to day, and looks more intentional.
A quadrant shower already has two flat walls meeting at a right angle, which is prime real estate for storage. You just need to decide whether you want something surface-mounted or carved into the wall. Both options keep the floor clear and the glass uncluttered, which matters when your enclosure is already compact.
The best choice depends on your wall construction, budget, and how much you are willing to disrupt the existing tile. Here is how to think it through.
Corner Shelves: Simple And Surface-mounted
Corner shelves are the easiest win because they attach to the finished wall. You can buy a triangular glass or stone set and mount it with brackets or adhesive, usually in under an hour. They work in any quadrant shower, including rentals, and you can remove them later without damage if you use the right adhesive.
Choose two or three tiers so tall bottles fit on the bottom and smaller items sit higher. Keep the shelf depth modest, around 8 to 10 inches, so you do not bump your elbows while washing. Materials like tempered glass, polished stone, or marine-grade stainless steel hold up well in wet areas.
Clean lines matter here. A bulky plastic caddy will undo the calm look you are going for.
Recessed Niches: Cleaner Look, More Planning
A recessed niche sits inside the wall, so nothing protrudes into the shower. That makes the space feel larger and gives you a sleek, hotel-style finish. The trade-off is installation.
You need to cut into the wall, which means removing tile, adding framing and waterproofing, then retiling around the opening. This is a job for a tiler or a confident DIYer with waterproofing experience. Standard niche sizes run about 12 by 12 inches or 12 by 24 inches, but you can go custom to fit your wall studs.
Place it at chest height so you can reach everything without bending or stretching. Line the niche with the same tile as the walls for a seamless look, or use a contrasting stone for a subtle focal point. Either way, waterproof the niche thoroughly before tiling.
A leak behind the wall is a much bigger problem than a little clutter.
Placement And Sizing That Actually Works
Where you put your storage matters as much as what you choose. In a quadrant shower, the curved front means you have two straight walls to work with. Put the niche or shelves on the wall opposite the shower controls so you are not reaching past the spray every time.
Keep the lowest shelf or niche base at least 30 inches off the floor. That keeps it above the main splash zone and out of the way of your feet. If you share the shower, add enough capacity for two people's products.
A single narrow shelf fills up fast. Two tiers or one wide niche handles the reality of daily use. Also think about what you actually store.
If you use bar soap and a single bottle, one small niche is plenty. If you have a full routine with masks, scrubs, and multiple shampoos, plan for more room than you think you need.
7. Upgrade Your Lighting with Dimmable Options
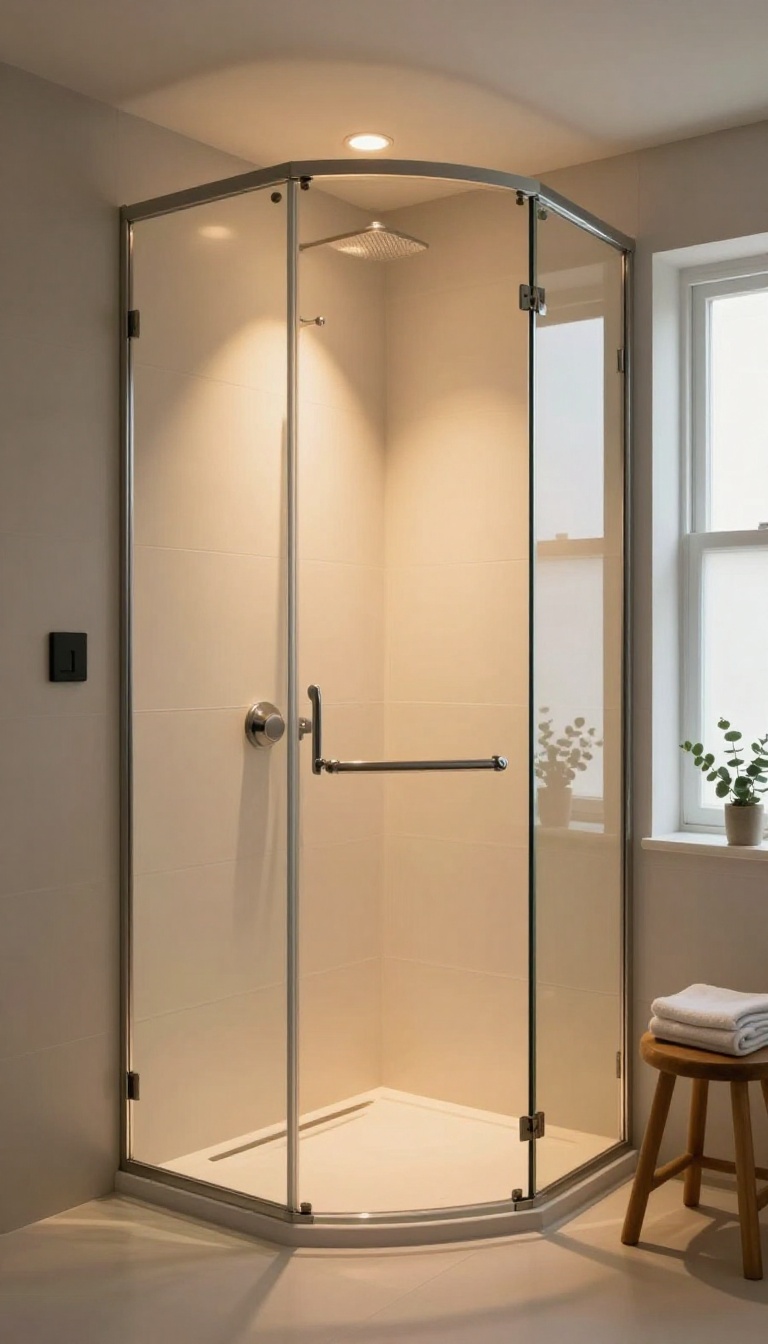
Lighting does more for a shower room than most people give it credit for. Flip a switch and the same quadrant cubicle can feel like a bright morning wake-up or a dim, spa-like wind-down. Dimmable fixtures put that control in your hands, and they cost far less than you might expect.
The trick is choosing the right kind of dimming for a wet, steamy space. Not every bulb or switch plays nicely with moisture and heat, so a little planning saves you a headache later. Get it right and your shower room stops feeling like a utility and starts feeling like somewhere you want to linger.
Standard bathroom lighting tends to be all or nothing. You get one harsh overhead light that makes the room feel like a hospital, and that is your only option. Dimmable lighting fixes that by letting you dial the brightness up or down to match the moment.
A bright setting helps with shaving, cleaning, or finding that one bottle you always knock over. A low setting turns the same space into something calm and quiet for an evening shower. That flexibility is the whole point, and it is one of the cheapest mood upgrades you can make in a small shower room.
The other benefit is practical. Softer light is kinder on tired eyes first thing in the morning and easier to wind down with at night. Once you have dimming in place, you will wonder how you ever lived with a single blinding bulb.
Pick Dimmable Bulbs That Handle Steam
Not every dimmable bulb belongs in a shower room. LEDs are the safest bet because they run cool, last for years, and come in dimmable versions that work with most modern switches. Look for a bulb rated for damp or wet locations, since steam finds its way into everything.
Check the color temperature too. Warm white around 2700K to 3000K feels cozy and flattering, while cooler tones read as clean and crisp. If you want one bulb to do both jobs, a tunable white LED lets you shift between them depending on your mood.
Match Your Switch And Dimmer To The Setup
The dimmer switch matters as much as the bulb. Older dimmers often buzz or flicker with LED bulbs, so buy one explicitly labeled as LED-compatible. A trailing-edge dimmer tends to be the quietest and smoothest option for modern LEDs.
If you are not comfortable working with wiring, this is a job for a qualified electrician. It is a small job, and getting it right means no flickering, no buzzing, and no safety worries in a room full of water.
Add A Waterproof Led Strip For A Soft Glow
An LED strip tucked along a shelf, behind a mirror, or under a niche gives you a gentle glow that overhead lights cannot match. It works beautifully on its own for late-night trips or as a low layer when you want the room to feel calm. Choose an IP65 or higher rating so the strip survives splashes and steam.
Warm white is the safest choice here, and a dimmable driver lets you fine-tune the brightness. Keep the strip out of direct spray and seal the ends properly to avoid moisture creeping in.
Layer Your Light Sources
One dimmable overhead light is a good start, but layering is what makes a small shower room feel designed. Combine a dimmable ceiling fixture with a strip light or a small wall sconce, then control them separately or together. Layering lets you create different scenes without adding much cost.
Bright overhead for cleaning, strip light only for a relaxing shower, and everything low for a calm evening. In a quadrant room, that kind of control makes a tight space feel far more generous than it is.
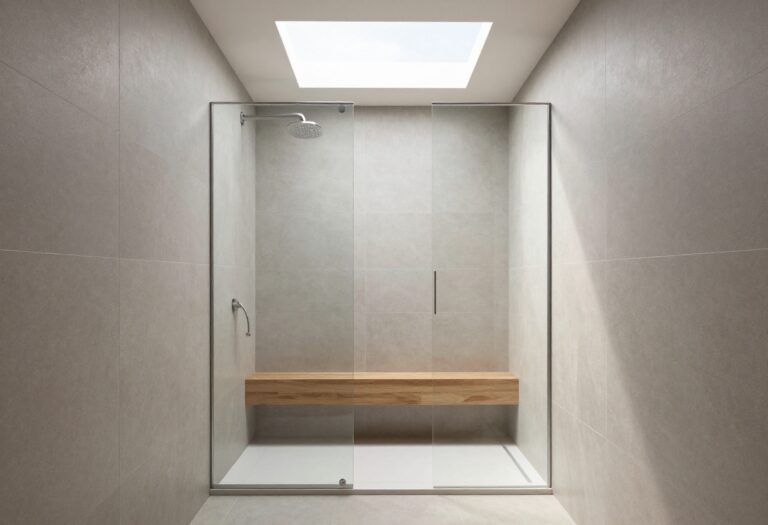
8. Add a Bench or Seat for Comfort and Convenience
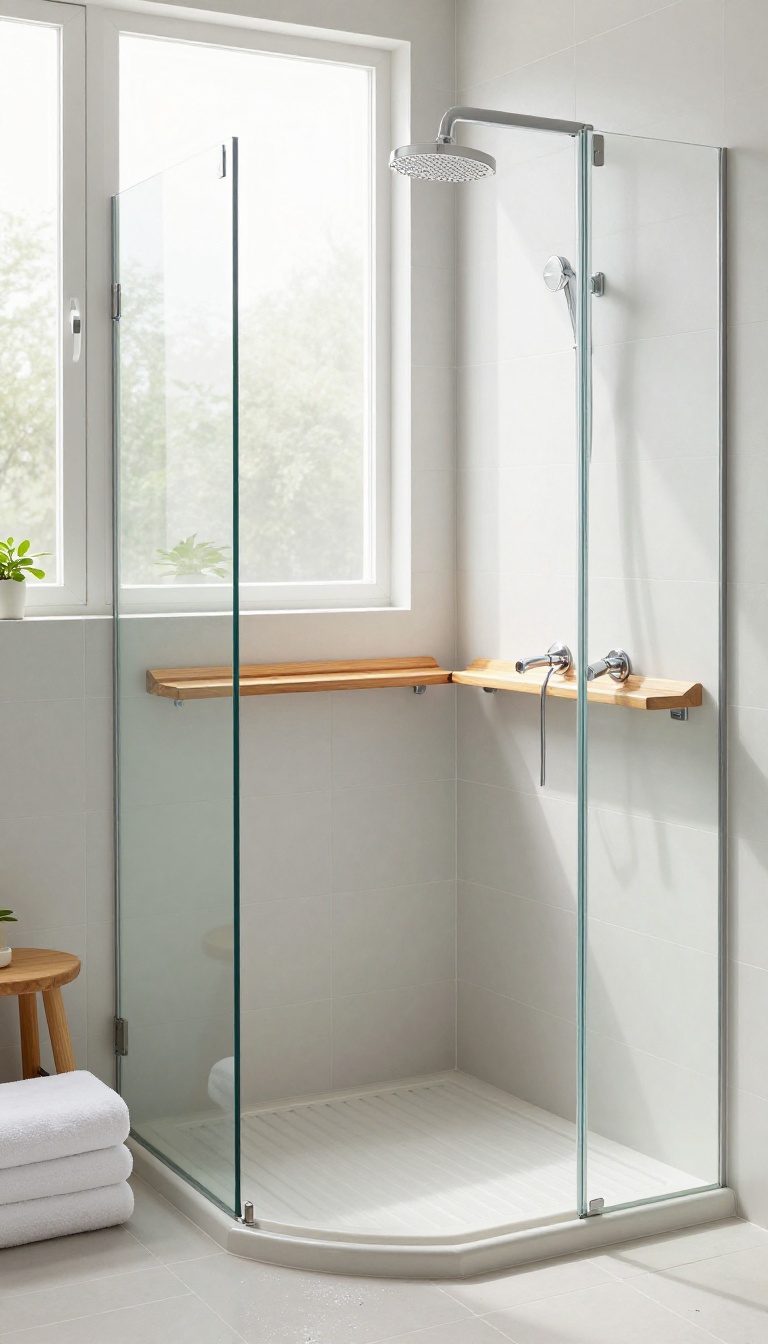
Standing for a full shower is fine until it isn’t. A bench gives you a spot to sit, shave, or just let the steam do its thing without leaning on a wall. It’s one of those additions that sounds indulgent but quickly becomes the most-used feature in the room.
The best bench for a quadrant shower depends on how much floor space you can spare and whether you want it to disappear when not in use. You have three main routes: a built-in tiled bench, a fold-down seat, or a freestanding stool. Each has trade-offs in cost, effort, and how much room it eats.
Pick based on your daily routine and the shape of your shower tray.
Built-in Tiled Bench
A built-in bench is usually a masonry or framed block tiled to match your walls. It looks seamless and feels solid, but it takes up permanent floor space and needs a tiler. Expect to pay $300 to $800 for materials and labor, depending on size and tile choice.
Best for larger quadrant trays where you can afford to lose a corner.
Fold-down Seat
A fold-down seat mounts to the wall and flips up when you’re done. It’s ideal for tight quadrants because it stays out of the way. Most models are teak, bamboo, or coated aluminum and cost $60 to $200.
Installation is straightforward if you hit a stud or use heavy-duty anchors. Check the weight limit—usually 250 to 350 pounds.
Freestanding Stool
A small waterproof stool or teak shower bench is the cheapest and easiest option. You can move it in and out, and it doubles as a footrest for shaving legs. Prices run $30 to $120.
Just make sure it has rubber feet so it doesn’t slide on wet tile. It won’t look as built-in, but it works.
Placement And Safety
Put the bench opposite the shower head so you’re not directly under the spray when sitting. Leave at least 12 inches of clearance from the glass to avoid a cramped feel. Add a grab bar nearby if you plan to use it for stability.
And always slope the seat slightly toward the drain so water doesn’t pool.
9. Choose a Patterned Tile for a Focal Point
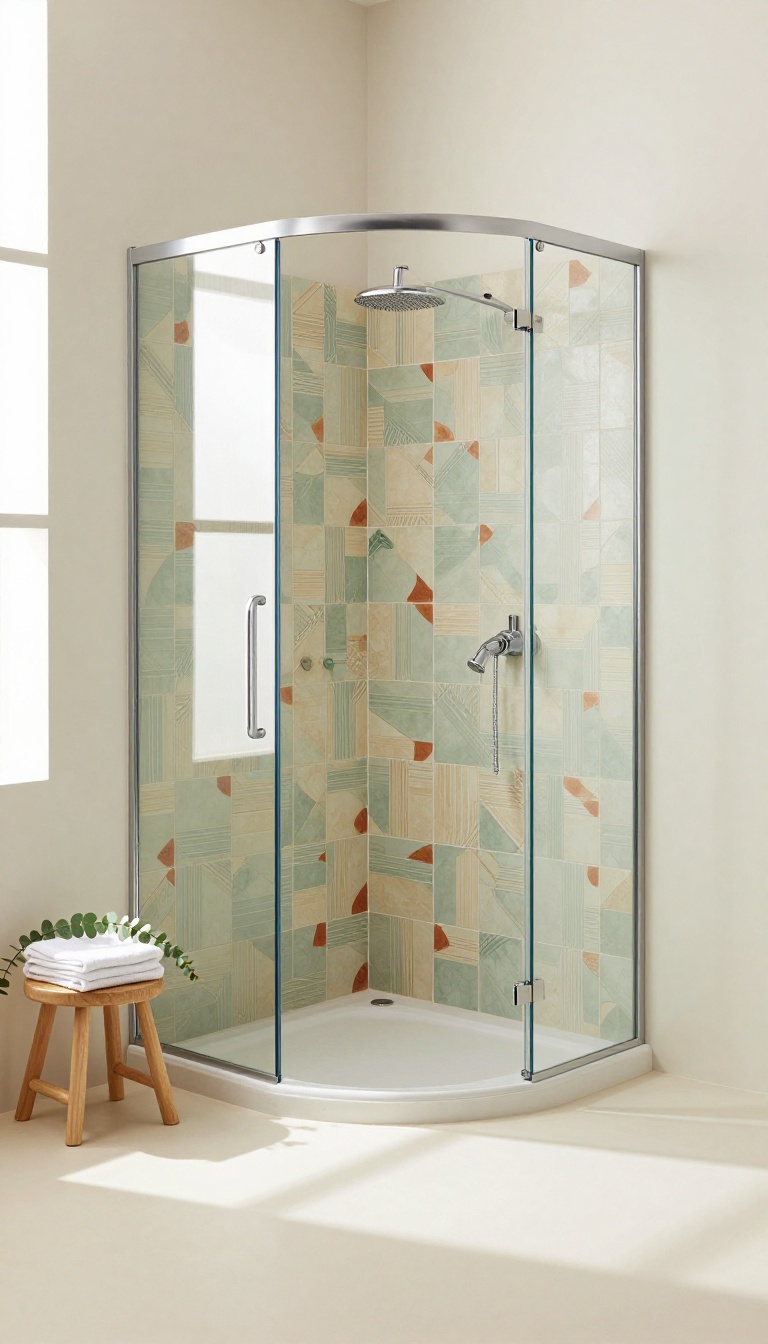
A quadrant shower room doesn't need to be a blank box. One patterned wall or a tiled shower floor can give the space a clear focal point without making it feel busy. The trick is restraint.
Pick one spot for the pattern, keep everything else quiet, and the room starts to feel designed rather than default.
Patterned tile works because it gives your eye somewhere to land. In a small quadrant layout, that matters. Without a focal point, the space can feel flat and forgettable.
You don't need to tile every surface. In fact, you shouldn't. One accent wall or the shower floor is usually enough to add personality while keeping the room calm.
Here's how to make it work without regretting it later.
Pick One Spot And Commit
The most common mistake is spreading the pattern across too many surfaces. Choose either the back wall of the shower or the shower floor, not both. If your quadrant enclosure has a clear back wall, that's the natural place for a bold tile.
It's visible from the moment you walk in, but it doesn't compete with the rest of the room. A patterned shower floor is subtler. It adds interest underfoot and can help disguise water spots, but it won't dominate the space.
Scale Patterns To The Room
Large, busy patterns can overwhelm a small quadrant shower. Medium-scale geometrics, soft florals, or simple encaustic-style designs tend to work better. If you love a bold pattern, use it on a smaller surface like the shower floor.
Save the big, dramatic prints for a larger bathroom where they have room to breathe. Test a sample tile in your actual lighting before you buy. What looks great in a showroom can feel completely different in a small, dimly lit shower room.
Keep The Rest Simple
Once you've chosen your patterned tile, let it be the star. Pair it with plain, matte tiles in a neutral tone for the other walls. Skip busy accessories and stick to simple fixtures.
A single brass or black frame on the shower enclosure can tie the look together without adding visual noise. Grout color matters too. Match it closely to the tile for a seamless look, or use a contrasting grout to make the pattern pop.
Either way, keep it consistent.
Budget And Installation Notes
Patterned tiles often cost more per square meter than plain ones, but you're using less of it. A single accent wall or shower floor keeps the splurge manageable. Installation can be trickier, especially with patterns that need precise alignment.
Hire a tiler who has experience with patterned work, or plan for extra time if you're doing it yourself. If budget is tight, look for patterned porcelain or ceramic rather than natural stone. You'll get the look for less and it's easier to maintain in a wet zone.
10. Integrate Smart Features Like a Digital Shower Valve
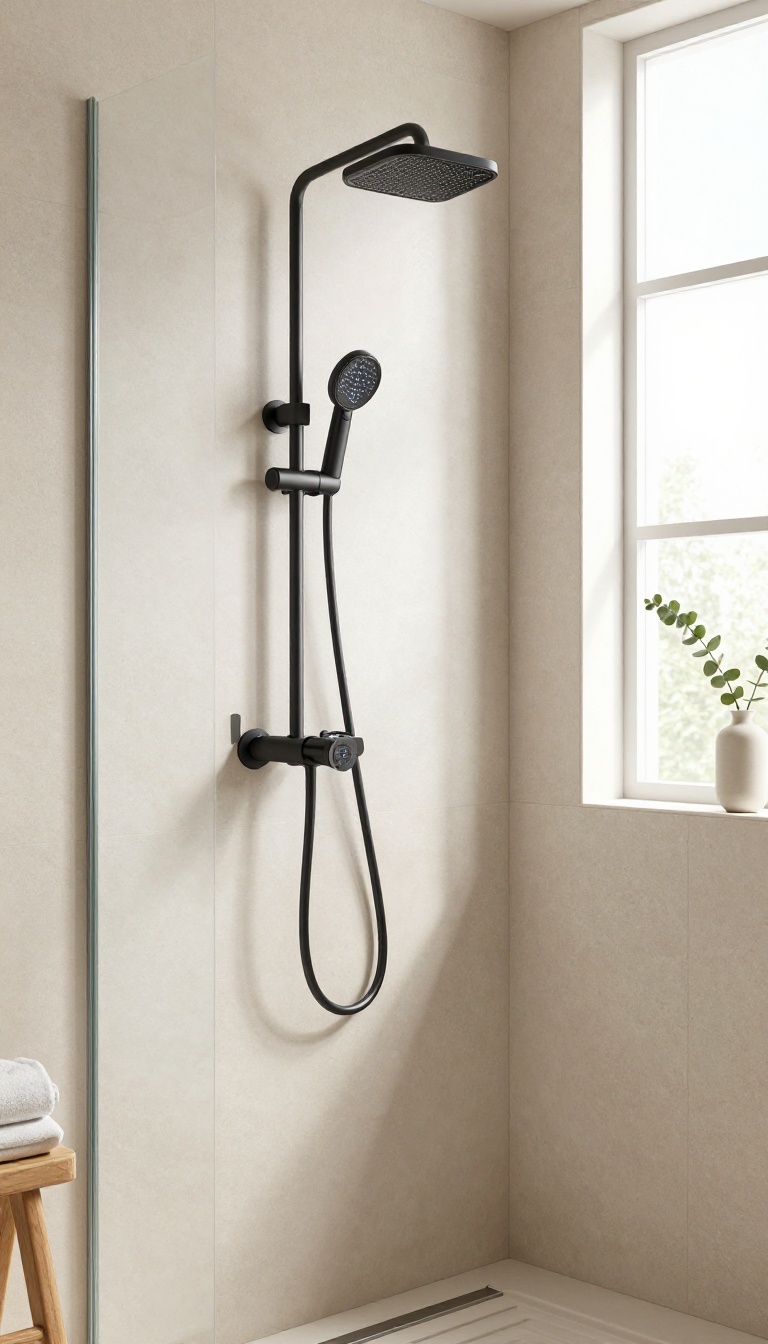
A digital shower valve replaces the traditional handle with a control panel or app that lets you dial in exact temperature and flow. It's a small tech upgrade that makes a big difference in a quadrant shower room, where space is tight and precision matters. You can set your perfect shower once, then start it with a tap or voice command.
Many models also track water usage, so you can save without thinking about it.
A digital valve sits behind the wall or inside the shower unit, mixing hot and cold water to your exact settings. Instead of guessing with a lever, you get consistent temperature every time. That means no more scalding surprises when someone flushes a toilet.
Most systems connect to an app, so you can warm up the shower before you step in. Some work with smart home hubs like Alexa or Google Home. You can also set profiles for different people in the house.
Installation is more involved than swapping a showerhead, but it's manageable. You'll need a qualified plumber or electrician if you're not comfortable with wiring and water lines. The payoff is a shower that feels custom-fit to you.
Precise Temperature Control
Digital valves hold your chosen temperature within a degree or two, even if water pressure changes. That's a game-changer in small homes where other taps and appliances compete for supply. You set it once and forget it.
Many models let you adjust the temperature in small increments, so you can find your sweet spot. Some even remember your last setting, so your morning shower is ready exactly how you like it.
App And Voice Control
Pair the valve with your phone and you can start, stop, or adjust the shower remotely. That's handy if you want to warm things up before you get out of bed. Voice control through a smart speaker adds another layer of convenience.
You can also set schedules, like a shorter, cooler shower on weekdays and a longer, warmer one on weekends. It's a small luxury that makes the room feel more modern and personal.
Water And Energy Savings
Digital valves often include flow limiters and usage tracking. You can see exactly how much water you're using per shower, which encourages shorter sessions. That saves on both water and heating bills.
Some systems alert you if a shower runs longer than expected, or if there's a leak. In a compact quadrant shower, where every drop counts, that kind of feedback is genuinely useful.
11. Keep It Minimal with Hidden Drainage and fixtures
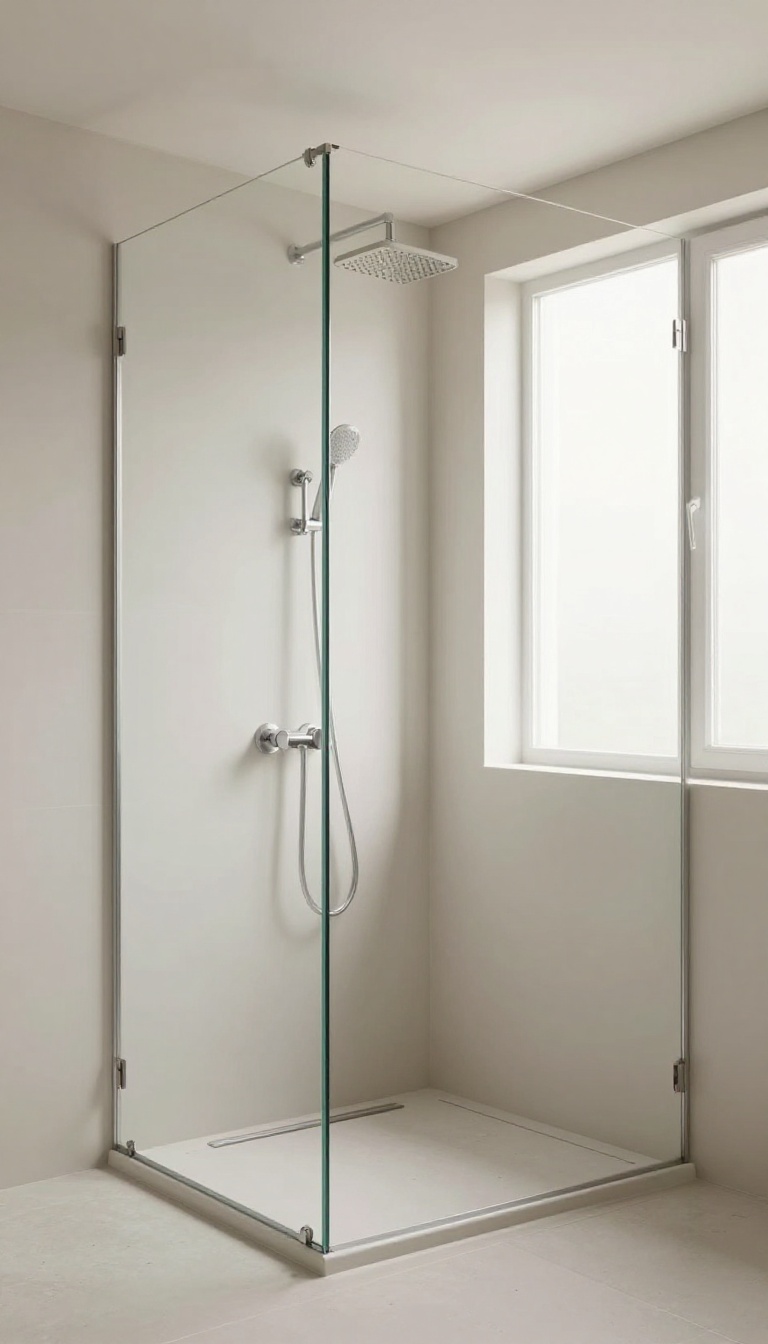
Every visible line in a small shower room adds a little mental noise. A chrome drain cover, exposed pipework, and a bulky shower valve all compete for attention. Hide the functional bits and the space instantly feels quieter and more open.
Minimalism here isn't about stripping everything out. It's about making the things you need blend into the background so the room itself can breathe. The result is a shower that feels calm without feeling empty.
The trick is to treat drainage and fixtures as part of the architecture, not as accessories. When they disappear, the eye has nowhere to snag. That's what makes a quadrant shower feel serene instead of busy.
Go For A Linear Or Tile-in Drain
A linear drain sits flush with the tile and runs along one edge of the shower floor. You can tile right over the grate or choose a slim cover that matches your grout. Either way, the floor reads as one continuous surface instead of a square with a hole in it.
A tile-in point drain works too if you prefer a smaller footprint. The key is that the drain cover matches the floor material, so it visually vanishes. This alone can make a quadrant shower look twice as clean.
Mount Fixtures On The Wall
Wall-mounted shower heads and controls keep the floor and walls free of clutter. A ceiling-mounted rain head is even better because it removes the vertical pipe from view entirely. Pair it with a wall-mounted valve and you've got almost nothing protruding into the space.
If you can't move plumbing, a simple wall bar with a hand shower still beats a bulky exposed riser rail. Choose a finish that matches your tile or grout so it recedes rather than stands out.
Hide The Small Stuff
Soap dishes, shelves, and grab bars can undo all your hard work if they're chunky and mismatched. Use recessed niches instead of surface-mounted shelves. Choose a single, slim grab bar in a finish that blends in.
Keep bottles off the floor with a simple corner caddy that mounts flush to the wall. Or go fully minimal with a built-in niche and nothing else. The fewer objects you see, the calmer the room feels.
FAQ
What is a quadrant shower room?
A quadrant shower room is a bathroom that features a quadrant-shaped shower enclosure, typically placed in a corner to save space. It's common in smaller bathrooms.
How can I make my quadrant shower feel bigger?
Use frameless glass, light colors, and strategic lighting to create an illusion of space. Keeping the area clutter-free also helps.
Are quadrant showers suitable for small bathrooms?
Yes, they are designed specifically for compact spaces, making efficient use of corners while providing a comfortable showering area.
What's the best way to clean a quadrant shower?
Use a squeegee after each use and clean glass with a mild vinegar solution. For trays, avoid abrasive cleaners to prevent scratches.
Can I install a quadrant shower myself?
It's possible if you have DIY experience, but due to plumbing and waterproofing, hiring a professional is often recommended for a safe and lasting installation.
Conclusion
A quadrant shower works hardest in small bathrooms, so let one or two ideas here carry the room. Pick a tray, glass, and tile combo that fits your budget, then stop before it gets busy. You do not need a full remodel to make it feel calmer.
Swap the head, add a plant, or change the grout, and the space shifts fast. Start simple, live with it, and adjust from there.