13 Savvy Cheap Shower Wall Ideas with Bright, Polished Style
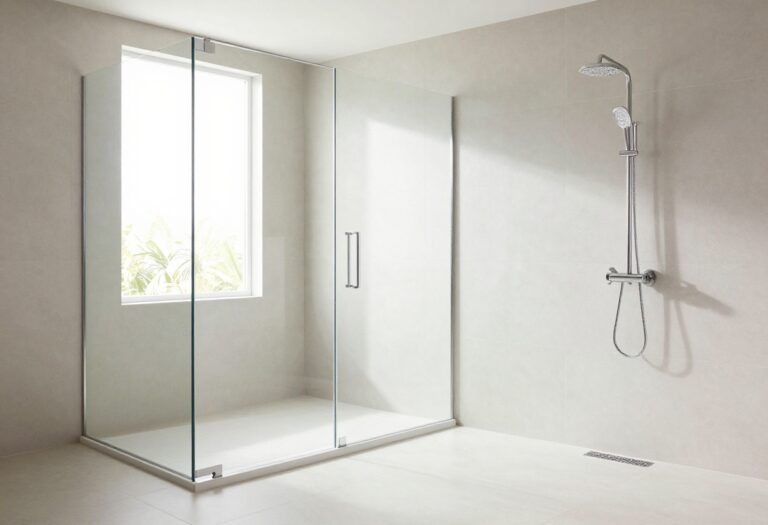
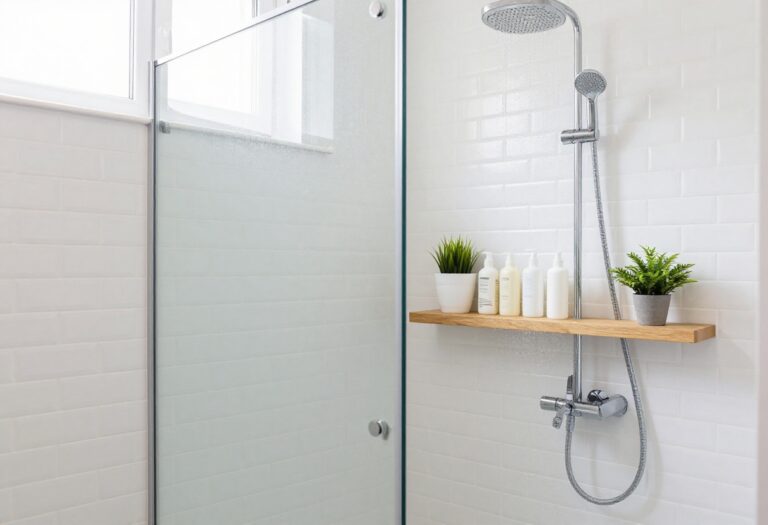
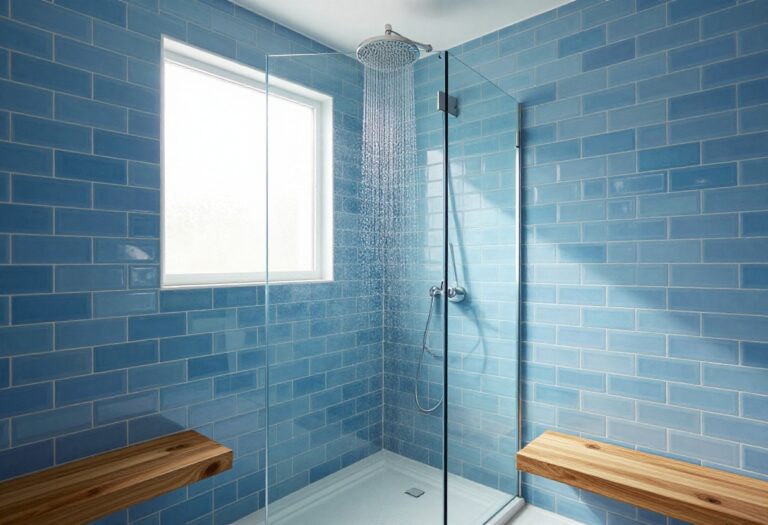
A bright, polished shower can transform your daily routine without costing a fortune. You don't need a full remodel to get that clean, upscale look. Smart materials and a little creativity go a long way.
These 13 ideas focus on affordable shower wall upgrades that still feel high-end. Whether you rent or own, there's a solution here for your budget. Most projects are weekend-friendly and beginner-approved.
We'll cover peel-and-stick options, paint tricks, panel systems, and more. Each idea keeps things bright, easy to clean, and visually sharp. Ready to make your shower the best spot in the bathroom?
1. Peel-and-Stick Tile That Looks Like Real Stone
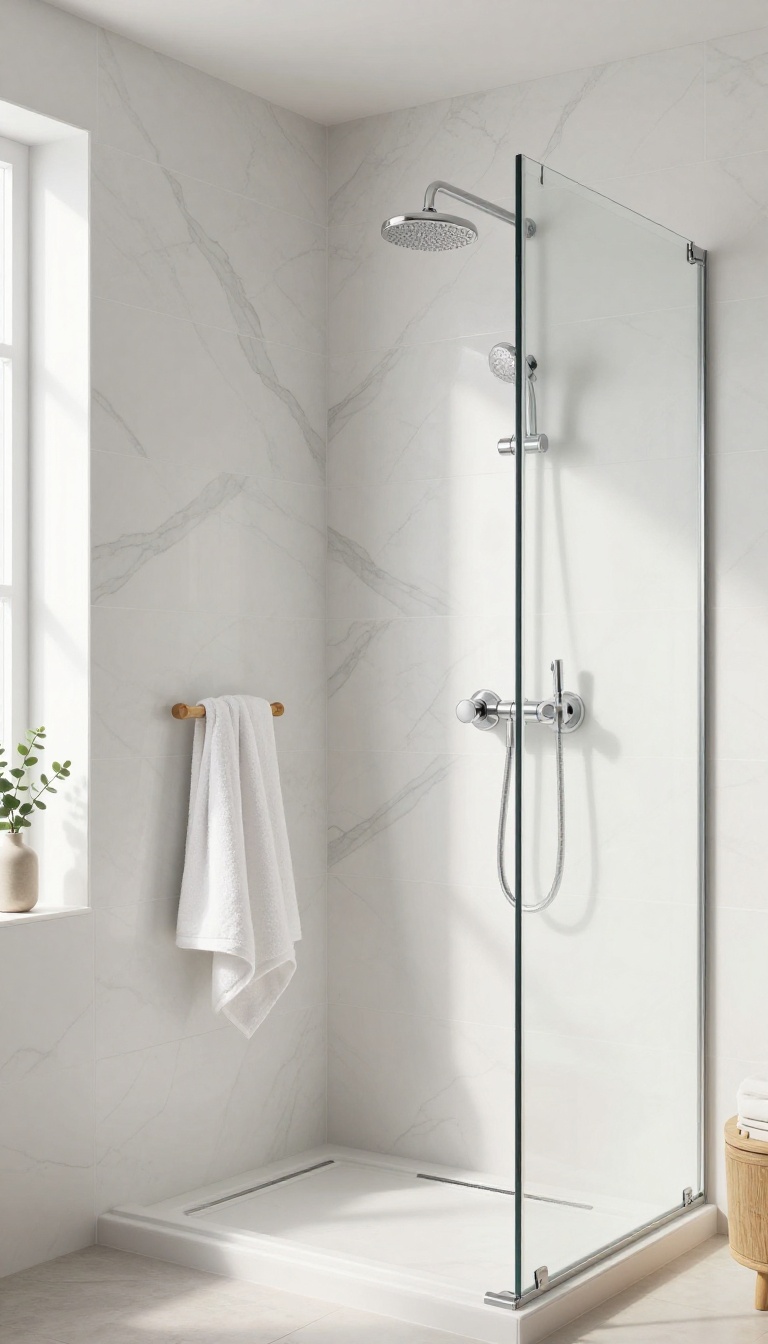
Peel-and-stick tile has come a long way from the flimsy squares you might remember. Today's versions mimic natural stone so well that guests will do a double-take. They're waterproof, easy to cut, and install with just a peel-and-press motion.
You get the high-end look of marble or travertine without the quarry price tag. No grout, no mortar, no mess. Just a sharp shower wall that feels custom for a fraction of the cost.
These tiles are a game-changer for renters and DIY newbies. They stick to most smooth, clean surfaces, including existing tile, glass, and painted walls. The adhesive backing is strong but forgiving, so you can reposition a tile if you misalign it.
Most brands offer bright finishes like Carrara marble, classic travertine, and even glossy onyx. The result is a polished, seamless look that bounces light around your shower. One thing to keep in mind: surface prep is key.
Wipe down the wall with rubbing alcohol and let it dry completely. Any dust or soap residue will weaken the bond. Also, avoid installing them directly over textured or uneven surfaces.
If your wall is bumpy, a quick skim coat of joint compound can smooth things out. Cutting these tiles is easier than you think. A sharp utility knife or tin snips work for simple straight cuts.
For curves around fixtures, score the tile and snap it, or use a hole saw for pipes. Just measure twice and cut once. You can also warm the tile slightly with a hair dryer to make it more pliable.
Once installed, maintenance is a breeze. No sealing required. Just wipe them down with a mild cleaner and a soft cloth.
Avoid abrasive scrubbing pads that could dull the finish. With proper care, these tiles can last for years, even in a steamy shower.
Why They Work In A Shower
Peel-and-stick tiles are designed to handle moisture. The adhesive is waterproof, and the tile surface won't absorb water or stain. They also resist mold and mildew, unlike some porous natural stones.
That means less scrubbing for you and a healthier bathroom overall.
Picking The Right Stone Look
Marble finishes feel luxurious and bright, perfect for small showers. Travertine offers a warmer, earthy vibe that pairs well with neutral colors. For a modern edge, try a glossy onyx or quartz pattern.
Order a sample first to see how the tile looks in your lighting.
Installation Tips For Beginners
Start at the bottom and work your way up. Use a level to keep rows straight. Press each tile firmly for a few seconds.
If you need to trim around a showerhead, make a paper template first. And always buy 10% extra for mistakes and future repairs.
2. Waterproof Vinyl Planks for a Modern Spa Vibe
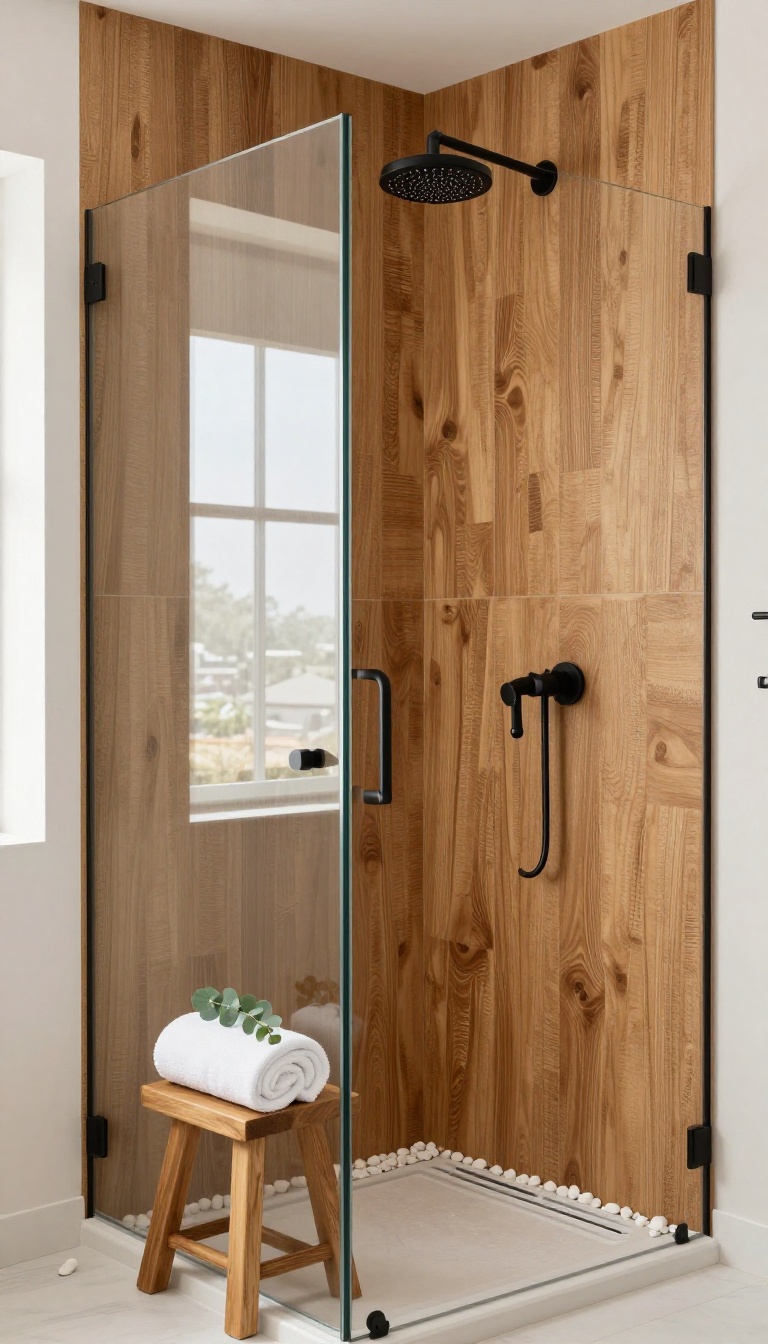
Luxury vinyl planks have been a go-to for floors for years, but they're quietly becoming a favorite for shower walls too. The reason is simple: they look like real wood, feel warm underfoot, and shrug off moisture without a second thought. If you want that cozy spa look without the upkeep of actual timber, this might be your answer.
Vinyl planks designed for wet areas are made with a waterproof core, so they won't swell, warp, or grow mold when water hits them. They click or glue together to form a tight seal, and the surface wipes clean with a damp cloth. You get the rich grain of wood with none of the drama.
Plus, they're far lighter than tile, which makes installation a one-person job.
Why Vinyl Works In Wet Zones
Not all vinyl is created equal. Look for planks labeled waterproof, not just water-resistant. The core should be dense and rigid, often made from stone plastic composite (SPC) or wood plastic composite (WPC).
These cores won't absorb water, so splashes and steam are no big deal. The wear layer on top protects against scratches and stains, which matters in a shower that sees daily use.
Installation Tips For A Clean Look
Start with a smooth, dry backer board or cement board. Vinyl planks can be glued directly to the wall with a waterproof adhesive, or you can use a click-lock system if your walls are perfectly flat. Leave a small gap at the edges and seal it with silicone caulk to keep water out.
A vertical or herringbone pattern adds a high-end touch without extra cost.
Keeping It Fresh And Bright
One of the best parts of vinyl is how little maintenance it needs. A quick spray of mild cleaner and a microfiber cloth keeps it looking new. Avoid abrasive scrubbing pads, which can dull the finish.
For a brighter feel, choose light oak or whitewashed tones that reflect light and make the shower feel larger.
3. Painted Concrete Backer Board with a Glossy Seal
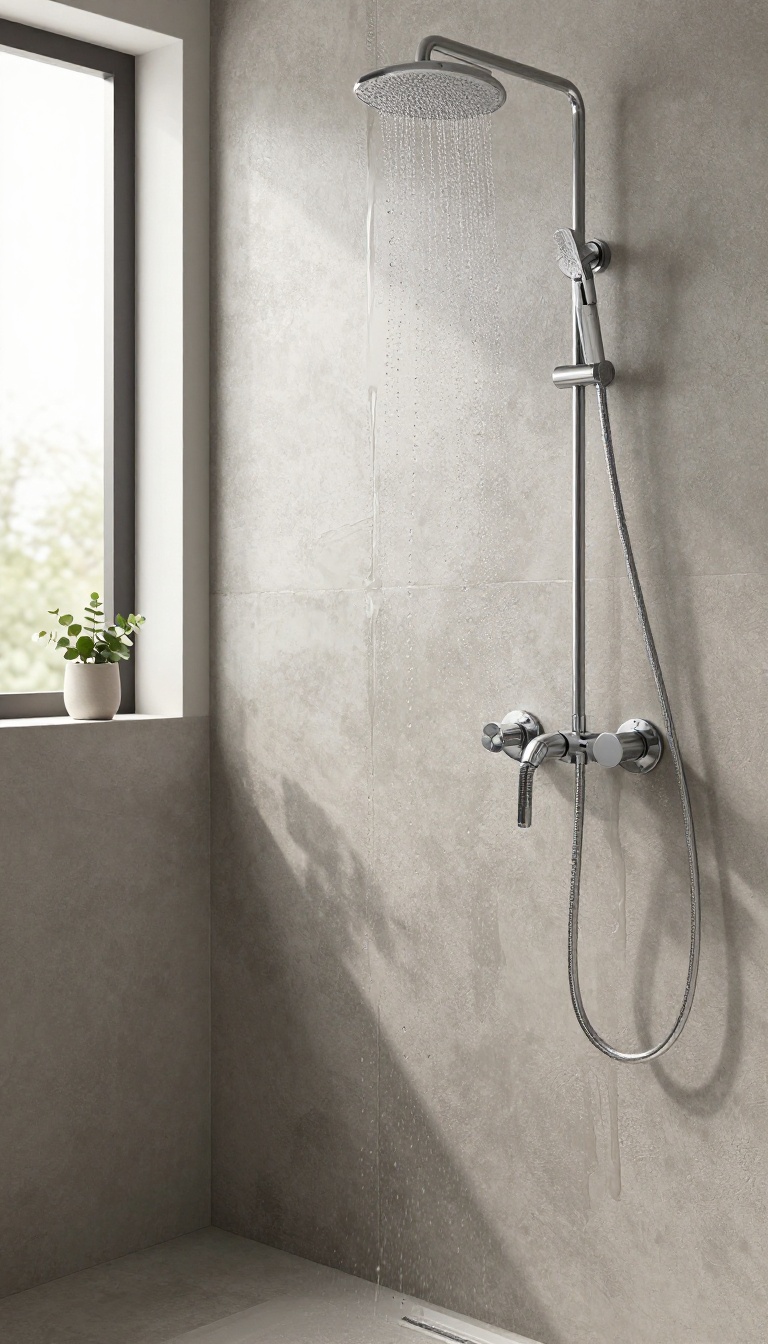
Concrete backer board is the unsung hero of tile projects, but it can also stand alone as a sleek shower wall. Paint it with a waterproof epoxy and you get a seamless, glossy surface that looks custom-made. It's one of the cheapest ways to cover a large area without a single seam.
The material is rock-solid and won't warp or rot like drywall. The epoxy topcoat seals everything, so water beads up and rolls off. You end up with an industrial-chic vibe that fits both modern and rustic bathrooms.
This approach skips tile entirely, which saves time and money. Backer board comes in large sheets, so you can cover a standard shower wall with just a few pieces. Once painted and sealed, it looks like a poured concrete wall—but without the heavy price tag.
You'll need cement backer board, mesh tape, thinset, a waterproofing membrane, and a two-part epoxy paint. The total cost for a standard tub surround often lands under $200. That's a fraction of what tile or solid surface panels would run.
The finish is smooth and reflective, which helps bounce light around a small shower. It's also incredibly easy to wipe down. No grout lines means no scrubbing grimy crevices ever again.
Prepping The Board
Cut the backer board to fit your shower walls, leaving a small gap at the corners. Embed mesh tape in thinset over the seams, then let it cure. Once dry, apply a roll-on waterproofing membrane like RedGard.
This step is non-negotiable—it stops moisture from reaching the board. After the membrane dries, lightly sand any rough spots. Wipe the surface clean with a damp cloth.
You want a dust-free, smooth base before painting.
Painting And Sealing
Use a two-part epoxy paint made for wet areas. Mix it according to the package directions and apply two coats with a foam roller. Work in small sections to keep a wet edge and avoid lap marks.
Let the first coat cure fully before adding the second. The epoxy self-levels somewhat, giving you that glossy, seamless look. Once cured, it's waterproof and stands up to daily showers.
Care And Maintenance
Clean the walls with a soft sponge and mild soap. Avoid abrasive scrubbers that could dull the finish. If you notice any chips or scratches, touch them up with leftover epoxy.
With proper care, this surface can last for years. It's a low-maintenance option that keeps its shine without much effort.
4. Acrylic Shower Wall Panels in Bright White
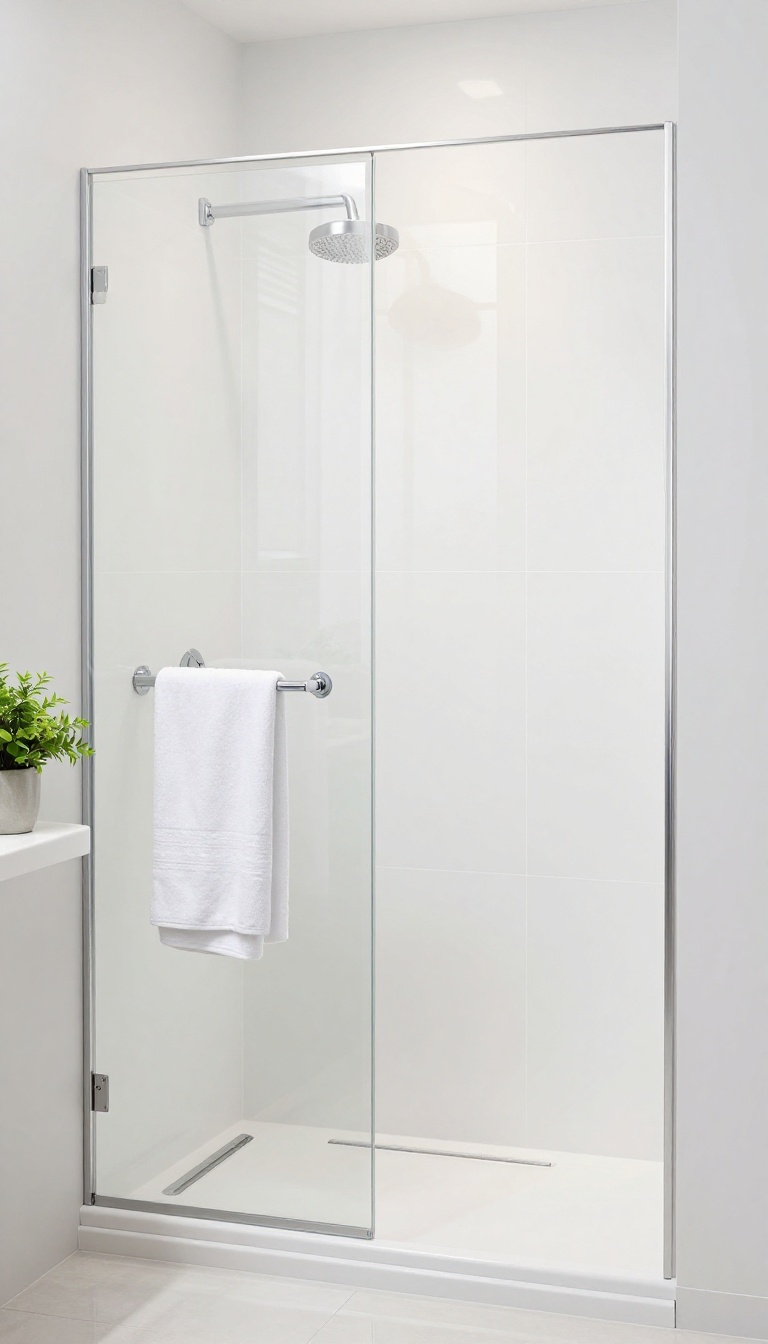
Acrylic panels give you the look of a freshly tiled shower without the grout lines, the mess, or the weekend-long installation. They arrive as large pre-made sheets that lock or snap together, so you cover a whole wall in a few hours instead of a few days. The finish is the real selling point.
Bright white acrylic comes in glossy and satin options, and the glossy version bounces light around the shower like a mirror. Small bathrooms suddenly feel bigger and cleaner. Cost-wise, you're usually looking at a fraction of what tile and labor would run.
That makes this one of the best budget moves if you want a polished, modern result fast.
Acrylic panels are made from the same family of materials as bathtubs and sinks, so they're built to handle water every single day. They won't stain, crack, or grow mold the way grout can, and wiping them down takes seconds. Most kits come in standard tub and shower sizes, which means fewer cuts and less guesswork.
If your walls are out of square, you can trim the panels with a fine-tooth blade and seal the edges with color-matched caulk. One thing to know up front: acrylic can scratch if you attack it with abrasive cleaners. Stick to soft cloths and mild soap, and it'll stay glossy for years.
Why Bright White Works So Well
White reflects light instead of soaking it up, which is why it makes even a dim shower feel airy. In a small bathroom, that effect is worth more than any fancy fixture. It also plays nice with everything.
Chrome, brushed nickel, black matte, wood accents, colorful towels — bright white acrylic is a neutral backdrop that lets your other choices shine. And because there's no grout, there's no discoloration creeping in over time. The white stays white with almost no effort.
What The Panels Actually Cost
A basic three-piece tub surround kit often runs between $200 and $500, depending on size and brand. Full shower wall kits can push a bit higher, but you're still well under a tiled job. Compare that to tile: material alone can hit $5 to $15 per square foot, and that's before you pay someone to install it.
Acrylic skips the thinset, the grout, and most of the labor. If you hire a pro, installation is quick because the panels are large and light. Many homeowners just do it themselves with a helper and a tube of adhesive.
Installation Tips That Save Headaches
Let the panels sit in the room for a day before installing so they adjust to the temperature. Acrylic expands and contracts, and that small step prevents gaps later. Dry-fit everything first.
Mark your cuts, check for outlets and fixtures, and make sure the panels sit level before you commit to adhesive. Use 100% silicone caulk at the bottom where the wall meets the pan, and acrylic-friendly caulk along the seams. That's the difference between a clean install and a leaky one.
Where Acrylic Falls Short
It's not indestructible. Sharp tools, abrasive pads, and harsh chemicals can dull or scratch the surface, so treat it gently. Some people also find acrylic feels a little less solid than tile underhand.
That's a fair trade for the price and speed, but it's worth knowing before you buy. If you want a heavier, more premium feel, look at solid-surface or porcelain panel systems instead. Just expect to pay more for that upgrade.
5. Faux Marble FRP Panels for a High-End Feel
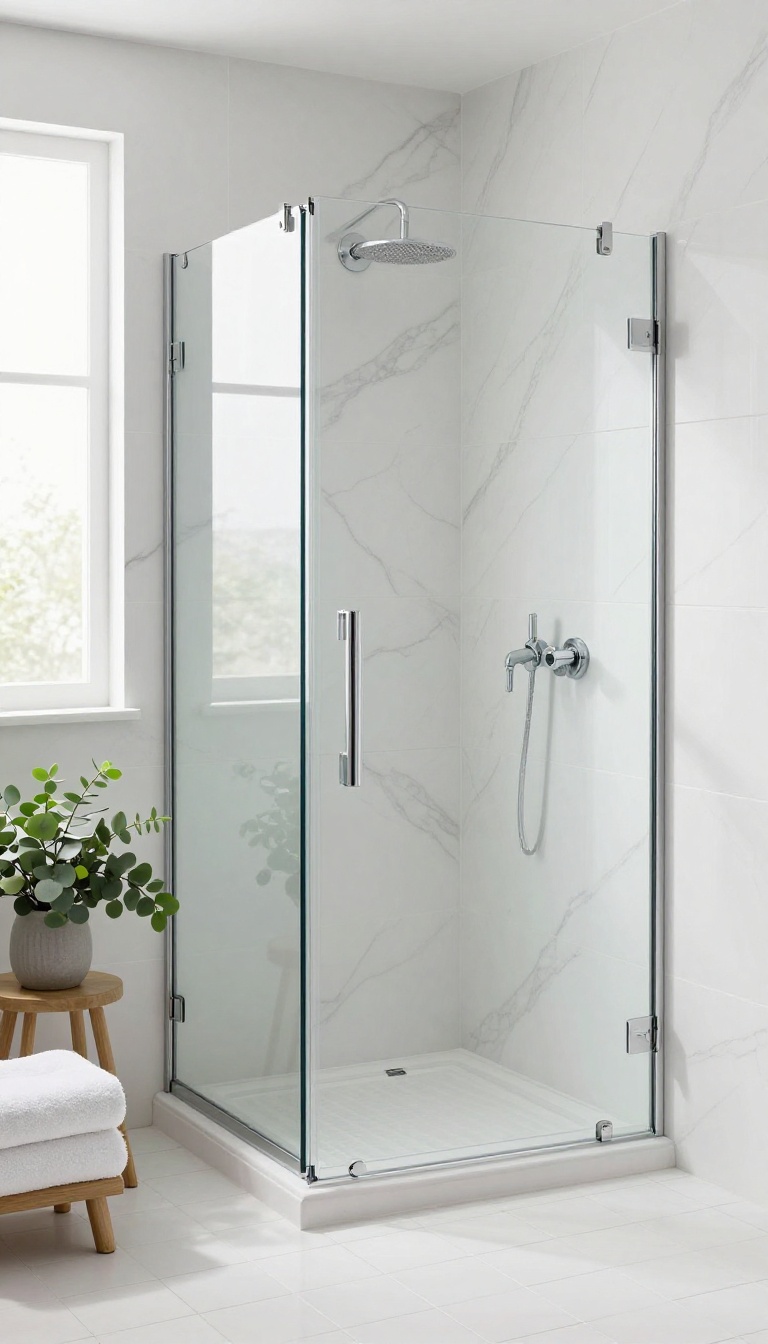
Fiberglass-reinforced plastic—FRP for short—has been a staple in commercial kitchens and bathrooms for decades. Now it's showing up in homes as a budget-friendly way to fake marble. The panels come in large sheets with a glossy, stone-like finish that looks surprisingly convincing.
You get the polished vibe of real marble without the heavy price tag or the maintenance headache.
FRP panels are made from fiberglass embedded in plastic resin, which makes them strong, lightweight, and water-resistant. They install directly over existing walls with adhesive, so you skip the demolition and the dust. Most sheets are around 1/8 inch thick, and they can be cut with a standard utility knife or fine-tooth saw.
That means one person can handle a shower surround in a day.
Why It Works For Showers
FRP is non-porous, so it won't absorb water or grow mold. The surface wipes clean with a damp cloth and mild soap. Unlike real marble, it doesn't need sealing or special cleaners.
And because the panels are seamless when installed correctly, there are no grout lines to scrub.
Installation Basics
Start with a clean, dry, flat wall. Apply construction adhesive in vertical beads, then press the panel into place. Use a J-roll or a roller to smooth out air bubbles.
For edges, you can use color-matched trim or silicone caulk. Most manufacturers provide detailed instructions, and the whole job takes about 4 to 6 hours.
Style And Cost
Faux marble FRP comes in several veining patterns, from Carrara to Calacatta. A 4×8 sheet typically costs $40 to $80, covering about 32 square feet. That's a fraction of the cost of real marble tile.
You can also find panels with a matte or glossy finish to match your other fixtures.
6. Beadboard with Marine-Grade Paint
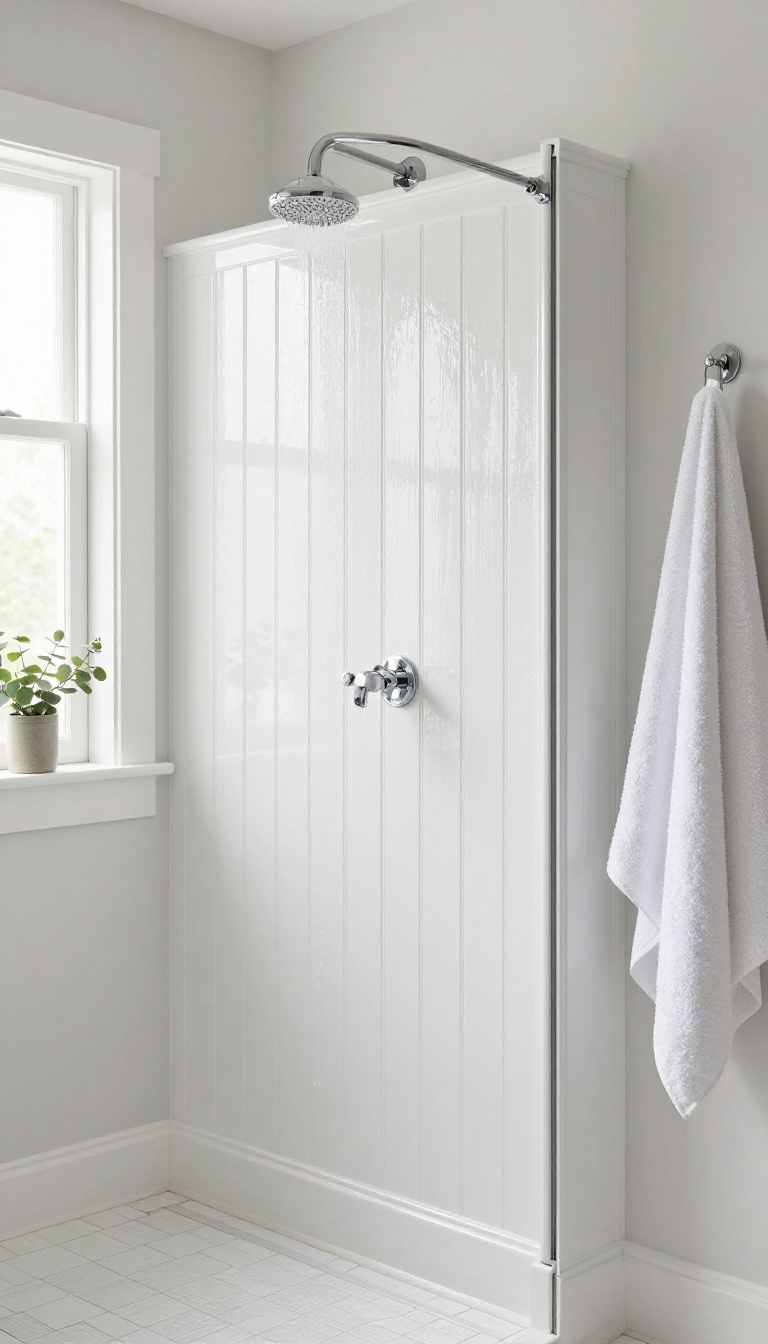
Beadboard brings a classic cottage feel to any bathroom, and it's surprisingly affordable. The catch is moisture, but marine-grade paint solves that problem. This combo gives you a bright, polished shower wall without the cost of tile or panels.
Beadboard is typically made of wood or MDF, which can swell and warp in a damp shower. Marine-grade paint creates a tough, waterproof shell that seals the surface. You get the charm of beadboard with the durability you need.
You can buy beadboard panels at most home centers for a few dollars per square foot. They come in different widths and styles, so you can match your bathroom's look. Installation is straightforward, even for beginners.
Why Marine-grade Paint Works
Marine-grade paint is designed for boats, so it handles constant moisture and temperature changes. It forms a flexible, water-resistant film that won't crack or peel. That makes it perfect for sealing beadboard in a shower.
Look for paints labeled for marine use or exterior gloss enamel. They cost a bit more than standard paint, but a little goes a long way. One quart is usually enough for a small shower.
Prepping And Installing Beadboard
Start with a clean, dry surface. If you're installing new beadboard, cut panels to size and attach them with construction adhesive and finishing nails. Fill nail holes and seams with paintable caulk.
Sand any rough spots, then wipe away dust. Prime the beadboard with a mold-resistant primer. This helps the topcoat adhere and adds another layer of protection.
Painting For A Waterproof Finish
Apply at least two coats of marine-grade paint, letting each dry fully. Use a brush for the grooves and a small roller for the flat areas. Don't skip the edges and seams—that's where water sneaks in.
Once cured, the surface is easy to wipe clean. Avoid abrasive cleaners that can dull the finish. With proper care, this setup can last for years.
7. Large-Format Ceramic Tiles from Discount Stores
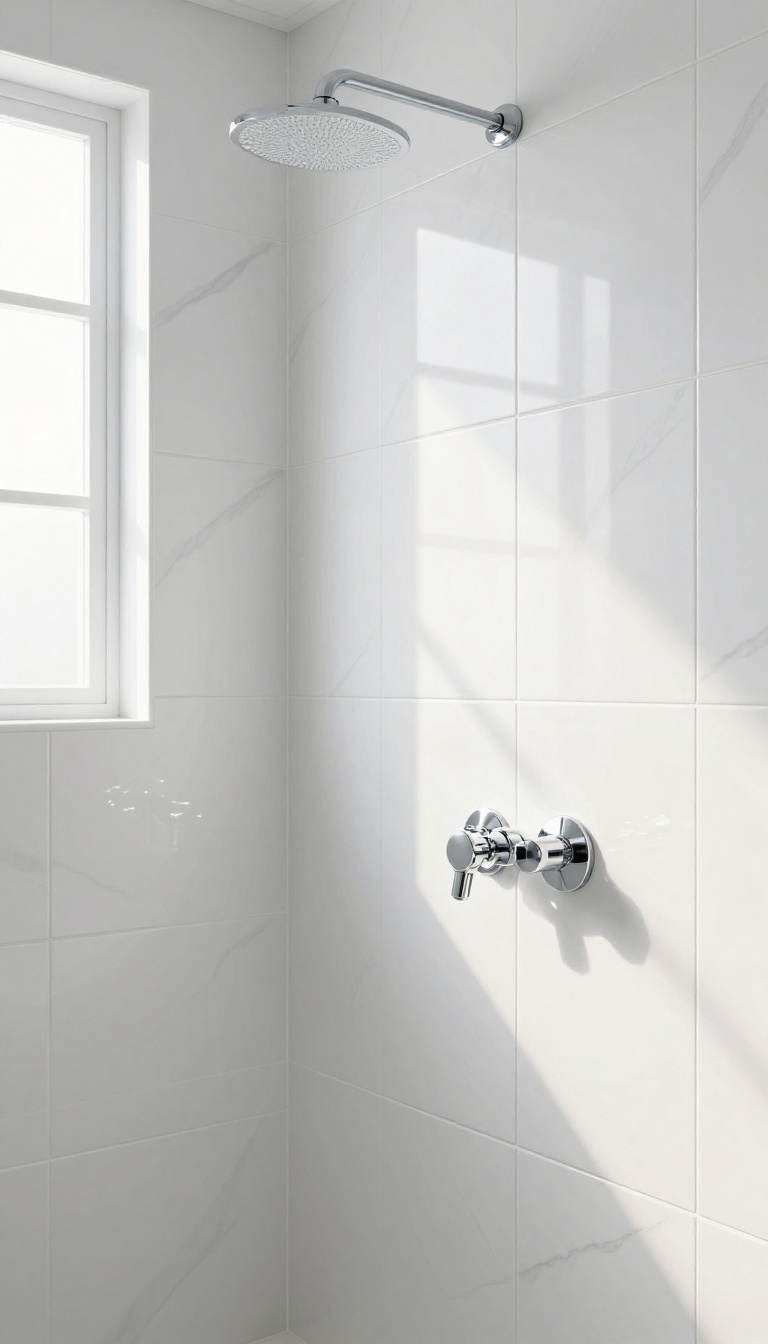
Large-format ceramic tiles are a game-changer for shower walls. They cover more area with fewer pieces, so you get fewer grout lines and a cleaner, more polished look. The best part?
Discount stores often carry these oversized tiles at clearance prices, especially in bright whites and soft grays. You just need to know where to look and how to snag a deal.
Shopping for large-format tiles at discount stores can feel like a treasure hunt. You might find 12×24 or even 24×48 tiles for a fraction of the retail price. These tiles are often overstock, discontinued colors, or special buys.
That means you can get a high-end look for way less. Just be prepared to buy all you need at once, since restocking isn't guaranteed.
Where To Hunt For Deals
Start with stores like Floor & Decor, Habitat for Humanity ReStore, and local building surplus outlets. They frequently get large-format tiles in bright whites and soft grays. Also check online marketplaces like Facebook Marketplace and Craigslist.
Contractors often sell leftover tiles from jobs at rock-bottom prices. Sign up for store newsletters to get alerts on clearance sales.
Installation Tips For Large Tiles
Large tiles need a flat, even surface. Use a leveling system to prevent lippage—where one tile edge sits higher than the next. A 1/2-inch notched trowel and back-buttering help with coverage.
Consider using a tile leveling clip system; it's a small investment that makes a big difference. And don't forget to seal the grout lines to keep them looking fresh.
Design Ideas With Bright Whites And Soft Grays
Bright white large tiles make a small shower feel bigger and brighter. Pair them with a light gray grout for subtle definition. Soft gray tiles create a calm, spa-like vibe.
Mix finishes—matte and glossy—for visual interest. You can also use a accent stripe of mosaic tiles for a pop of color without breaking the bank.
8. Glass Mosaic Sheets for a Sparkling Accent Wall
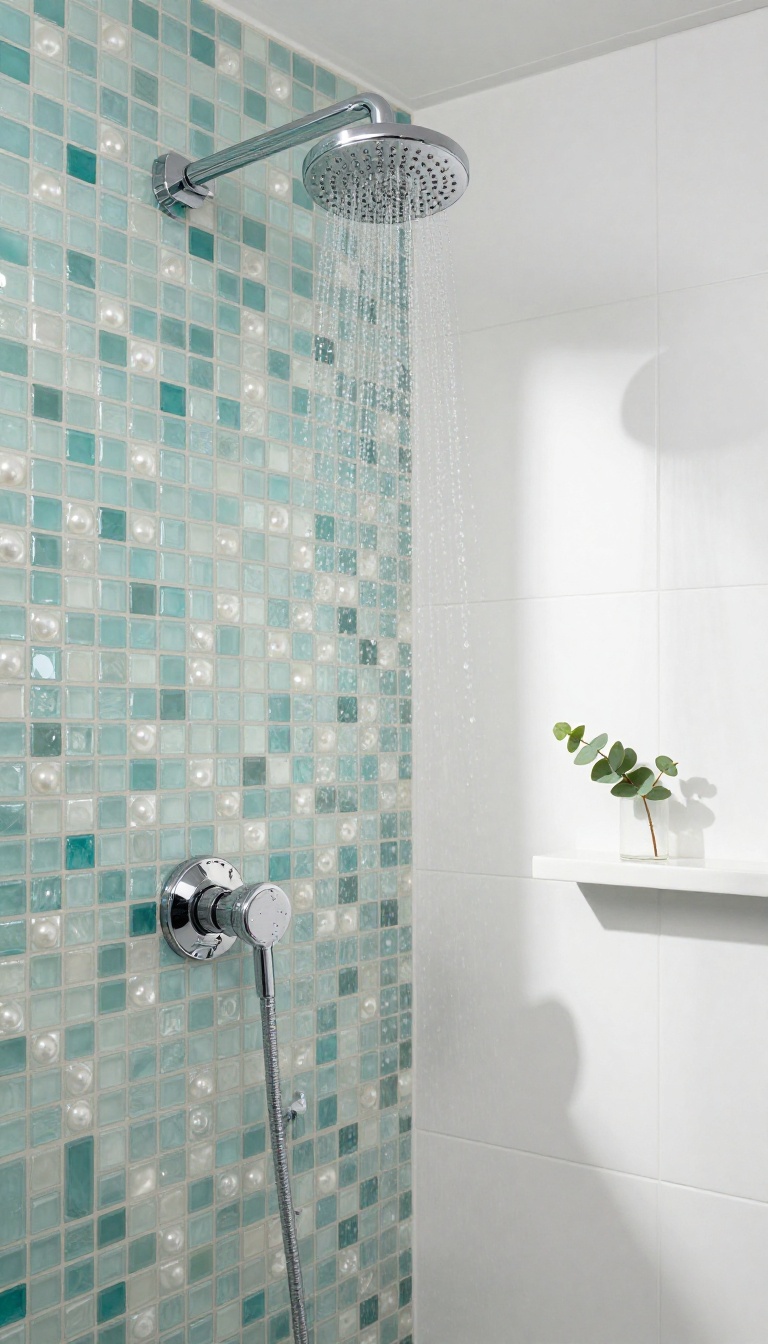
Glass mosaic tiles catch light in a way that makes a shower wall look expensive. You don't have to tile the whole stall to get that effect. One accent wall is enough to add shimmer and polish.
The best part? You can buy mosaic sheets on sale and install them yourself. No need to hire a pro for a small area.
The result looks custom and high-end without the custom price tag.
A single accent wall of glass mosaic tiles turns a plain shower into a focal point. The tiles come in sheets, so you're not setting each tiny piece by hand. That makes the project manageable even if you've never tiled before.
You can find glass mosaic sheets at big-box stores, tile shops, and online. They go on sale often, especially end-of-season or clearance styles. Buy a few extra sheets for cuts and future repairs.
Why Glass Mosaic Works In A Shower
Glass mosaic is non-porous, so it doesn't absorb water or stain easily. It wipes clean with a damp cloth and mild soap. Unlike natural stone, it won't need sealing every year.
The glossy surface reflects light, which makes small showers feel brighter and more open. And because the tiles are small, they conform to slight curves or imperfections in the wall. That means less prep work for you.
How To Save On Materials
Start by checking clearance racks at local tile stores. Glass mosaic sheets are often discounted when a dye lot is discontinued. Online retailers like Wayfair and Amazon also run sales regularly.
You can mix and match colors from different sales to create a custom blend. Just make sure the sheets are the same thickness. A 12×12 sheet usually covers one square foot, so measure your accent wall and add 10% for waste.
Diy Installation Tips
You'll need thinset mortar, a notched trowel, a grout float, and a sponge. Spread the thinset evenly, then press the sheets into place with a grout float. Work in small sections so the mortar doesn't dry out.
Use a wet saw or manual tile cutter for edge pieces. Let the thinset cure for 24 hours, then grout with a sanded grout. Wipe off excess grout before it hardens.
A coat of grout sealer keeps everything looking fresh.
9. DIY Shower Wall Stenciling with Waterproof Paint
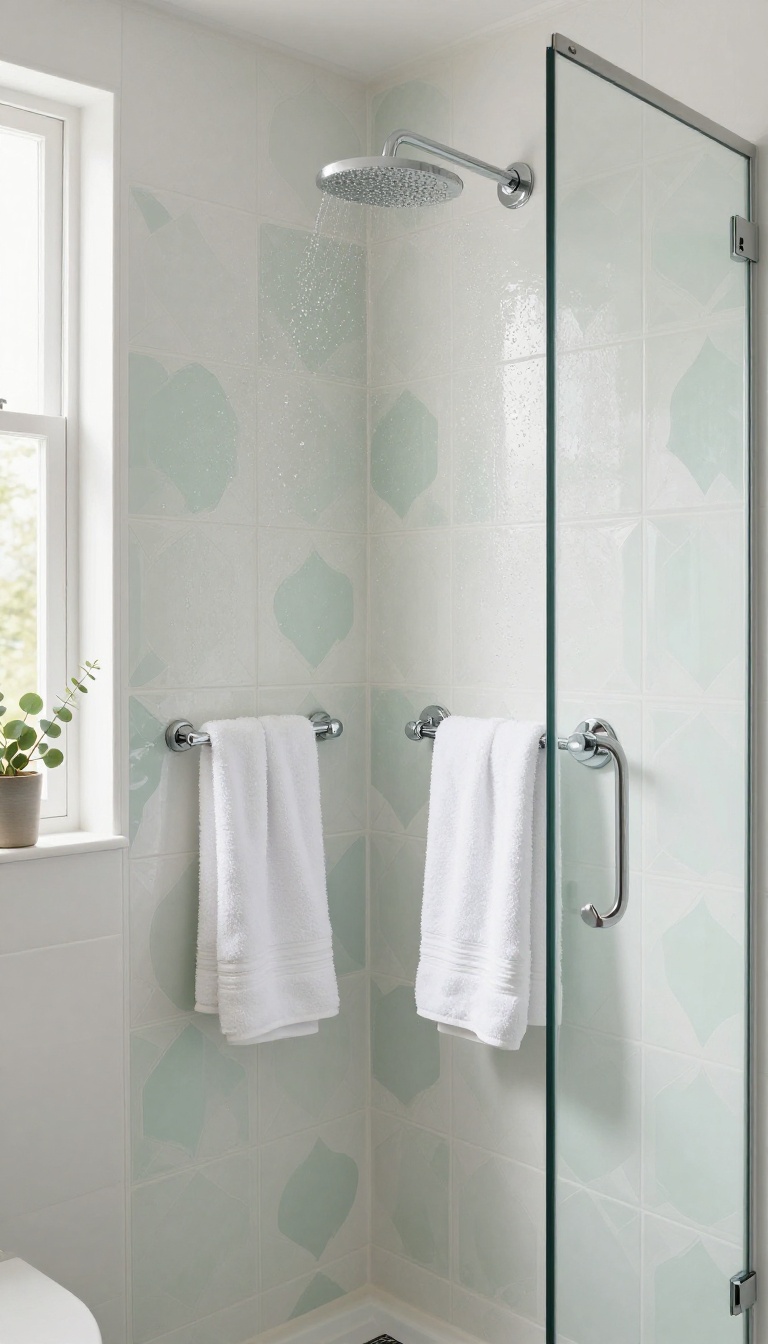
Stenciling turns a plain painted shower wall into something that looks custom—without the custom price tag. You pick a pattern, grab a stencil, and use waterproof paint made for wet areas. It's a weekend project that adds personality and a designer feel for very little money.
The key is using the right paint and sealing it properly. Standard wall paint will blister and peel in a shower. You need a waterproof option like epoxy or a masonry waterproofing paint, plus a clear topcoat.
Once you have that, the stencil work itself is straightforward. Choose a simple geometric or floral design that repeats well. Subtle patterns in a slightly different shade from your base color look the most polished.
Bold contrasts can work too, but they demand more precision.
Pick A Pattern That Fits Your Space
Small, repeating patterns hide imperfections and look intentional. Large motifs can overwhelm a small shower. If your shower is narrow, go with vertical stripes or a trellis design to draw the eye up.
For a softer look, try a faded floral or damask in a tone-on-tone palette. Test the stencil on a piece of cardboard first to see how it reads from a few feet away.
Use The Right Paint And Sealer
Waterproof paint is non-negotiable. Look for epoxy-based or acrylic waterproofing paint made for bathrooms. Apply two thin coats, letting each dry fully.
After the stencil dries, roll on a clear waterproof sealer. This protects the pattern from steam and splashes. Skipping the sealer is the most common mistake—it leads to peeling within months.
Stencil Like A Pro (without The Fuss)
Use a repositionable spray adhesive on the back of your stencil to keep it from slipping. Dab paint with a foam roller or stencil brush—don't brush it on like regular paint. Too much paint causes bleeding under the edges.
Work in small sections and overlap the pattern carefully. Clean the stencil between uses if paint builds up. A little patience here makes all the difference.
Care And Maintenance
Wait at least 72 hours before using the shower so the paint and sealer cure fully. Clean with a soft sponge and mild soap—no scrubbing pads or harsh chemicals. If you notice a chip, touch it up with the same paint and reseal.
With proper care, a stenciled shower wall can last for years. It's an easy way to refresh the look without tearing anything out.
10. Corrugated Metal Panels for an Industrial Edge
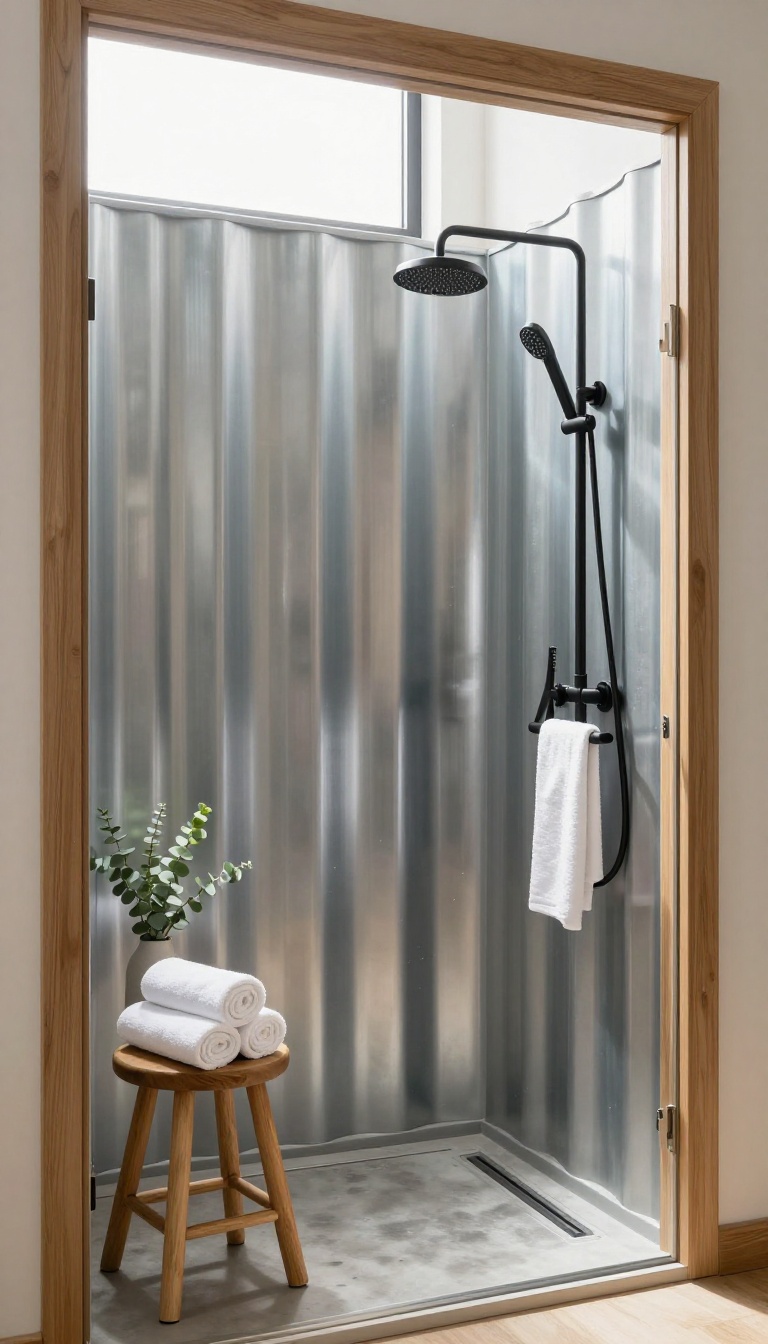
Corrugated metal panels bring a raw, industrial vibe that feels surprisingly fresh in a shower. They're typically made from galvanized steel or aluminum, then powder-coated for color and moisture resistance. The result is a bright, reflective surface that bounces light around and makes even a small shower feel bigger.
Best of all, metal panels are cheap compared to tile or stone. You can often find them at salvage yards or home improvement stores for a few dollars per square foot. Installation is straightforward, especially if you use pre-cut panels and construction adhesive.
Metal panels aren't just for barns and warehouses anymore. In a shower, they add a crisp, modern edge that pairs well with concrete, wood, or black fixtures. The corrugation—those wavy ridges—adds texture and depth without busy patterns.
You can leave them raw for a galvanized look or choose a powder-coated finish in white, black, or bold colors. Either way, they're durable, easy to wipe down, and resistant to water when properly sealed. Just avoid using them directly behind the showerhead unless you seal the seams well.
One thing to keep in mind: metal can be noisy when water hits it, so consider adding a backing board or insulation behind the panels to dampen sound. Also, make sure all edges and screw holes are sealed with silicone to prevent rust. With a little planning, corrugated metal can be a standout feature that costs a fraction of traditional materials.
It's a savvy choice for DIYers who want an edgy, polished look without the high price tag.
Why Metal Works In A Wet Space
Galvanized steel and aluminum are naturally resistant to rust, especially when powder-coated. They handle moisture far better than plain drywall. Plus, the reflective surface brightens up dark corners and makes cleaning a quick wipe-down.
Installation Tips For Beginners
Measure your shower walls and have panels cut to size at the store. Use construction adhesive and rust-proof screws to attach them to studs or a solid backing. Seal every seam and edge with silicone caulk.
Let it cure for 24 hours before using the shower.
Styling And Finishing Touches
Pair metal panels with dark grout or black fixtures for a cohesive industrial look. Add a teak or bamboo mat to soften the space. If you want less shine, choose a matte powder-coated finish in charcoal or white.
11. Reclaimed Wood Treated for Moisture
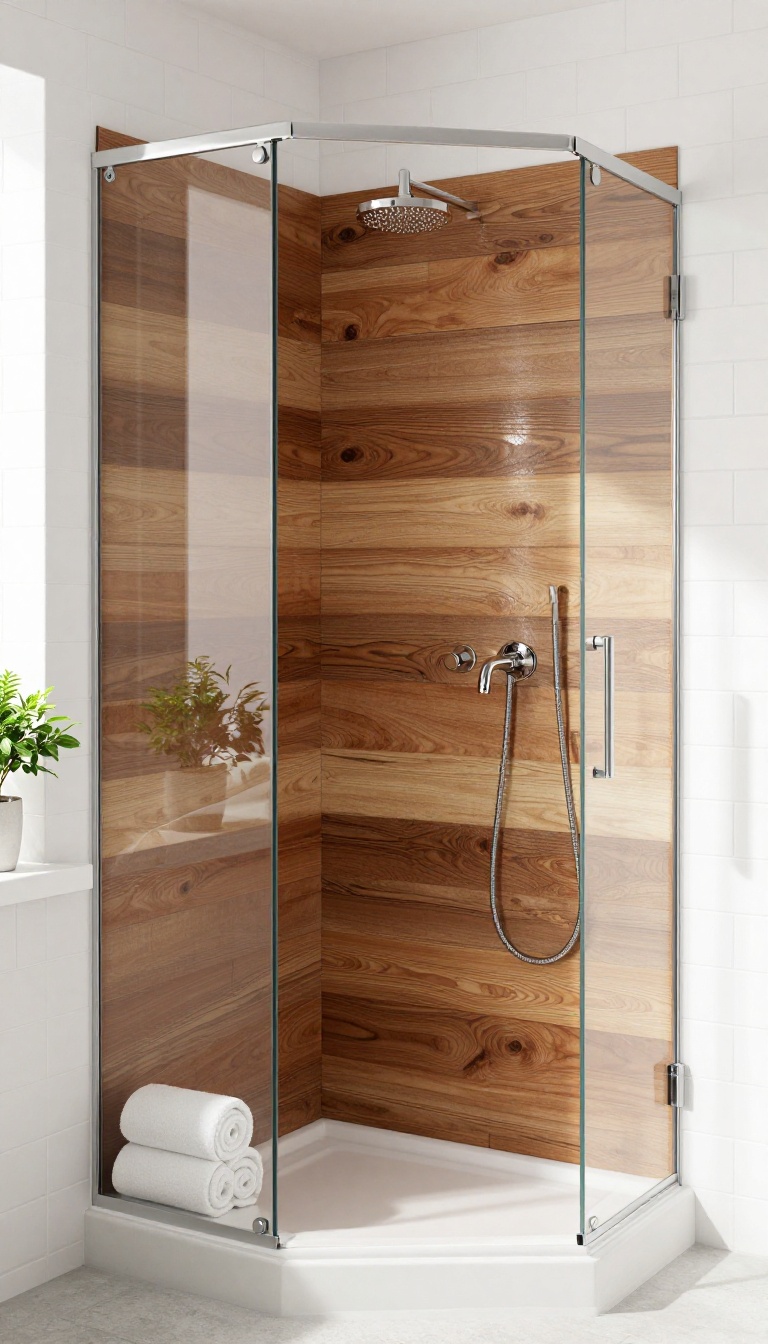
Reclaimed wood brings a story and warmth to a shower that new materials just can't match. You can often find old barn boards, pallet wood, or salvaged fencing for next to nothing. But raw wood and water don't mix, so the secret is sealing it properly.
With the right finish, you get a rustic-chic wall that's actually durable and easy to wipe down.
The key is marine varnish or a similar waterproof sealer. It creates a tough, glossy barrier that keeps moisture out and lets the wood's natural grain shine through. This look works best as an accent wall or a band around the shower, not necessarily floor-to-ceiling.
It pairs beautifully with white tile, concrete, or even plain painted walls.
Sourcing And Prepping Reclaimed Wood
Look for tight-grained woods like teak, cedar, or old-growth pine. Avoid pieces with rot, soft spots, or heavy chemical stains. Clean the wood with a stiff brush, let it dry completely, then sand lightly to smooth rough edges.
Cut planks to size and test-fit them before you start sealing.
Sealing For A Waterproof Finish
Apply at least three coats of marine varnish, sanding lightly between coats. Pay extra attention to end grains and edges where water can sneak in. Let each coat dry fully.
For extra protection, seal the back and sides too. This step is non-negotiable if you want the wood to last in a wet environment.
Installation And Maintenance Tips
Attach planks directly to the wall using construction adhesive and finish nails, or mount them on a waterproof backer board. Leave a small gap at the bottom for drainage. To clean, simply wipe with a damp cloth and mild soap.
Reapply a fresh coat of varnish every year or two to keep it looking sharp.
12. Smart Tiles That Mimic Subway Brick
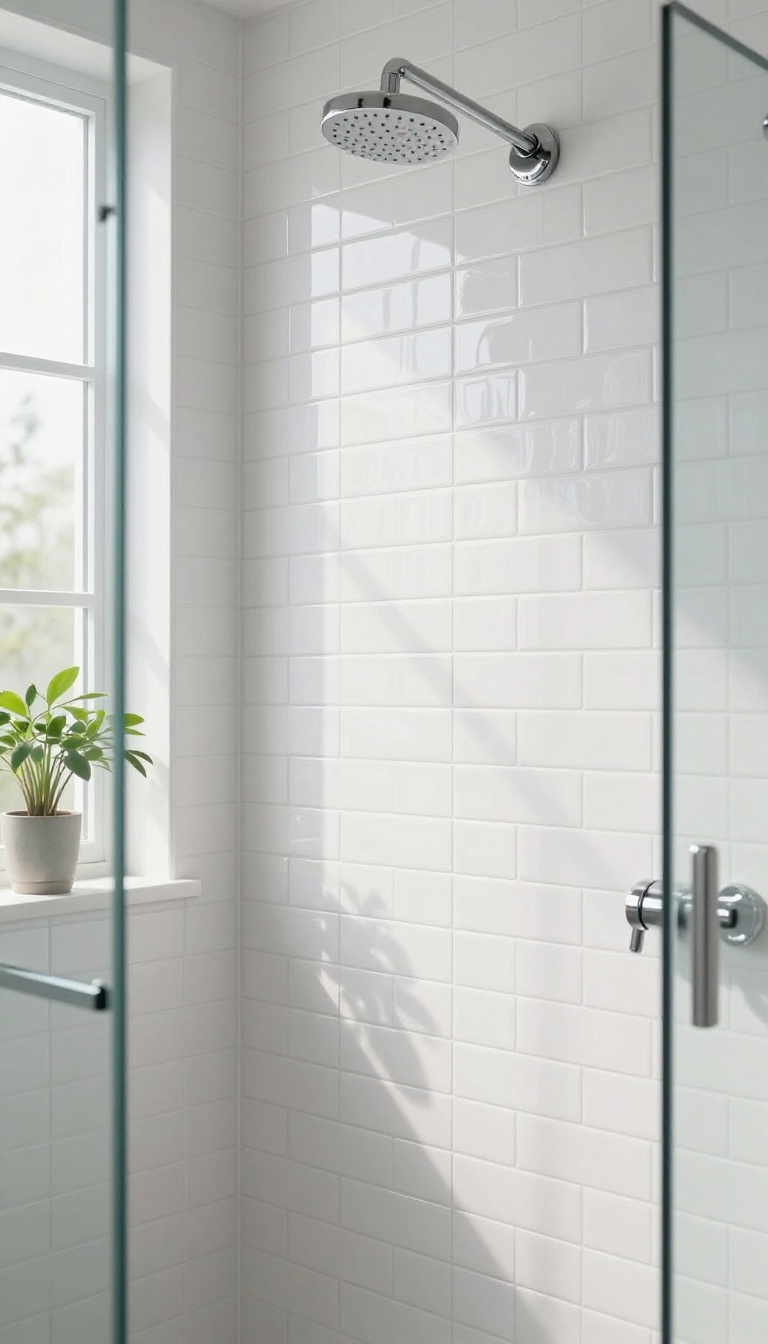
Subway tile has been a shower staple for over a century, and for good reason. It's clean, classic, and reflects light beautifully. But traditional ceramic subway tile requires mortar, grout, and a level of patience most of us don't have on a Saturday.
Smart tiles give you that same look with none of the mess. They're peel-and-stick, so you can install them right over your existing walls. That means no demolition, no dusty cleanup, and no waiting days for grout to cure.
And because they're made of a flexible material with a smooth surface, they wipe clean with a damp cloth. If you want the timeless subway brick pattern without the time or cost of real tile, this is your shortcut.
Smart tiles are essentially thick vinyl or gel-like sheets that come in a variety of patterns, including the classic subway brick layout. They're designed to stick to smooth, clean surfaces like painted drywall, existing tile, or even glass. The subway pattern is one of the most popular because it's so versatile.
You can go with bright white for a crisp, spa-like feel, or choose a soft gray or beige for a warmer look. Some brands even offer a glossy finish that mimics the sheen of real ceramic. The best part?
You can cut them with scissors or a utility knife to fit around fixtures, corners, and edges. Installation is as simple as peeling off the backing and pressing them into place. You'll want to plan your layout first, just like you would with real tile, so the pattern lines up nicely.
But even with a little planning, the whole job can be done in an afternoon. And if you ever want to change the look, they peel off without damaging the wall behind them. That makes them a smart choice for renters or anyone who likes to switch things up.
Just be sure to follow the manufacturer's instructions for surface prep and allow the adhesive to fully set before using the shower. With a little care, these tiles can last for years and keep your shower looking polished and bright.
Why Subway Brick Works In A Shower
The subway brick pattern is a classic for a reason. It's simple, symmetrical, and it makes a small space feel larger. The horizontal lines draw the eye across the wall, which can make your shower feel wider.
And because the tiles are small, they're easy to install around awkward corners and fixtures. In a shower, that pattern also helps hide water spots and soap scum better than large, plain tiles. The grout lines break up the surface, so minor imperfections don't stand out.
Plus, the glossy finish of most smart tiles reflects light, which keeps the shower bright even if you don't have a window. If you want a timeless look that won't go out of style, subway brick is a safe bet.
Installation Tips For A Flawless Look
Start with a clean, dry, smooth wall. Any bumps or peeling paint will show through, so sand them down if needed. Wipe the wall with a degreaser and let it dry completely.
Then, plan your layout. Use a level to draw a horizontal line where you want the first row to start. Peel the backing off the first tile and press it firmly into place.
Work in small sections, and overlap the tiles slightly to create the brick pattern. Use a utility knife to trim around edges and fixtures. Press down firmly on each tile, especially at the edges, to ensure a good bond.
If you need to reposition a tile, do it slowly to avoid stretching the material. Once all tiles are up, run a bead of silicone caulk along the edges where the tiles meet the shower pan or fixtures. That will keep water from getting behind them.
Let everything set for 24 hours before using the shower.
Cleaning And Maintenance Made Easy
One of the biggest perks of smart tiles is how low-maintenance they are. Unlike real grout, which can stain and harbor mold, the surface of smart tiles is non-porous. A quick wipe with a damp cloth or a mild all-purpose cleaner is usually all you need.
For tougher soap scum, use a soft sponge and a little white vinegar. Avoid abrasive scrubbers or harsh chemicals, as they can dull the finish. Because there's no grout, there's no scrubbing between lines.
That means you can spend less time cleaning and more time enjoying your shower. Just make sure to dry the walls after each use if you want to keep them looking brand new. A squeegee works wonders and takes seconds.
13. Mirrored Panels for a Glam, Light-Bouncing Effect
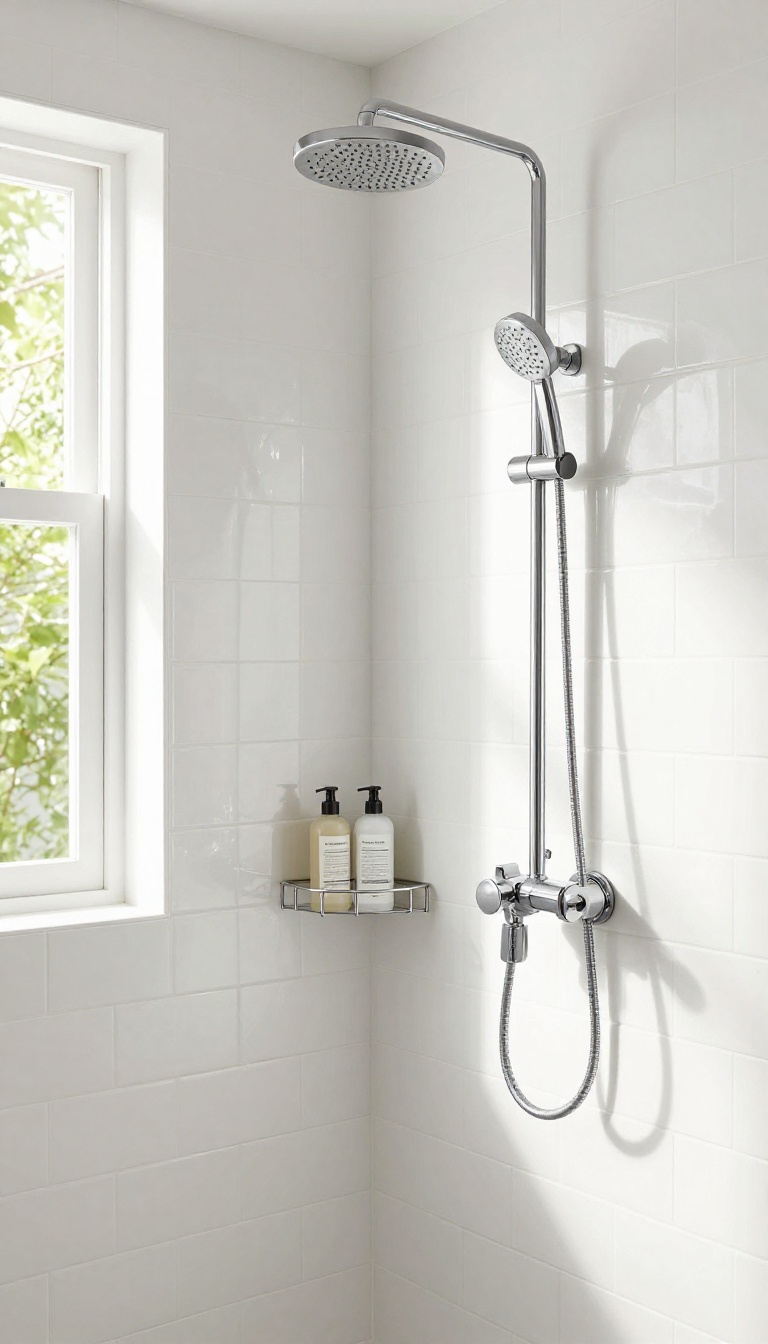
Mirrors in a shower might sound like a maintenance headache, but hear me out. Adhesive mirror tiles are a game-changer for small, dim bathrooms. They bounce light around like crazy, making your shower feel twice as big for a fraction of the cost of glass or stone.
Plus, they add a glam, polished sparkle that instantly upgrades the space. Stick them on one wall, and you've got a high-end look without the high-end price tag.
Mirrored panels aren't just for gyms and dance studios. In a shower, they create an illusion of depth and reflect all the light your bathroom has to offer. The best part?
You don't need to be a pro to install them. Most adhesive mirror tiles come with peel-and-stick backing, so you can transform a wall in an afternoon. They're also surprisingly durable if you choose the right type and seal them properly.
And because they're reflective, they make even a basic shower caddy and shampoo bottles look styled. Ready to add some shine? Here's how to pull it off without the pitfalls.
Why Mirrors Work In A Shower
Mirrors amplify natural and artificial light, so a dark corner suddenly feels bright and open. They also add a touch of luxury—think hotel bathroom vibes—without the hotel price. And because they're reflective, they make your tile or paint color pop, not compete with it.
Choosing The Right Mirror Tiles
Not all mirror tiles are shower-safe. Look for acrylic or glass tiles with a moisture-resistant backing. Acrylic is lighter and less likely to shatter, while glass gives a crisper reflection.
Avoid thin, craft-store mirrors that can warp or lose their silvering in humid conditions. Also, check that the adhesive is rated for wet environments.
Installation Tips For A Flawless Look
Start with a clean, dry wall. Plan your layout so you don't end up with tiny slivers at the edges. Use a level to keep rows straight, and press each tile firmly for a few seconds.
If you're nervous about adhesion, add a thin bead of silicone along the edges after installation. Let everything cure for 24 hours before showering.
Keeping Them Sparkling
Squeegee the mirrors after each shower to prevent water spots. Once a week, wipe them down with a 50/50 mix of water and white vinegar. Avoid abrasive cleaners that can scratch the surface.
If you notice any lifting edges, re-press them while the adhesive is still tacky, or add a dab of clear silicone.
FAQ
What is the cheapest way to cover ugly shower walls?
Peel-and-stick tiles or vinyl planks are the cheapest and easiest. They go right over clean, dry walls and cost a fraction of new tile.
Can I put peel-and-stick tile directly on drywall in a shower?
No, drywall isn't waterproof. You need a waterproof backer board or existing tile. Always seal edges and use a waterproof adhesive for best results.
How do I keep cheap shower walls looking polished?
Choose glossy finishes, keep grout lines thin, and clean regularly with a squeegee. Bright white or light colors reflect light and hide imperfections.
Are acrylic shower panels better than tile?
Acrylic panels are cheaper, faster to install, and easier to clean. Tile looks more custom but costs more and requires more maintenance.
What's the most durable cheap shower wall option?
FRP panels and large ceramic tiles offer the best durability for the price. They resist moisture, mold, and scratches better than peel-and-stick.
Conclusion
Cheap shower walls can still look polished when you focus on light, pattern, and clean lines. Pick one or two ideas here that fit your space and budget, then stop before the room gets busy. You do not need a full remodel to get that bright, finished feel.
Swap the panels, change the grout, or add a simple border, and the whole shower shifts fast. Start with the easiest upgrade, live with it, and adjust from there.