15 Functional Shower Rack Ideas for a Smooth, Efficient Look
A tidy shower doesn't have to mean constant decluttering or drilling holes into your tile. Smart storage can turn a cramped, cluttered corner into a calm, efficient space where everything has its spot.
Whether you're renting, renovating, or just tired of knocking over bottles, these 15 functional shower rack ideas cover every style, budget, and setup. From tension poles that skip the hardware to rustic ladders that lean like furniture, each option solves a specific problem without sacrificing looks.
Some take minutes to install, while others reward a weekend project with a built-in feel. You'll find damage-free picks for apartment walls and water-resistant woods for steamy bathrooms.
1. Tension Pole Caddy: No Drilling Required
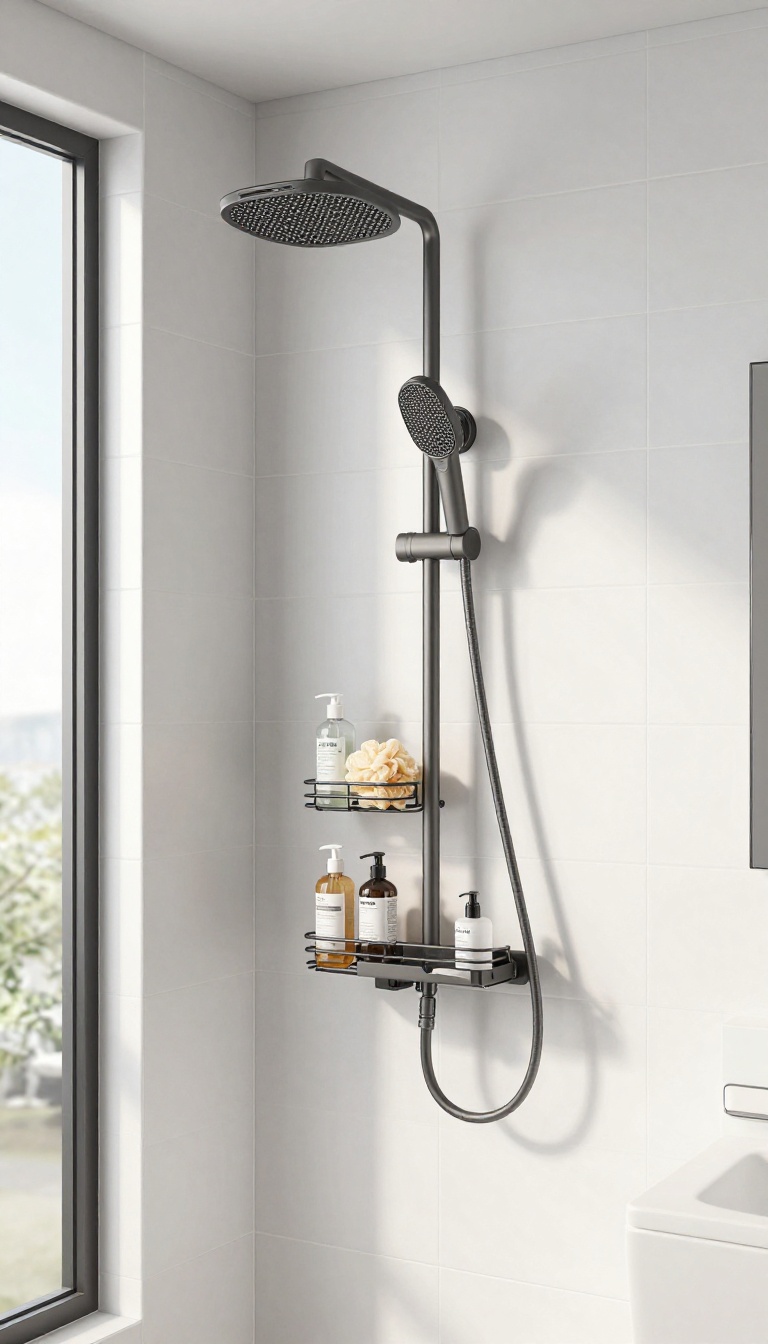
If you rent or just hate the idea of drilling into pristine tile, a tension pole caddy is your best friend. It wedges snugly between the floor and ceiling, so you get sturdy storage without a single screw. The adjustable shelves let you customize heights for tall bottles or tiny soaps, and the whole thing can come down in seconds when you move.
Tension pole caddies are a classic for a reason: they offer serious storage without leaving a mark. Most models feature several shelves or baskets that slide up and down the pole, so you can fit everything from shampoo to loofahs. The tension mechanism is strong enough to hold a good amount of weight, but it's wise to check the maximum load—overloading can cause slippage.
Installation is a breeze: extend the pole to your ceiling height, tighten it, and you're done. Just make sure your ceiling is flat and not textured, as that can affect grip.
What To Look For
When shopping, focus on rust-resistant materials like aluminum or coated steel. Look for shelves with drainage holes to prevent water pooling. Also, check the pole's diameter and adjustability range to ensure it fits your shower's height.
Some models come with hooks for razors or washcloths, adding extra convenience.
Where To Place It
The best spot is usually in a corner, where it won't interfere with your movement. If you have a shower head on one wall, place the pole opposite it so water doesn't constantly hit the shelves. You can also position it near the entrance for easy access to towels or daily essentials.
Installation Tips
Before tightening, make sure the pole is perfectly vertical. Use a level if you have one. Tighten gradually, alternating sides to keep it even.
Test the stability by gently pushing on the shelves. If it feels wobbly, adjust the tension. Avoid placing it directly under a skylight or where it might be knocked by a shower curtain.
2. Corner Shower Shelf: Maximize Dead Space
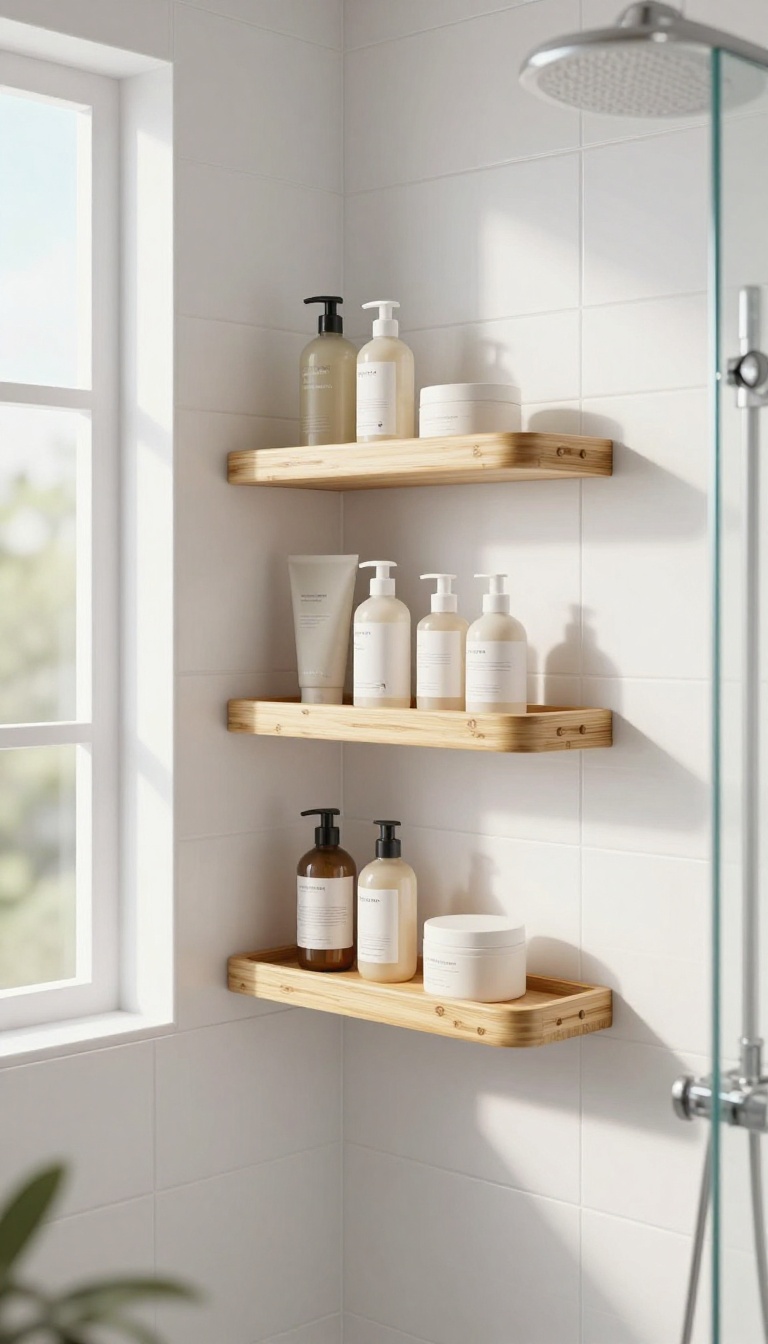
Corners are the forgotten real estate of most showers—too tight for a standard caddy, yet perfect for a dedicated corner shelf. A well-placed corner unit turns that awkward wedge into a neat storage zone without eating into your elbow room. You can find corner shelves in everything from rust-proof aluminum to natural bamboo, so they blend with your existing fixtures.
Whether you need a single tier for daily essentials or a tall tower for the whole family, this idea keeps bottles off the floor and within easy reach.
A corner shelf works especially well in showers with a neo-angle or square footprint, where wall space is limited. It also helps clear out the floor, making cleaning faster and reducing the chance of slipping on a stray bottle. Here’s how to choose and install one that fits your routine.
Pick The Right Material For Your Humidity Level
Bathrooms with poor ventilation demand rust-proof materials. Powder-coated stainless steel or aluminum resists water spots and corrosion, while teak and bamboo add warmth but need occasional sealing. For a low-maintenance option, look for UV-stabilized plastic that won’t yellow or warp.
Measure Before You Buy
Corners aren’t all 90 degrees—some are curved or slightly angled. Measure the exact distance from the corner to where you want the shelf to sit, then check the product’s dimensions. A shelf that’s too wide will stick out, and one that’s too narrow wastes space.
Most corner shelves range from 8 to 12 inches across the diagonal.
Installation: Adhesive Vs. Drilling
Damage-free adhesive shelves are perfect for renters and hold surprisingly well on smooth tile or glass—just clean the surface with rubbing alcohol before sticking. For a permanent, heavier-duty hold, screw into the grout line or use plastic anchors. Always wait 24 hours before loading the shelf to let the adhesive cure fully.
3. Over-the-Door Rack: Extra Storage Outside
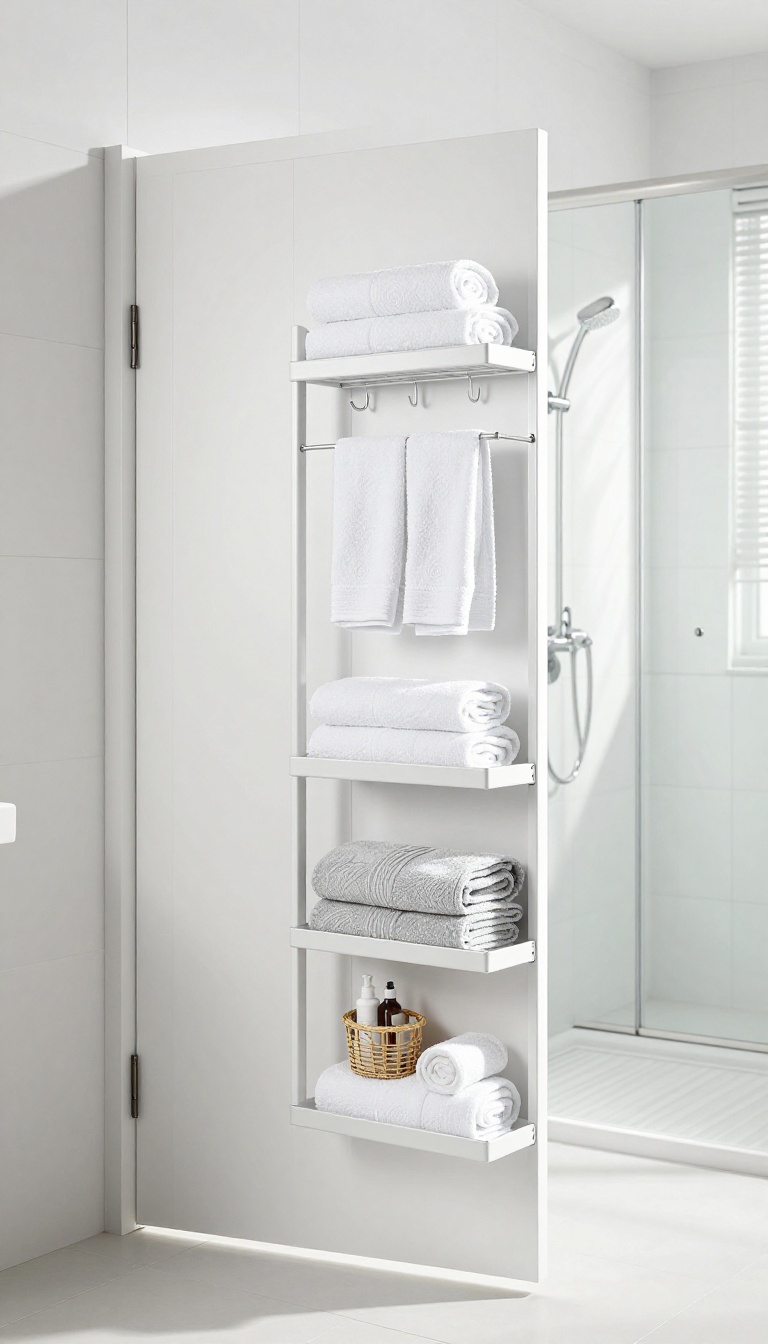
Sometimes the best storage spot isn't inside the shower at all. An over-the-door rack turns the back of your bathroom door or the top edge of a sliding shower screen into prime real estate for towels, robes, and daily essentials. It keeps bulky items out of the wet zone, so your shower stays roomy and uncluttered.
Over-the-door racks are a classic for good reason: they add instant storage without a single screw. Most models hang over the top of a standard door or shower screen and hold multiple tiers of baskets or hooks. Choose one with rust-resistant coating or waterproof materials if you'll hang it near the shower.
This rack is perfect for keeping clean towels within arm's reach, storing extra toiletries, or giving each family member their own hook for robes and loofahs.
Pick The Right Style For Your Door
Not all over-the-door racks are created equal. Look for a design that fits your door's thickness—most standard doors are about 1. 75 inches thick, but shower screens can be thinner.
If you're hanging over a glass shower door, choose a rack with padded hooks to avoid scratching. For a bathroom door, a taller rack with multiple shelves offers more storage for towels and baskets, while a compact version works well on a narrow closet door nearby.
Use It For More Than Towels
Think beyond towels. Use the shelves to hold rolled washcloths, extra bars of soap, or a small basket for hair ties and clips. Hooks on the sides can take robes, loofahs, or a shower cap.
You can even attach a small mesh bag for kids' bath toys, keeping them off the floor and easy to reach.
Keep It Dry And Clean
To avoid mildew, give the rack a quick wipe-down every couple of weeks. If it's near the shower, make sure water doesn't pool on the shelves. Choose a model with open wire or mesh shelves so air circulates freely.
For towels, hang them flat or over hooks so they dry fully between uses.
4. Rustic Wooden Ladder: A Stylish Lean
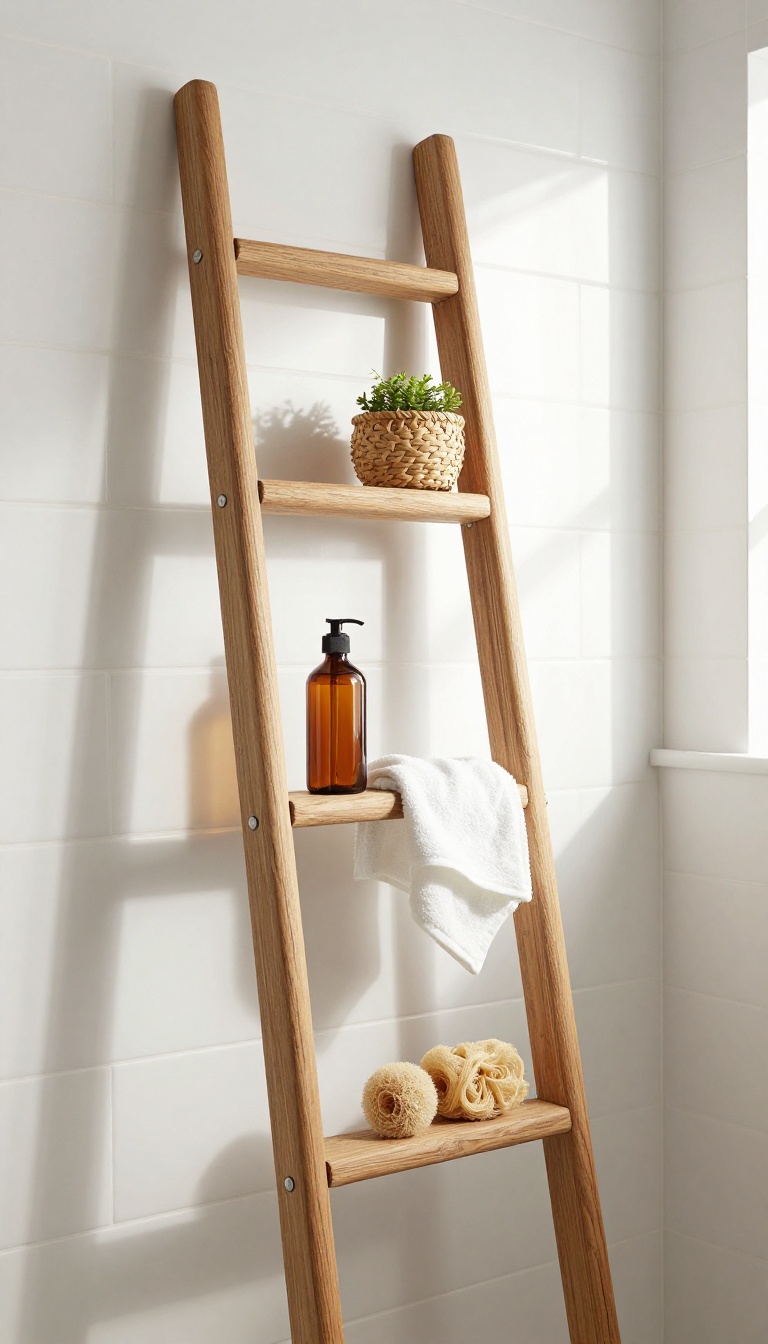
A wooden ladder leaning against the shower wall brings a warm, spa-like feel that plastic caddies just can't match. The rungs double as shelves for baskets or hooks for hanging loofahs and washcloths, turning storage into a design statement. It's a flexible option that works in both modern and farmhouse bathrooms, and it doesn't require a single screw.
The rustic wooden ladder is more than just a pretty prop—it's a practical storage solution that uses vertical space without taking up floor area. You can lean it against a tiled wall or place it in a corner, and it instantly adds character while keeping your essentials within arm's reach. Because it's freestanding, you can move it around or take it out when you need to deep-clean the shower.
Choosing The Right Wood And Finish
For a steamy bathroom, opt for naturally water-resistant woods like teak or cedar, which handle moisture without warping. If you prefer a painted or stained look, apply a waterproof sealant to protect the wood from humidity. A matte finish with visible grain feels more organic, while a smooth, lighter stain suits contemporary spaces.
Styling With Baskets And Hooks
Use woven baskets or metal buckets on the rungs to corral smaller items like shampoo bottles, soap bars, or razors. Add S-hooks or adhesive hooks on the sides to hang loofahs, back brushes, or a shower cap. Keep heavier items on lower rungs to maintain balance, and reserve the top for items you use less often.
Placement And Safety Tips
Lean the ladder against a sturdy wall or in a corner, ensuring it doesn't slip on wet tiles. Consider adding non-slip pads to the bottom legs for extra grip. If your shower is small, a narrower ladder or one with a slight A-frame shape can fit snugly without crowding the space.
5. Magnetic Shower Rack: For Metal Surfaces
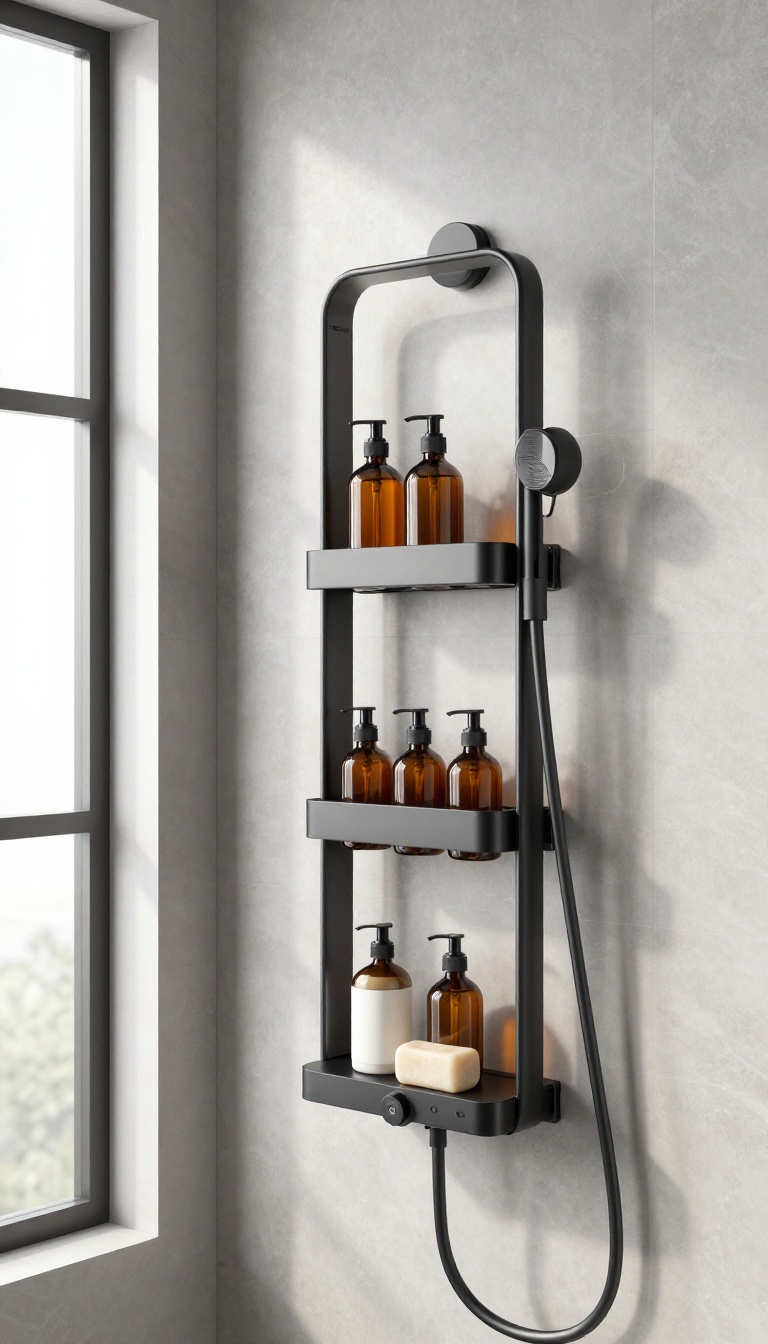
If your shower walls are metal—like a steel tub surround or a prefab metal panel—you can skip the adhesive strips and the drill entirely. Magnetic shower racks hold strong with powerful magnets, giving you a stable spot for bottles and soap without leaving a mark. It’s one of the quickest, cleanest installations you’ll find, and it makes rearranging your storage a two-second job.
Magnetic racks are a clever solution for metal surfaces, but they’re not all created equal. The key is to check your wall material first. Most magnetic racks are designed for steel or iron surfaces, and they won’t stick to stainless steel that’s not magnetic (like some thin shower panels).
If you’ve got a magnetic surface, you’re in for a treat—these racks attach instantly and hold surprisingly well, even with heavier bottles. Just give the magnets a quick wipe down now and then to keep them grippy.
Check Your Surface First
Before you buy, test your shower wall with a small magnet. If it sticks, you’re good to go. If it slides off, you’ll need a different type of rack.
Magnetic racks work best on steel tub surrounds, metal shower stalls, and some enameled steel panels. They won’t work on tile, fiberglass, or acrylic, so a quick test saves you from a frustrating return.
Installation In Seconds
No tools, no adhesive, no waiting for glue to dry. Just wipe the surface clean, hold the rack in place, and let the magnets do their thing. Most racks come with a few strong magnets embedded in the back, so they snap on with a satisfying click.
You can reposition them instantly if you realize you want it a bit higher or to the left—no damage, no mess.
Weight And Stability
Don’t overload a magnetic rack. While strong magnets can handle a few full-size bottles, they’re not meant for heavy caddies loaded with gallon jugs. Stick to lighter items like shampoo, body wash, and loofahs.
If you’re worried about sliding, look for a rack with rubber padding or multiple magnets for extra grip. It’ll stay put through your daily shower without budging.
6. Over-the-Showerhead Caddy: Simple and Convenient
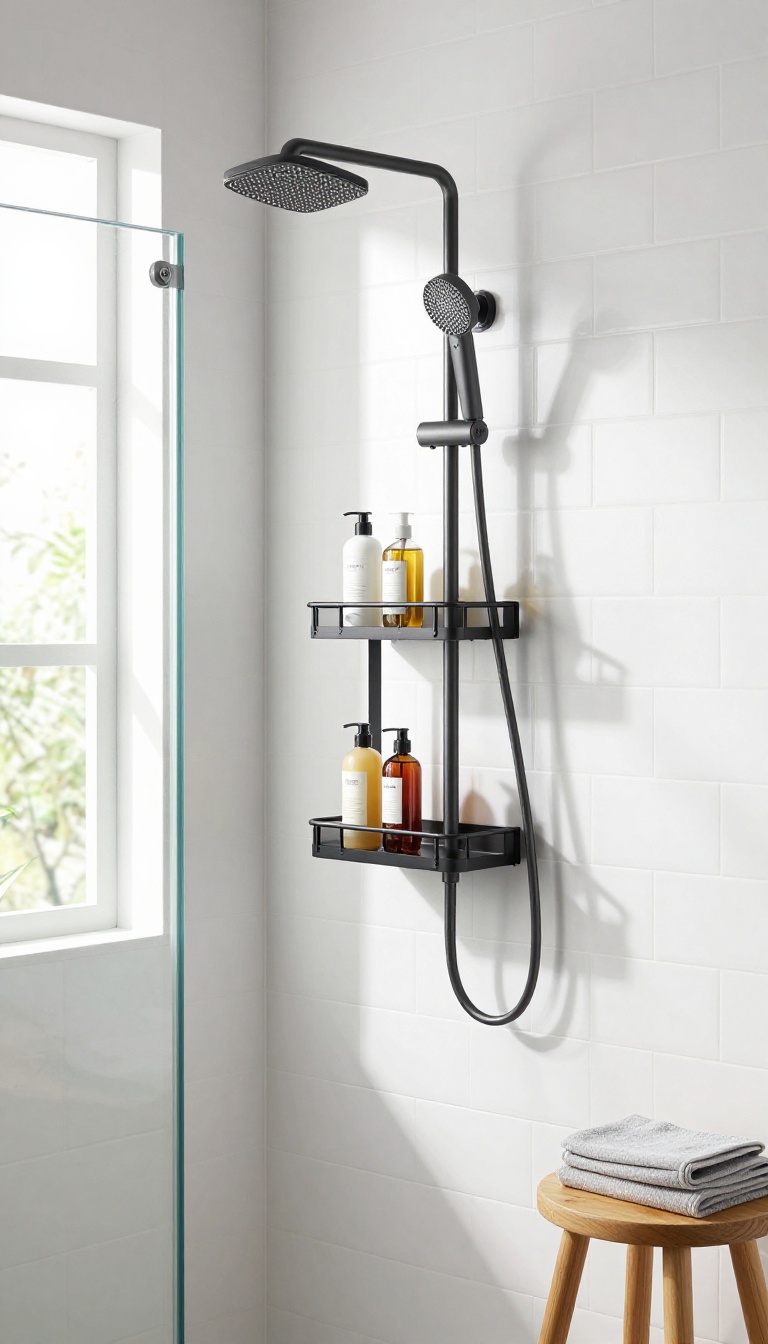
If you're looking for a storage fix that takes less than a minute to set up, an over-the-showerhead caddy is a no-brainer. It hooks right over your existing showerhead, giving you instant shelves and hooks without any tools or permanent changes. That makes it perfect for dorm rooms, temporary rentals, or anyone who wants a quick solution without commitment.
These caddies are typically made of rust-resistant metal or plastic and come in a range of sizes. The main advantage is the convenience—you can hang it, load it with your essentials, and start using it right away. Plus, since it doesn't attach to the wall, you won't have to worry about damaging tile or grout.
The downside is that it can sway if you bump it, and it might not fit every showerhead style, so it's worth checking the fit before you buy.
What To Look For
When choosing an over-the-showerhead caddy, pay attention to the hook design. Some have a single hook that loops around the neck of the showerhead, while others have a U-shape that rests on top. A U-shape tends to be more stable.
Also, consider the material—coated metal resists rust better than bare steel, and plastic is lightweight but may not hold as much weight. Look for adjustable shelves or removable baskets if you need to customize the layout.
Installation Tips
Installing this caddy is as simple as hanging a towel. Just slip it over the showerhead, making sure it sits evenly and doesn't block the water flow. If the caddy feels loose, you can add a small piece of rubber or a zip tie to secure it.
Avoid overloading it with heavy bottles, as that can put stress on the showerhead arm. A quick check every few weeks keeps it secure.
Best Uses
This caddy shines in spaces where you can't drill or stick anything. It's ideal for students living in dorms, people renting apartments with strict rules, or anyone who moves frequently. It also works well as a temporary solution while you decide on a more permanent rack.
Use it to hold daily essentials like shampoo, conditioner, and body wash, and keep the top shelf for smaller items like razors or loofahs.
7. Built-In Niche Shelf: Sleek and Seamless
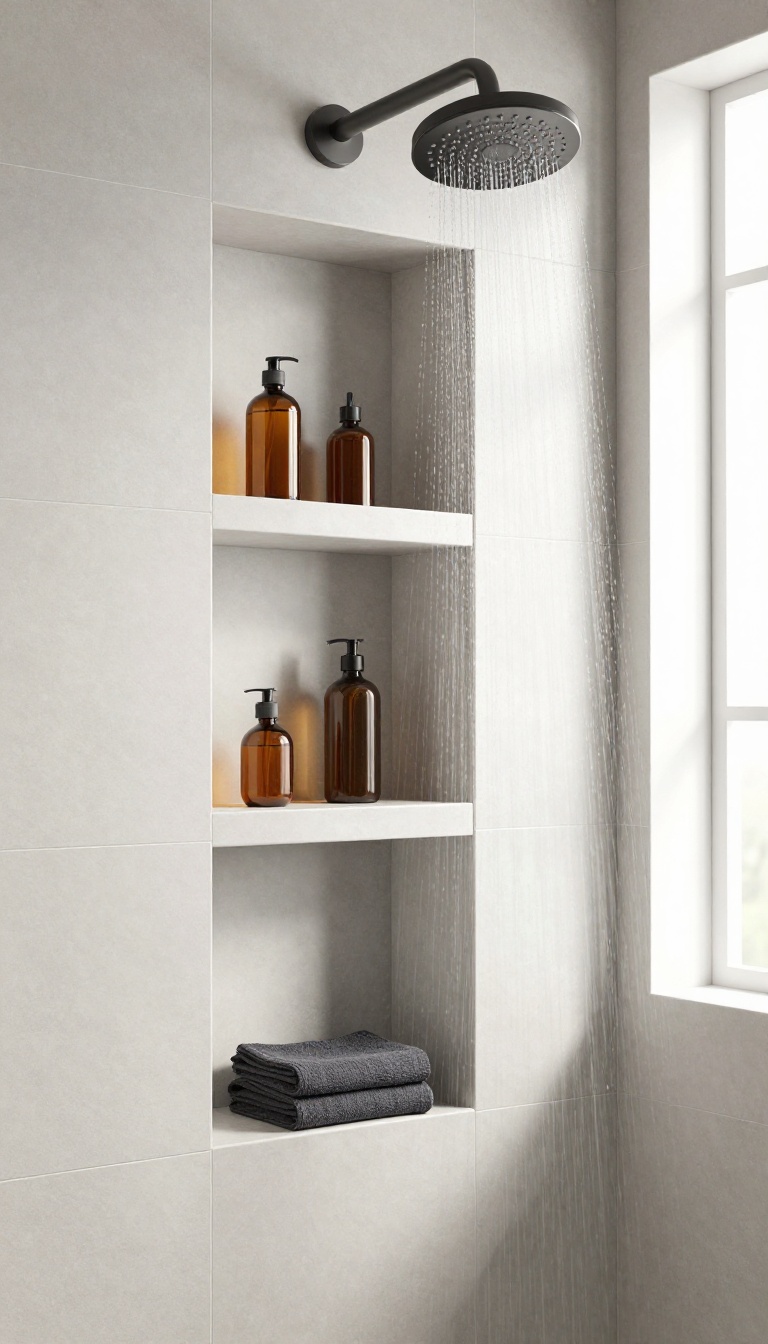
For a permanent, high-end look, a built-in niche in the shower wall offers a recessed shelf that blends with the tile, creating a smooth, uncluttered appearance. This option is perfect for renovations or new builds, giving you a custom storage solution that feels like part of the architecture. It eliminates bulky racks and keeps your shower looking open and airy.
A built-in niche is a recessed shelf carved into the shower wall, typically between studs. It’s finished with the same tile or waterproof material as the rest of the shower, so it looks intentional and seamless. Unlike add-on racks, it doesn’t intrude into your space, making even a small shower feel more spacious.
The key is planning: you need to decide on the size, location, and number of shelves before the wall is closed up.
Why Choose A Niche?
The main appeal is the clean, integrated look. No metal or plastic parts to rust or fade, just a smooth surface that’s easy to wipe down. It also maximizes storage without sacrificing elbow room, which is a big win in compact showers.
Plus, it adds value to your home—buyers love built-in features that feel custom.
Planning Your Niche: Size And Placement
Aim for a niche that’s at least 12 inches tall and 12 inches deep to hold standard bottles, but adjust based on your needs. Place it at shoulder or chest height for easy reach, and avoid positioning it directly under the showerhead to prevent water pooling. If you want multiple shelves, consider a taller niche with a divider, but keep in mind that each shelf needs proper waterproofing.
Installation Tips For A Flawless Finish
This is a job best done during a full bathroom remodel, as it requires cutting into wall studs and dealing with plumbing. Hire a professional unless you’re experienced with tile and waterproofing. Use a pre-formed niche insert or build one with cement board and waterproof membrane.
Ensure the niche slopes slightly forward to prevent water from sitting on the shelf, and seal all edges with silicone.
8. Bamboo Teak Shelf: Natural and Water-Resistant
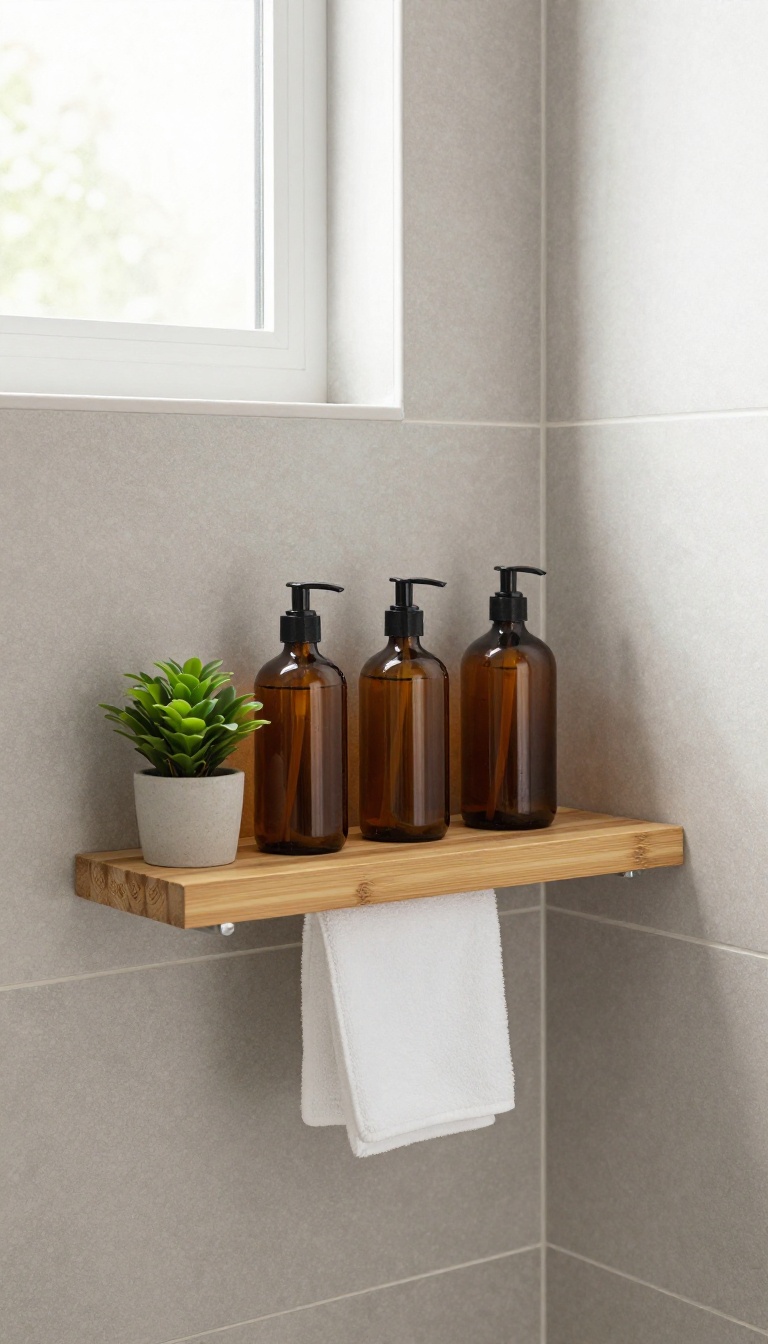
If you're after a storage option that feels more like furniture than hardware, a bamboo or teak shelf brings a warm, organic touch to the shower. These woods are naturally moisture-resistant, so they handle steam and splashes without warping or rotting like other materials might. Plus, they add a subtle spa vibe that plastic just can't replicate.
Bamboo and teak are the go-to choices for shower shelving because they're built to handle damp environments. Bamboo grows fast and is eco-friendly, while teak is dense and oily, making it almost impervious to water damage. Both offer a clean, natural look that pairs well with neutral tiles and earthy accessories.
Why Bamboo And Teak Work In Wet Spaces
These woods have natural oils that repel water, so they won't swell or crack like pine or oak. Bamboo is actually a grass, but it's incredibly sturdy and resists moisture when properly sealed. Teak has been used on boat decks for centuries because it can handle constant exposure to water without breaking down.
Where To Place A Natural Shelf
A corner shelf is a classic choice, but you can also mount a teak shelf on a flat wall or hang it from a tension pole system. If you're renting, look for models that use adhesive strips or tension rods instead of screws. Place it at chest height so you can easily reach shampoo and soap without stretching.
Caring For Your Wooden Shelf
To keep the wood looking fresh, wipe it down occasionally with a soft cloth to remove soap scum. Every few months, apply a thin coat of teak oil or a food-safe sealant to maintain the water resistance. Avoid abrasive cleaners that can strip the finish.
9. Hanging Basket System: Flexible and Airy
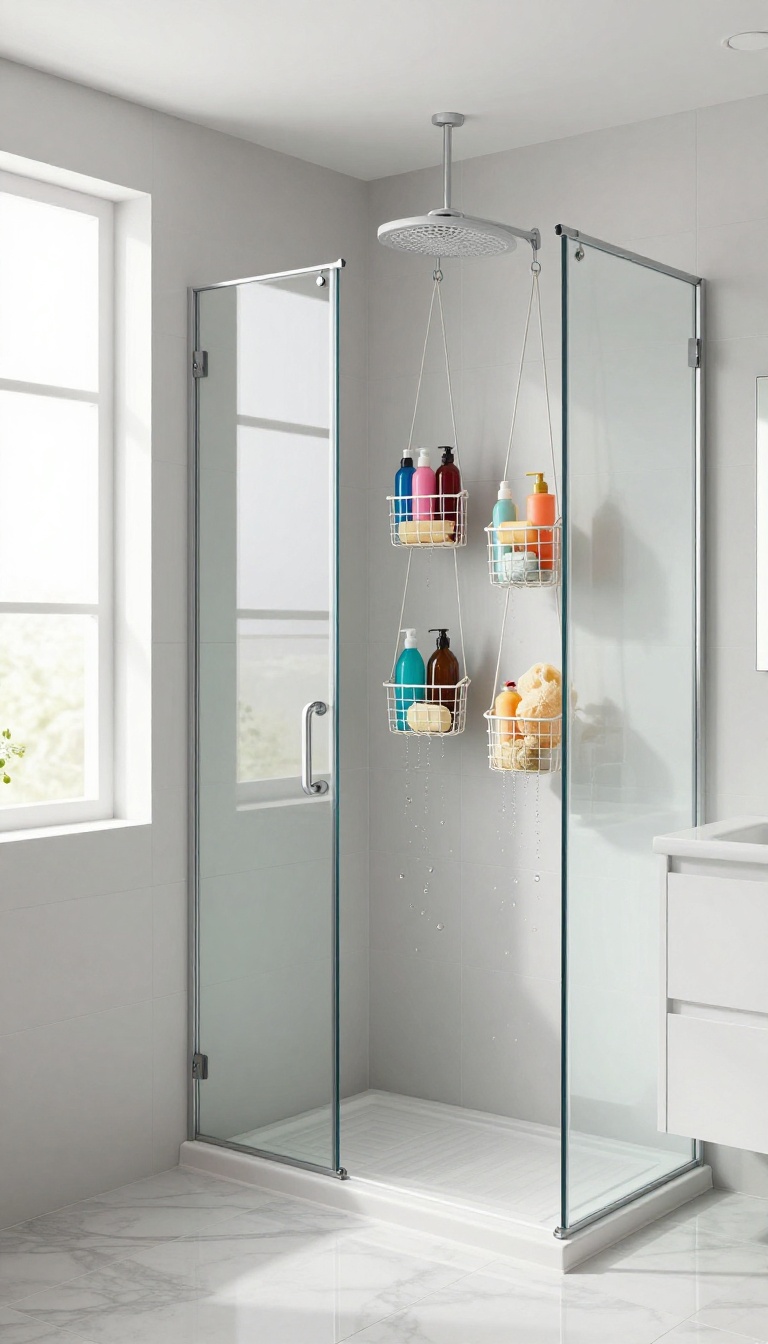
When wall space is tight or you just want a storage setup that feels light and open, hanging baskets offer a smart alternative. They hang from the ceiling, a showerhead arm, or a sturdy hook, keeping your bottles and soaps visible and within reach. Plus, the open weave lets water drain and air circulate, which helps prevent that dreaded mildew smell.
Hanging baskets are a versatile choice for showers of all sizes. They work especially well in rentals where you can't drill into tile, or in corner showers where a bulky caddy would get in the way. You can mix and match basket sizes to hold everything from travel-sized bottles to full-size shampoo containers.
Pick The Right Basket Material
Wire baskets are the classic go-to—they dry quickly and are easy to clean. For a softer look, try woven rattan or bamboo, but make sure they're treated for moisture or you'll end up with mold. Plastic-coated wire resists rust and comes in fun colors, while stainless steel offers a sleek, modern feel that lasts.
Hang Them Securely
The key to a safe hanging basket is a solid anchor. If you're attaching to the ceiling, use a hook rated for wet areas and make sure it's screwed into a stud or a drywall anchor. For a no-drill option, look for adjustable hooks that clamp onto the showerhead arm or a tension rod.
Always test the weight capacity before loading up your products.
Arrange For Easy Reach
Think about what you use daily and hang those items at shoulder or waist height. Put less-used products higher up. Group similar items—like hair care in one basket and body wash in another—so you can grab what you need without fumbling.
Leave enough space between baskets so they don't bump into each other or the shower wall.
Style Them To Match Your Bathroom
Hanging baskets can be a design feature, not just a storage fix. Choose baskets in a finish that complements your fixtures—brushed nickel, matte black, or even a pop of color. Add a small hook under a basket for a loofah or washcloth.
Keep the look tidy by using matching containers or decanting products into uniform bottles.
10. Adhesive Corner Caddy: Damage-Free and Easy
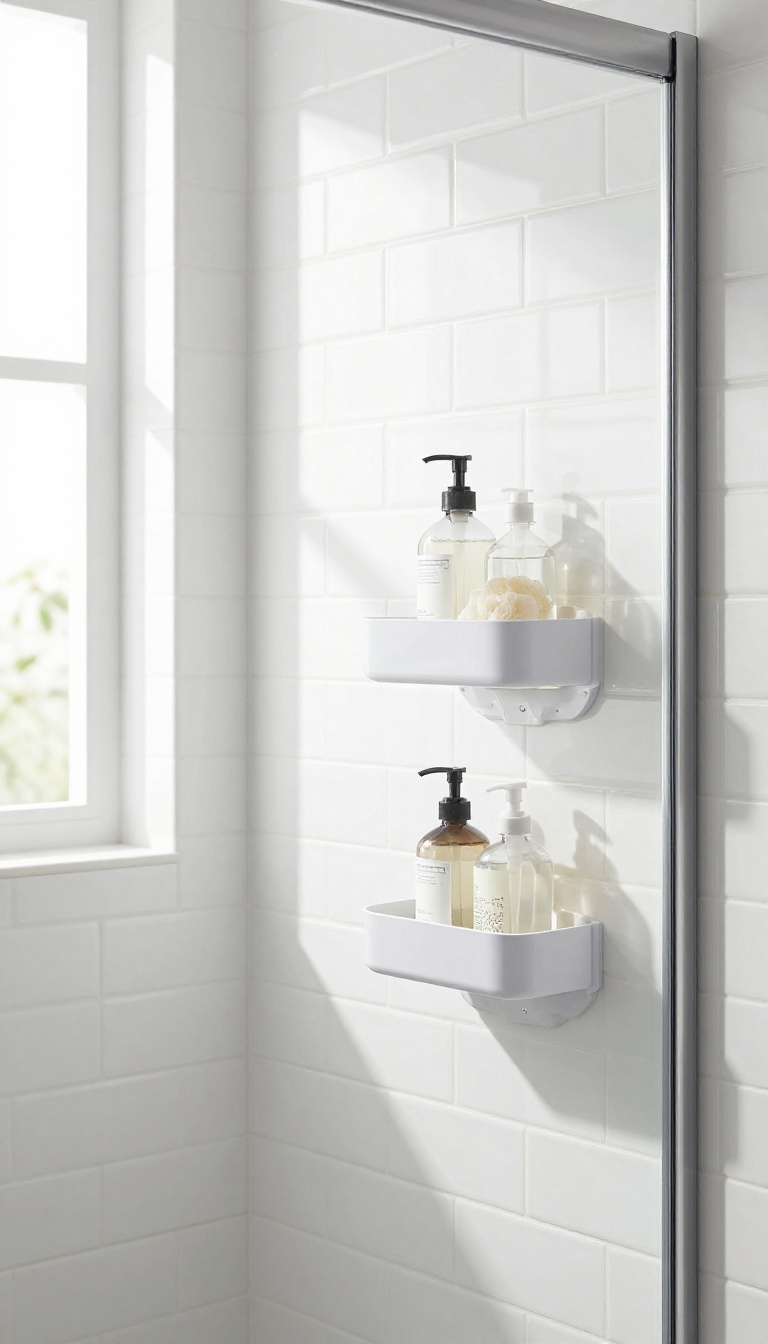
Strong adhesive strips let you mount a corner caddy without drilling, and they can be removed cleanly when you move or change your mind. That makes them a favorite for renters, dorm dwellers, or anyone who wants a quick upgrade without committing to permanent hardware. Plus, they're surprisingly sturdy when installed correctly.
Adhesive corner caddies are all about smart placement and proper prep. They tuck neatly into the shower corner, keeping bottles and soap within easy reach while freeing up floor space. Best of all, they install in minutes and leave no trace behind when you take them down.
Why Choose An Adhesive Caddy?
The biggest draw is the damage-free installation. No drill, no screws, no patching holes when you move out. The adhesive strips used are strong enough to hold a loaded caddy, but they release cleanly with a gentle pull when you're ready to remove it.
That's a huge relief if you're renting or just not ready to commit to a permanent fixture.
Getting The Bond Right
For the adhesive to hold, the wall surface needs to be clean, dry, and smooth. Wipe the tile with rubbing alcohol and let it dry completely before sticking the strips. Press firmly for about 30 seconds, then wait at least an hour before loading the caddy.
Skipping this prep is the most common reason adhesive caddies fail.
Where To Place It
Corners are prime real estate because they keep the caddy out of the main spray zone. Aim for a spot that's easy to reach but not directly under the showerhead, so your bottles don't get drenched every time you turn on the water. Also, check that the surface is completely flat—textured or grout-heavy corners won't give the adhesive enough contact.
Picking The Right Model
Look for a caddy with rust-proof materials like stainless steel or coated wire, and consider the shelf depth—too shallow and bottles may tip, too deep and it might crowd the corner. Some models come with hooks underneath for razors or loofahs, which adds extra utility without taking up more space.
11. Over-the-Toilet Shelf: Expanding Storage Nearby
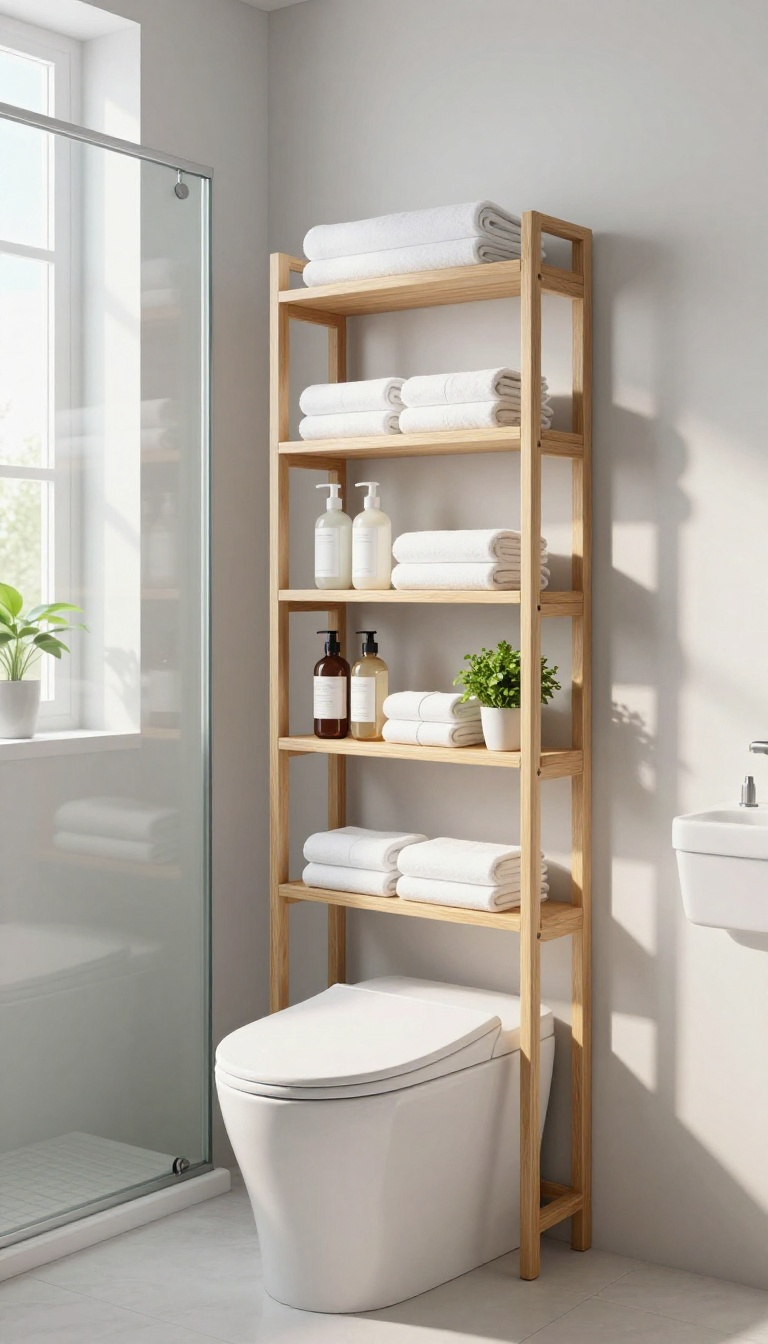
When your shower sits right next to the toilet, that narrow gap above the tank is prime real estate. An over-the-toilet shelf turns dead space into a handy staging area for towels, shampoo bottles, and other bath essentials. It keeps frequently used items within easy reach, so you don't have to juggle everything inside the shower or leave clutter on the floor.
Over-the-toilet shelves come in a range of styles, from simple metal frames to wooden ladder designs. They typically fit around the toilet tank and offer several tiers of shelving. Because they stand on the floor, they don't require any drilling or mounting, making them ideal for renters or anyone who prefers not to put holes in the walls.
The extra storage can free up your shower caddy and keep the space feeling less cramped.
Why Place It Near The Shower?
If your bathroom layout puts the toilet right beside the shower, you can reach over and grab a fresh towel or swap out a shampoo bottle without stepping out dripping wet. This setup cuts down on trips back and forth and keeps the shower itself less cluttered. It also gives you a spot to stage your bathrobe or slippers so they're ready when you finish.
Choosing The Right Materials
Bathrooms get humid, so pick materials that can handle moisture. Powder-coated metal resists rust, while bamboo or teak options bring warmth and are naturally water-resistant. Avoid raw wood or cheap laminates that can warp or peel.
Look for a shelf with adjustable feet or a sturdy frame that won't wobble, especially if you have a pedestal sink or uneven floor.
Styling And Organization Tips
Use baskets or bins on the lower shelves to corral smaller items like hair ties, lotions, or cleaning supplies. Roll towels instead of folding them to save space and add a spa-like feel. Keep the top shelf for decorative accents or items you use less often.
Since this shelf is visible, a little styling goes a long way toward keeping the bathroom looking polished.
12. Repurposed Mason Jar Rack: Rustic Charm
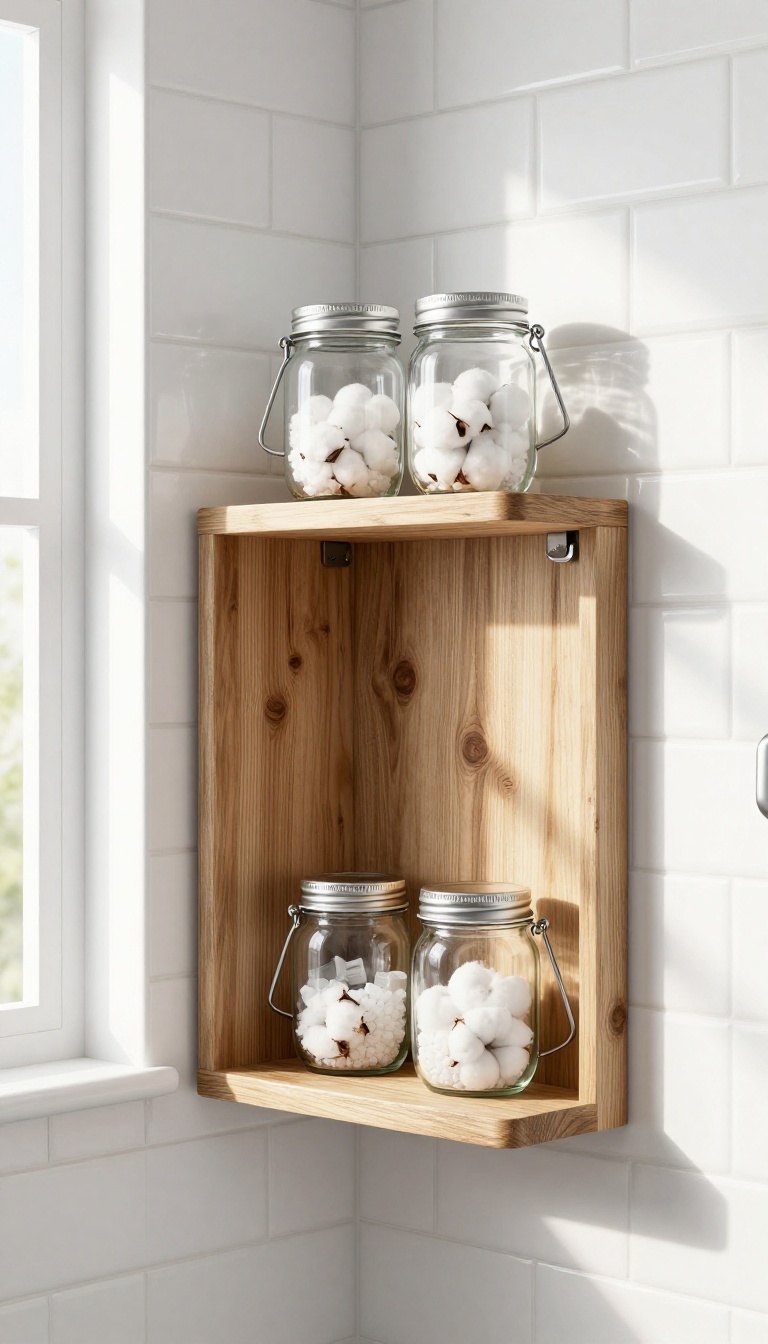
Mason jars aren't just for canning or trendy drinks—they can pull serious weight in the shower. With a little creativity, you can turn them into a one-of-a-kind storage solution that brings rustic warmth to your daily routine. This idea is perfect for anyone who loves a handmade touch or wants to upcycle materials they already own.
Building a mason jar rack is simpler than it sounds. You can mount a wooden board or metal pipe to the wall and secure the jars with hose clamps or wire. The jars become see-through holders for cotton balls, bath salts, or small toiletries, keeping everything visible and within reach.
Plus, the glass adds a charming, vintage vibe that plastic caddies just can't match.
Choosing The Right Jars And Mounts
Standard mason jars work best, but you can mix sizes for different items. Wide-mouth jars are easier to fill and clean, while regular mouths suit smaller things like cotton swabs. For mounting, use galvanized hose clamps that wrap around the jar neck, or craft a wooden cradle with a hole that holds the jar securely.
Make sure the mounts are rust-resistant since they'll be in a humid environment.
Installation And Placement Tips
Attach the board or pipe to the wall using waterproof adhesive strips or screws into studs. Place the rack at a height where you can easily reach the jars, but not where they'll get soaked every time you turn around. A corner or a spot away from the direct spray works best.
If you're renting, adhesive strips are a damage-free option that still holds firm.
Styling And Maintenance
To keep the rustic look, choose a wood finish that's sealed with waterproof varnish or use a metal pipe with a matte black or copper finish. Arrange jars in a row or staggered pattern for visual interest. Clean the jars regularly to prevent soap scum buildup, and check the clamps for any signs of corrosion.
With a little care, this rack becomes a durable, eye-catching feature.
13. Slim Caddy for Small Showers: Space-Saving
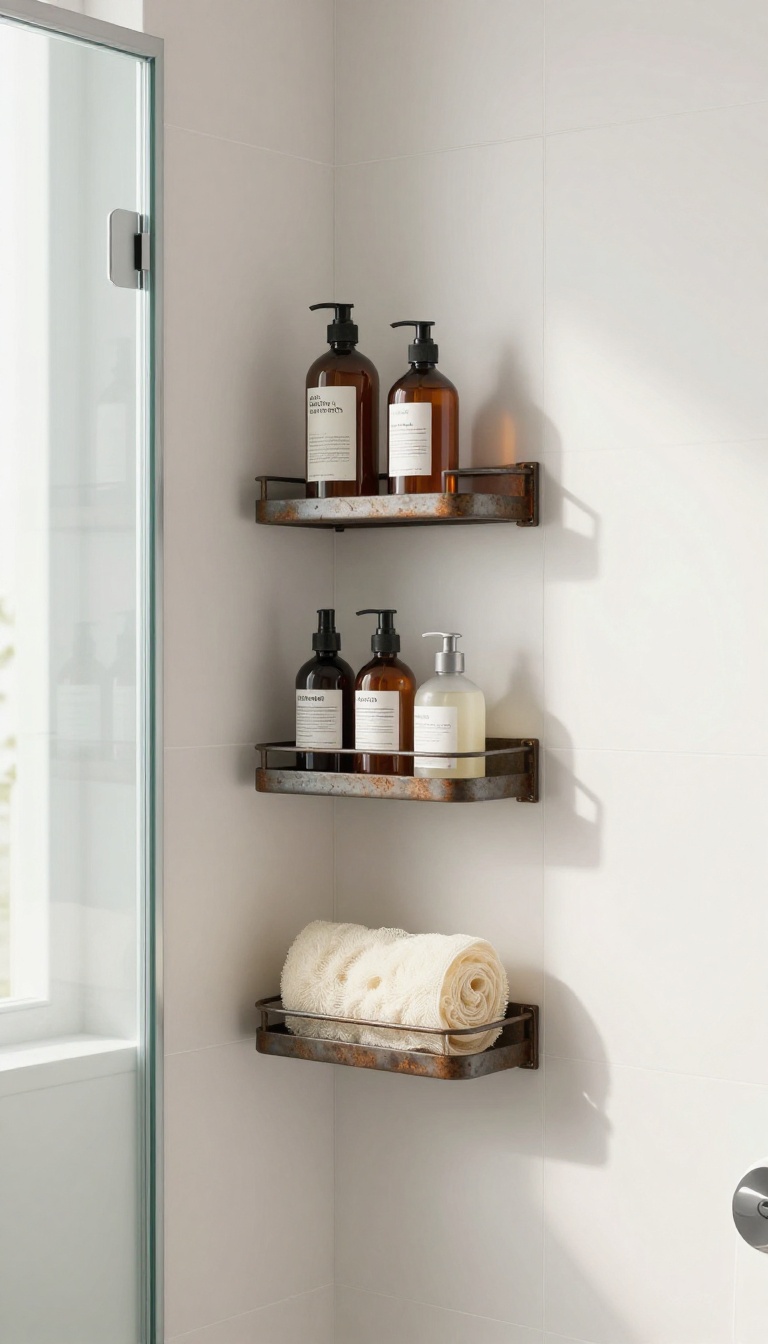
When your shower is more like a phone booth, every inch matters. A slim vertical caddy can turn that awkward gap between the showerhead and the wall into a surprisingly handy storage spot. It hugs the wall without sticking out, so you won't be bumping elbows or knocking bottles over.
This type of caddy is all about working with tight spaces. Instead of spreading out horizontally, it stacks your essentials upward. You can keep shampoo, conditioner, and body wash within easy reach without turning your shower into an obstacle course.
Fit The Gap, Not The Whole Wall
Measure the space between your showerhead and the wall before you buy. Many slim caddies are designed to fit that narrow strip, but widths vary. Look for one that leaves a little breathing room so water can flow freely and you can still grab the controls without obstruction.
Hold The Essentials, Skip The Clutter
A slim profile means you can't store your entire bathroom shelf. That's actually a good thing. Keep only the daily essentials—shampoo, conditioner, body wash, maybe a loofah.
You'll be surprised how much less clutter you deal with when you're forced to prioritize.
Choose Rust-resistant Materials
Even in a small space, moisture builds up fast. Pick a caddy made from rust-resistant materials like stainless steel, aluminum, or coated plastic. Avoid cheap metal that will start to corrode after a few months.
A little extra upfront cost saves you from an ugly, flaky mess later.
Install Without Drilling
If you're renting or just don't want to damage tile, look for a slim caddy that uses adhesive strips or a tension mount. These options are surprisingly sturdy when installed on a clean, dry surface. Just follow the instructions carefully, and give the adhesive enough time to set before loading it up.
14. Industrial Pipe Shelf: Modern and Sturdy
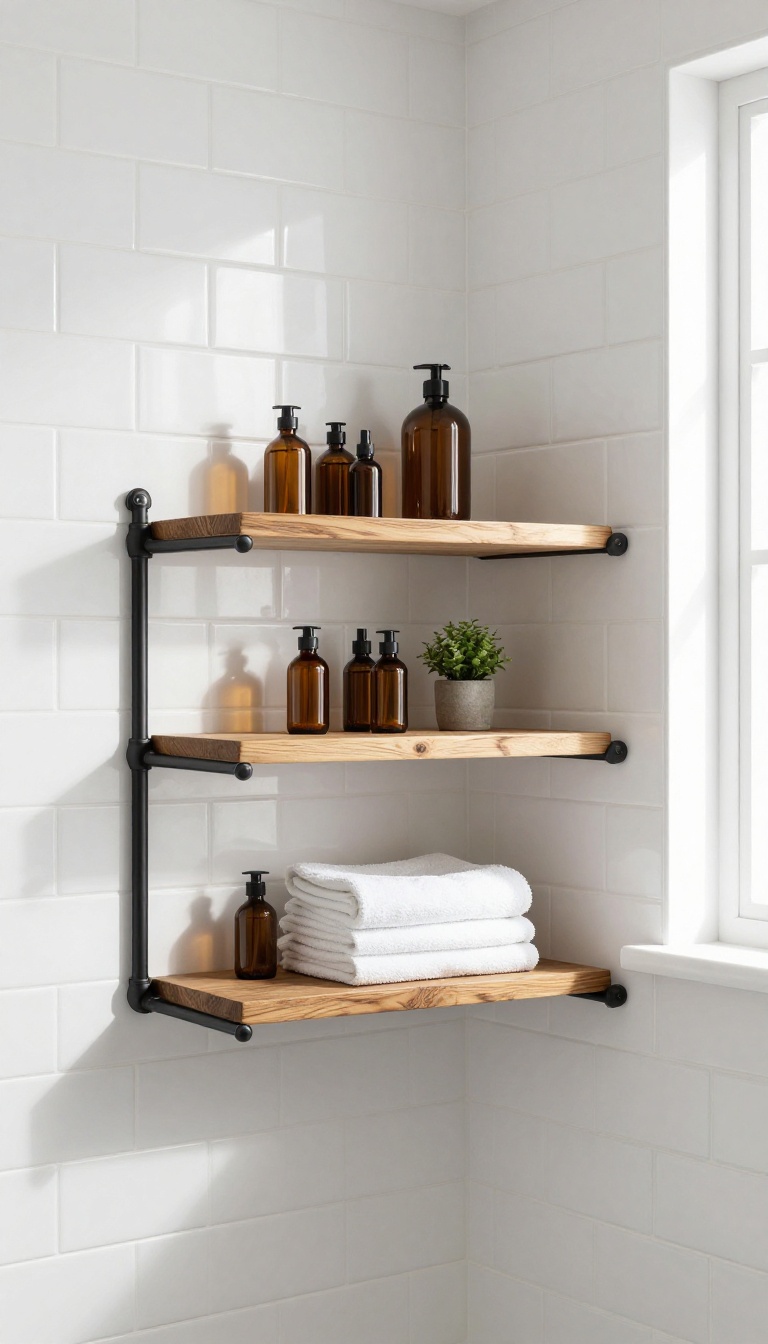
For a shower that feels like it belongs in a chic loft, an industrial pipe shelf brings raw, rugged charm with serious durability. Black iron pipes paired with warm wooden planks create a striking contrast that instantly elevates the space. This isn't just a storage rack—it's a statement piece that holds everything from shampoos to folded towels.
Building an industrial pipe shelf is a fun weekend project that lets you customize the exact size and shape for your shower. The sturdy metal pipes can handle heavy bottles without bowing, and the wood adds a touch of warmth that keeps the look from feeling too cold. Plus, the open design allows water to drain easily, preventing soap scum buildup.
Choosing The Right Wood And Finish
Go with teak or cedar for natural water resistance, or seal a cheaper wood like pine with a waterproof varnish. The wood planks should be sanded smooth and finished with a matte sealant to prevent splinters and mildew. Dark walnut or reclaimed barn wood adds extra character, while lighter woods like birch keep the space feeling airy.
Pipe Configurations That Work
You can mount a single shelf against the wall using flanges, or build a freestanding ladder-style unit that leans in the corner. For a built-in look, run pipes from floor to ceiling with shelves at different heights. If you're handy, add a towel bar by extending the pipe horizontally—just make sure it's securely anchored to studs.
Installation Tips For A Secure Fit
Measure your shower space carefully and mark the stud locations before drilling. Use a level to keep the shelf straight, and opt for stainless steel screws to prevent rust. For a rental-friendly option, use heavy-duty adhesive hooks instead of drilling—just make sure the pipes aren't too heavy.
Always let the shelf dry completely after each use to keep the wood in top shape.
15. DIY Shower Caddy: Custom and Budget-Friendly
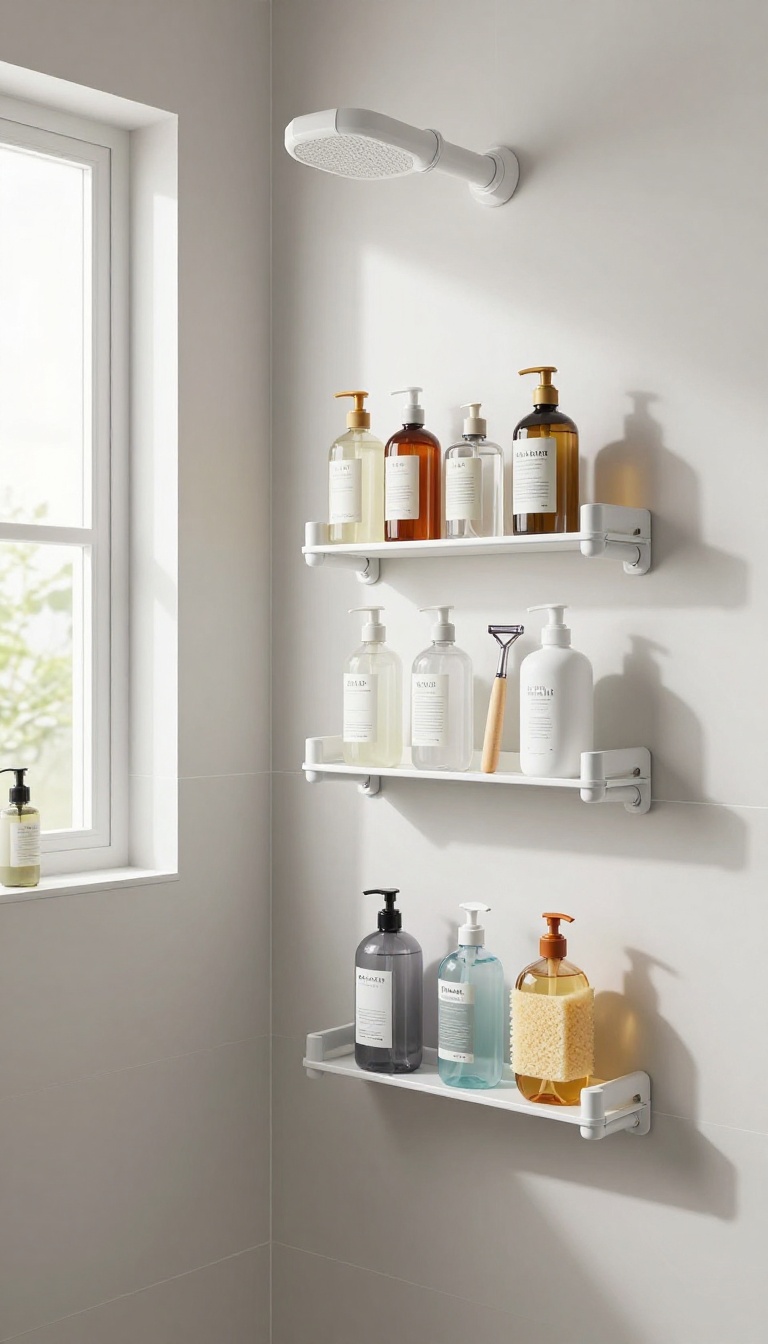
If you have a specific layout or just love a good weekend project, building your own shower caddy is a surprisingly straightforward way to get exactly what you need without spending a fortune. With a few basic tools and some creative repurposing, you can craft storage that fits your space perfectly and matches your style.
DIY shower caddies let you break free from standard sizes and materials. Whether you're working with an odd corner, a sloped ceiling, or simply want something that doesn't look like everyone else's, making your own is both practical and rewarding. Plus, you can choose water-resistant materials that suit your bathroom's humidity levels.
Pvc Pipe Caddy: Lightweight And Totally Customizable
PVC pipes are cheap, easy to cut, and naturally waterproof. You can design a vertical tower with shelves for bottles, or a horizontal rack that hangs over the showerhead. Use pipe cement to secure joints, then spray-paint it with a rust-proof finish to match your bathroom.
Add end caps to hold small items like razors or loofahs. This option is especially great for renters because it can be assembled without any permanent changes.
Upcycled Wire Baskets: Rustic Charm With A Modern Twist
Old wire baskets from garage sales or thrift stores can become stylish shower storage. Attach them to a wooden board or metal frame, then hang the whole unit from a tension rod or mount it on the wall. The open weave allows water to drain, preventing mildew.
For a cohesive look, spray-paint the baskets with a matte finish. This approach adds texture and character to your shower while keeping everything within reach.
Repurposed Containers: Eco-friendly And One-of-a-kind
Look around your house for items you no longer use—tin cans, mason jars, or even old kitchen utensils. Clean them thoroughly, add drainage holes if needed, and secure them to a wooden board or a metal rail. This method is budget-friendly and gives your shower a unique, personalized touch.
Just make sure whatever you choose can handle moisture without rusting or warping.
FAQ
What is the best material for a shower rack?
Stainless steel, aluminum, and plastic-coated wire are popular for their rust resistance. Bamboo and teak are natural options that handle moisture well, but they need occasional sealing.
How do I prevent rust on my shower rack?
Choose racks made from rust-resistant materials like stainless steel or aluminum. Ensure proper ventilation in your bathroom and wipe down the rack periodically to keep it dry.
Can I install a shower rack without drilling?
Yes, there are many no-drill options, including tension pole caddies, adhesive hooks, and over-the-door racks. These are great for renters or those who prefer not to damage tiles.
How do I choose the right size shower rack?
Measure your shower space and consider the number of items you need to store. Look for racks that fit your shower's dimensions and offer enough shelves or hooks for your essentials.
What is the best way to organize a shower caddy?
Group items by frequency of use. Keep daily essentials like shampoo and soap on the most accessible shelves, and store less frequently used items higher or lower. Use baskets or dividers to keep small items tidy.
Conclusion
Finding the right shower rack is about balancing your storage needs with your space and style. Whether you prefer a simple adhesive caddy or a custom DIY project, the goal is to keep your shower functional and clutter-free.
Take your time to assess your bathroom and choose a solution that makes your daily routine smoother. With these 15 ideas, you're well on your way to a more organized and efficient shower space.