11 Walk-In Master Shower Ideas for a Neat, Well-Planned Look
Picture this: you step into your master bath, and the shower is the first thing that catches your eye—no bulky enclosure, no cluttered ledges, just a seamless, open space that feels both luxurious and effortless. A walk-in shower can do that, but only if it's planned with care.
The difference between a shower that feels chaotic and one that feels serene often comes down to a few smart design choices. From the entry style to the placement of shelves and the type of glass, every detail matters.
You want a space that's easy to clean, safe to use, and visually pleasing. But with so many options, where do you start?
1. Curbless Entry for a Seamless Floor
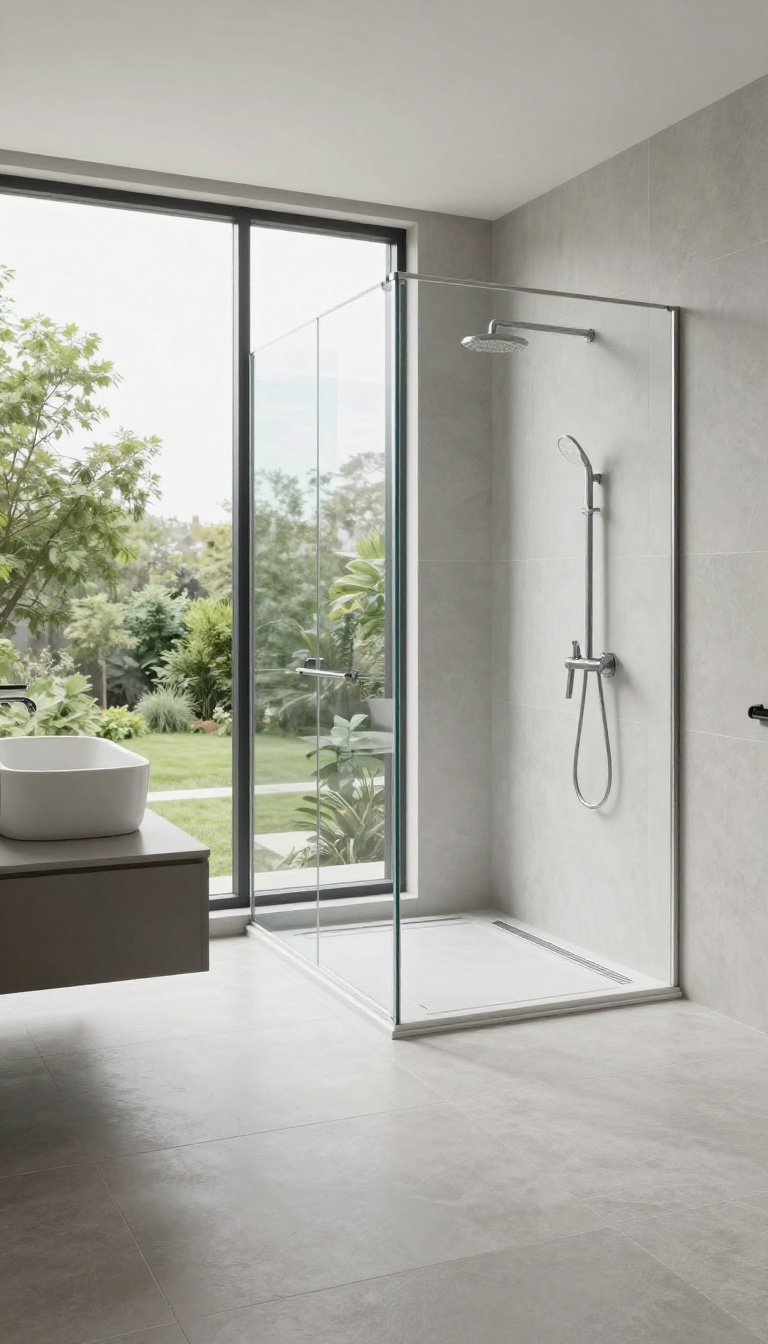
A curbless, or zero-threshold, shower entry does away with the raised lip you typically step over. Instead, the shower floor flows right into the rest of the bathroom, creating one continuous surface. That single design choice instantly makes the room feel more open and streamlined, and it’s a favorite in modern master baths for good reason.
Removing the curb not only looks sleek but also solves practical issues. You won’t trip over a step, and there’s no ledge to collect soap scum or grime. Cleaning becomes a breeze since you can simply sweep or mop straight into the shower area.
Plus, the seamless transition visually expands the space, making even a compact bathroom feel more generous.
Slope It Right
The key to a curbless shower is proper floor sloping. The shower floor needs a gentle incline toward the drain, typically about 1/4 inch per foot. Work with a contractor to ensure the slope is built into the subfloor before tiling, so water flows efficiently and doesn’t pool outside the shower zone.
Linear Drain Options
Pair your curbless entry with a linear drain placed at the shower’s edge or along the back wall. A linear drain allows for a nearly flat floor surface, which is easier to walk on and looks ultra-modern. It also gives you more flexibility with tile patterns, since you can use large-format tiles without a lot of cutting.
Water Containment
Without a curb, you need to think about water staying where it belongs. A slightly sloped floor and a well-placed shower curtain or glass panel can help. If you go with a glass enclosure, consider a fixed panel that leaves a small opening for entry—this keeps most splashes inside while maintaining that open feel.
2. Linear Drain for a Clean, Minimal Look
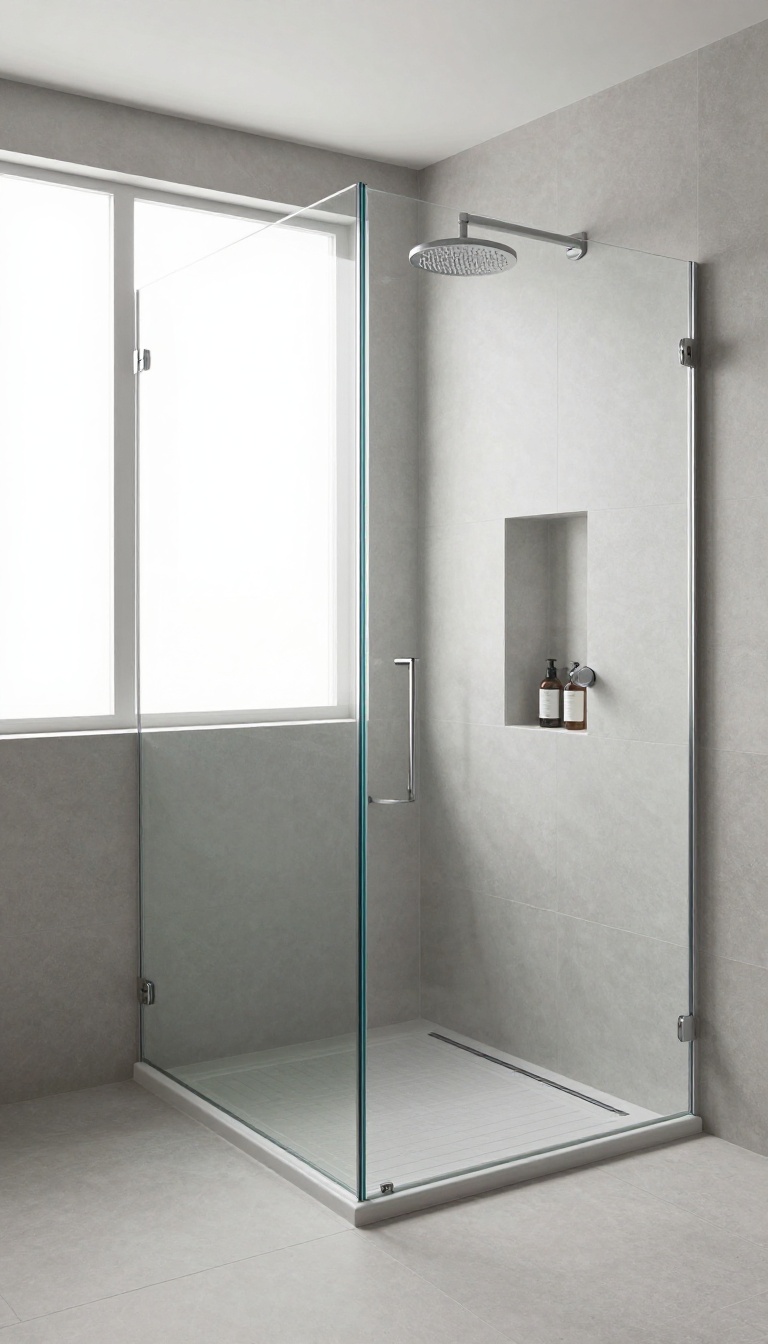
A linear drain might seem like a small detail, but it can completely change how your shower feels and functions. Instead of a traditional center drain that forces the floor to slope from all sides, a linear drain sits flush along one edge or wall. This simple switch makes the floor level and flat, which feels more comfortable underfoot and looks beautifully streamlined.
It also simplifies cleaning—there are no awkward slopes or corners where water pools. And because the drain can be tiled over with the same material as your floor, it can disappear almost entirely, leaving you with a seamless, minimalist surface that’s easy to maintain.
Choosing a linear drain is about more than just aesthetics. It solves practical problems too. With a flat floor, you avoid the tripping hazard that a raised center drain can create, and you gain more flexibility in tile size and layout.
Large-format tiles, for instance, look much better on a level surface because they don’t need to be cut to accommodate a slope. Another benefit is water management. Since the drain is positioned along one side, water naturally flows in one direction, which can be more efficient and reduces the chance of puddling.
You can also pair it with a slight slope toward the drain, but the overall floor remains mostly level, making the shower feel more like a wet room than a traditional enclosure. Installation does require some planning. The drain needs to be set at the right height during the build, and the waterproofing must be done carefully to avoid leaks.
But once it’s in, you’ll appreciate the clean look and the ease of cleaning—no more scrubbing around a round drain cover.
Why A Flat Floor Matters
A flat shower floor is a game-changer for comfort and safety. You won’t feel the usual slope underfoot, which makes standing for longer periods more pleasant. It also reduces the risk of slipping, especially if you have kids or older adults using the shower.
Plus, a level floor opens up design possibilities—you can use large tiles without worrying about lippage, and you can even run the same tile from the shower floor out into the bathroom for a seamless, spa-like look.
Placement And Water Flow
Where you put the linear drain affects how water behaves. Placing it at the entrance or along the back wall creates a subtle gradient that guides water away from the opening, keeping the rest of the bathroom dry. If you place it in the middle, you can create a gentle two-way slope, but that’s less common.
Think about how you move in the shower and where water tends to pool—choosing the right location ensures efficient drainage and a safer, more comfortable experience.
Tile Options For A Seamless Finish
One of the biggest selling points of a linear drain is that you can tile right over the grate, making it nearly invisible. Use the same tile as your floor for a truly continuous surface, or choose a contrasting tile to make the drain a deliberate design feature. If you want a minimalist look, opt for a narrow slot drain with a tile insert.
Just make sure the tile is cut to fit precisely and that the drain is designed to accept tile, so it sits flush and doesn’t create a trip hazard.
3. Frameless Glass Panels to Keep It Open
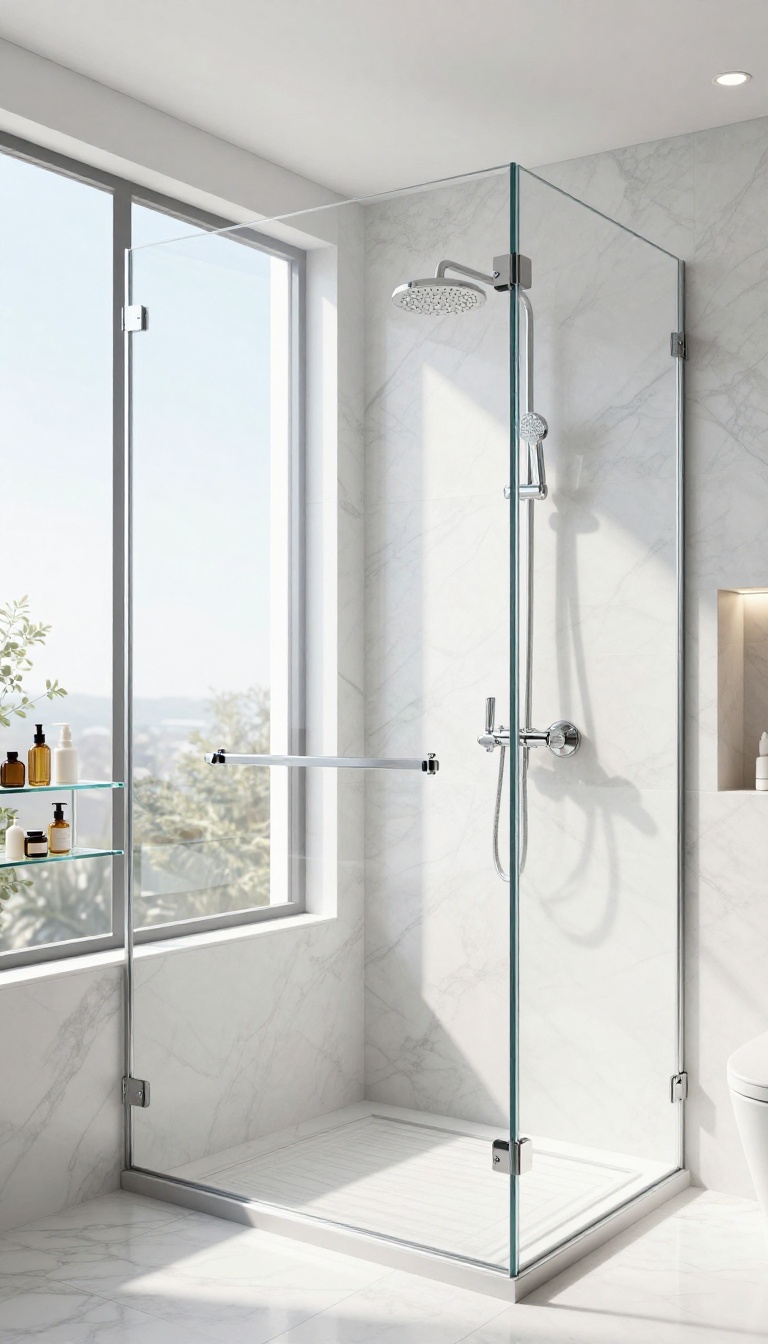
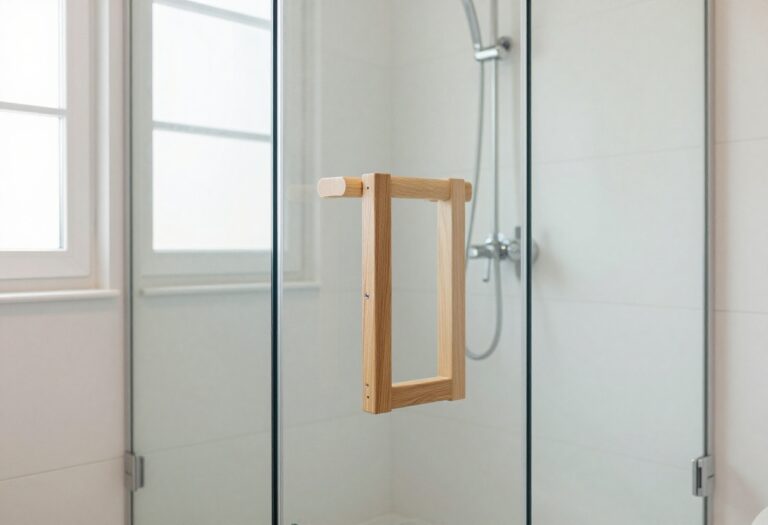
Frameless glass panels are the quiet workhorses of modern bathroom design. Without bulky metal frames, they let the eye travel uninterrupted from the shower to the rest of the room, which instantly makes the space feel larger. And because there are fewer nooks and crannies, cleaning becomes a quick wipe-down rather than a chore.
The real beauty of frameless glass is how it disappears into the background. You get the function of a shower enclosure without the visual clutter. It’s a minimalist approach that works in almost any bathroom style, from spa-like retreats to sleek urban designs.
Plus, the lack of frames means you can showcase beautiful tile work or a striking shower fixture without anything competing for attention.
Why Choose Frameless?
Frameless panels use thicker glass—usually 3/8 or 1/2 inch—and rely on sturdy hinges and clips for support. This gives them a clean, polished look that framed options can’t match. They also let in more light, making your shower feel airier.
And because there’s no metal track to collect soap scum or mildew, maintenance is a breeze.
Single Panel Vs. Pivot Door
A single fixed panel is perfect if you want a truly open entry—you just walk in from one side. It’s the simplest, most minimal option. A pivot door, on the other hand, offers a bit more enclosure while still keeping that frameless aesthetic.
It swings open and closed smoothly, which can help contain water if your shower is in a tighter spot.
Installation And Safety Notes
Because frameless glass is heavy, installation is best left to professionals. They’ll ensure the glass is properly supported and the seals are watertight. Look for tempered safety glass, which is required by code in most places.
Also, consider a clear glass with a protective coating to make water bead up and roll off, reducing spots and streaks.
4. Recessed Shelving for Toiletries
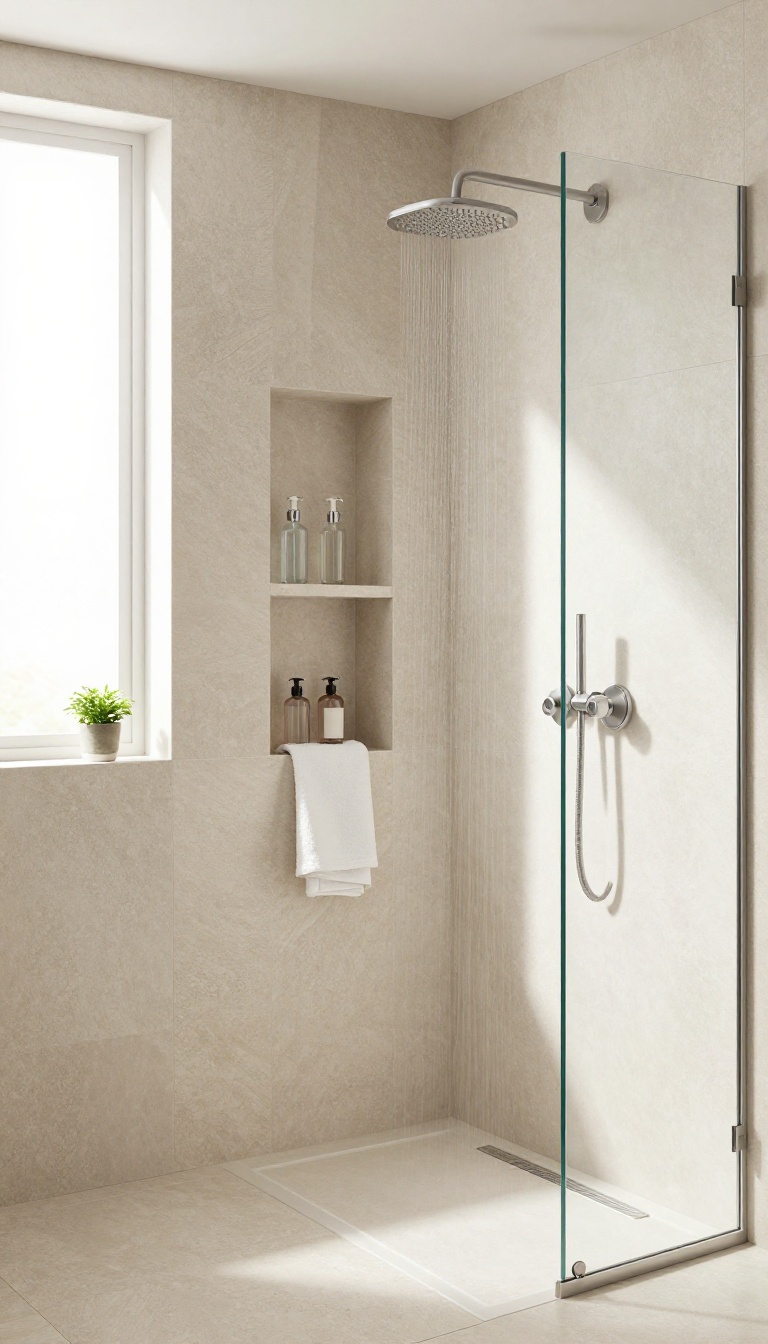
Ever juggled a slippery bottle of shampoo while trying to rinse off? Recessed shelving solves that by tucking your toiletries right into the wall, keeping them within easy reach but completely out of the way. It's one of those details that makes a walk-in shower feel thoughtfully designed and effortlessly tidy.
Built-in niches or recessed shelves in the shower wall keep shampoo and soap within reach without cluttering the floor or corners. They can be tiled to match the wall for a seamless look. Place them at a convenient height and consider multiple niches for organization.
Why Built-in Niches Beat Caddies
Shower caddies can look cluttered, collect soap scum, and sometimes rust or wobble. Recessed shelves are permanent, clean, and create a streamlined look. They also free up corner space, making the shower feel more open and easier to clean—no more reaching around hanging baskets or scrubbing tricky crevices.
Choosing The Right Size And Height
Think about what you'll store: tall shampoo bottles need more vertical clearance, while smaller items like razors can fit in a shallower niche. A good rule is to make the niche about 12 inches tall and 6 inches deep. Place it at chest or shoulder height so you can grab products without bending or stretching.
If you're sharing the shower, consider two niches at different heights.
Tiling And Finishing For A Seamless Look
To make the niche blend in, use the same tile as the surrounding wall. If you want a subtle contrast, choose a complementary tile or add a decorative border. Be sure to slope the niche floor slightly toward the drain to prevent water pooling, and use waterproof materials behind the tile to avoid moisture issues.
Multiple Niches For Better Organization
One niche can get crowded, especially if you have multiple family members. Installing two or three niches in different spots—like one for shampoo and conditioner, another for soaps and loofahs—keeps everything organized and prevents bottles from toppling over. You can even add a small niche near the shower seat for a book or candle.
5. Large-Format Tiles for Fewer Grout Lines
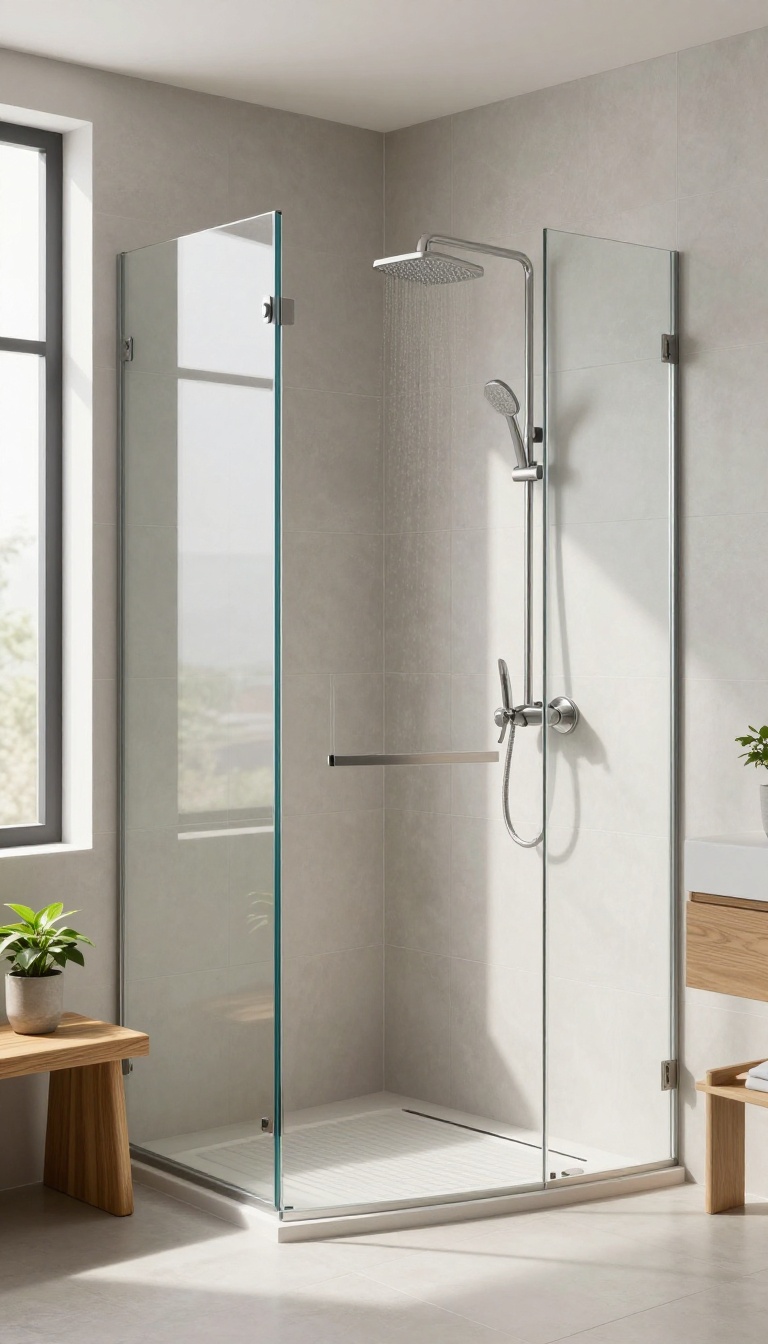
Grout lines are the unsung villains of bathroom maintenance—they trap soap scum, hard water, and mildew, and they demand constant scrubbing. Large-format tiles, like 12×24 inches or even bigger, slash the number of grout lines dramatically, making your shower easier to clean and visually sleeker. Plus, fewer lines mean a more seamless, modern look that can make a small bathroom feel larger.
Switching to large-format tiles isn't just about aesthetics; it's a practical upgrade that saves you time and effort. With fewer grout joints, there are fewer places for grime to hide, and the expansive surfaces are a breeze to wipe down. The clean, continuous lines also give your shower a high-end, spa-like feel that's both contemporary and timeless.
Why Bigger Tiles Work Better
Large tiles reduce the total linear feet of grout lines, which means less maintenance and fewer opportunities for staining. They also create a more open, uncluttered visual, especially when matched with a similar floor tile. The minimal grout lines help the eye travel smoothly across the space, making the shower feel more expansive and luxurious.
Choosing The Right Size And Layout
For wall tiles, 12×24 or 12×36 inches are popular choices, but you can go even larger—like 24×48—if your walls are flat and your installer is skilled. Lay them in a running bond or vertical stack to elongate the space. For the floor, use smaller large-format tiles (e. g. , 12×24 cut down) or opt for a coordinating mosaic to ensure proper slope toward the drain.
Slip Resistance And Texture Matters
While large-format tiles look stunning, safety is non-negotiable. Choose floor tiles with a textured surface or a rating of at least 0. 6 coefficient of friction (COF) when wet.
Many porcelain tiles offer slip resistance without sacrificing style. For walls, you have more freedom, but still consider a matte finish to reduce glare and provide better grip if you lean against them.
Installation Tips For A Flawless Finish
Large-format tiles require a perfectly flat substrate to avoid lippage (uneven edges). Use a leveling system and a trowel with a larger notch to ensure full coverage. Plan the layout carefully to avoid thin slivers at edges, and always use a good quality, flexible thin-set mortar.
Hiring an experienced installer is worth the investment for a seamless result.
6. Matte Black or Brushed Nickel Fixtures for a Coordinated Look
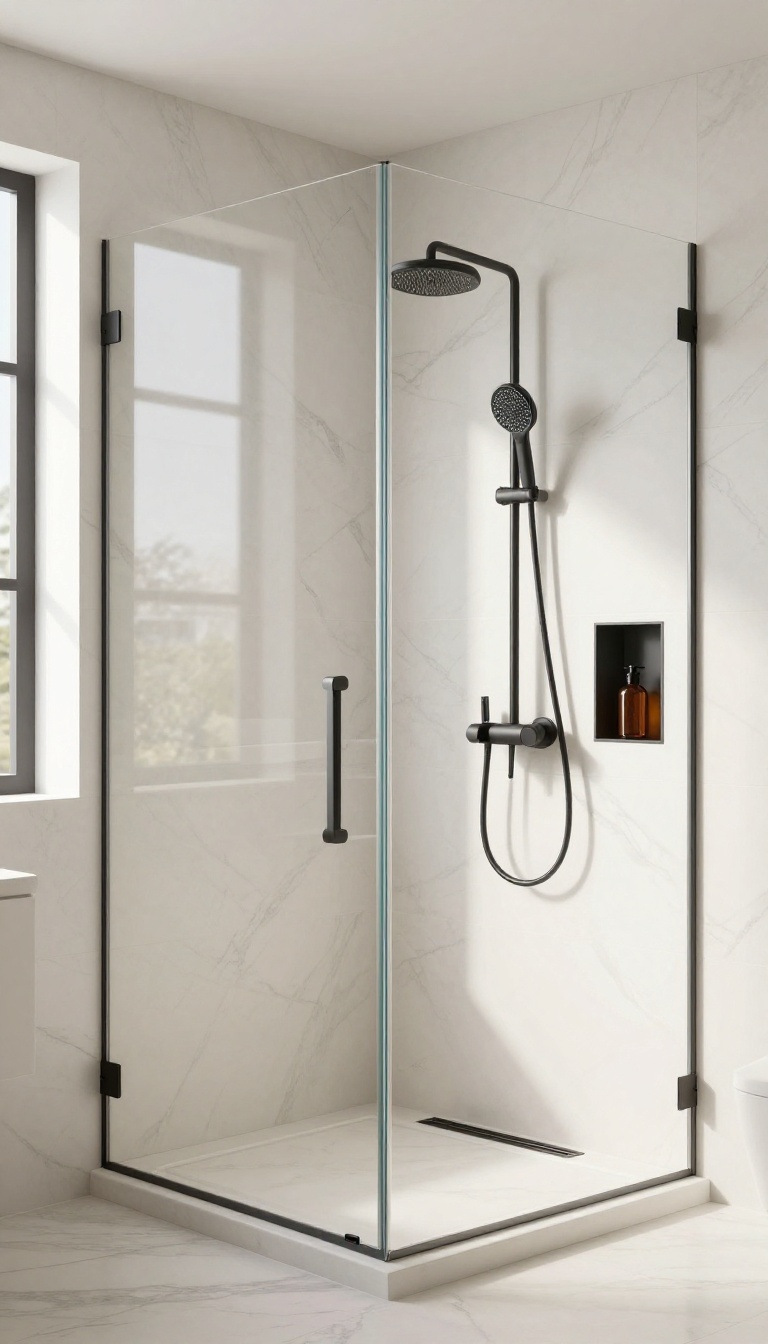
Think about how a mismatched set of fixtures can make an otherwise beautiful shower feel unfinished. That's where a consistent finish comes in—it ties everything together, from the showerhead to the handles and even the drain cover. Matte black and brushed nickel are two standout options that not only look sharp but also hide water spots and fingerprints better than shiny chrome.
The trick is to pick one and stick with it throughout the entire bathroom for a seamless, intentional vibe.
Why Finish Consistency Matters
When every metal piece in your shower matches, your eye reads the space as calm and orderly. Mixed finishes—say, a chrome showerhead with brass handles—can create visual noise that makes the design feel accidental. A uniform finish signals that you've thought through every detail, which is exactly the impression you want in a master bath.
Beyond looks, consistency also simplifies cleaning and maintenance. You'll only need one type of polish or cleaner, and you won't have to worry about different finishes reacting differently to moisture or cleaning products.
Matte Black: Bold And Modern
Matte black fixtures bring a contemporary edge that pairs beautifully with white tile, natural stone, or even wood-look porcelain. They create a striking contrast that feels grounded and sophisticated. Plus, the matte surface is forgiving—it doesn't show water spots as easily as polished chrome, and it resists fingerprints, making it a practical choice for busy households.
To keep matte black looking its best, avoid harsh abrasive cleaners that can scratch the finish. A soft cloth and mild soap are all you need to maintain that velvety look.
Brushed Nickel: Warm And Timeless
If you prefer a warmer tone that still feels classic, brushed nickel is a fantastic option. Its subtle sheen adds a touch of elegance without being flashy, and it blends well with both cool and warm color palettes. Brushed nickel also has a textured surface that does a great job of concealing water spots and smudges, so it stays looking clean between wipe-downs.
One thing to note: brushed nickel can vary slightly in tone between brands, so try to buy all your fixtures from the same line or manufacturer to ensure a perfect match.
Tips For Coordinating With Your Bathroom Design
Start by deciding on one finish and then carry it through every metal element in the shower—showerhead, handles, valves, drain cover, and even the frame of your glass enclosure if you have one. If you're renovating, gather samples and hold them against your tile and countertops to see how they interact with the undertones in your space. Don't forget the little details like towel bars and robe hooks—they should match too.
A cohesive look doesn't happen by accident, but with a little planning, you'll create a shower that feels effortlessly put together.
7. Rain Showerhead with a Handheld Sprayer
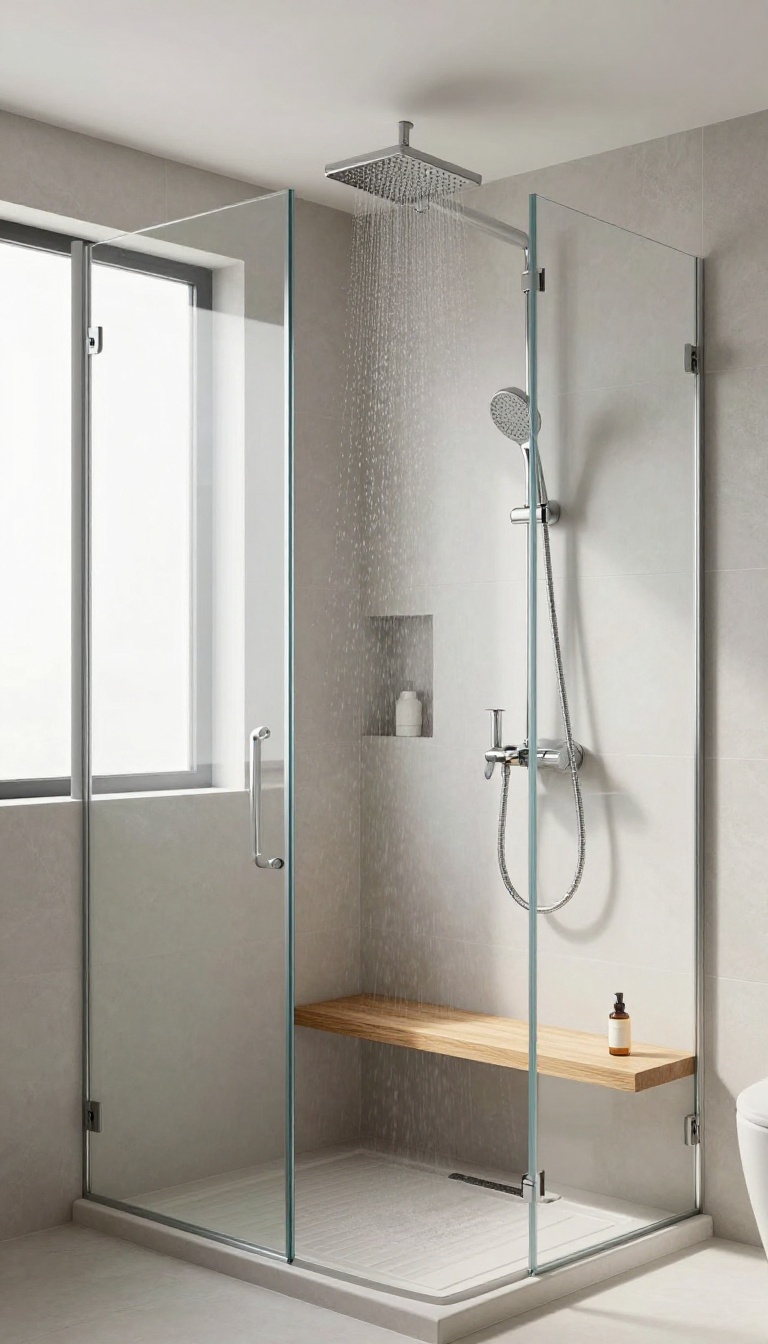
Standing under a rain showerhead feels like stepping into a warm summer downpour, but it's not always the most practical option for every task. That's where a handheld sprayer comes in. Together, they give you the best of both worlds: a luxurious overhead cascade and a flexible wand for everything else.
This duo is a favorite among homeowners who want both spa-like comfort and everyday functionality. The rain showerhead is mounted on the ceiling or high on the wall, providing a wide, gentle spray that covers your whole body. Meanwhile, the handheld sprayer, attached to a flexible hose, lets you rinse off hard-to-reach areas, clean the shower walls, or even wash a pet.
Installing a diverter valve lets you switch between the two with a simple pull or push, so you don't need to fiddle with separate controls.
Why This Combo Works So Well
A rain showerhead alone can feel limiting when you need to target a specific area or want to control the spray direction. The handheld sprayer adds versatility, making it easier to rinse shampoo out of long hair, clean the shower floor, or fill a bucket. It's also a practical choice for households with kids or anyone with mobility issues, as the handheld can be used while sitting.
Choosing The Right Handheld Sprayer
Look for a model with a comfortable grip and a hose that's long enough to reach where you need it—usually 60 to 72 inches. Consider spray settings like massage, mist, or jet for different uses. Some handhelds come with a pause button to conserve water while you're soaping up.
Also, check the finish to match your rain showerhead and other fixtures for a cohesive look.
Installation And Placement Tips
Place the rain showerhead directly above where you'll stand, typically around 80 to 90 inches from the floor. Mount the handheld holder on a wall within easy reach, about 40 to 48 inches high. Use a diverter valve that's easy to operate, and consider a slide bar for the handheld so you can adjust its height.
If you're renovating, plan the plumbing rough-in carefully to accommodate both fixtures.
8. Glass Shower Screen Instead of a Full Enclosure
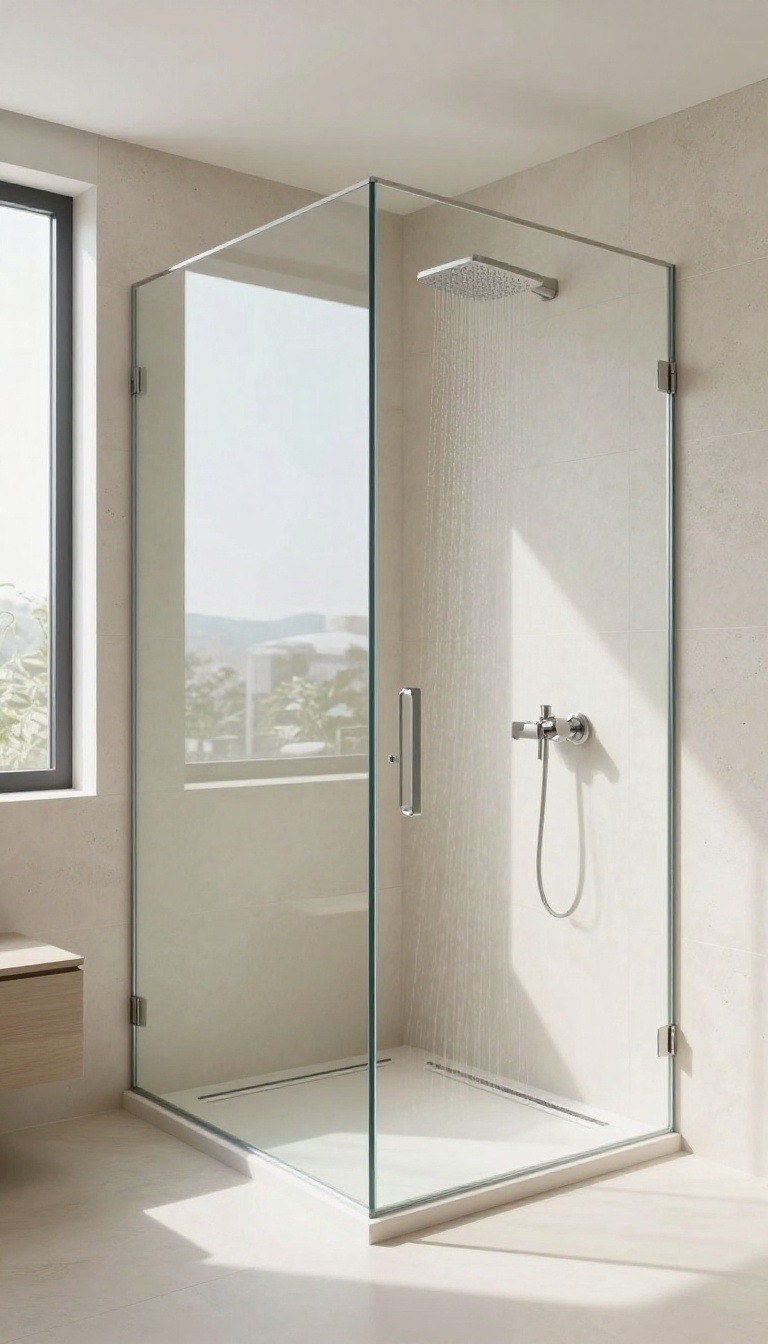
Sometimes, the best way to make a shower feel open is to leave it partially exposed. A single pane of glass—whether fixed or on a hinge—can separate the wet zone from the rest of the bathroom without boxing you in. It’s a look that leans modern and airy, and it’s surprisingly practical for larger master baths.
A glass shower screen does more than just protect the floor from splashes. It creates a visual boundary that keeps the shower area feeling intentional, while still letting the eye travel across the whole room. That openness can make a big bathroom feel even more spacious, and it cuts down on the amount of glass you have to wipe down after every use.
For this setup to work without a full enclosure, water containment has to be spot on. The floor needs a gentle slope toward a linear drain or a well-placed center drain, and the glass should be positioned so it catches most of the spray. A slight pitch of about 1/4 inch per foot is usually enough to keep water moving in the right direction.
You can choose a fixed screen that’s anchored to the wall and floor, or a hinged panel that swings open for easier access. Fixed screens give a cleaner, more streamlined look, while hinged ones offer flexibility if you need to get in and out without stepping over a curb. Both options work well with a curbless entry, which adds to the seamless feel.
Why A Screen Beats A Full Enclosure
A full enclosure with three glass panels can make a bathroom feel boxed in, especially if the space is already tight. A single screen keeps the shower visually connected to the rest of the room, which is a big plus if you have nice tile or a freestanding tub nearby. It also means less glass to clean—fewer corners and tracks where soap scum likes to hide.
Getting The Water Flow Right
Without a door or a full surround, water control is all about the floor. A slight slope toward a linear drain—installed along the edge of the shower area—is the most reliable way to keep water from creeping out. If you prefer a center drain, make sure the floor is pitched evenly from all sides.
A quick test with a level during installation can save you from a puddle problem later.
Glass Options And Hardware
Frameless glass in 3/8 or 1/2 inch thickness looks sleek and supports the open feel. You can go with clear glass for an unobstructed view or opt for a light frosted finish if you want a bit more privacy. The hardware—hinges, brackets, and clips—should match your other fixtures, like brushed nickel or matte black, to tie the whole look together.
9. Built-In Bench or Corner Seat for Comfort and Convenience
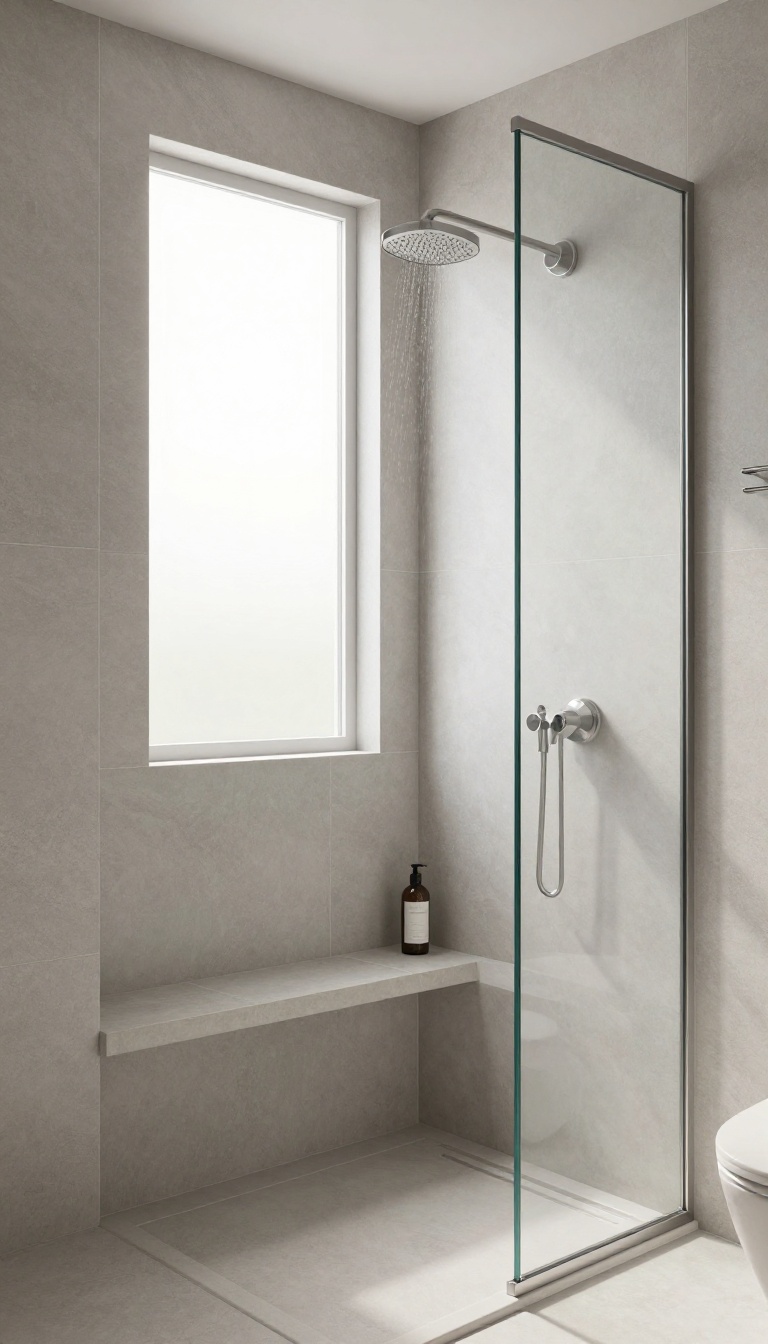
A shower bench isn't just a luxury—it's a practical addition that makes your daily routine easier and safer. Whether you need a spot to sit while shaving your legs, a stable place to steady yourself, or a natural ledge for your shampoo and soap, a built-in bench delivers. It also adds a clean, finished look to your walk-in shower, making the space feel more intentional and polished.
When you're planning a walk-in shower, a built-in bench might not be the first thing on your list. But once you have one, you'll wonder how you ever managed without it. It's the kind of feature that quietly improves your experience every single day, whether you're using it as a seat or simply as a spot to rest your foot while you scrub.
Plus, it breaks up the vertical lines of the shower and adds a touch of architectural interest.
Choose The Right Material
The material you pick for your bench matters as much as the size and shape. Natural stone like marble or travertine looks gorgeous but requires more upkeep. Porcelain tile is a workhorse—durable, water-resistant, and available in countless styles that can match your shower walls seamlessly.
If you want a seamless look, consider using the same tile from the floor up onto the bench. For a warmer, more spa-like feel, a solid surface like quartz or a moisture-resistant wood alternative (think teak or cedar) can add a touch of nature. Just make sure whatever you choose is slip-resistant and comfortable to sit on when wet.
Get The Size And Slope Right
A bench that's too shallow feels cramped, while one that's too deep might eat up valuable floor space. Aim for a depth of around 15 to 18 inches and a height that feels natural when you sit—usually about 17 to 19 inches from the floor. The top should slope slightly toward the drain, about 1/4 inch per foot, so water doesn't pool and cause slippery spots or soap scum buildup.
If you're working with a corner, a triangular seat can maximize space without making the shower feel tight.
Think About Placement And Function
Where you put the bench can change how you use the shower. Placing it opposite the showerhead gives you a dry spot to sit and relax under the spray. Putting it near the entry makes it a handy place to sit while you dry off or put on lotion.
And don't forget the storage angle—a bench with a recessed niche above it or a small shelf underneath can keep your toiletries within easy reach without cluttering the floor. If you're short on space, a corner seat that wraps around the wall can be both stylish and practical.
10. Heated Floor for a Spa-Like Touch
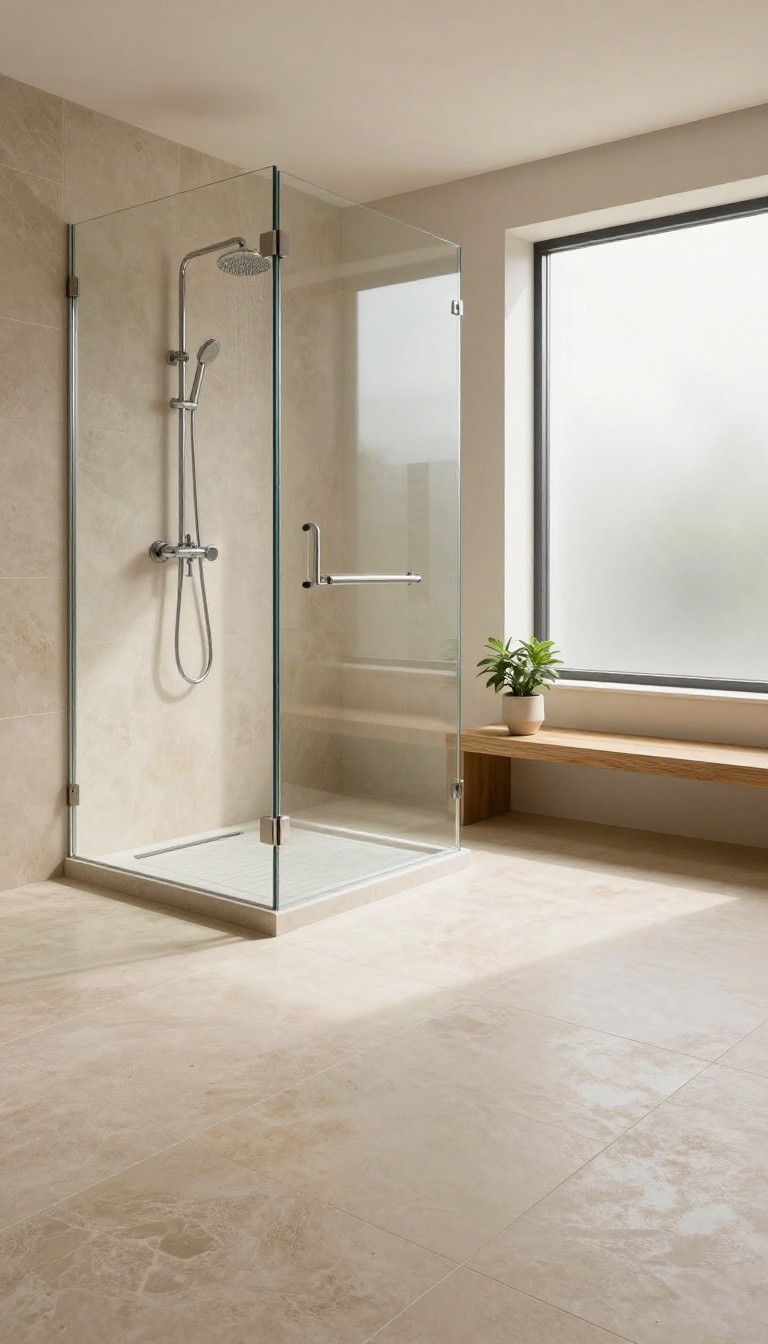
Stepping onto a cold tile floor first thing in the morning can be jarring. That’s where radiant floor heating comes in. It’s a subtle upgrade that makes your walk-in shower feel like a private spa, no matter the season.
Radiant floor heating isn’t just about comfort—it also helps keep the shower area dry. By gently warming the surface, water evaporates faster, cutting down on moisture and the mildew that often follows. It’s a practical luxury that pays off every day.
Why It’s Worth It
Beyond the obvious comfort, heated floors can reduce the need for bath mats and the constant battle against dampness. They also add value to your home. If you’re already remodeling, the extra cost is often less than you’d think, especially for a single shower zone.
Planning And Installation
Radiant heat works best when planned early. You’ll need to account for the subfloor, insulation, and the heating system itself—either electric mats or hydronic tubing. Retrofitting is possible but more disruptive, so it’s ideal to install during a major renovation or new build.
Design And Control
Pair the heated floor with a programmable thermostat to warm up before you step in. You can set zones so the shower area gets more heat while the rest of the bathroom stays at a lower temperature. This not only saves energy but also gives you that toasty underfoot feeling exactly where you need it.
11. Matte or Textured Tile for Slip Resistance and Style
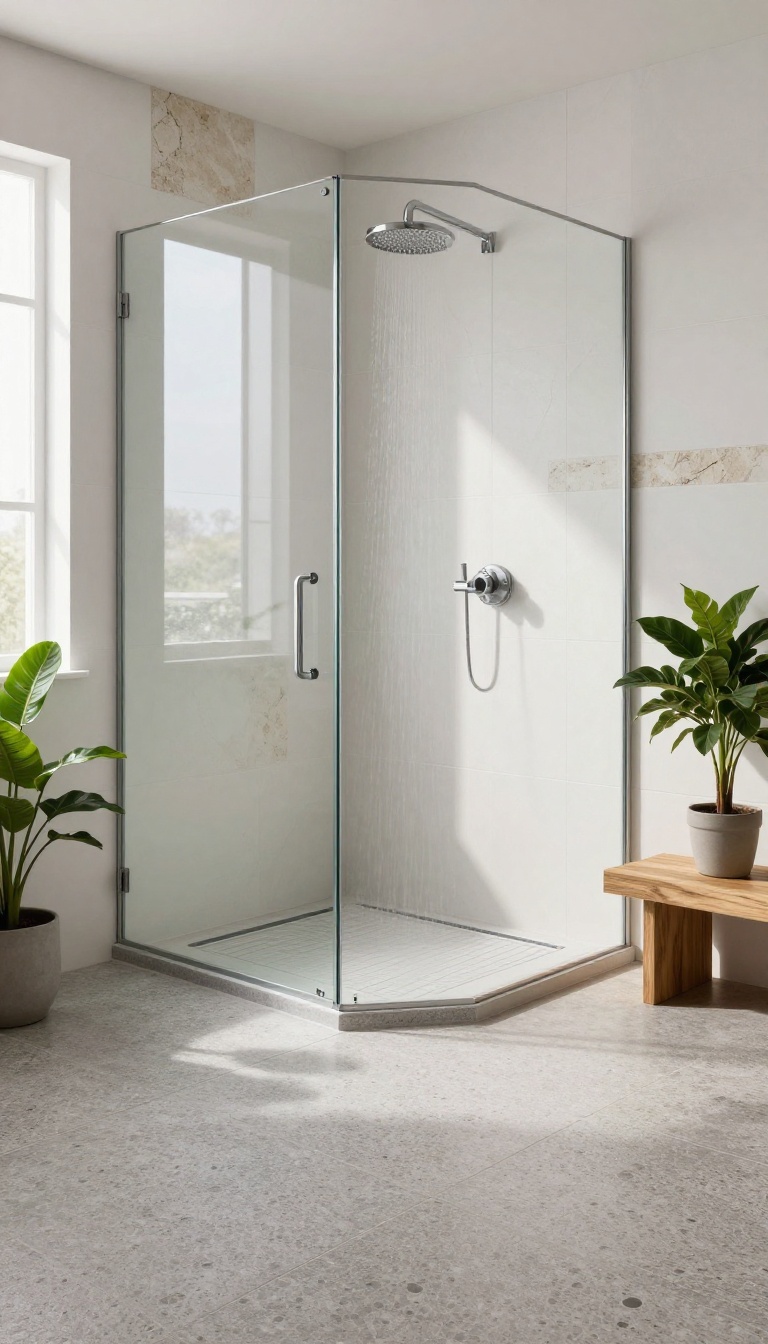
Slips in the shower are no joke, especially on a wet, soapy floor. That's why the finish of your shower floor tile matters just as much as the color or pattern. Glossy tiles may look sleek, but they turn into a skating rink when wet.
Matte or textured tiles offer that grip you need without compromising on aesthetics. Pebble tiles, textured porcelain, and even matte ceramic give your feet traction and add a subtle, organic look that many homeowners love. Plus, they're surprisingly good at hiding water spots and soap scum, so your shower stays looking cleaner between scrubs.
When selecting tile for your walk-in shower floor, prioritize safety without sacrificing style. Matte and textured finishes provide the slip resistance you need while offering a range of design options—from natural stone to modern porcelain. These tiles also minimize the appearance of water spots and soap scum, making maintenance easier.
Consider large-format textured tiles for fewer grout lines, or small mosaic pebbles for a spa-like feel. Whatever you choose, ensure the tile has a high coefficient of friction (COF) rating suitable for wet areas.
Why Glossy Floors Are A Slippery Slope
Glossy tiles have a smooth, reflective surface that becomes extremely slick when water and soap are added. Even with a shower mat, the risk of slipping remains. Building codes often require a minimum slip resistance for shower floors, and glossy finishes rarely meet that standard.
By choosing matte or textured tiles, you're not just being cautious—you're making a smart, code-friendly choice that protects everyone in your home.
Top Textured Tile Options For Showers
Pebble tiles are a classic choice, offering a bumpy surface that feels like a riverbed underfoot. They come in mesh-backed sheets for easier installation. Textured porcelain tiles mimic natural stone or wood grain and provide excellent grip.
For a more modern look, consider large-format tiles with a subtle crosshatch or linear pattern. These options give you the safety you need without limiting your design vision.
Style Tips For A Cohesive Look
You can mix finishes within the same shower to create visual interest. Use glossy tiles on the walls and reserve matte or textured tiles for the floor. This contrast adds depth while keeping the walking surface safe.
When selecting colors, lighter shades can make the space feel larger, while darker tones add drama. Just remember that the floor tile should complement—not compete with—your wall tile for a harmonious design.
FAQ
What is the best size for a walk-in shower?
A comfortable minimum is 36 x 36 inches, but for a master bath, aim for at least 48 x 60 inches to allow for movement and avoid a cramped feel. Larger spaces can accommodate benches or double showerheads.
Do walk-in showers need a door?
Not necessarily. Many walk-in showers use a fixed glass panel or a partial screen to prevent water splashing. A door is optional and depends on your layout and preference for openness.
How do I prevent water from leaking out of a curbless shower?
Proper floor sloping is crucial. The shower floor should slope toward the drain at a minimum of 1/4 inch per foot. A linear drain along the edge can help contain water, and a slight pitch on the bathroom floor away from the shower can also help.
What type of glass is best for a walk-in shower?
Tempered glass is required for safety. For easy maintenance, choose clear glass with a water-repellent coating to reduce spots. Frameless glass offers a modern look, while framed glass is more budget-friendly.
Can I install a walk-in shower in a small bathroom?
Yes, but you need to plan carefully. Use a curbless entry to save space, choose a corner layout, and opt for a sliding or pocket door if you need a door. Large tiles and light colors can also make the space feel bigger.
Conclusion
Designing a walk-in master shower that looks neat and well-planned doesn't have to be overwhelming. By focusing on key elements like a seamless entry, smart storage, and quality materials, you can create a space that's both beautiful and practical.
Remember to consider your daily routine and maintenance preferences. With these ideas in mind, you're well on your way to enjoying a shower that feels like a personal retreat every day.