25 Cleaning Walls Hacks for Stains, Dust, and Scuffs
That stubborn scuff mark on your white wall doesn't stand a chance. Neither does the greasy splatter behind your stove or the mysterious sticky patch near the light switch.
Cleaning walls isn't about elbow grease alone—it's about picking the right trick for each type of mess. From crayon masterpieces to nicotine stains, these 25 hacks use everyday items to erase marks without damaging your paint.
You'll save time, skip the harsh chemicals, and finally get those walls looking fresh again.
1. Erase Crayon Marks with Mayonnaise
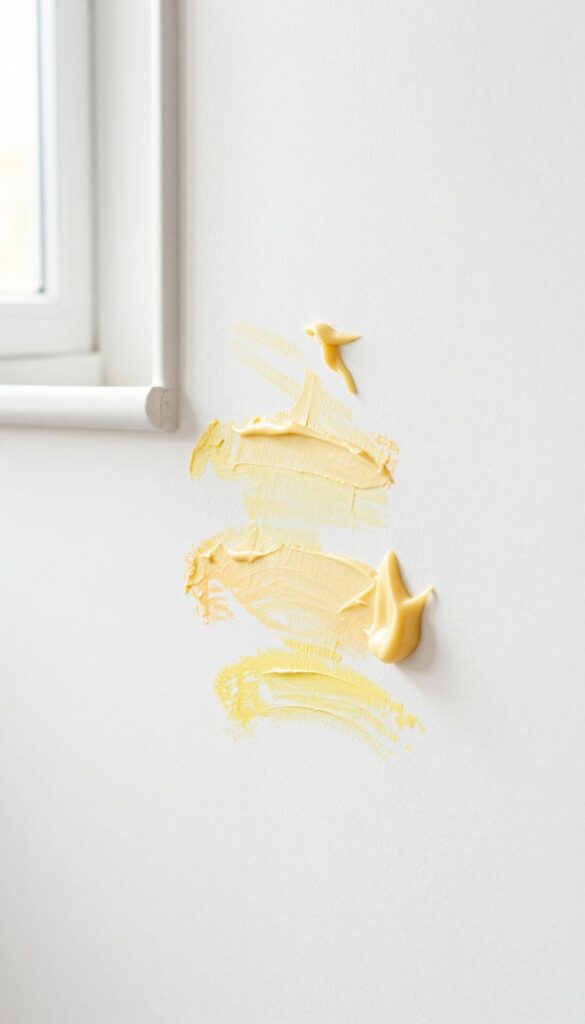
Kids get creative, and walls often become their canvas. Crayon marks can feel permanent, but they're not. You probably have the solution in your fridge right now.
Mayonnaise works because its oil content breaks down the wax in crayons. Apply a thin layer directly onto the marks, let it sit for about 5 minutes, then wipe away with a soft cloth. The crayon should come off without any scrubbing or damage to the paint.
If any residue remains, a little dish soap on a damp sponge will finish the job.
Why Mayo Works So Well
Crayon wax is oil-based, and mayonnaise is mostly oil. The oil penetrates the wax, softening it so it lifts off easily. This method is gentler than rubbing alcohol or magic erasers, which can dull paint.
When To Avoid This Hack
Don't use mayo on unfinished wood or unsealed surfaces—the oil can stain. Also, if your walls have a flat or matte finish, test a small area first to make sure the oil doesn't leave a dark spot.
Alternative: Peanut Butter Or Olive Oil
No mayo? Peanut butter works the same way because of its oil content. Just spread it on, wait, and wipe.
Olive oil on a cotton ball also does the trick, but it's runnier, so use less.
2. Remove Grease Splatters with Dish Soap
Kitchen walls take a beating from cooking grease. That oily film near the stove can attract dust and turn into a sticky mess. Dish soap is your secret weapon—it cuts through grease without damaging paint.
Why Dish Soap Works
Dish soap contains surfactants that break down grease molecules. Unlike all-purpose cleaners, it's gentle on paint and won't leave streaks. Warm water helps activate the soap for faster results.
Step-by-step Method
Mix a few drops of dish soap into a bowl of warm water. Dip a soft sponge, wring it out well, and gently dab the greasy area. Let it sit for a minute, then wipe with a clean damp cloth.
Rinse the sponge often to avoid spreading grease.
Tough Grease Spots
For baked-on grease, make a paste with dish soap and baking soda. Apply it to the spot, wait 10 minutes, then scrub lightly with a sponge. Rinse thoroughly.
Test on an inconspicuous area first if you have matte paint.
3. Lift Scuff Marks with a Magic Eraser
Scuff marks from shoes, furniture, or toys can make even the cleanest walls look dingy. A magic eraser is the simplest fix—no scrubbing, no chemicals, just water and a little patience. Melamine foam works like fine sandpaper, gently buffing away the mark without damaging most paint finishes.
It's fast, cheap, and surprisingly satisfying. Just remember to test a small hidden area first, especially on flat or matte paint, because the abrasive action can sometimes leave a shiny spot.
How To Use A Magic Eraser On Walls
Cut a small piece from the sponge—about the size of a thumb—and dampen it with water. Squeeze out the excess so it's moist, not dripping. Gently rub the scuff mark in a circular motion.
You should see the mark lift away within a few seconds. No need for extra cleaner; the sponge's micro-abrasive texture does all the work.
When To Avoid The Magic Eraser
Magic erasers can be too harsh for some surfaces. Avoid using them on glossy or satin paint, as they may create a dull patch. Also skip them on wallpaper, textured walls, or any surface with a delicate finish.
If you're unsure, test on an inconspicuous spot like behind a door or inside a closet.
Alternative Methods For Stubborn Scuffs
If the magic eraser doesn't fully remove the mark, try a dab of baking soda paste (baking soda mixed with a little water) on a soft cloth. Rub gently, then wipe clean. For rubber scuffs (like from shoe soles), a bit of rubbing alcohol on a cotton ball can dissolve the residue without harming the paint.
4. Tackle Pencil Marks with a Regular Eraser
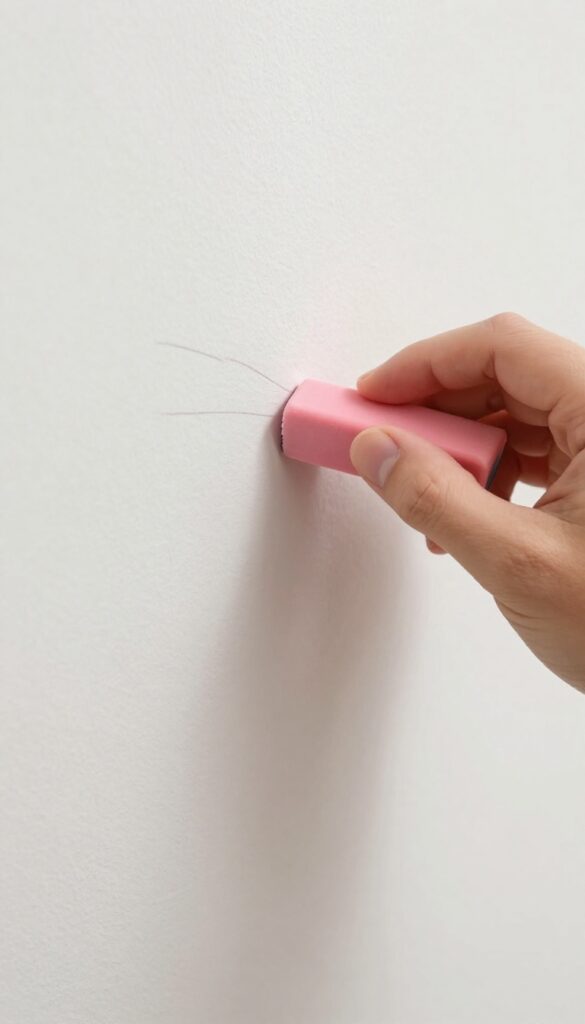
Pencil marks on walls are common in homes with kids, artists, or anyone who forgets to use a clipboard. Before reaching for a damp sponge or scrubbing pad, try the simplest tool: a clean pencil eraser. It's gentle enough for most painted surfaces and surprisingly effective at lifting graphite without damaging the finish.
Why An Eraser Works Best
Graphite is a soft, powdery material that sits on top of the paint rather than soaking in. A standard pink or white eraser lifts the graphite particles through friction without the moisture that can cause streaks or paint damage. It's especially safe on flat, eggshell, or satin finishes.
How To Erase Without Damaging Paint
Use a clean, dry eraser and rub gently in one direction. Avoid pressing too hard or scrubbing back and forth aggressively, which can create shiny spots. If the eraser leaves crumbs, brush them away with a soft cloth.
For stubborn marks, try a kneaded eraser—it's softer and won't leave residue.
When To Skip This Method
This trick works best on light-colored walls. On dark or vibrant paint, erasing may leave a lighter patch or remove a thin layer of color. Also avoid using erasers on flat paint that scuffs easily—test in an inconspicuous spot first.
For deep-set marks, move on to a baking soda paste.
5. Blot Ink Stains with Rubbing Alcohol
Ink stains from pens, markers, or printer mishaps can seem permanent, but rubbing alcohol breaks down the pigments quickly. This hack works on both latex and oil-based paints, as long as you act fast. The key is to blot, not rub, so the ink lifts off the surface instead of smearing deeper into the paint.
Start by dampening a clean cotton ball or soft cloth with rubbing alcohol (70% or higher is best). Gently press it onto the ink stain and hold for a few seconds—you'll see the ink transfer to the cotton. Replace the cotton as it gets dirty and continue blotting until no more ink lifts.
Finish by wiping the area with a damp cloth to remove any alcohol residue, then pat dry. For stubborn stains on flat paint, test in an inconspicuous spot first to ensure the alcohol doesn't dull the finish.
Why Rubbing Alcohol Works
Ink is typically dye- or pigment-based, and rubbing alcohol is a solvent that dissolves these compounds. It evaporates quickly, so it won't soak into the wall and cause damage like water might. The alcohol breaks the bond between the ink and the paint, allowing you to lift it away without scrubbing.
Avoid These Common Mistakes
Never rub the stain—that pushes the ink deeper into the paint and can create a larger smudge. Also, skip using colored cloths or paper towels that might transfer dye onto the wall. Stick with white cotton balls or microfiber cloths.
If the stain is old, let the alcohol sit on it for a minute before blotting.
Alternative For Permanent Marker
For permanent marker stains, apply rubbing alcohol with a cotton swab for precision. You can also use a dry-erase marker to trace over the permanent marker—the solvent in the dry-erase ink helps dissolve the stain, then you wipe both away. Rinse with water afterward.
6. Clean Nicotine Residue with Vinegar
Smoke leaves behind a stubborn, yellowish film that clings to walls and makes rooms feel stale. Vinegar cuts through that sticky buildup without requiring heavy scrubbing or harsh chemicals. This simple solution works on painted walls, but always test it in an inconspicuous spot first to be safe.
Why Vinegar Works So Well
Nicotine is alkaline, and vinegar's acidity neutralizes it, breaking down the sticky residue. White vinegar is also a natural degreaser, so it lifts the oily film that smoke leaves behind. Plus, it's cheap and non-toxic, making it a safe choice for homes with kids and pets.
How To Mix And Apply The Solution
Combine equal parts white vinegar and warm water in a spray bottle or bucket. Dip a soft cloth or sponge into the mixture, wring it out so it's damp not dripping, and wipe the wall in gentle, overlapping strokes. For heavy buildup, let the solution sit for a minute before wiping.
Tips For Stubborn Stains And Odors
For particularly stubborn nicotine stains, add a tablespoon of baking soda to the vinegar solution—it will fizz, but that helps lift grime. After cleaning, rinse the wall with a clean damp cloth to remove any vinegar smell. Open windows to speed up drying and air out the room.
7. Remove Dust with a Dryer Sheet
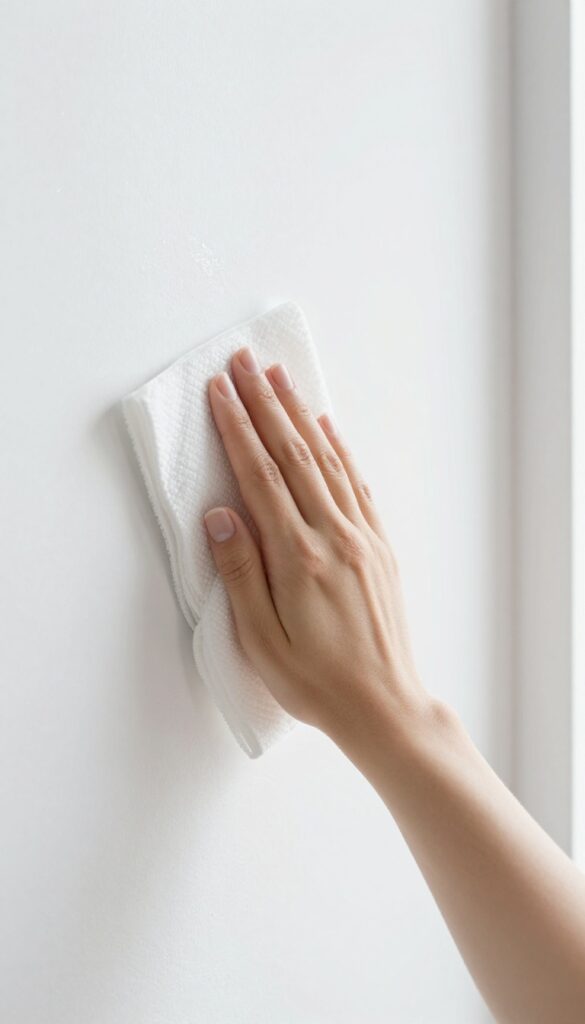
Dryer sheets aren't just for the laundry room. A used one makes an excellent dusting tool for walls, especially in rooms where static cling attracts more dust. The sheet's antistatic properties help repel dust afterward, so your walls stay clean longer.
Plus, you get a subtle fresh scent without any chemical spray.
Why It Works
Dryer sheets are coated with fabric softeners that reduce static electricity. When you wipe a wall, the sheet neutralizes the static charge that holds dust particles. This not only picks up dust but also prevents new dust from settling quickly.
The result is a cleaner wall with less frequent dusting.
How To Use
Take a used dryer sheet (or a new one if you prefer) and gently wipe the wall from top to bottom. Use light pressure to avoid rubbing off any paint. Focus on areas that collect dust, like corners, baseboards, and near vents.
For larger walls, use multiple sheets or move to a clean area of the same sheet.
Best For Light Dust
This hack works best on light, everyday dust rather than heavy grime or sticky residue. It's perfect for quick touch-ups between deeper cleans. If the wall has greasy spots or stubborn marks, use a different method first, then finish with a dryer sheet for a dust-free shine.
8. Wash Walls with a Sponge Mop
Reaching high walls without a ladder can be a real pain. A sponge mop with a microfiber pad solves that problem in seconds. You cover more surface area per swipe, and the long handle lets you clean near the ceiling without stretching or balancing on furniture.
This method works best for general dust, light smudges, and everyday grime. It's not for heavy scrubbing, but it's perfect for quick maintenance washes between deep cleans.
Attach a clean microfiber pad to your sponge mop head. Fill a bucket with warm water and a few drops of gentle dish soap or a pH-neutral wall cleaner. Dip the mop, wring it out well—you want it damp, not dripping.
Work from top to bottom in overlapping strokes, rinsing the pad frequently. Change the water when it gets dirty to avoid redepositing grime. For stubborn spots, switch to a handheld sponge or microfiber cloth.
The mop is a time-saver for large areas, but it won't replace spot-treating scuffs or stains. Always test the cleaner on an inconspicuous spot first, especially if you have matte or flat paint.
Why A Sponge Mop Works
A sponge mop combines a large flat head with an absorbent pad, letting you clean broad sections quickly. The microfiber material traps dust and dirt instead of pushing it around. Plus, the long handle keeps you safe—no more wobbling on step stools.
Best Cleaners For This Method
Stick with mild, non-abrasive cleaners. A mix of warm water and a squirt of dish soap is usually enough. Avoid bleach or ammonia-based products, which can damage paint or leave streaks.
For extra degreasing, add a splash of white vinegar (test first on painted surfaces).
Tips For A Streak-free Finish
Wring the mop thoroughly before each pass. Too much water causes drips and streaks. Work in sections and rinse the pad often.
For a final polish, go over the wall with a dry microfiber cloth to catch any remaining moisture and leave a clean, even look.
9. Spot Clean with a Toothbrush
Sometimes a sponge is just too big for the job. That's when you reach for an old toothbrush—it's perfect for precision cleaning on small, stubborn spots. Think of it as a mini scrub brush that can get into crevices and corners without disturbing the surrounding paint.
Dip the toothbrush into a bowl of warm, soapy water (a drop of dish soap works great). Gently scrub the spot in small circles, applying light pressure. The bristles lift dirt and grime without damaging the wall.
Wipe the area with a damp cloth afterward to remove any soap residue.
Best For Small, Stubborn Marks
This method shines on spots like dried food splatters, pencil marks, and scuffs near baseboards. It's also great for textured walls where a sponge can't reach into the bumps.
Avoid Scrubbing Too Hard
A toothbrush's bristles are stiff enough to clean but can still damage paint if you press too hard. Always start gently and increase pressure only if needed. Test on an inconspicuous spot first if you're worried about sheen.
Keep A Dedicated Brush Handy
Designate one old toothbrush just for cleaning. Rinse it well after each use and let it air dry. You'll be surprised how often you reach for it—especially for touch-ups around light switches and door frames.
10. Remove Tape Residue with Hair Dryer
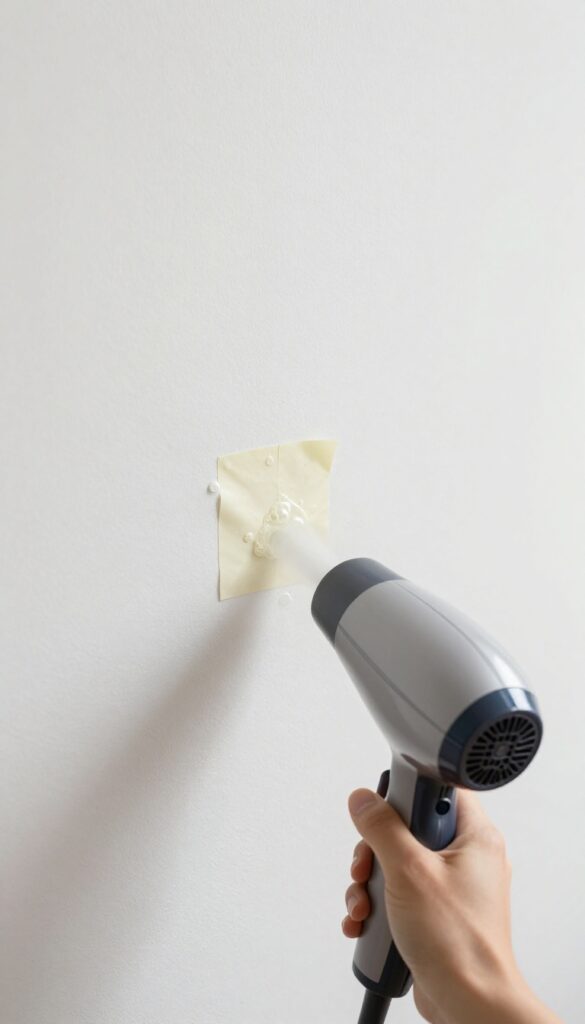
Leftover adhesive from stickers, tape, or decals can be a pain to scrape off without damaging the paint. Instead of picking at it with your fingernail or using harsh chemicals, grab your hair dryer. The heat softens the glue, making it easy to peel or wipe away cleanly.
This method works on most wall surfaces, including painted drywall, wallpaper, and even wood trim. It's especially useful for removing stubborn residue from double-sided tape or old command strips.
How To Do It
Set your hair dryer to low or medium heat and hold it about 2–3 inches from the residue. Move it back and forth for about 30 seconds until the adhesive feels tacky or starts to bubble. Then, gently peel the residue off with your fingers or a soft cloth.
For stubborn bits, reheat and use a plastic scraper or credit card.
Why It Works
Heat weakens the bond between the adhesive and the wall. Unlike scraping or rubbing, it doesn't risk removing paint or leaving scratches. The glue becomes pliable and lifts off without much effort.
Tips For Best Results
Test on an inconspicuous spot first, especially if you have sensitive wallpaper or old paint. Avoid high heat, which can blister paint or warp wallpaper. If residue remains after heating, dab a little rubbing alcohol on a cloth and wipe.
11. Treat Water Stains with Bleach Solution
Water stains can leave ugly brown rings or streaks on painted walls, especially in bathrooms or near windows. The good news is that a simple bleach solution can lift those marks without much scrubbing. This method works best on white or light-colored walls because bleach can lighten darker paints.
Always test in an inconspicuous spot first.
For stubborn water stains, mix 1 tablespoon of bleach with 1 cup of water in a small bowl. Dip a clean cloth or sponge into the solution, then dab it gently onto the stain—don't rub, or you might spread the mark. Let it sit for about 5 minutes to break down the discoloration.
After the wait, rinse the area with a damp cloth soaked in plain water to remove any bleach residue. Pat dry with a towel. Wear gloves to protect your hands, and open a window to keep the room ventilated.
If the stain remains, repeat the process or try a stronger ratio (2 tablespoons bleach to 1 cup water) for tough cases.
Why Bleach Works On Water Stains
Water stains often come from minerals or organic matter left behind as water evaporates. Bleach is an oxidizer that breaks down those compounds, making the stain disappear. It also kills any mold or mildew that might be lurking, which is a bonus in damp areas.
Safety First: Bleach Handling Tips
Bleach fumes can be strong, so always work in a well-ventilated space. Wear rubber gloves to avoid skin irritation, and protect your eyes with goggles if you're working overhead. Never mix bleach with ammonia or other cleaners—it creates toxic gas.
Keep the solution away from fabrics and carpets.
When To Skip This Method
If your walls are painted with a dark or vibrant color, bleach can cause fading or discoloration. In that case, try a vinegar solution (1 part white vinegar to 3 parts water) or a commercial stain remover instead. Also avoid bleach on wallpaper, as it can damage the surface.
12. Clean Chalkboard Walls with a Damp Cloth
Chalkboard walls are a fun, functional addition to any home—until they start looking cloudy or ghosted from old chalk residue. The fix is simpler than you think, and you probably already have the supplies. A damp microfiber cloth is your best friend here.
It lifts dust and chalk dust without scratching the surface. For stubborn marks, a quick pass with a chalkboard eraser first loosens the gunk, then a damp cloth finishes the job.
Chalkboard walls need gentle care to stay looking fresh. The right technique prevents ghosting and keeps the surface ready for your next masterpiece.
Why A Damp Cloth Works Best
Dry erasers can leave fine dust that settles into the pores of the paint, causing a hazy appearance over time. A damp microfiber cloth grabs that dust and lifts it away without pushing it deeper. The key is to use a cloth that's just barely damp—wring it out well so no water drips down the wall.
How To Handle Stubborn Marks
If you've got old, dried-on chalk or artwork that won't budge, start with a chalkboard eraser. Rub firmly in a circular motion to loosen the residue. Then follow with your damp cloth.
For really tough spots, a little distilled white vinegar on the cloth (test in an inconspicuous area first) can break down the buildup without harming the paint.
Maintenance Tips For Long-lasting Walls
Condition your chalkboard wall regularly by rubbing the side of a piece of chalk over the entire surface and then erasing it. This fills in microscopic pores and prevents ghosting. Clean with a damp cloth every few uses, and avoid abrasive sponges or cleaners that can wear down the paint.
13. Remove Candle Soot with a Sponge
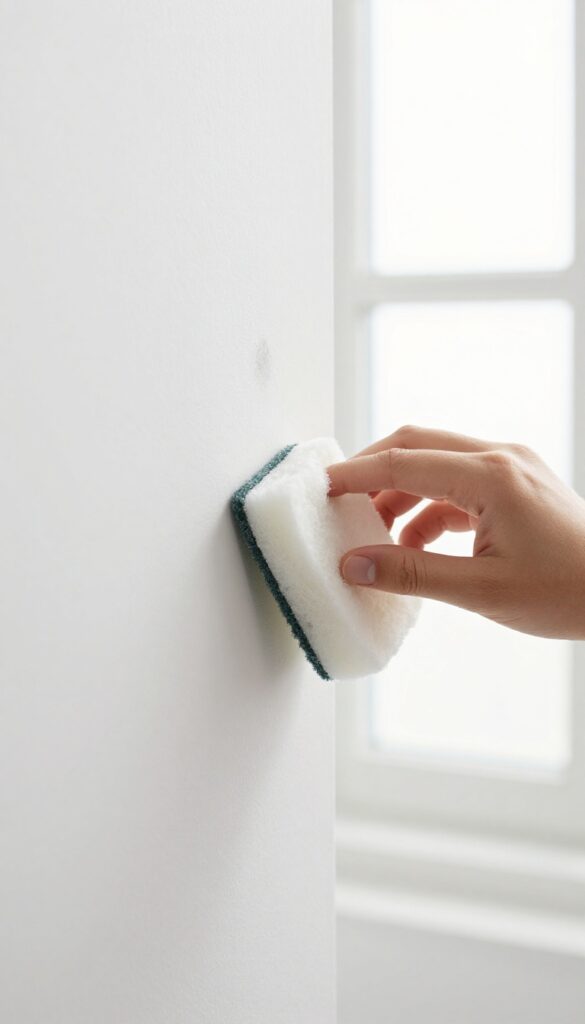
Candles create a cozy atmosphere, but they also leave behind a fine layer of black soot on your walls. This happens when the flame isn't burning cleanly, often due to drafts or low-quality wax. The good news is you don't need harsh chemicals to fix it—just a dry sponge and a gentle touch.
Soot is mostly carbon particles that sit on the surface of the paint. If you try to wipe it with a wet cloth, you'll smear the soot into the paint, making the stain worse. Instead, use a dry cellulose sponge (the kind that feels like a stiff eraser) to lift the soot away.
Work in one direction and avoid rubbing too hard. For stubborn spots, a soft-bristled brush can help dislodge the particles before sponging.
Why Water Makes It Worse
Water mixes with soot to create a muddy, greasy film that seeps into the paint's pores. Once that happens, the stain becomes nearly impossible to remove without repainting. Always start dry, and only switch to a damp sponge if the soot is mixed with sticky residue (like from scented candles).
The Right Sponge Matters
Not all sponges are created equal. A dry cellulose sponge (often called a 'soot sponge' or 'dry cleaning sponge') is designed to attract and trap carbon particles. You can find them at hardware stores or online.
Avoid using kitchen sponges or cloths, as they tend to push the soot around rather than pick it up.
Prevent Future Soot Buildup
Trim candle wicks to 1/4 inch before each use, and keep candles away from drafts. Burn candles in well-ventilated rooms, and consider using beeswax or soy candles, which produce less soot than paraffin. A little prevention goes a long way in keeping your walls clean.
14. Fix Scratches with a Crayon
A scratch on your wall can feel like a permanent eyesore, but it doesn't have to be. If you have a crayon lying around, you can fix it in seconds. This trick works best on flat or matte paint and is perfect for small nicks and scuffs that a magic eraser can't handle.
Find a crayon that closely matches your wall color. Rub the crayon directly over the scratch, pressing firmly enough to fill the groove. Then take a soft cloth and buff the area gently until the wax blends in.
The scratch disappears, and the wall looks smooth again.
Choosing The Right Crayon
Match the crayon color to your wall as closely as possible. If you're not sure, hold the crayon next to the wall in natural light. For white walls, a plain white crayon works perfectly.
For colored walls, you might need to mix a couple of crayon shades by layering them.
Buffing For A Seamless Finish
After applying the crayon, use a clean, dry microfiber cloth to buff the area in circular motions. This spreads the wax evenly and removes any excess. The finish should be smooth and match the surrounding paint.
If it looks shiny, lightly dust with baby powder and buff again.
When To Use This Hack
This trick is ideal for small, shallow scratches from furniture bumps, pet claws, or moving boxes. It won't work on deep gouges or holes—those need spackle and paint. But for everyday wear and tear, a crayon is a quick, no-mess solution.
15. Clean Textured Walls with a Soft Brush
Textured walls look great, but they're dust magnets. The grooves and bumps trap particles that a regular duster or cloth can't reach. Wet cleaning is risky too—it can soften or peel the texture off.
The trick is to use a soft-bristled brush or a vacuum with a brush attachment. Gently sweep the surface in one direction to lift dust without damaging the texture. For stubborn spots, a dry microfiber cloth wrapped around a brush works well.
Avoid water or cleaning solutions unless absolutely necessary, and if you must spot-clean, dab—don't rub.
Why Wet Cleaning Is A Bad Idea
Water can seep into the texture material, causing it to soften, bubble, or even fall off. Paint on textured walls is also more prone to streaking when wet. Stick to dry methods as your first line of defense.
Best Tools For The Job
A soft-bristled paintbrush (2–3 inches wide) is perfect for reaching into crevices. Alternatively, use the upholstery brush attachment on your vacuum. For high ceilings, extend your reach with a pole attachment.
How To Handle Stains On Textured Walls
If a stain won't budge with dry cleaning, mix a tiny amount of mild dish soap with water. Dip a soft cloth, wring it out until almost dry, and gently blot the stain. Do not scrub—blotting prevents texture damage.
16. Remove Mold with Tea Tree Oil
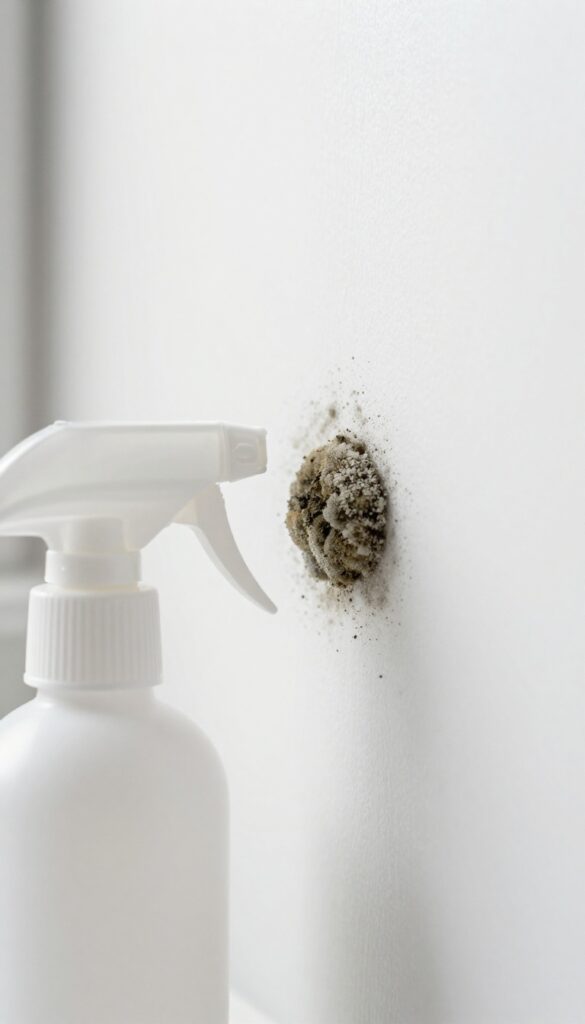
Mold on walls isn't just unsightly—it can trigger allergies and breathing issues. Before you reach for bleach, try tea tree oil. This natural antifungal essential oil kills mold spores without the harsh fumes.
It's especially good for small patches in bathrooms or basements.
Why Tea Tree Oil Works
Tea tree oil contains terpinen-4-ol, a compound that breaks down mold cell walls and stops growth. Unlike bleach, which only whitens surface mold, tea tree oil penetrates porous surfaces like drywall or grout. It's also safe for pets and kids once dry.
How To Mix And Apply
Combine 1 teaspoon of tea tree oil with 1 cup of water in a spray bottle. Shake well. Mist the moldy area lightly—don't soak.
Let it sit for at least 15 minutes so the oil can work. Then wipe with a clean cloth. No rinsing needed.
Tips For Stubborn Spots
For thick mold, apply the solution with a soft brush and scrub gently. Repeat if necessary. The strong smell fades within a few hours.
Test on a hidden spot first if you're worried about your paint finish.
17. Brighten Dingy Walls with Baking Soda Paste
Over time, walls can lose their luster from everyday grime, fingerprints, and airborne dust. Before you reach for harsh chemical cleaners, try a simple paste made from baking soda and water. It's gentle enough for most painted surfaces but tough on embedded dirt, leaving your walls looking refreshed without the risk of damage.
Baking soda is a mild abrasive that lifts dirt without scratching paint. This method works best on washable flat, eggshell, or satin finishes. Always test a small hidden area first to ensure the paint is durable enough.
To make the paste, mix three parts baking soda with one part water until it forms a spreadable consistency. Apply it to a clean sponge or soft cloth and gently rub the dingy areas in circular motions. Let the paste dry completely—about 10 to 15 minutes—then wipe it off with a damp cloth.
For stubborn spots, you can let the paste sit longer before wiping.
How To Apply The Paste For Best Results
Work in small sections so the paste doesn't dry before you can spread it evenly. Use a light touch; pressing too hard might remove paint. Focus on areas that look dull or have light stains.
After wiping, buff the wall with a dry cloth to restore its sheen.
When To Avoid This Hack
Avoid using baking soda paste on flat paint that is not scrubbable, as it may leave a shiny spot or remove the paint altogether. Also skip this on wallpapered surfaces or textured walls where the paste could get trapped in crevices. For those surfaces, stick to a gentle vacuum or dry dusting.
Why Baking Soda Works So Well
Baking soda's fine crystalline structure acts like a mild scrubber that breaks down grime without scratching. It's also alkaline, which helps dissolve acidic dirt and grease. Plus, it's non-toxic and odorless, making it a safe choice for homes with kids or pets.
18. Clean Grease from Light Switches
Light switches collect more grime than you'd think. Every time you flip a switch with slightly greasy fingers, a thin layer of oil transfers to the plastic. Over time, that buildup turns into a dark, sticky film that regular dusting won't touch.
Rubbing alcohol is your best friend here. It cuts through grease without leaving residue, and it evaporates fast so you won't risk moisture seeping into the switch mechanism. Cotton swabs give you the precision to clean the crevices around the toggle without making a mess.
Why Alcohol Works Best
Isopropyl alcohol dissolves oils and greases that water-based cleaners can't handle. It also dries in seconds, which is crucial around electrical components. Unlike vinegar or all-purpose sprays, alcohol won't leave a sticky film or cause corrosion over time.
Step-by-step Cleaning
Turn off the circuit breaker for that room first—safety matters. Dip a cotton swab in 70% or higher rubbing alcohol, squeeze off any excess, and wipe around the edges of the switch plate. Use a fresh swab for each switch to avoid spreading dirt.
Let it air-dry for a minute before flipping the breaker back on.
What About The Switch Plate Itself?
If the plate is really grimy, remove it with a screwdriver and soak it in warm soapy water for a few minutes. Scrub gently with a soft sponge, rinse, and dry completely before reattaching. This gives you a deep clean without any risk to the wiring.
19. Remove Permanent Marker with Toothpaste
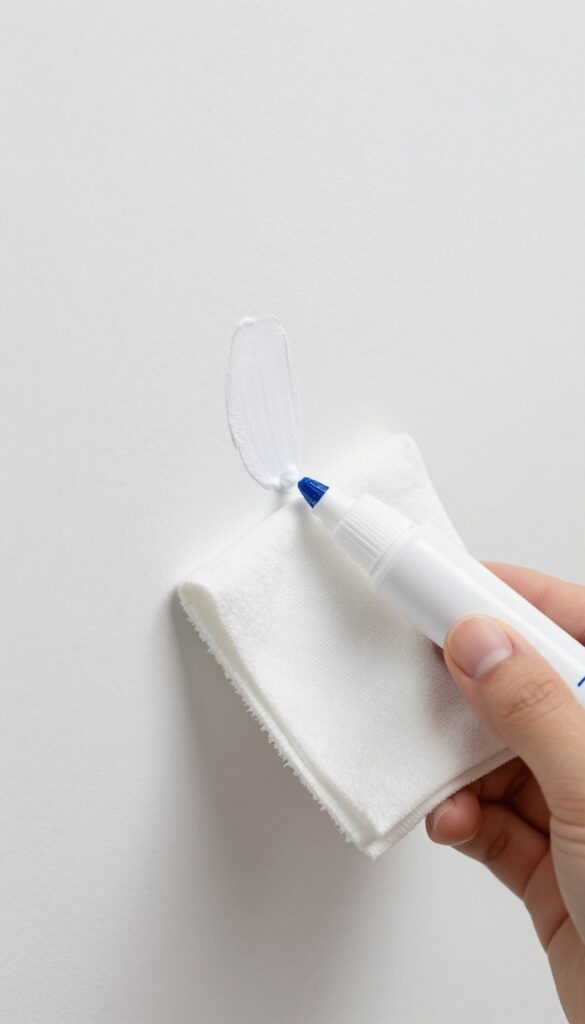
Permanent marker on walls is one of those surprises that makes you groan. Maybe a toddler got creative, or a stray pen leaked in your bag. Before you reach for paint, grab a tube of white toothpaste from your bathroom.
The mild abrasives in toothpaste work like a gentle polish, lifting the ink without stripping the paint. It's a low-effort fix that often works when other methods fail.
This hack is perfect for small, fresh marks. For older or larger stains, you might need to repeat the process or switch to rubbing alcohol. Always test on an inconspicuous spot first, especially if your walls have a matte or flat finish.
Why Toothpaste Works
Toothpaste contains mild abrasives like calcium carbonate or silica, which physically scrub away the marker's pigments. It also includes detergents that help break down the ink's oils. Unlike harsh solvents, toothpaste is gentle enough for most painted surfaces.
Step-by-step Application
Squeeze a pea-sized amount of white toothpaste (not gel) onto a soft, damp cloth. Gently rub the marker stain in a circular motion for about 30 seconds. Wipe away the toothpaste with a clean damp cloth, then dry the area.
Repeat if any residue remains.
Tips For Best Results
Use only white, non-gel toothpaste—colored gels can stain. Apply light pressure; scrubbing too hard may damage the paint. If the mark is stubborn, let the toothpaste sit for 5 minutes before rubbing.
Finish by wiping with a dry cloth to avoid streaks.
20. Dust Baseboards with a Paintbrush
Baseboards are dust magnets, especially in the corners where a cloth or duster can't quite reach. A dry 2-inch paintbrush is the perfect tool for the job. Its bristles sweep dust out of crevices without scratching the paint, and it's gentle enough for even delicate finishes.
This hack costs almost nothing and makes a noticeable difference in how clean your walls look.
Grab a clean, dry 2-inch paintbrush. Start at one end of the room and sweep the brush along the top edge of the baseboard, angling the bristles into the corner where the baseboard meets the wall. Work your way around the room, brushing dust onto the floor.
Then vacuum or sweep up the pile. For stubborn dust buildup, lightly mist the bristles with water (not soaking wet) to trap particles.
Why A Paintbrush Works Best
Unlike a cloth, a paintbrush's bristles reach into the tight gap between the baseboard and the wall. The soft bristles won't scuff or chip the paint, unlike a vacuum attachment that can accidentally scratch. Plus, it's faster than wiping each section with a rag.
Tips For Best Results
Use a dedicated brush kept only for dusting so it stays clean. If you have textured walls, be extra gentle to avoid scraping off texture. For high baseboards, extend your reach with a long-handled brush or attach the paintbrush to a pole.
Dust baseboards weekly to prevent buildup.
21. Clean Walls Without Streaks with Distilled Water
Tap water might be convenient, but it's often full of minerals that leave behind white streaks or cloudy residue on your walls. That's especially frustrating after you've put in the effort to wipe down a whole room. The fix is simpler than you think: switch to distilled water.
Distilled water has had all the minerals removed through boiling and condensation. When you use it to clean walls, there's nothing left behind to streak or spot. Just mix a drop of mild dish soap with a bucket of distilled water, dip a soft sponge or microfiber cloth, wring it out well, and wipe in gentle, overlapping strokes.
You'll get a perfectly even clean with no residue.
Why Tap Water Causes Streaks
Hard water contains calcium, magnesium, and other dissolved solids. When the water evaporates from your wall, those solids are left behind as a white film. That film can also attract dust, making your walls look dirty again quickly.
Distilled water eliminates that problem entirely.
How To Make Your Own Distilled Water At Home
You can buy distilled water at any grocery store for about a dollar a gallon. But if you're in a pinch, you can make it yourself. Fill a large pot with tap water, place a glass bowl inside so it floats, then cover the pot with a lid upside down.
As the water boils, condensation collects on the lid and drips into the bowl. That's your distilled water.
Best Practices For A Streak-free Finish
Always wring out your cloth or sponge until it's damp, not wet. Too much moisture can drip and cause streaks. Work from top to bottom, and use a clean, dry microfiber cloth to buff the wall immediately after wiping.
This removes any remaining moisture and leaves a polished look.
22. Remove Glue from Walls with Cooking Oil
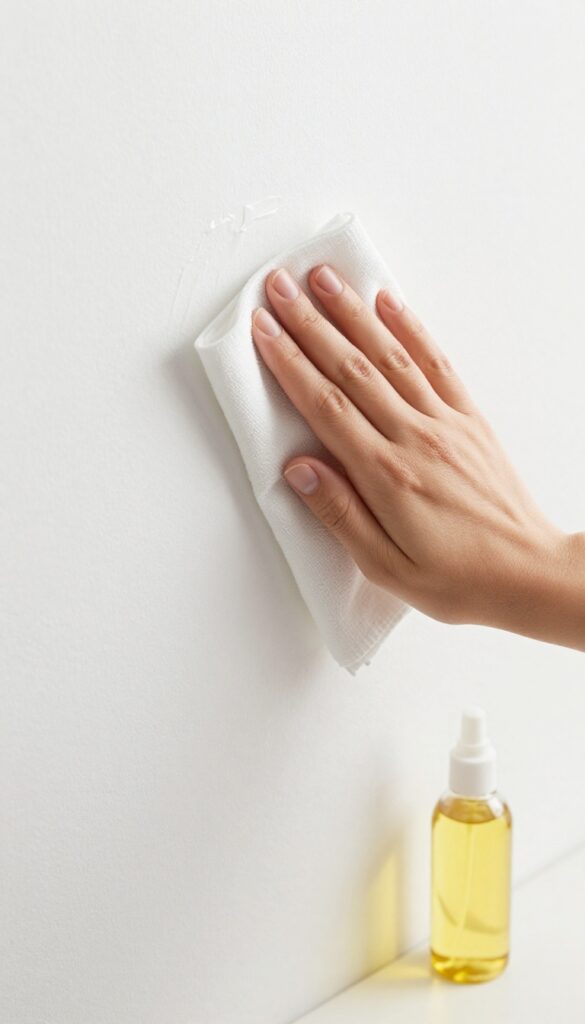
Glue residue from stickers, tape, or craft projects can be a real eyesore. Instead of scraping and risking paint damage, grab a bottle of vegetable oil from your kitchen. This gentle method dissolves adhesive without harsh chemicals, making cleanup a breeze.
Apply a few drops of vegetable oil to a soft cloth and rub the glue stain in a circular motion. Let it sit for a minute to penetrate the adhesive, then wipe away the residue. Follow up with a mild soap and water solution to remove any oily film.
This works on most painted walls, but test an inconspicuous spot first.
Why Oil Works
Cooking oil breaks down the adhesive bond by penetrating the glue's structure. It's a safe alternative to solvents like acetone or rubbing alcohol, which can strip paint. Vegetable oil is gentle on both latex and oil-based paints, making it a go-to for stubborn sticker residue.
Step-by-step Application
Start by dabbing a small amount of oil onto a clean, lint-free cloth. Rub the glue spot gently for 30–60 seconds. Let the oil sit for another minute, then wipe with a fresh cloth.
Wash the area with dish soap and water to remove any greasy residue, then pat dry.
Tips For Best Results
For larger glue patches, use a paper towel soaked in oil and press it against the wall for a few minutes. Avoid using too much oil, as it can drip and stain. Always test on a hidden area first, especially if your walls have a matte finish that may absorb oil.
23. Protect Walls with a Clear Coat
Once you've put in the work to get your walls spotless, you'll want them to stay that way. A clear protective coat is like giving your paint a shield against future messes. It's a simple step that pays off every time you wipe down a wall without worrying about damaging the finish.
Applying a clear, matte polyurethane to high-touch areas creates an invisible barrier that makes cleaning a breeze. Dirt, grease, and scuffs sit on top of the coating instead of sinking into the paint. You can gently scrub away marks without rubbing off color or leaving shiny patches.
Where To Apply It
Focus on spots that get the most abuse: around light switches and doorknobs, behind the stove, near the sink, and along hallways where shoulders brush the walls. You don't need to coat the entire room—just the trouble zones. Use a small foam brush for precision.
How To Apply It Right
Clean the wall first and let it dry completely. Stir the polyurethane gently (don't shake, or you'll create bubbles). Apply a thin, even coat with a brush or mini roller.
Let it cure for at least 24 hours before touching or cleaning. Two thin coats work better than one thick one.
Choosing The Right Finish
Stick with matte or satin polyurethane to avoid a glossy look that doesn't match your paint. Water-based polyurethane is low-odor and dries clear, while oil-based offers extra durability but takes longer to cure. Test on an inconspicuous spot first to make sure it doesn't yellow.
24. Use a Lint Roller for Dust and Pet Hair
Dust and pet hair clinging to walls can be frustrating. A lint roller is a quick fix that grabs debris without stirring it into the air. It's especially handy for textured walls where cloths leave lint behind.
Lint rollers aren't just for clothes. They pick up loose dust, hair, and cobwebs from walls in seconds. The adhesive sheets trap particles, so you don't just push them around.
This hack is perfect for a quick tidy-up between deep cleans.
Best For Textured Walls
Smooth walls are easy to wipe, but textured surfaces like popcorn or orange peel catch dust and hair. A lint roller's sticky surface reaches into grooves without damaging the finish. It's also great for fabric wall coverings.
How To Use It Effectively
Start at the top and roll downward in overlapping strokes. Use a fresh sheet when the adhesive loses stickiness. For stubborn pet hair, press firmly and roll slowly.
Dispose of the used sheets in the trash to avoid spreading dust.
When To Skip This Hack
Avoid using a lint roller on heavily soiled or greasy walls—the adhesive won't grip well, and you might smear grime. Stick to dry debris only. For sticky spots, use a damp cloth or a gentle cleaner instead.
25. Clean Walls with a Steam Cleaner
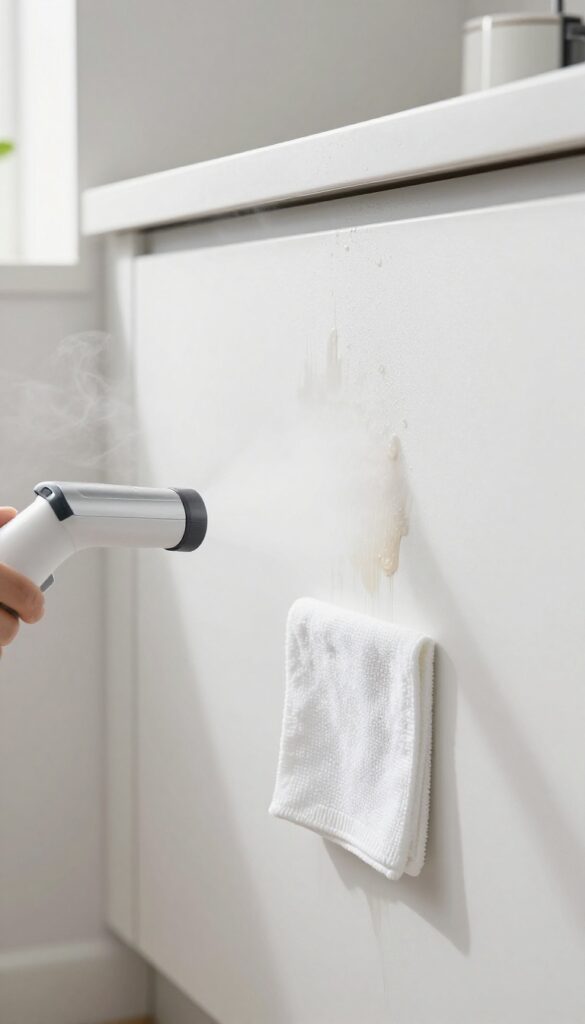
A handheld steam cleaner is a powerhouse for the toughest wall stains. The high-temperature steam penetrates grime, grease, and sticky residues, loosening them without any scrubbing or harsh chemicals. It's especially effective on kitchen walls, around light switches, and in high-traffic areas where dirt builds up over time.
Steam cleaning is a game-changer for walls that need more than a wipe-down. The heat kills mold spores and bacteria, making it a hygienic choice for bathrooms and kitchens. Just keep the nozzle moving to prevent moisture from seeping into the paint or drywall.
Test on an inconspicuous spot first, especially on matte or textured finishes.
Best Stains For Steam
Steam works wonders on grease splatters, dried food residue, and sticky tape marks. It also lifts stubborn crayon and marker stains without damaging the paint. For nicotine or smoke residue, steam helps dissolve the tar layer so you can wipe it away easily.
How To Steam Safely
Hold the nozzle about 2–3 inches from the wall and move it in slow, steady passes. Don't let the steam linger in one spot—that can cause bubbling or peeling. After steaming, wipe the area with a dry microfiber cloth to remove loosened dirt and excess moisture.
When To Avoid Steam
Avoid steam on delicate wallcoverings like wallpaper, silk, or unpainted drywall. Also skip it on walls with existing peeling paint or water damage. In those cases, stick to dry cleaning methods or consult a professional.
FAQ
Can I use bleach on all wall colors?
No, bleach can lighten or discolor paint. Use it only on white or very light walls, and always test in an inconspicuous area first.
How do I clean walls without damaging the paint?
Use gentle cleaners like dish soap and water, avoid abrasive scrubbers, and always test a small area first. Use a soft sponge or cloth.
What is the best way to remove scuff marks from walls?
A magic eraser (melamine sponge) dampened with water works well. Rub gently in a circular motion. For stubborn marks, add a drop of dish soap.
How often should I clean my walls?
Dust walls every 2-3 months and spot clean as needed. High-traffic areas like kitchens and hallways may need cleaning every month.
Can I use vinegar on all wall types?
Vinegar is safe for most painted walls, but avoid it on unsealed or porous surfaces like raw wood or certain wallpapers. Always test first.
Conclusion
You don't have to tackle every wall in one marathon cleaning session. Start with the most noticeable stains or the room you use most, and try just two or three of these hacks with supplies you already own. Even spot-cleaning high-traffic areas can make your whole space feel fresher without the overwhelm.
Consistency beats intensity here. A quick weekly dusting with a microfiber cloth or a gentle spot-clean when you see a mark will keep your walls looking great for years. Pick the tips that fit your routine and give them a try this weekend.