17 Floor Cleaning Tips for a Cleaner Everyday Home
Your floors take a beating every single day—muddy footprints, spilled coffee, and dust that seems to appear out of nowhere. But keeping them spotless doesn't have to mean hours of scrubbing or expensive products. A few smart habits and the right tools can make floor care almost effortless.
From daily quick sweeps to weekly deep cleans, these 17 tips target the most common floor cleaning headaches. You'll learn how to tackle grout, prevent scratches, and get that streak-free shine without the elbow grease.
Ready to make your floors look their best with less work? Let's dive in.
1. Sweep or Vacuum High-Traffic Areas Daily
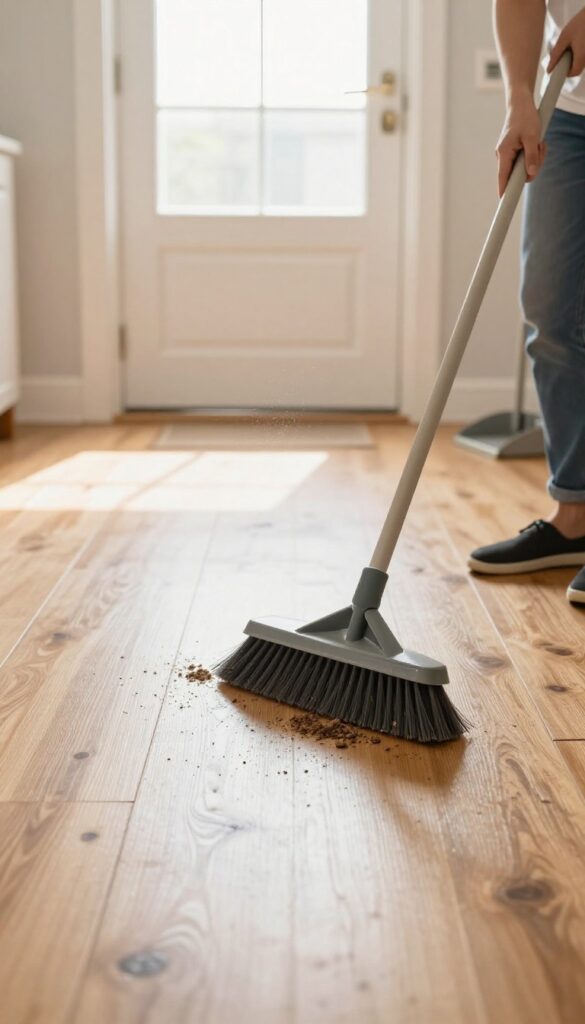
Not all floor zones are created equal. The spots where you walk most—entryways, the kitchen, hallways—collect dirt and grit at a much faster rate. A quick daily pass with a broom or vacuum in these areas stops debris from turning into scratches or dulling your floor's finish.
It's a small effort that pays off big in the long run.
Focusing on high-traffic areas daily prevents dirt from being tracked deeper into your home. Use a soft-bristle broom for hard floors or a vacuum with a floor-specific setting. For tile or hardwood, avoid vacuum beater bars that can cause scratches.
A dust mop works great for quick touch-ups.
Why High-traffic Areas Matter Most
Think about where you walk immediately after coming inside. That's where the bulk of outdoor dirt, sand, and moisture lands. If left, these particles act like sandpaper under shoes, wearing down sealants and finishes.
Daily attention here preserves the entire floor's appearance.
Best Tools For The Job
A lightweight cordless vacuum or a compact dust mop makes daily cleaning easy. For hardwood, use a microfiber dust mop that traps particles without scratching. For tile or vinyl, a soft-bristle broom works well.
Keep a small dustpan nearby for quick pickups.
How To Build The Habit
Set a two-minute timer each evening to sweep or vacuum entryways and kitchen. Store your cleaning tool in an accessible spot. Over time, it becomes automatic.
You'll notice less grime buildup and fewer deep cleans needed.
2. Use a Microfiber Mop for a Streak-Free Shine
Switching to a microfiber mop is one of the easiest upgrades you can make for your floors. Unlike traditional cotton mops that push dirty water around and leave behind lint, microfiber traps dust and absorbs liquid like a magnet. The result?
A clean, streak-free shine with less effort.
Microfiber mops are designed with split fibers that create a static charge, attracting dust and dirt particles. They hold up to eight times their weight in water, meaning you use less cleaning solution and get floors dry faster. Plus, they're machine washable, so you can reuse them hundreds of times—saving money and reducing waste.
Why Microfiber Works Better
The secret is in the fibers. Microfiber strands are split into tiny wedges that act like hooks to grab microscopic dirt. Cotton mops just smear grime around, but microfiber lifts and locks it away.
This makes it ideal for hard floors like tile, laminate, and hardwood where streaks are most noticeable.
How To Use A Microfiber Mop Correctly
Start by dust mopping or sweeping to remove loose debris. Dampen the microfiber pad with water or a pH-neutral cleaner—avoid bleach or fabric softener, which damage the fibers. Mop in a figure-eight pattern to avoid redepositing dirt.
Rinse the pad frequently and swap for a clean one when it gets too soiled.
Caring For Your Microfiber Pads
Wash pads separately from cotton items to prevent lint transfer. Use a mild detergent and skip the dryer sheet, which clogs the fibers. Air dry or tumble dry on low.
With proper care, a quality microfiber pad can last through dozens of washes, keeping your floors spotless for years.
3. Spot-Clean Spills Immediately
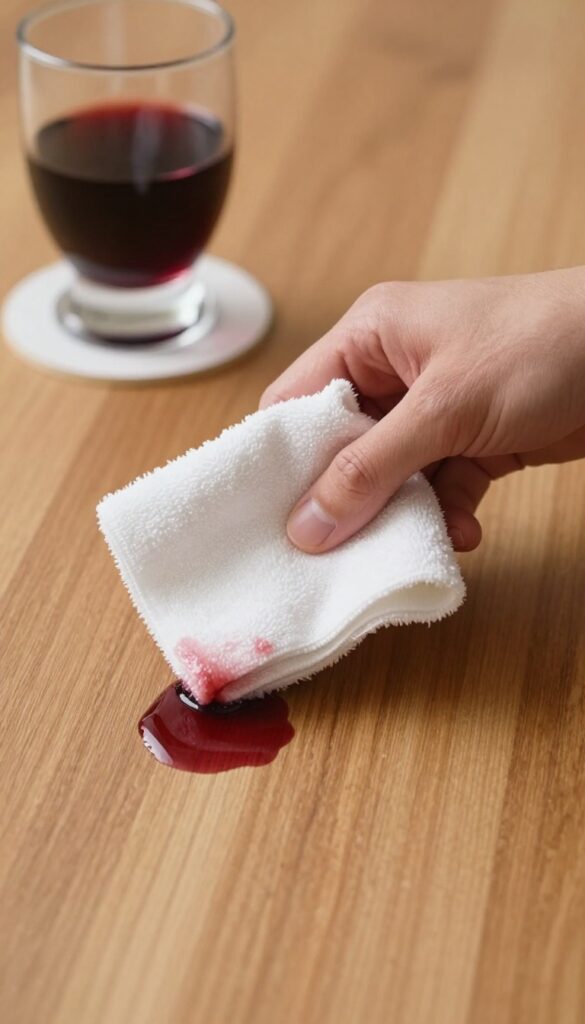
Spills happen, but how quickly you react makes all the difference. The moment something hits the floor, your window for easy cleanup starts shrinking. A few seconds of action now can save you from a permanent stain later.
Whether it's red wine on hardwood or grease on tile, the key is to blot—never rub. Rubbing spreads the liquid and pushes it deeper into the surface. For solids, use a dull knife or credit card to gently scrape them up before they dry and bond with the floor.
The Blotting Technique
Grab a clean, absorbent cloth or paper towel and press firmly over the spill. Lift straight up and repeat with fresh sections of the cloth until no more liquid transfers. For sticky spills like juice or soda, follow up with a damp cloth and then dry immediately.
Tools To Keep Handy
Store a small spill kit under your sink or in a closet: a microfiber cloth, a plastic scraper, and a spray bottle with plain water. This way you're never scrambling for supplies when an accident happens. For grease or oil spills, sprinkle baking soda or cornstarch first to absorb before blotting.
When To Use Cleaner
Not every spill needs soap. Water alone works for most fresh spills on sealed floors. Only use a pH-neutral floor cleaner if the spill leaves a residue or if the surface is unsealed.
Always test cleaner on an inconspicuous spot first to avoid damage.
4. Choose the Right Cleaner for Your Floor Type
Using the wrong cleaner on your floors is like washing a silk blouse with bleach—it can ruin the finish in seconds. Hardwood, tile, vinyl, and stone each have their own needs, and what works for one might damage another. The golden rule?
Always check the manufacturer's recommendations before you pour anything onto your floor.
Matching your cleaner to your floor type isn't just about protecting the surface—it's about making cleaning more effective. The right product lifts dirt without leaving residue, while the wrong one can cause cloudiness, discoloration, or even warping. Here's how to choose wisely.
Hardwood: Gentle And Ph-neutral
Hardwood floors are beautiful but sensitive. Avoid harsh chemicals, vinegar, or steam mops, which can strip the finish and cause swelling. Stick to a pH-neutral wood floor cleaner or a mild soap specifically designed for hardwood.
Apply it with a slightly damp (not wet) mop, and dry immediately to prevent water damage.
Tile And Grout: Avoid Acid On Natural Stone
Ceramic and porcelain tile are tough, but grout is porous and stains easily. Use a neutral cleaner for daily mopping, and tackle grout lines with a baking soda paste or a specialized grout cleaner. For natural stone like marble or travertine, never use vinegar or acidic cleaners—they etch the surface.
Opt for a stone-safe cleaner instead.
Vinyl And Laminate: Less Is More
Vinyl and laminate floors are durable but can be damaged by excess moisture and abrasive cleaners. Use a manufacturer-recommended vinyl floor cleaner or a mixture of warm water and a few drops of dish soap. Avoid wax-based products, which leave a dull film, and never use steam mops on laminate—they can cause the planks to swell.
5. Place Doormats at Every Entrance
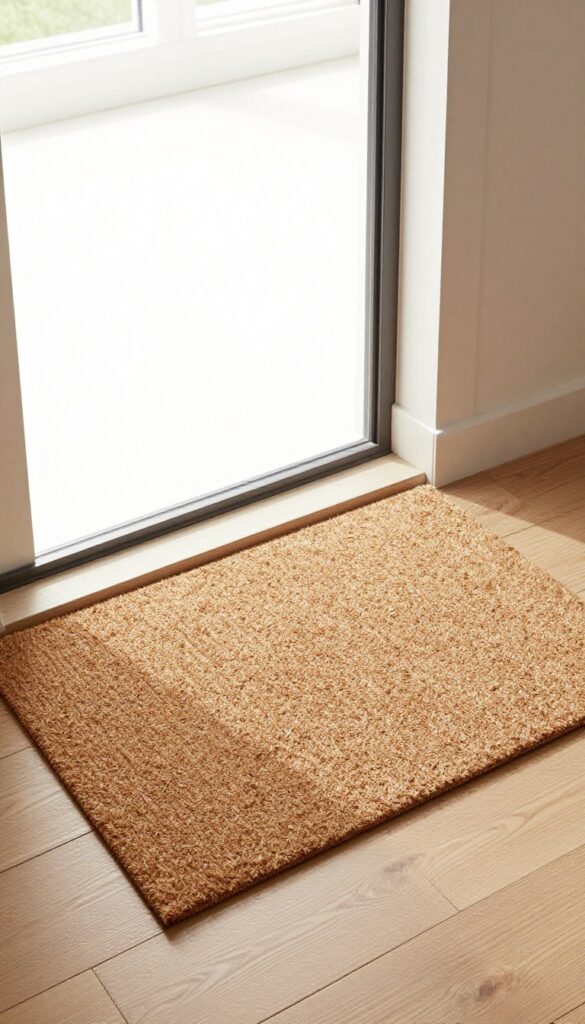
The easiest way to keep floors clean is to stop dirt before it gets inside. A good doormat can trap up to 80% of the grime that would otherwise end up on your floors. This simple addition pays for itself in reduced cleaning time and fewer scratches.
Strategically placed doormats act as the first line of defense against dirt, moisture, and debris. By using two mats at each entrance—one outside and one inside—you maximize dirt trapping and protect your floors year-round.
The Two-mat System
An outdoor scraper mat removes large debris like mud and gravel. Place it right outside the door. Then, an indoor absorbent mat catches finer particles and moisture.
This combo can capture up to 80% of incoming dirt, according to the American Cleaning Institute.
Choosing The Right Mats
For outdoor mats, look for coarse materials like coir or rubber that can handle scraping. Indoor mats should be absorbent and quick-drying, such as microfiber or cotton. Make sure they have a non-slip backing to prevent accidents.
Maintenance Matters
Mats only work if they're clean. Shake out outdoor mats weekly and vacuum indoor mats. Wash absorbent mats monthly to prevent them from becoming dirt reservoirs themselves.
Replace worn mats to keep them effective.
6. Vacuum Carpets Slowly and in Multiple Directions
Most people vacuum too fast. They zip across the room, thinking speed equals efficiency. But a quick pass only skims the surface, leaving dirt, dust, and allergens buried deep in the carpet fibers.
The real cleaning happens when you slow down and change direction.
To get carpets truly clean, you need to give the vacuum time to lift embedded debris. Go over each section at a steady, deliberate pace—slow enough that you can hear the suction working. Then repeat the same area from a different angle.
This crosshatch pattern dislodges particles that a single pass leaves behind.
Why Speed Matters
When you rush, the vacuum's brush roll and suction don't have enough contact time to agitate and capture dirt. Slow vacuuming allows the bristles to loosen ground-in grime and the airflow to pull it away. Think of it like brushing your teeth—quick strokes miss plaque, but slow, thorough brushing cleans better.
The Crosshatch Method
Start by vacuuming the entire carpet in one direction—say, lengthwise. Then go over it again perpendicular to your first pass. This crosshatch pattern lifts dirt from different angles and prevents the carpet from developing a flattened grain.
For high-traffic areas like hallways and living room paths, make two passes in each direction.
Focus On High-traffic Zones
Entryways, in front of sofas, and hallways collect the most dirt. Spend extra time there. Vacuum slowly, then repeat at a right angle.
You'll be surprised how much extra dust and debris the second pass picks up. A good rule: if you can see footprints after vacuuming, you're going too fast.
7. Deep-Clean Grout Lines with a Baking Soda Paste
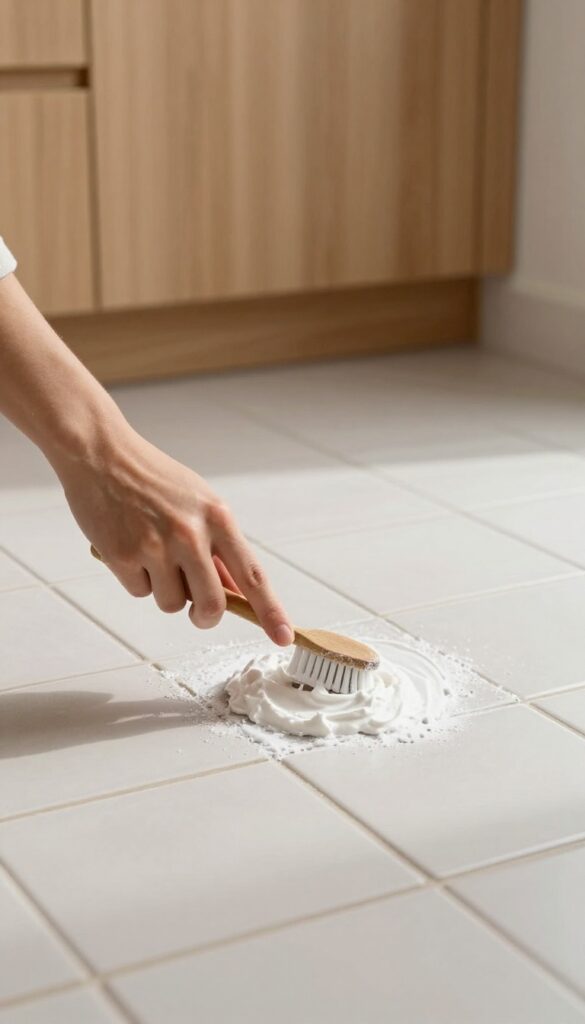
Grout lines are notorious for trapping dirt and turning dingy, but you don't need harsh chemicals to get them clean again. A simple paste made from baking soda and water can lift embedded grime without damaging the grout or your floors. This method is safe for ceramic, porcelain, and natural stone tiles, making it a versatile solution for any home.
Start by mixing baking soda and water in a small bowl until you have a thick, spreadable paste. Apply the paste directly to the grout lines using an old toothbrush or a grout brush, working it into the crevices. Let it sit for 5-10 minutes to loosen the dirt, then scrub vigorously in a circular motion.
Rinse with clean water and wipe away any residue with a damp cloth. For extra stubborn stains, add a splash of white vinegar to the paste, but avoid this on unsealed grout as vinegar can be acidic.
Why Baking Soda Works So Well
Baking soda is a mild abrasive that gently scrubs away dirt without scratching surfaces. It also has natural deodorizing properties, so it neutralizes musty smells that often linger in grout. Unlike bleach or ammonia-based cleaners, it's safe for you, your pets, and the environment.
Tools That Make The Job Easier
A dedicated grout brush with stiff bristles is ideal, but an old toothbrush works in a pinch. For larger areas, consider a grout cleaning pen or a small electric scrub brush to save elbow grease. Keep a spray bottle of water nearby to rinse as you go.
When To Call In A Pro
If your grout is heavily stained or hasn't been cleaned in years, the baking soda paste might not be enough. In that case, a professional steam cleaning can restore it. After deep cleaning, apply a grout sealer to prevent future stains and make maintenance easier.
8. Use Furniture Pads to Prevent Scratches
Furniture can be a floor's worst enemy. Every time you slide a chair or drag a table, you risk leaving behind scratches, scuffs, or gouges—especially on hardwood, laminate, or vinyl. But there's an easy fix that costs just a few dollars and takes seconds to apply.
Felt pads under chair and table legs glide smoothly and protect hardwood or laminate from scratches. They're cheap, easy to install, and make moving furniture a breeze. Plus, they reduce noise and prevent those annoying marks that ruin a clean floor's appearance.
Choose The Right Pad
Not all pads are the same. For hard floors like wood or tile, use self-adhesive felt pads. For carpet, use plastic or metal glides that won't snag.
Make sure the pad size matches the leg width to avoid peeling or shifting.
Install Them Correctly
Clean the leg surface with rubbing alcohol before sticking the pad. Press firmly and let it set for a few hours before moving furniture. Replace pads every few months or when they become dirty or worn.
Check All Furniture
Don't stop at chairs and tables. Sofas, bed frames, and even heavy appliances can scratch floors. Add pads to anything that moves or sits directly on the floor.
It's a small step that saves big repair costs later.
9. Mop with Warm Water and a Squeeze of Dish Soap
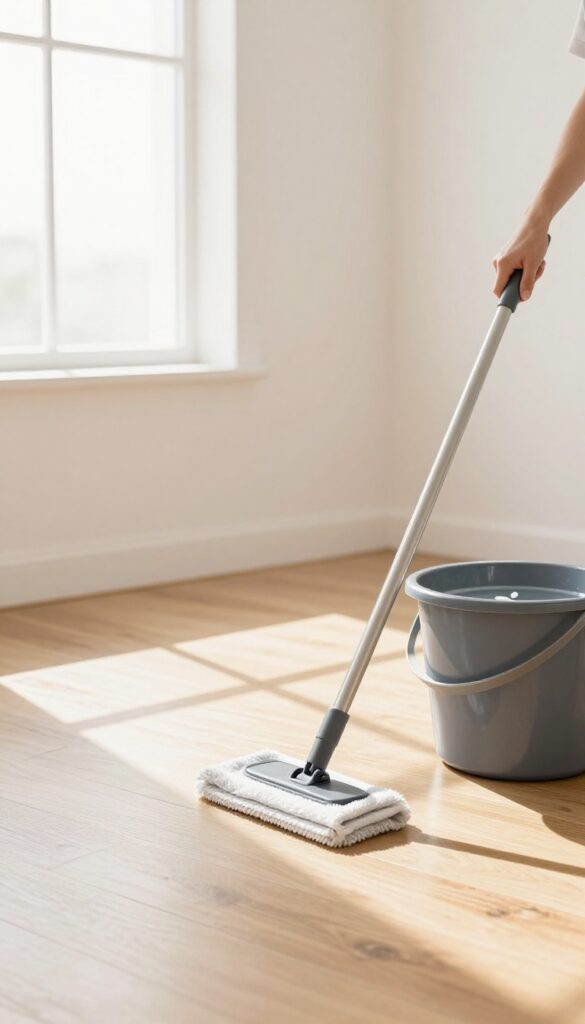
You don't need a fancy floor cleaner to get great results. A tiny amount of mild dish soap mixed with warm water can cut through grease and grime without leaving a sticky residue. The key is using just a squeeze—too much suds can actually attract dirt and dull your floor's finish.
Fill a bucket with warm water and add about a teaspoon of mild dish soap. Swish it around to mix, then dip your mop and wring it out thoroughly. You want a damp mop, not a wet one.
Excess water can seep into seams or wood and cause damage. Mop in sections, rinsing the mop often, and let the floor air dry. For best results, follow up with a plain water rinse to remove any soap film.
Why Dish Soap Works
Dish soap is designed to break down grease and food residue, which is exactly what gets tracked onto floors. Unlike all-purpose cleaners, it doesn't contain harsh chemicals that can strip sealants or leave a film. A tiny amount goes a long way, so you're also saving money.
Avoid Over-soaking
Too much water is the number one mistake when mopping. It can warp hardwood, loosen tile, and create a breeding ground for mold. Always wring your mop until it's just damp.
If you see puddles, you've used too much water. Work in small areas and change the water when it gets dirty.
Best Practices For Different Floors
For tile and vinyl, this solution is safe and effective. For hardwood, use an even smaller amount of soap and make sure the mop is nearly dry. Laminate floors are sensitive to moisture, so use a microfiber mop that's barely damp.
Always test in an inconspicuous spot first.
10. Shake Out Rugs Weekly
Rugs are dirt magnets. Every time you walk across one, particles grind into the fibers and eventually settle onto the floor below. A quick weekly shake outdoors can remove a surprising amount of grit before it ever has a chance to scratch your floors.
Why Shaking Beats Vacuuming
Vacuuming lifts surface dirt, but it can't always dislodge deeply embedded particles. A vigorous shake or gentle beating forces out the grit that settles near the base of the rug fibers. For small rugs, a few good shakes over a railing or clothesline does the trick.
For larger ones, hang them over a sturdy fence or a strong horizontal bar and beat with a broom handle.
The Best Time And Place
Do this chore on a dry, calm day to avoid stirring up dust that blows back inside. Early morning or late afternoon works well when the air is still. Shake rugs away from open windows and doors, and consider wearing a dust mask if you're sensitive to allergens.
If you live in an apartment, take rugs to a balcony or a designated outdoor area.
When To Replace Shaking With Washing
Shaking removes dry dirt but not stains, spills, or pet odors. Once a month, give high-traffic rugs a deeper clean. For washable rugs, toss them in the machine on a gentle cycle.
For delicate or antique rugs, spot-clean with a mild detergent and blot dry. Rotating rugs every few months also helps them wear evenly.
11. Clean Your Mop Head After Every Use
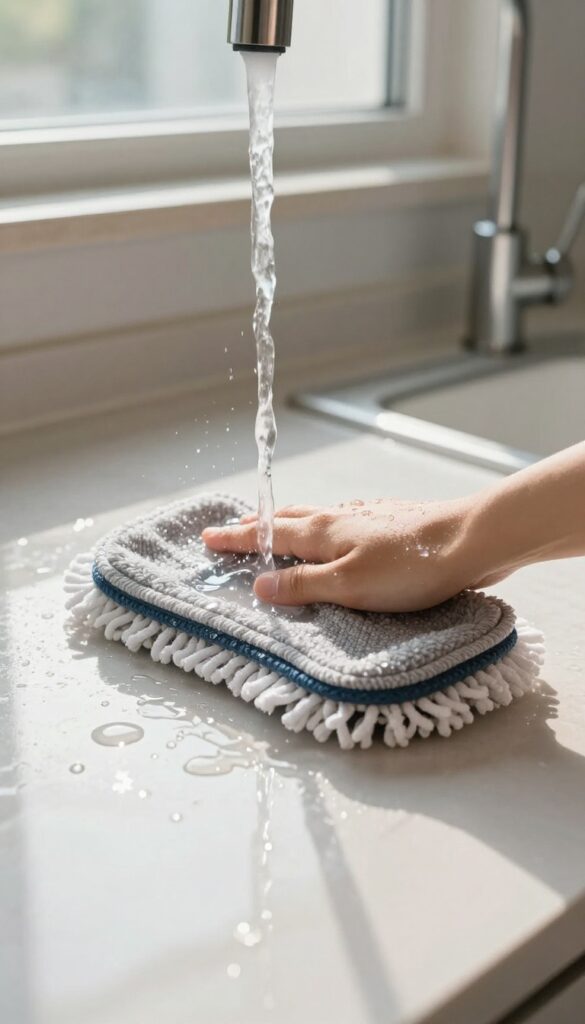
You might think your mop is getting the floor clean, but if the head is dirty, you're just spreading grime around. A used mop head is a breeding ground for bacteria, and rinsing it briefly under the tap isn't enough. Giving it a proper clean after each mopping session keeps your floors truly sanitary and extends the life of the mop.
Why A Dirty Mop Head Hurts Your Floors
When you dip a soiled mop back into clean water, you contaminate the bucket. Then you're effectively wiping bacteria, grease, and old dirt onto your floor. This can leave a dull film and even cause odors over time.
For kitchens and bathrooms, where germs are more common, a clean mop head is essential for hygiene.
How To Clean Different Mop Heads
For microfiber mop heads, remove the pad and machine wash it in hot water with a mild detergent. Avoid fabric softener, which reduces absorbency. For string mops, rinse thoroughly under hot running water until the water runs clear, then soak in a solution of hot water and a splash of bleach or vinegar for 10 minutes.
Rinse again and wring out well before storing.
Drying Your Mop Head Properly
A damp mop head left in a bucket or closet will develop mildew and smell musty. After washing, hang the mop head to dry completely in a well-ventilated area or outdoors. If you use a mop with a removable head, store it separately until the next use.
This simple step prevents bacteria from multiplying between cleaning sessions.
12. Use a Steam Mop for a Chemical-Free Deep Clean
If you're tired of harsh chemical smells and want a deep clean that's safe for kids and pets, a steam mop is your new best friend. It uses only water, heated to a high temperature, to sanitize and lift stubborn grime from sealed hard floors. No rinsing, no residue—just clean floors.
Steam mops are especially effective on sealed tile, vinyl, and laminate (check your manufacturer's guidelines first). The heat loosens dried-on spills and sticky spots that a regular mop would just smear around. Plus, the steam kills bacteria and dust mites naturally, making it a great choice for allergy sufferers.
Just remember to sweep or vacuum first—steam mops work best on dust-free surfaces.
Which Floors Can Handle Steam?
Not every floor is steam-safe. Sealed ceramic, porcelain, and stone tiles are ideal. Luxury vinyl plank (LVP) and sheet vinyl are usually fine, but check the warranty.
Avoid steam on unsealed hardwood, laminate that isn't waterproof, and carpet. When in doubt, test a small hidden area first.
How To Get The Best Results
Always start with a dry floor—steam mops don't pick up liquid. Use distilled water to prevent mineral buildup in the mop. Move slowly over tough spots and let the steam sit for a few seconds before wiping.
For heavy grime, a pre-treatment with a microfiber cloth dampened with warm water can help.
Steam Mop Maintenance Tips
Clean the mop pad after each use—dirty pads just spread dirt around. Most pads are machine washable; air dry them to avoid shrinkage. Descale the water tank every month with a vinegar solution to keep the steam flowing strong.
A well-maintained steam mop can last for years.
13. Tackle Sticky Spots with Rubbing Alcohol
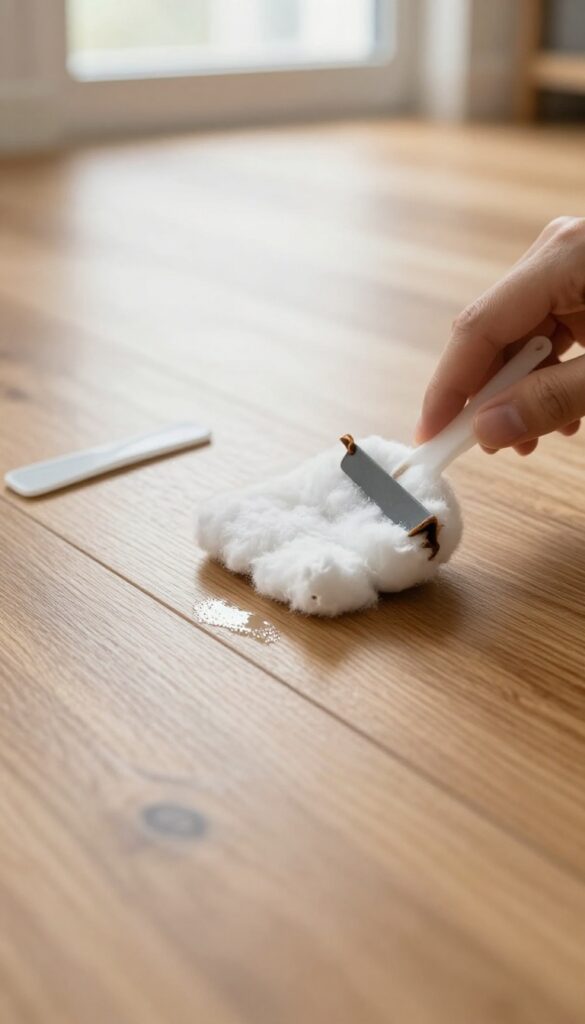
Sticky messes like gum, adhesive, or sticker residue can be a real pain to remove from floors. Scrubbing them off often just smears the goo around or leaves a sticky film. Rubbing alcohol is a simple, effective solution that breaks down the adhesive without damaging most floor surfaces.
Apply a small amount of rubbing alcohol to a cotton ball or soft cloth and dab it onto the sticky spot. Let it sit for about 30 seconds to dissolve the adhesive. Then, gently wipe away the residue.
For tougher spots, you can use a plastic scraper or an old credit card to lift it off without scratching the floor. Always test on an inconspicuous area first, especially on sealed or waxed floors.
How It Works
Rubbing alcohol is a solvent that breaks down the polymers in adhesives, making them lose their grip. It evaporates quickly, so it won't leave a wet mess behind. This makes it ideal for spot treatments on hardwood, tile, laminate, and vinyl floors.
Safety Tips
Always spot-test in a hidden area. Avoid using rubbing alcohol on unsealed wood or delicate finishes, as it can strip the sealant. Keep the room ventilated, and never mix rubbing alcohol with bleach or other cleaners.
Alternatives For Stubborn Spots
If rubbing alcohol isn't cutting it, try a few drops of vegetable oil or peanut butter on the residue. Let it sit for a few minutes, then wipe away. For gum, freeze it with an ice cube in a plastic bag, then crack it off with a blunt object.
14. Keep a Spray Bottle of Vinegar Water Handy
A simple spray bottle filled with a 50/50 mix of white vinegar and water can replace many commercial cleaners. It's cheap, non-toxic, and works wonders on most hard floors—just avoid it on unsealed wood, which can get damaged by the acidity. Keep one under the sink for quick spot cleans or daily touch-ups.
Why Vinegar Works So Well
Vinegar is naturally acidic, which cuts through grease, dissolves dirt, and kills some bacteria. Unlike harsh chemicals, it leaves no sticky residue, so floors stay cleaner longer. The smell fades quickly once dry, so don't worry about your home smelling like a salad.
Floors That Love Vinegar
Tile, linoleum, laminate, and sealed hardwood all handle vinegar water beautifully. Just mist lightly and wipe with a microfiber mop or cloth. For extra grime, let the solution sit for a minute before wiping.
Always test in an inconspicuous spot first.
When To Skip The Vinegar
Unsealed hardwood, waxed floors, and natural stone (like marble or slate) are too porous or sensitive for vinegar. The acid can dull finishes or etch stone. Stick to manufacturer-recommended cleaners for those surfaces.
15. Use a Squeegee on Hard Floors After Mopping
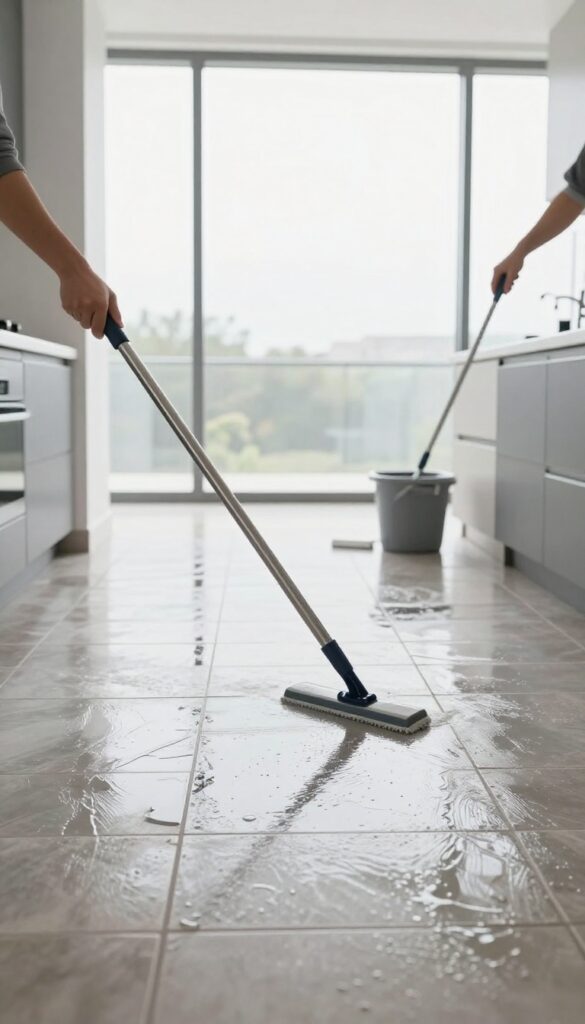
Mopping can leave behind a thin layer of water that dries into ugly streaks and water spots. A squeegee—the same tool you use on windows—works wonders on tile, vinyl, and sealed hardwood. It pulls off excess moisture in one smooth pass, leaving your floors spotless and dry in minutes instead of hours.
Why A Squeegee Works Better Than A Mop Alone
Even the best mop leaves a film of water that picks up dust and dirt as it dries. A squeegee physically removes that water, along with any leftover grime. The rubber blade glides over the surface without leaving lint or streaks, and it reaches into corners and along baseboards where a mop can't.
How To Squeegee Your Floors The Right Way
After mopping, start at the farthest corner of the room and pull the squeegee toward you in straight, overlapping strokes. Rinse the blade after each pass to avoid redepositing dirt. For large areas, use a floor squeegee with a long handle; for tight spots, a handheld one works fine.
Work your way backward toward the door so you don't walk on the wet floor.
Best Floor Types For This Trick
Squeegees are perfect for smooth, non-porous surfaces like ceramic tile, luxury vinyl plank, and sealed concrete. They're also safe for engineered hardwood and laminate as long as the seal is intact. Avoid using a squeegee on unsealed wood, natural stone, or textured tiles, as the blade can damage the surface or push water into cracks.
16. Schedule a Weekly Deep-Clean Routine
Daily maintenance is great, but it won't get the grime that settles into corners or under furniture. That's where a weekly deep-clean routine comes in. By setting aside a dedicated time each week, you'll prevent buildup and keep your floors looking their best without a massive time commitment.
A weekly deep-clean doesn't have to mean moving every piece of furniture every time. Instead, rotate your focus areas so that over the course of a month, you hit every spot. This approach keeps the workload manageable and ensures no area gets neglected.
Move Furniture In Sections
Instead of dragging everything out at once, divide your room into quadrants. Each week, move the furniture in one quadrant to clean underneath. Use furniture sliders to make the job easier and avoid scratching your floors.
This way, you're not overwhelmed, and your floors get a thorough clean on a regular cycle.
Don't Forget Under Rugs And Mats
Rugs and mats trap dirt and moisture underneath, which can damage your floors over time. Each week, lift or roll up one or two rugs to sweep and mop the area beneath. While they're up, give the rugs a good shake or vacuum to remove embedded dirt.
Rotating which rugs you clean keeps the task quick and prevents surprises.
Rotate Your Cleaning Tasks
Create a simple rotation schedule: one week focus on baseboards and corners, the next on under furniture, then on grout lines or high-traffic areas. This variety keeps the routine from becoming boring and ensures every part of your floor gets attention. Over a month, you'll have covered all the bases without a marathon cleaning session.
17. Invest in a Quality Vacuum with a HEPA Filter
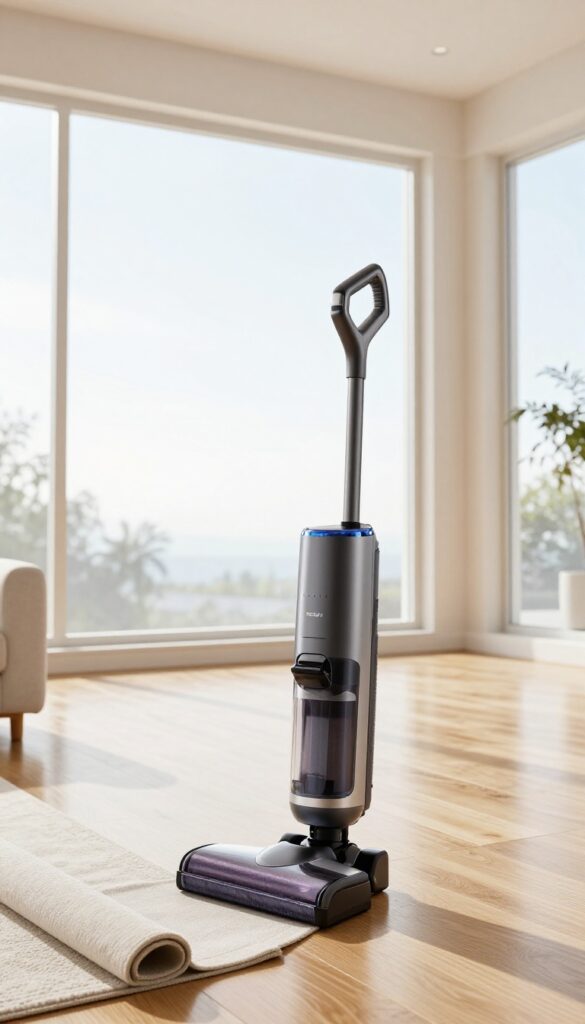
Not all vacuums are created equal, especially when it comes to truly clean floors. A standard vacuum might pick up visible dirt, but it can also release fine dust and allergens back into the air. That's where a HEPA filter makes a real difference.
HEPA stands for High-Efficiency Particulate Air. These filters trap 99. 97% of particles as small as 0.
3 microns—things like pollen, dust mites, and pet dander. For anyone with allergies or asthma, this is a game changer. But even if you don't have sensitivities, a HEPA filter keeps your indoor air cleaner and your floors genuinely dust-free.
When shopping, look for a vacuum that advertises a sealed HEPA system. Some vacuums have HEPA filters but still leak unfiltered air through gaps in the casing. A sealed system ensures all air passes through the filter before exiting.
What To Look For
Check for a true HEPA filter, not just "HEPA-type" or "HEPA-like. " True HEPA meets strict standards. Also consider the vacuum type: upright, canister, or stick.
For hard floors, a canister vacuum with a soft brush roll is gentle and effective. For carpets, an upright with a motorized brush works best.
Maintenance Matters
A HEPA filter needs regular care to stay effective. Washable filters should be rinsed and dried completely every few months. Disposable ones need replacing according to the manufacturer's schedule—usually once or twice a year.
A clogged filter reduces suction and lets dust escape.
Bonus Tip: Pair With A Microfiber Mop
Even the best vacuum can't replace a good mop. After vacuuming, use a microfiber mop to capture any remaining fine dust. This combination leaves hard floors spotless and reduces the need for frequent mopping with chemicals.
FAQ
How often should I mop my floors?
For most homes, mopping once a week is enough. High-traffic areas or homes with pets may need mopping every few days.
Can I use vinegar on hardwood floors?
Vinegar can damage the finish over time. Use a cleaner specifically designed for hardwood or a mild soap solution.
What's the best way to remove scuff marks from tile?
Rub a tennis ball or a pencil eraser over the mark. For stubborn marks, use a baking soda paste.
How do I get rid of musty smell from carpets?
Sprinkle baking soda over the carpet, let it sit for 15 minutes, then vacuum thoroughly. Repeat if needed.
Is steam mopping safe for laminate floors?
Excess moisture can warp laminate. Use a steam mop sparingly and ensure the floor is sealed. Check manufacturer guidelines first.
Conclusion
You don't need to overhaul your entire cleaning routine overnight. Pick two or three tips that target your biggest floor frustrations—whether it's sticky kitchen tiles or dusty hardwood—and test them out this week. Small, consistent changes make the biggest difference over time.
A cleaner floor isn't just about appearances; it makes your whole home feel fresher and more welcoming. Start with the tricks that fit your lifestyle, and you'll build a simple routine that keeps your floors looking great without the extra effort.