20 Window Cleaning Solution Ideas for Crystal Clear Glass
Nothing ruins a sunny day like looking through smudged, streaky windows. You wipe and wipe, but the haze just won't budge. The problem is often the cleaning solution itself—not your effort.
Most store-bought sprays leave residue or require endless buffing. Homemade alternatives can be just as effective if you know the right ratios. The key is matching the solution to the type of dirt: grease, hard water, or plain dust.
In this guide, you'll find 20 targeted ideas that solve specific window cleaning headaches. Each one is tested, practical, and designed to save you time while delivering that crystal-clear finish.
1. Classic Vinegar and Water Mix
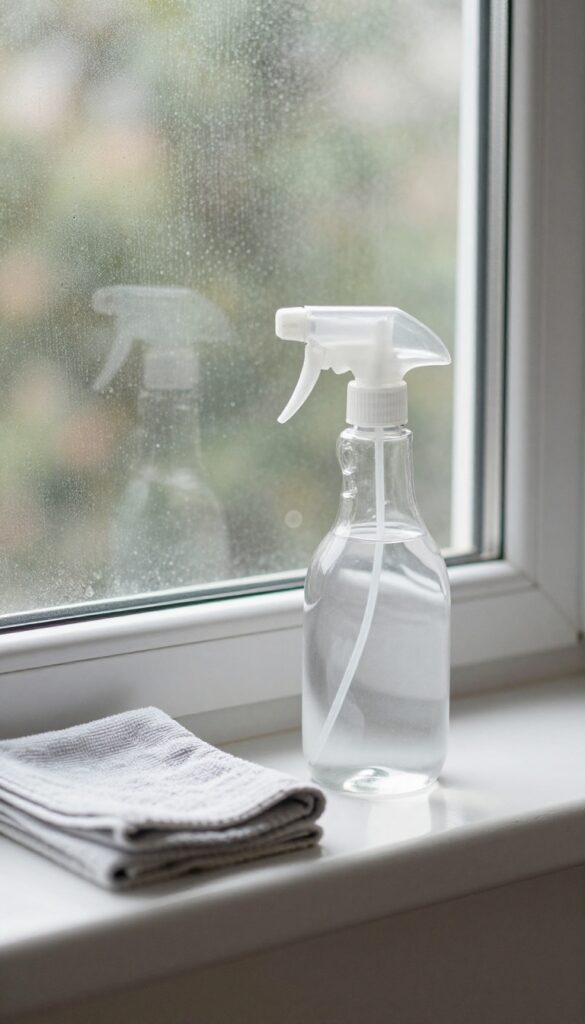
White vinegar and water is the go‑to for a reason. It’s cheap, non‑toxic, and cuts through everyday grime without leaving streaks. The trick is using distilled water and the right ratio.
Tap water can leave mineral spots, so switch to distilled if you want truly clear glass.
Mix equal parts white vinegar and distilled water in a spray bottle. Shake gently, then spray onto the glass. Wipe with a microfiber cloth in a zigzag pattern to avoid streaks.
For heavy dirt, let the solution sit for 30 seconds before wiping. This mix works best on windows that aren’t tinted or coated, as vinegar can damage certain films.
Why It Works
Vinegar is acidic enough to dissolve light grease, dust, and hard‑water spots. Distilled water ensures no minerals are left behind, so the glass dries spotless.
When To Use It
Ideal for routine cleaning every few weeks. Not recommended for tinted windows or those with protective coatings, as the acid can degrade the film over time.
Pro Tips
Use a fresh microfiber cloth for each window. Avoid paper towels—they leave lint. If streaks appear, buff with a dry cloth.
For extra shine, add a drop of dish soap to the mix.
2. Rubbing Alcohol for Grease and Grime
Kitchen windows take a beating. Grease splatters, cooking fumes, and sticky fingerprints turn clear glass into a foggy mess. Standard cleaners often smear the oil around instead of lifting it off.
Rubbing alcohol cuts through that greasy layer fast, and its quick evaporation leaves no streaks behind.
Mix 1 cup of rubbing alcohol (70% or higher) with 1 gallon of water and add 1 tablespoon of dish soap. The alcohol breaks down grease, while the soap helps lift dirt. Because alcohol evaporates so quickly, you don't have to rush to buff the glass dry.
This solution works especially well on windows near stoves or above sinks where grime builds up. Use a microfiber cloth or a squeegee for best results.
Why Alcohol Beats Vinegar On Grease
Vinegar is great for mineral deposits, but it struggles with oily residue. Alcohol, on the other hand, dissolves grease on contact. It also dries faster, which means fewer streaks.
If your kitchen windows feel tacky or hazy after cleaning, switch to this alcohol-based mix.
Best Application Method
Spray the solution generously onto the glass, then wipe with a clean microfiber cloth in a zigzag pattern. For heavy buildup, let the solution sit for 30 seconds before wiping. Avoid using paper towels—they leave lint and can push grease around.
A squeegee also works well; just pull it across in one smooth motion.
Safety And Storage Tips
Rubbing alcohol is flammable, so keep the solution away from open flames and store it in a labeled spray bottle out of reach of children. It's safe for most glass types, but test on a small area first if you have tinted or coated windows. The mixture stays effective for several weeks, but give it a quick shake before each use.
3. Dish Soap and Warm Water for Heavy Dirt
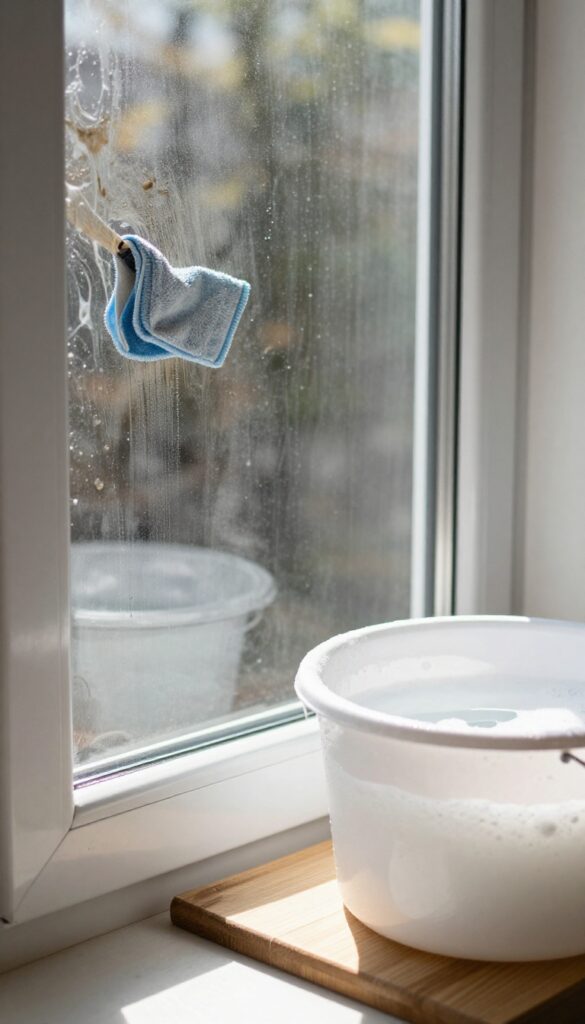
When windows are caked with mud, bird droppings, or years of grime, vinegar alone won't cut it. Dish soap is designed to break down grease and stuck-on food, so it handles outdoor dirt just as well. The trick is using a tiny amount—too much creates foam that leaves a film you'll battle for hours.
Mix a few drops of mild dish soap (like Dawn or Seventh Generation) into a bucket of warm water. Dip a microfiber cloth, wring it nearly dry, and wipe the glass in overlapping strokes. Rinse the cloth often to avoid redepositing dirt.
For really stubborn spots, let the soapy water sit for 30 seconds before wiping. Follow with a clean, damp cloth to remove any soap residue, then squeegee or buff dry with a lint-free towel.
Why Warm Water Matters
Warm water helps dissolve greasy grime faster than cold. It also makes the soap more effective without needing extra product. Just don't use hot water—it can cause the soap to foam excessively and may damage window seals over time.
Choosing The Right Cloth
Microfiber is ideal because it traps dirt without scratching. Avoid sponges that leave streaks or paper towels that shed lint. If you use a squeegee, wash the rubber blade with soapy water first to remove any residue that could cause skipping.
4. Cornstarch for a Streak-Free Shine
Cornstarch might seem like an odd addition to a window cleaner, but it does something vinegar alone can't. Those tiny particles act as a mild abrasive that polishes the glass while you wipe. The result is a smooth surface that reflects light evenly, with zero streaks.
To make this solution, combine 2 tablespoons of cornstarch with 1/4 cup white vinegar and 2 cups warm water. Shake well before each use, as the cornstarch settles quickly. Apply with a microfiber cloth or a squeegee, working in small sections.
The cornstarch fills microscopic scratches and pits in the glass, creating a flawless finish that resists new dirt.
Why Cornstarch Works
Glass isn't perfectly smooth at a microscopic level. Over time, tiny scratches and etching from hard water create a rough surface that traps dirt and causes streaks. Cornstarch particles are fine enough to fill these imperfections, leveling the surface so light bounces off cleanly.
This also makes future cleanings easier, because dirt has fewer rough spots to cling to.
How To Apply For Best Results
Start by dusting the window to remove loose debris. Spray the cornstarch solution onto the glass, then wipe with a clean, dry microfiber cloth in a circular motion. For large windows, use a squeegee after spraying: pull the squeegee horizontally from top to bottom, wiping the blade after each pass.
The cornstarch will leave a slight white haze if you use too much, so stick to the recommended ratio.
When To Use This Method
This solution is ideal for windows that look clean but still seem hazy or dull. It's also great for older windows with minor etching or scratches. Avoid using it on tinted or coated glass, as the mild abrasiveness could damage the coating.
For regular maintenance, stick with a simpler vinegar-and-water mix and save the cornstarch for when you need that extra polish.
5. Lemon Juice for Hard Water Stains
Hard water stains are among the toughest window foes. Those white, crusty spots come from mineral deposits left behind when water evaporates. Regular cleaners often fail because they can't break down the calcium and lime.
That's where lemon juice steps in.
Lemon juice is a natural acid that dissolves mineral buildup without harsh chemicals. It works fast and leaves a fresh scent. The trick is getting the concentration right and giving it a little time to work.
The Right Mix
Combine equal parts fresh lemon juice and warm water in a spray bottle. Shake gently to mix. Avoid using bottled lemon juice with added sugar or preservatives—they can leave a sticky film.
Application Tips
Spray the solution directly onto the stained glass. Let it sit for about a minute so the acid can break down the minerals. Don't let it dry—wipe it off with a microfiber cloth while it's still wet.
For stubborn spots, scrub gently with a soft sponge.
Rinse For Clarity
After wiping, rinse the glass with plain water to remove any leftover lemon residue. Dry with a clean, lint-free cloth for a streak-free shine. This step is crucial because dried lemon juice can attract dust.
6. Hydrogen Peroxide for Mold and Mildew
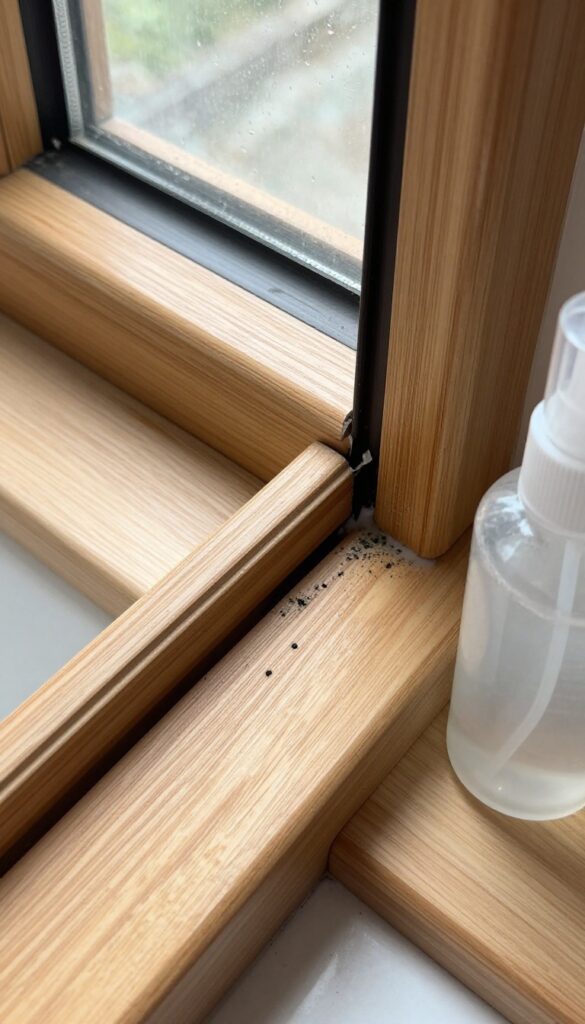
Mold and mildew love damp window frames, especially in bathrooms or kitchens. You can scrub all you want, but if the spores are deep in the crevices, they'll keep coming back. Hydrogen peroxide offers a simple, non-toxic way to kill mold at the root without harsh fumes.
Spray 3% hydrogen peroxide directly on moldy window frames. Let it sit for 10 minutes, then scrub and rinse. Safe for most surfaces.
Why It Works
Hydrogen peroxide is a natural disinfectant that breaks down into water and oxygen. It kills mold spores on contact and penetrates porous surfaces like wood or silicone caulk, where mold likes to hide.
How To Apply
Pour 3% hydrogen peroxide into a spray bottle. Spray generously on the affected areas, making sure to soak the moldy spots. Let it foam and bubble for 10 minutes.
Scrub with a soft brush or sponge, then wipe with a damp cloth. No rinsing needed if you prefer, but a quick rinse with water helps remove any residue.
Safety Tips
Test on an inconspicuous area first, especially on painted or stained wood. Hydrogen peroxide can bleach some materials. Keep it away from your eyes and avoid mixing with vinegar or ammonia, which can create toxic fumes.
7. Ammonia for Extra Sparkle
Ammonia is a powerful degreaser that cuts through grime on exterior windows like nothing else. A small amount goes a long way—just one tablespoon per quart of water. This solution dries fast and leaves a brilliant shine, but it comes with important caveats.
Why Ammonia Works So Well
Ammonia breaks down oily residues from car exhaust, pollen, and cooking grease. It evaporates quickly, reducing streaks. Unlike vinegar, it doesn't leave a film, making it ideal for large glass surfaces.
Safety And Glass Compatibility
Never mix ammonia with bleach or any chlorine-based cleaner—toxic fumes result. Also avoid using ammonia on tinted windows or windows with reflective coatings; it can damage the film. Stick to exterior use only.
Best Application Method
Apply with a squeegee or microfiber cloth. Work in sections, wiping dry before the solution evaporates. For heavily soiled windows, pre-rinse with plain water to remove loose dirt.
8. Baby Shampoo for Gentle Cleaning
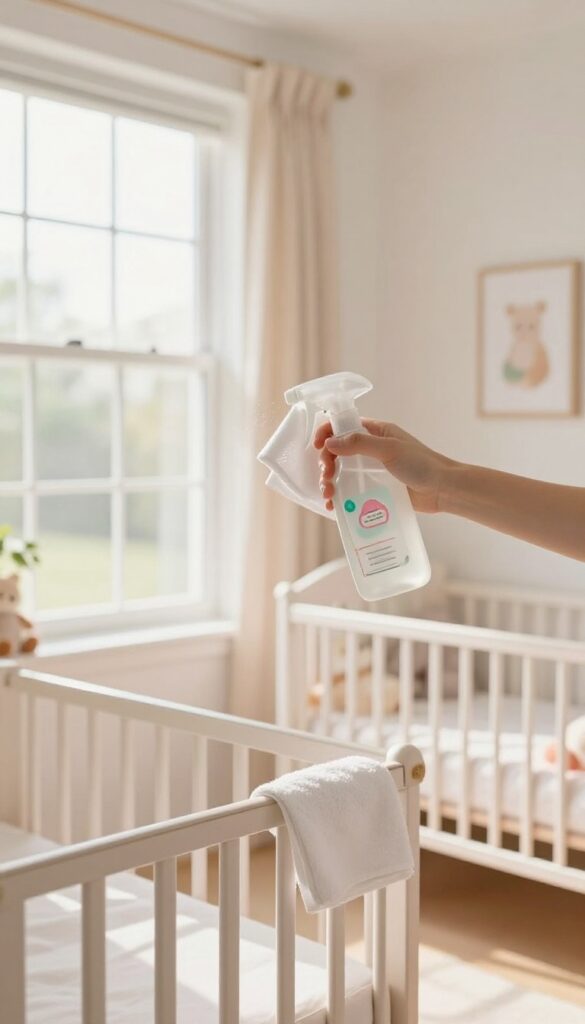
If you have little ones crawling around or pets that like to press their noses against the glass, you might worry about harsh chemicals near them. Baby shampoo offers a mild, tear-free alternative that still cuts through dirt effectively. It's one of the safest options for windows in nurseries, playrooms, or any home where gentleness matters.
This solution works because baby shampoo contains mild surfactants that break down grease and grime without leaving a heavy residue. Unlike dish soap, it doesn't produce too many suds, which means less rinsing and fewer streaks. It's also fragrance-free or lightly scented, so it won't irritate sensitive noses.
How To Mix It
Add one teaspoon of baby shampoo to a 16-ounce spray bottle filled with warm water. Shake gently to combine—don't shake too hard or you'll create foam. That's it.
No vinegar, no ammonia, just a simple, gentle mix. For extra cleaning power, you can add a tablespoon of rubbing alcohol, but it's optional.
Best Uses
This cleaner is ideal for interior windows in bedrooms, living rooms, and especially children's rooms. It's also great for cleaning glass doors that pets slobber on, since it's non-toxic if licked. Use it on windows with light dust or fingerprints—it's not strong enough for heavy grease or hard water stains.
Application Tips
Spray the solution onto the glass and wipe with a microfiber cloth or lint-free rag. For best results, use a second dry cloth to buff away any remaining moisture. Because the solution is so mild, you may need to wipe a bit more to remove all residue, but the result is a streak-free, gentle shine.
9. Club Soda for a Quick Fix
When you're out of window cleaner and need a fast solution, club soda is a surprising hero. The carbonation helps lift dirt and grime without any harsh chemicals. Just pour it into a spray bottle, spritz on the glass, and wipe with a lint-free cloth for instant clarity.
Club soda works because the bubbles agitate dirt, while the mild acidity cuts through grease. It's perfect for a quick touch-up before guests arrive or when you just want streak-free windows without the fuss.
Why Carbonation Works
The carbon dioxide in club soda creates tiny bubbles that help loosen dirt particles from the glass surface. This makes it easier to wipe away grime without scrubbing. Plus, club soda leaves no soapy residue, so streaks are less likely.
Best Way To Apply
Fill a clean spray bottle with plain club soda (not flavored or sweetened). Mist the window lightly, then immediately wipe with a microfiber cloth or a lint-free towel. Work in a zigzag pattern to avoid streaks.
For tough spots, let the soda sit for a few seconds before wiping.
When To Use This Method
Club soda is ideal for light cleaning between deep cleans. It's also great for windows that have been cleaned recently but have dust or fingerprints. However, it may not tackle heavy grease or hard water stains—save those for stronger solutions.
10. White Vinegar and Baking Soda for Stubborn Spots
Some messes just won't come off with a simple spray. Bird droppings, tree sap, or dried-on bug splatters need a little extra muscle. That's where a fizzy paste of white vinegar and baking soda comes in.
The chemical reaction helps lift the gunk without scratching the glass.
Mix equal parts baking soda and white vinegar to form a thick paste. Apply it directly to the stubborn spot and let it sit for a few minutes. You'll see it bubble and fizz as it breaks down the residue.
Then, rinse thoroughly with clean water and wipe dry with a microfiber cloth. This method is safe for most glass types but avoid using it on tinted windows or those with special coatings, as the abrasive nature of baking soda could cause micro-scratches. Always test on a small, inconspicuous area first.
Why The Fizz Works
The reaction between the acid (vinegar) and the base (baking soda) creates carbon dioxide gas. Those bubbles help physically dislodge stuck-on debris from the glass surface. It's a gentle but effective scrubbing action that doesn't require harsh chemicals.
Best Application Method
Use a soft sponge or a cloth to apply the paste. Avoid using abrasive scrubbers like steel wool, as they can scratch the glass. For vertical windows, apply the paste with a paintbrush or a spatula to keep it in place while it works.
When To Rinse And Repeat
After the fizzing subsides, rinse the area with a spray bottle filled with water. If the spot doesn't come off completely, reapply the paste and let it sit a bit longer. For extremely stubborn spots, you can gently rub the paste in a circular motion with a soft cloth before rinsing.
11. Rain-X for Water Repellency
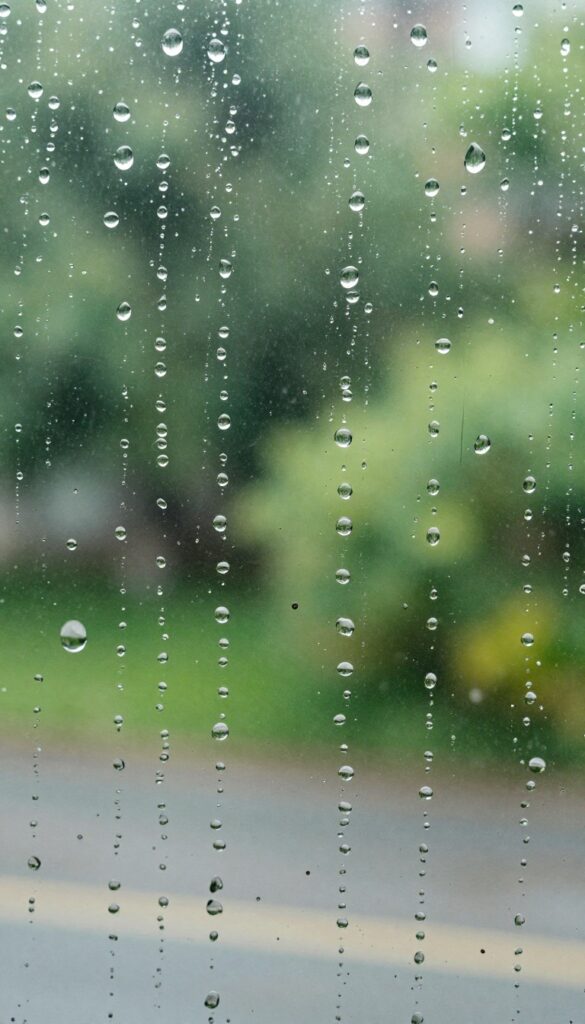
Rain-X isn't just for car windshields—it works wonders on home windows too. A thin layer makes water bead up and roll off instantly, which means less spotting and fewer streaks after a rain shower. This is especially handy for windows that are hard to reach or get dirty quickly.
Applying Rain-X to exterior windows creates a hydrophobic surface that repels water. Raindrops form tight beads and slide off before they can dry into mineral spots. This not only keeps windows cleaner longer but also makes your next cleaning session much easier since dirt has less chance to bond with the glass.
How To Apply It Right
Clean the window thoroughly first with a streak-free glass cleaner. Dry it completely, then apply Rain-X with a soft cloth using circular motions. Let it haze over, then buff it off with a clean microfiber towel.
Work in small sections to avoid uneven coverage.
Best Windows For This Treatment
Rain-X works best on exterior windows that face the weather—especially those exposed to rain, sprinklers, or condensation. Avoid using it on interior windows or tinted glass, as it may cause cloudiness or interfere with the tint.
How Long It Lasts
One application typically lasts four to six weeks, depending on weather conditions and how often you clean. You'll notice the water beading effect diminishing over time. Reapply when water starts to sheet instead of beading.
12. Distilled Water to Avoid Mineral Residue
Hard water spots are the enemy of crystal clear glass. When tap water evaporates on windows, it leaves behind calcium and magnesium deposits that create a cloudy film. Distilled water skips that problem entirely because it's stripped of minerals during the purification process.
Switching to distilled water is one of the easiest upgrades you can make. It works with any cleaning solution—vinegar, dish soap, or commercial cleaner—and prevents those stubborn white spots from forming in the first place. If you live in an area with hard water, this single change can dramatically improve your results.
Distilled water is simply water that has been boiled and condensed back into liquid, leaving minerals behind. It's available at most grocery stores for around a dollar per gallon. For window cleaning, you only need it for the final rinse or the cleaning solution itself.
Using distilled water in your spray bottle ensures that when the liquid evaporates, no new spots appear. This is especially helpful for windows that get direct sun, where water dries quickly and leaves marks. Combine distilled water with a few drops of dish soap and white vinegar for a streak-free homemade cleaner that rivals any store-bought brand.
Why Tap Water Causes Spots
Tap water contains dissolved minerals like calcium and magnesium. When water droplets dry on glass, these minerals are left behind as white or cloudy residue. The harder your water, the more noticeable the spots.
Even if you wipe thoroughly, trace minerals can remain and accumulate over time. Distilled water eliminates this issue entirely because it has no dissolved solids.
Where To Buy And How To Use
Distilled water is sold in the beverage or cleaning aisle of most supermarkets, drugstores, and big-box retailers. It's also available at pharmacies. For window cleaning, fill a spray bottle with distilled water and add your preferred cleaner—a tablespoon of white vinegar per cup of water works well.
Use it for the final wipe-down after washing with tap water, or use it exclusively for the entire process. A gallon typically lasts several cleaning sessions.
Cost Vs. Benefit
At roughly $1 per gallon, distilled water is an inexpensive fix for hard water issues. Compare that to buying specialized spot-free rinses or spending extra time buffing out mineral deposits. The cost is minimal, especially if you clean windows only a few times a year.
For large homes or frequent cleaning, consider a countertop water distiller—it pays for itself over time.
13. Microfiber Cloths Instead of Paper Towels
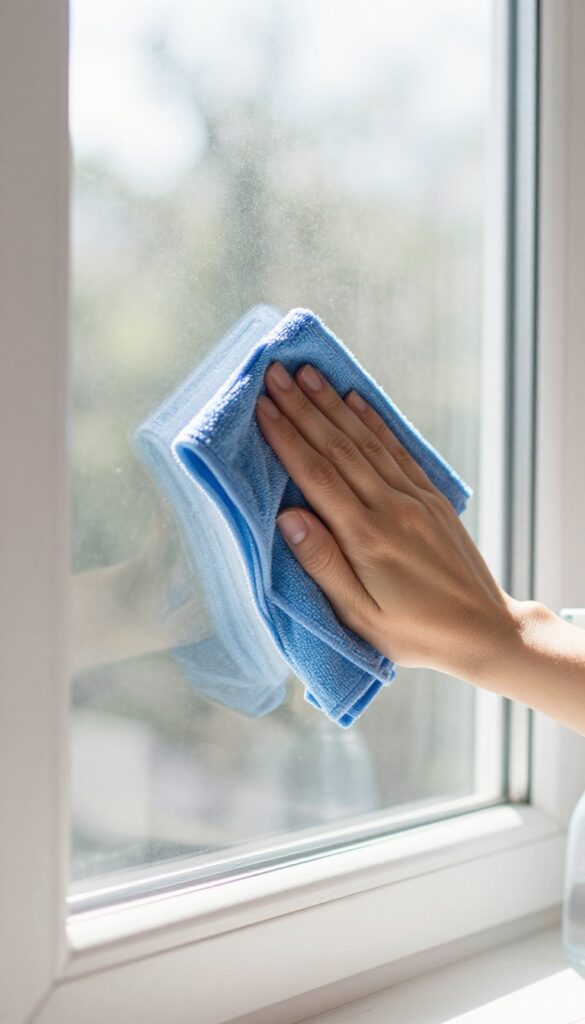
Paper towels seem convenient, but they often leave behind lint and streaks. Microfiber cloths are a game-changer for window cleaning. They trap dirt and absorb liquid without scratching the glass, giving you a spotless shine every time.
Why Microfiber Works Better
Microfiber has ultra-fine fibers that grab dust and grime instead of pushing it around. The electrostatic charge attracts particles, so you don't have to scrub as hard. Plus, they hold many times their weight in water, meaning fewer passes and less re-wetting.
Choosing The Right Microfiber Cloth
Not all microfiber cloths are the same. For windows, pick a high-GSM (grams per square meter) cloth with a tight weave—aim for 300-400 GSM. Avoid rough textures meant for scrubbing; you want a smooth, lint-free finish.
Color-code them to keep window cloths separate from kitchen or bathroom rags.
Care Tips To Extend Lifespan
Wash microfiber cloths separately from cotton or terry cloth to prevent lint transfer. Use a mild detergent without fabric softener—softener clogs the fibers and ruins absorbency. Air dry or tumble dry on low heat.
Replace them when they start to feel greasy or lose their grip.
14. Squeegee Technique for Professional Results
You can have the best cleaning solution in the world, but if your technique is off, you'll still end up with streaks. The squeegee is the secret weapon of professional window cleaners, and it's easier to master than you think. Once you get the hang of it, you'll never go back to paper towels or rags.
Using a squeegee with a rubber blade is the most efficient way to achieve crystal clear glass. The key is consistency: start at the top, pull down in a straight line, and wipe the blade after each pass. This prevents streaks and ensures every part of the window gets a clean sweep.
Choosing The Right Squeegee
Not all squeegees are created equal. Look for one with a rubber blade that's at least 12 inches wide for standard windows. The blade should be flexible but firm—too soft and it won't clear the water; too hard and it will skip.
Brass or stainless steel handles last longer and resist rust.
The Perfect Pull Technique
Start at the top corner of the window, angling the squeegee slightly so the water runs down. Pull in a single, steady motion across the glass. Overlap each stroke by about an inch to avoid missing spots.
After each pull, wipe the blade with a clean, lint-free cloth to remove excess water and dirt.
Drying The Edges
Even with a perfect squeegee pass, water can pool at the edges. Use a microfiber cloth to dry the corners and bottom edge. This step is crucial for a completely streak-free finish.
Don't skip it—those tiny drips can leave marks as they dry.
15. Dawn Dish Soap for Greasy Kitchen Windows
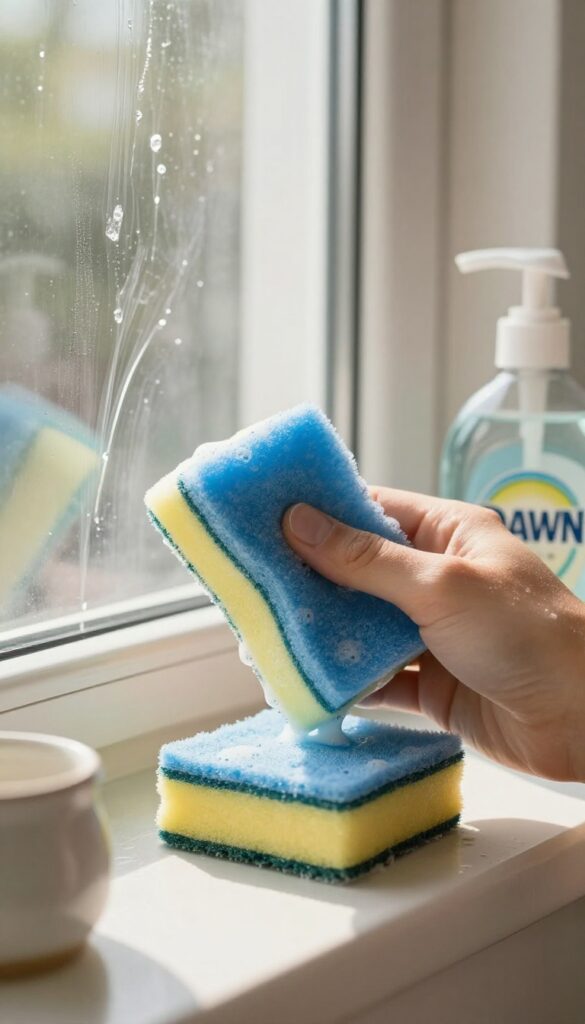
Kitchen windows take a beating. Cooking grease, steam, and airborne oil particles settle on the glass, creating a sticky film that regular cleaners can't touch. Dawn dish soap is famous for cutting through grease on dishes, and it works just as well on windows.
The secret is using Dawn sparingly—too much creates suds that are hard to rinse off. A few drops in a spray bottle of warm water is all you need. Spray the glass, let it sit for 30 seconds, then scrub with a soft sponge.
Rinse thoroughly with clean water and squeegee dry for a streak-free shine.
Why Dawn Works So Well
Dawn contains surfactants that break down grease molecules, lifting them off the glass so they rinse away easily. It's gentle enough not to damage window seals or frames, unlike harsh degreasers.
Best Technique For Greasy Windows
Start with a microfiber cloth or sponge to avoid scratching. Work in small sections, rinsing your sponge often. Follow up with a squeegee to prevent streaks.
For extra-stubborn spots, add a teaspoon of white vinegar to the mix.
When To Avoid This Method
Don't use Dawn on windows with tinted film or special coatings, as it may degrade them over time. Also avoid using it in freezing weather—the soap can leave residue that freezes into streaks.
16. Vinegar and Fabric Softener for Dust Repellency
Dust settles on windows almost as soon as you clean them, especially in dry climates or near busy roads. The culprit is static electricity, which attracts particles to the glass. A simple addition to your standard vinegar solution can change that.
Adding a capful of liquid fabric softener to your vinegar-water mix does more than make your windows smell fresh. Fabric softeners contain antistatic agents that neutralize the charge on the glass surface. This reduces the static cling that pulls dust toward the window, so your windows stay cleaner for longer.
The same principle works on mirrors and glass shower doors.
How It Works
Fabric softeners are formulated to reduce static in laundry by coating fibers with a thin layer of cationic surfactants. When added to window cleaner, these surfactants leave a microscopic film on the glass that dissipates static charge. Without static, dust particles are less likely to stick, and any that land are easily wiped away next time.
The Right Ratio
Mix 1 cup of white vinegar, 1 cup of warm water, and 1 tablespoon of liquid fabric softener in a spray bottle. Shake gently to combine. Avoid using more than a tablespoon, as excess softener can leave a greasy film.
For best results, use a lint-free microfiber cloth to apply and buff the glass.
When To Use This Mix
This solution is ideal for interior windows in high-traffic areas, such as living rooms and entryways, where dust accumulates quickly. It's also great for windows near construction sites or unpaved roads. However, avoid using it on exterior windows before rain, as the softener can attract moisture and cause streaking.
17. Commercial Glass Cleaner with Ammonia-D
When DIY mixes and basic sprays aren't cutting it, it's time to bring in the big guns. Professional glass cleaners like Ammonia-D are formulated for the toughest jobs—think restaurant front windows, office lobbies, or any glass that's been neglected for months. The active ingredient, ammonia, cuts through grease and grime fast, and the formula evaporates quickly so you don't have to worry about streaks or haze.
This is the same stuff the pros use, and it's available at janitorial supply stores or online.
Ammonia-D is a concentrated cleaner that you dilute with water, making it cost-effective for large areas. It's particularly good for windows that are exposed to cooking grease, cigarette smoke, or heavy pollution. Because it evaporates so fast, you can work quickly without waiting for the solution to dry.
Just mix according to the label instructions (usually 1 part cleaner to 10 parts water), apply with a squeegee or microfiber cloth, and watch the grime disappear. One word of caution: ammonia fumes can be strong, so work in a well-ventilated area and wear gloves if you have sensitive skin.
Why Ammonia-d Works So Well
The secret is the combination of ammonia and surfactants. Ammonia breaks down oils and sticky residues on contact, while the surfactants lift dirt away from the glass so it rinses off cleanly. Unlike some homemade solutions, Ammonia-D doesn't leave a soapy film behind.
That's why it's the go-to for commercial cleaners who need reliable, streak-free results every time.
How To Use It Safely
Always dilute Ammonia-D according to the bottle's instructions—using it full strength can damage some glass coatings and is unnecessarily harsh. Wear gloves and eye protection if you're working with the concentrate. For large windows, use a bucket and a professional squeegee for the best finish.
Avoid using it on tinted windows or glass with reflective coatings, as ammonia can degrade those surfaces over time.
Where To Buy And What To Look For
You can find Ammonia-D at janitorial supply stores, hardware stores, or online retailers like Amazon. Look for a brand that's specifically labeled as a glass cleaner concentrate. A gallon typically costs around $15–$25 and makes dozens of gallons of ready-to-use solution.
For most homeowners, a quart bottle is plenty and will last for years.
18. DIY Rain Repellent with Silicone
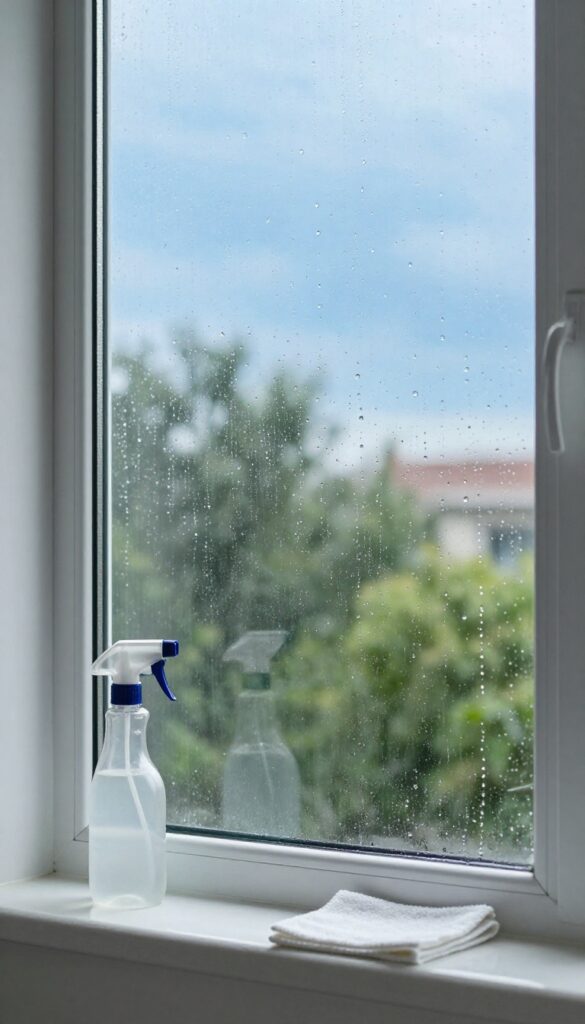
If you're tired of water spots and grime building up on your exterior windows every time it rains, this idea is for you. A simple DIY rain repellent can make water bead up and roll off, taking dirt with it. The best part?
You probably already have the key ingredient in your garage.
This solution creates a hydrophobic layer that repels water and reduces how often you need to clean. It works best on exterior windows, especially those exposed to frequent rain or sprinklers.
What You'll Need
Grab a spray bottle, distilled water, and a few drops of silicone-based car wax (the liquid kind used for detailing). Avoid waxes with abrasives or cleaners—you want pure silicone protection.
How To Mix And Apply
Fill the spray bottle with water, add 5-10 drops of car wax, and shake gently. Spray onto a clean, dry window, then buff with a microfiber cloth until clear. Work in small sections to avoid streaks.
Why It Works
Silicone forms a transparent, water-repellent film that makes raindrops bead up and slide off. This also prevents mineral deposits and dust from sticking, keeping windows cleaner longer.
19. Toothpaste for Fine Scratches
Fine scratches on glass can be annoying, but you don't need a professional to fix them. A simple tube of non-gel toothpaste can work wonders. The mild abrasive in toothpaste gently buffs away shallow scratches, restoring clarity to your windows.
Toothpaste acts as a gentle polishing compound. It's perfect for small scratches that catch the light but aren't deep enough to feel with your fingernail. The key is using a non-gel, white toothpaste without whitening agents or extra crystals, which can be too harsh.
How To Apply
Start by cleaning the glass thoroughly to remove any dirt or grit. Squeeze a small dab of toothpaste onto a soft, lint-free cloth. Rub it into the scratch using circular motions for about 30 seconds.
Apply light pressure—you're polishing, not scrubbing.
Buffing And Checking
After rubbing, wipe away the excess toothpaste with a clean, damp cloth. Inspect the area. If the scratch is still visible, repeat the process once or twice.
Don't overdo it, as excessive buffing could damage the glass's surface coating.
When It Works Best
This method works best on light, surface-level scratches. Deep gouges or cracks won't be fixed by toothpaste. It's also effective on car windows, mirrors, and glass tabletops.
Always test on a small, inconspicuous area first to ensure no adverse effects.
20. Pressure Washer for Exterior Windows
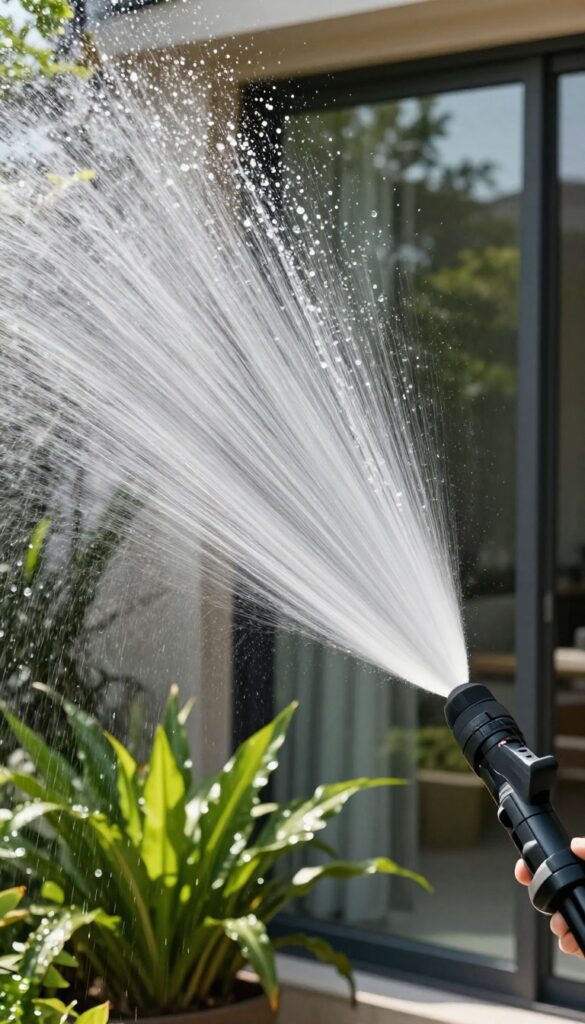
Exterior windows collect layers of dirt, pollen, and hard water stains that no bucket of soapy water can easily remove. A pressure washer can blast that grime off in minutes, but you have to use it carefully to avoid etching the glass or forcing water behind the seals. With the right technique, it's a game changer for ground-floor windows and patio doors.
A pressure washer isn't just for driveways and siding—it can make quick work of dirty exterior windows. The trick is to use a wide fan tip (40 degrees or wider) and keep the pressure low, ideally under 1, 200 PSI. Hold the nozzle at least two feet from the glass and move in a steady, overlapping pattern.
Avoid direct sprays at window edges and seals to prevent water intrusion. For best results, pre-wet the glass, apply a mild detergent with a low-pressure nozzle, let it sit for a minute, then rinse with the fan tip. This method cuts through stubborn grime without leaving scratches or streaks.
Choosing The Right Nozzle And Pressure
Use a 40-degree or wider white tip to spread the spray and reduce force. If your pressure washer has adjustable pressure, start at the lowest setting and increase only if needed. Never use a zero-degree or turbo nozzle—they can crack or etch the glass.
Technique For Streak-free Results
Work from top to bottom, overlapping each pass by about 50 percent. Keep the nozzle moving continuously to avoid concentrating pressure on one spot. After rinsing, use a squeegee to remove remaining water for a spotless finish.
Safety Precautions For Windows And Surroundings
Protect nearby plants and outdoor furniture by covering them or wetting them first. Check window seals for cracks before starting, and avoid spraying directly at the edges. If you have old or loose windows, stick to a garden hose instead.
FAQ
What is the best homemade window cleaning solution?
A mix of equal parts white vinegar and distilled water is the most effective homemade solution for general cleaning. It cuts grime and dries streak-free.
How do I prevent streaks when cleaning windows?
Use a squeegee with a new rubber blade, work in a shaded area, and avoid cleaning in direct sunlight. Also, use distilled water to prevent mineral streaks.
Can I use vinegar on tinted windows?
Vinegar is safe for most tinted windows, but avoid ammonia-based cleaners as they can damage the tint. Always test on a small area first.
How often should I clean my windows?
Indoor windows every 2-4 weeks, exterior windows every 3-6 months. High-traffic or kitchen windows may need more frequent cleaning.
What tools do I need for professional-looking results?
A squeegee, microfiber cloths, a bucket, and a good cleaning solution. For exterior windows, a soft-bristle brush and extension pole help reach high spots.
Conclusion
You don't need a dozen specialized products to get streak-free windows. Most of these solutions use simple household ingredients that cut through grime without leaving residue. Start with the method that targets your biggest annoyance—whether that's hard water spots or lint—and tweak your technique from there.
A few small adjustments will save you time and deliver the clarity you're after. Your windows will shine without the frustration.