15 Cleaning Stove Top Burners Tips for Clogs and Grease
Clogged burner ports and greasy grates can turn a quick stovetop cleanup into a frustrating chore. But you don't need harsh chemicals or endless scrubbing to get your burners working like new again.
These 15 tips use everyday items like toothpicks, vinegar, and baking soda to tackle both clogs and grease buildup. From soaking burner caps to clearing stubborn gas ports, each method targets a specific problem without wasting your time.
Let's get those burners clean and efficient with practical solutions that actually work.
1. Remove Burner Caps and Soak in Hot Soapy Water
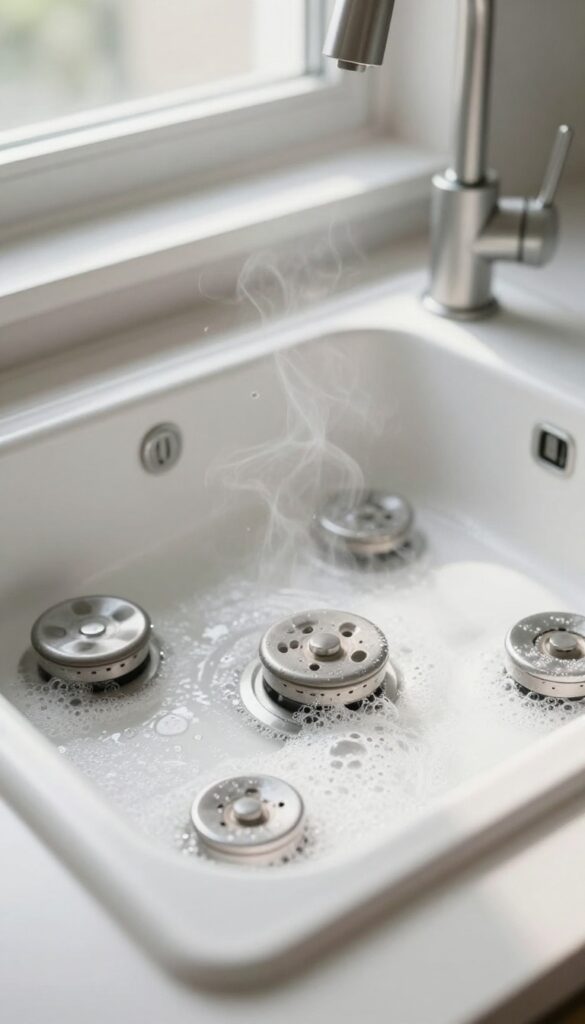
This first step is the easiest way to start breaking down stubborn grease. By removing the burner caps and letting them soak, you save yourself a lot of elbow grease later.
Pop off the burner caps from your stove top. Fill your sink or a large bowl with hot water and a squirt of dish soap. Drop the caps in and let them soak for at least 15 minutes.
The hot soapy water loosens baked-on grease and food particles, making them much easier to scrub off afterward. This simple soak does most of the work for you.
Why Soaking Works
Heat and soap together break down grease molecules. Hot water softens the crusty buildup, while dish soap lifts the grime away from the metal surface. A 15-minute soak is usually enough, but for heavily soiled caps, you can leave them for up to an hour.
What To Avoid
Never soak burner caps that have electronic igniters or plastic parts. Check your stove's manual first. Also, avoid using abrasive scrubbers on coated caps, as they can scratch the finish.
Stick to a soft sponge or cloth.
After The Soak
Rinse the caps with clean water and dry them thoroughly before putting them back on. Any leftover moisture can cause rust or affect burner performance. Use a microfiber towel to get into all the crevices.
2. Use a Toothpick to Clear Clogged Gas Ports
If your gas burner flames are uneven or weak, tiny food particles are likely blocking the ports. A simple toothpick can fix that in seconds—no special tools needed.
Grab a wooden toothpick and gently poke each small hole around the burner head. The wood is soft enough to dislodge gunk without scratching or widening the ports. Avoid metal objects like paper clips or needles—they can damage the brass or aluminum, causing permanent flame issues.
For stubborn clogs, dip the toothpick in vinegar first to help break down grease. Work slowly around the entire burner ring, then wipe away any loose debris with a dry cloth.
Why Wood Works Best
Metal tools can scratch and deform the gas ports, leading to uneven flames that waste gas and cook unevenly. Wooden toothpicks are just abrasive enough to clear blockages but soft enough to protect the metal. Plus, they're disposable and cheap.
What To Do If A Toothpick Isn't Enough
For really baked-on gunk, soak the burner cap in hot, soapy water for 10 minutes first. Then use the toothpick while the cap is still warm. If the clog persists, a compressed air duster (like for keyboards) can blow out fine debris without contact.
3. Scrub with a Soft Brush and Baking Soda Paste
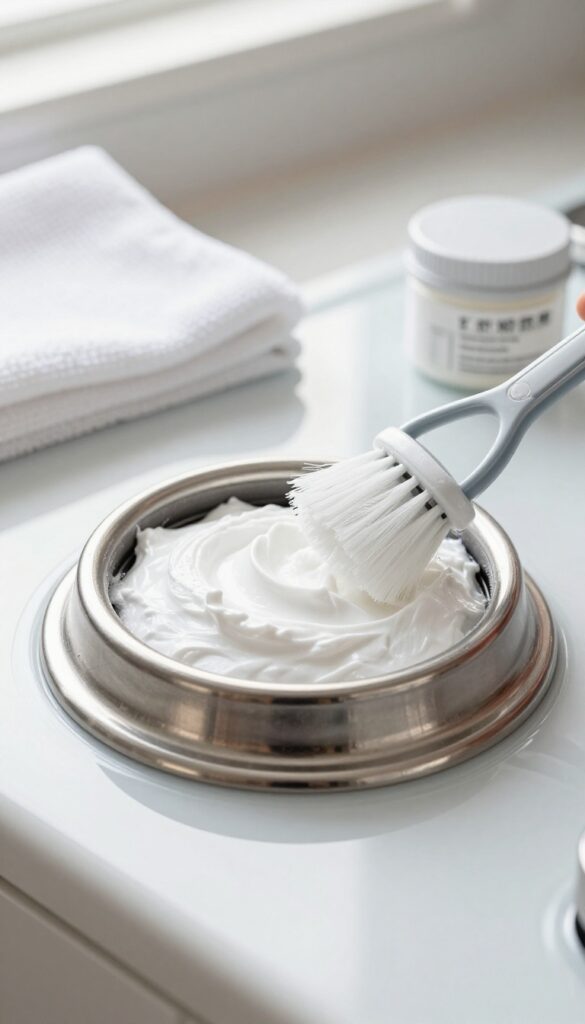
Baking soda is a gentle abrasive that lifts grease without scratching metal or enamel. When mixed with a little water, it forms a paste that clings to vertical surfaces and works into crevices. A soft brush—like an old toothbrush or a silicone scrub brush—helps you work the paste into burner cap details without damaging the finish.
How To Make The Paste
Mix three parts baking soda with one part water in a small bowl. Stir until it forms a thick, spreadable paste. If it's too runny, add more baking soda; if too dry, add a few more drops of water.
The paste should be thick enough to stay put when applied to the burner cap.
Application And Scrubbing Technique
Use your fingers or a small spatula to coat the entire burner cap with the paste. Let it sit for 10–15 minutes so the baking soda can start breaking down the grease. Then, dip your soft brush in warm water and scrub in circular motions, paying extra attention to any raised ridges or grooves where grime hides.
Rinse the cap under warm water and check for any leftover residue—if needed, repeat the process.
Why This Method Works
Baking soda is mildly alkaline, which helps neutralize acidic grease and makes it easier to lift away. Unlike harsh scouring powders, it won't scratch the surface or wear away the finish over time. The soft brush provides enough friction to dislodge stubborn gunk without gouging the metal.
4. Clean Electric Coil Burners with a Damp Cloth
Electric coil burners are simple to clean if you know the right approach. Unlike gas burners with tiny ports, coils just need a gentle wipe to remove spills and grease. The key is never submerging them in water—moisture can damage the electrical connections.
A damp cloth and a little patience are all you need.
Start by making sure the burner is completely cool and turned off at the switch. Unplug the coil from the socket if possible. Wipe the entire surface with a cloth dampened with warm water and a drop of dish soap.
For stubborn baked-on grease, let the damp cloth sit on the spot for a minute to soften it, then wipe again. Dry the coil thoroughly with a clean towel before plugging it back in. Never use abrasive scrubbers or immerse the coil in water.
Why Water Is The Enemy
Electric coils have electrical terminals that can corrode or short out if wet. Even a tiny amount of water inside the socket can cause a dangerous short. Always wring out your cloth until it's just damp, not dripping.
After wiping, let the coil air-dry completely before reconnecting.
Dealing With Stubborn Grease
If a dry wipe doesn't cut it, make a paste of baking soda and water. Apply it to the cooled coil with a soft cloth, let it sit for 10 minutes, then wipe off with a damp cloth. The gentle abrasion lifts grease without scratching the metal.
Rinse with a clean damp cloth and dry thoroughly.
5. Degrease with White Vinegar and Water Spray
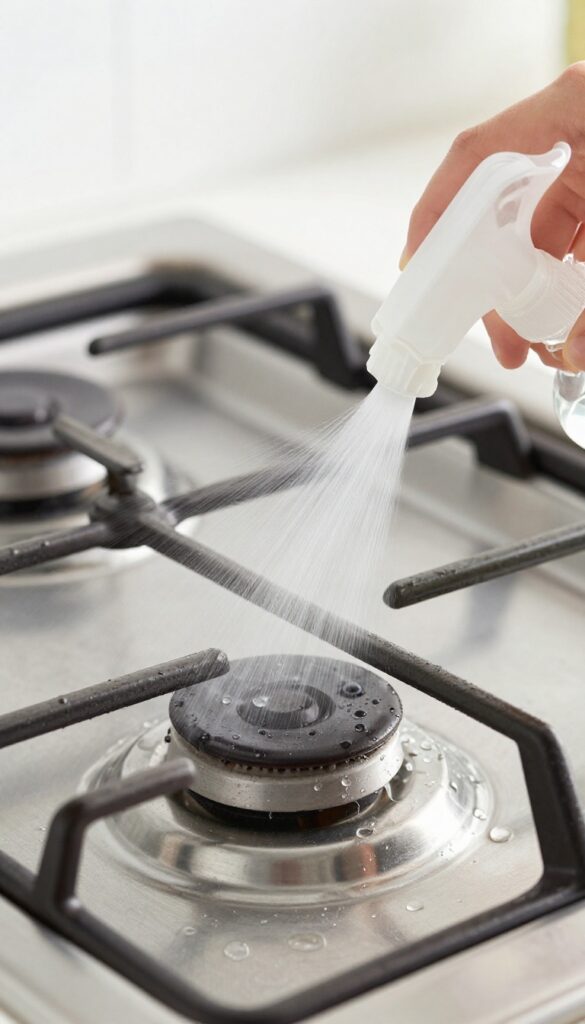
White vinegar is a powerhouse when it comes to cutting through kitchen grease without harsh chemicals. Mixed with water, it creates a simple, effective spray that loosens baked-on grime on burner surfaces. This method works especially well on stainless steel, enamel, and ceramic cooktops.
Spray the solution generously over the burner grates, caps, and any greasy spots. Let it sit for about five minutes so the acidity can break down the grease. Then wipe with a soft cloth or sponge—no scrubbing required.
For stubborn areas, a second application or a gentle scrub with a non-abrasive pad will do the trick.
Why Vinegar Works So Well
Vinegar's acetic acid is a natural degreaser that dissolves the bonds in grease molecules. It's safe on most surfaces and leaves no toxic residue. Plus, it's inexpensive and readily available, making it a go-to for regular maintenance.
Best Surfaces For This Method
This spray is ideal for metal burner grates, drip pans, and glass or ceramic cooktops. Avoid using it on unsealed cast iron, as the acid can damage the seasoning. Always test on a small hidden area first if you're unsure.
Tips For Maximum Effectiveness
Use distilled white vinegar for best results—avoid balsamic or apple cider varieties. Heat the burner briefly before spraying (let it cool to warm, not hot) to help the vinegar penetrate. For extra tough grease, add a few drops of dish soap to the mix.
6. Use a Pipe Cleaner for Stubborn Clogs
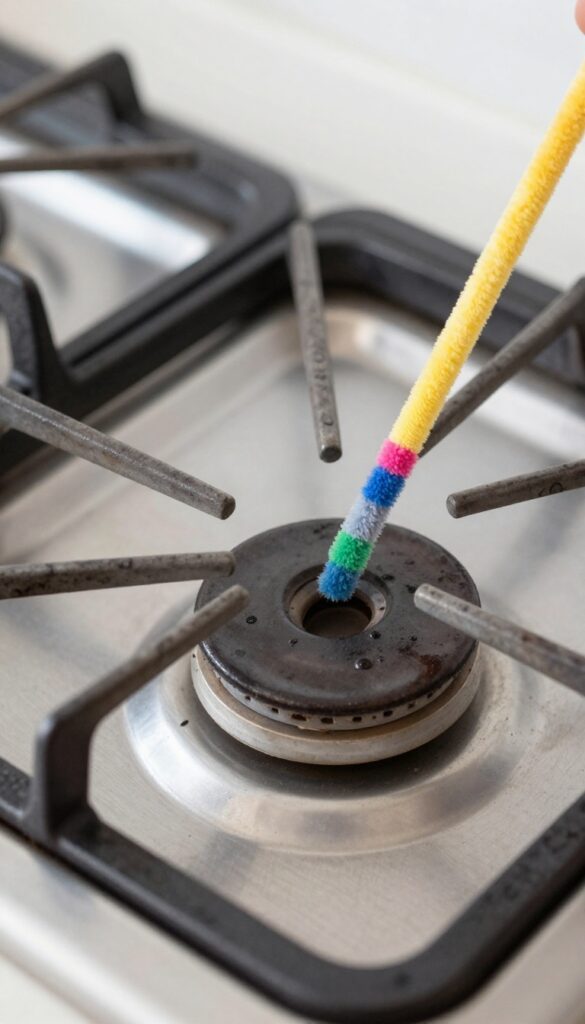
Some burner clogs are just too deep for a toothpick or a brush. That's where a simple pipe cleaner comes in handy. Its flexible wire and soft bristles can reach into narrow gas ports and dislodge debris that's been baked in over time.
Pipe cleaners are cheap and easy to find at any craft or dollar store. Keep a few in your cleaning kit for those times when a standard tool just won't cut it.
Why Pipe Cleaners Work So Well
Pipe cleaners are bendable and thin enough to slide into most burner openings. The bristles grab onto grease and food particles, pulling them out instead of just pushing them deeper. Plus, you can curve the cleaner to match the shape of curved burner ports, which straight tools can't do.
How To Use One Safely
First, make sure the burner is completely cool and dry. Straighten the pipe cleaner slightly, then gently insert it into each port. Twist it a little as you push in and pull out to loosen debris.
Avoid forcing it too hard, as you don't want to damage the burner. After cleaning, use a dry cloth to wipe away any loosened particles.
When To Reach For A Pipe Cleaner
If you've tried a toothpick or a brush and the flame is still uneven, it's time for a pipe cleaner. It's also great for cleaning the tiny holes on gas burner rings that are hard to see. Use it as a final step after soaking or scrubbing to clear out any remaining gunk.
7. Soak Burner Grates in Ammonia Overnight
Sometimes grease gets baked on so hard that scrubbing feels pointless. That's when ammonia does the heavy lifting for you. The fumes break down tough, crusted grease without you lifting a finger.
This method works best for cast-iron or enameled grates that can handle strong chemicals. Avoid using it on aluminum or non-stick surfaces, as ammonia can damage them.
What You'll Need
Grab a heavy-duty plastic garbage bag, 1/4 cup of household ammonia, and your grates. Make sure the bag is large enough to hold all grates without tearing.
The Soaking Process
Place the grates in the bag, pour in the ammonia, and seal it tightly. Let it sit overnight in a well-ventilated area or outdoors. The fumes do the work, so don't open the bag until morning.
Rinsing And Finishing
In the morning, carefully open the bag away from your face. Rinse the grates thoroughly with hot water and dish soap to remove any ammonia residue. Dry completely before placing back on the stove.
8. Wipe Down Burner Bases with Rubbing Alcohol
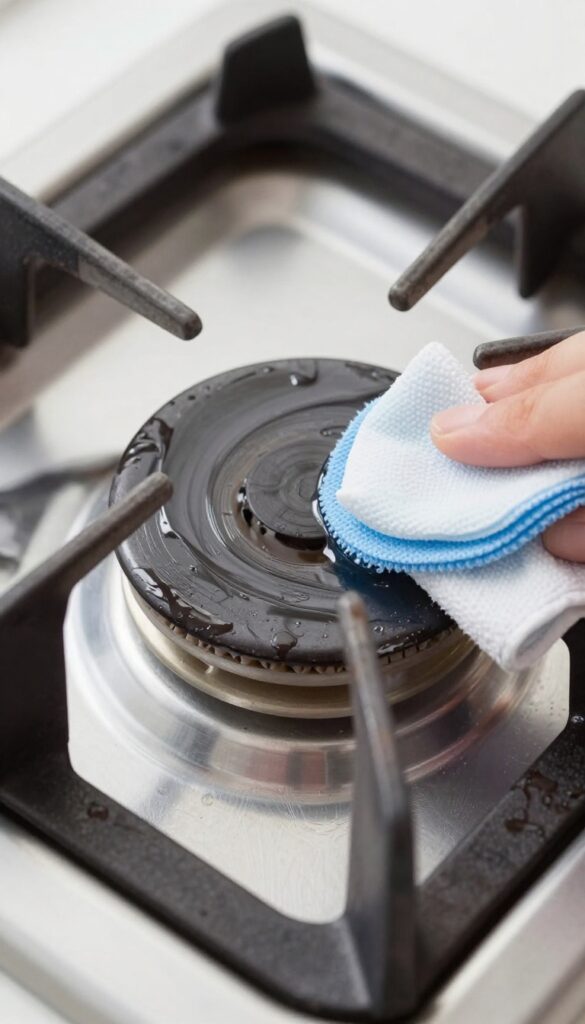
Rubbing alcohol is a secret weapon for cutting through greasy residue on burner bases. It evaporates quickly, so you don't have to worry about moisture seeping into electrical connections or gas ports. Plus, it leaves a streak-free shine without any sticky film.
This method works especially well on gas stove burner bases where oil and food particles tend to accumulate. A quick wipe with alcohol can remove that grime and help prevent future clogs from forming. Just grab a clean cloth, dab a little rubbing alcohol on it, and give the burner base a thorough wipe.
It's a simple step that makes a big difference in both appearance and performance.
Rubbing alcohol is perfect for cleaning burner bases because it dissolves grease on contact and evaporates almost instantly. Unlike water, it won't leave behind moisture that could cause rust or interfere with gas flow. This makes it a safe and effective choice for both gas and electric stoves.
To use it, start by removing the burner caps and grates. Dip a soft cloth or paper towel in rubbing alcohol (70% or higher works best) and wipe down the entire burner base, including the area around the gas ports or electric coils. For stubborn spots, let the alcohol sit for a minute before wiping.
Be careful not to soak any electrical components. A damp cloth is plenty—you don't need to pour alcohol directly onto the stove. Once you're done, let the base air dry for a minute or two before reassembling the burner.
You'll notice that not only does the grease vanish, but the metal also looks cleaner and shinier. This quick wipe can be part of your regular stovetop maintenance to keep things running smoothly.
Why Alcohol Works So Well
Rubbing alcohol is a solvent that breaks down oils and greasy residues on contact. It evaporates rapidly, so it won't pool or seep into small crevices where moisture could cause issues. This makes it ideal for cleaning burner bases without risking damage to electrical parts or gas ports.
Step-by-step Wipe Down
First, make sure the stove is cool and all burner parts are removed. Dampen a clean cloth with rubbing alcohol—don't soak it. Wipe the entire burner base, focusing on areas with visible grease.
For tough buildup, let the alcohol sit for 30 seconds before wiping again. Allow the base to dry completely before reassembling.
Safety Tips
Always use rubbing alcohol in a well-ventilated area and keep it away from open flames. Never pour alcohol directly onto the stove; use a cloth instead. Avoid getting alcohol on painted or plastic surfaces, as it can damage some finishes.
Store alcohol safely away from heat sources.
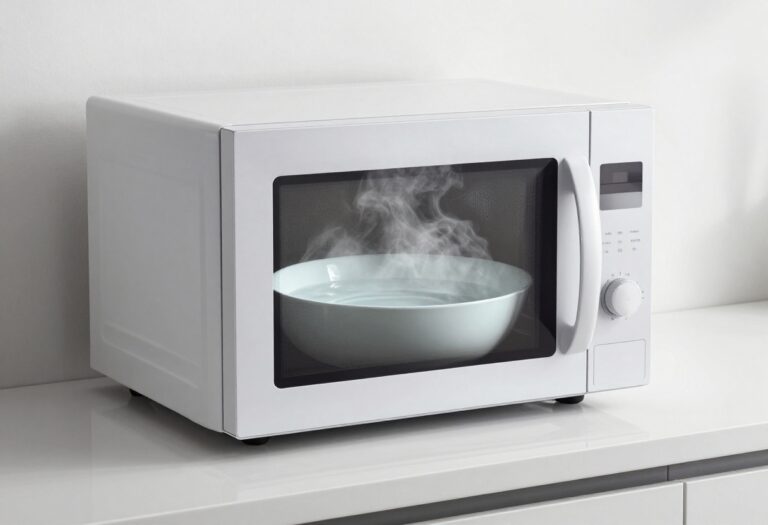
9. Steam Clean with a Microwave-Safe Bowl of Water
Steam is a gentle but powerful cleaner that loosens baked-on grease without scrubbing. All you need is a microwave-safe bowl of water and your stovetop's own heat. This method works especially well for gas burner grates and drip pans, where grease tends to harden in layers.
Boil a bowl of water on the stove to create steam that loosens grease on burner surfaces. Wipe down immediately after steaming for easier cleaning.
How To Set Up The Steam Clean
Fill a microwave-safe bowl with about 2 cups of water and place it on a burner. Turn the burner to high and let the water come to a rolling boil. As steam rises, it will soften the grease on surrounding burner parts.
Keep the lid off to maximize steam circulation.
Best Surfaces For This Method
Steam cleaning works wonders on metal grates, burner caps, and drip pans. Avoid using it on electrical components or sealed burners. For gas stoves, you can steam multiple burners by moving the bowl from one burner to the next.
Wipe Down Right After Steaming
Once the water has boiled for 5–10 minutes, turn off the heat and let the burner cool slightly. Use a microfiber cloth or sponge to wipe away the loosened grease. The steam will have softened even stubborn buildup, so a light wipe is usually enough.
10. Use a Razor Blade for Baked-On Gunk on Glass Tops
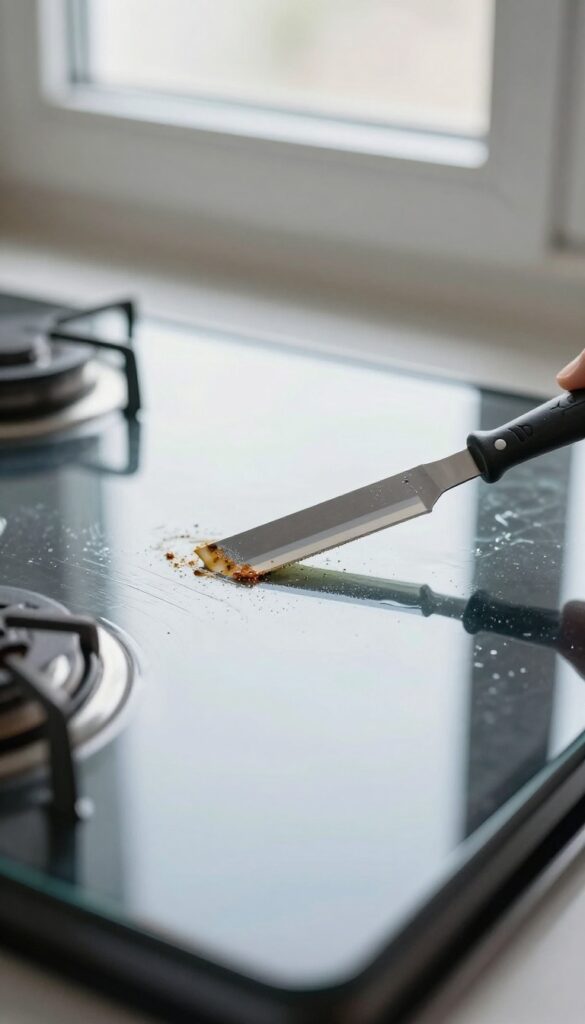
Glass stove tops look sleek, but burnt-on spills can turn into stubborn crust that resists regular cleaning. Scrubbing harder only risks scratches. A razor blade, used correctly, lifts that baked-on gunk without damaging the surface.
Before you start, make sure the stove top is completely cool. Hold a single-edge razor blade at a 45-degree angle to the glass and gently scrape the burnt residue. Keep the blade flat against the glass to avoid gouging.
Work in small sections, wiping away debris as you go. After scraping, follow up with a glass cleaner or a vinegar-water spray to remove any leftover film and restore shine. This method works best on smooth, flat surfaces—avoid it on textured or ceramic tops unless the manufacturer approves.
Safety First: Prep Your Tools
Use a new, sharp razor blade—dull blades require more pressure and increase the risk of scratches. A plastic scraper is a safer alternative if you're nervous about metal. Always wear gloves to protect your fingers, and work in a well-lit area so you can see the residue clearly.
Scraping Technique That Works
Hold the blade at a consistent 45-degree angle and push it forward with light pressure. Don't drag it back and forth—that can create swirl marks. If the residue is extra stubborn, wet it with a few drops of water or vinegar first to soften it.
Wipe the blade clean after each pass to avoid redepositing gunk.
Finish For A Streak-free Shine
Once all burnt-on bits are gone, spray the surface with a dedicated glass stove top cleaner or a mix of white vinegar and water. Wipe with a microfiber cloth in circular motions, then buff dry. This removes any oily residue from the scraping process and leaves the glass gleaming.
11. Clean Underneath Removable Burner Drip Pans
Drip pans sit right under your burners, catching spills and drips every time you cook. Over time, they collect layers of grease and burnt-on food that can affect burner performance and even cause unpleasant smells. Cleaning them is straightforward, but many people skip this step or don't do it thoroughly.
Start by removing the drip pans from your stove. Most lift right out once you remove the burner grates and caps. Wash them in hot, soapy water using a sponge or soft brush.
For stubborn, baked-on stains, sprinkle baking soda over the damp pan and scrub gently with a wet sponge. The baking soda acts as a mild abrasive that lifts grime without scratching the surface. Rinse thoroughly and dry completely before putting them back.
Moisture left underneath can cause rust or affect electrical connections.
Why Drip Pans Matter
Drip pans aren't just cosmetic. When they're clogged with grease, they can trap heat and cause uneven cooking. They also become a fire hazard if grease buildup gets too heavy.
Regular cleaning keeps your stove safe and your burners working efficiently.
Deep Cleaning For Tough Stains
If hot soapy water isn't enough, try soaking the drip pans in a mixture of vinegar and baking soda. Fill a sink or basin with hot water, add a cup of white vinegar, and let the pans soak for 15–20 minutes. Then sprinkle baking soda directly onto any remaining stains and scrub.
This combo fizzes away grime without harsh chemicals.
Drying And Reassembly Tips
After cleaning, dry drip pans with a clean towel and let them air out for an hour or so. Any leftover moisture can cause rust or attract more dirt. Once they're fully dry, pop them back in place and reassemble your burners.
You'll notice a difference in both appearance and performance.
12. Apply a Paste of Cream of Tartar and Hydrogen Peroxide
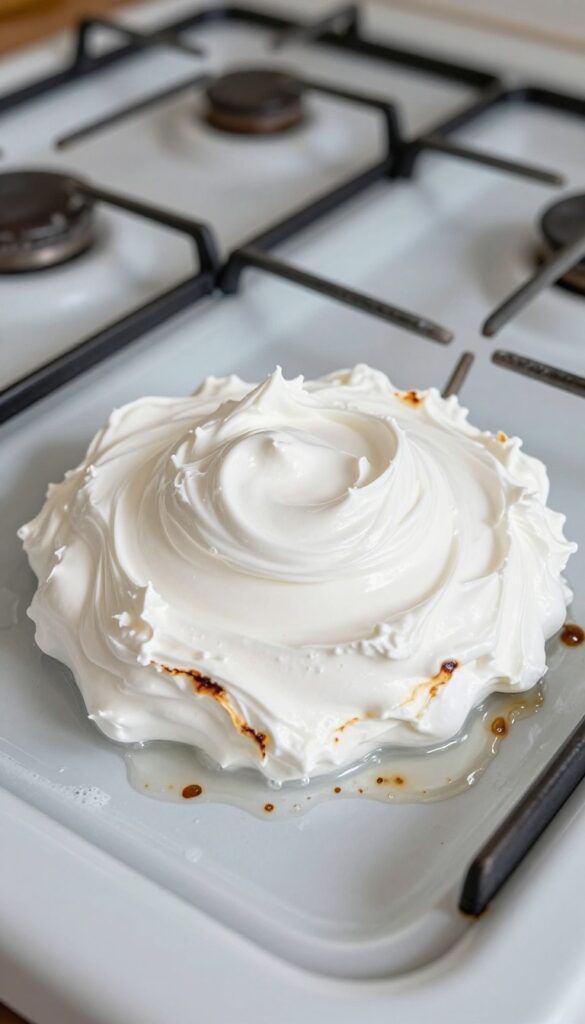
When scrubbing alone won't cut through the crust, a chemical booster can save the day. Cream of tartar is a mild acid that breaks down grease, while hydrogen peroxide adds oxygen bubbles to lift grime from crevices. Together, they form a paste that tackles the toughest baked-on residue without harsh fumes.
This combination works especially well on burner caps, rings, and drip pans where grease has carbonized into a hard layer. The paste clings to vertical surfaces, so it doesn't drip off while it works. After a short soak, most of the grime rinses away with minimal scrubbing.
How To Mix The Paste
In a small bowl, combine two tablespoons of cream of tartar with enough hydrogen peroxide to form a thick, spreadable paste. Use a spoon or spatula to mix until smooth. The consistency should be like toothpaste—not too runny and not too dry.
Application And Soak Time
Apply the paste generously to the greasy burner parts using a brush or your fingers (wear gloves). Pay extra attention to crevices and edges where buildup hides. Let it sit for 10 to 15 minutes.
You'll see the paste start to bubble slightly as the peroxide reacts with the grease.
Rinsing And Final Clean
After the soak, rinse the parts under warm water. Most of the loosened grime will wash away. For stubborn spots, scrub gently with a soft brush or sponge.
The paste is non-abrasive, so it won't scratch metal or enamel surfaces. Dry thoroughly before reassembling.
13. Use a Vacuum with a Brush Attachment for Loose Debris
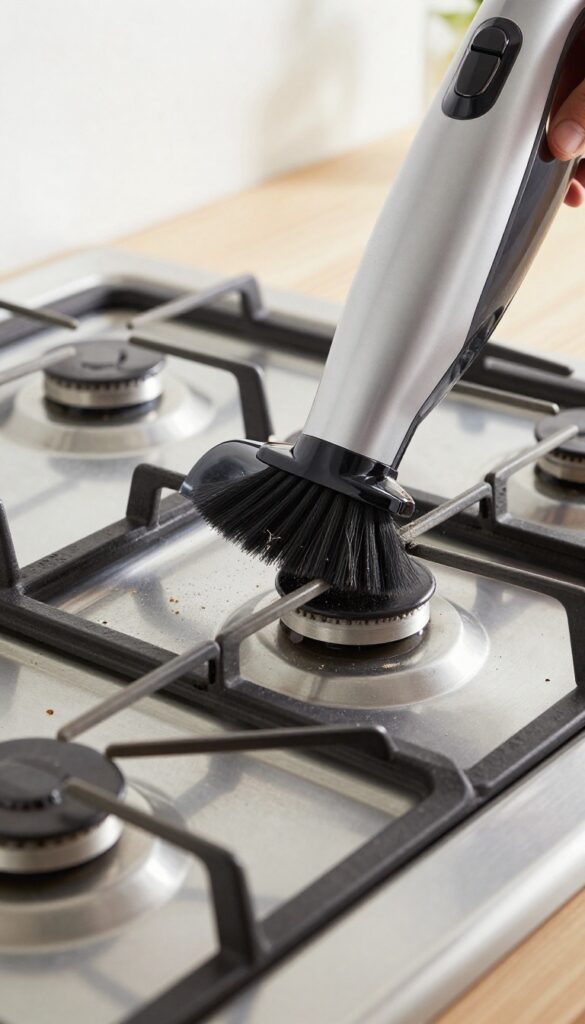
Before you start scrubbing or soaking, think about what's just sitting on the surface. Loose crumbs, dust, and dried food particles can get pushed into burner ports if you go straight in with a wet cloth. A quick vacuum pass saves you from making the problem worse.
Grab your vacuum and attach the soft brush head. Gently run it over the burner grates, caps, and the area around the gas ports. This picks up anything that's not stuck on, so your cleaning solution can focus on the real grease and grime.
Why Vacuum First Matters
Wet cleaning can turn dry debris into a paste that clogs tiny holes. By vacuuming first, you remove the loose stuff without pushing it deeper. It's a simple step that makes the rest of your cleaning more effective.
Best Vacuum Attachments To Use
A soft brush attachment is ideal because it won't scratch the surface. For tight spaces around burner knobs, a crevice tool works well. Just avoid using a hard bristle brush that could damage the finish.
How Often To Vacuum Burners
Make this a weekly habit, especially if you cook frequently. A quick vacuum after each meal prevents buildup from becoming stubborn. It takes less than a minute and keeps your burners performing better.
14. Polish Stainless Steel Burner Rings with Olive Oil
Stainless steel burner rings can lose their luster after repeated heating and cleaning. A simple kitchen staple—olive oil—can restore their shine and add a protective layer that makes future grease wipe away more easily.
After you've scrubbed and dried your burner rings, a tiny amount of olive oil works wonders. It's a natural polish that leaves a streak-free gleam without the harsh fumes of commercial metal polishes. Plus, the thin oil film helps prevent new grease from bonding tightly to the surface.
Why Olive Oil Works
Olive oil is a mild oil that doesn't evaporate quickly, so it stays on the metal long enough to create a barrier. It fills microscopic scratches and smooths the surface, which makes the stainless steel reflect light better. The oil also repels water and grease, so future spills slide off more easily.
How To Apply It
Use just a drop or two on a soft, lint-free cloth. Buff the burner rings in a circular motion until the oil is evenly spread and the metal looks shiny. Then switch to a dry section of the cloth to remove any excess.
Less is more—too much oil can attract dust or feel sticky.
When To Skip This Step
If your burner rings have a painted or coated finish, olive oil might not be appropriate. Check the manufacturer's instructions first. Also, avoid using olive oil on burner caps that sit directly in the flame, as the oil can burn and create smoke.
15. Prevent Future Clogs with Regular Wipe-Downs
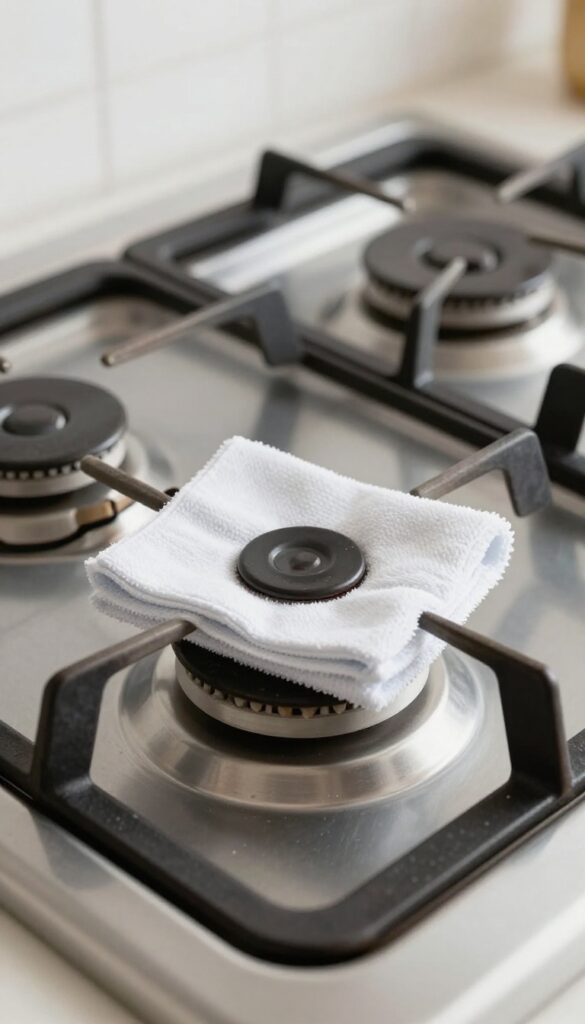
Stopping clogs before they start is the easiest way to keep your stove top running smoothly. A quick wipe-down after each use takes just seconds but prevents grease from hardening in burner holes. This habit also keeps your burners looking clean and reduces the need for deep scrubbing later.
Make it part of your cooking routine and you will notice fewer flare-ups and uneven flames.
A consistent wipe-down routine is the most effective long-term strategy for clean burners. After cooking, wait for the burners to cool completely, then use a damp microfiber cloth to wipe the entire burner surface. Focus on the area around the ports where grease tends to accumulate.
For gas burners, gently wipe the openings without pushing debris inside. This simple step removes fresh grease before it bakes on and blocks the gas flow. For electric coil burners, wipe the drip pans and the coils themselves if they are cool.
Doing this after every meal keeps buildup minimal and your stove top ready for the next use.
Use The Right Cloth
Microfiber cloths are ideal because they trap grease without leaving lint behind. Avoid abrasive sponges that can scratch surfaces or push debris into burner ports. Keep a dedicated cloth near the stove for quick access.
Focus On High-risk Areas
Pay extra attention to the burner caps and the area around the control knobs. Grease splatters often land there and can drip into the burner assembly. A quick wipe prevents sticky residue from attracting more dirt.
Dry Thoroughly
After wiping, use a dry cloth to remove any moisture. Water left on burner surfaces can cause rust on metal parts or damage electric connections. A dry burner also lights more reliably the next time you cook.
FAQ
How often should I clean my stove top burners?
For best performance, wipe down burners after each use and do a deep clean every 2-4 weeks, depending on how often you cook.
Can I use bleach to clean burner caps?
Bleach is too harsh and can damage finishes. Stick to mild dish soap, baking soda, or vinegar for safe and effective cleaning.
Why are my gas burner flames uneven?
Uneven flames usually mean clogged burner ports. Clean each hole with a toothpick or pipe cleaner to restore even gas flow.
Is it safe to clean electric burners with water?
Never submerge electric coil burners. Wipe them with a damp cloth only after they've cooled completely to avoid electrical shock.
What's the best way to remove burnt-on grease from glass stove tops?
Use a razor blade scraper at a 45-degree angle, then clean with a glass stove top cleaner or a vinegar-water solution.
Conclusion
Stubborn clogs and greasy burners don't stand a chance once you know these tricks. Start with the method that matches your stove type and the mess level—soaking grates or using a vinegar-baking soda paste on burner caps.
A quick weekly wipe keeps buildup from returning, and your burners will heat evenly again. Pick two or three tips to try this weekend, and you'll notice the difference immediately.