How to Clean Oven Easy With 10 No-Fuss Methods
Scouring a baked-on mess from your oven doesn't have to mean hours of elbow grease or toxic fumes. With the right method, you can cut through grease and grime using stuff you already have in your pantry.
These 10 no-fuss techniques range from quick steam cleans to heavy-duty commercial sprays, so you can pick the one that matches your oven's level of neglect. Some methods work best for light splatters, while others tackle months of buildup without scratching the surface.
A few rely on natural ingredients like lemon and baking soda, and a couple use the oven's own self-cleaning cycle. Each approach is explained step by step, with tips to avoid common mistakes.
1. Baking Soda and Vinegar Paste
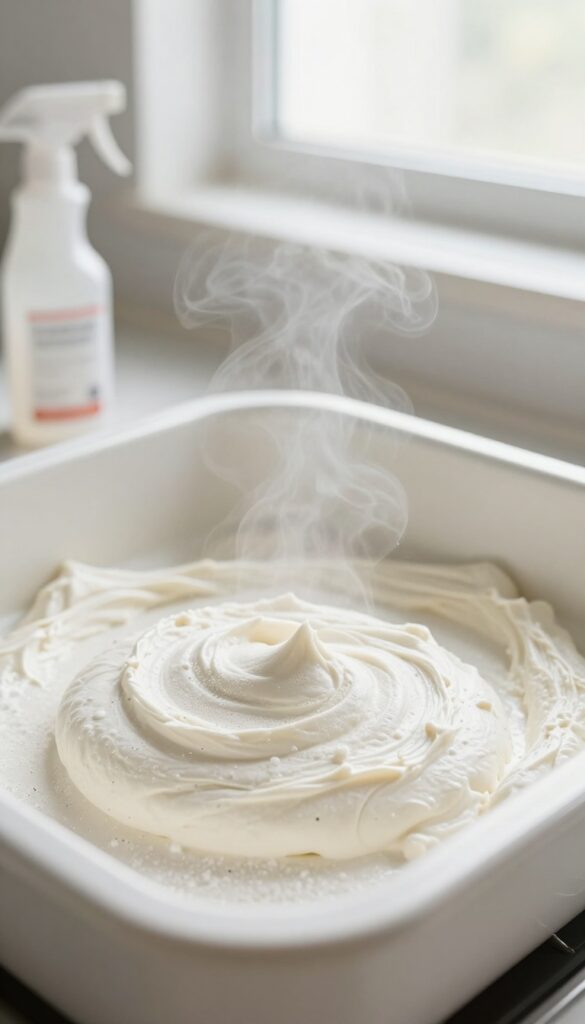
If your oven looks like a science experiment gone wrong, this dynamic duo will save the day. Baking soda and vinegar react to lift stubborn grime without harsh chemicals. It's a go-to for anyone who wants a deep clean without the headache of scrubbing for hours.
This method uses the gentle abrasiveness of baking soda combined with the fizzing action of vinegar to break down baked-on grease. It's safe for most oven surfaces and leaves no toxic residue behind. The paste needs time to work, but the payoff is a sparkling interior with minimal effort.
Making The Perfect Paste
Mix ½ cup baking soda with 2–3 tablespoons of water until it forms a spreadable paste. Adjust the water as needed—you want it thick enough to stick to vertical surfaces but not runny. Add a few drops of dish soap for extra grease-cutting power if you like.
Applying And Letting It Sit
Spread the paste over all greasy areas, avoiding heating elements and the door glass if it's a double-pane model. Let it sit overnight or at least 12 hours. The longer it sits, the less scrubbing you'll need.
The Vinegar Rinse
Fill a spray bottle with white vinegar and spritz the dried paste. It will fizz and bubble, loosening the grime. Wipe with a damp cloth, repeating as needed.
Rinse thoroughly with clean water to remove any residue.
2. Lemon Juice Steam Clean
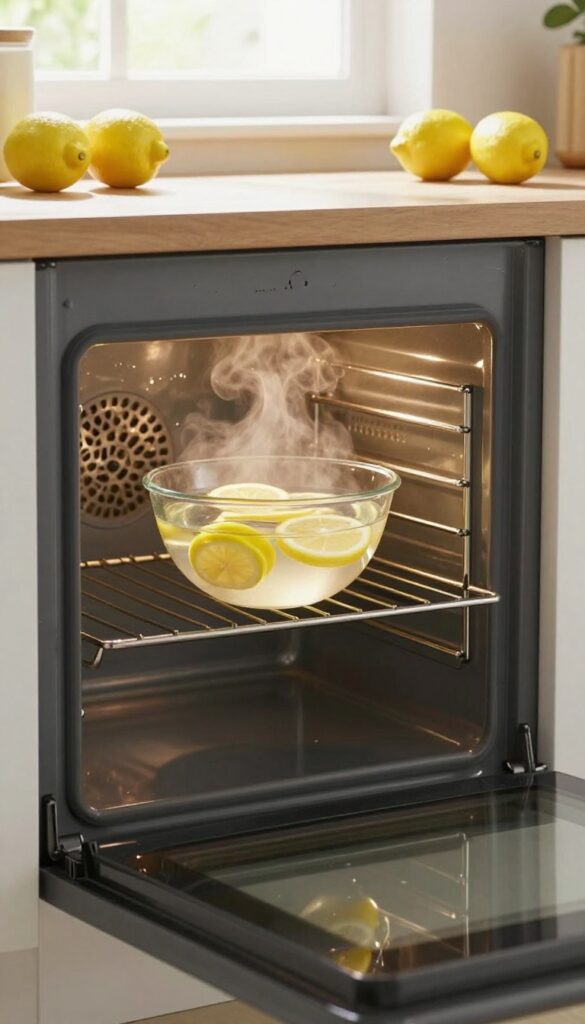
Steam is one of the easiest ways to loosen baked-on grease without scrubbing. Lemon juice adds a fresh, natural deodorizer that cuts through odors left behind by cooked fish or spicy dishes. This method works best for light to moderate buildup.
If your oven has thick, charred residue, you may need to follow up with a paste or spray, but for everyday grime, it's a game changer. All you need are two lemons, water, and an oven-safe bowl. No harsh chemicals, no fumes, just a citrus-scented kitchen afterward.
What You'll Need
Gather two fresh lemons, a medium oven-safe bowl (glass or ceramic works well), and about one cup of water. That's it. No special tools or cleaners required.
If you don't have lemons, you can substitute with white vinegar—use half a cup of vinegar to one cup of water. The steam will still loosen grime, though you'll miss the lemon scent.
Step-by-step Instructions
Start by squeezing the juice from both lemons into the bowl. Drop the squeezed lemon halves into the water as well—they'll release more oils and scent as they heat. Place the bowl on the oven's middle rack.
Close the door and set the oven to 250°F. Let it run for 30 minutes. Don't open the door during this time; you want the steam to build up and soften the grime.
After 30 minutes, turn off the oven and let it cool slightly. Open the door carefully—steam will rush out. Wipe down the interior with a damp cloth or sponge.
Most of the grease should come off easily.
Pro Tips For Best Results
For extra stubborn spots, let the steam sit for another 10 to 15 minutes after turning off the oven. The residual heat continues to work. Avoid using this method if your oven has a self-cleaning lock feature that might engage.
Also, don't use a metal bowl that could react with the lemon acid. Glass or ceramic is safest. If your oven racks are greasy, place them on the lower rack during steaming.
The steam will help loosen their grime too.
3. Dish Soap and Hot Water Soak
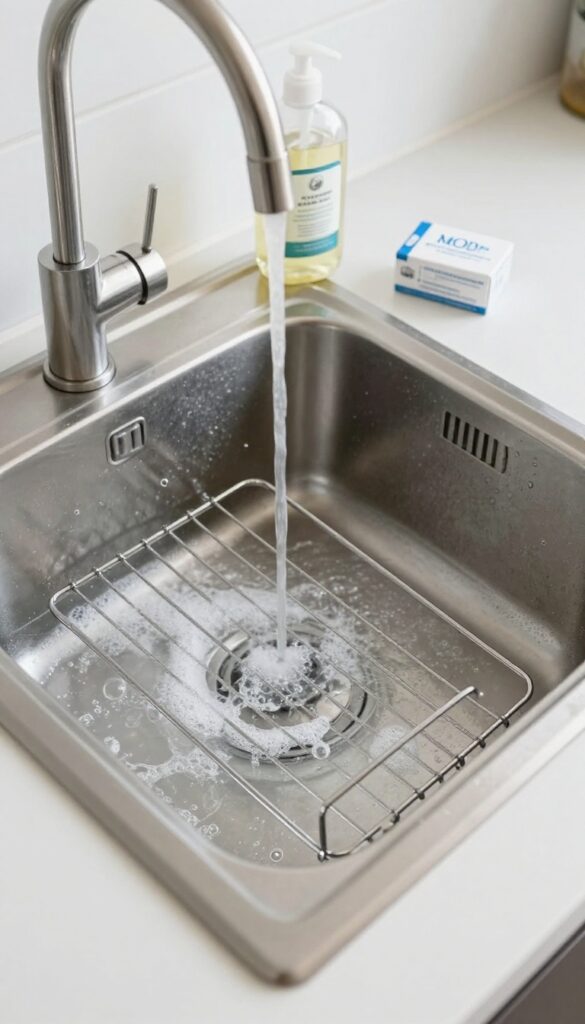
Oven racks often bear the brunt of spills and splatters, but they're also the easiest part to clean off-site. Instead of scrubbing them inside the oven, pull them out and let hot water and dish soap do the heavy lifting. This method works wonders on greasy, crusty racks and requires almost no elbow grease.
Fill your kitchen sink or a large tub with the hottest water you can handle. Add a generous squirt of dish soap—about a tablespoon—and swish to dissolve. Submerge the oven racks completely and let them soak for at least an hour.
For extra stubborn gunk, sprinkle a quarter cup of baking soda into the water before adding the racks.
Why This Works So Well
Hot water loosens baked-on grease, while dish soap breaks down the oils. Baking soda adds mild abrasion and helps lift burnt-on residue without scratching the metal. The long soak gives the solution time to penetrate every nook and cranny.
Best Racks For This Method
Standard chrome-plated or porcelain-coated racks handle the soak beautifully. Avoid using this method on racks with non-stick coatings, as hot water and prolonged soaking can damage the finish. For those, stick to a gentle wipe-down instead.
Pro Tips For A Spotless Finish
If the racks are too long for your sink, soak one half at a time by rotating them. After soaking, scrub with a non-abrasive sponge or a nylon brush. Rinse thoroughly with clean water and dry immediately to prevent water spots.
4. Commercial Oven Cleaner (Heavy Duty)
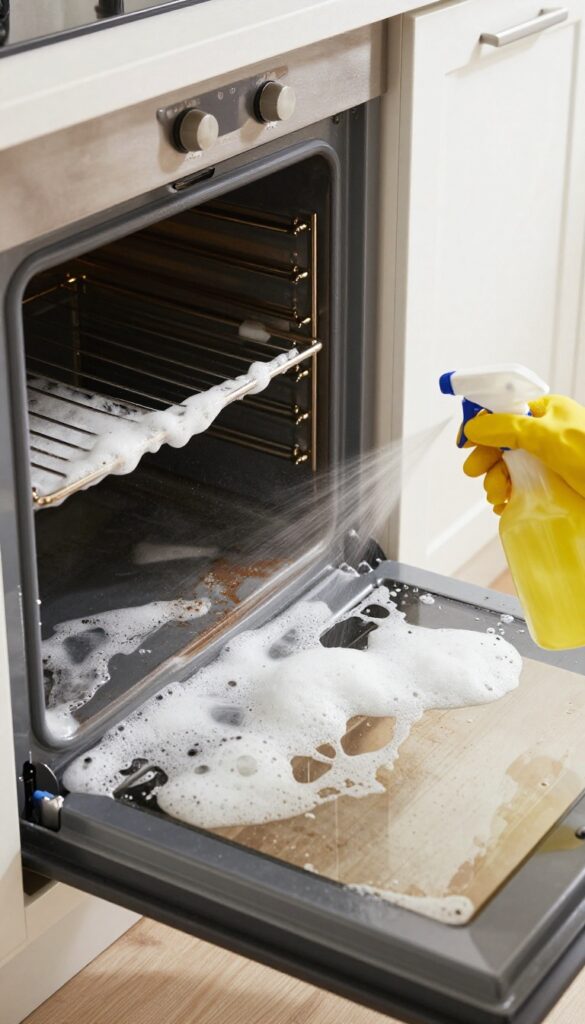
When baking soda and steam aren't enough, it's time to bring in the big guns. Commercial oven cleaners are formulated to dissolve the toughest, most stubborn baked-on grease and carbonized spills. They work fast and require minimal scrubbing, but they also come with strong chemicals, so safety comes first.
Spray a heavy-duty oven cleaner like Easy-Off on cold surfaces, let it sit for the recommended time, then wipe away. Wear gloves and ventilate the kitchen. Best for serious baked-on messes.
Choosing The Right Product
Look for a cleaner labeled "heavy duty" or "for baked-on grease. " Brands like Easy-Off and Carbona offer foaming sprays that cling to vertical surfaces. Avoid using these on self-cleaning oven linings or aluminum surfaces, as they can cause damage.
Step-by-step Application
Start with a cold oven. Remove racks and any loose debris. Shake the can well, then spray an even coat on all soiled areas, avoiding heating elements and the oven light.
Close the door and let it sit for the time specified on the label—usually 20 to 30 minutes. The foam will start to drip and loosen grime.
Wiping Away The Mess
After the dwell time, open windows for ventilation. Wearing rubber gloves, use a damp sponge or cloth to wipe down the surfaces. For stubborn spots, a non-abrasive scrub pad can help.
Rinse thoroughly with a wet cloth to remove any chemical residue. Repeat if necessary.
Safety Precautions
Always work in a well-ventilated area—open windows and turn on a fan. Wear long rubber gloves and avoid skin contact. Keep pets and children away until the oven is fully rinsed and dry.
Never mix oven cleaner with other cleaning products, especially ammonia or bleach.
5. Self-Cleaning Cycle (Use with Caution)
Your oven's self-cleaning feature is like a cheat code—set it, forget it, and let extreme heat do the dirty work. It burns food residue down to ash, which you simply wipe away once the oven cools. But this convenience comes with a few caveats: the process can produce smoke, strong odors, and even trigger smoke alarms.
Use it sparingly and only when your oven needs a deep reset.
How To Run The Cycle Safely
First, remove all racks and any loose debris from the oven floor. Close the door, select the self-clean option, and choose the shortest cycle time (usually 2–3 hours). During the cycle, keep your kitchen well-ventilated—open windows and turn on the exhaust fan.
The oven will lock automatically and heat to around 800°F. Do not open the door until the cycle finishes and the oven has cooled completely.
What To Do After It Cools
Once the oven is cool to the touch, unlock the door and open it carefully. You'll see a layer of fine gray ash inside. Use a damp microfiber cloth or sponge to wipe down all interior surfaces.
Avoid using abrasive cleaners or scrubbers, as they can damage the enamel. For stubborn ash spots, a little water on the cloth is all you need.
When To Skip This Method
Self-cleaning cycles can shorten the life of oven components, especially if used frequently. They also produce fumes that may be harmful to birds and sensitive individuals. If your oven has heavy grease buildup or a thick layer of burnt-on food, consider manual cleaning instead—the cycle can create excessive smoke and even set off your smoke alarm.
Reserve this method for light to moderate residue and only a few times a year.
6. Steam Clean with a Wet Towel
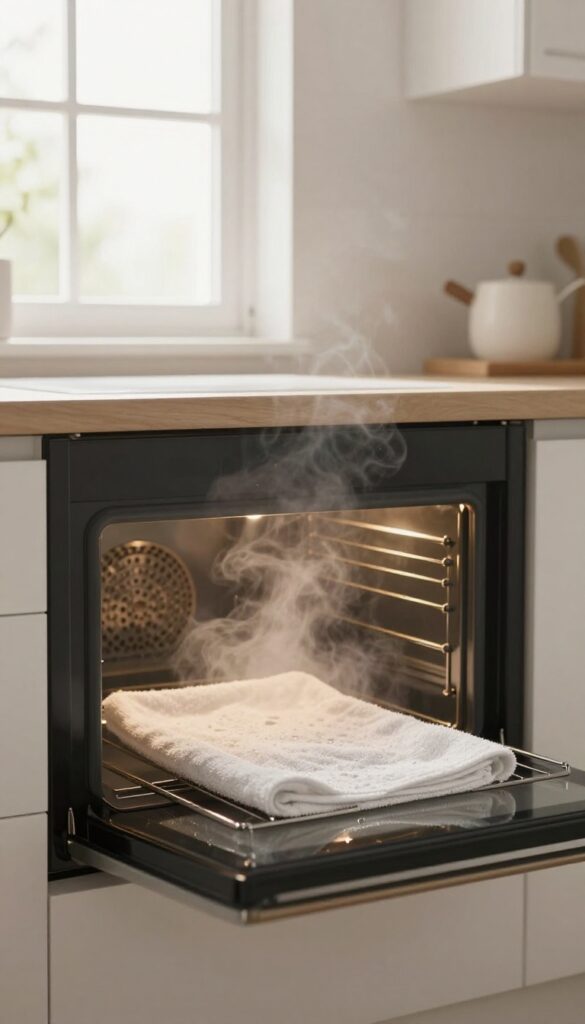
If your oven has light to moderate grime, a steam clean with a wet towel is one of the gentlest and most effective methods. No harsh chemicals, no scrubbing—just heat and moisture working together to loosen baked-on grease. This technique is perfect for a quick refresh between deep cleans.
Place a wet towel on the bottom of the oven, close the door, and heat to 250°F for 20 minutes. The steam softens grime, making it easy to wipe away. No chemicals needed.
How It Works
The moisture from the towel turns into steam as the oven heats up. The steam penetrates dried-on food and grease, softening them so they wipe off effortlessly. This method is safe for all oven types and leaves no chemical residue.
Step-by-step Instructions
- Soak a clean towel in water and wring it out so it's damp but not dripping. 2.
Place the towel flat on the bottom rack or directly on the oven floor. 3. Close the oven door and set the temperature to 250°F (120°C).
- Let it heat for 20 minutes, then turn off the oven. 5.
Carefully remove the towel (it will be hot) and wipe down the interior with a sponge or cloth. For stubborn spots, repeat or use a gentle scrub.
Tips For Best Results
Use a thick towel that holds moisture well. Avoid using too much water to prevent pooling. For extra stubborn grime, add a few drops of dish soap to the towel.
Always let the oven cool slightly before wiping to avoid burns.
7. Salt and Baking Soda Scrub
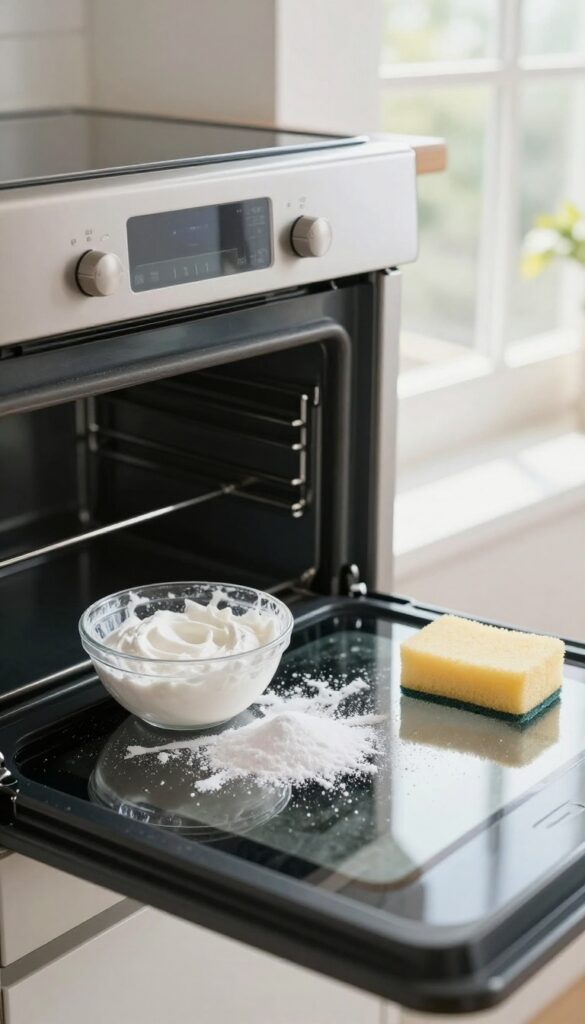
For those stubborn, crusty spots that steam and baking soda alone can't budge, a little extra abrasion goes a long way. Salt is a gentle abrasive that won't scratch your oven's interior, and when combined with baking soda, it creates a powerful paste that breaks down tough grime without harsh chemicals. This scrub is perfect for targeting specific areas like baked-on drips or charred spills.
This method is ideal for spot-treating stubborn stains after a general cleaning. The salt provides the scrubbing power, while the baking soda lifts grease and neutralizes odors. It's safe for most oven surfaces, including enamel and glass, but always test on a small hidden area first.
Mixing The Paste
Combine equal parts salt and baking soda in a small bowl—about 2 tablespoons of each is enough for most spots. Add just enough water to form a thick, spreadable paste. The consistency should be similar to toothpaste, not runny.
If it's too thin, add more baking soda; if too thick, add water drop by drop.
Applying And Letting It Sit
Using a spatula or your fingers (wear gloves if you prefer), spread the paste directly onto the stubborn spots. Press it on so it adheres to vertical surfaces. Let it sit for 15 minutes—this gives the baking soda time to break down the grease while the salt starts working on the crust.
For extra tough buildup, let it sit up to 30 minutes.
Scrubbing And Rinsing
After the wait, dampen a sponge or soft scrub brush and scrub the area in circular motions. The salt will gently abrade the grime without scratching. Rinse the sponge frequently and wipe away the paste.
Repeat if necessary. Once satisfied, wipe the area with a clean damp cloth to remove any residue.
8. Cream of Tartar and Vinegar Spray
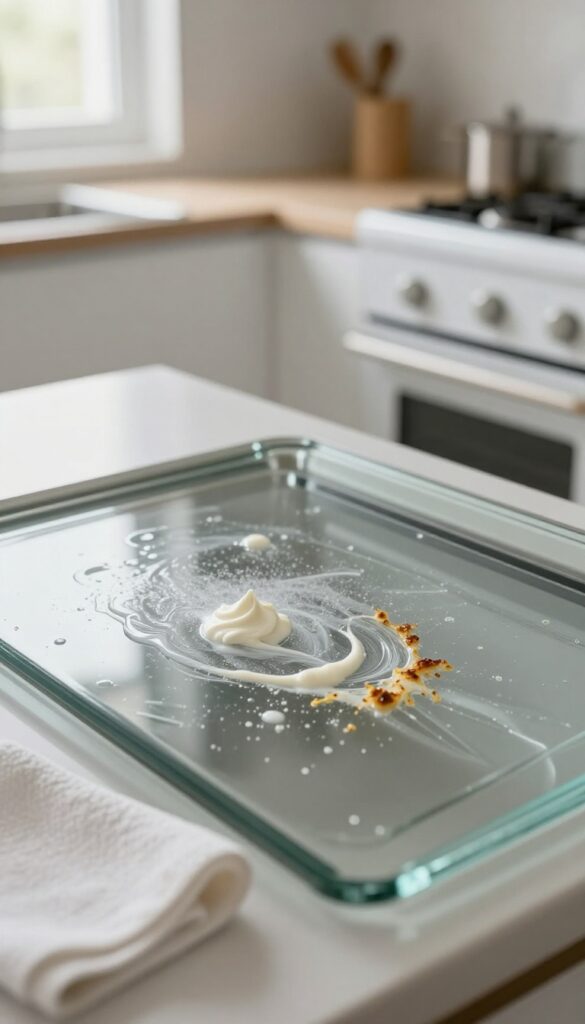
If you prefer a spray-and-wipe approach, this acidic duo cuts through grease without the elbow grease. Cream of tartar is a mild acid that teams up with vinegar to break down baked-on residues. It's especially handy for glass oven doors and stovetops where you want a streak-free finish.
Mix 1 tablespoon cream of tartar with 1 cup white vinegar in a spray bottle. Shake well until the powder dissolves completely. Spray generously on greasy areas, let sit for 10 minutes, then wipe with a damp cloth.
For heavy buildup, scrub gently with a non-abrasive sponge. Rinse with clean water and dry with a microfiber cloth to prevent streaks.
Why It Works
Cream of tartar is a weak acid that reacts with grease and grime, making it easier to lift away. Vinegar adds extra acidity and helps dissolve mineral deposits. Together, they create a gentle but effective cleaning solution that's safe for most oven surfaces.
Best Uses
This spray is ideal for glass oven doors, ceramic cooktops, and light to moderate grease on oven walls. Avoid using it on aluminum surfaces, as the acid can cause discoloration. For tough, baked-on spots, let the spray sit for 15-20 minutes and repeat if needed.
Pro Tips
Always test on a small hidden area first. Use a spray bottle with a fine mist setting to cover more surface area evenly. Wipe in one direction to avoid redepositing grease.
For extra cleaning power, add a few drops of dish soap to the mixture.
9. Magic Eraser for Glass Door
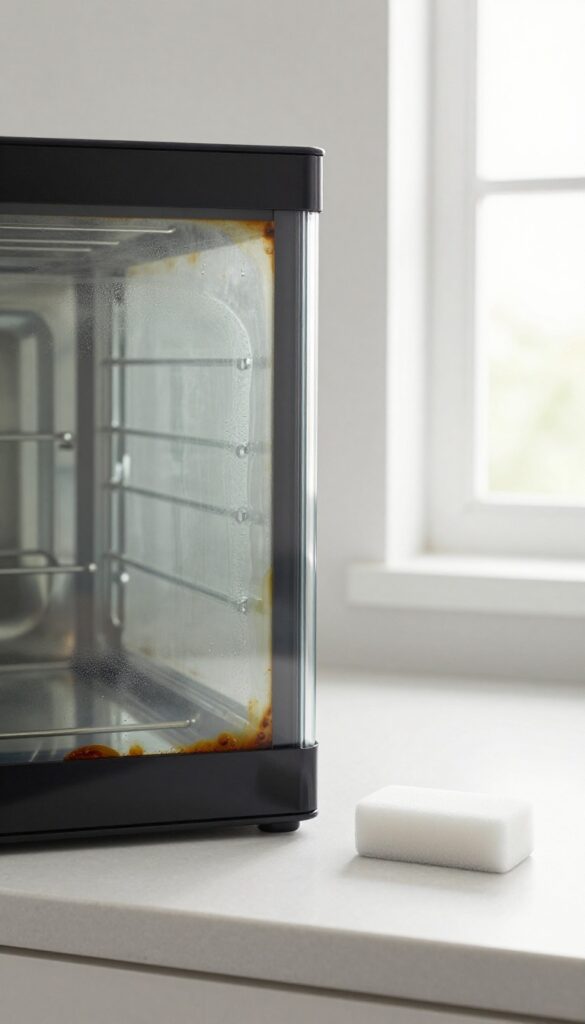
The glass door on your oven takes the brunt of splatters and spills, often becoming so cloudy you can barely peek inside. A melamine foam eraser—commonly sold as Magic Eraser—is a surprisingly effective tool for restoring clarity without harsh chemicals or scratching.
This method is ideal for baked-on grease and haze on the inner glass surface. The eraser works like a very fine abrasive sponge, lifting grime with just water. It's fast, cheap, and doesn't require any special cleaners.
How To Use It
Wet the eraser until it's damp but not dripping. Gently scrub the glass in circular motions, focusing on cloudy spots. Rinse the eraser frequently under running water to remove trapped grease, then continue.
Wipe the glass with a clean damp cloth afterward to remove any residue.
Tips For Best Results
Use light pressure—the eraser does the work. Avoid using on decorative or tinted glass, as it may cause damage. For stubborn spots, let the damp eraser sit on the area for a minute before scrubbing.
Always test a small hidden area first.
When To Avoid This Method
Do not use on self-cleaning oven liners or any non-stick coating. The abrasive nature can scratch these surfaces. Stick to glass only.
Also, avoid using with bleach or other harsh cleaners, as chemical reactions can occur.
10. Regular Wipe-Downs with Microfiber
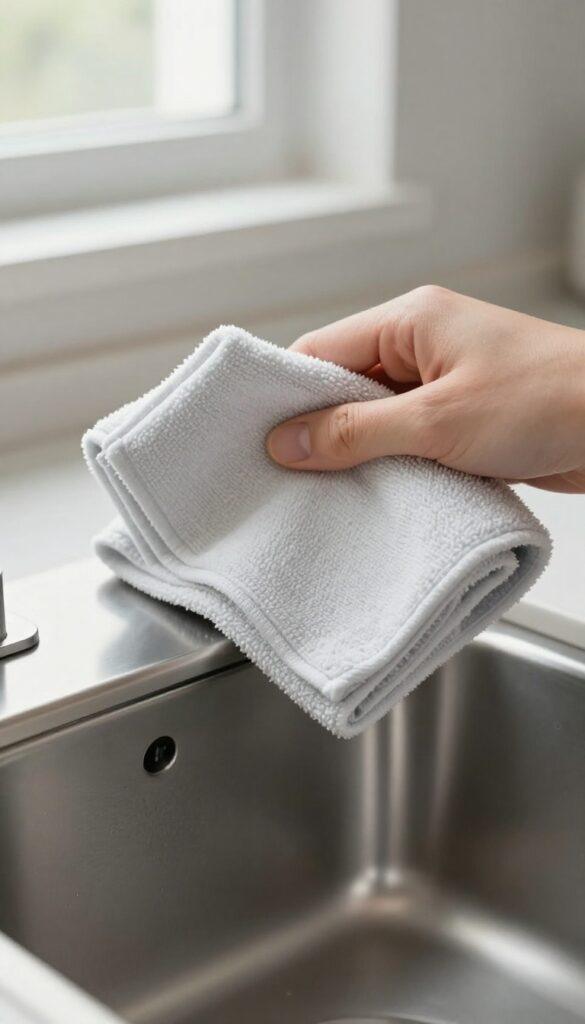
A little prevention goes a long way. After each use, once the oven has cooled, a quick wipe with a damp microfiber cloth can stop grime from building up in the first place. This habit takes less than a minute and makes deep cleans far less frequent.
Microfiber cloths are perfect for this job because they trap grease and particles without scratching the surface. Keep a dedicated cloth near the oven so you remember to do it. If you notice any sticky spots, a tiny drop of dish soap on the damp cloth helps dissolve them.
Dry the interior with a clean cloth to prevent water spots or rust on racks.
Why Microfiber Works Best
Microfiber has tiny fibers that grab onto grease and food particles, lifting them away instead of pushing them around. It's also lint-free, so you won't leave fuzz behind. Use a fresh cloth each time or wash them separately to avoid transferring grime.
When To Wipe
The best time is right after the oven cools to a safe temperature—usually within 30 minutes of cooking. If you wait too long, spills can bake on again. For heavy splatters, let the cloth sit on the spot for a minute to loosen the residue.
Maintenance Tips
Keep a spray bottle of water and a drop of dish soap nearby for quick touch-ups. Avoid abrasive sponges or harsh cleaners that can damage the oven's interior coating. A consistent wipe-down routine means you might only need a deep clean once or twice a year.
FAQ
Can I use baking soda and vinegar together to clean my oven?
Yes, but use them separately. Apply a baking soda paste first, let it sit, then spray vinegar to create a fizzing reaction that lifts grime. Wipe clean afterward.
Is it safe to use the self-cleaning cycle?
Generally safe, but it can produce smoke and strong odors. Remove large food debris first, ensure good ventilation, and never leave the oven unattended. Some older ovens may have safety concerns.
How often should I clean my oven?
For light use, a deep clean every 3-6 months is enough. Wipe up spills promptly to prevent buildup. If you cook frequently or have baked-on messes, clean more often.
Can I clean the oven glass with vinegar?
Yes, vinegar works well on glass. Spray it on, let it sit a few minutes, then wipe with a microfiber cloth. For stubborn spots, use a baking soda paste first.
What should I do if my oven cleaner fumes are too strong?
Stop using it immediately. Ventilate the kitchen by opening windows and turning on a fan. Switch to a natural method like baking soda and vinegar or steam cleaning.
Conclusion
A clean oven doesn't require harsh chemicals or hours of scrubbing. These ten methods give you flexible options whether you're dealing with light spills or baked-on grease. Pick the approach that fits your schedule and supplies on hand.
Regular quick cleanings between deep sessions will keep your oven looking great and performing well. Try one of these tricks today and see how easy oven cleaning can really be.