17 Kitchen Cleaning Supplies Every Home Should Keep
A clean kitchen isn't just about appearances—it's where you prepare meals, share conversations, and start your day. But without the right supplies, even a quick wipe-down can feel like a chore. The good news?
You don't need a cabinet full of fancy products. Just a handful of versatile, hardworking tools and cleaners can handle almost any mess your kitchen throws at you.
From everyday spills to stubborn baked-on grease, these 17 essentials will keep your kitchen looking its best with minimal effort. Whether you're a seasoned home cook or just starting out, having these supplies on hand makes cleaning faster, easier, and actually kind of satisfying.
1. All-Purpose Spray Cleaner

A reliable all-purpose cleaner is the workhorse of any kitchen cleaning routine. It handles countertops, backsplashes, stovetops, and even the exterior of appliances. The key is finding one that cuts through grease without leaving behind harsh chemical fumes or sticky residue.
Many store-bought options work well, but you can also mix your own with equal parts white vinegar and water in a spray bottle—just avoid using it on natural stone surfaces like granite or marble, as the acidity can etch them.
Think of an all-purpose spray as your first line of defense against daily messes. A quick spritz and wipe after cooking prevents grime from building up. For tough grease, let the cleaner sit for 30 seconds before wiping.
Keep a bottle under the sink and another near the stove so you can grab it without hunting.
What To Look For
Choose a cleaner that is labeled as biodegradable and free of ammonia or bleach for everyday use. Plant-based formulas are gentler on hands and the environment. If you prefer DIY, a 50/50 vinegar-water mix works well on most surfaces, but add a few drops of dish soap for extra grease-cutting power.
Where to Use It
All-purpose spray is safe for sealed granite, quartz, laminate, stainless steel, and ceramic tile. Avoid it on unsealed stone, wood cutting boards, or cast iron. Always test a small hidden area first if you're unsure.
For glass or mirrors, use a dedicated glass cleaner to prevent streaks.
Pro Tips For Best Results
Spray the cleaner onto a microfiber cloth rather than directly onto the surface to control overspray and avoid damaging electronics or nearby items. Wipe in an S-pattern to cover evenly. For dried-on food, let the cleaner sit for a minute to soften the mess before wiping.
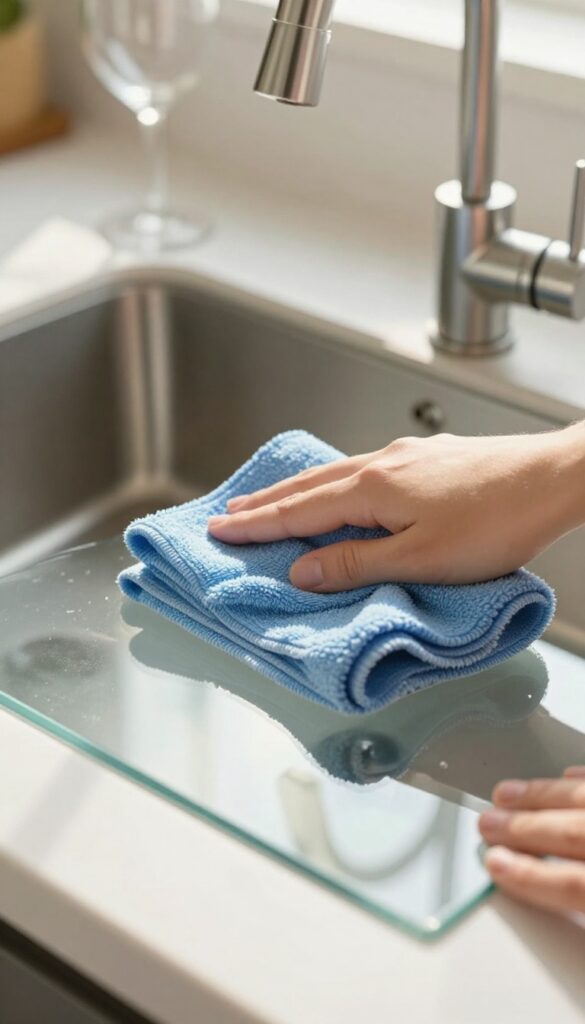
2. Microfiber Cloths
If you could only pick one cleaning cloth for your kitchen, make it microfiber. These soft, textured sheets trap dirt and grease like nothing else, and they won't scratch your delicate surfaces. Keep a stack handy, and you'll reach for them for nearly every cleaning task—from wiping down counters to drying wine glasses without streaks.
Microfiber cloths are a game-changer because they use static electricity and split fibers to grab dust and grime instead of just pushing it around. They're reusable, machine washable, and far more absorbent than cotton rags. Plus, they come in different weaves for different jobs: smooth for glass, looped for scrubbing, and plush for polishing.
Color-code Your Cloths
Avoid cross-contamination by assigning colors to specific tasks. For example, use blue for glass and mirrors, green for counters and appliances, red for raw meat spills, and yellow for general dusting. This simple system keeps your kitchen safer and your cloths organized.
How To Wash Them Right
Microfiber needs special care to stay effective. Wash them separately from cotton items to avoid lint transfer, skip fabric softener (it clogs the fibers), and dry on low heat or air-dry. Over time, they'll lose their grip, but a stack of 10 to 15 cloths can last months with proper washing.
Best Uses In The Kitchen
Use a damp microfiber cloth to wipe countertops, stovetops, and backsplashes. A dry one polishes stainless steel sinks and appliances to a shine without streaks. For glass cooktops, a clean microfiber cloth with a bit of water removes fingerprints and baked-on splatters effortlessly.
3. Dish Soap
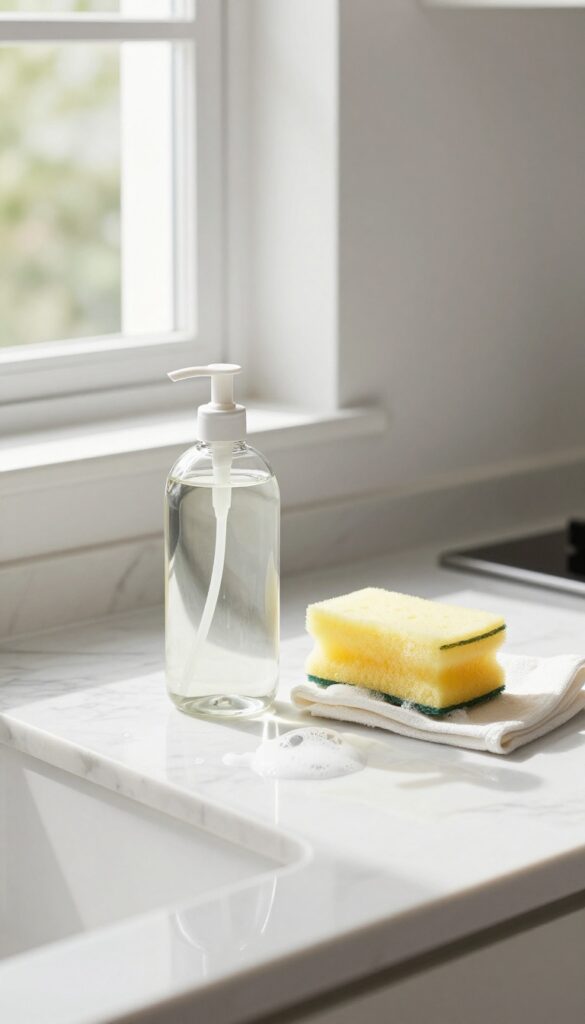
Dish soap is one of those items you probably grab without thinking. But the right one does way more than just clean your plates. A quality dish soap cuts through grease on stovetops, freshens up sponges, and can even lift stains from fabric.
It’s a multitasker that earns its spot in every kitchen.
Degreasing Power Beyond The Sink
A few drops of dish soap on a damp sponge can tackle greasy stovetops, range hoods, and even oven knobs. It breaks down cooked-on oils without harsh scrubbing. Just dilute a little in warm water for an instant degreaser that’s safe on most surfaces.
Sponge And Dishwasher Maintenance
Squeeze some dish soap into a sponge, wet it, and microwave for 30 seconds to kill bacteria. For dishwashers, run an empty cycle with a cup of dish soap in the bottom to cut through grime and deodorize.
Fabric Stain Lifter
Dab a drop of dish soap directly on grease or oil stains on clothing or kitchen towels. Let it sit for five minutes, then rinse with warm water. It’s a gentle pre-treatment that works wonders before a full wash.
4. Scrub Sponges with Scour Pads
Not all sponges are created equal. When you're facing a caked-on lasagna pan or a greasy stovetop, a plain sponge just won't cut it. That's where scrub sponges with built-in scour pads come in—they combine gentle absorbency with tough scrubbing power, so you can tackle stubborn messes without reaching for steel wool or harsh chemicals.
These dual-sided sponges are a kitchen essential because they handle both light wiping and heavy-duty scouring. The soft sponge side soaks up spills and cleans delicate surfaces like non-stick pans, while the scour pad side digs into baked-on food without scratching most cooktops, stainless steel, and ceramic. Just be sure to replace them every one to two weeks—bacteria love damp sponges, and a worn-out pad won't scrub effectively.
Why You Need A Scour Pad Sponge
A standard sponge just smears grease around. A scrub sponge with a built-in scour pad gives you extra abrasion to loosen stuck-on bits, cutting down on soaking time and elbow grease. It's the perfect middle ground between a gentle sponge and an abrasive scrubber.
How To Keep Them Clean And Last Longer
Rinse your sponge thoroughly after each use and squeeze out excess water. Microwave it damp for 1-2 minutes to kill bacteria (make sure it's wet and has no metal). Or toss it in the dishwasher on the top rack.
Still, plan to replace it weekly—or sooner if it starts to smell.
What To Avoid Scrubbing
Skip the scour pad on non-stick coatings, enamel, and polished stone—it can cause micro-scratches. Stick to the soft side for those surfaces. For stainless steel and glass cooktops, a non-scratch scour pad is safe, but always test on a small hidden area first.
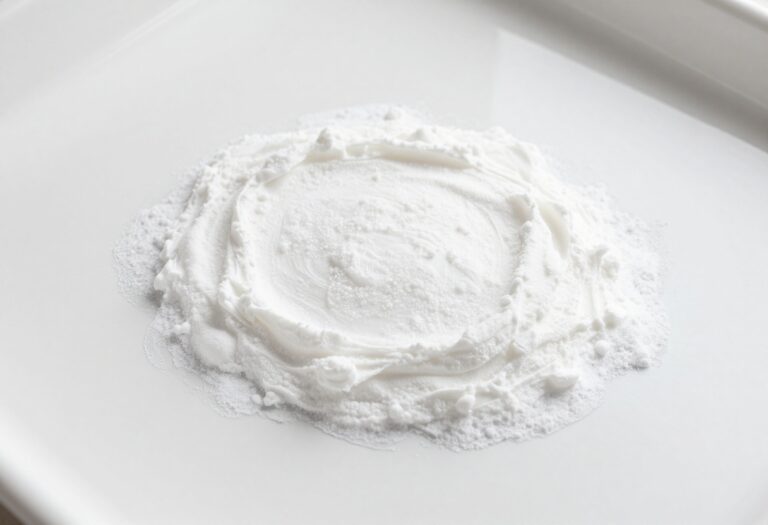
5. Baking Soda
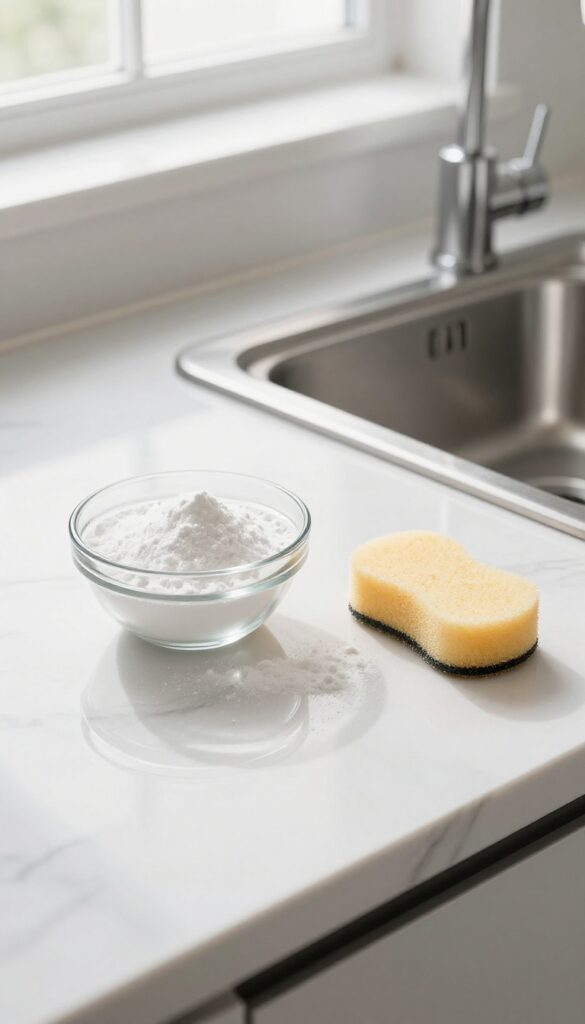
Baking soda is one of those kitchen staples that does double duty as a cleaner. It's a gentle abrasive that won't scratch surfaces, making it perfect for scrubbing sinks, ovens, and countertops. Plus, it naturally deodorizes, so your kitchen smells fresh without chemical scents.
Baking soda is a mild alkali that reacts with acids and fats to break down grime. When mixed with water, it forms a paste that can tackle tough stains and baked-on food. It's also safe to use around food prep areas, which is a huge plus.
Deodorize Your Sink And Fridge
Sprinkle baking soda directly onto a damp sponge to scrub away odors from your sink. For the fridge, place an open box on a shelf to absorb smells. Replace it every three months for best results.
Scrub Oven Racks And Stovetops
Make a paste with baking soda and water, apply it to greasy oven racks or stovetop burners, and let it sit for 15 minutes. Scrub with a non-abrasive pad, then rinse. The grime lifts off easily.
Lift Stains From Countertops
For stubborn stains on laminate or quartz countertops, sprinkle baking soda on a damp cloth and rub gently. Rinse thoroughly. Avoid using on marble or granite, as it can dull the finish.
6. White Vinegar
White vinegar is a powerhouse cleaner that costs pennies per bottle. Its mild acidity cuts through soap scum, dissolves hard water deposits, and neutralizes odors without harsh chemicals. Keep a spray bottle of diluted vinegar under your sink for quick, streak-free cleaning on glass, stainless steel, and countertops.
Glass And Mirror Shine
Mix equal parts white vinegar and water in a spray bottle. Spritz on windows, mirrors, or glass cooktops, then wipe with a microfiber cloth. No streaks, no residue—just a clear, sparkling finish.
Skip the paper towels; they leave lint behind.
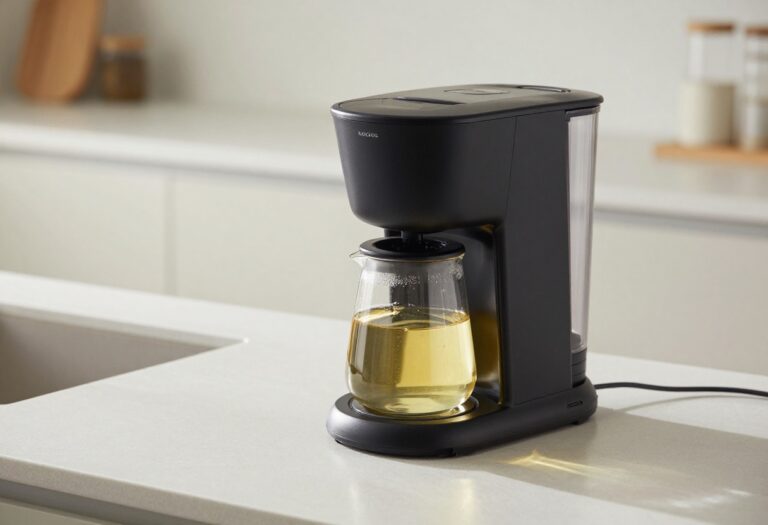
Coffee Maker Descaling
Mineral buildup can ruin your coffee’s taste and shorten your machine’s life. Run a cycle with equal parts vinegar and water, then two cycles with plain water. Your coffee will taste fresh again, and the machine will run like new.
Stainless Steel And Chrome
Spray diluted vinegar on stainless steel sinks, faucets, or appliances. Wipe with a soft cloth in the direction of the grain. It removes fingerprints and water spots without dulling the finish.
For tough spots, let it sit a minute before wiping.
Deodorizing And Disinfecting
Vinegar neutralizes odors naturally. Wipe down cutting boards, trash cans, or the inside of your refrigerator with undiluted vinegar. Let it air dry—the smell fades quickly, taking bad odors with it.
For extra cleaning power, add a few drops of dish soap.
7. Glass Cleaner
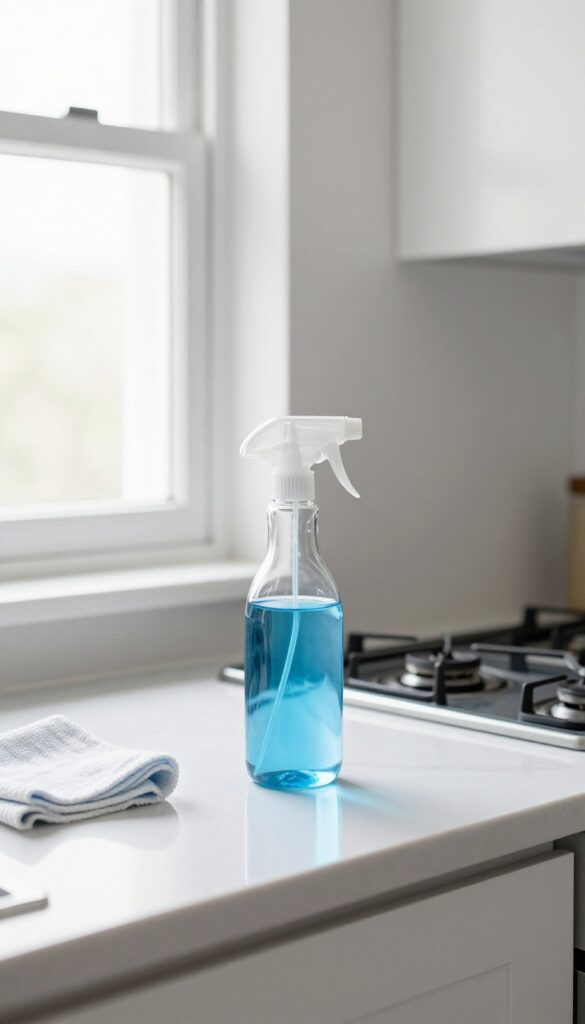
Windows, glass stove tops, and mirrors in the kitchen collect fingerprints, splatters, and steam residue faster than any other surface. A dedicated glass cleaner cuts through that grime without leaving streaks or hazy film behind. The right formula makes the difference between a quick polish and a frustrating re-clean.
A streak-free glass cleaner is essential for windows, glass stove tops, and mirrors. Opt for a formula that doesn't leave residue, and pair it with a lint-free cloth for best results.
Why Not Just Use Water?
Water alone often pushes grease around instead of lifting it. Glass cleaners contain surfactants and solvents that break down cooking oils and hard water spots, so you get a truly clean surface. Plus, they evaporate quickly, which is key for streak-free shine.
Spray Vs. Foam
Spray formulas are great for large areas like windows, while foam versions cling to vertical surfaces like a glass backsplash, giving you more control. Both work well—just choose based on how you clean. For everyday touch-ups, a spray is faster; for deep cleaning, foam can be more effective.
Diy Or Store-bought?
A simple DIY mix of equal parts water and white vinegar with a drop of dish soap works in a pinch. But commercial glass cleaners often include ammonia or alcohol for faster drying and better shine. If you have kids or pets, look for ammonia-free options that are still effective.
8. Stiff-Bristle Brush
Some messes need more than a sponge. Grout lines, stove grates, and the corners of your sink have a way of trapping grime that a soft cloth just pushes around. That is where a stiff-bristle brush earns its spot in your cleaning caddy.
A good one has firm, durable bristles that dig into crevices without scratching most surfaces. The handle keeps your hands away from the gunk, so you can scrub hard without getting dirty. It is a simple tool, but it makes short work of the kitchen's toughest spots.
Best Uses
Reach for the stiff-bristle brush when you need to scrub grout between backsplash tiles, clean the nooks of a gas stove grate, or tackle the corners of a stainless steel sink. It also works well on cast iron skillet handles and the inside of a toaster oven tray. Avoid using it on nonstick surfaces or delicate glass, as the bristles can cause scratches.
Choosing The Right One
Look for a brush with a comfortable, non-slip handle and bristles that are stiff but not wire-hard. Nylon or polypropylene bristles are a good choice—they are tough enough for grime but gentle on most finishes. A brush with a slight curve or angled head helps reach tight spaces.
Consider keeping two: one for general scrubbing and one dedicated to the sink or trash area.
Care And Replacement
Rinse the brush thoroughly after each use and let it air dry bristle-side down to prevent mildew. Every few weeks, soak it in hot, soapy water or a diluted bleach solution to sanitize. Replace the brush once the bristles start to fray or bend, usually every few months depending on use.
A worn brush loses its scrubbing power and can harbor bacteria.
9. Dish Rack

A dish rack might seem like a simple accessory, but it plays a big role in keeping your kitchen tidy and your dishes spot-free. Without one, you're either drying everything by hand or piling wet dishes on a towel, which leads to water stains, bacteria, and clutter. A good dish rack solves all that by giving your dishes a proper place to air-dry while keeping your counter dry.
Why A Removable Tray Matters
The tray underneath a dish rack catches all the drips, but if it's fixed in place, cleaning it becomes a hassle. A removable tray lets you rinse it in the sink or toss it in the dishwasher, preventing mold and soap scum from building up. Look for one with a slight slope or drainage spout so water doesn't pool.
Size And Layout Considerations
Think about what you wash most often. If you're a home cook who uses lots of pots and pans, get a rack with deep slots for plates and a fold-down cup holder. A two-tier design saves counter space by stacking smaller items above larger ones.
Measure your counter before buying to ensure it fits without crowding your sink.
Material Choices: Stainless Steel Vs. Plastic
Stainless steel racks are durable, rust-resistant, and look sleek, but they can be pricier. Plastic racks are lightweight and affordable, but they may warp or discolor over time. Some racks combine a steel frame with a plastic tray for the best of both worlds.
Whichever you choose, make sure the coating is non-slip to prevent scratches.
10. Trash Can with Lid
A kitchen trash can without a lid is basically an open invitation for fruit flies, ants, and curious pets. A lidded can seals in odors and keeps your kitchen feeling fresh between bag changes. Choose one that blends function with style, and you'll wonder how you ever went without.
A lidded trash can is a simple upgrade that makes a big difference. It traps smells, prevents pests, and hides unsightly waste. Look for a size that fits your kitchen's layout and a material like stainless steel or matte plastic that wipes clean easily.
A step pedal or motion sensor adds hands-free convenience, especially when your hands are messy from cooking.
Size And Placement
Think about how much trash your household generates daily. A 13-gallon can works well for most families, but smaller kitchens might prefer an 8-gallon model that tucks under the counter. Place it near your main prep area but not in the way of foot traffic.
Material Matters
Stainless steel resists fingerprints and odors, while plastic is lightweight and affordable. Avoid porous materials that can absorb smells. A removable inner bucket makes cleaning and liner changes effortless.
Lid Mechanisms
Step pedals are reliable and keep your hands clean. Motion-sensor lids are great for hands-free use but require batteries. Soft-close lids prevent loud slamming.
Choose what fits your routine.
11. Sponge Holder
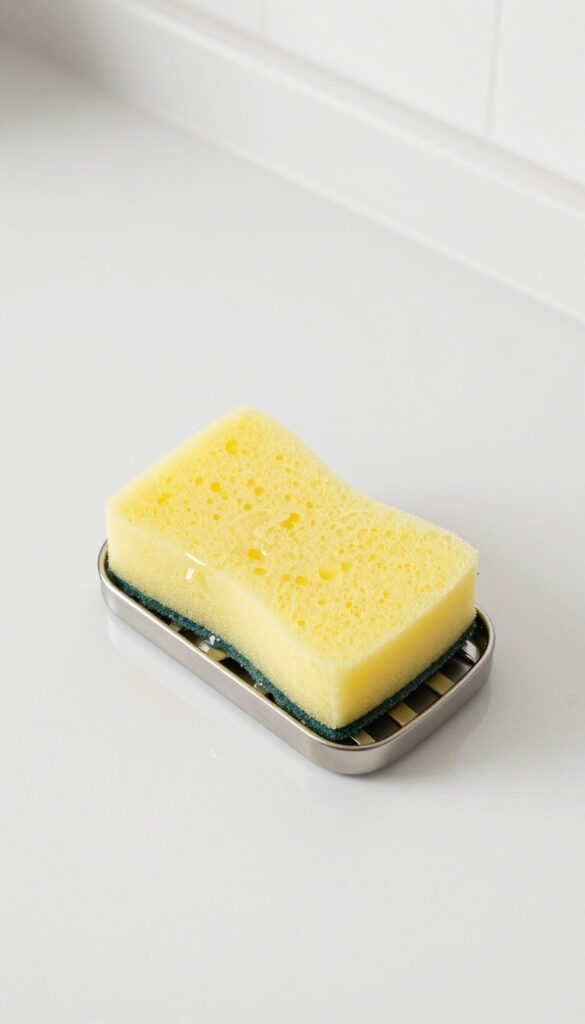
A wet sponge sitting directly on the counter is a breeding ground for bacteria and can leave an unpleasant smell. A sponge holder lifts it off the surface, allowing air to circulate and water to drain away. This simple accessory keeps your sponge fresher longer and your counter dry and clean.
A sponge holder may seem like a minor detail, but it makes a real difference in kitchen hygiene and tidiness. When a sponge rests in a puddle of water, bacteria multiply rapidly, and the sponge deteriorates faster. A well-designed holder prevents moisture buildup, extends the life of your sponge, and keeps your counter free of grimy rings.
Look for a holder that fits your sink area and matches your kitchen style, whether it's a sleek stainless steel model, a ceramic dish, or a suction-cup caddy that attaches to the sink wall.
Why Drainage Matters
Sponges are porous and trap food particles, making them ideal environments for bacteria like E. coli and Salmonella. When a sponge sits in standing water, bacteria thrive and can transfer back to surfaces you're trying to clean. A holder with raised ridges or a slotted base allows air to flow underneath and water to drip away, keeping the sponge drier and less hospitable to germs.
Types Of Sponge Holders
There are several styles to choose from. Suction-cup holders attach directly to the sink or tile, saving counter space. Countertop caddies often hold multiple sponges and scrub brushes.
Over-the-sink baskets let water drain straight into the sink. And magnetic holders keep sponges elevated and easy to grab. Pick the one that best fits your workflow and kitchen layout.
Cleaning And Maintenance
Even a sponge holder needs occasional cleaning to prevent mold and soap scum buildup. Most holders can be washed by hand with warm soapy water or tossed in the dishwasher if they're dishwasher-safe. Wipe them down weekly and check for any residue.
A clean holder means a cleaner sponge and a more hygienic kitchen.
12. Rubber Gloves
Your hands are your most valuable kitchen tool, but they don't have to take the brunt of every cleaning session. Rubber gloves create a barrier between your skin and hot water, harsh detergents, and abrasive scrubbers. They also give you a better grip on slippery dishes and glassware, reducing the chance of accidents.
Why Your Hands Need A Break
Hot water and strong cleaners can strip your skin of natural oils, leading to dryness, irritation, or even dermatitis. Rubber gloves let you use hotter water for better grease cutting without scalding your hands. They also protect against cuts from broken glass or sharp edges hiding in the sink.
Better Grip, Fewer Drops
Slippery plates and wet glasses are a recipe for disaster. Rubber gloves with textured palms or fingers provide extra traction, so you can hold onto items securely. This is especially helpful when washing large pots, cast iron pans, or delicate wine glasses.
Choosing The Right Pair
Not all gloves are created equal. Look for heavy-duty, lined gloves that resist punctures and chemicals. A cotton lining makes them easier to put on and take off, while a non-slip grip adds safety.
Make sure they fit snugly—too loose and you'll lose dexterity; too tight and they'll tire your hands.
13. Degreasing Cleaner
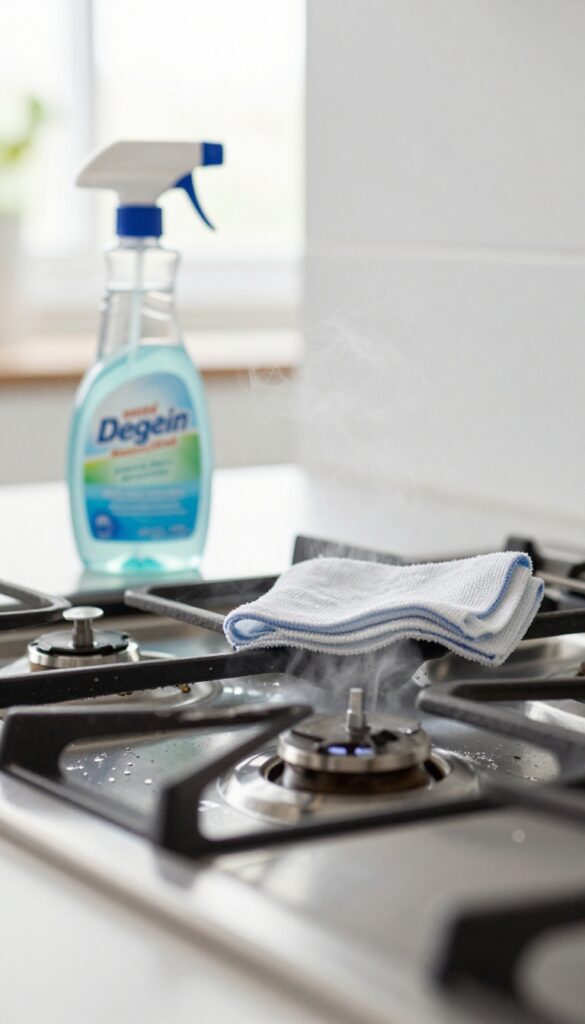
Grease buildup is one of the toughest kitchen challenges. It clings to range hoods, stovetops, and oven doors, turning a quick wipe into a serious workout. A dedicated degreasing cleaner changes that—it breaks down the sticky film fast, so you can spray, let it sit, and wipe away without elbow grease.
A good degreaser is a must-have for any kitchen that sees regular cooking. It tackles the oily residue that all-purpose sprays can't handle, making it ideal for deep cleaning sessions. Look for one that's tough on grease but safe for the surfaces you use most.
Where to Use It
Focus on high-grease zones: the range hood filter, stovetop burners, oven door glass, and backsplash behind the stove. Avoid using it on unfinished wood or delicate surfaces unless the label says it's safe. A quick spray, a 5-minute dwell time, and a microfiber cloth are usually all you need.
How To Choose One
Not all degreasers are created equal. Some are heavy-duty with strong fumes, while others are plant-based and gentler. If you have a gas stove, look for a formula that's safe for stainless steel and enamel.
For everyday maintenance, a spray degreaser is more convenient than a paste or foam.
Diy Alternative
If you prefer a homemade option, mix equal parts white vinegar and water with a few drops of dish soap. Shake well and spray onto greasy surfaces. Let it sit for a few minutes before wiping.
It's less aggressive than commercial degreasers but works well for light to moderate buildup.
14. Stainless Steel Cleaner
Stainless steel appliances look sleek and modern—until they're covered in fingerprints, smudges, and water spots. A dedicated stainless steel cleaner is the secret to keeping that showroom shine without spending all day polishing. It cuts through grease, removes fingerprints, and leaves a protective layer that resists future marks.
Why You Need A Dedicated Cleaner
All-purpose cleaners can leave streaks or even damage the protective coating on stainless steel. A purpose-made cleaner is formulated to be gentle yet effective, lifting grease and fingerprints without scratching. It also helps maintain the metal's natural luster, so your fridge, dishwasher, and range hood always look their best.
Spray Vs. Wipes: Which To Choose
Spray bottles give you control over how much product you use and are great for large surfaces. Wipes are convenient for quick touch-ups and are easy to store under the sink. Both work well—pick based on your cleaning habits.
If you tend to clean in a hurry, wipes might be your best bet.
How To Use It For Best Results
Always spray onto a microfiber cloth, not directly onto the appliance, to avoid overspray. Wipe in the direction of the grain (the subtle lines in the metal) to prevent streaks. For stubborn smudges, let the cleaner sit for a few seconds before buffing.
Finish with a dry section of the cloth for a mirror-like shine.
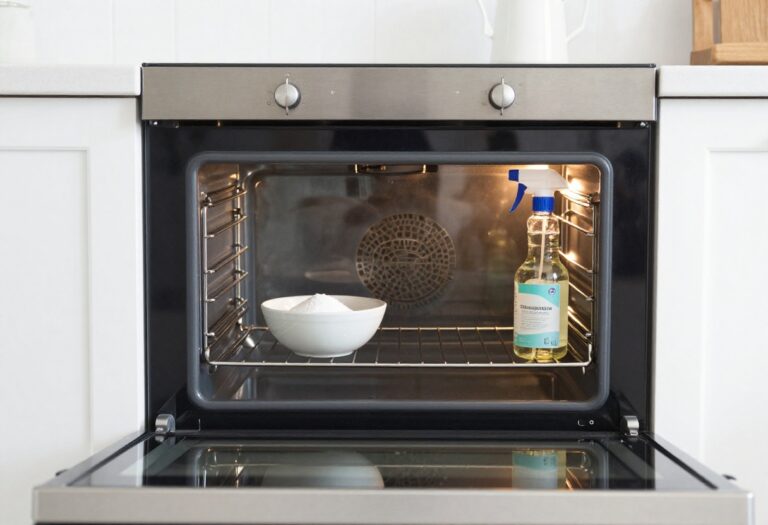
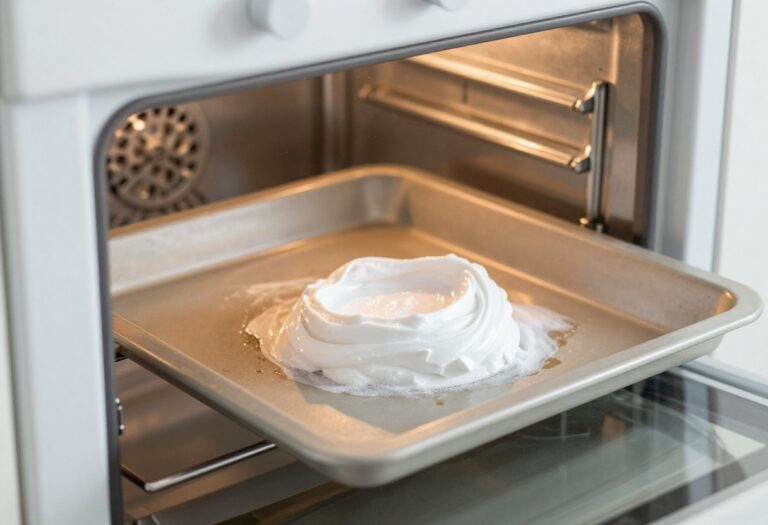
15. Oven Cleaner
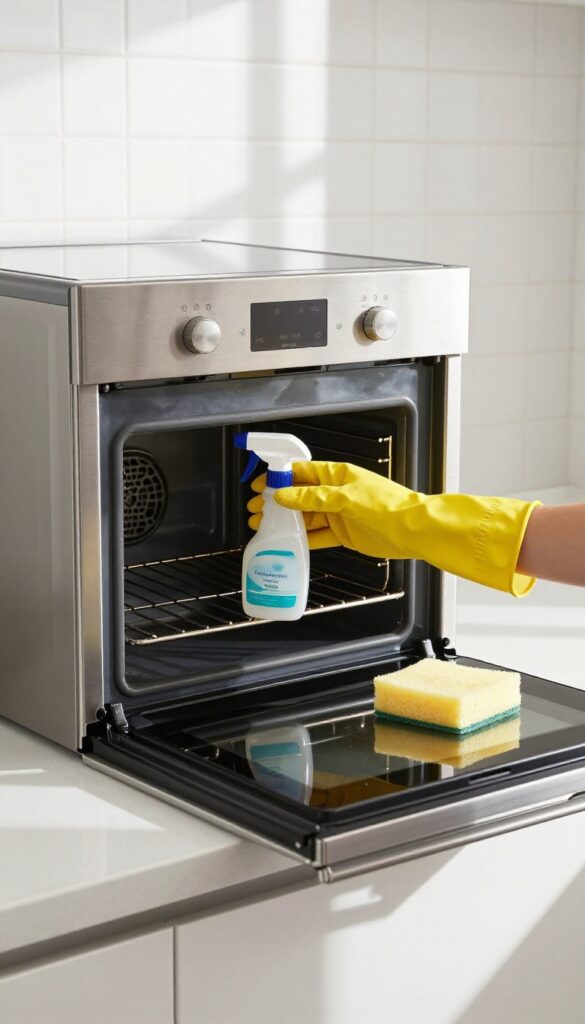
Even if your oven has a self-cleaning cycle, some messes need extra help. Baked-on spills, sticky drips, and burnt-on residue can turn your oven into a smoky, smelly mess. A good spray-on oven cleaner cuts through that grime fast, saving you from scrubbing for hours.
Self-cleaning ovens are convenient, but they aren't perfect. They can produce strong odors and even smoke, especially with large spills. A heavy-duty oven cleaner gives you targeted control.
You spray it on, let it sit, then wipe away the gunk. Just be careful—these cleaners are powerful. Always wear gloves, open windows for ventilation, and follow the instructions to the letter.
When To Use It
Reserve oven cleaner for tough, baked-on messes that a damp sponge can't handle. Think spilled casserole drippings, melted cheese, or sugary sauces that have carbonized. For light splatters, a paste of baking soda and water works fine.
But when you need heavy artillery, oven cleaner is your go-to.
Safety First
Oven cleaners contain strong chemicals like sodium hydroxide. They can irritate skin and lungs. Always wear rubber gloves and work in a well-ventilated area.
Keep kids and pets away. Never spray on heating elements or the oven door seal. Rinse thoroughly after cleaning to remove any residue before using the oven again.
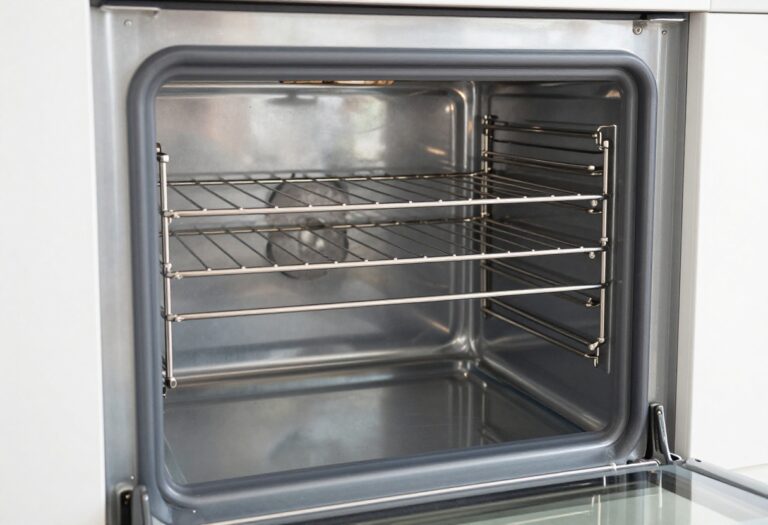
Application Tips
Remove oven racks and clean them separately with soapy water. Spray the cleaner evenly on the interior surfaces, avoiding the heating elements. Let it sit for the recommended time—usually 15 to 30 minutes.
Then wipe with a damp sponge or cloth. For stubborn spots, use a non-scratch scrub pad. Rinse with a wet cloth until all cleaner is gone.
16. Garbage Disposal Cleaner
Your garbage disposal works hard, but it can get pretty gross. Bits of food get trapped, and over time, that leads to bad smells and dull blades. A dedicated cleaner—or a simple DIY mix—keeps things fresh and running smoothly.
Why Regular Cleaning Matters
Food residue builds up in the disposal chamber and drain line, creating odors and attracting pests. Grease and starchy scraps can also gum up the blades, reducing efficiency. A quick weekly clean prevents these issues.
Store-bought Vs. Diy Cleaners
Commercial cleaning tablets or pods are convenient—just drop one in, run the water, and turn on the disposal. For a natural alternative, pour half a cup of baking soda followed by a cup of white vinegar. Let it fizz for a few minutes, then flush with hot water.
Both methods deodorize and help break down residue.
Bonus Tips For Sharp Blades
To keep blades sharp, occasionally grind a few ice cubes or citrus peels. Ice helps dislodge stuck particles, while citrus adds a fresh scent. Avoid putting fibrous foods like celery or banana peels down the disposal, as they can tangle around the blades.
17. Lint-Free Cloths
Polishing glass and stainless steel can be frustrating when regular towels leave behind lint or streaks. Lint-free cloths solve that problem by leaving zero fibers behind. They're the secret to a streak-free, mirror-like finish on your kitchen surfaces.
Lint-free cloths are a must-have for the final buffing step. After cleaning with a spray or solution, use a dry lint-free cloth to wipe away residue and polish the surface. The result is a clean, shiny finish that looks like new.
These cloths are also great for drying delicate items like wine glasses or crystal without leaving water spots.
Why Choose Lint-free
Regular towels shed tiny fibers that cling to glass and stainless steel. Lint-free cloths are made from microfiber or non-woven materials that trap dirt and moisture without shedding. They're also highly absorbent and dry quickly, making them reusable for many washes.
Best Uses In The Kitchen
Use them to polish stainless steel appliances like refrigerators, dishwashers, and range hoods. They're also perfect for cleaning glass cooktops, mirrors, and windows. For a streak-free shine, spray your cleaner onto the cloth rather than the surface, then wipe in one direction.
Care And Longevity
Wash lint-free cloths separately from cotton towels to prevent lint transfer. Avoid using fabric softener, which reduces absorbency. Air dry or tumble dry on low heat.
With proper care, they can last through hundreds of washes.
FAQ
How often should I replace my kitchen sponges?
Replace sponges every one to two weeks, or sooner if they start to smell. You can sanitize them by microwaving wet sponges for one minute or running them through the dishwasher.
Can I use vinegar on all kitchen surfaces?
No, avoid vinegar on natural stone (granite, marble), cast iron, and aluminum as it can etch or damage them. Stick to mild soap and water for those surfaces.
What's the best way to clean a stainless steel sink?
Use a mild dish soap and a soft cloth, then rinse and dry. For shine, buff with a little mineral oil or a dedicated stainless steel cleaner.
How do I remove baked-on grease from my oven door?
Make a paste of baking soda and water, spread it on the glass, let it sit for 15 minutes, then scrub with a non-scratch sponge. Wipe clean with vinegar for a streak-free finish.
Is it necessary to use a separate glass cleaner?
While you can use vinegar and water, a dedicated glass cleaner often contains surfactants that prevent streaking, especially on large windows or glass stove tops.
Conclusion
Stocking your kitchen with these 17 cleaning supplies means you're ready for anything—from a quick after-dinner tidy to a full deep clean. You don't need every gadget on the market, just the ones that actually work. Start with the basics like dish soap, microfiber cloths, and baking soda, then add specialized items as you go.
A clean kitchen feels better, cooks better, and makes daily life just a little easier. With the right tools in hand, keeping it that way becomes second nature.