13 Cupboard Organization Kitchen Ideas for Better Cabinet Space
You open a cabinet door and a cascade of mismatched lids and plastic containers tumbles out. That frustrating moment is the reason most of us avoid cooking certain meals. But it doesn't have to be that way.
A well-organized cupboard doesn't just look good—it saves time, reduces food waste, and makes cooking genuinely easier. The payoff is immediate: you can find what you need in seconds, not minutes.
These 13 ideas focus on real-world solutions that work for any kitchen, whether you rent or own. No major renovations required, just smarter use of the space you already have.
1. Install Pull-Out Shelves for Deep Cabinets
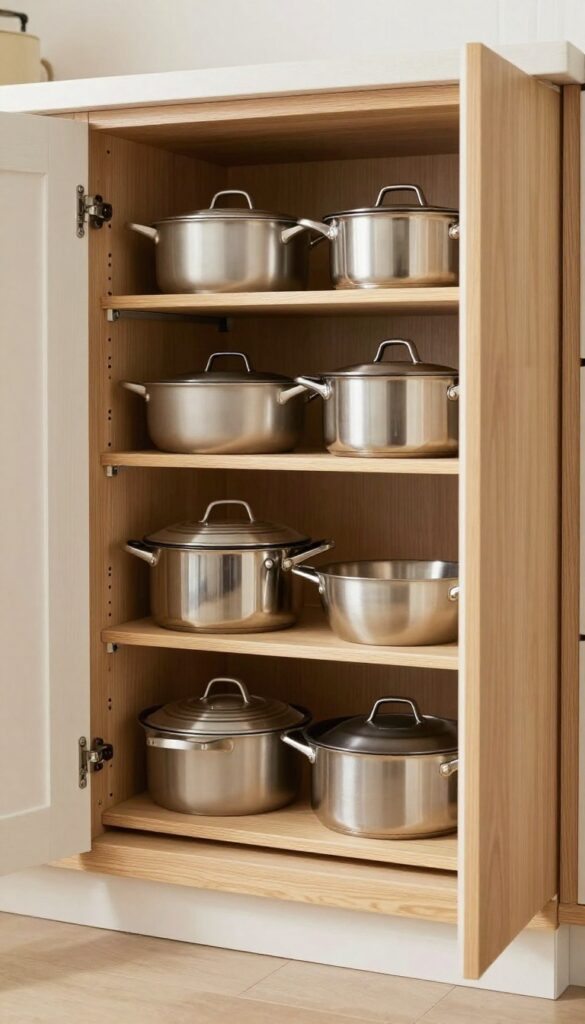
Deep cabinets are notorious for hiding items in the back. Pull-out shelves bring everything forward, making every item accessible with a simple glide. This is a game-changer for lower cabinets, where pots, pans, and small appliances often get lost in the dark corners.
Pull-out shelves transform deep cabinets from black holes into organized storage. They mount on slides, so you can pull the entire shelf out to see and grab what you need. No more digging or stacking precariously.
These shelves work especially well for storing heavy items like cast iron skillets or stand mixer bowls, since they distribute weight evenly and roll smoothly.
Why They Work So Well
The key advantage is visibility. When you pull out the shelf, everything is right there. You can arrange items in rows or use bins to group similar things.
This also prevents you from buying duplicates because you can see what you already have.
Installation Tips
You can buy ready-made pull-out shelf kits at hardware stores. Measure your cabinet depth and width first. Most kits come with mounting rails that screw into the cabinet sides.
If you're handy, you can even build custom ones. For a quick fix, try wire baskets that slide on a frame.
Best Uses
Lower cabinets under the stove or counter are prime candidates. Use them for pots, pans, baking sheets, and cutting boards. You can also install a narrow pull-out for spice jars or oil bottles near the stove.
2. Use Lazy Susans for Corner Cabinets
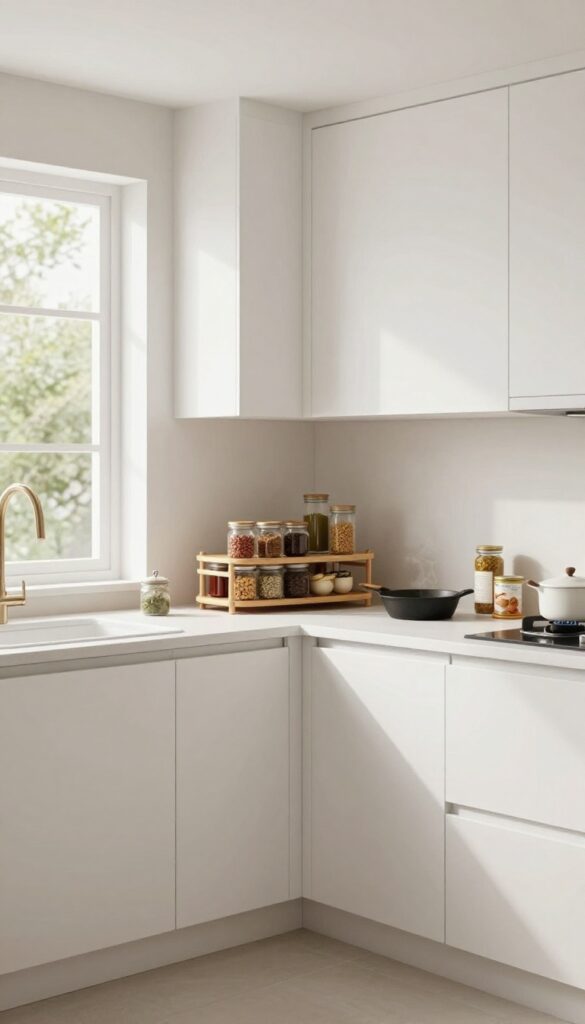
Corner cabinets are the Bermuda Triangle of the kitchen—things go in and are never seen again. A lazy Susan changes that by putting everything on a rotating tray. Now you can spin that awkward space into a functional storage zone for pots, pans, or pantry staples.
Lazy Susans come in various sizes and materials, from simple plastic to sturdy bamboo. Measure your cabinet's depth and width before buying. Look for models with raised edges to keep items from sliding off.
For corner cabinets, a half-moon or kidney-shaped lazy Susan fits better than a full circle. Install it on a turntable base that spins smoothly. Use it for oils and spices, canned goods, or small appliances.
Group similar items together so you can grab what you need with a quick spin.
Picking The Right Size And Shape
Measure the cabinet's interior width, depth, and height. A lazy Susan that's too small wastes space; one that's too big won't turn. Kidney-shaped models work well in L-shaped corner cabinets because they follow the curve.
For deep cabinets, consider a two-tier lazy Susan to double your storage.
What To Store On A Lazy Susan
Heavy items like cast-iron pans work best on the bottom tier. Lighter jars and cans go on top. Avoid stacking items too high or they'll topple when you spin.
Use non-slip liners to keep everything in place. Label the tray sections if you share the kitchen.
Installation Tips For Smooth Operation
Most lazy Susans come with a mounting bracket. Screw it into the cabinet floor, not the shelf. Test the spin before loading.
If it wobbles, adjust the screws. For a no-drill option, use adhesive turntables for lighter loads.
3. Add Door-Mounted Racks for Spices and Condiments
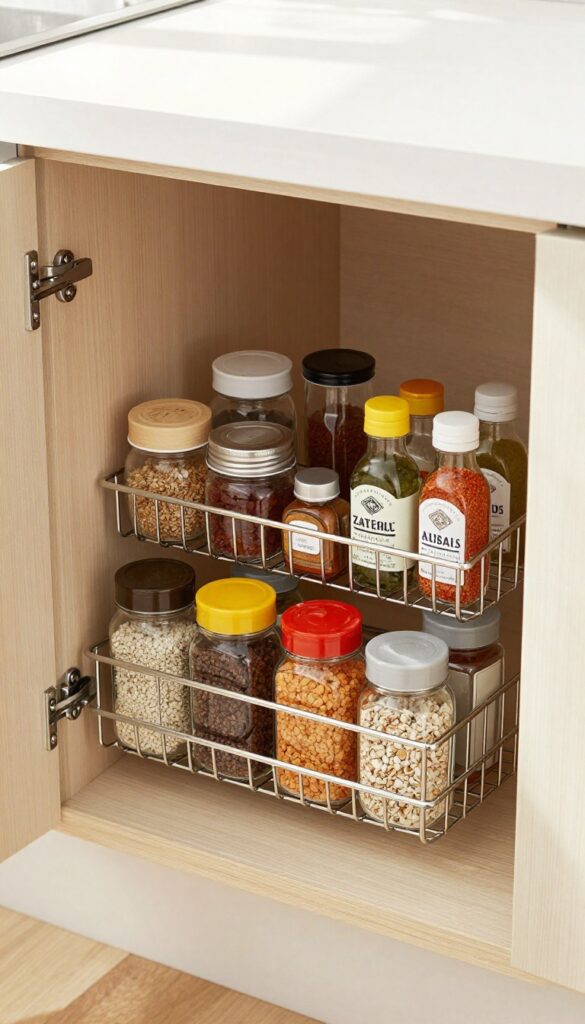
The inside of your cabinet doors is prime real estate that's often ignored. A slim rack mounted there can hold spices, oils, or cleaning supplies, instantly freeing up shelf space for larger items. It's a quick win that costs little and pays off every time you cook.
Door-mounted racks come in various styles—wire baskets, adhesive shelves, or over-the-door organizers. Choose one that fits your cabinet depth and door clearance. Measure before buying to ensure the door closes properly.
Install with screws for heavy items or strong adhesive strips for lighter loads. This trick works best on upper cabinets where you access spices frequently.
What To Store On Door Racks
Stick with lightweight, frequently used items. Spice jars, small oil bottles, vinegar, soy sauce, or even measuring spoons are ideal. Avoid heavy condiments like large ketchup bottles or canned goods—they can strain the door hinges and make closing difficult.
Installation Tips For Different Cabinet Types
For standard wood cabinets, screw-mounted racks are most secure. If you rent or have metal cabinets, use heavy-duty adhesive strips or tension-mounted racks. Check that the rack doesn't interfere with shelves inside.
Test the door swing to ensure nothing bumps into adjacent cabinets or walls.
Maximizing Visibility And Access
Group spices alphabetically or by cuisine type so you can grab what you need quickly. Use tiered racks or small bins to prevent jars from sliding. Label the front of each shelf or the rack itself for easy identification.
This turns a chaotic jumble into a functional spice library.
4. Stack Shelf Risers for Vertical Storage
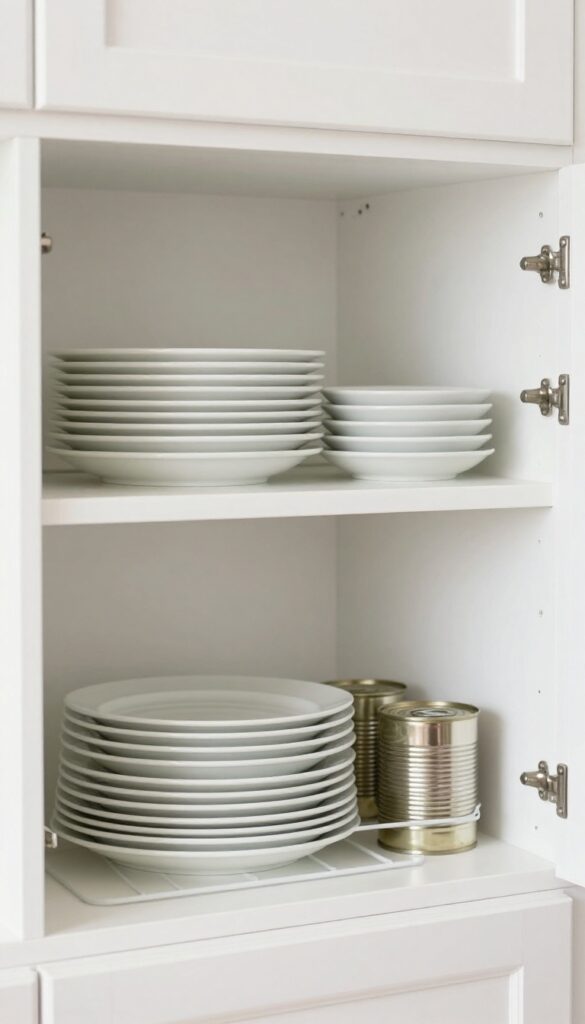
Shelf risers are one of those cheap fixes that make you wonder why you didn't try them sooner. They instantly turn one shelf into two, giving you double the vertical space without any tools or drilling. Plates, bowls, canned goods, even spice jars—everything becomes easier to see and grab.
No more stacking bowls five high and praying the tower doesn't topple when you reach for one at the bottom.
Shelf risers come in different heights and materials, so you can match them to what you store. Wire risers are great for letting air circulate around plates and bowls, while solid acrylic or bamboo ones work well for cans and dry goods. The key is to measure your cabinet height first.
You need enough clearance above the riser for the tallest item you plan to put on top. A riser that's too tall will just create another problem. Stick to risers that leave at least an inch of space above the top items so you can slide them out without catching.
Group Like Items Together
Don't just throw a riser in and call it done. Group similar items on each level. Put dinner plates on the bottom and salad plates on top.
Or line up canned tomatoes on the lower level and smaller spice cans above. When everything has a designated spot, you'll grab what you need without shuffling through a jumble.
Use Adjustable Risers For Flexibility
Not all risers are one-size-fits-all. Look for expandable or tiered risers that let you change the height or width. That way, if your storage needs shift—say you stock up on soup in winter and switch to pasta in summer—you can adjust without buying new organizers.
A little flexibility goes a long way in a busy kitchen.
Avoid Overloading The Top Tier
It's tempting to cram as much as possible onto the top level, but heavy items can make the riser unstable. Stick to lighter things like small bowls, mugs, or snack packs up top. Reserve the bottom level for heavier dishes and cans.
This keeps the riser steady and prevents accidents when you're reaching for something.
5. Group Like Items in Clear Bins
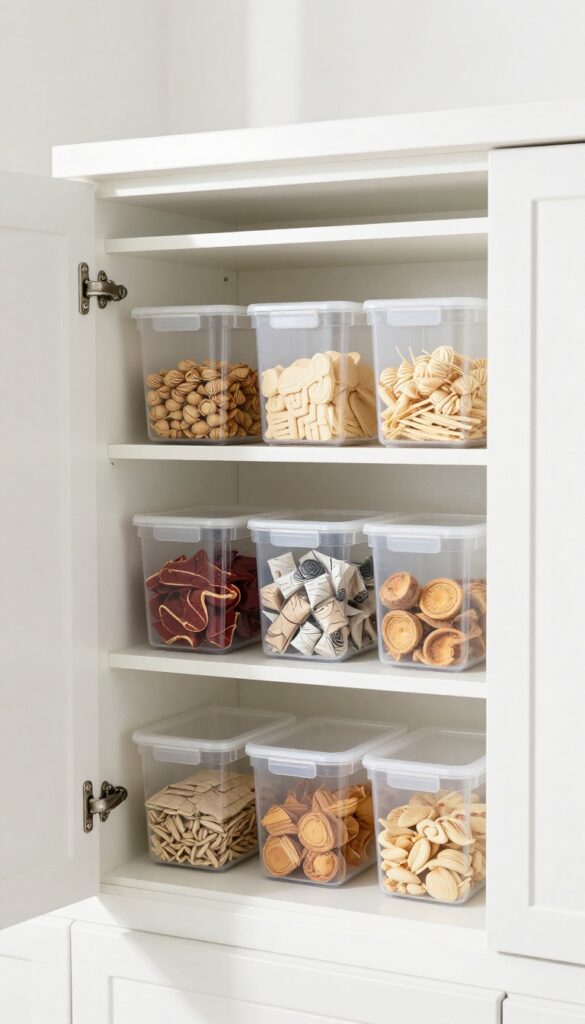
Clear bins are a game-changer for keeping similar items together and visible. Instead of digging through a messy shelf, you can grab a whole bin of snacks or baking supplies in one go. They also prevent small packages from getting lost in the back of the cabinet, which means less food waste and fewer duplicate purchases.
Start by sorting your cupboard contents into categories: snacks, baking ingredients, tea and coffee, canned goods, or spices. Then choose clear bins that fit your shelf dimensions. Stackable bins maximize vertical space, while shallow bins work well for single-layer storage.
Label each bin on the front with a simple tag or label maker so everyone in the household knows where things belong.
Choose The Right Bin Size
Measure your shelf depth and height before buying bins. For deep cabinets, use bins that are at least half the shelf depth so you can pull them out easily. For tall items like cereal boxes, opt for taller bins.
Avoid oversized bins that waste space or make it hard to see everything inside.
Labeling Makes It Stick
Labels are essential for maintaining the system. Use a label maker for a clean look, or write on chalkboard labels for a rustic touch. Include the category name and, if helpful, an expiration date reminder.
This way, everyone in the household knows where to put things back.
Rotate Stock With First In, First Out
When you restock a bin, place new items at the back and older ones in front. This ensures you use up older products before they expire. For snacks, this means less stale crackers; for baking supplies, no surprise expired baking soda.
6. Use Tension Rods for Cutting Boards and Baking Sheets
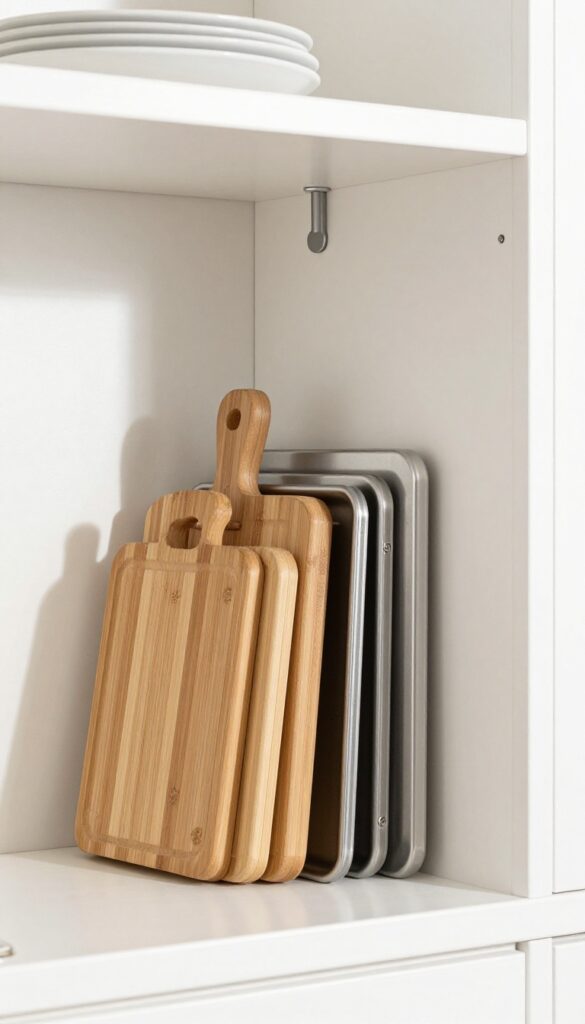
Cutting boards and baking sheets are some of the most awkward items to store. They slide around, clatter when you open the door, and often end up stacked in a messy pile. A simple tension rod can fix that in seconds.
Installing a tension rod vertically in a cabinet creates a dedicated slot for each board or sheet. This keeps them upright, separated, and easy to grab without digging through a stack. It works especially well in narrow cabinets next to the stove or sink.
Where To Place The Rod
Measure the height of your cabinet and choose a tension rod that fits snugly. Install it vertically, about 2-3 inches from the back wall. This leaves room for the boards to slide in and out without hitting the cabinet door.
How To Organize Multiple Sizes
If you have different sizes, group them by height. Place the tallest boards closest to the rod and shorter ones in front. You can also use two rods side by side for more separation.
Bonus Tip: Lid Storage
Tension rods aren't just for boards. Use a horizontal rod inside a deep cabinet to hold pot lids upright. They stay organized and you can see every size at a glance.
7. Install Under-Shelf Baskets for Extra Storage
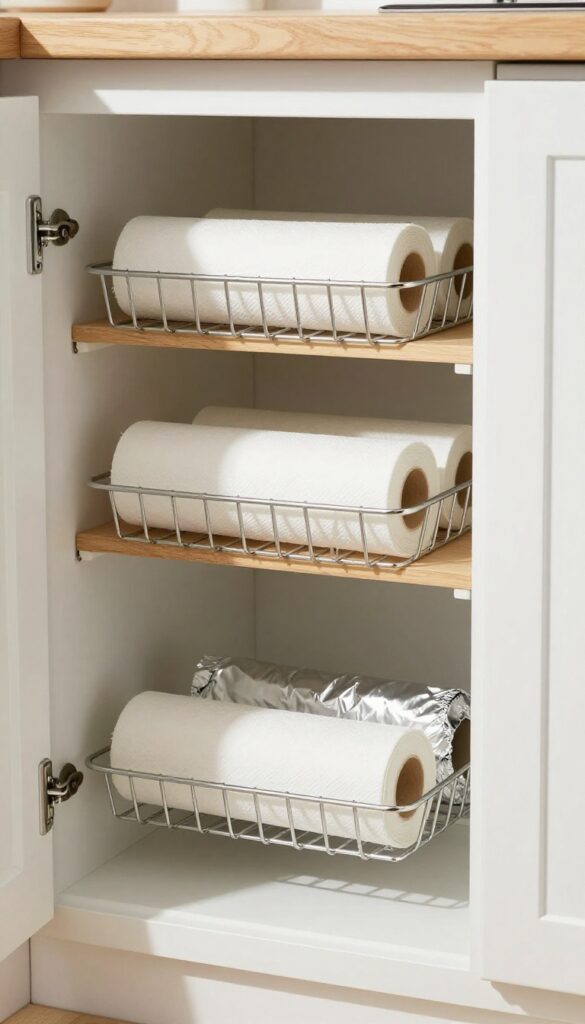
That gap between the top of your items and the next shelf is wasted real estate. Under-shelf baskets clip right onto the shelf above, creating instant storage for lightweight items like paper towels, sandwich bags, or foil. They're a no-drill, no-commitment solution that works in any cabinet.
Under-shelf baskets are simple wire baskets that hook over the edge of a shelf and hang beneath it. They're perfect for storing items you reach for often but don't want cluttering your counters. Most models slide in and out for easy access, and they come in various sizes to fit different shelf depths.
Installation takes seconds—just clip them on and load them up.
What To Store In Under-shelf Baskets
Think lightweight and frequently used. Paper towels, plastic wrap, aluminum foil, and parchment paper rolls fit perfectly. You can also store small containers of spices, tea bags, or snack packs.
Avoid heavy items like canned goods or glass jars—the baskets are designed for lighter loads and could warp or detach.
Choosing The Right Size And Style
Measure the depth of your shelf before buying. Standard baskets range from 10 to 18 inches wide. Look for ones with rubber-coated hooks to prevent scratching your shelves.
Some baskets come with dividers or adjustable widths, which add versatility. Wire mesh allows you to see contents at a glance, while solid baskets hide clutter better.
Best Cabinet Locations For These Baskets
Upper cabinets are ideal because you can easily reach up and grab what you need. Place them under shelves where you store dishes or dry goods—the basket keeps odds and ends from getting lost in the back. Avoid using them above heavy cookware or appliances, as the extra weight could cause the basket to sag.
8. Use Drawer Dividers for Utensils and Gadgets
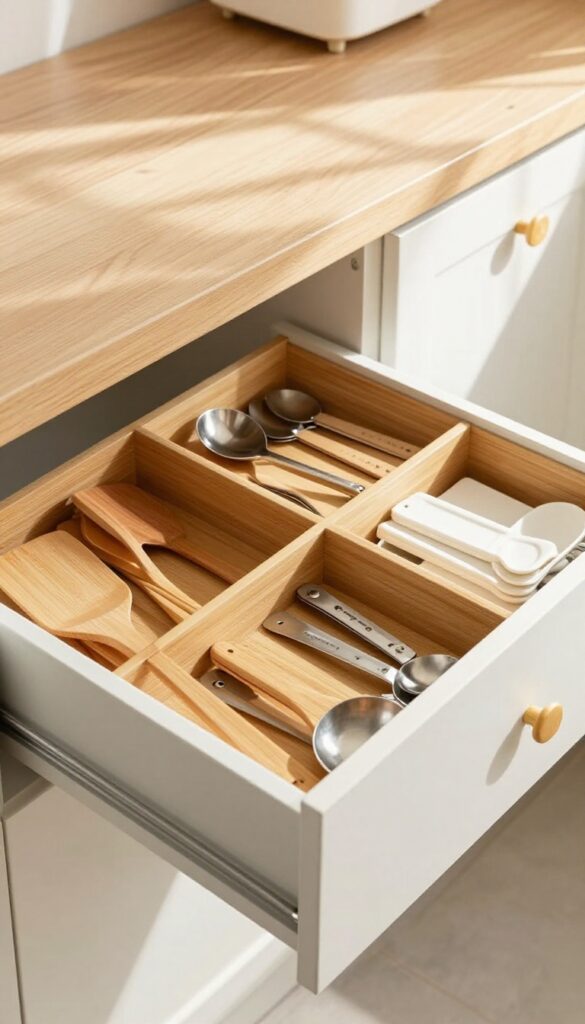
Drawer dividers are the unsung heroes of kitchen organization. Instead of digging through a tangled mess of spatulas and whisks, you can give every tool its own home. This simple upgrade transforms a chaotic drawer into a tidy, functional space where you can grab what you need instantly.
Drawer dividers keep utensils, measuring spoons, and small gadgets organized. No more digging through a jumble—each item has its own spot. This system works best for deep drawers where you can separate categories like cooking utensils, baking tools, and measuring cups.
Customize Your Layout
Measure your drawer and buy adjustable dividers that fit snugly. Arrange them to create compartments for different tool sizes—long utensils in one section, small gadgets in another. You can also use bamboo or plastic expandable dividers for a flexible setup.
Group By Function
Keep similar items together: all spatulas in one slot, tongs in another, and measuring spoons in a small compartment. This way, you always know where to find what you need. For extra convenience, store frequently used tools toward the front.
Maintain The System
Once everything has a home, it's easier to keep it that way. A quick tidy-up after each use prevents clutter from creeping back. If you add new gadgets, adjust the dividers to accommodate them without disrupting the whole system.
9. Store Lids Separately with a Lid Organizer
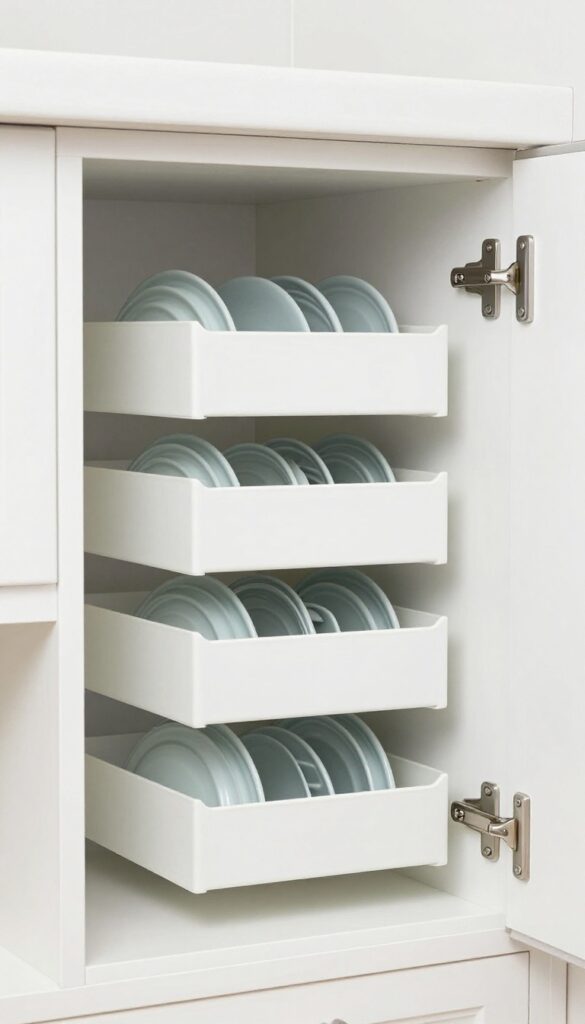
Lids are the main culprit of cabinet chaos. A dedicated lid organizer—vertical or horizontal—keeps them paired with their containers or sorted by size. No more avalanches when you grab a container.
A lid organizer is a simple, affordable solution that transforms a messy cabinet into a tidy system. Whether you choose a vertical rack that holds lids like files or a horizontal divider that separates them by size, the key is to store lids separately from their containers. This prevents the frustrating game of matching lids to containers every time you open the cabinet.
Place the organizer near the containers, or stack containers inside one another and keep lids in the organizer for quick access.
Vertical Lid Racks
Vertical racks are great for deep cabinets. They hold lids upright, so you can flip through them like records. Install one on the inside of a cabinet door or on a shelf.
They work best for metal or plastic lids that are relatively flat.
Horizontal Lid Dividers
If you have shallow cabinets, horizontal dividers are a better fit. These are simple wire or plastic inserts that create slots for lids of different sizes. They keep lids from sliding around and make it easy to grab the right one.
Stacking Lid Organizers
For small spaces, consider a stacking lid organizer that sits on a shelf. These have tiers or slots that hold multiple lids in a compact footprint. They're perfect for round lids from pots and pans.
10. Use Tiered Spice Racks for Counter or Cabinet
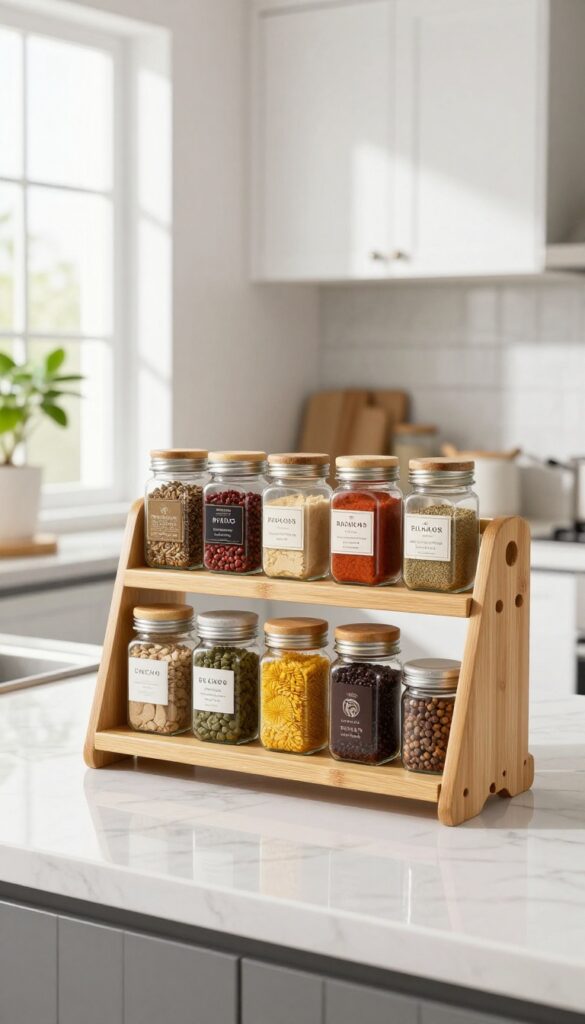
Spices are small but mighty, and they tend to multiply faster than you realize. Before long, you're digging through a jumbled drawer or cabinet, knocking over bottles just to find the cumin. A tiered rack solves that by lifting the back row so every label is visible at a glance.
Whether you stash it inside a cabinet or keep it on the counter, this simple change cuts down on duplicate purchases and speeds up your cooking routine.
Tiered racks come in various sizes to fit narrow cabinets or deep drawers. They work best for standard spice jars, but you can also use them for small oil bottles or seasoning packets. The key is to group spices by cuisine or frequency of use—baking spices together, for example, or your go-to taco seasoning front and center.
Once you see everything at once, you'll wonder why you didn't do this sooner.
Pick The Right Rack For Your Space
Measure your cabinet depth and height before buying. A single-tier rack works for shallow cabinets, while a double-tier is better for deeper shelves. For counters, choose a rack with a small footprint and non-slip feet.
If you have a pull-out drawer, look for a rack that fits the drawer width exactly.
Group Spices By How You Cook
Arrange spices by cuisine—Italian herbs together, Indian spices in another row. Or sort by frequency: put everyday spices like salt, pepper, garlic powder on the bottom tier and specialty blends on top. This way you grab what you need without shuffling through everything.
Label The Top Or Side For Quick Id
Even with tiered visibility, similar jars can look alike. Use small round labels on the lids or a strip of washi tape on the rim. Write the spice name in permanent marker.
This helps when you're in a hurry and saves you from sniffing every bottle.
11. Add Pegboard Inside Cabinet Doors for Small Items
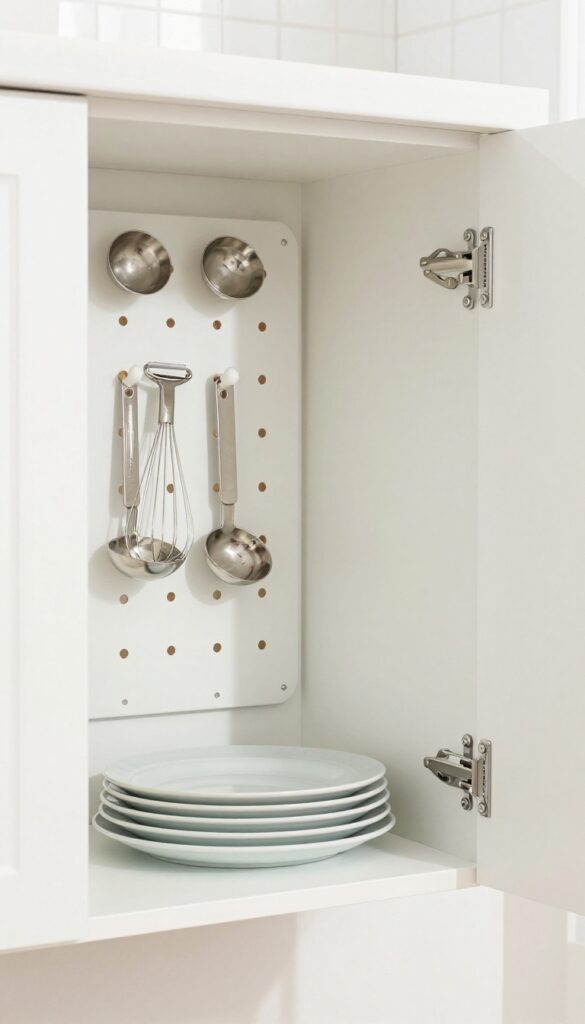
The inside of a cabinet door is often overlooked, but it's prime real estate for small, frequently used tools. A pegboard mounted there turns that dead space into a grab-and-go organizer for measuring cups, whisks, or pot lids.
Pegboards are cheap, easy to install, and endlessly customizable. You can cut one to fit any door size, paint it to match your kitchen, and rearrange hooks as your needs change. This solution works especially well for deep cabinets where small items get lost in the back.
What To Hang
Stick with lightweight items that you use often: measuring spoons, small tongs, vegetable peelers, or a few pot lids. Avoid heavy cast-iron pans or bulky appliances that could strain the door hinges.
Installation Tips
Use a thin pegboard (¼ inch or less) to avoid interfering with the door closing. Attach it with small screws or strong adhesive strips if you can't drill. Leave a tiny gap between the pegboard and the door so hooks slide in easily.
Alternative: Magnetic Strips
If you don't want to drill, a magnetic strip on the inside of a metal cabinet door works similarly. It holds metal utensils, spice tins, or knife sheaths without any permanent changes.
12. Use Stackable Can Racks for Canned Goods
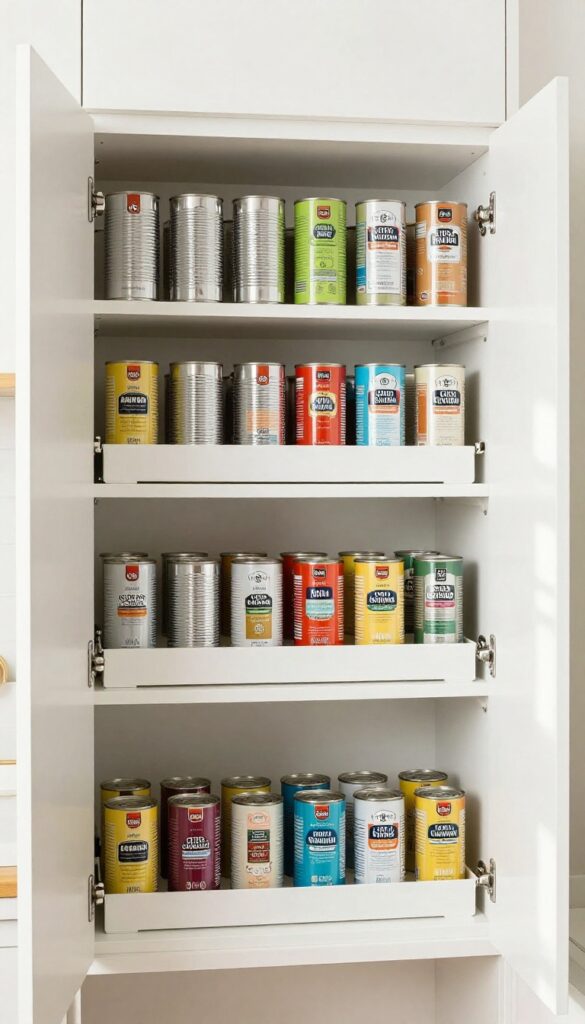
Canned goods are a pantry staple, but they tend to become a jumbled mess. Stackable can racks solve that by keeping each can visible and accessible. They slide out so you can grab what you need without disturbing the rest.
These racks are designed to hold cans in neat rows, and because they stack, you can double your storage without losing access. No more cans rolling to the back or buying duplicates because you forgot what you had. They work in deep cabinets, narrow pantries, or even under the sink.
Sort By Type Or Frequency
Group similar cans together—tomatoes on one rack, beans on another. Or organize by how often you use them: frequently used items on the top rack, backups below. This system makes meal prep faster and inventory checks effortless.
Measure Your Cabinet First
Before buying, measure the height, width, and depth of your cabinet space. Stackable racks come in various sizes, and some are adjustable. Make sure you leave enough clearance to slide the racks out easily.
A tight fit defeats the purpose.
Consider Pull-out Vs. Fixed
Some can racks are fixed and stack directly on top of each other, while others have a pull-out drawer mechanism. Pull-out versions cost more but offer better access, especially for lower cabinets. Fixed stacks work well for high shelves where you can see everything.
13. Label Everything for Long-Term Order
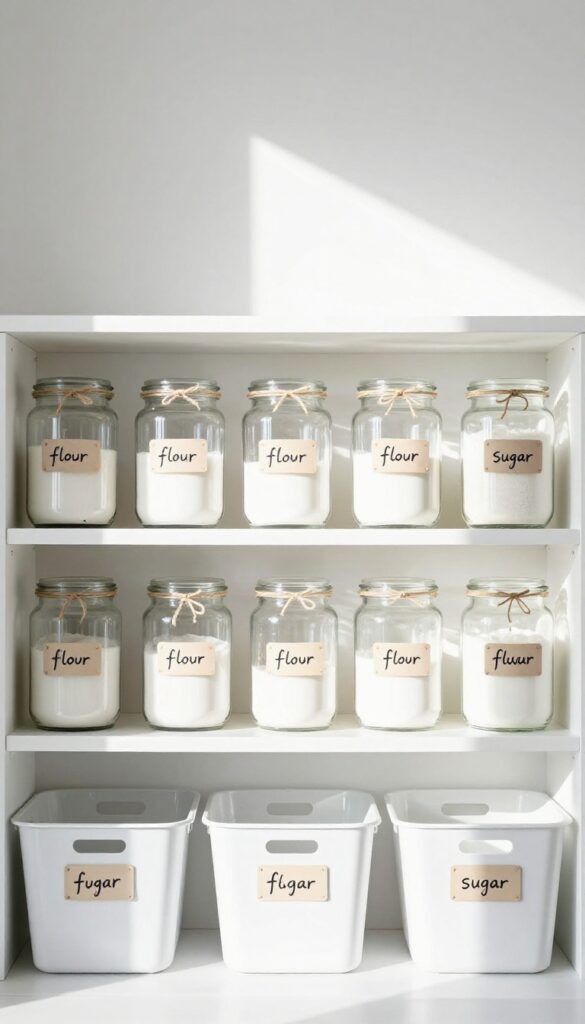
Labels are the final touch that keeps your system intact. Use a label maker or chalk labels on bins, shelves, and jars so everyone in the household knows where things go. This simple step prevents the slow slide back into chaos.
Labels are the secret to maintaining an organized kitchen. Without them, even the best system can fall apart when someone else puts things back in the wrong spot. A label makes it obvious where each item belongs, so everyone can help keep order.
Choose Your Label Style
You have options: a classic label maker gives crisp, permanent text, while chalk labels let you change your mind as your pantry evolves. Chalk labels work great on bins and jars you might repurpose later. For a cohesive look, stick to one style throughout your kitchen.
What To Label
Focus on areas that get messy fast: pantry bins, spice jars, freezer containers, and shelf edges. Label the front of bins so you can see the contents at a glance. For shelves, use small labels on the edge to mark zones (e. g. , "pasta" or "baking supplies").
Make It Stick
Use labels that adhere well to your surfaces. For glass jars, a label maker with strong adhesive or chalk labels work well. For plastic bins, test a small area first.
Write clearly and consistently—same font, same size—for a clean, professional look.
FAQ
How do I organize deep kitchen cabinets without spending money?
Use items you already have, like shoeboxes or cereal containers, as makeshift bins. Group similar items together and store less-used items in the back. You can also repurpose tension rods or old magazine holders for vertical storage.
What is the best way to organize upper cabinets?
Store everyday items like glasses and plates on lower shelves within easy reach. Use risers to double shelf space, and keep lightweight items like mugs or small bowls on higher shelves. Avoid stacking too high to prevent toppling.
How do I organize a corner cabinet with a lazy Susan?
Place heavy items like pots and pans on the lower tier and lighter items like spices or canned goods on the upper tier. Group similar items together and avoid overfilling so the lazy Susan rotates smoothly.
What are the best containers for organizing kitchen cabinets?
Clear, rectangular bins are best because they maximize space and let you see contents. Look for stackable options with lids for dry goods. Avoid round containers that waste corner space.
How do I keep my kitchen cabinets organized long-term?
Adopt a 'one in, one out' rule for new items. Do a quick tidy every week, and re-evaluate your system every few months. Labeling shelves and bins helps everyone maintain the system.
Conclusion
A clutter-free cupboard changes how your kitchen feels and functions. Start with the idea that solves your biggest headache—whether it's stacking pans, sorting spices, or reaching that back corner. Small tweaks like risers, bins, or door racks add up fast.
Before long, you'll open your cabinets and find exactly what you need without digging. That calm, organized space is yours with just a few smart swaps.