13 Kitchen Junk Drawer Ideas to Sort the Little Stuff
You pull open that drawer and brace yourself for the avalanche of rubber bands, takeout menus, and mystery keys. The kitchen junk drawer is a universal problem—a catch-all for everything that doesn't have a home. But it doesn't have to stay that way.
With a little planning and the right tools, you can turn that chaos into a neatly organized space. These 13 ideas target the specific pain points of a junk drawer, from tangled cords to overflowing pens.
Each idea is practical, easy to implement, and designed to keep your drawer tidy long-term. No need to buy expensive organizers—many solutions use items you already have at home.
1. Use Adjustable Drawer Dividers to Create Zones
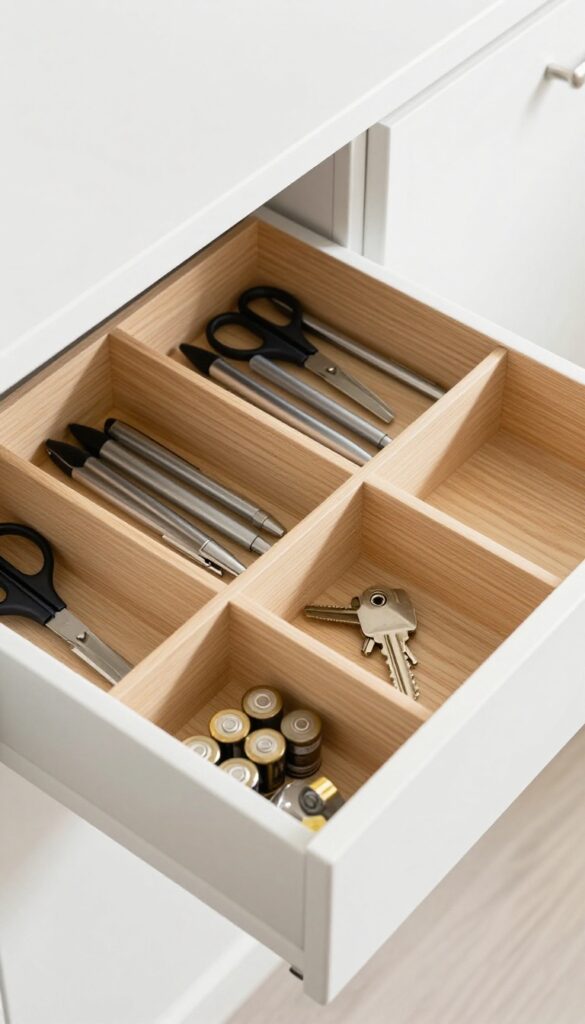
One of the simplest ways to tame a junk drawer is to give every item a designated spot. Adjustable dividers let you carve out custom compartments that keep like items together and prevent everything from sliding into a tangled heap. You can find these dividers at most home stores, or even repurpose small boxes and containers you already have.
Start by emptying the drawer completely. Sort everything into piles: pens and pencils, batteries, takeout menus, keys, and random hardware. Measure the inside of your drawer and choose dividers that fit snugly.
Place the dividers to create zones for each category. This way, when you reach for a pen, you don't have to dig through a pile of rubber bands.
Measure First, Buy Later
Before you buy anything, measure the width, depth, and height of your drawer. Dividers come in various sizes, and some are expandable. Knowing your dimensions ensures a perfect fit and prevents wasted space.
Group By Frequency Of Use
Place the items you reach for most often—like pens and scissors—toward the front. Things you rarely need, such as spare keys or old takeout menus, can go in the back. This simple layout makes the drawer more functional.
Use Vertical Dividers For Deep Drawers
If your drawer is deep, consider vertical dividers that create tall slots. They’re perfect for storing envelopes, notepads, or even small boxes upright, maximizing every inch of space.
2. Repurpose Ice Cube Trays for Tiny Items
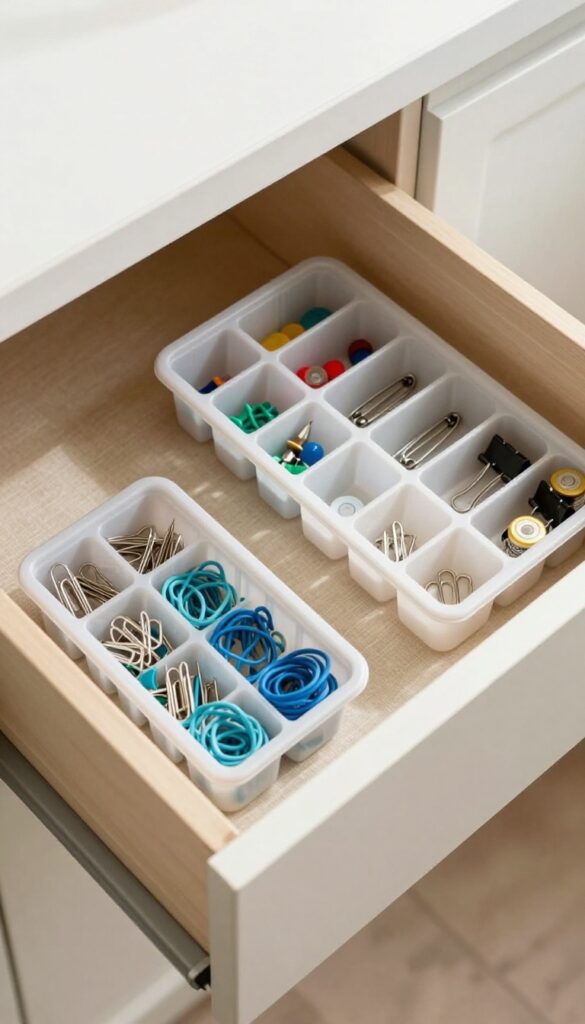
Those old ice cube trays sitting in the back of your cabinet can be the unsung heroes of junk drawer organization. Instead of tossing them, put them to work sorting all the tiny bits that usually end up in a tangled mess. Each cube becomes a mini bin that keeps paper clips, pushpins, and other small objects separated and easy to grab.
Ice cube trays are perfect for compartmentalizing the smallest items in your junk drawer. They’re cheap (often free if you have extras), stackable, and fit neatly into most drawer sizes. Plus, the individual compartments make it simple to see what you have without digging through a pile.
To get started, clean the trays thoroughly and let them dry. Then, sort your tiny items by type—one cube for paper clips, another for rubber bands, and so on. If you have multiple trays, you can group similar categories together, like office supplies in one tray and hardware bits in another.
One tip: use different colored trays or label the bottom of each cube with a permanent marker for quick identification. You can also nest trays inside a shallow bin to keep them from sliding around.
Choosing The Right Trays
Standard ice cube trays with 14 or 16 compartments work best for most junk drawer items. Silicone trays are flexible and make it easy to pop out contents, while rigid plastic trays hold their shape better. Avoid trays with very small or oddly shaped cubes that won’t accommodate larger items like binder clips.
What To Store In Each Cube
Think about the categories that clutter your drawer: paper clips, pushpins, rubber bands, safety pins, button batteries, earring backs, thumbtacks, and small screws. Dedicate one cube per category. For mixed items, use a tray for “office” and another for “hardware” to keep things logical.
Stacking And Placement Tips
If your drawer is deep enough, stack two trays on top of each other with a thin piece of cardboard or a silicone mat in between to prevent items from shifting. Place the most-used tray on top. You can also slide trays into a shallow drawer organizer or cut a piece of non-slip liner to hold them in place.
3. Add a Magnetic Strip for Metal Tools
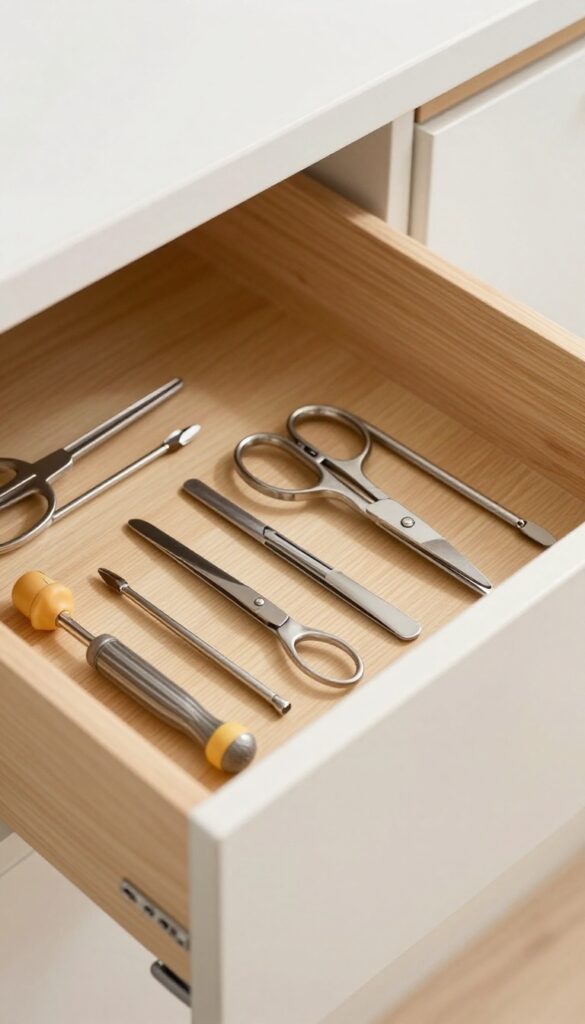
If you're constantly digging through the drawer for scissors, tweezers, or that one screwdriver, a magnetic strip can be a game-changer. It mounts inside the drawer lid, keeping metal items visible and within easy reach. No more rummaging—just grab what you need and close the drawer.
A magnetic strip turns the underside of your drawer lid into prime real estate. It's perfect for small metal tools that tend to get lost in the shuffle. Installation is simple: peel off the adhesive backing and press it onto the lid.
Just make sure the surface is clean and dry first. The strip holds items securely, even when you open and close the drawer repeatedly.
What To Store
Scissors, tweezers, small screwdrivers, bottle openers, and even metal spice jars or measuring spoons. Basically anything ferrous that you use regularly. Avoid storing knives or other sharp objects unless the strip is out of reach of children.
Placement Tips
Mount the strip near the front of the lid so items are easy to grab. If your drawer is deep, you can add multiple strips side by side. For heavy items, choose a strip with strong neodymium magnets rather than a flexible magnetic tape.
Safety Considerations
If you have young kids, make sure the strip is installed securely and that sharp or dangerous items are stored elsewhere. You can also cover the magnets with a thin layer of tape to reduce their pull if needed.
4. Install a Small Binder Clip to Hold Charging Cords
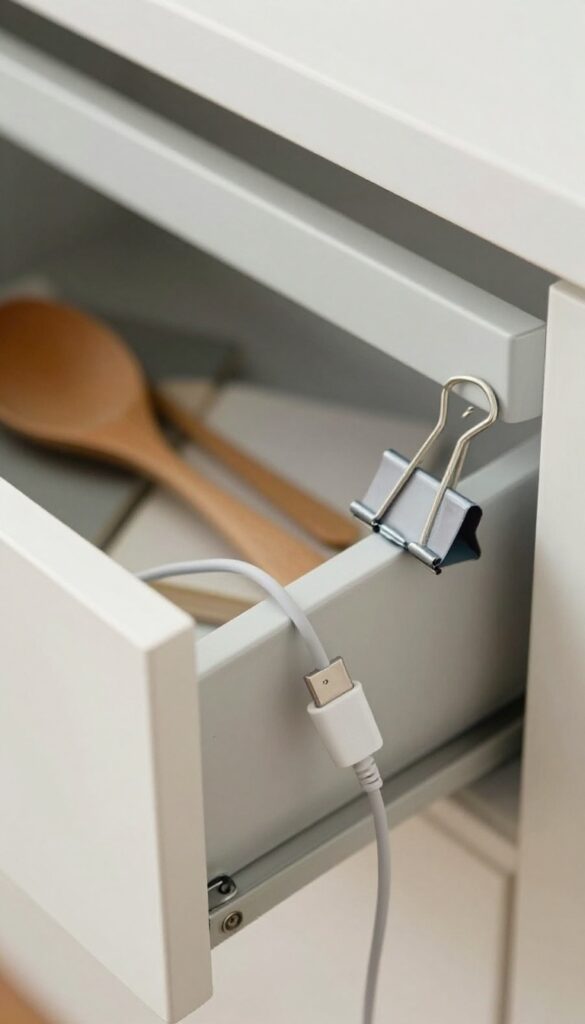
Charging cords have a way of turning into a tangled mess inside a junk drawer. One simple solution is a binder clip attached to the drawer's side. It keeps a single cord neatly in place and easy to grab.
Why It Works
A binder clip creates a secure grip without damaging the cord. The metal arms hold the cable firmly, while the clip's body attaches to the drawer edge. This keeps the cord from sliding into the abyss of other items.
How To Set It Up
Choose a medium or large binder clip. Slide the clip onto the side of the drawer so the metal arms face inward. Then, thread the charging cord through the arms and let the plug rest against the clip.
The cord stays put and won't tangle with other drawer contents.
Bonus Tips
Use a different color binder clip for each cord type. Or attach multiple clips along the drawer side for several cords. This trick works best for cords you use daily, like a phone charger or earbuds.
5. Use a Pill Organizer for Batteries
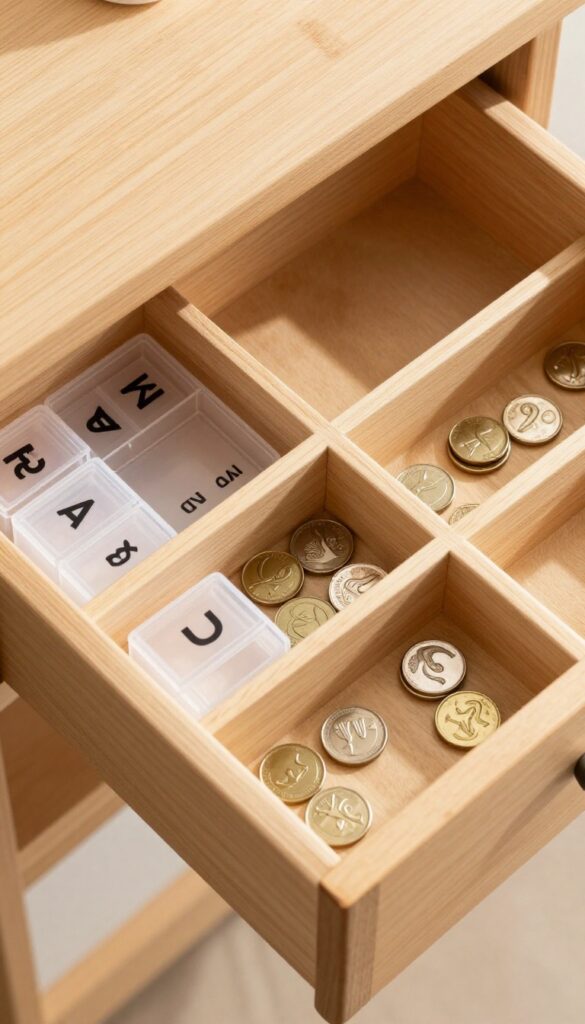
Batteries are one of those items that always end up loose in the junk drawer, rolling around and getting mixed up. A weekly pill organizer is the perfect solution—it has small compartments that keep each battery size separate and easy to grab.
Pill organizers are cheap, durable, and come in various sizes. They fit neatly inside a drawer and let you see at a glance what you have. Plus, the clear lids make it easy to spot dead batteries if you label the compartments.
Sort By Size And Type
Use each compartment for a different battery type: AA, AAA, 9V, coin cells, etc. This way, you never grab the wrong size in the dark. You can also dedicate one slot for rechargeable batteries and another for disposables.
Test Before Storing
Before placing batteries in the organizer, test them with a battery tester or by trying them in a device. Dead batteries should be recycled, not stored. This keeps your organizer full of only usable batteries.
Label The Compartments
Use a permanent marker or small stickers to label each compartment with the battery size. This is especially helpful if you have multiple family members who grab batteries without checking. Labels also remind you to put batteries back in the right spot.
6. Create a Takeout Menu Binder
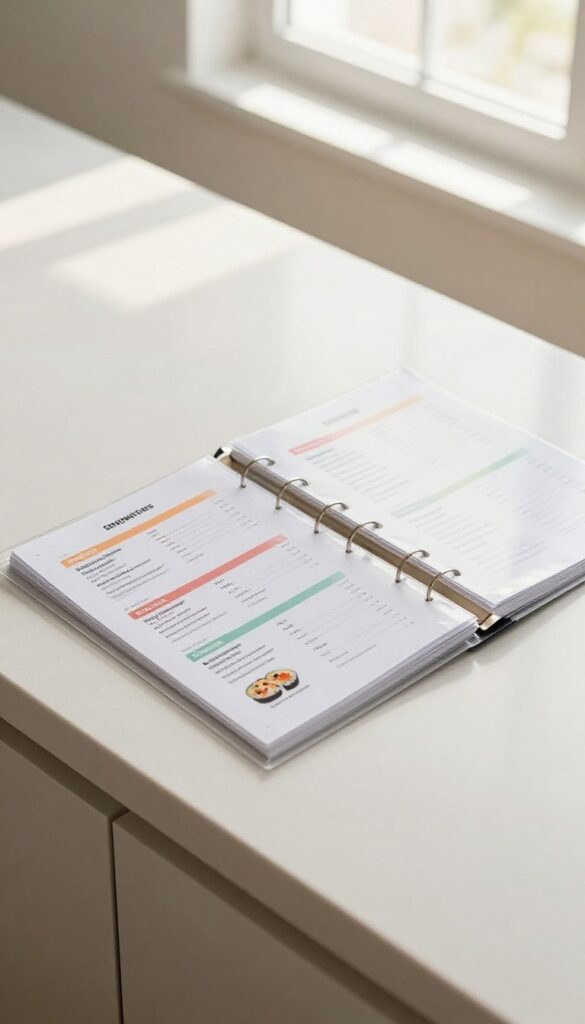
Takeout menus have a way of piling up in the junk drawer, turning into a crumpled mess. Instead of digging through a stack every time you want Thai or pizza, give those menus a proper home. A simple binder system keeps them neat, accessible, and easy to flip through.
Why A Binder Works Better Than A Pile
A pile of menus gets wrinkled, torn, and hard to sort through. A binder keeps each menu flat and protected in sheet protectors. You can group them by cuisine type—Chinese, Italian, Mexican—with labeled dividers.
That way, you find what you want in seconds.
How To Set It Up
Grab a small ½-inch binder and a pack of clear sheet protectors. Hole-punch each menu, or slip it into a protector without punching. Use tabbed dividers to separate categories like Pizza, Sushi, Sandwiches, and Dessert.
If you have too many menus, keep only your favorites and recycle the rest.
Digital Option For Minimalists
Don't want a physical binder? Scan each menu with a phone scanner app and save the PDFs into a folder on your phone. Label each file by restaurant name and cuisine.
You can even create a shortcut on your home screen for quick access. No more digging through the drawer.
7. Store Pens and Markers in a Vertical Cup
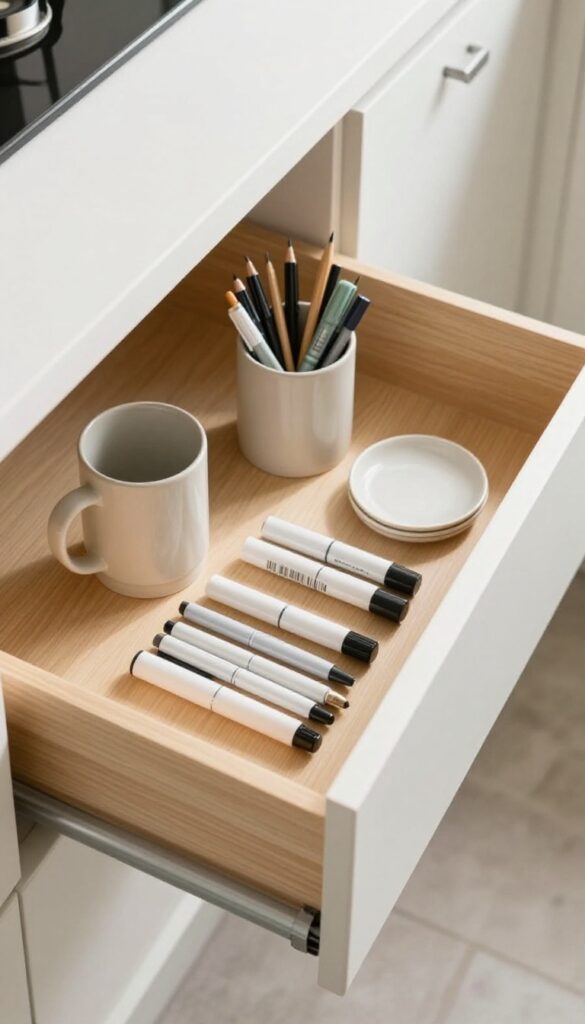
Pens, markers, and pencils are some of the worst offenders in a junk drawer. They roll around, get buried, and you end up digging through a pile just to find one that works. A simple cup or jar keeps them upright and instantly accessible.
Choose The Right Container
Any short, stable cup or jar works—think a ceramic mug, a mason jar, or even a repurposed can. Make sure it's wide enough to hold your collection without tipping over. A container with a weighted bottom is ideal.
Sort By Type Or Color
If you have a lot of writing tools, consider using two containers: one for pens and one for markers. Or sort by color for a visually pleasing effect. You can also group them by function—black pens in one, colored markers in another.
Keep It Accessible
Place the cup at the front of the drawer so you can grab a pen without moving other items. If you have a deep drawer, consider a small tray or a drawer divider to keep the cup from sliding around.
8. Use a Clear Plastic Box for First-Aid Supplies
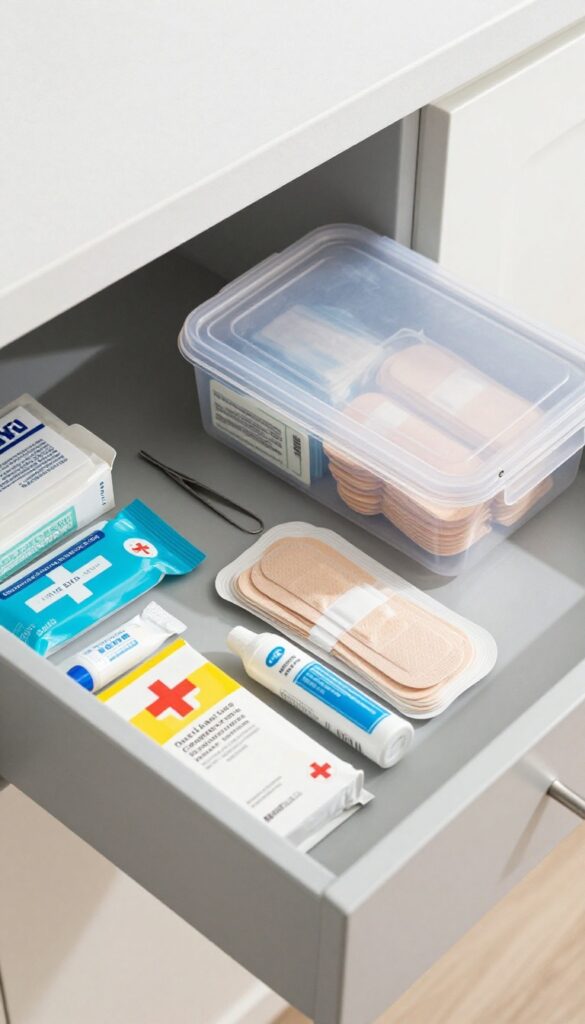
A junk drawer often becomes the go-to spot for band-aids and pain relievers, but finding them in a mess can be frustrating. A clear plastic box changes that. It keeps first-aid items contained and visible, so you can grab what you need without rummaging.
A small clear plastic container with a snap-on lid works perfectly for first-aid essentials. Choose one that fits easily in your drawer and is transparent enough to see the contents at a glance. This simple solution prevents band-aids from scattering and keeps pain relievers from getting lost among other clutter.
What To Include
Stock your first-aid box with the basics: assorted band-aids, antiseptic wipes, antibiotic ointment, pain relievers like ibuprofen or acetaminophen, and a pair of tweezers. Add any allergy meds or personal items your family uses often. Keep it minimal to avoid overcrowding.
Where To Place It
Position the clear box near the front of the drawer for easy access. If your drawer has dividers, dedicate a corner section to the first-aid box. This way, you won't have to dig past other items to reach it during an emergency.
Maintenance Tips
Check the box every few months to restock used items and discard expired medications. Wipe the container clean if anything spills. Keeping it organized means it stays functional and ready when you need it.
9. Add a Small Trash Bin for Wrappers and Receipts
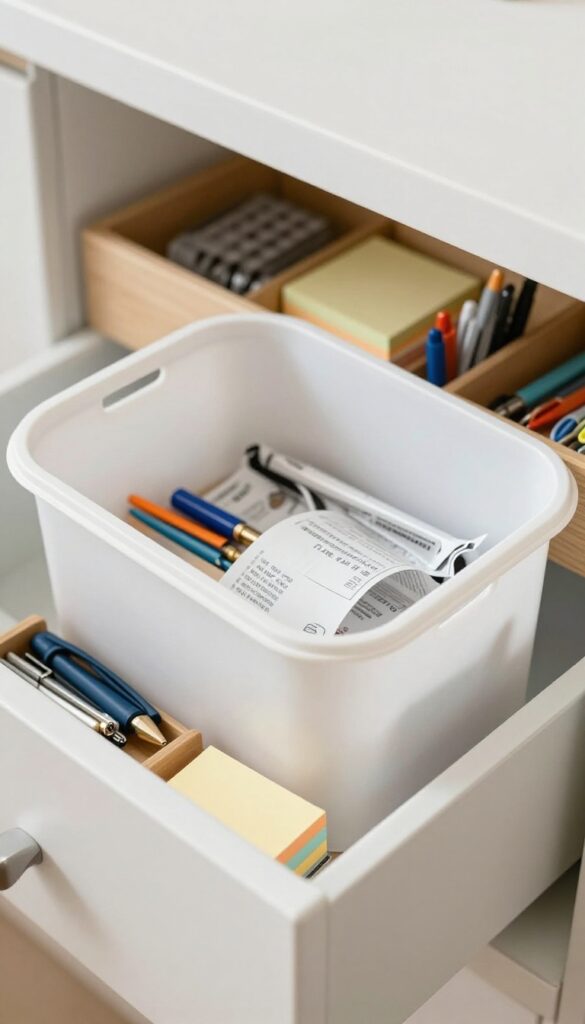
A tiny trash can or a clip-on bag inside the drawer catches the inevitable junk before it accumulates. Empty it weekly.
Even the most organized junk drawer will attract stray wrappers, receipts, and other ephemera. Instead of letting them pile up, give them a designated spot that's easy to empty. A small bin or bag keeps the rest of your drawer clean and makes tidying up a quick habit.
Choose The Right Size
Look for a mini trash can that fits snugly in a corner of your drawer, leaving room for other organizers. A 4×6 inch bin works well for most standard drawers. Alternatively, use a small silicone cup or a repurposed butter container.
Clip-on Bag Hack
If you don't want a permanent bin, attach a small bag to the side of the drawer with a binder clip or adhesive hook. Use a paper lunch bag or a produce bag. Replace the bag when it's full—no need to wash anything.
Empty On A Schedule
Set a reminder to empty the bin every week, perhaps on trash day. This prevents overflow and keeps the drawer from becoming a landfill. If you notice receipts piling up, shred them before tossing to avoid clutter.
10. Use a Spice Rack for Small Bottles and Tubes
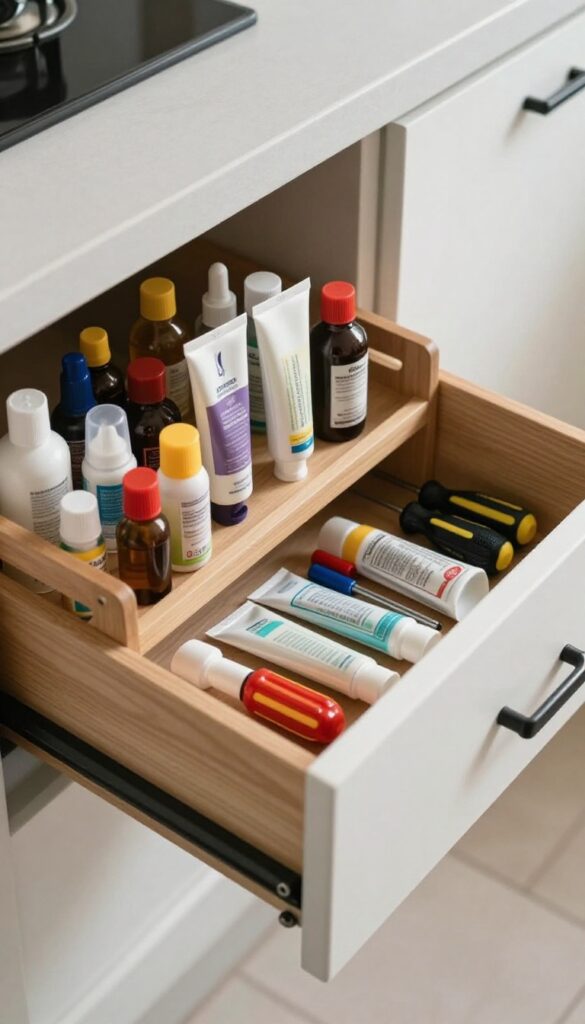
Small bottles and tubes are notorious for toppling over in a junk drawer. A simple spice rack or tiered shelf keeps them upright and easy to grab. No more digging through a pile of leaning containers.
Choose The Right Rack
Look for a small spice rack that fits your drawer depth. A two-tier design works well for taller items like glue bottles on the back row and shorter tubes like hand cream in front. Adjustable or expandable racks offer flexibility.
Group By Use
Keep similar items together: adhesives in one section, hand lotions and lip balms in another, and small tools like mini screwdrivers in the front. This makes it easy to find what you need without rummaging.
Secure The Rack
If the rack slides around, attach a small strip of adhesive velcro or non-slip liner underneath. This keeps it in place when you open and close the drawer.
11. Label Everything with a Label Maker
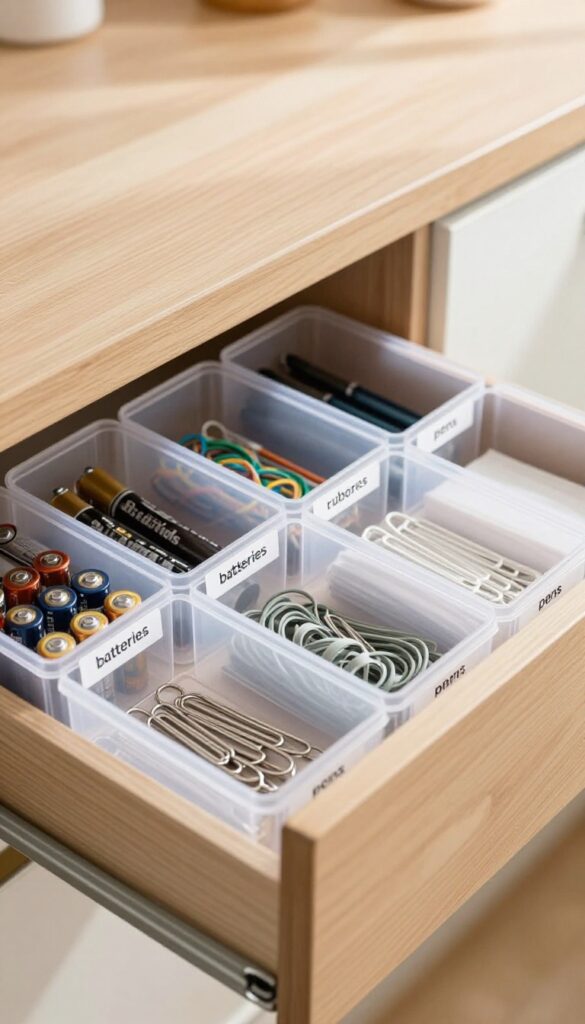
Labels transform a jumbled drawer into a system that actually works. When every compartment has a clear label, you and your family know exactly where to put things back. No more guessing or shoving items into the first empty spot.
A label maker is a small investment that pays off in long-term organization. But if you don't have one, simple sticker labels or even a permanent marker and masking tape work just as well. The key is consistency—label each section so the system sticks.
Choose Your Labeling Tool
A label maker gives clean, professional-looking labels that resist smudging. If you don't want to buy one, use printable sticker sheets or a roll of washi tape with a marker. For a quick fix, write directly on the drawer insert with a dry-erase marker—just test it first on a hidden spot.
Label Each Compartment, Not Just The Drawer
Instead of labeling the drawer front, label each individual compartment or bin inside. Use small labels for things like "batteries, " "rubber bands, " and "pens. " This makes it easy to see at a glance what goes where and prevents items from migrating to the wrong spot.
Update Labels As Needed
Your junk drawer's contents will change over time. Keep the system flexible by using removable labels or a label maker that lets you print new ones quickly. When you add a new category, just print a fresh label and swap it out.
No need to redo the whole drawer.
12. Keep a Small Notebook and Pen for Quick Lists
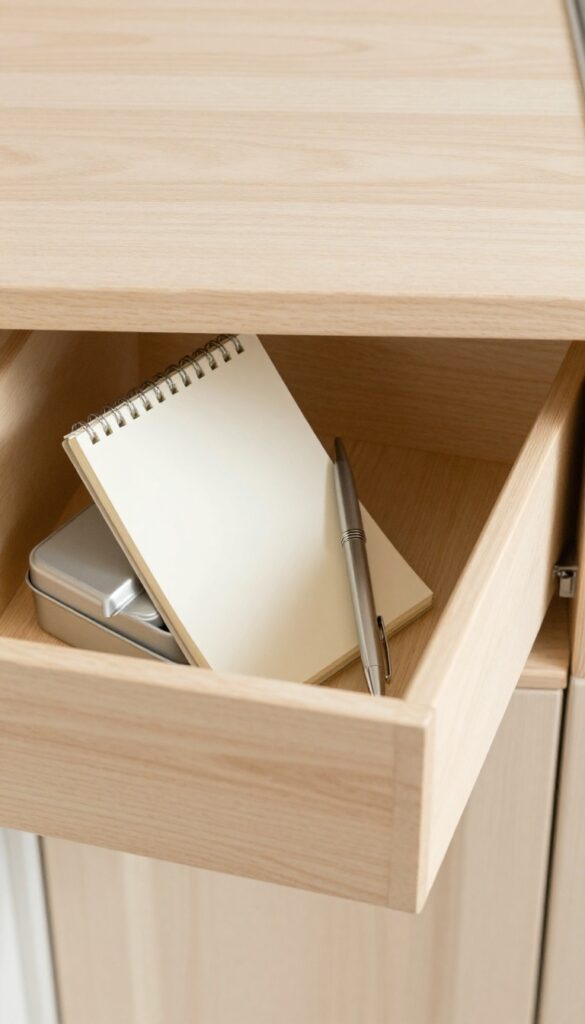
A junk drawer often becomes a black hole for scraps of paper and random pens that don't work. Dedicate a small corner to a notepad and a reliable pen so you can jot down grocery items, to-dos, or reminders without hunting for supplies. This simple setup saves time and keeps your drawer from collecting loose sticky notes.
Choose The Right Notebook Size
Pick a notepad that fits comfortably in your drawer without taking up too much space. A 3×5 inch or 4×6 inch pad works well. Look for one with a stiff back so you can write on it even if you're standing at the counter.
Pick A Pen That Writes Every Time
Avoid pens that dry out or skip. A classic ballpoint or a gel pen with a cap is a safe bet. Keep only one pen in the drawer to prevent clutter, and replace it as soon as it runs out.
Use A Small Tray Or Divider To Keep It Together
A small tray or a divided section within the drawer keeps the notebook and pen from sliding around. You can repurpose a mint tin or a small plastic container to create a dedicated spot.
13. Schedule a Monthly Purge to Reset the Drawer
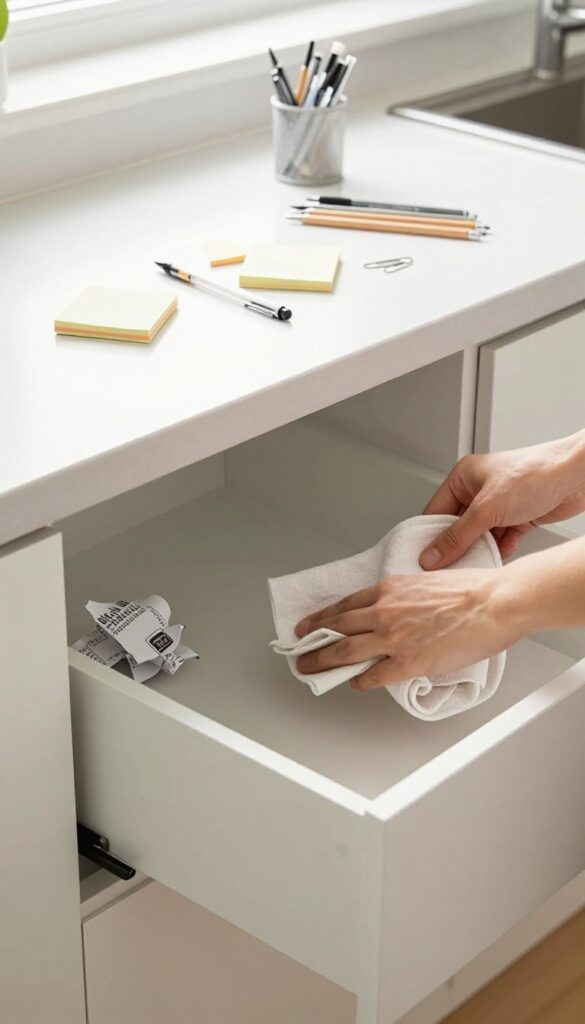
Even the best system needs maintenance. A junk drawer can slip back into chaos if you don't take a few minutes each month to reset it. A quick purge keeps everything in check and prevents the clutter from creeping back in.
Set a recurring reminder on your phone or calendar for the first of each month. Empty the entire drawer onto a table or counter. Toss any trash, expired coupons, or broken items.
Wipe down the drawer with a damp cloth. Then return each item to its designated zone. This simple ritual takes less than 15 minutes and keeps your system working.
What To Toss Without Guilt
Old takeout menus (check online), dried-out pens, random keys that don't match any lock, expired coupons, and single-use plastic utensils. If you haven't used it in a month, it probably doesn't belong.
Reorganize As You Go
As you put things back, notice if any zones are overflowing. Maybe the pen section needs a smaller container, or the tape roll is taking up too much space. Adjust your dividers or containers to fit the current reality.
Make It A Family Habit
Get everyone involved. Assign each family member a zone to maintain. Make it a quick, low-pressure task—maybe while you're waiting for coffee to brew.
A shared responsibility means less work for you and a tidier drawer for all.
FAQ
How often should I clean out my junk drawer?
Aim for a quick purge every month. Empty the drawer, toss expired coupons or dead pens, and wipe it down. This keeps clutter from building up again.
What if my drawer is too shallow for dividers?
Use shallow containers like mint tins or small craft boxes. You can also attach a magnetic strip to the inside of the drawer front for metal items.
Can I organize a junk drawer without buying anything?
Absolutely. Repurpose shoebox lids, egg cartons, or takeout containers as dividers. Use binder clips to hold cords and rubber bands to bundle items.
How do I keep my kids from messing up the organization?
Assign a specific drawer for kids' items like crayons and stickers. Use clear containers and labels so they can see where things go. Involve them in the cleanup routine.
What should I do with items that don't fit in the drawer?
If it doesn't fit, it probably doesn't belong. Relocate larger items to a utility drawer or cabinet. The junk drawer should only hold small, frequently used items.
Conclusion
Your kitchen junk drawer doesn't have to be a black hole of random stuff. Pick just one or two ideas that address your biggest pain point—maybe it's the tangle of rubber bands or the avalanche of takeout menus—and try them out this weekend. Small changes like drawer dividers or labeled bins make a surprising difference.
Before long, you'll actually find what you need without digging through layers of clutter. That drawer will become a genuinely useful spot for the little things that used to drive you crazy.