13 Kitchen Countertop Organization Ideas for a More Open Look
You walk into your kitchen and the first thing you see is a jumble of appliances, mail, and spice jars fighting for space. Countertops are prime real estate, but they often become a dumping ground. A cluttered kitchen feels chaotic and makes cooking stressful.
Clearing your counters isn't just about tidiness—it changes how you use the room. When surfaces are open, you have room to prep meals, display a plant, or just breathe. The goal isn't a sterile showroom; it's a functional space that feels calm.
These 13 ideas focus on real-world solutions that keep your counters looking spacious. No extreme minimalism required—just smart choices that work for how you actually live.
1. Use a Tiered Stand for Oils and Spices
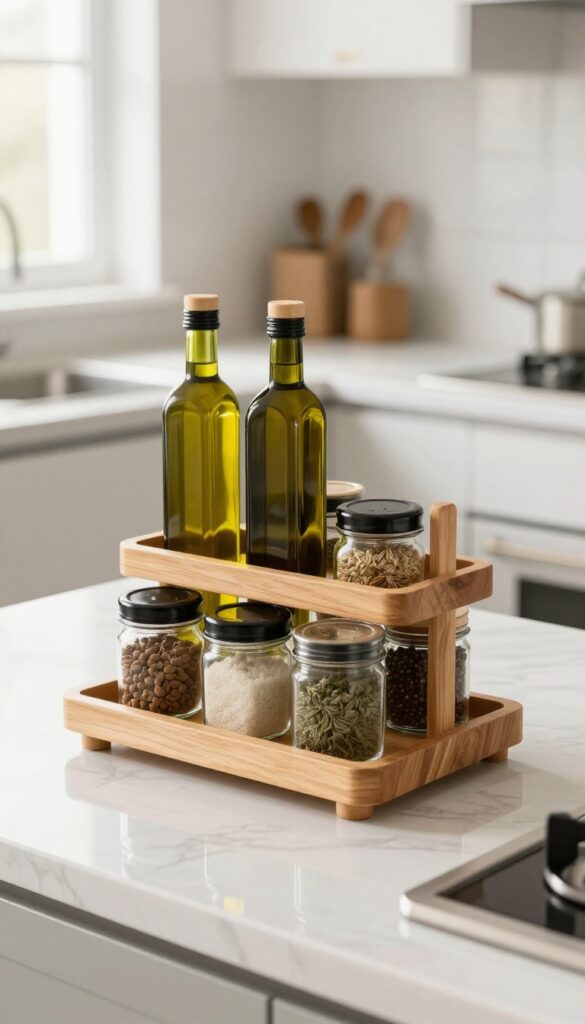
A tiered stand is one of the simplest ways to reclaim counter space while keeping your most-used cooking essentials at your fingertips. Instead of lining up bottles and jars in a messy row, you stack them vertically. This frees up valuable square footage for chopping, mixing, or just setting down a coffee mug.
These stands come in various materials—wood, metal, or acrylic—so you can match your kitchen's style. The key is to place it near the stove or prep area where you actually cook, not tucked away in a corner. When everything is visible and accessible, you'll reach for that spice or oil without rummaging through a cluttered cabinet.
A tiered stand changes the game for countertop organization. By stacking oils, vinegars, and spices on different levels, you make use of vertical space that usually goes wasted. This keeps the counter clear and your workflow smooth.
Choose The Right Size
Measure your counter space before buying a tiered stand. A stand that's too big will overwhelm the area, while one too small won't hold enough. Aim for a footprint about the size of a dinner plate—enough for 4–6 bottles and a few spice jars.
Leave room around it so the stand doesn't feel cramped.
Group By Frequency Of Use
Place your everyday oils—olive, avocado, vegetable—on the bottom tier where they're easiest to grab. Put spices you use daily, like salt, pepper, and garlic powder, on the middle or top level. Less frequently used items can go in a cabinet.
This setup saves time and keeps the stand from becoming a catch-all.
Keep It Clean
Oil bottles can get sticky, and spice jars gather dust. Wipe down the stand and bottles every couple of weeks with a damp cloth. If your stand is near the stove, check for grease buildup.
A quick clean keeps it looking fresh and prevents grime from accumulating.
2. Mount a Magnetic Knife Strip
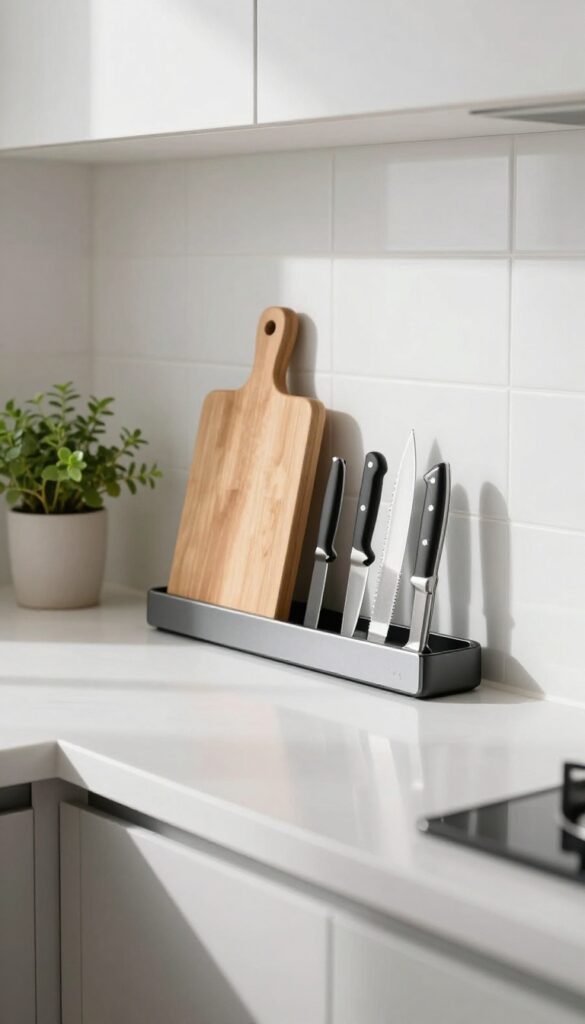
Knives take up more counter space than you think. A bulky knife block or a drawer full of loose blades can make your workspace feel cramped. A magnetic strip mounted on the wall or backsplash frees up that real estate instantly.
Magnetic strips keep your knives visible, accessible, and organized. They also protect blade edges better than tossing them in a drawer. Plus, they add a sleek, professional look to your kitchen.
Choose The Right Location
Mount the strip where you prep most often—above your cutting board or near the stove. Avoid placing it near heat or moisture that could weaken the magnet. A tiled backsplash is ideal, but drywall works with proper anchors.
Keep It Safe And Secure
Make sure the strip is rated for the weight of your heaviest knife. Install it at least six inches above the counter so kids can't reach. Test the magnet strength by holding each knife before you commit.
Pair With A Knife Cover For Less-used Blades
If you have knives you don't use daily, store them in a drawer with blade guards. Reserve the strip for your go-to chef's knife, paring knife, and serrated blade. This keeps the strip from looking crowded.
3. Store Cutting Boards Vertically
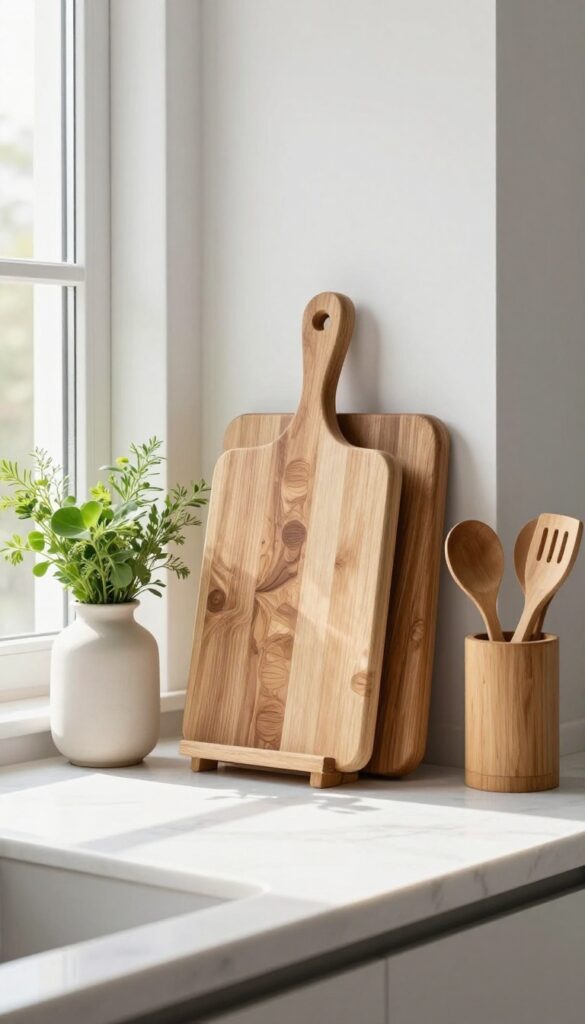
Cutting boards are notorious counter hogs. They slide around, lean against the backsplash, and somehow multiply until you're stacking them like pancakes. Storing them vertically changes everything—it clears surface area and makes grabbing the right board effortless.
A simple vertical file holder from an office supply store works perfectly. Or invest in a dedicated cutting board stand with slots for different sizes. Either way, you'll reclaim counter space and keep boards dry and accessible.
Choose The Right Organizer
Look for a holder with wide slots that accommodate thick wooden boards and thin plastic ones. Adjustable dividers are a plus. If counter space is tight, consider a wall-mounted rack that keeps boards upright and off the counter entirely.
Sort By Size And Use
Arrange boards from largest to smallest so you can pull out what you need without toppling the whole stack. Keep raw-meat boards separate from veggie boards—use different slots or color-code them for safety.
Bonus: Use The Space Inside A Cabinet
If you prefer a hidden solution, install a vertical divider inside a base cabinet. This frees up the counter while keeping boards organized and upright. It's especially handy for deep cabinets where boards tend to get buried.
4. Install an Under-Cabinet Shelf for Spices
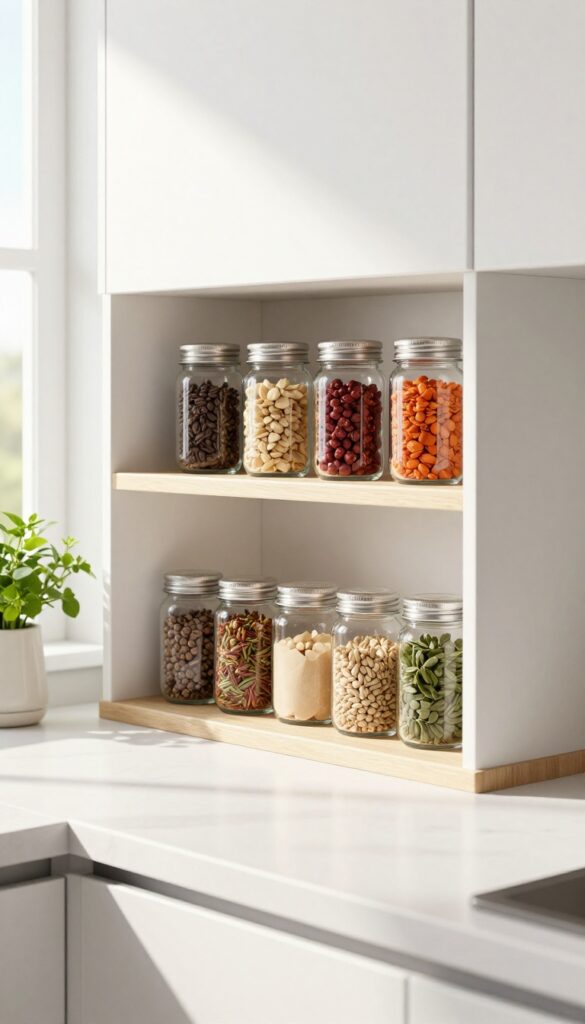
Spices are essential for cooking, but they take up a surprising amount of counter space. Jars roll around, get buried, and create chaos. An under-cabinet shelf solves this by turning unused vertical space into a dedicated spice rack.
It keeps everything visible and within reach, without sacrificing any of your precious counter real estate.
Mounting a slim shelf under your upper cabinets is a game-changer for small kitchens. It takes advantage of that awkward gap between the counter and the cabinet, turning dead air into functional storage. You can find ready-made shelves at any home store, or build one yourself with a piece of wood and some brackets.
The key is to keep it shallow—just deep enough for standard spice jars—so it doesn't interfere with your workspace or make the kitchen feel cramped.
Easy Diy Installation
You don't need to be a carpenter to install an under-cabinet shelf. Most options come with simple mounting hardware that attaches to the bottom of your cabinet. Just measure the space, drill a few pilot holes, and screw in the brackets.
If you're renting, look for adhesive or tension-mounted shelves that don't require drilling. This project takes less than an hour and instantly clears up counter space.
Organize By Frequency Of Use
Once the shelf is up, arrange your spices so the ones you use most often are front and center. Keep everyday staples like salt, pepper, and garlic powder within easy reach, and tuck less common spices toward the back or ends. This simple system saves time during cooking and prevents you from buying duplicates because you forgot you already had cumin.
Label Everything Clearly
Spices look great on an open shelf, but only if you can tell them apart at a glance. Use uniform jars with clear labels, or stick on matching labels for a cohesive look. If you buy spices in different-sized containers, transfer them to identical jars.
This not only looks better but also makes it easier to find what you need without pulling everything out.
5. Keep a Single Coffee Station
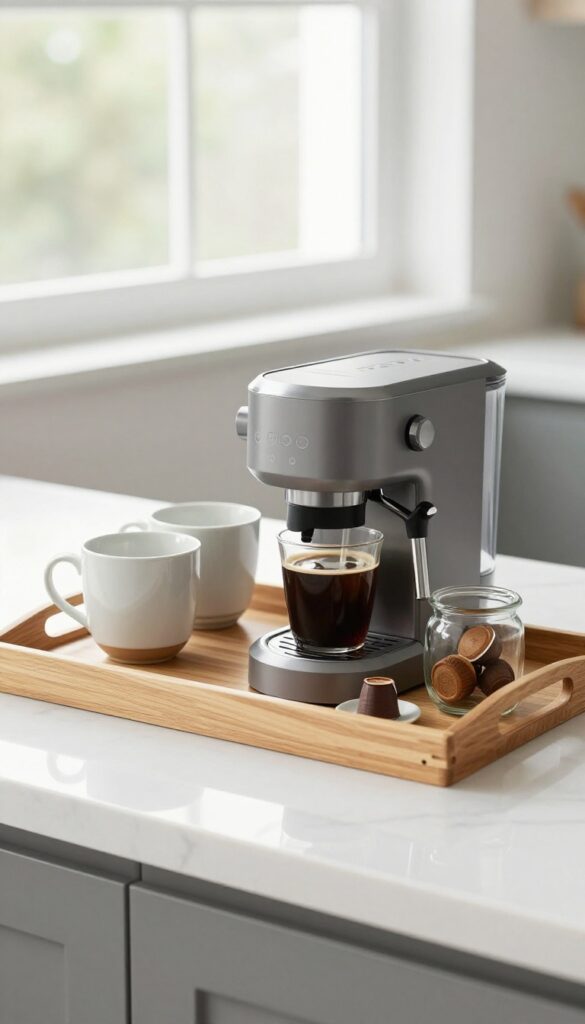
Coffee gear tends to multiply. A machine here, a grinder there, a canister of beans, a mug tree—soon half your counter is a caffeine command center. The fix is simple: pick one small zone and keep everything coffee-related inside it.
A tray or caddy defines the boundary and makes the whole setup feel intentional, not scattered.
When you limit your coffee station to a single tray, you naturally cut back on extras. That second milk frother you never use? It has to go.
The three half-empty bags of beans? Consolidate. The tray becomes a visual anchor, and anything that doesn't fit doesn't belong on the counter.
This forces you to edit down to the essentials, which is exactly what a clean counter needs.
Choose The Right Tray
A tray with a small lip keeps spills contained and makes cleaning easy. Look for one that's large enough for your machine plus a few mugs, but small enough that it doesn't dominate the counter. Wood adds warmth, metal feels modern, and stone or ceramic resists heat.
Pick what fits your kitchen's vibe.
Edit Your Mug Collection
Mugs are easy to hoard. For your coffee station, keep only two to four mugs that you actually use daily. Store the rest in a cabinet.
This prevents the tray from looking crowded and makes your morning routine faster—you grab the same mug every time.
Corral Pods And Stirrers
A small canister or jar for pods, a short cup for stirrers, and maybe a tiny dish for used pods keeps everything tidy. If you use loose grounds, a sealed glass jar with a scoop looks clean and keeps coffee fresh. Group these items on the tray so nothing strays off the edge.
6. Use a Wall-Mounted Paper Towel Holder
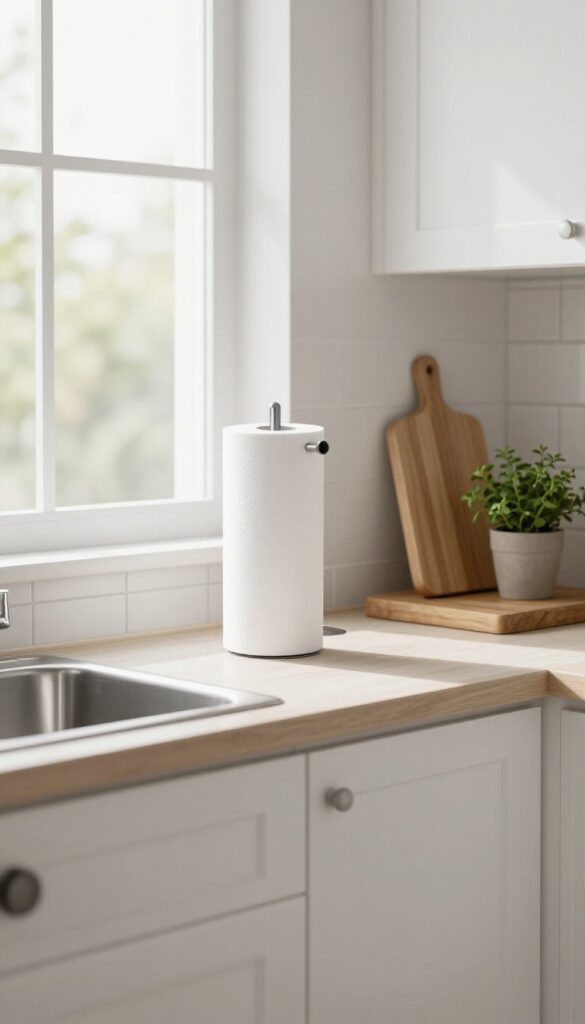
Paper towels are one of those things that always seem to end up in the way. A bulky roll sitting on the counter eats up valuable space and often gets knocked over. Mounting the holder under a cabinet or on the wall solves that problem instantly.
A wall-mounted paper towel holder keeps the roll within easy reach but completely off your counters. It also helps keep towels dry and clean since they're not sitting near splashes or crumbs. Plus, it adds a neat, intentional look to your kitchen.
Under-cabinet Mounting
Under-cabinet mounts are the most popular choice because they keep towels accessible without taking any counter space. They install easily with screws or adhesive, and many models let you pull towels with one hand. This works especially well near the sink or prep area.
Wall-mounted Options
If you have an open wall near your cooking zone, a wall-mounted holder can be a stylish solution. Look for designs that match your hardware—stainless steel, matte black, or brass. Some even include a shelf for storing extra rolls or small items.
Tips For Choosing
Consider the roll size you typically buy—some holders only fit standard rolls. Also think about reach: mount it at a height that's comfortable for you. If you rent, use adhesive mounts that won't damage walls or cabinets.
7. Add a Small Shelf for Cookbooks or Decor
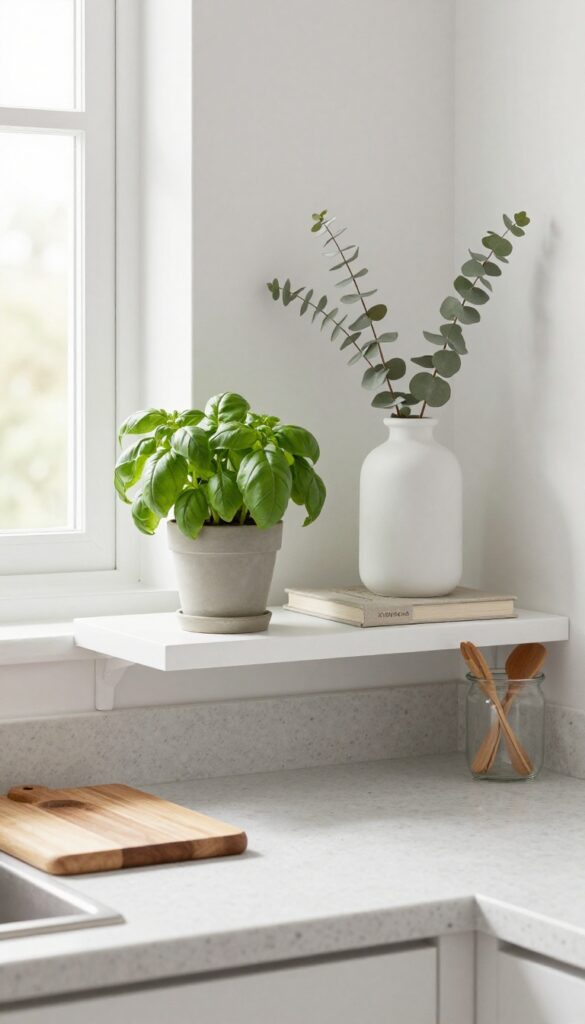
Vertical space is often overlooked in kitchens. A small floating shelf above the counter can transform an empty wall into a functional display area. It keeps cookbooks, plants, or decorative items within reach without stealing precious counter real estate.
Adding a shelf is one of the easiest ways to reclaim counter space while injecting personality into your kitchen. It works especially well in small kitchens where every inch counts. Choose a shelf that matches your cabinetry or go for a contrasting material like wood or metal for visual interest.
Pick The Right Height
Install the shelf about 12 to 18 inches above the counter. This leaves room for items on the counter below and keeps the shelf accessible. Avoid placing it too high, or it becomes purely decorative.
What To Put On It
Rotate items based on season or mood. A small potted herb, a favorite cookbook, or a ceramic vase works well. Keep it simple—overcrowding defeats the purpose.
Stick to three to five items for a curated look.
Installation Tips
Use sturdy brackets or a floating shelf kit. Make sure it's level and anchored into wall studs or drywall anchors. A wobbly shelf is a hazard, especially if you plan to store heavy cookbooks.
8. Use a Corner Lazy Susan
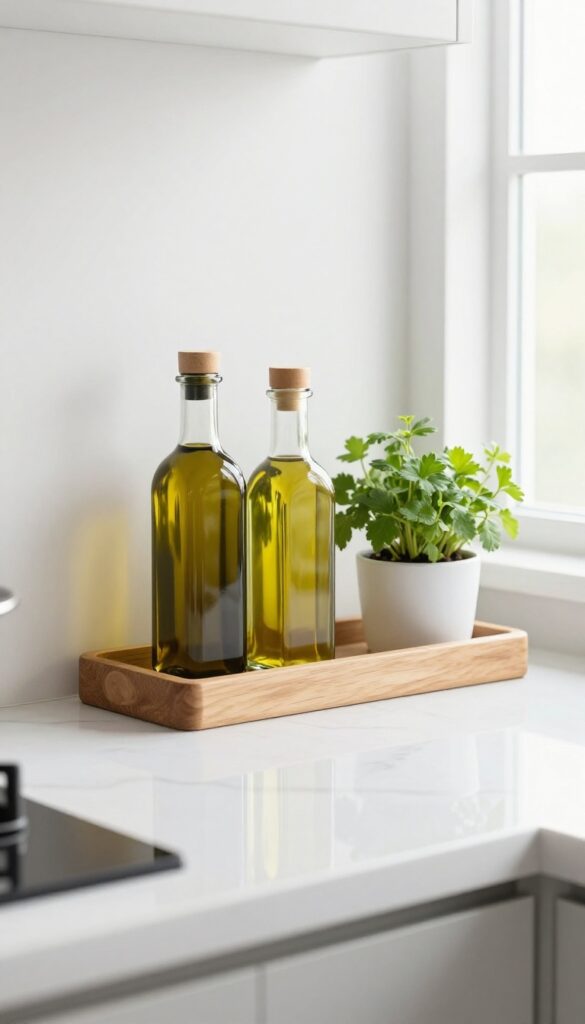
Corners are the black holes of kitchen countertops—stuff gets pushed in and forgotten. A lazy susan turns that dead zone into a functional hub. Whether you place one in a corner cabinet or directly on the counter, it keeps everyday items within easy reach.
A lazy susan is a rotating tray that lets you access items with a simple spin. It's perfect for oils, vinegars, condiments, or spice jars that you grab frequently. By consolidating small bottles onto one turntable, you free up the surrounding counter space and eliminate the need to dig through cluttered corners.
Pick The Right Size
Measure your corner space before buying. A lazy susan that's too small wastes potential, while one that's too large won't spin freely. Standard sizes range from 10 to 16 inches in diameter.
For countertops, a 12-inch model usually fits well without dominating the surface.
Group By Frequency Of Use
Keep your most-used items on the lazy susan—like olive oil, soy sauce, or everyday spices. Reserve deeper cabinets for bulkier or rarely used bottles. This way, the spinning tray becomes a quick-access station, not a catch-all.
Consider A Two-tier Model
If you have more items than a single tier can hold, opt for a two-tier lazy susan. The upper tier can hold smaller bottles or spice jars, while the lower tier accommodates taller containers. Just make sure the height between tiers is enough to clear the tops of your bottles.
9. Keep Only Daily-Use Appliances Out
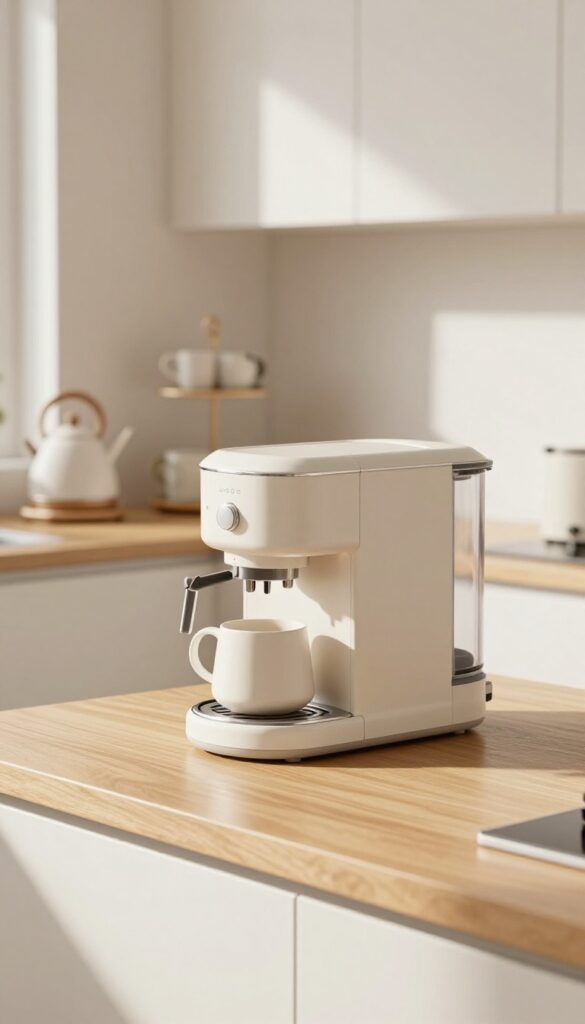
Counter space is valuable, and every appliance sitting out is eating into that. The trick is to be honest about what you actually use daily. That bread maker you pulled out once last year?
It's just taking up room.
Start by observing your routine for a week. Note which appliances you touch every single day—likely the coffee maker, toaster, or kettle. Everything else can live in a cabinet or pantry.
You'll be surprised how much breathing room you gain.
The Daily Driver Rule
If you use it less than once a week, store it away. This includes stand mixers, air fryers, and blenders unless you're a smoothie addict. Keep only the essentials on the counter, and your space instantly feels more open.
Create An Appliance Garage
For the few daily-use items you keep out, consider an appliance garage—a cabinet with a roll-up door that hides them when not in use. It keeps them accessible but out of sight, reducing visual noise.
Think Vertical For Small Items
If your daily appliances are small, like a kettle or toaster, use a tiered stand or a narrow shelf to stack them vertically. This frees up horizontal space for prep work and makes the counter feel less crowded.
10. Use a Utensil Crock for Frequently Used Tools
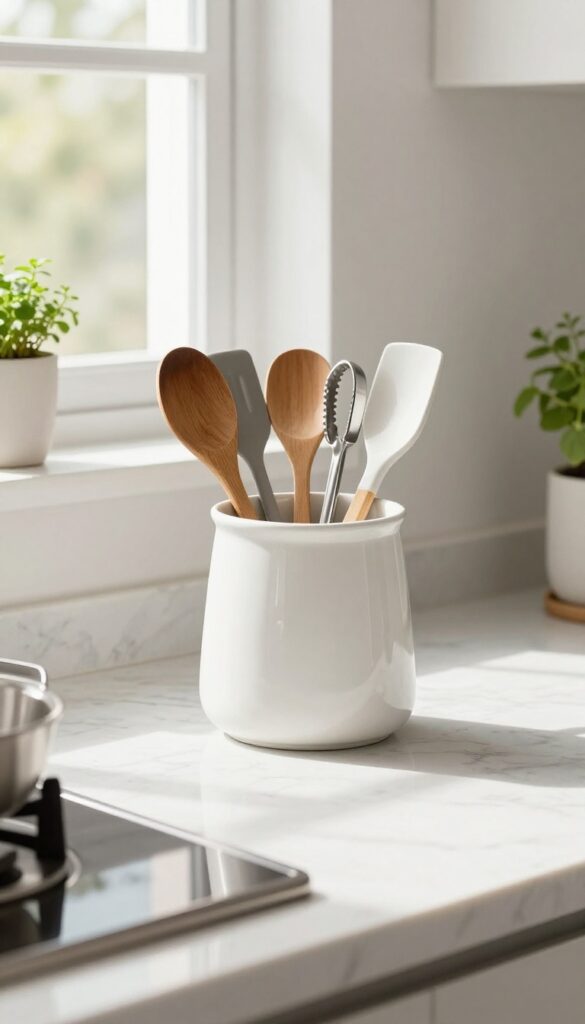
A crock or jar holds spatulas, wooden spoons, and tongs upright. It keeps them handy and off the counter surface, but still accessible. This simple change can instantly reduce visual clutter while keeping your most-used tools within arm's reach.
Choose a crock that matches your kitchen's style—ceramic, stainless steel, or even a repurposed vase. Place it near the stove or prep area so you can grab tools without digging through drawers. Group similar tools together for a tidy look.
Pick The Right Size
A crock that's too small will overflow, while one that's too large takes up valuable counter space. Aim for a diameter of about 4–5 inches and a height of 6–8 inches—enough to hold 8–12 utensils without crowding.
What To Put Inside
Only include tools you use daily or multiple times a week: spatulas, wooden spoons, tongs, ladles, and a whisk. Store less frequently used items like pastry brushes or meat tenderizers in a drawer.
Keep It Clean
Wipe down the crock weekly to prevent dust and grease buildup. If you store wooden utensils, ensure they are completely dry before placing them in the crock to avoid mold.
11. Install a Pot Rack or Hanging Rail
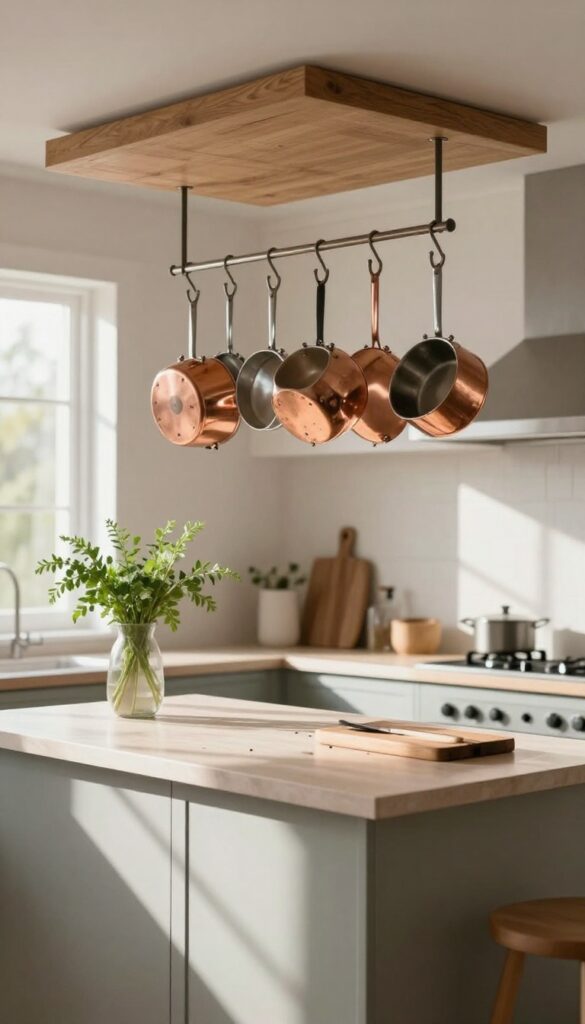
Pots and pans are bulky, and they take up a ton of cabinet space. Storing them on a hanging rack or rail clears out your lower cabinets and frees up counter space. Plus, having them within arm's reach makes cooking more efficient.
A pot rack isn't just for professional kitchens. Ceiling-mounted racks work well over islands or stoves, while wall-mounted rails are great for smaller spaces. You can hang not only pots and pans but also colanders, ladles, and even measuring cups.
This keeps your cookware organized and adds a functional, stylish element to your kitchen.
Ceiling Rack Over The Island
If you have an island, a ceiling rack is a natural fit. It keeps heavy pots out of the way but easily accessible. Choose a rack with hooks that can hold different sizes, and arrange your most-used pieces where you can grab them quickly.
Wall-mounted Rail Near The Stove
A wall rail with S-hooks is perfect for a narrow wall next to the stove. Hang your frying pans, saucepans, and lids. This setup saves you from digging through cabinets mid-cooking.
Just make sure the rail is securely anchored into studs.
Hanging Baskets For Lids And Gadgets
Lids are always a hassle. Use a hanging basket or a specialized lid rack on your pot rack to keep them organized. You can also hang small wire baskets for garlic, onions, or kitchen tools, adding extra storage without taking counter space.
12. Use a Fruit Bowl or Hanging Basket
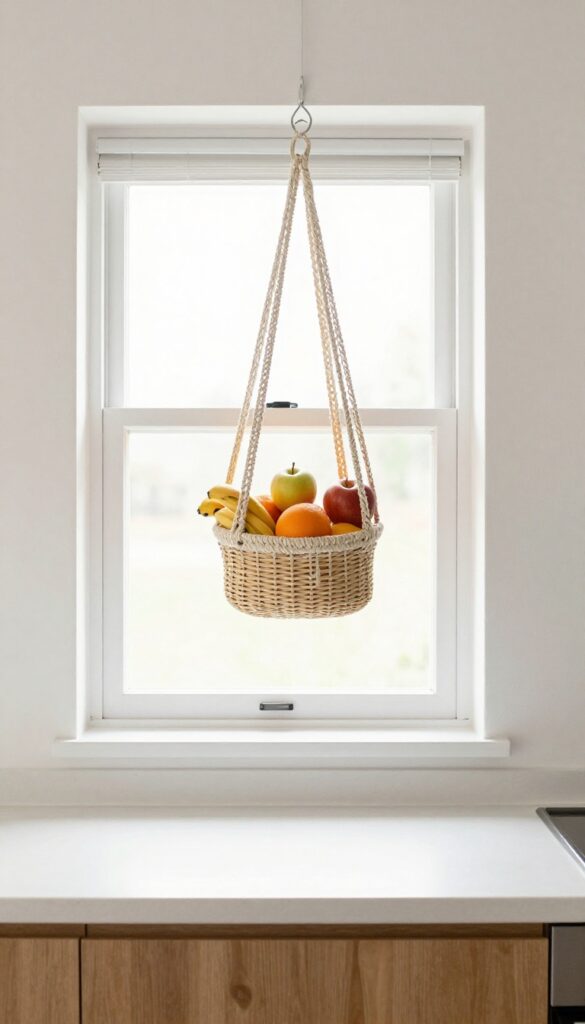
Fruit bowls are classic, but they can take up a lot of counter space. A hanging basket solves that problem by lifting your produce off the counter entirely. It also adds a nice visual element and keeps fruit fresh with better airflow.
Choose The Right Basket
Pick a basket that matches your kitchen style—wire for a modern look, woven for a rustic feel. Make sure it's sturdy enough to hold the weight of your fruit. A hook installed in the ceiling or under a cabinet works best.
What To Store
Fruits that don't need refrigeration, like apples, bananas, and oranges, are perfect for hanging. Avoid delicate berries or items that bruise easily. Keep your basket within easy reach so you grab fruit instead of letting it rot.
Placement Tips
Hang the basket near a window or in a spot where it won't bump your head. Over an island or near the sink works well. Just make sure it's not in the way of cooking or prep areas.
13. Create a Drop Zone for Daily Items
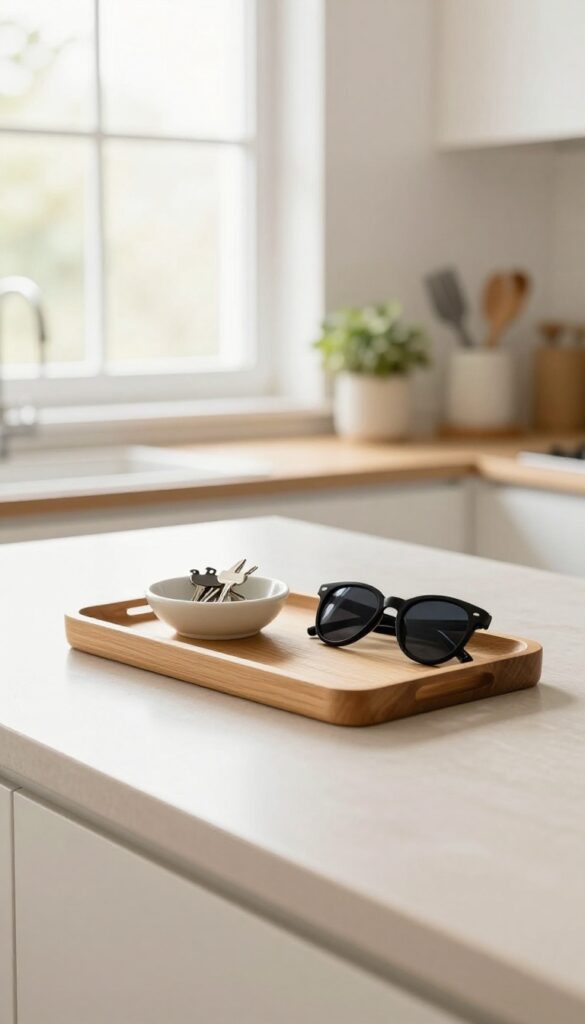
The kitchen counter is often the first surface you see when you walk in the door. Keys, mail, sunglasses, and phones naturally land there, turning a clean space into a cluttered mess within minutes. Instead of fighting that habit, work with it by creating a dedicated drop zone.
A small tray or dish near the kitchen entrance gives those daily items a designated home. It keeps them contained and prevents them from spreading across the counter. Choose something that fits your style—a ceramic dish, a wooden tray, or even a small basket.
The key is consistency: always use that spot for your pocket dump.
Choose The Right Spot
Place your drop zone near the door you use most often. If your kitchen has a landing strip or a corner of the counter that's naturally empty, that's perfect. You want it to be convenient enough that you'll actually use it every time you walk in.
Keep It Minimal
A drop zone works best when it's small. A tray about the size of a dinner plate is plenty. If it's too large, it becomes a catch-all for random stuff.
Stick to essentials: keys, wallet, phone, and maybe a small dish for loose change.
Add A Mail Sorter
If mail is a major source of counter clutter, add a small vertical sorter nearby. Bills, coupons, and flyers can go straight into slots instead of piling up. This keeps the drop zone from turning into a paper mountain.
FAQ
How do I decide what to keep on my countertops?
Only keep items you use daily, like your coffee maker or toaster. Store everything else in cabinets or drawers to maintain an open look.
What's the best way to organize small appliances?
Group them by frequency of use. Keep daily-use appliances out, and store weekly or monthly ones in cabinets. Use appliance garages to hide them if needed.
How can I maximize vertical space on my counter?
Use tiered stands, wall-mounted racks, and under-cabinet shelves to store items upward. This frees up horizontal surface area.
Should I match my storage containers for a uniform look?
Matching containers can create a cohesive, tidy appearance, but it's not necessary. Focus on functionality first—uniformity is a bonus.
How often should I declutter my kitchen counters?
Do a quick daily tidy-up and a deeper declutter weekly. This prevents buildup and keeps your counters consistently open.
Conclusion
A clear countertop changes how your kitchen feels and works. Pick just one or two ideas from this list that target your biggest clutter source—maybe the coffee station or that pile of mail—and try them this weekend. Small changes add up fast.
Before you know it, you'll have room to actually cook without clearing a path first. That open, airy look is totally achievable with a few smart swaps. Start with the idea that excites you most and enjoy the difference.