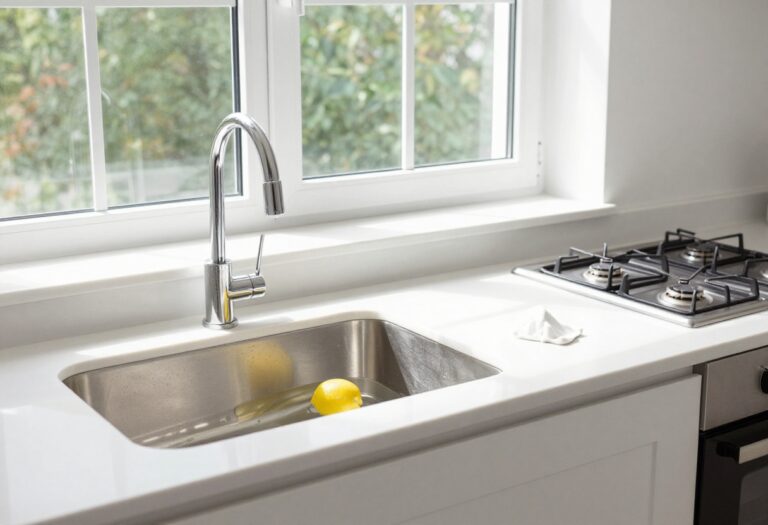
17 Cleaning Kitchen Cabinets Tips for Grease and Dust
You run your hand along the cabinet door and feel that unmistakable sticky film. Grease and dust have teamed up again, creating a layer that dulls your kitchen's shine. It's a common frustration, but one you can fix without harsh chemicals.
The good news is that most cabinet grime surrenders to simple household ingredients. A little know-how and the right technique can restore that just-cleaned look.
Whether your cabinets are wood, laminate, or painted, these 17 tips will help you tackle grease and dust effectively. Let's get those cabinets looking their best again.
1. Start with a Dry Dusting
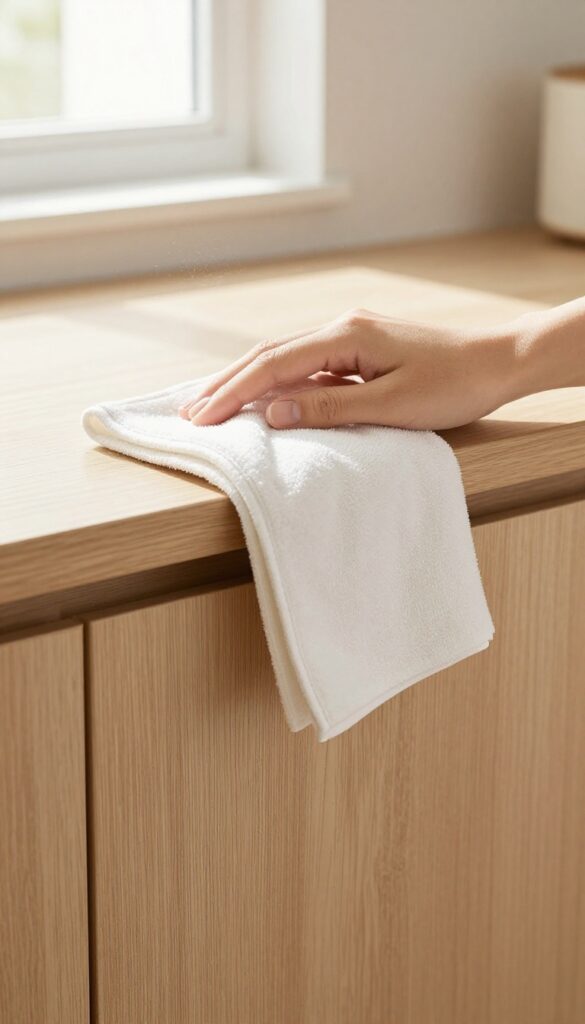
Before you reach for any spray or sponge, grab a microfiber cloth or a vacuum with a soft brush attachment. A quick dry dusting lifts loose dirt and prevents it from turning into a muddy paste when you add moisture. This simple first step saves you from extra scrubbing and keeps your cabinets looking better longer.
Dust and grease form a stubborn bond when wet. By removing the dust first, you eliminate the gritty particles that can scratch surfaces during cleaning. Focus on the tops of cabinets, corners, and crevices where dust likes to hide.
A few minutes of dry dusting makes the rest of your cleaning routine much more effective.
Why Dry Dusting Matters
Wet cleaning pushes dust into a paste that smears across surfaces. Dry dusting lifts it away cleanly, reducing the risk of scratches and streaks. It also prevents you from spreading grease from one spot to another.
Best Tools For The Job
Microfiber cloths trap dust without scratching. For hard-to-reach areas, use a vacuum with a soft brush attachment or a duster with an extendable handle. Avoid feather dusters that just redistribute particles.
How To Dust Effectively
Work from top to bottom, starting with the upper cabinets and finishing with the lower ones. Use gentle, overlapping strokes to capture all loose debris. Pay extra attention to edges and handles where dust accumulates.
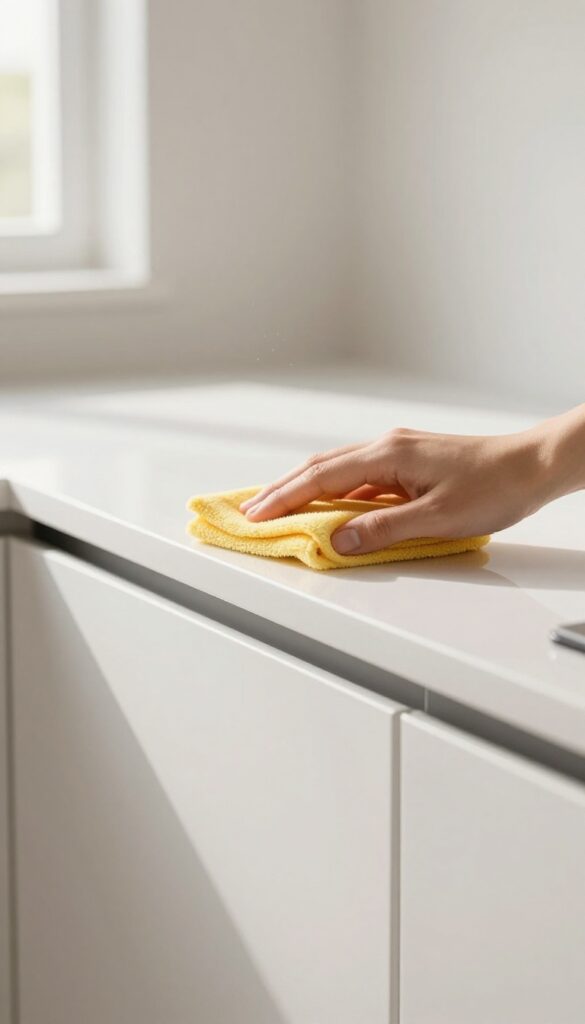
2. Use a Degreasing Dish Soap Solution
Not all cabinet cleaners are created equal, especially when grease is involved. A simple mix of warm water and a few drops of blue Dawn dish soap works wonders. It breaks down the sticky residue without stripping the finish.
Just remember to wring out your cloth well and dry the surface right after.
This method is gentle enough for most cabinet materials—wood, laminate, or painted surfaces—but always test on an inconspicuous spot first. The key is using a microfiber cloth and avoiding excess water that could seep into seams or damage the wood over time.
Why Dawn Works Best
Blue Dawn dish soap is a classic for a reason. Its grease-cutting power is strong but safe, and it doesn't contain harsh additives that can cloud or discolor cabinet finishes. A little goes a long way—just a few drops per quart of warm water is plenty.
Step-by-step Application
Fill a bowl with warm water and add 2-3 drops of Dawn. Dip a microfiber cloth, wring it until just damp, and wipe the cabinet surface in the direction of the grain. Rinse the cloth frequently and switch to a clean, dry cloth to buff away any remaining moisture.
Avoid These Common Mistakes
Don't use too much soap—it leaves a residue. Never spray the solution directly onto cabinets; it can seep behind doors or into cracks. And always dry the surface immediately to prevent water spots or warping.
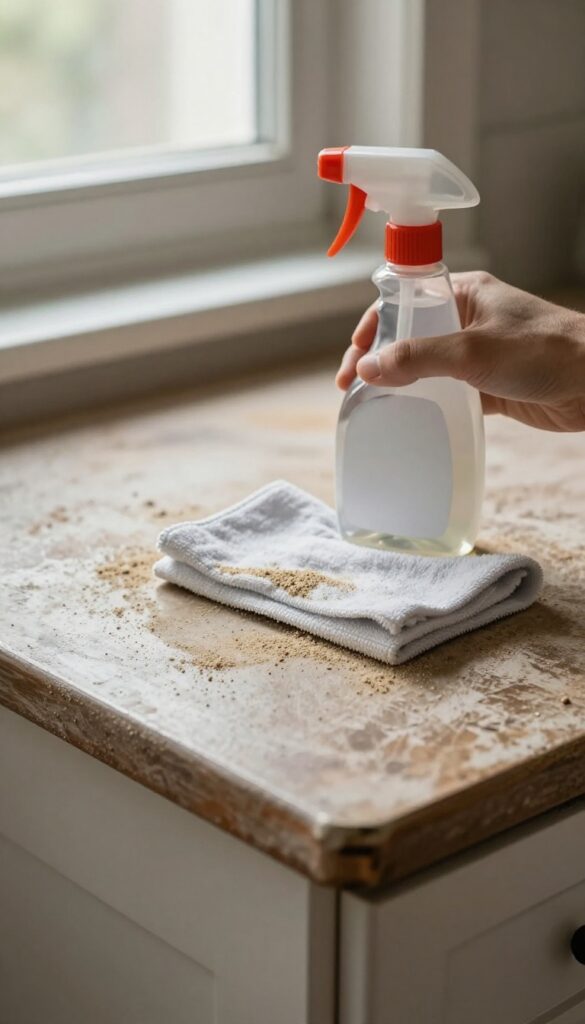
3. Try a Vinegar and Water Spray
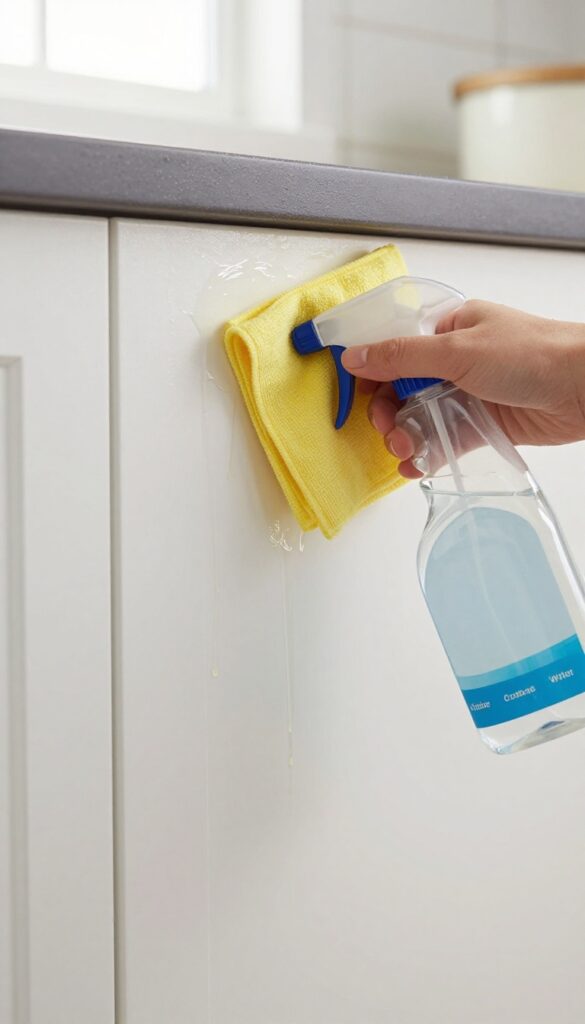
White vinegar is a powerhouse when it comes to cutting through kitchen grease. It's cheap, non-toxic, and surprisingly effective. This simple solution works on most cabinet surfaces without leaving behind any harsh residue.
Mix equal parts white vinegar and water in a spray bottle. Lightly mist the cabinets and wipe with a soft, lint-free cloth. The vinegar breaks down grease on contact and evaporates quickly, leaving a streak-free shine.
For extra stubborn spots, let the solution sit for a minute before wiping.
Why Vinegar Works So Well
Vinegar is acidic enough to dissolve greasy buildup but mild enough not to damage most cabinet finishes. It also neutralizes odors, so your kitchen smells fresh without any chemical perfume. Just be sure to avoid using it on unsealed wood or waxed surfaces, as the acidity can dull the finish.
How To Apply For Best Results
Spray the solution directly onto a microfiber cloth rather than the cabinets to prevent excess moisture from seeping into seams or hardware. Wipe in the direction of the wood grain if your cabinets have one. Follow up with a dry cloth to buff away any remaining moisture and enhance the shine.
When To Avoid This Method
If your cabinets have a wax finish or are made of raw, unsealed wood, skip the vinegar. The acid can strip the wax or cause the wood to swell. For painted cabinets, test in an inconspicuous area first to ensure the vinegar doesn't affect the paint.
4. Baking Soda Paste for Stubborn Grease
Sometimes a simple spray won't cut it. When grease has baked on over time, you need something with a bit more grit—but not so much that it scratches your cabinets. That's where baking soda comes in.
It's gentle enough for most surfaces but tough enough to lift years of grime.
Baking soda is a mild abrasive that breaks down grease without damaging your cabinet finish. Mixed with water, it forms a paste that clings to vertical surfaces and penetrates stubborn spots. This method works especially well on areas near the stove or above the oven where grease accumulates fastest.
How To Make The Paste
Start with a ratio of about 3 parts baking soda to 1 part water. Mix in a small bowl until you get a thick, spreadable consistency. If it's too runny, add more baking soda; if too dry, add a few drops of water.
You want it to stay put when applied to a vertical cabinet door.
Application And Dwell Time
Use a soft cloth or your fingers (with gloves) to apply the paste directly onto greasy areas. Spread it in a thin, even layer and let it sit for 5 to 10 minutes. This dwell time allows the baking soda to start breaking down the grease bonds.
Don't let it dry completely—it should still be damp when you scrub.
Gentle Scrubbing And Rinsing
After the paste has sat, gently scrub in a circular motion with a non-abrasive sponge or a soft-bristled brush. Avoid using scouring pads or steel wool, which can scratch. Rinse the area thoroughly with a damp microfiber cloth, then dry with a clean towel to prevent water spots.
5. Lemon Juice for a Fresh Scent
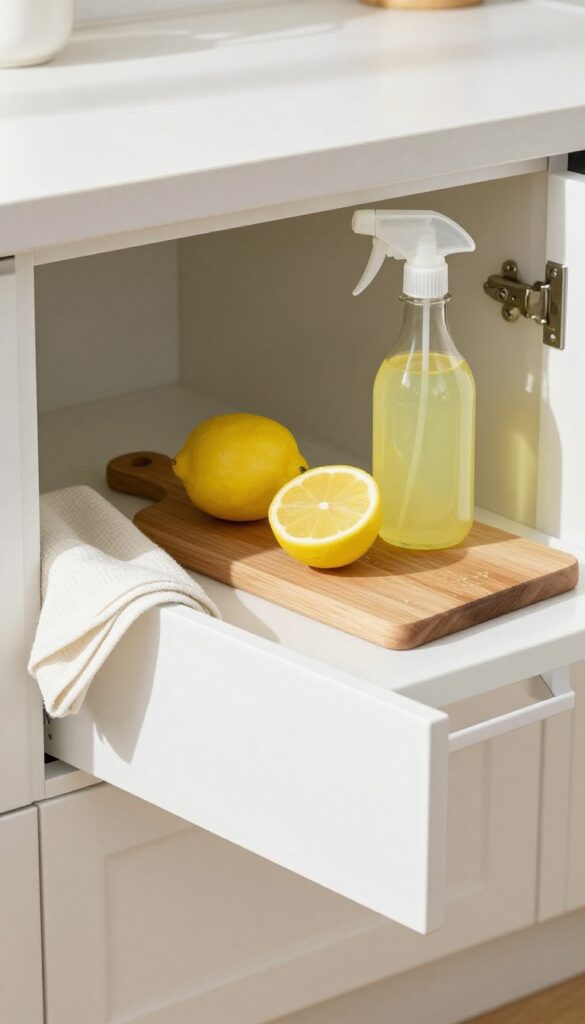
Lemon juice does more than add a bright scent to your kitchen—it's a natural degreaser that tackles stubborn grime. The citric acid breaks down grease while leaving behind a clean, citrusy aroma. Plus, it's gentle enough for most cabinet finishes when used correctly.
Using lemon juice is straightforward. Mix equal parts lemon juice and water in a spray bottle, or simply rub a cut lemon directly onto the cabinet surface. Let it sit for a minute to dissolve grease, then wipe with a damp cloth.
Always rinse with plain water afterward to prevent any sticky residue from the natural sugars in the lemon.
Why Lemon Works
Citric acid is a mild solvent that cuts through grease without damaging finishes. It also has antibacterial properties, making it a safe choice for kitchen surfaces. The fresh scent is a bonus—much better than chemical smells.
Best Application Method
For light grime, a spray bottle with a 50/50 lemon juice and water mix works well. For tougher spots, dip a cut lemon in baking soda and scrub gently. Test on an inconspicuous area first to ensure the finish isn't affected.
Rinsing Is Key
After cleaning, go over the cabinets with a damp cloth to remove any lemon residue. If left on, the sugars can attract dust or become sticky. Dry with a soft towel to avoid water spots.
6. Rubbing Alcohol for Tough Grease Spots
Some grease spots just won't budge, no matter how much you scrub. That's where rubbing alcohol comes in. It's a powerful degreaser that cuts through the toughest buildup without leaving residue behind.
Plus, it evaporates quickly, so you won't have to worry about moisture seeping into the wood.
Rubbing alcohol is a go-to for those stubborn, sticky patches that form near the stove or handles. It dissolves grease on contact and dries fast, making it safe for most cabinet surfaces. Just be sure to test it first on a hidden area, especially if your cabinets are painted or have a delicate finish.
How To Apply It Safely
Dampen a soft cloth with rubbing alcohol—you don't need to soak it. Wipe the greasy area in a gentle, circular motion. The alcohol will lift the grime almost immediately.
For heavy buildup, let it sit for a few seconds before wiping. Always work in a well-ventilated space and keep it away from open flames.
Best Surfaces For This Method
Rubbing alcohol works wonders on sealed wood, laminate, and metal cabinets. It's also great for glass-front doors. Avoid using it on unsealed wood or matte painted surfaces, as it can strip the finish.
When in doubt, patch test first.
When To Use A Diluted Mix
For lighter grease or routine cleaning, you can dilute rubbing alcohol with equal parts water. This reduces its strength while still cutting through grime. It's a good middle ground if you're worried about damaging the cabinet's surface but still want effective cleaning power.
7. Use a Magic Eraser for Scuff Marks
Scuff marks and dried-on grease can make even clean cabinets look dirty. A melamine sponge—commonly known as a Magic Eraser—is a gentle abrasive that lifts these marks without damaging the finish. It's a quick fix for those stubborn spots that resist regular cleaning.
Melamine foam sponges work by micro-abrading the surface, essentially sanding away the dirt. They're especially effective on glossy or semi-gloss finishes where scuffs stand out. For best results, use a light touch and test on an inconspicuous area first.
How To Use It Safely
Wet the sponge until it's damp but not dripping. Squeeze out excess water to avoid drips. Gently rub the scuff mark in a circular motion.
The sponge will start to wear down as it works—that's normal. Rinse the area with a damp cloth afterward to remove any residue.
When Not To Use It
Avoid using melamine sponges on matte, distressed, or antique finishes. They can dull the sheen or remove paint. Also skip them on unsealed wood, as moisture can cause swelling.
Stick to glossy, sealed, or laminate surfaces for best results.
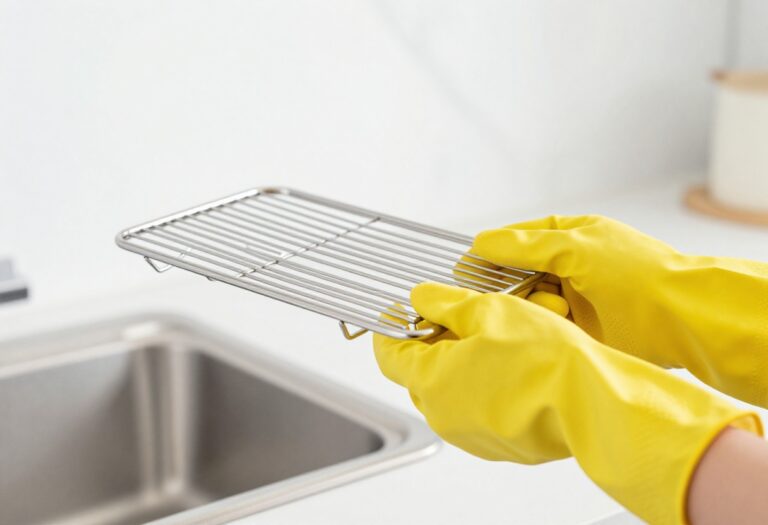
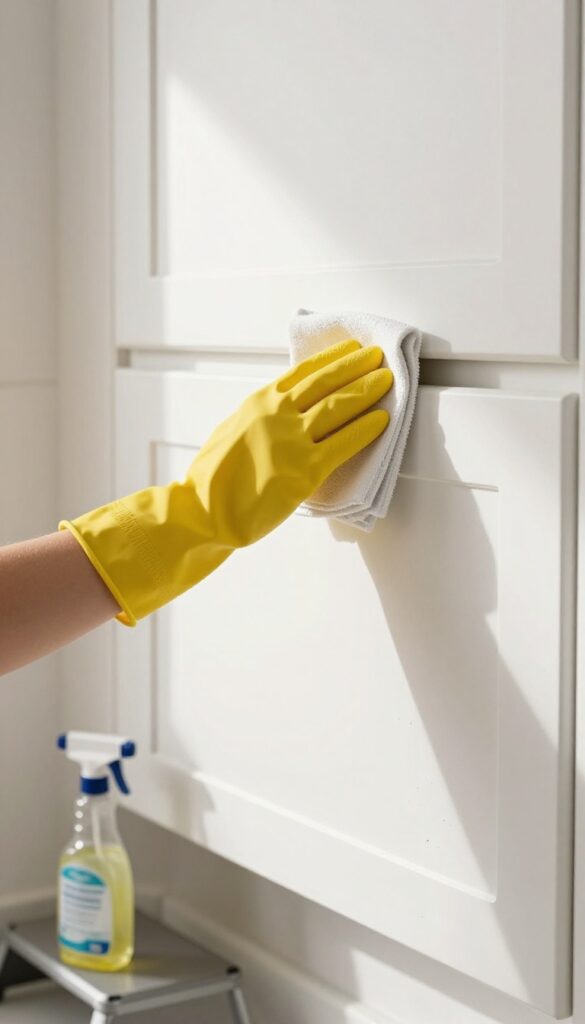
8. Clean Cabinet Hardware Separately
Knobs and pulls are grime magnets. They collect grease from your hands and dust from the air, often getting overlooked during a quick wipe-down. Cleaning them separately makes a huge difference in how fresh your cabinets feel.
Removing the hardware is simple—just unscrew each piece and keep them organized in a small bowl or bag. Soak them in warm water with a few drops of dish soap for about 15 minutes. This loosens the baked-on grease.
Then scrub each piece with an old toothbrush, paying extra attention to crevices and the area around the screw hole. Rinse with clean water and dry thoroughly with a soft cloth before reattaching. For stubborn tarnish or rust, a paste of baking soda and water works wonders.
Just apply, let it sit for a few minutes, then scrub and rinse.
Why Hardware Gets So Grimy
Every time you open a cabinet, your fingers transfer oils and food residue to the knob or pull. Over time, this layer attracts dust and hardens into a sticky film. Cleaning the surface alone isn't enough—the hardware itself needs attention to restore that clean feel.
The Right Way To Remove And Organize
Use a screwdriver that fits the screws snugly to avoid stripping. Place each knob or pull in a labeled baggie or a multi-compartment container, especially if you have different sizes or finishes. This saves you the headache of matching them later.
Drying Is Non‑negotiable
Moisture trapped under the hardware can damage the cabinet door or cause the screws to rust. After rinsing, lay the pieces on a towel and pat them dry. Let them air dry for another 10 minutes before screwing them back on.
A quick wipe with a microfiber cloth ensures no water spots remain.
9. Don't Forget the Cabinet Tops
It's easy to overlook the tops of your cabinets, but that horizontal surface is a prime spot for dust and grease buildup. Over time, the grime can become thick and sticky, and it might even drip down the sides. Tackling this area regularly prevents that nasty buildup and keeps your kitchen looking cleaner overall.
Prep The Area
Before you start wiping, lay down newspaper or an old towel on the countertops and stove below. This catches any drips and makes cleanup easier. You'll also want a step stool or a sturdy chair to reach safely without straining.
Choose Your Cleaner
A degreasing cleaner is your best bet for cabinet tops. You can use a store-bought kitchen degreaser or make your own with equal parts white vinegar and warm water. For heavy grease, add a few drops of dish soap.
Spray the cleaner directly onto the surface, but not so much that it runs down the cabinets.
Wipe And Rinse
Use a microfiber cloth or a soft sponge to wipe the cabinet tops. Work in sections, and rinse your cloth frequently in warm water. If the grime is stubborn, let the cleaner sit for a minute before wiping.
After you've removed all the grease, go over the area with a damp cloth to remove any cleaner residue.
Prevent Future Buildup
To keep cabinet tops cleaner longer, consider lining them with shelf liner or wax paper. This makes future wipe-downs a breeze—just replace the liner when it gets dirty. Also, make a habit of dusting the tops every few weeks to prevent grease from bonding with dust.
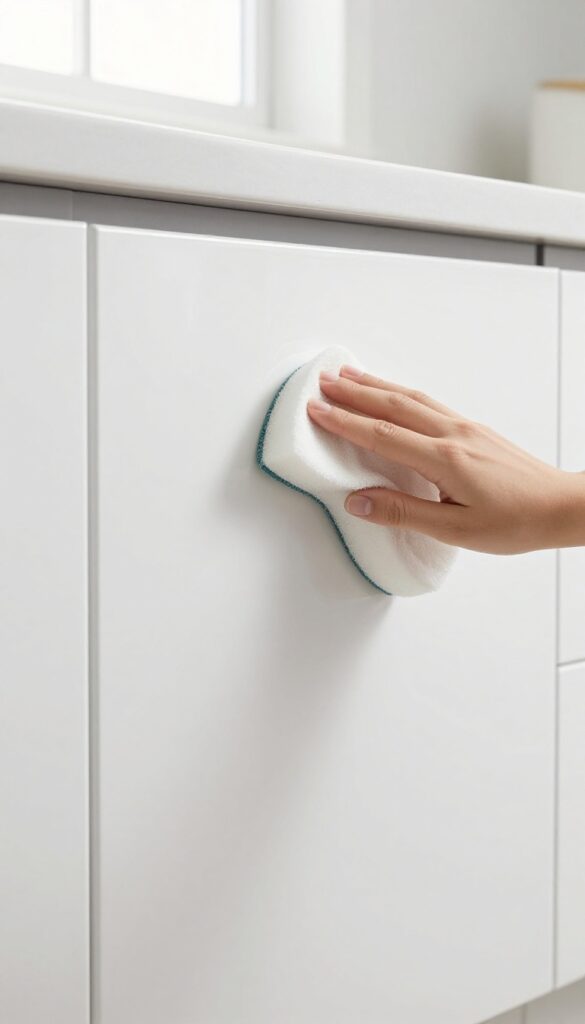
10. Use a Soft Cloth, Not a Scrubber
It's tempting to grab a rough sponge when you see baked-on grease, but that's a fast track to scratched surfaces. The finish on cabinets—whether wood, laminate, or painted—is more delicate than you think. A single scrub with an abrasive pad can leave permanent marks that trap even more dirt.
Microfiber or soft cotton cloths are your best friends here. They lift grease without scratching, and they're reusable. Paper towels might seem convenient, but they often leave lint behind, which clings to damp surfaces.
Stick with soft cloths and gentle wiping motions to keep cabinets looking new.
Why Microfiber Works Best
Microfiber has ultra-fine fibers that get into tiny grooves and lift grease without needing much pressure. It also traps dust instead of pushing it around. For best results, use a slightly damp microfiber cloth—dry cloths can still cause micro-scratches on some finishes.
Avoid These Common Mistakes
Never use steel wool, scouring pads, or any scrubber labeled "heavy duty. " Even some nylon scrubbers can dull a glossy finish. Also, skip the paper towels on high-gloss cabinets—lint is hard to remove once it sticks.
Always test a small hidden area first if you're unsure about a cloth's abrasiveness.
The Right Wiping Technique
Start from the top of the cabinet and work your way down. Use straight, overlapping strokes rather than circular motions, which can create swirl marks. Rinse or switch to a clean cloth as soon as you see grease buildup on the fabric.
A dirty cloth just redistributes the grime.
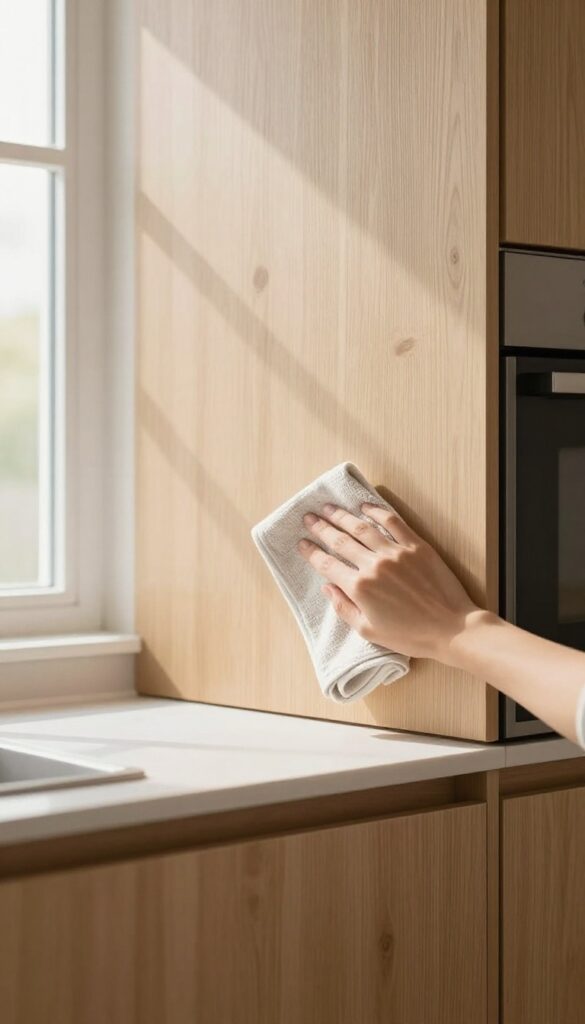
11. Condition Wood Cabinets After Cleaning
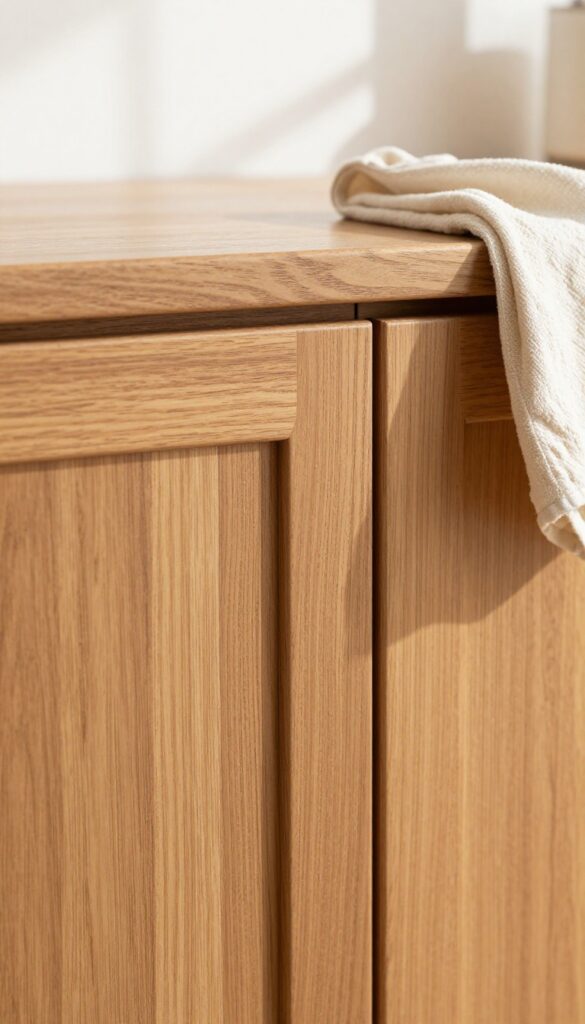
Once the grease and dust are gone, your wood cabinets might look a little dull or dry. That’s because cleaning can strip away natural oils. Conditioning brings back the warmth and luster, making the wood look refreshed and protected.
After cleaning, apply a small amount of mineral oil or furniture polish to restore moisture and shine. Buff with a clean cloth for a like-new look. Conditioning also helps repel future dust and grime.
Choose The Right Conditioner
Not all conditioners are the same. For unfinished or raw wood, mineral oil or beeswax-based products work well. For sealed cabinets, a high-quality furniture polish or a mix of olive oil and vinegar can add shine without buildup.
Always test on a hidden spot first.
Apply Sparingly And Buff Well
A little goes a long way. Dab a few drops onto a soft cloth, then rub gently into the wood grain. Let it sit for a minute, then buff with a dry cloth to remove any excess.
Over-conditioning can attract dust, so keep it light.
When To Condition
Condition your cabinets every three to six months, or whenever they start looking dry. If you clean frequently, you may need to condition more often. Watch for signs like light spots or a rough feel—that’s your cue.
12. Prevent Grease Buildup with a Splatter Guard
Cooking inevitably sends grease particles flying. A splatter guard or backsplash is a simple barrier that catches most of that mess before it reaches your cabinets. Less grease on the surfaces means less scrubbing later.
Choose The Right Splatter Screen
A fine-mesh splatter screen is your best friend when frying or sautéing. It sits over your pan and traps oil droplets while letting steam escape. Look for one with a heat-resistant handle and a tight weave to catch even tiny particles.
Install A Backsplash Behind The Stove
If you don't already have one, adding a backsplash behind your cooktop can make a huge difference. Materials like tile, stainless steel, or even easy-to-clean acrylic panels create a wipeable surface that stops grease from reaching the wall and adjacent cabinets.
Clean The Guard Regularly
A splatter guard only works if it's clean. After each use, wash it with warm soapy water or toss it in the dishwasher. A greasy screen just recirculates grime, so keep it fresh for maximum protection.
13. Use a Microfiber Duster for Daily Maintenance
A quick daily pass with a microfiber duster prevents dust from settling and bonding with grease. It takes seconds and keeps cabinets looking cleaner longer. This simple habit cuts down on deep cleaning frequency and protects the finish.
You'll notice less buildup over time.
Why Microfiber Works Best
Microfiber traps dust particles electrostatically rather than pushing them around. Feather dusters just scatter dust, while microfiber lifts and holds it. This makes it ideal for kitchen cabinets where grease can make dust sticky.
How To Incorporate It Into Your Routine
Keep a microfiber duster handy in the kitchen. After cooking or at the end of the day, give the cabinet fronts and tops a quick once-over. Focus on areas near the stove and sink where grease accumulates fastest.
Care Tips For Your Duster
Wash microfiber dusters regularly with mild detergent and no fabric softener. Softener clogs the fibers and reduces effectiveness. Air dry or tumble dry on low heat.
14. Avoid Harsh Chemicals Like Bleach
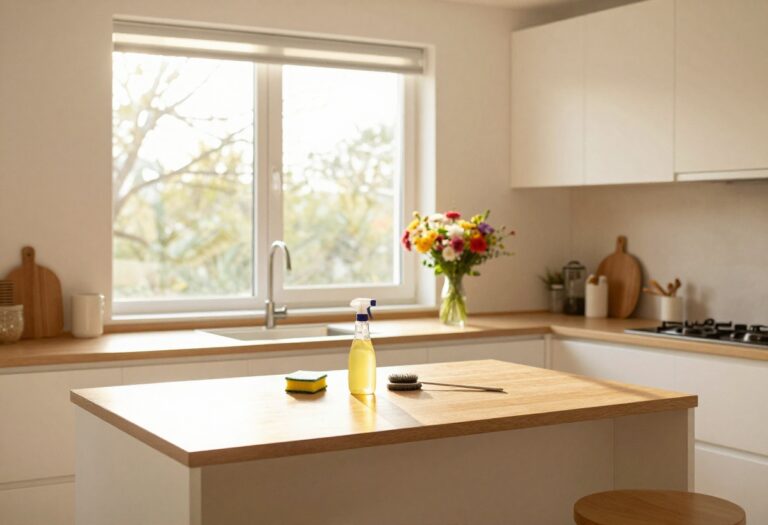
You might think bleach or ammonia-based cleaners are the heavy artillery against grease, but they can do more harm than good. These harsh chemicals can strip paint, discolor wood, or damage laminate finishes, leaving your cabinets looking worse than before. Instead, stick to gentle solutions that are tough on grime but safe for your cabinets.
Bleach and ammonia are overkill for most cabinet cleaning jobs. They can react with the finish, causing yellowing, cloudiness, or even peeling. Even diluted, they pose risks to your health and the environment.
The best approach is to use mild dish soap mixed with warm water, white vinegar diluted 1: 1 with water, or a specialized wood cleaner designed for your cabinet type. Always test any cleaner on a hidden area first to ensure it won't cause damage.
Why Bleach Is A Bad Idea
Bleach is a strong oxidizer that can break down the protective sealant on wood cabinets. Over time, it can lighten the wood unevenly or cause a chalky residue. On painted cabinets, bleach can strip the paint or cause it to bubble.
Even on laminate, bleach can dull the surface and weaken the adhesive over repeated use.
Ammonia's Hidden Risks
Ammonia is often found in glass cleaners and all-purpose sprays, but it's too aggressive for cabinets. It can react with certain wood finishes, causing a white haze or film that's difficult to remove. Ammonia fumes are also strong and can irritate your lungs, especially in a small, enclosed kitchen.
Safer Alternatives That Work
For everyday grease, a drop of mild dish soap in warm water is all you need. For tougher buildup, try a paste of baking soda and water—it's mildly abrasive but won't scratch. White vinegar cuts grease and disinfects without harming most finishes.
Just remember to dilute it and avoid it on unsealed wood. Specialized wood cleaners are also great because they're pH-balanced and often contain conditioning oils.
15. Clean from Top to Bottom
The order in which you clean your cabinets can make or break your efforts. If you start with the lower cabinets and then move upward, you're basically inviting dirty drips to land on your freshly cleaned surfaces. That means double the work and a lot of frustration.
Instead, adopt a top-to-bottom approach that saves time and keeps your results streak-free.
When you start at the top, gravity works in your favor. Any drips or splashes that fall will hit surfaces you haven't cleaned yet, so you can simply wipe them away as you go. This method also prevents you from having to re-clean lower cabinets after they've been splattered by overhead grime.
It's a small shift in routine that makes a big difference in efficiency.
Start With The Upper Cabinets
Begin at the highest point you can reach. Use a step stool if needed, and work your way down row by row. For tall cabinets, clean the top edges first, then the doors, and finally the frames.
This way any dust or grease that falls will land on areas you haven't tackled yet.
Don't Forget The Crown Molding
Crown molding and trim above cabinets collect a surprising amount of dust and grease. Use a microfiber cloth or a soft brush to remove loose debris, then wipe with a degreasing solution. Cleaning these first ensures that when you move to the cabinet doors below, you won't accidentally knock dirt onto them.
Work In Sections To Stay Organized
Tackle one vertical section at a time—like the area above the stove, then the sink area, and so on. This keeps you from spreading grime around and helps you track which spots are done. Use a clean cloth for each section to avoid redepositing grease.
16. Use a Steam Cleaner for Deep Grime
When grease has been baking on for months, sometimes scrubbing just isn't enough. That's where a handheld steam cleaner comes in. It uses high-temperature steam to loosen caked-on grime without any chemicals, making it a safe option for most cabinet surfaces.
Just make sure your cabinets can handle the heat—steam is not recommended for laminate or veneer that may peel.
A steam cleaner is especially useful for intricate details like raised panel edges, corners, and hardware. The steam penetrates crevices that a cloth can't reach, dissolving grease on contact. After steaming, wipe away the residue with a dry microfiber cloth to prevent water spots.
This method is fast, effective, and leaves cabinets sanitized without the need for harsh cleaners.
Best Surfaces For Steam Cleaning
Steam works best on sealed wood, painted cabinets, and metal hardware. Avoid using it on unsealed wood, laminate, or anything with peeling finish—moisture can cause swelling or damage. Always test in an inconspicuous spot first.
Technique Tips For Best Results
Hold the steam nozzle about 2 inches from the surface and move it slowly. Let the steam sit for a few seconds to loosen grime, then wipe with a dry cloth. Work in small sections and don't oversaturate.
For stubborn spots, a soft brush attachment helps agitate the grease.
Safety And Maintenance
Always follow the manufacturer's instructions for your steam cleaner. Use distilled water to prevent mineral buildup. After cleaning, let cabinets air dry completely before closing doors to avoid trapping moisture.
17. Schedule Regular Cleanings
Consistency beats intensity when it comes to cabinet care. A monthly wipe-down prevents grease and dust from forming that stubborn, baked-on layer. You'll spend less time scrubbing and more time enjoying your clean kitchen.
Set a recurring reminder on your phone or calendar. Choose a day that works for you—maybe the first Saturday of every month. Stick to it for a couple of cycles, and it becomes a habit.
Your cabinets will stay noticeably fresher, and each cleaning session will take just 10–15 minutes instead of an hour-long ordeal.
Why Monthly Works
Monthly cleaning targets the thin layer of grease and dust before it hardens. Think of it like brushing your teeth—daily maintenance prevents plaque buildup. For cabinets, monthly is the sweet spot between too often and not enough.
Make It Easy On Yourself
Keep a microfiber cloth and a gentle cleaner under the sink. When the reminder pops up, you're ready to go. No hunting for supplies.
Spray, wipe, and you're done. If you have a busy month, a quick once-over with a damp cloth still helps.
Pair It With Other Tasks
Link cabinet cleaning to something you already do monthly, like changing air filters or paying bills. The association makes it easier to remember. Or do it while waiting for your coffee to brew—efficient and painless.
FAQ
Can I use vinegar on all cabinet types?
Vinegar is safe for most sealed wood, laminate, and painted cabinets, but avoid it on unsealed wood or waxed finishes as it can damage the surface. Always test in an inconspicuous area first.
How often should I clean kitchen cabinets?
For light maintenance, wipe down cabinets every week. A deeper clean every month helps prevent grease and dust buildup. If you cook frequently, you may need to clean more often.
What's the best way to remove sticky residue from cabinet doors?
A mixture of warm water and dish soap usually works. For stubborn residue, try rubbing alcohol or a paste of baking soda and water. Gently scrub with a soft sponge.
Can I use a Magic Eraser on painted cabinets?
Yes, but use it gently. Magic Erasers are mildly abrasive and can dull glossy paint if rubbed too hard. Test on a hidden spot and use light pressure.
How do I prevent grease from building up on cabinets?
Use a stovetop splatter guard, turn on your exhaust fan while cooking, and wipe cabinets regularly. A quick daily dusting also prevents dust from bonding with grease.
Conclusion
Getting your kitchen cabinets free of grease and dust doesn't require harsh chemicals or endless scrubbing. Stick with these 17 tips, and you'll keep them looking fresh with minimal effort. A quick wipe-down after cooking goes a long way.
Try incorporating one or two of these methods into your weekly routine. Your cabinets will thank you, and you'll save yourself from dealing with stubborn buildup later on. Happy cleaning!