15 Chimney Cleaning Tips for Soot Buildup and Safer Fires
You stack the logs, strike a match, and settle in for a cozy evening. But behind the scenes, soot and creosote are quietly building up inside your chimney. That buildup isn't just messy—it's a fire hazard waiting to happen.
Regular chimney cleaning keeps your fires burning efficiently and your home safe. You don't need to be a professional to tackle most of the maintenance yourself.
These 15 tips cover everything from daily habits to seasonal deep cleans. They'll help you reduce soot, spot trouble early, and enjoy your fireplace with peace of mind.
1. Burn Only Seasoned Hardwood
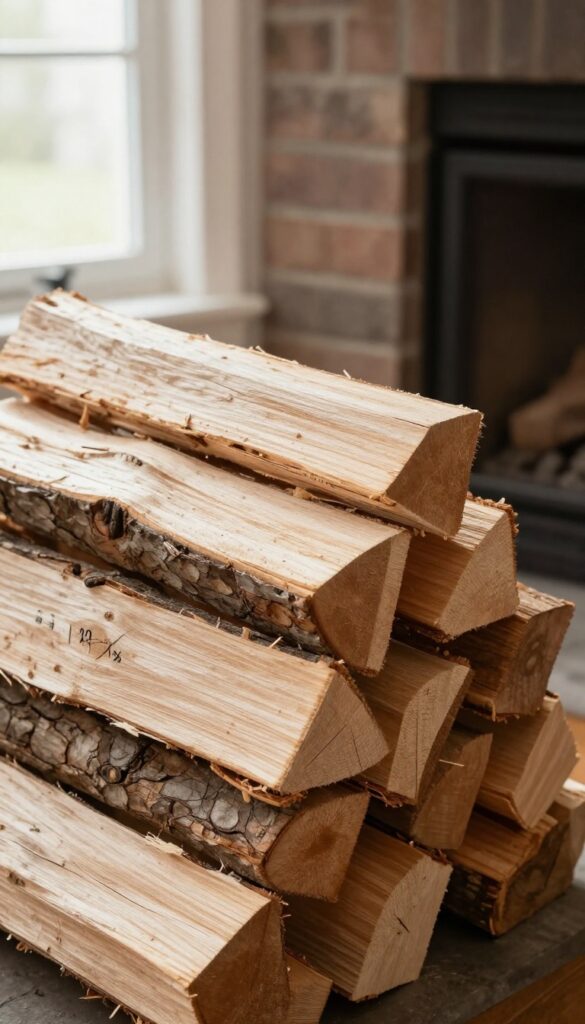
The wood you toss in the fireplace has a bigger impact on chimney buildup than you might think. Green or soft woods create more smoke, which turns into sticky creosote that clings to your flue. Seasoned hardwood, on the other hand, burns hot and clean, leaving behind far less soot.
Seasoned hardwood like oak, maple, or hickory has been dried for at least six months, reducing its moisture content to below 20%. This means it ignites easily, produces a hotter flame, and creates less smoke. The result is a cleaner burn that minimizes creosote accumulation, making your chimney safer and reducing how often you need to clean it.
Why Moisture Matters
Wood with high moisture content smolders instead of burning fully. That smoldering releases unburned gases and particles that condense inside your chimney as creosote. Seasoned wood burns efficiently, so those gases get consumed in the fire rather than coating your flue.
How To Tell If Wood Is Seasoned
Look for cracks on the ends, a lighter weight, and a hollow sound when two pieces are knocked together. You can also use a moisture meter—anything under 20% is good. Avoid wood that feels damp or has green bark.
Best Hardwoods For Your Fireplace
Oak, maple, ash, and birch are excellent choices. They burn long and hot, producing a steady flame with minimal smoke. Softwoods like pine or fir can be used for kindling but shouldn't be your main fuel because they create more creosote.
2. Use the Top-Down Fire Starting Method
The way you build your fire has a direct impact on how much soot and creosote end up in your chimney. Most people stack kindling at the bottom and logs on top, but that leads to a smoky, inefficient burn. The top-down method flips that logic and delivers a cleaner, hotter flame from the very start.
By placing larger logs on the bottom, smaller logs in the middle, and kindling on top, you create a fire that burns downward. The flames ignite the kindling first, which then catches the smaller logs, and finally the larger logs. This top-down burn produces more heat and less smoke because the fire gets plenty of oxygen right away.
Less smoke means fewer unburned particles floating up your flue, which directly translates to less soot and creosote buildup over time.
Why It Works
Traditional bottom-up fires smolder as they struggle to ignite the larger logs above. That smoldering phase produces a lot of smoke, which carries unburned carbon and moisture into your chimney. The top-down method eliminates that smoky startup.
The kindling burns hot and fast, heating the flue quickly and establishing a strong draft. A hot draft pulls smoke up efficiently, leaving less residue behind.
How To Set It Up
Start with two or three large seasoned logs placed side by side on the fireplace grate. Lay a row of smaller logs across them perpendicularly, then add a layer of kindling sticks on top in a crisscross pattern. Place a few fire starters or crumpled newspaper on top of the kindling.
Light the top, and watch the fire work its way down. No need to adjust or relight—just let it burn.
Bonus Clean-burn Tip
Pair this method with dry, seasoned wood that has a moisture content below 20%. Wet wood creates more smoke regardless of how you build the fire. Use a moisture meter to check your logs before burning.
Combining top-down lighting with dry wood gives you the cleanest, hottest fire possible.
3. Keep the Damper Fully Open While Burning
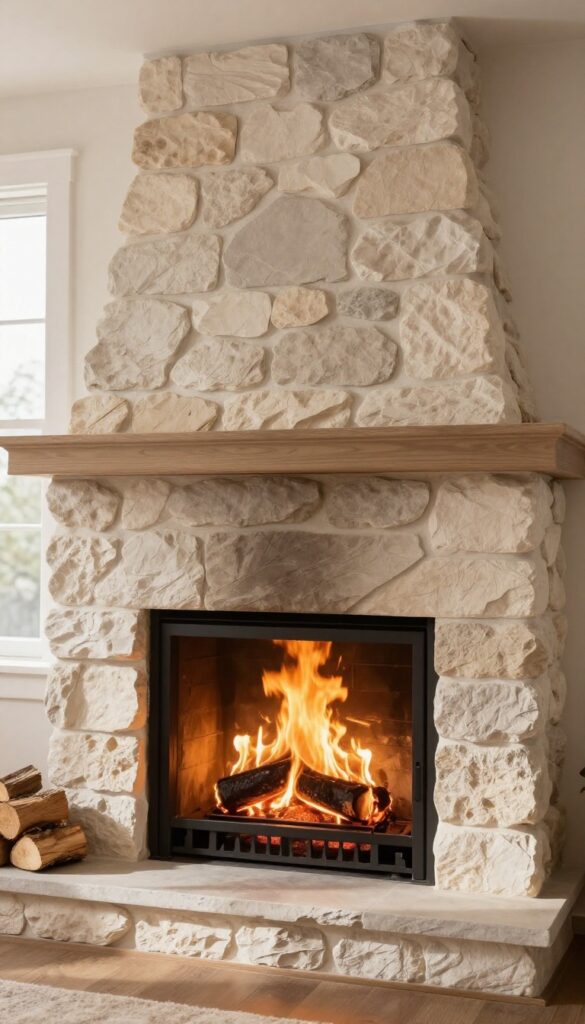
It’s tempting to close the damper partway to control how fast the fire burns or to hold heat in the room. But that small adjustment can backfire in a big way. When the damper isn’t fully open, the airflow gets choked, and the fire doesn’t get enough oxygen to burn cleanly.
That incomplete combustion creates more smoke, which cools and condenses inside your chimney as soot and creosote. Over time, that buildup restricts airflow even more, making the problem worse. Keeping the damper wide open while the fire is burning is one of the simplest ways to reduce soot and keep your chimney safer.
A fully open damper ensures proper airflow, which helps fuel burn completely and reduces smoke and soot buildup. When the damper is partially closed, the fire starves for oxygen, leading to smoldering, more smoke, and accelerated creosote deposition. This section explains why the damper position matters and how to make it a habit.
The Science Of Airflow
Fire needs oxygen to burn hot and clean. When you restrict the damper, you limit the amount of air that can enter the firebox. The fire then burns at a lower temperature, producing more unburned particles that rise as smoke.
As that smoke hits the cooler chimney walls, it condenses into creosote—a sticky, highly flammable substance. Keeping the damper fully open allows the fire to burn hotter and more completely, which means less smoke and less buildup.
Common Mistakes To Avoid
Some people close the damper partway to slow the burn and make the wood last longer. Others do it to reduce drafts or hold heat in the room. But these strategies actually increase soot and creosote.
If you want a longer burn, use denser hardwoods or adjust your fire-building technique instead. If drafts are an issue, consider a fireplace door or a draft stopper—never compromise the damper position.
Check Before You Light
Make it a habit to visually confirm the damper is fully open before you start the fire. Some dampers stick or can be accidentally bumped closed. A quick glance or a hand test (feeling for airflow) can save you from a smoky, sooty fire.
After the fire is completely out and the ashes are cold, you can close the damper to prevent heat loss, but never while the fire is still burning.
4. Install a Chimney Cap
Rain, leaves, and curious critters can turn your chimney into a mess. A chimney cap is a simple metal cover that sits on top of your flue. It blocks debris from entering while still letting smoke escape.
Without one, you're inviting blockages that trap moisture and accelerate soot buildup.
A chimney cap is one of the cheapest and most effective upgrades you can make. It prevents animals from nesting inside your flue, which can cause dangerous blockages. It also keeps rainwater out, reducing rust and deterioration of your chimney liner.
Less moisture means less soot sticking to the walls. Plus, a cap can stop sparks from landing on your roof, lowering the risk of a fire. Installation is straightforward—most caps just screw onto the top of the flue tile.
If you're not comfortable on a ladder, hire a professional. It's a small investment that pays off every time you light a fire.
What A Chimney Cap Does
A cap acts like an umbrella for your chimney. It deflects rain and snow while allowing smoke to draft upward. The mesh sides keep out leaves, twigs, and animals.
Without it, your flue can become a nesting site for birds, squirrels, or raccoons. That debris not only blocks airflow but also soaks up moisture, creating a perfect environment for soot and creosote to accumulate.
Choosing The Right Cap
Caps come in different sizes and materials. Stainless steel is durable and resists rust. Copper looks great but costs more.
Make sure the cap matches your flue size—too small and it won't cover properly, too large and it may not fit. Some caps have a built-in damper or spark arrestor, which adds extra safety. Measure your flue opening before buying.
Installation Tips
Most caps attach with screws or clamps. You'll need a ladder and basic tools. Clean the top of the flue first, then position the cap and secure it.
Check that the mesh is intact and not blocked. If your chimney is tall or sloped, consider hiring a pro. A poorly installed cap can blow off or cause draft issues.
5. Schedule an Annual Professional Inspection
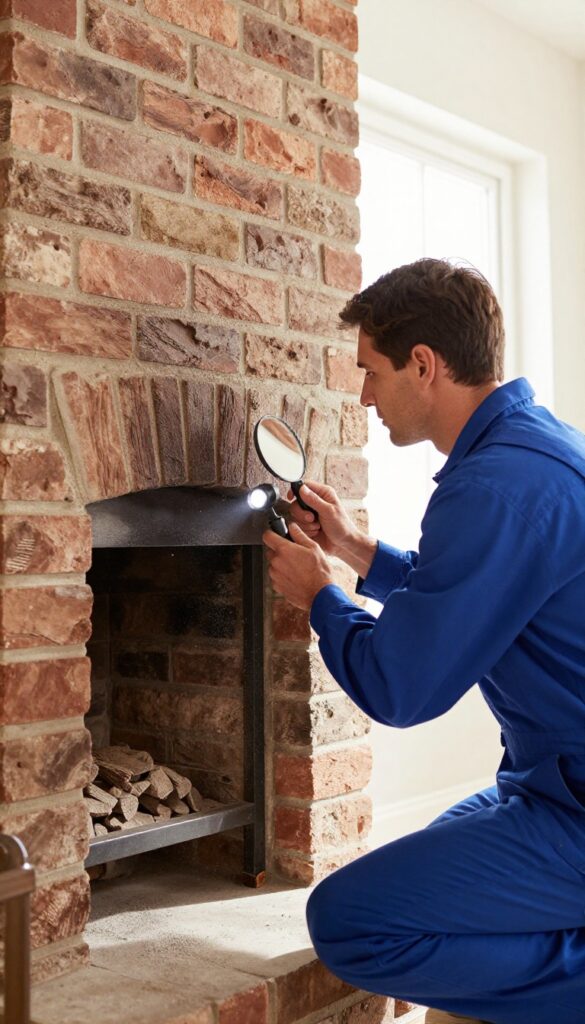
Even if you're diligent about sweeping and scraping, some chimney problems stay hidden until they cause real trouble. A certified chimney sweep has the tools and training to spot issues you'd never notice from the firebox. Think of it as a yearly checkup for your chimney.
It's a small investment that can prevent costly repairs and, more importantly, keep your home safe.
A professional inspection goes far beyond what you can see with a flashlight. The sweep will examine the flue liner for cracks or gaps, check the smoke chamber for creosote glaze, and inspect the crown and flashing for water damage. They'll also look inside the firebox and around the damper for signs of wear.
Many homeowners assume that if the chimney looks clean, it's fine. But creosote can form a hard, shiny glaze that's highly flammable and difficult to remove with a standard brush. A professional has specialized tools to break it down safely.
Some insurance companies even require an annual inspection to maintain coverage. Skipping it could leave you unprotected in the event of a chimney fire.
What The Inspection Covers
A Level 1 inspection—the standard for a chimney in regular use—includes checking all accessible interior and exterior surfaces. The sweep will look for creosote buildup, blockages, animal nests, and structural damage. They'll also check the damper operation and ensure the chimney is properly connected to the fireplace.
How Often You Really Need It
The National Fire Protection Association recommends an annual inspection regardless of how often you use your fireplace. Even if you burn only a few fires a year, moisture and temperature changes can cause deterioration. For heavy users, an inspection mid-season can catch problems before they escalate.
What To Expect During The Visit
A typical inspection takes 30 to 60 minutes. The sweep will set up drop cloths, use a vacuum to contain dust, and may use a camera to inspect hard-to-reach areas. Afterward, they'll provide a written report with any findings and recommendations for cleaning or repairs.
6. Clean the Firebox Weekly During Heavy Use
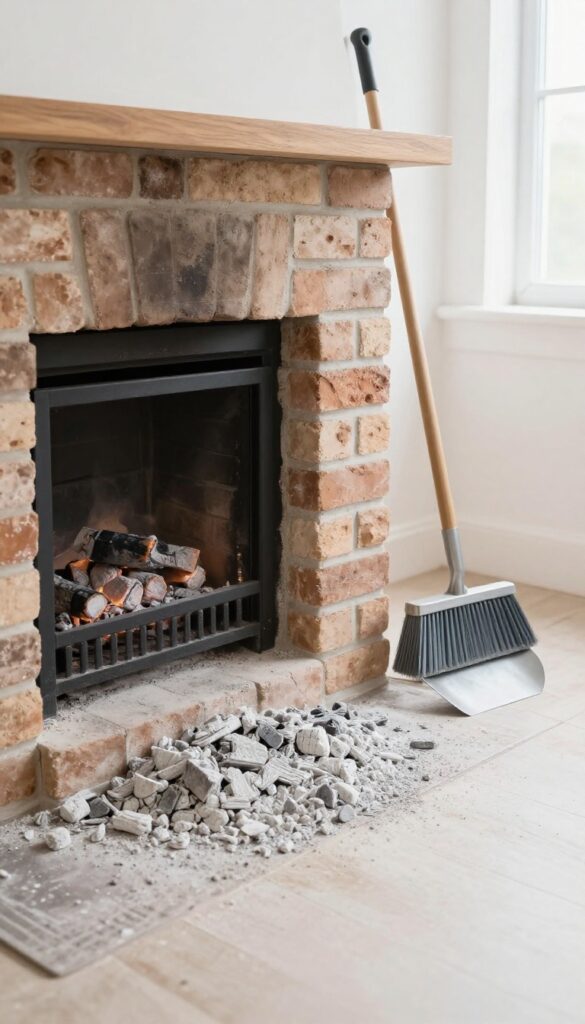
When you're burning fires most days, ash and soot pile up fast. That layer of debris doesn't just look messy—it can choke the airflow your fire needs to burn cleanly. A quick weekly cleanup keeps the firebox functioning well and cuts down on the gunk that eventually ends up in your chimney.
Wait For Complete Cool-down
Never scoop ash from a warm firebox. Embers can stay hot for hours, and disturbing them can send sparks into your home. Let the fireplace sit untouched for at least 12 hours after the last flame dies.
Test with the back of your hand near the ash—if you feel any warmth, wait longer.
Use The Right Tools
A metal shovel and a small whisk broom work best for scooping ash without making a dust storm. Avoid plastic tools—they can melt if you miss a hot spot. A dedicated ash bucket with a tight-fitting lid is essential.
Store it outside, well away from the house, because embers can smolder for days.
Leave A Thin Ash Bed
Don't scrape the firebox down to bare brick. A half-inch layer of ash acts as insulation, helping the next fire ignite faster and burn more evenly. It also protects the firebrick from thermal shock.
Just rake out the thick, loose stuff and leave a light dusting behind.
Check For Glowing Embers
Before you dump any ash, sift through it with your shovel to look for glowing coals. Even one hidden ember can start a fire in your ash bucket. If you find any, spread them out on the hearth and let them cool completely before disposal.
7. Use a Chimney Brush and Rod Kit
A chimney brush and rod kit is your most direct weapon against stubborn creosote. While chemical cleaners can help, nothing beats the mechanical scrubbing of a properly sized brush. The rods screw together to reach the full height of your flue, and the stiff bristles scrape off layers of buildup that would otherwise fuel a chimney fire.
It's a straightforward tool, but using it correctly makes all the difference between a clean flue and a scratched one.
Choosing The Right Brush Size
Measure your flue before buying a brush. A brush that's too small won't clean the walls effectively, while one that's too large can get stuck or damage the liner. For a square or rectangular flue, measure the width and depth.
For a round flue, measure the diameter. The brush should be slightly larger—about 1/2 inch to 1 inch wider than the flue—so the bristles press firmly against the walls. Wire brushes work best for clay tile liners, while poly brushes are safer for metal liners.
Assembling The Rods And Attaching The Brush
Most rod kits come with threaded fiberglass or polypropylene rods that screw together. Start by attaching the brush to the first rod, then add rods as you push the brush upward. Make sure each connection is tight to avoid losing a rod inside the chimney.
Work from the bottom up if you have access to the fireplace, or from the top down if you're on the roof. A helper can feed rods from below while you guide the brush from above.
The Scrubbing Technique
Push the brush up and down with steady, even strokes. Don't rush—let the bristles do the work. Focus on areas where creosote is thickest, usually near the top of the flue where smoke cools and condensation forms.
After several passes, pull the brush out and check the bristles. If they're coated in black goo, keep scrubbing. Once the brush comes out relatively clean, you're done.
Follow up by vacuuming the debris that fell into the firebox.
8. Try a Creosote-Removing Log Once a Month
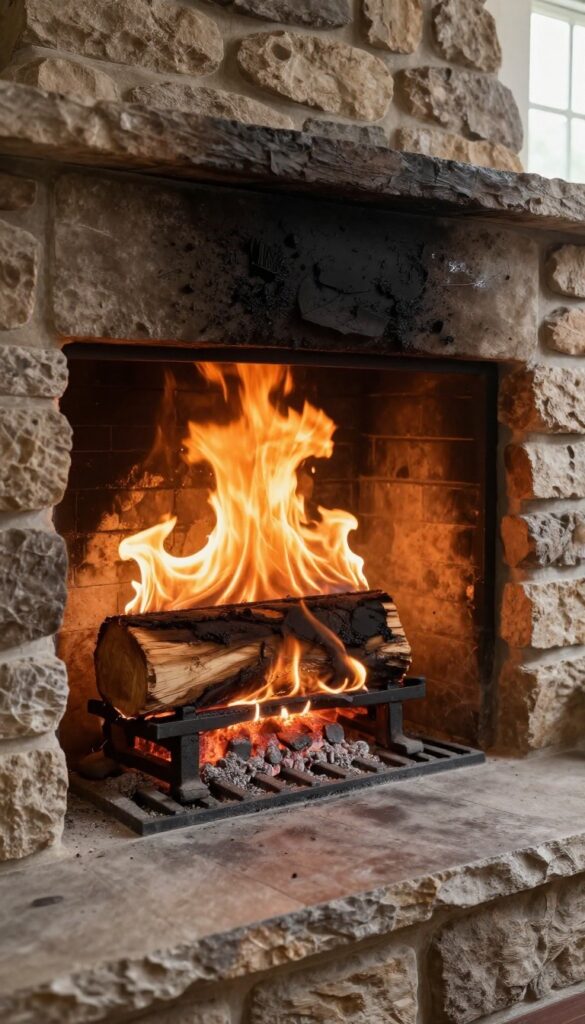
If scrubbing your chimney feels like a chore you keep putting off, a creosote-removing log can be a helpful middle ground. These chemical logs are designed to break down the sticky, tar-like creosote that builds up inside your flue, turning it into a dry, flaky residue that's much easier to brush away during your next cleaning. They're not a replacement for a proper sweep, but they can make the job less intense and help keep buildup under control between cleanings.
Creosote-removing logs contain special additives that react with the creosote as they burn. The chemicals—often including copper chloride or other catalysts—help dehydrate the creosote, causing it to lose its stickiness and turn into a brittle, powdery substance. This makes it less likely to catch fire and easier to remove with a brush.
You simply place the log on a hot fire once a month during burning season, let it burn completely, and then sweep your chimney as usual within a few days for best results. These logs are widely available at hardware stores and online, and they're relatively inexpensive. However, they work best on light to moderate creosote buildup—if you have a thick, glazed layer (third-degree creosote), you'll still need a professional cleaning.
Also, always follow the manufacturer's instructions, and never use a creosote-removing log as an excuse to skip your regular annual inspection. Think of them as a maintenance aid, not a miracle cure.
How They Work
The log releases chemicals that travel up the flue with the smoke. These chemicals react with the creosote, breaking down its molecular structure so it becomes dry and crumbly. Over the next few days, the treated creosote flakes off and falls to the bottom of the chimney or into the firebox, where you can easily vacuum it up.
When To Use One
Plan to burn a creosote-removing log once a month during the months you use your fireplace regularly. For example, if you burn fires from November through February, that's four logs total. Use one at the start of the season, then one at the end of each month.
After burning the log, wait a few days before sweeping to give the chemicals time to work.
What They Can't Do
These logs are not a substitute for a full chimney cleaning. They won't remove heavy, hardened creosote, soot, or blockages like animal nests. They also won't fix structural issues or remove debris from the smoke shelf.
Always have your chimney inspected and cleaned by a professional at least once a year, regardless of how many logs you use.
9. Check for Glazed Creosote
Not all creosote is created equal. You might be familiar with the fluffy, sooty kind that brushes off easily. But there's a nastier version that forms a hard, shiny layer inside your flue.
That's glazed creosote, and it's a whole different beast. This stuff is highly flammable and surprisingly tough to remove. It doesn't respond to standard brushing.
In fact, trying to scrub it can sometimes make it worse by polishing it even harder. The only safe way to deal with glazed creosote is to call in a professional chimney sweep.
Glazed creosote forms when smoke cools slowly and moisture combines with the creosote, creating a tar-like substance that hardens into a glassy coating. It's often found in chimneys that burn unseasoned wood or have restricted airflow. If you see a shiny, black, or dark brown layer inside your flue, that's glazed creosote.
It's a serious fire hazard because it can ignite easily and burn at extremely high temperatures. Here's the key: don't try to remove it yourself. Brushing can't break it loose, and chemical treatments may not fully dissolve it.
A professional sweep has the tools and training to remove it safely, often using rotary brushes or chemical solvents. Once it's gone, you'll need to adjust your burning habits to prevent it from coming back. That means using only seasoned wood, ensuring good airflow, and keeping your fires hot enough to burn off regular creosote before it turns into glaze.
What Glazed Creosote Looks Like
Glazed creosote looks like a hard, shiny coating on the inside of your chimney. It can be black, dark brown, or even have a tar-like appearance. Unlike the flaky, powdery creosote you can brush away, this stuff is smooth and almost feels like glass.
If you run a brush over it, it won't flake off; it'll just slide across the surface. You might also notice a strong, acrid smell when you burn a fire, which can be a sign that glazed creosote is present.
Why It's Dangerous
Glazed creosote is extremely flammable. It can ignite at lower temperatures than regular creosote and burn much hotter. A chimney fire fueled by glazed creosote can reach over 2000°F, which is hot enough to crack flue tiles, warp metal liners, and even ignite the surrounding wood framing of your house.
That's why it's considered one of the most serious chimney hazards. You don't want to take any chances with it.
How To Prevent It
Prevention is your best defense. Always burn seasoned firewood with a moisture content below 20%. Make sure your fire gets enough air by opening the damper fully and keeping the firebox clean.
Burn hot fires rather than slow, smoky ones. And have your chimney inspected annually—a professional can spot early signs of glazing before it becomes a major problem. If you do find glazed creosote, schedule a professional cleaning right away.
10. Vacuum the Fireplace and Surrounding Area
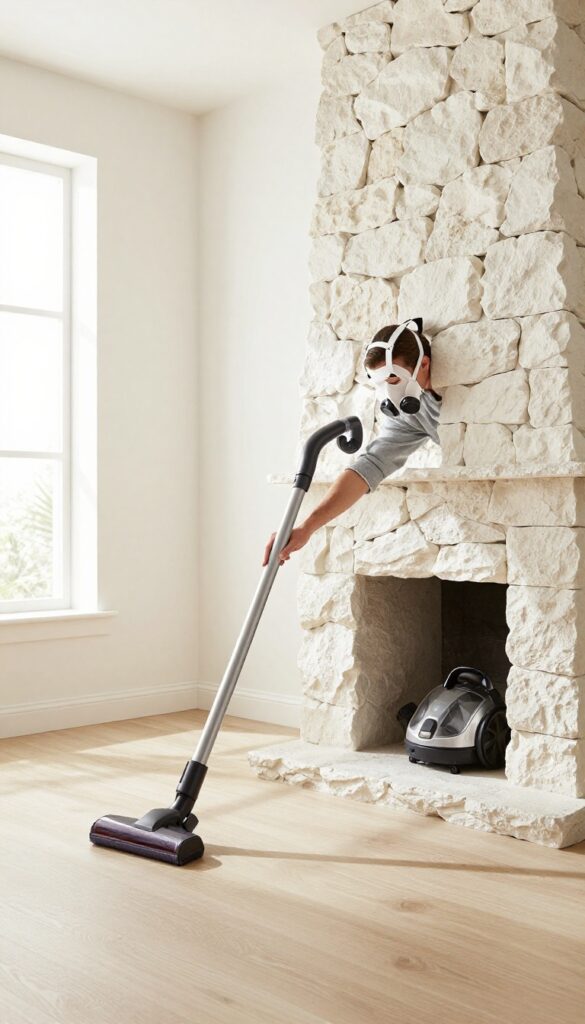
After you've scrubbed the chimney walls and scraped the firebox, fine soot dust still lingers everywhere. Those tiny particles settle on your hearth rug, furniture, and floors, ready to puff back into the air with the slightest movement. A thorough vacuuming with the right equipment makes the final cleanup quick and prevents soot from spreading through your home.
Why A Hepa Filter Matters
Standard vacuum bags and filters can't trap ultrafine soot particles, so they blow right back out the exhaust. A HEPA filter captures 99. 97% of particles down to 0.
3 microns, keeping the air in your room clean. If you're using a regular shop vac, pick up a HEPA filter replacement designed for your model.
Start High, Work Low
Begin by vacuuming the fireplace mantel, surrounding brick or stone, and any ledges where dust settles. Then move to the hearth and finally the floor. This top-down approach prevents you from knocking dust onto already cleaned surfaces.
Use a soft brush attachment on delicate surfaces to avoid scratching.
Don't Forget The Crevices
Soot loves to hide in the gap between the fireplace opening and the floor, along the edges of the firebox, and inside any ash dumps. Use a crevice tool to reach these tight spots. For stubborn buildup, a stiff brush followed by vacuuming works better than vacuuming alone.
Vacuum The Chimney Too (if Accessible)
If you have a cleanout door at the base of your chimney, open it and vacuum out any fallen soot and debris. This prevents that material from getting wet and turning into a hard, smelly paste. Wear a dust mask and goggles—this area is often extra dirty.
11. Inspect the Chimney Crown and Flashing
While you're focused on cleaning the flue, don't forget the top of your chimney. The crown and flashing are your first defense against water intrusion. When they crack or loosen, moisture seeps in, making soot clump and accelerating damage to the masonry.
A quick visual check from the ground or roof can save you from expensive repairs. Look for cracks, gaps, or rust, and address them promptly to keep your chimney dry and safe.
Why Water Is Your Chimney's Worst Enemy
Water mixing with soot creates a sticky, acidic sludge that's harder to remove and eats away at mortar and bricks. It also promotes rust on the damper and firebox components. A sound crown and flashing prevent this cycle before it starts.
How To Spot Trouble Early
From the ground, use binoculars to check for visible cracks or missing mortar on the crown. Inside the attic or from the roof, inspect the flashing where the chimney meets the roof—look for lifted shingles, gaps, or rusted metal. Any sign of water staining on interior walls is a red flag.
Simple Fixes You Can Do Yourself
Small crown cracks can be sealed with a chimney-specific hydraulic cement or caulk. For flashing, apply roofing cement to patch minor gaps. But if damage is extensive, call a pro—water leaks can lead to structural issues that aren't worth DIYing.
12. Avoid Burning Trash or Treated Wood
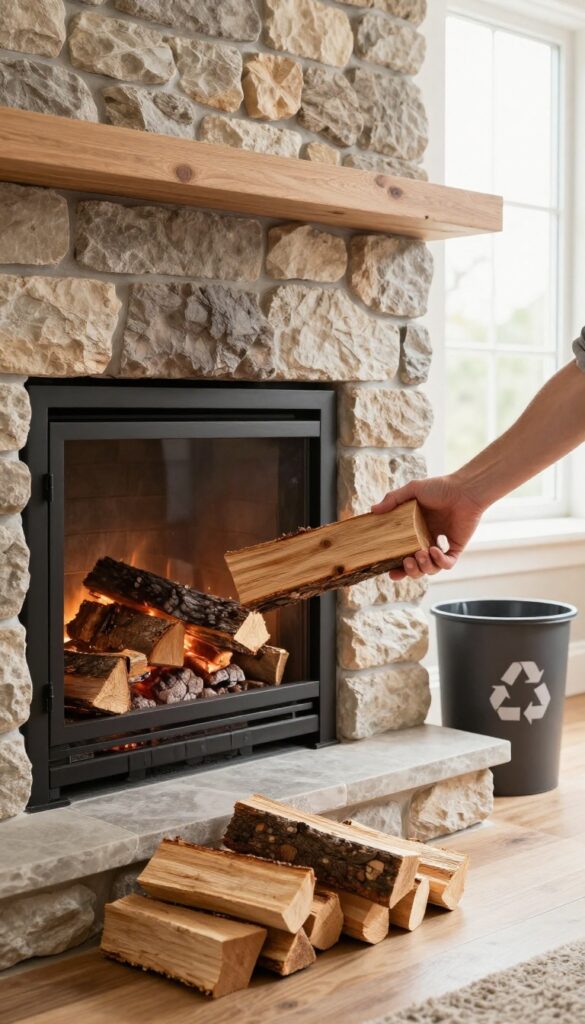
It might be tempting to toss cardboard boxes, junk mail, or scrap lumber into the fire as a quick way to get rid of them. But that habit is one of the worst things you can do for your chimney and your health. Burning trash or treated wood releases a cocktail of toxic chemicals and creates excessive, sticky soot that clings to your flue like glue.
When you burn items that aren't meant for the fireplace, you're not just creating more soot—you're creating a dangerous type of creosote that's harder to remove and more likely to ignite. Plus, the fumes from burning treated wood or plastics can be harmful to breathe. Stick to seasoned firewood only, and save the trash for the recycling bin or the dump.
What Counts As Trash Or Treated Wood?
Trash includes anything like cardboard, paper with colored ink, plastics, wrappers, and packaging materials. Treated wood refers to lumber that has been chemically treated to resist rot or insects, such as pressure-treated deck boards, pallets, or old fence posts. Even painted or stained wood falls into this category.
None of these belong in your fireplace.
The Sticky Soot Problem
Burning these materials produces a thick, sticky soot that adheres to chimney walls more aggressively than normal wood smoke. This soot is high in creosote, a tar-like substance that can build up quickly and increase the risk of chimney fires. It also makes your cleaning job much harder because the residue is stubborn and difficult to scrub off.
Health And Environmental Risks
The chemicals released when burning trash or treated wood include dioxins, furans, and heavy metals. These toxins can cause respiratory issues, irritate your eyes and skin, and even contribute to long-term health problems. They also pollute the air around your home and neighborhood.
Your fireplace is designed for clean-burning firewood, not a mini incinerator.
13. Keep the Glass Door Clean
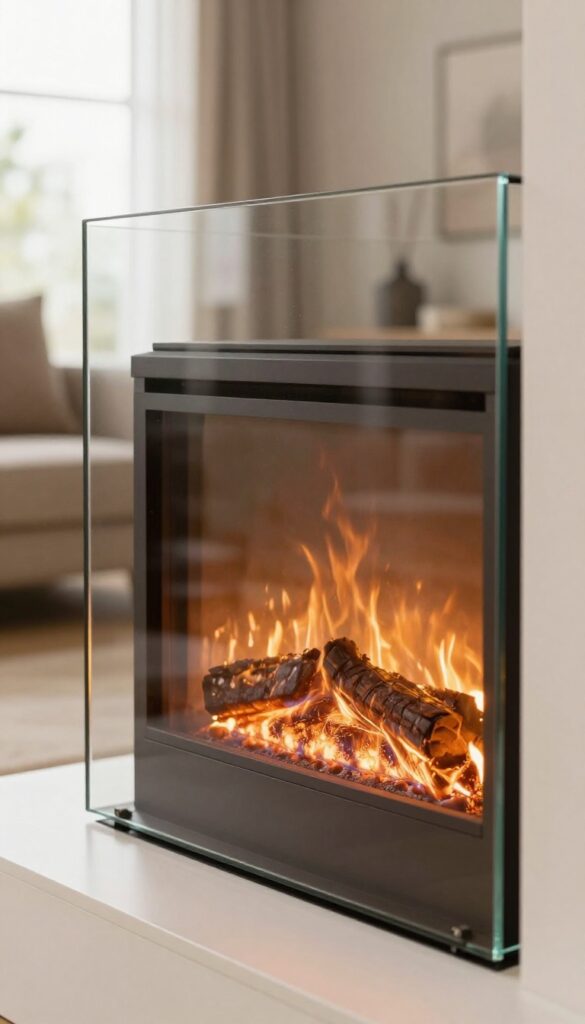
A clean glass door does more than just give you a better view of the flames. It actually helps your fireplace burn more efficiently by allowing maximum heat radiation into the room. When soot builds up on the glass, it acts like an insulator, trapping heat inside the firebox and reducing the warmth you feel.
Plus, that baked-on grime gets harder to remove the longer you leave it, so a quick wipe after each fire saves you elbow grease later.
Cleaning the glass door regularly is a simple habit that pays off in both looks and performance. You don't need harsh chemicals—just a little water, ash, and a soft cloth can do the trick. Here's how to keep that glass crystal clear and your fires safer.
Why It Matters
Soot on the glass isn't just ugly; it blocks radiant heat from reaching your room. That means you're burning more wood for less warmth. Over time, the soot can also bake into a stubborn layer that's tough to scrub off.
Keeping it clean helps you monitor the fire's condition and spot any issues like excessive smoke or poor draft early.
The Ash-and-water Method
This old-school trick works surprisingly well. Dip a damp paper towel or soft cloth into a small amount of cool ash from your firebox. Gently rub the glass in circular motions.
The mild abrasiveness of the ash lifts soot without scratching. Wipe off the residue with a clean damp cloth, then dry with a microfiber towel. It's cheap, chemical-free, and effective.
When To Use A Glass Cleaner
For heavy buildup, a dedicated fireplace glass cleaner can save time. Look for a non-toxic, ammonia-free spray. Apply it to a cool glass surface, let it sit for a minute, then wipe with a soft cloth.
Avoid using oven cleaners or abrasive pads—they can etch the glass or leave harmful residues that release fumes when heated.
Preventive Tips
To reduce soot on the glass, burn only seasoned hardwood with low moisture content. Avoid green wood, pine, or trash, which create more smoke and sticky deposits. Also, make sure your fire gets enough oxygen—open the air intake fully for the first few minutes to establish a hot, clean burn.
A hot fire produces less soot overall.
14. Monitor Smoke Color and Odor
Your chimney sends you signals every time you light a fire. The color and smell of the smoke are like a report card on how well your fire is burning—and how much soot you're creating. Learning to read those signs helps you adjust your technique on the spot.
Paying attention to smoke color and odor is a simple habit that can dramatically reduce soot buildup. White or light gray smoke means your fire is burning clean and hot. Dark smoke, especially black or thick gray, is a warning that combustion is incomplete.
That dark smoke carries unburned particles that settle as soot and creosote. The same goes for strong, acrid smells—they indicate volatile compounds escaping rather than burning. By adjusting your fire when you see or smell trouble, you stop soot before it starts.
What Clean Smoke Looks Like
A well-tended fire produces barely visible smoke that's white or light gray. You might see a faint wisp right after adding wood, but it should clear quickly. That's the sign of complete combustion—the fire is hot enough to burn all the gases and particles.
If your smoke looks like that, your chimney is staying cleaner.
Red Flags In Smoke Color
Dark smoke—black, brown, or heavy gray—is your cue to take action. It means the fire is smoldering rather than burning. Common causes are wet wood, too much wood packed in, or not enough airflow.
When you see dark smoke, open the damper a bit more or break up the logs to let in oxygen. The sooner you fix it, the less soot gets deposited.
Trust Your Nose
Smell is just as telling as sight. A clean fire smells like wood smoke—pleasant and mild. If you catch sharp, chemical, or burning-plastic odors, something's off.
Those smells come from resins and unburned gases that condense into creosote. Often, the culprit is green or resinous wood like pine. Switch to seasoned hardwoods and the smell should mellow out.
When To Call It Quits
If you've adjusted airflow and fuel but the smoke stays dark or smelly for more than a few minutes, it's better to let the fire die out. Relight with smaller, drier kindling and well-seasoned logs. Persistently bad smoke isn't just dirty—it's a sign your chimney might already have heavy buildup that needs professional cleaning.
15. Know When to Call a Professional
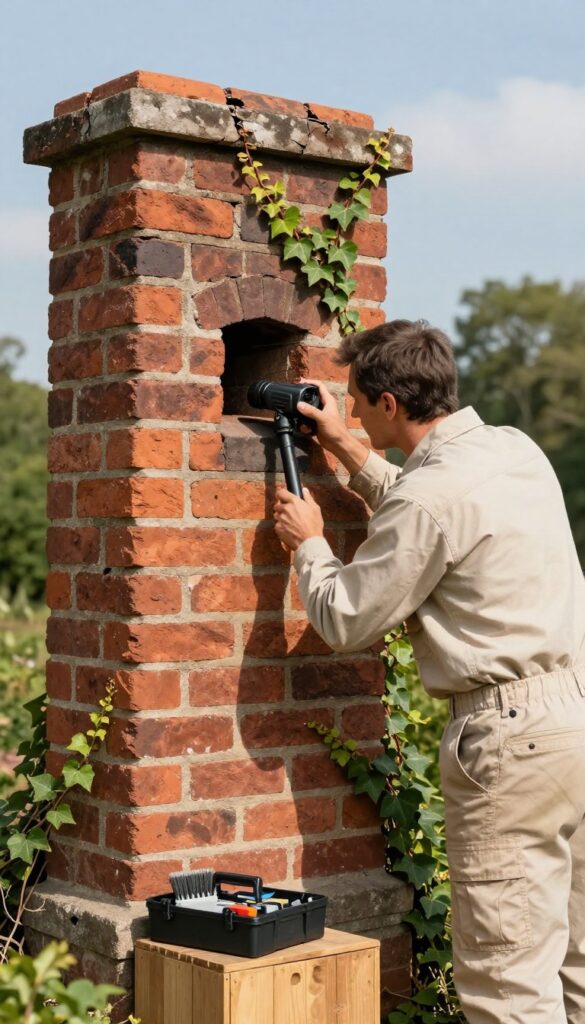
No matter how handy you are with a brush and rod, some chimney problems are best left to the pros. Heavy creosote buildup, animal intrusions, or structural damage aren't just tough to fix—they can be dangerous if handled wrong. Knowing your limits keeps you safe and your chimney in good shape.
Signs You Shouldn't Ignore
If you spot thick, tar-like creosote (glazed creosote) inside the flue, that's a red flag. It's highly flammable and requires special chemical treatments to remove. Also, if you see animal nests, debris, or signs of wildlife, don't try to extract them yourself—animals can carry diseases and may be protected by law.
Cracks, missing bricks, or a leaning chimney structure are also clear signs it's time to call in a certified sweep.
What A Professional Does
A certified chimney sweep has the tools and training to handle tough jobs. They use rotary brushes, vacuums, and sometimes video inspection cameras to assess the entire flue. They can also perform repairs like relining, crown sealing, or damper replacement.
Most sweeps follow the National Fire Protection Association (NFPA) standards, so you know the job is done right.
How Often To Schedule A Pro
Even if you clean regularly, the Chimney Safety Institute of America (CSIA) recommends an annual inspection by a certified sweep. This catches hidden issues like creosote buildup in hard-to-reach areas, flue blockages, or early signs of water damage. If you burn wood frequently, consider a mid-season check as well.
FAQ
How often should I clean my chimney?
The National Fire Protection Association recommends annual inspections and cleaning as needed. If you burn more than a cord of wood per season, clean it at least once a year.
Can I clean my chimney myself?
Yes, you can handle basic cleaning with a brush and rod kit, but a professional should inspect for hidden damage and remove heavy creosote.
What is the best way to reduce soot buildup?
Burn only seasoned hardwood, keep the damper open, and use the top-down fire starting method. Regular cleaning also helps.
How do I know if my chimney needs cleaning?
Look for soot flakes in the firebox, a strong smoky odor, or smoke backing up into the room. A visual inspection with a flashlight can reveal buildup.
Is creosote dangerous?
Yes, creosote is highly flammable and the leading cause of chimney fires. Regular cleaning removes it before it becomes a hazard.
Conclusion
Keeping your chimney clean isn't just about preventing soot buildup—it's about protecting your home and family. By working through these 15 tips, you can maintain a safer fireplace and catch potential problems early. Start with the tasks that fit your comfort level, whether that's scheduling a professional sweep or learning to inspect your own flue.
Even small steps like using seasoned wood or checking your cap make a real difference. Your fires will burn cleaner, and you'll have peace of mind all season long.