17 Cleaning Kitchen Tips for a Faster Daily Reset
Your kitchen can go from chaotic to calm in just minutes—if you have the right habits. These 17 cleaning tips focus on small, daily actions that prevent messes from piling up, so your evening reset feels effortless.
No more dreading a sink full of dishes or a sticky stovetop at the end of a long day. Each tip is designed to fit seamlessly into your cooking routine, saving you time and energy.
Ready to reclaim your kitchen without the overwhelm? Let's jump into the simple shifts that make a big difference.
1. Wipe Down Counters Immediately After Cooking
The moment you plate your food, grab a damp cloth or sponge. Those few seconds of effort while the stove is still warm prevent dried-on spills and stubborn stains. It’s a simple habit that keeps your kitchen looking tidy without any extra scrubbing later.
Wiping counters right after cooking is one of those small actions that saves big time. When you let spills sit, they harden and become harder to remove. A quick wipe while surfaces are still warm lifts grease and food particles easily.
Plus, it keeps your kitchen from feeling messy while you eat. Make it part of your cooking flow: keep a cloth within reach and use it as you finish each step.
Why Timing Matters
Heat softens residues, so wiping while the stove or counter is warm requires less elbow grease. Once things cool down, oils and sauces bond to the surface, turning a quick wipe into a scrub session. Catching it early means less work.
What To Use For Best Results
A microfiber cloth or a soft sponge works well for most surfaces. For greasy spots, a drop of dish soap in warm water cuts through the oil. Avoid abrasive pads on delicate countertops like quartz or marble.
Building The Habit
Keep a spray bottle of all-purpose cleaner or diluted vinegar near the stove. After you turn off the heat, spray and wipe. Do it consistently for a week, and it becomes automatic—no more dried-on messes.
2. Load the Dishwasher as You Go
Waiting until after dinner to load the dishwasher turns a quick chore into a mountain of work. The trick is to rinse and load each dish as you finish using it during meal prep. This small shift keeps your sink clear and your countertops tidy, so when the meal is over, you're already halfway done.
By adopting this habit, you eliminate the dreaded post-dinner pileup. Plates, pots, and utensils go straight into the dishwasher instead of stacking up in the sink. You'll notice that cleanup feels less like a burden and more like a natural part of cooking.
Start With A Clean Slate
Before you begin cooking, make sure your dishwasher is empty or has room for new dishes. This way, you can load items immediately without having to unload first. A quick morning unload sets you up for success.
Rinse As You Go
Keep a scrub brush or sponge near the sink. After using a cutting board, measuring cup, or mixing bowl, give it a quick rinse and place it in the dishwasher. This prevents food from drying on and makes loading effortless.
Load Strategically
Place larger items like pots and pans on the bottom rack, and smaller items like cups and utensils on the top. Group similar items together to maximize space and ensure everything gets clean. This also speeds up unloading later.
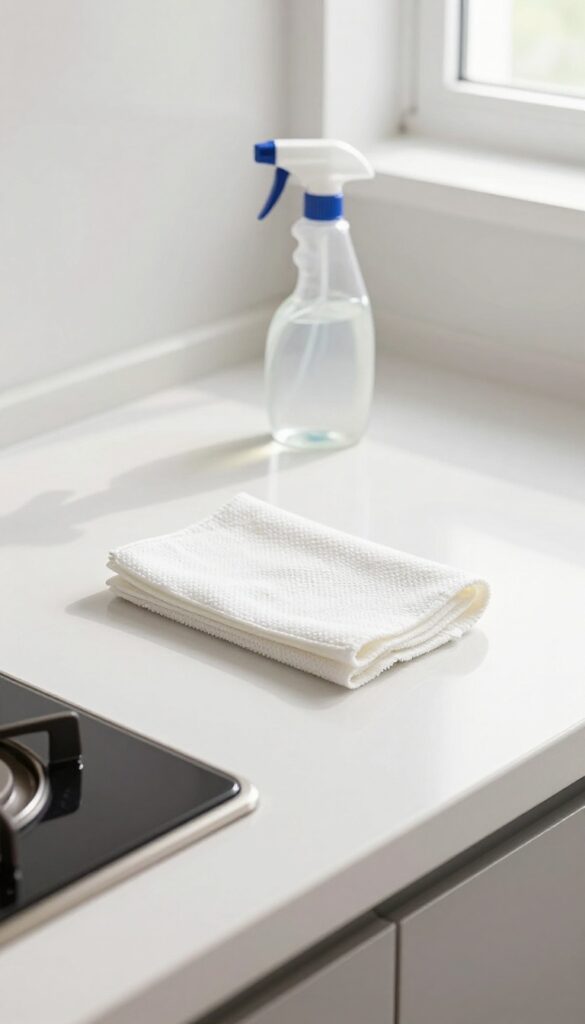
3. Keep a Spray Bottle of All-Purpose Cleaner Handy

You don't need a cabinet full of specialty sprays. A single bottle of all-purpose cleaner, mixed and ready to go, can handle most daily messes. The trick is keeping it within arm's reach—right on the counter or under the sink—so you can grab it without thinking.
That split-second convenience is what turns a chore into a reflex.
Make Your Own Or Buy Smart
You can mix a simple solution of water, white vinegar, and a few drops of dish soap. It cuts grease, disinfects lightly, and costs pennies. If you prefer store-bought, choose a concentrate you dilute yourself—it's cheaper and reduces plastic waste.
Either way, label the bottle clearly so no one mistakes it for cooking oil.
Placement Is Everything
Keep one spray bottle near the sink for quick counter wipes after meal prep. Stash another under the kitchen sink for spills on the floor or stovetop. If you have an island, tuck a bottle in a drawer or caddy.
The goal is to make the sprayer the most accessible tool in your kitchen.
The One-minute Wipe Rule
After every meal, take one minute to spritz and wipe all surfaces: counters, stovetop, and the microwave exterior. This prevents sticky residue from baking on and saves you from a deep scrub later. It also trains your brain to see the spray bottle as a finishing step, not an extra task.
4. Use a Microfiber Cloth for Streak-Free Surfaces
Microfiber cloths are a game-changer for kitchen cleaning. They trap grease, dust, and grime without needing harsh chemicals, leaving surfaces spotless and streak-free. The secret lies in their ultra-fine fibers that attract dirt like a magnet, making your daily wipe-down quick and effective.
For a faster kitchen reset, swap your old sponges and rags for microfiber cloths. They are reusable, washable, and far more efficient at picking up particles. Keep a dedicated cloth for counters and another for glass to avoid transferring grease to your windows or mirrors.
This simple swap reduces the time you spend scrubbing and eliminates the need for multiple cleaning products.
Why Microfiber Works Better
Microfiber cloths are made of split fibers that create a static charge, attracting dust and grease like a magnet. Unlike cotton rags that push dirt around, microfiber traps it deep within the fibers. This means you can clean with just water or a mild cleaner, cutting down on chemical use and residue.
Color-code Your Cloths
Avoid cross-contamination by assigning different colors for different tasks. Use blue for glass and mirrors, green for counters, and red for stovetops or greasy areas. This system ensures you never accidentally spread grease to a clean surface, keeping your kitchen hygienic and your glass streak-free.
Care Tips For Longevity
Wash microfiber cloths separately from cotton items to prevent lint transfer. Use a gentle detergent without fabric softener, as softener coats the fibers and ruins their effectiveness. Air dry or tumble dry on low heat.
With proper care, a good microfiber cloth can last for hundreds of washes.
5. Empty the Sink of Dishes Before Bed
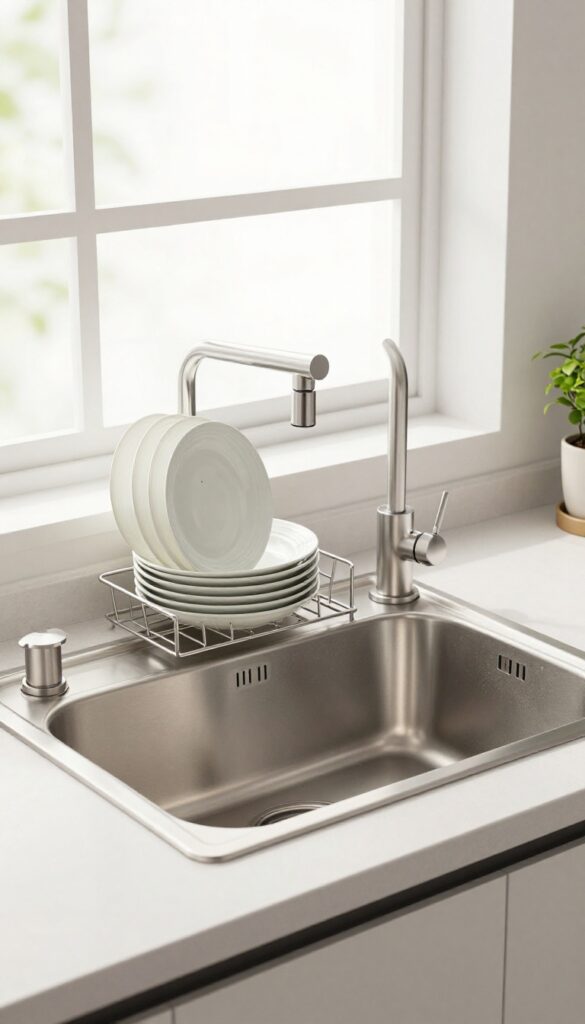
There's something about waking up to a clean sink that sets a positive tone for the whole day. A sink full of dirty dishes from the night before not only looks uninviting but also invites odors and pests. Making it a non-negotiable rule to wash or load everything before you turn in can transform your morning routine and keep your kitchen fresh.
This simple habit prevents the buildup of grime and bacteria that thrive on leftover food. It also eliminates the temptation to let dishes pile up, which can lead to a daunting cleaning session later. By committing to a clean sink each night, you're setting yourself up for a faster, more pleasant kitchen reset every day.
Make It A Family Rule
Get everyone in the household on board. After dinner, assign a quick task: rinse plates, load the dishwasher, or wipe down the sink. When it's a shared responsibility, it takes just a few minutes and feels less like a chore.
Tackle Stubborn Items First
If you have pots or pans with stuck-on food, soak them in hot, soapy water right after eating. By the time you're ready to wash, the residue will loosen, making cleanup a breeze. This prevents you from leaving them overnight out of frustration.
Use A Dishwasher As A Drying Rack
If you hand-wash dishes, let them air-dry in a dish rack overnight. In the morning, simply put them away. This keeps your sink clear and ready for the day's use, and it's a small tweak that makes a big difference in your morning flow.
6. Sweep or Vacuum High-Traffic Areas Daily
Crumbs are sneaky. They fall off counters, hide under chairs, and somehow multiply overnight. Before you know it, your kitchen floor looks like a snack graveyard.
A quick daily sweep or vacuum of high-traffic spots stops crumbs from becoming a bigger problem.
You don't need to clean the entire floor every day—just focus on areas where people walk and eat. A minute or two with a broom or cordless vacuum keeps dirt from spreading and makes your kitchen look instantly cleaner. Plus, it prevents crumbs from attracting ants or other pests.
Focus On The Hot Zones
Identify the spots where crumbs accumulate most: under the dining table, near the trash can, and around the stove. These are the hot zones. A quick pass over these areas daily removes the bulk of debris before it gets ground into the floor.
Use The Right Tool For Your Floor
Hard floors: A microfiber dust mop or a soft-bristle broom works great. For tile or wood, avoid stiff bristles that can scratch. If you have a cordless stick vacuum, keep it charged and handy near the kitchen so you can grab it in seconds.
Make It A Post-meal Habit
Right after dinner, while you're still in the kitchen cleaning up, do a quick sweep or vacuum. It takes less than two minutes and prevents crumbs from sitting overnight. You'll wake up to a floor that feels clean underfoot.
7. Wipe Down the Stovetop After Each Use
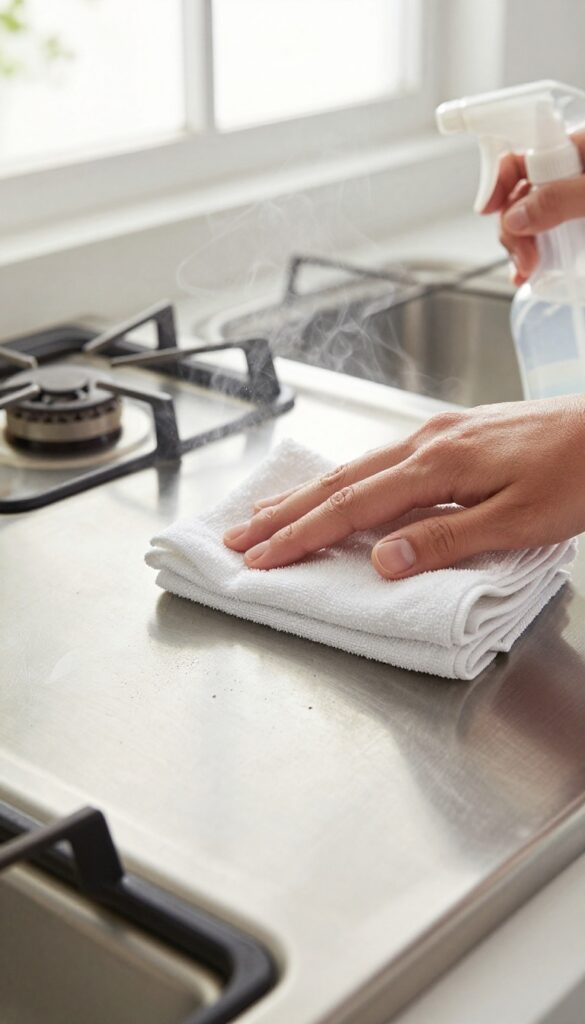
Burned-on food is much harder to remove later. A quick wipe with a damp cloth while the surface is still warm prevents buildup. This simple habit keeps your stovetop looking clean and reduces scrubbing time.
Make it a rule to wipe the stovetop as soon as you finish cooking. While the surface is still warm (but not hot), spray a little all-purpose cleaner or just use a damp microfiber cloth. Focus on areas with splatters or spills.
For stubborn spots, a paste of baking soda and water works wonders. This daily reset takes less than a minute and saves you from deep cleaning later.
Why Warm Wiping Works Best
Heat loosens food particles and grease, making them easier to wipe away. If you wait until the stovetop cools, residue hardens and bonds to the surface. A warm wipe prevents that bond from forming.
Tools To Keep Handy
Store a microfiber cloth and a spray bottle of diluted vinegar or a gentle cleaner near your stovetop. Having them within reach makes it effortless to wipe down after every meal.
What About Gas Grates?
For gas stoves, remove the grates and wipe them with a damp cloth. For stubborn grease, soak them in hot, soapy water once a week. A quick daily wipe still keeps them from getting caked on.
8. Organize Your Fridge with Clear Bins
A tidy fridge isn't just about aesthetics—it's a time-saver. When everything has a home, you can find ingredients instantly and spot what needs to be used up before it spoils. Clear bins make this system effortless, turning your fridge into a well-organized pantry.
Grouping similar items in clear bins transforms your fridge from a jumble of jars and containers into a streamlined system. You'll never have to dig through shelves to find the yogurt or wonder if you still have that half-used jar of salsa. Plus, when it's time for a weekly cleanout, you simply pull out each bin, wipe down the shelf, and toss anything past its prime.
It's a small change that pays off every day.
Categorize By Usage
Start by sorting your fridge staples into categories: dairy, condiments, produce, meats, and leftovers. Use separate bins for each group. For example, keep all cheese, yogurt, and milk in one bin; salad dressings and sauces in another.
This way, you can grab what you need without shifting bottles around.
Label For Clarity
Add simple labels to each bin—either with a label maker or removable chalk labels. This helps everyone in the household know where things go. It also makes restocking easier: you can see at a glance when you're running low on a category.
Make Cleanout A Breeze
Once a week, take all bins out and wipe down the shelves. While they're out, check for any expired items or wilting produce. Because everything is grouped, you can quickly toss what's bad and reorganize.
This routine keeps your fridge fresh and reduces food waste.
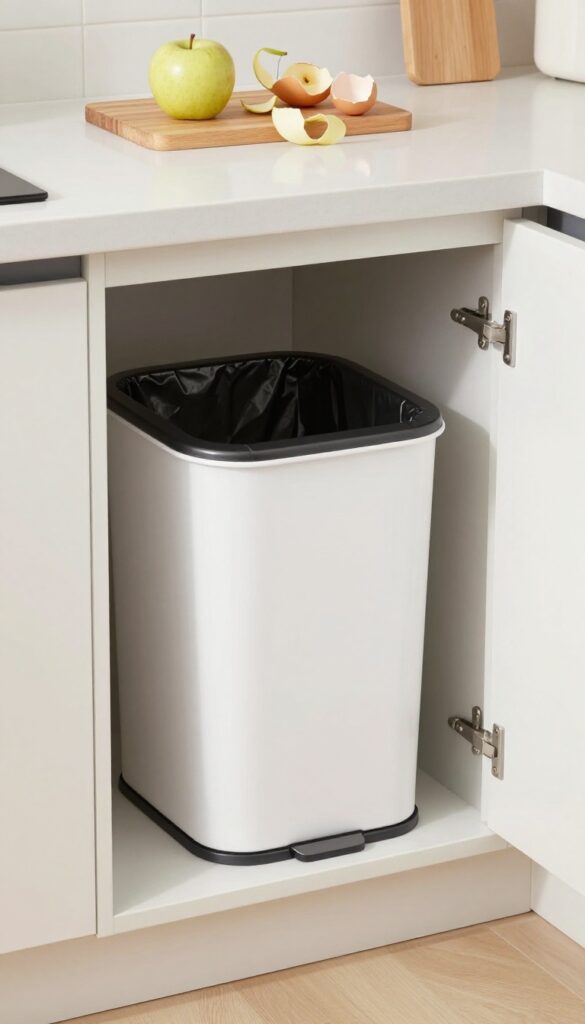
9. Use a Liner for Your Trash Can
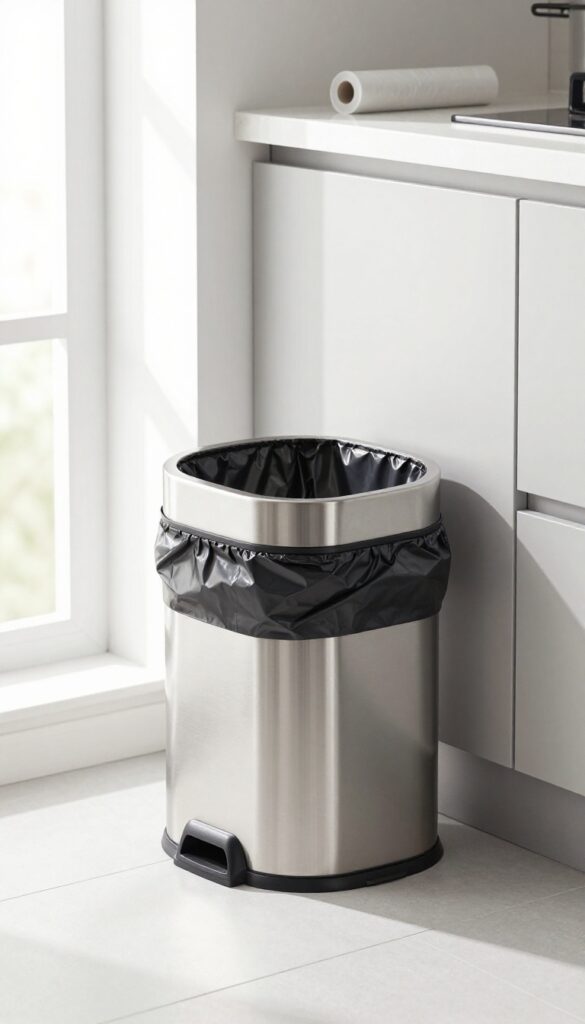
Trash cans are magnets for spills, leaks, and odors. A high-quality liner acts as a barrier, catching drips and making disposal quick and clean. This small upgrade can save you from scrubbing the bin every week.
A leak-proof liner prevents messes and makes taking out the trash less gross. Replace it regularly to avoid odors.
Choose The Right Size And Thickness
A liner that's too small will slip down, while one that's too large bunches up and tears. Measure your can's height and width, then pick a bag that fits snugly. Thicker bags (2 mil or more) resist punctures from sharp items like coffee grounds or broken glass.
Double Up For Wet Waste
If you toss food scraps or liquid-heavy items, use two liners or place a small bag inside a larger one. This extra layer catches leaks and keeps the outer bag clean. You can also line the bottom of the can with newspaper or a paper towel for added absorption.
Tie And Toss Without Touching
When the bag is full, gather the top edges and tie a knot. For extra hygiene, pull the liner out by the knot and carry it to the outdoor bin. This keeps your hands away from any residue.
Consider scented liners or a sprinkle of baking soda at the bottom to neutralize smells.
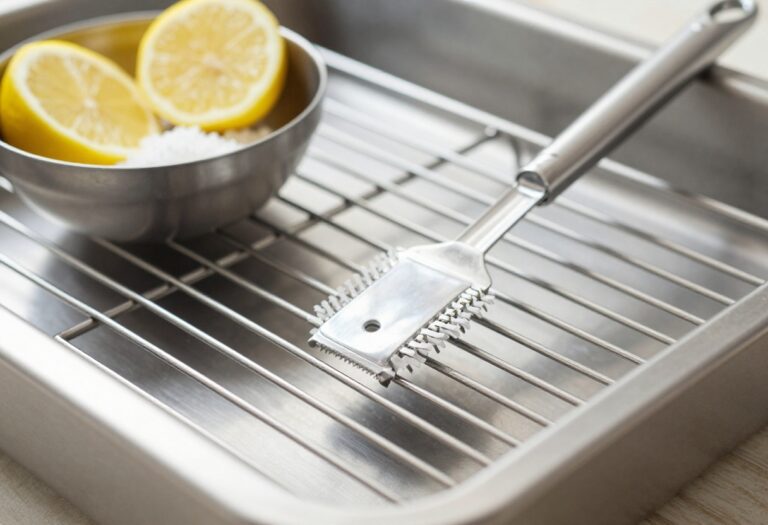
10. Clean the Microwave with Steam
Microwaves tend to collect splatters that bake on over time. Instead of scrubbing with harsh chemicals, let steam do the heavy lifting. This method takes just two minutes and leaves your microwave spotless with minimal effort.
Place a microwave-safe bowl filled with water and a few lemon slices inside. Run the microwave on high for two minutes. The steam will loosen any stuck-on food and grease.
Carefully remove the bowl—it will be hot—and wipe down the interior with a damp cloth or sponge. The lemon leaves a fresh scent behind.
Why Lemon Works Best
Lemon adds a natural acidity that helps break down grease and eliminates odors. If you don't have a lemon, a tablespoon of vinegar works just as well. Avoid using essential oils, as they can damage the microwave's interior.
How To Prevent Future Splatters
Cover your food with a microwave-safe lid or a damp paper towel when reheating. This catches most splatters before they hit the walls. Wipe down the interior with a damp cloth after each use to keep buildup from forming.
What About The Turntable?
The glass turntable can be washed in the sink with warm, soapy water. If it's heavily soiled, let it soak for a few minutes. Dry it thoroughly before placing it back to avoid water spots.
11. Keep a Small Trash Bin Under the Sink for Food Scraps
Peels, cores, and eggshells can pile up fast while you cook. Instead of walking back and forth to the main trash can, stash a small bin under the sink. It keeps your counter clear and makes cleanup a breeze.
A mini bin for food scraps saves steps and cuts down on mess. Choose a bin with a lid to trap odors, and line it with a small bag. Empty it every evening to prevent fruit flies and smells from building up.
This simple habit turns a potential chore into a quick, no-fuss reset.
Pick The Right Size
A 1- to 2-gallon bin fits most under-sink spaces without getting in the way. Make sure it's easy to lift out and carry to the main trash or compost bin.
Lid Or No Lid?
A lid helps contain odors, especially if you're not emptying daily. But if you're diligent about taking it out each night, an open bin works fine and is easier to toss scraps into.
Daily Empty Routine
Make it part of your evening reset: grab the bin, empty it into the main trash, and give it a quick rinse if needed. This prevents smells and keeps your kitchen fresh.
12. Wipe Down Cabinet Handles and Light Switches Weekly
We touch cabinet handles and light switches dozens of times a day—often with sticky or greasy fingers from cooking. These spots become invisible grime magnets and can harbor germs that spread through the household. A quick weekly wipe keeps them clean and reduces the chance of illness.
Why These Spots Matter
High-touch surfaces like handles and switches collect oils, food residue, and bacteria from raw ingredients. Studies show that kitchen handles can be among the dirtiest spots in a home. A simple disinfecting wipe each week cuts down on cross-contamination and keeps your kitchen feeling fresh.
The Right Tools For The Job
Use a disinfectant wipe or a microfiber cloth with a gentle all-purpose cleaner. Avoid harsh chemicals that may damage finishes—especially on brass or painted hardware. For light switches, a slightly damp cloth is enough; never spray liquid directly onto the switch plate.
Make It A Habit
Tie this task to an existing routine, like after your weekly grocery run or while you’re waiting for coffee to brew. It takes less than two minutes. Over time, you’ll notice less grime buildup and a cleaner feel every time you open a cabinet.
13. Use a Dish Drying Mat Instead of a Rack
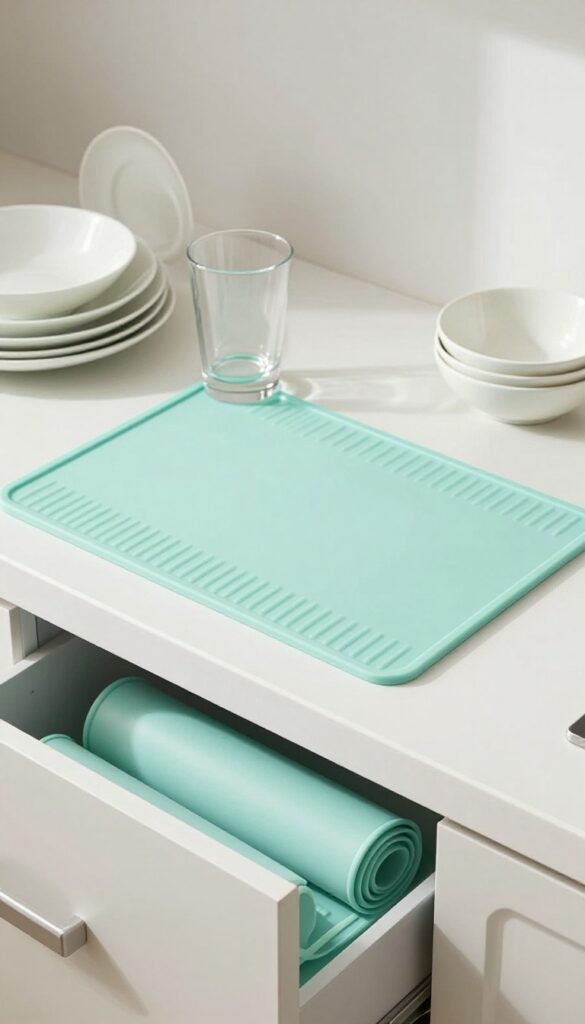
Drying racks take up counter space and collect grime in hard-to-reach corners. A simple dish drying mat solves both problems. It catches drips, folds away easily, and goes straight into the washing machine when it gets dirty.
Switching to a dish drying mat is one of those small changes that makes a big difference in your daily kitchen reset. Unlike bulky metal racks that trap water and food particles, a mat lies flat and dries quickly. You can roll it up and store it in a drawer, freeing up valuable counter space for other tasks.
Plus, when it starts to look grimy, just toss it in the wash—no scrubbing required.
Easy To Clean, Easy To Store
Dish drying mats are typically made from silicone or microfiber, both of which are machine-washable. A quick spin in the laundry removes bacteria, mold, and odors that can build up on traditional racks. When not in use, the mat rolls up compactly, unlike a fixed rack that takes up permanent space.
Gentler On Your Dishes
Metal racks can scratch delicate glassware and non-stick pans. A soft mat provides a cushioned surface that protects your dishes from chips and scratches. It also absorbs water silently, reducing the clatter and noise of stacking wet dishes.
Prevents Water Spots On Counters
A good drying mat has raised ridges or a textured surface that lifts dishes off the counter, allowing air to circulate underneath. This prevents water from pooling and leaving mineral deposits or stains on your countertops. Your kitchen stays cleaner with less effort.
14. Store Cleaning Supplies in a Caddy for Portability
A caddy lets you carry everything from counter to counter. No more running back and forth for forgotten sprays or cloths. It keeps your supplies organized and within arm's reach, so you can clean as you go without breaking stride.
Choose The Right Caddy
Pick a sturdy plastic or metal caddy with a handle. Look for one with compartments to separate bottles, sponges, and scrub brushes. A caddy with a wide base won't tip over easily, and a removable tray makes cleaning the caddy itself a breeze.
Stock It With Essentials Only
Don't overfill your caddy. Stick to an all-purpose spray, a glass cleaner, a degreaser, microfiber cloths, and a scrub brush. If you have a specific counter material, include a cleaner that's safe for it.
Keep a small trash bag or liner in the caddy for quick wipe-ups.
Keep It Accessible
Store your caddy under the sink or on a shelf near your main work area. When you start cooking, grab it and set it on the counter. As you move from prep to stovetop to sink, the caddy moves with you.
After cleaning, just return it to its spot.
Refresh Regularly
Once a week, empty the caddy and check for empty bottles or dirty cloths. Refill or replace as needed. A quick wipe of the caddy itself prevents grime buildup.
This habit ensures your caddy is always ready when you need it.
15. Clean the Sink with Baking Soda and Vinegar Weekly
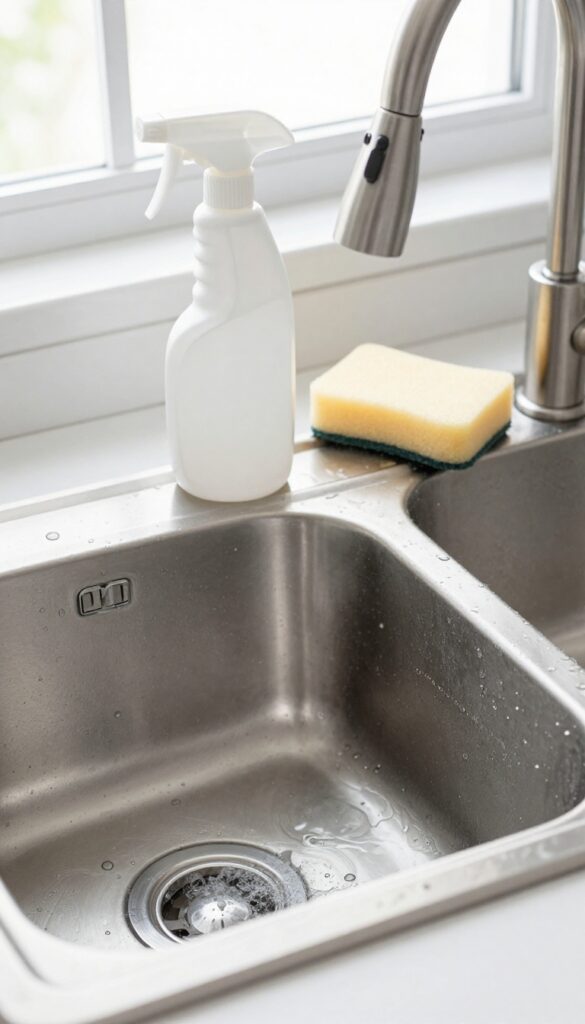
Your kitchen sink works hard all week, collecting grease, food residue, and the occasional mystery stain. A weekly scrub with baking soda and vinegar cuts through that buildup naturally, leaving stainless steel shiny and odor-free. It’s a simple, chemical-free reset that takes just a few minutes.
Baking soda is a gentle abrasive that lifts stuck-on grime without scratching, while vinegar dissolves mineral deposits and kills bacteria. Together, they fizz away stains and deodorize the drain. This weekly habit prevents the dull film that builds up over time, so your sink always looks like new.
The Fizzing Power Combo
Sprinkle baking soda generously over the wet sink surface, then spray or pour white vinegar over it. The reaction creates bubbles that loosen dirt and reach into crevices. Let it sit for 5 minutes before scrubbing with a soft sponge.
Target The Drain Too
Don’t stop at the basin. Pour half a cup of baking soda down the drain, followed by half a cup of vinegar. After 10 minutes, flush with hot water.
This clears minor clogs and keeps the drain smelling fresh.
Rinse And Buff For Shine
After scrubbing, rinse thoroughly with warm water. For extra shine, dry the sink with a microfiber cloth. This step prevents water spots and keeps the stainless steel gleaming.
16. Declutter Countertops Daily
Countertops covered in appliances, utensil holders, and random jars look messy even after a wipe-down. The visual noise makes the kitchen feel cluttered and overwhelming. By clearing everything you don't use every single day, you create a blank canvas that's instantly cleaner and easier to maintain.
Store Daily-use Items Within Reach
Keep only the coffee maker, toaster, or kettle if you use them every morning. Store stand mixers, blenders, and slow cookers in cabinets or a pantry. For items you use multiple times a day—like a knife block or cutting board—choose a corner or a designated landing zone so they don't spread across the whole counter.
Create A Five-minute Evening Reset
Set a timer for five minutes each night to return everything to its home. Put the salt and pepper shakers in the cabinet, move the fruit bowl to the table, and stash any mail or papers. This quick habit prevents clutter from accumulating and makes morning prep much smoother.
Use Trays And Baskets To Corral Essentials
If you must keep a few items out, group them on a small tray or in a shallow basket. This contains the visual mess and makes wiping the counter easier—just lift the tray. Limit yourself to one tray per counter zone to avoid creating a new clutter hotspot.
17. Set a Timer for a 10-Minute Tidy-Up Each Evening
Evenings are tough—you're tired, and the last thing you want is another chore. But a 10-minute tidy-up is a game-changer because it's short enough to feel doable and effective enough to reset your space. Race the clock to tackle the most visible areas, and you'll be surprised how much you can accomplish.
The key is to move fast and focus only on what makes the biggest visual impact. Don't get sidetracked by deep cleaning or organizing drawers—just hit the surfaces, the sink, and the floor. When the timer goes off, stop immediately.
You'll walk into a fresh kitchen the next morning without any guilt.
Start With The Sink
Load the dishwasher or wash the few dishes by hand, then give the sink a quick rinse. A clean sink instantly makes the whole kitchen feel tidier.
Wipe Counters And Stovetop
Spray all-purpose cleaner on counters and the stovetop, then wipe them down with a microfiber cloth. This removes crumbs, spills, and grease in seconds.
Sweep Or Vacuum The Floor
Use a cordless vacuum or a broom to quickly gather crumbs and debris. Focus on high-traffic areas near the counters and table.
FAQ
How often should I deep clean my kitchen?
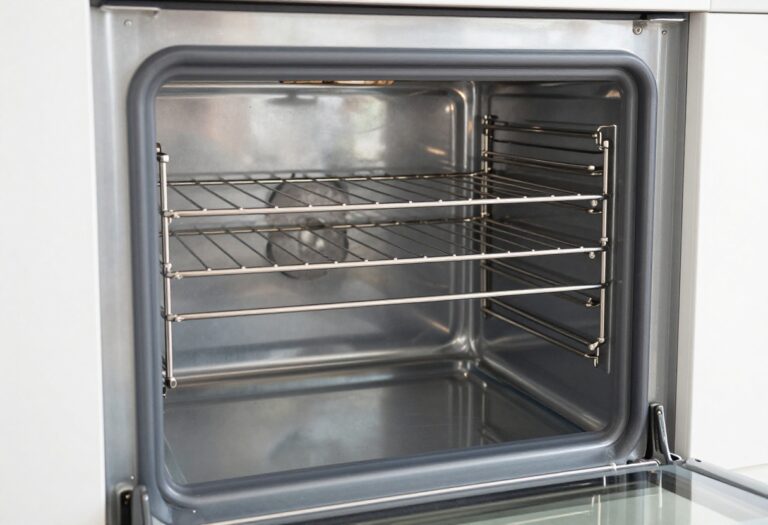
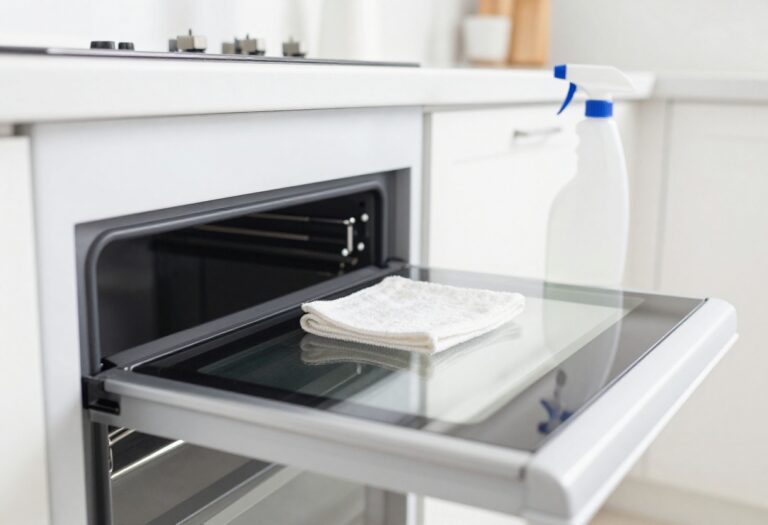
Aim for a deep clean every two to four weeks, focusing on areas like the oven, refrigerator, and cabinets. Daily resets keep the mess manageable between deep cleans.
What's the best way to clean a greasy stovetop?
Use a degreasing spray or a mixture of vinegar and dish soap. Let it sit for a few minutes, then scrub with a non-abrasive sponge. Wipe with a damp cloth.
How can I keep my kitchen smelling fresh?
Take out the trash daily, clean the sink with baking soda, and simmer lemon peels or cinnamon sticks in water on the stove for a natural air freshener.
What's the fastest way to clean a microwave?
Place a bowl of water with lemon slices inside and microwave on high for 2-3 minutes. The steam loosens food residue, and you can wipe it clean with a cloth.
How do I prevent my dish drying mat from getting smelly?
Wash the mat in hot water with detergent weekly, or toss it in the washing machine if the care label allows. Let it air dry completely before reuse.
Conclusion
A faster daily reset isn't about perfection—it's about building small habits that save you time and stress. By weaving these 17 tips into your routine, you'll spend less time scrubbing and more time enjoying your kitchen.
Start with just one or two ideas that feel doable, then layer on more as they become second nature. Before you know it, your kitchen will stay cleaner with less effort, giving you back precious minutes every day.