How to Clean a Coffee Maker in 17 Simple Steps
You pour your morning cup, take a sip, and something tastes off. It might be your coffee maker. Mineral buildup and old coffee oils can ruin the flavor of even the best beans.
Cleaning your coffee maker isn't hard, but it's easy to forget. A little regular maintenance keeps your machine running smoothly and your coffee tasting great.
This guide walks you through 17 simple steps to clean your coffee maker, from quick daily habits to a thorough deep clean. No special tools needed, just a few common household items.
1. Gather Your Cleaning Supplies
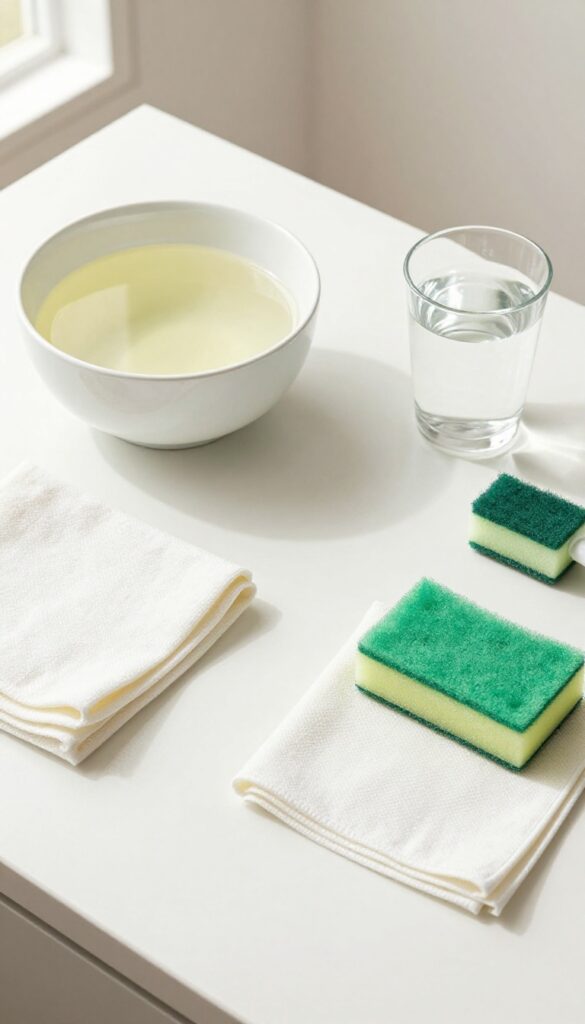
Before you dive into cleaning, it helps to have everything within arm's reach. That way, you won't have to stop mid-step to hunt for a sponge or realize you're out of vinegar. A quick prep saves time and keeps the process smooth.
You don't need fancy chemicals—just a few basics. White vinegar is your best friend for descaling and breaking down mineral deposits. You'll also need water, a soft cloth, a non-abrasive sponge, and a small brush (like a bottle brush or an old toothbrush) to reach tight spots.
If your machine has a reusable filter, grab that too. Having these ready makes each step easy and efficient.
Why Vinegar Works Best
White vinegar is acidic enough to dissolve limescale and coffee oils without damaging your machine. It's cheap, non-toxic, and leaves no chemical aftertaste when rinsed properly. Plus, you probably already have it in your pantry.
What To Skip
Avoid using bleach, harsh detergents, or abrasive scrubbers. They can scratch surfaces, leave residues, or even damage internal parts. Stick to gentle tools and natural cleaners for a safe, effective clean.
2. Unplug and Disassemble the Machine
Before you start scrubbing, make sure the machine is completely powered off and unplugged. This isn't just about safety—it also prevents any accidental button presses or heating cycles while you're working. Once it's unplugged, remove the carafe, filter basket, and any other detachable parts.
If you still have the manual, now's a good time to check it for specific disassembly tips, especially if your model has hidden parts.
Unplugging the coffee maker is a simple but crucial first step. It protects you from electric shock and prevents the machine from turning on while wet. After unplugging, take out the carafe and empty any leftover coffee.
Remove the filter basket and discard used grounds. Many machines also have a removable water reservoir—check if yours lifts off easily. Refer to your manual if you're unsure; some models have parts that require a gentle twist or a release button.
Why Unplugging Matters
Even if you're just wiping down the exterior, unplugging eliminates the risk of electric shock. It also stops the heating element from activating accidentally, which could burn you or damage the machine. Plus, it's a good habit to build for any appliance cleaning.
Removing Key Parts
Start with the carafe—rinse it out and set it aside. Next, remove the filter basket and any permanent filter. If your machine has a pod holder or a separate water tank, take those off too.
Some models have a small drip tray that slides out. Place all removable parts on a towel or in the sink so you don't lose any screws or small pieces.
When To Check The Manual
If you're not sure how a part comes off, pause and look up the manual online. Forcing a component can break plastic clips or seals. Manuals often show diagrams of hidden parts like charcoal filters or descaling valves that you might not notice otherwise.
3. Wash Removable Parts in Warm Soapy Water
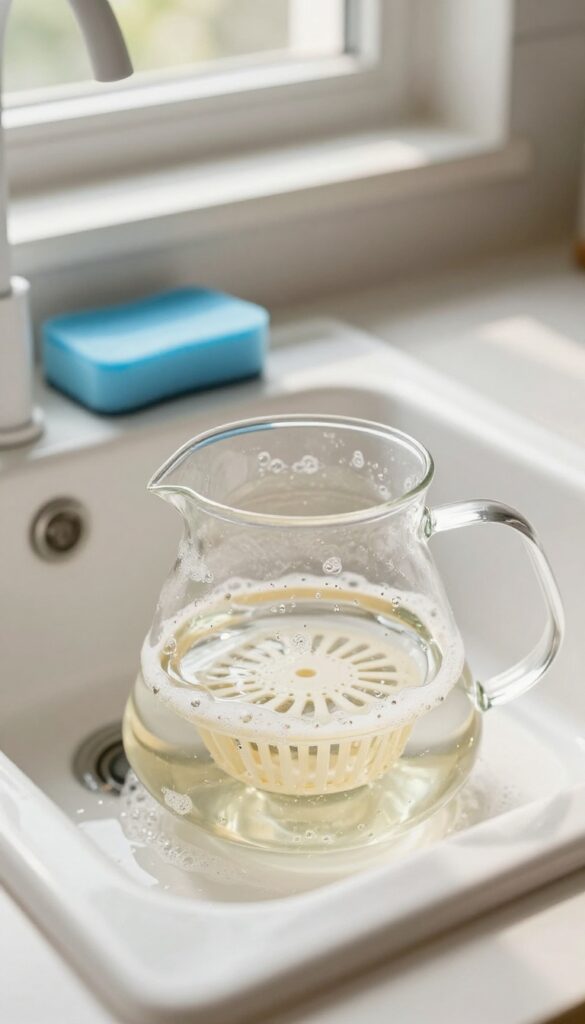
Once you've gathered your supplies and unplugged the machine, it's time to focus on the parts that actually touch your coffee. The carafe, filter basket, and lid collect oils and residue with every brew. A simple hand wash with warm soapy water does the trick.
Use Mild Dish Soap Only
Fill your sink with warm water and add a few drops of mild dish soap. Avoid harsh detergents or abrasive cleaners that can scratch glass or plastic. A soft sponge or cloth works best.
Rinse Thoroughly To Remove Soap Residue
After scrubbing, rinse each piece under running warm water until no suds remain. Leftover soap can affect the taste of your next brew and may cause excessive foaming.
Air Dry Completely Before Reassembling
Place the parts on a drying rack or a clean towel. Let them air dry fully before putting them back in the coffee maker. Moisture trapped inside can promote mold growth.
Skip The Dishwasher Unless Labeled Safe
Many coffee maker parts are not dishwasher-safe. High heat and harsh detergents can warp plastic or damage seals. Check the bottom of each piece for a dishwasher-safe symbol before risking it.
4. Clean the Exterior with a Damp Cloth
While the inside of your coffee maker does the heavy lifting, the exterior is what you see and touch every day. A clean outside not only looks better but also prevents grime from building up around buttons and seams. It's a quick step that makes a big difference in your morning routine.
Choose The Right Cloth
Grab a soft, lint-free cloth—microfiber works great. Avoid abrasive sponges or rough towels that can scratch the surface. A damp cloth is all you need for most messes.
Wipe Down All Surfaces
Start from the top and work your way down. Wipe the top lid, the sides, the front panel, and the drip tray area. Pay attention to the water reservoir lid and the area around the carafe plate where spills often happen.
Tackle Stubborn Stains
For dried-on coffee drips or greasy fingerprints, dip your cloth in a mixture of equal parts water and white vinegar. You can also use a mild dish soap solution. Just make sure to wring out the cloth well so no excess liquid drips into the machine.
Dry And Buff
After wiping, go over the exterior with a dry soft cloth to remove any moisture and prevent water spots. This also gives the surface a nice shine. Don't forget to dry the drip tray and carafe plate area thoroughly.
5. Prepare a Vinegar Descaling Solution
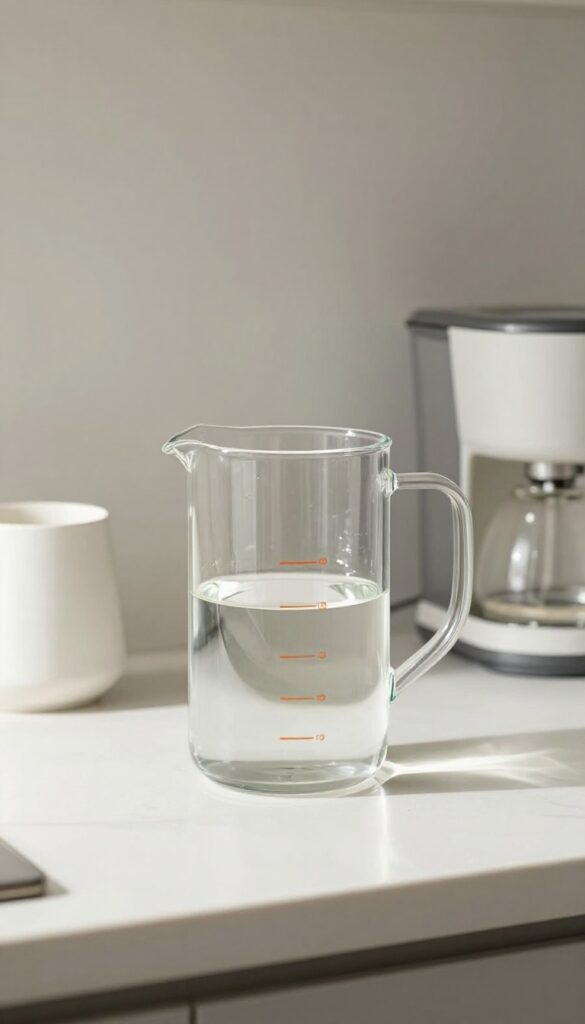
Now that the removable parts are soaking, it's time to tackle the internal plumbing. The secret weapon here is white vinegar—it's cheap, non-toxic, and excellent at breaking down mineral scale. You'll mix a simple solution that will circulate through the machine and dissolve the buildup you can't see.
For a standard 12-cup coffee maker, combine 6 cups of white vinegar with 6 cups of water. This 50/50 ratio is strong enough to descale effectively without being overly harsh. If your machine is smaller, adjust the amounts proportionally—just keep the ratio equal.
Stir the mixture gently in a large pitcher or directly in the carafe. This solution will be poured into the water reservoir in the next step.
Why Vinegar Works
White vinegar is acidic (around 2. 5 pH), which reacts with the alkaline calcium carbonate deposits left by hard water. This reaction turns solid scale into soluble compounds that rinse away easily.
It also cuts through coffee oils that can go rancid over time, improving both machine performance and coffee taste.
Choosing The Right Vinegar
Stick with plain white distilled vinegar. Avoid apple cider, balsamic, or cleaning vinegars with added fragrances—they can leave residues or alter the taste of your coffee. White vinegar is inexpensive and available at any grocery store.
If you're concerned about lingering vinegar smell, don't worry: a few plain water cycles afterward will eliminate it completely.
Safety And Precautions
Never mix vinegar with bleach or any other cleaning agents—it can create toxic chlorine gas. Also, check your coffee maker's manual: some manufacturers recommend against vinegar for certain models (like some super-automatic espresso machines). If in doubt, use a commercial descaling product instead.
Always unplug the machine before pouring anything into the reservoir.
6. Run a Vinegar Brew Cycle
Now it's time for the vinegar to do its magic. This step targets the mineral deposits and oils hiding inside your machine's internal plumbing. A full brew cycle with vinegar cleans everything the removable parts can't reach.
Pour And Start
Pour the vinegar solution into the water reservoir. Make sure you've removed the paper filter if you used one. Close the lid, place an empty carafe in place, and start a brew cycle just like you would for coffee.
Pause For Power
Let the cycle run until about halfway through the brew. Then turn off the machine or press the pause button. Let it sit for 30 minutes.
This pause gives the vinegar time to dissolve stubborn scale and grime inside the heating element and tubes.
Finish And Discard
After the pause, resume the brew cycle and let it complete. The carafe will now contain a murky mixture of vinegar and dissolved buildup. Discard this liquid down the sink.
Do not drink it.
7. Let the Solution Sit in the Carafe

You've run the vinegar through a brew cycle, but don't empty the carafe just yet. That hot liquid is still working to break down mineral deposits inside the machine. By letting it sit, you give the acid more time to dissolve stubborn buildup in areas the water doesn't reach during normal brewing.
After the brew cycle finishes, carefully pour the vinegar solution from the carafe back into the water reservoir. Let it sit for 15-20 minutes. This allows the solution to penetrate deeper into the internal components, loosening any remaining scale or residue.
You might see some bubbles or foam—that's the acid reacting with minerals, which is a good sign.
Why Letting It Sit Matters
The vinegar needs contact time to effectively dissolve calcium and lime deposits. A quick rinse won't do the job. Allowing the solution to dwell inside the machine ensures it reaches every nook and cranny, including the heating element and internal tubing.
What To Watch For
During the soak, you may notice a slight vinegar smell—that's normal. If your machine has a pause-and-serve feature, make sure it's not activated so the solution stays in the reservoir. Also, keep the carafe on the warming plate to maintain temperature, which helps the cleaning action.
8. Run a Second Vinegar Cycle (Optional)
If your coffee maker has been neglected for a while, one vinegar cycle might not be enough. Heavy mineral buildup can take multiple passes to fully dissolve. Running a second cycle gives stubborn deposits another chance to break free and flush out of the system.
It's a simple extra step that can make a noticeable difference in performance and taste.
For machines that haven't been cleaned in months or show visible scaling, a second vinegar cycle is worth the few extra minutes. Fill the water reservoir with a fresh vinegar-water mixture (same ratio as before) and run another full brew cycle. After it finishes, let the machine sit for 15–30 minutes before discarding the liquid.
This extended contact time helps loosen any remaining residue. Then proceed to the rinsing steps as usual. You'll likely see more discolored water the second time around—that's a good sign the cleaning is working.
When To Consider A Second Cycle
If you notice slow brewing, noisy operation, or a lingering sour taste after the first cycle, it's a strong hint that mineral buildup is still present. Another cycle is also recommended for machines in hard-water areas or those used multiple times daily. Trust your senses—if the coffee still tastes off or the brew looks weak, go for round two.
How To Tell If It Worked
After the second cycle, check the water that comes out. It should be clear or very lightly tinted, not cloudy or brown. Also listen for any gurgling or sputtering during the brew—smooth operation means the internal passages are clear.
If things still seem off, you can repeat the process once more, but two cycles usually do the trick.
9. Rinse with Fresh Water Cycles
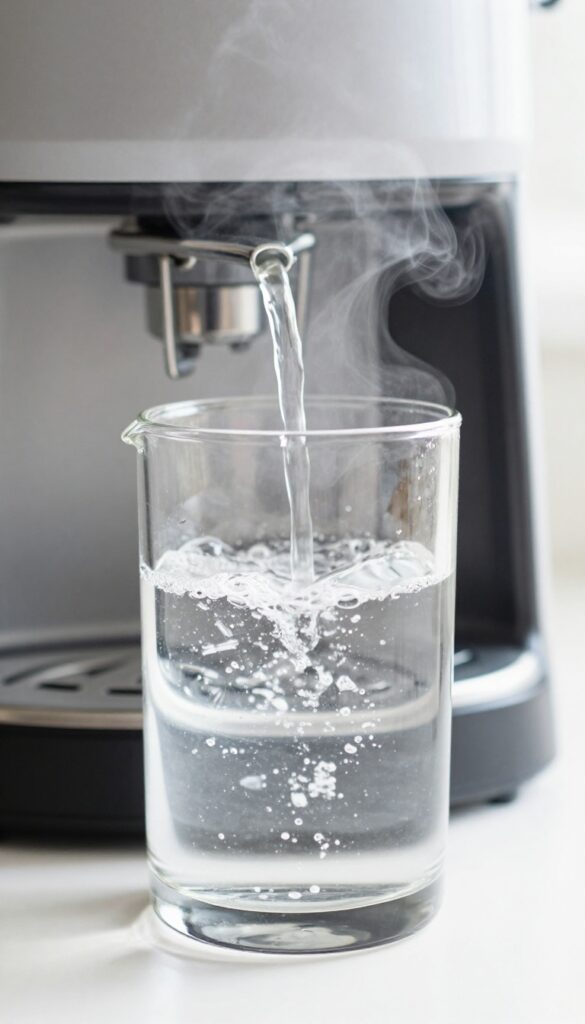
After the vinegar has done its job, you need to flush it out completely. Otherwise, your next pot of coffee will taste like salad dressing. Running plain water through the machine removes any lingering vinegar taste or smell.
This step is simple but important. Two full cycles should be enough, but if you still catch a whiff of vinegar, run a third. Your coffee maker will thank you, and so will your taste buds.
Why Water Cycles Matter
Vinegar is great for descaling, but it has a strong flavor and odor. If left behind, it can ruin the taste of your coffee and leave a sour smell every time you brew. Fresh water cycles act as a final rinse, pushing out any remaining vinegar from the internal tubing, heating element, and carafe.
How Many Cycles Are Enough
Two full brew cycles with a full carafe of fresh water usually do the trick. After the first cycle, empty the carafe and fill it again. Run the second cycle.
If you still notice a vinegar smell or taste, run a third cycle. It’s better to be thorough than to ruin your morning coffee.
A Quick Smell Test
After the second cycle, open the lid and sniff the water in the reservoir. If it smells neutral, you’re good. If you detect vinegar, run another cycle.
You can also fill the carafe with fresh water and take a sip (after it cools) to check for any off taste.
10. Clean the Spray Head and Needles
The spray head and needles are the parts that actually distribute water over your coffee grounds. Over time, mineral deposits and coffee oils can clog those tiny holes, leading to uneven extraction and weak coffee. Cleaning them is quick and makes a noticeable difference.
Clear Clogged Holes
Take a paper clip and straighten it out. Gently poke it into each hole of the spray head to dislodge any buildup. Be careful not to scratch or widen the holes.
If you have a specialized cleaning tool, even better.
Wipe Down The Area
After clearing the holes, dampen a soft cloth with warm water or a mild vinegar solution. Wipe the entire spray head and the surrounding area to remove any loosened residue. This keeps the water flow even and your coffee tasting fresh.
11. Wipe Down the Warming Plate
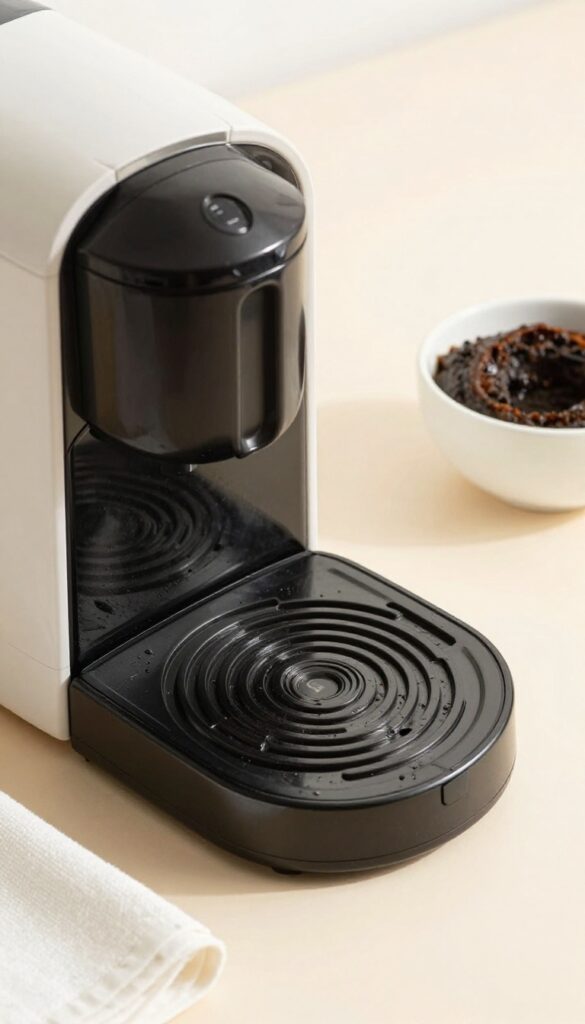
The warming plate is easy to overlook, but it can collect coffee spills and splatters over time. A dirty plate not only looks bad but can also burn residue onto the surface, making it harder to clean later. Giving it a quick wipe after each use keeps it in good shape.
Start by making sure the warming plate is completely cool to avoid burns or damage. Dampen a soft cloth with water and wipe the surface to remove light stains. For stubborn, burnt-on spots, mix a paste of baking soda and a little water, apply it gently, let it sit for a few minutes, then scrub with a non-abrasive sponge or cloth.
Rinse with a clean damp cloth and dry thoroughly.
Why The Warming Plate Gets Dirty
Every time you pour a cup, a few drops of coffee may spill onto the plate. Over time, these spills bake on from the heat, creating dark, crusty stains. If you use a carafe that drips, the buildup can become even more stubborn.
How Often To Clean It
A quick wipe after each use prevents buildup. If you notice stains, address them right away rather than letting them set. A deeper clean with baking soda every few weeks keeps the plate looking like new.
What Not To Use
Avoid harsh abrasives like steel wool or scouring pads, which can scratch the surface. Also, never spray cleaner directly onto the plate—always apply to a cloth first to prevent liquid from seeping into the machine's electronics.
12. Clean the Water Reservoir Interior
The water reservoir is where your brewing journey starts, but it's also a prime spot for mold, bacteria, and mineral scale to accumulate. If you've ever noticed a funky smell or visible gunk inside the tank, it's time to give it some attention. A quick scrub with the right tools can make a big difference in both taste and hygiene.
Tools Of The Trade
Grab a soft-bristled brush (a bottle brush works great) or a clean, lint-free cloth. Avoid anything abrasive that could scratch the plastic or metal. For stubborn spots, a little baking soda paste on your brush can help lift deposits without damaging the surface.
Target The Trouble Zones
Pay special attention to the corners, seams, and any nooks where water sits. These are prime real estate for mold growth. Use the tip of your brush to gently scrub these areas.
If your reservoir has a removable lid or filter basket, take those apart and clean them separately.
Rinse Thoroughly
After scrubbing, rinse the reservoir multiple times with fresh water. Any leftover cleaning solution or loosened debris can end up in your next brew. Fill and empty the tank at least three times, or until the water runs clear and odor-free.
13. Descale with Citric Acid (Alternative to Vinegar)
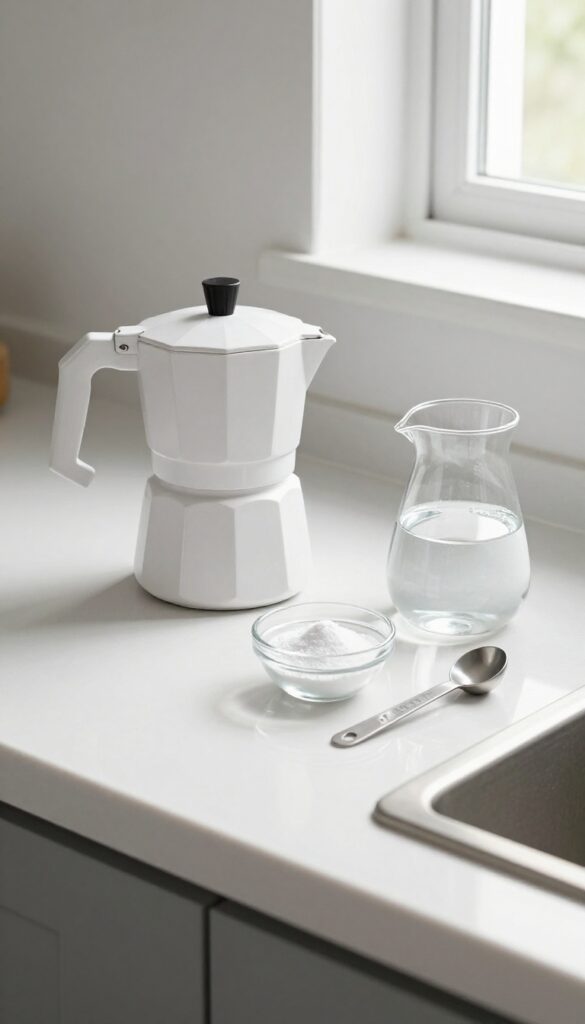
Vinegar works great for descaling, but that pungent smell can linger and put you off your morning brew. If you want a cleaner that's just as effective without the odor, citric acid is your answer. It's a natural descaler that breaks down mineral deposits quickly and leaves your coffee maker smelling fresh.
Citric acid is widely available as a powder or liquid descaler. It's often used in commercial cleaning products because it's powerful yet safe for your machine. The process is almost identical to using vinegar, but the result is a cleaner coffee maker without the vinegar aftertaste or smell.
How Much To Use
Check the instructions on your citric acid product, but a common ratio is one tablespoon of citric acid powder per liter of water. For most standard 12-cup coffee makers, that means about 4 tablespoons mixed into a full water reservoir. Adjust based on your machine's capacity.
Running The Cycle
Pour the citric acid solution into the water reservoir, then start a brew cycle without any coffee grounds. Let it run until half the water has passed through, then turn off the machine and let it sit for 15–20 minutes. This gives the acid time to dissolve stubborn scale.
After that, finish the cycle.
Rinsing Thoroughly
Just like with vinegar, you need to flush out all traces of the descaler. Fill the reservoir with fresh water and run two or three full brew cycles. If you still smell or taste any citric acid, run one more rinse.
Your coffee maker should now be scale-free and ready for your next cup.
14. Clean the Carafe Lid and Seal
The carafe lid and its rubber seal are prime spots for coffee oils, grime, and even mold to hide. If you've ever noticed a funky smell coming from your carafe, the lid is likely the culprit. Many people forget this part, but giving it some attention keeps your coffee tasting fresh and your carafe hygienic.
Start by checking if your carafe lid is removable. Some are designed to come apart for easy cleaning, while others are fixed. If it's removable, take it apart carefully.
If not, you'll need to clean it in place with extra care to avoid damaging the mechanism.
Removing The Lid
Look for tabs or release buttons on the lid. Gently press or slide them to detach the lid from the carafe. If it's stuck, run warm water over it for a few seconds to loosen any residue.
Never force it, as you could break the plastic or the seal.
Washing The Lid And Seal
Once removed, wash the lid in warm soapy water using a soft sponge or cloth. Pay special attention to the rubber seal underneath, as it can trap coffee grounds and oils. Use a small brush, like a clean toothbrush, to scrub the crevices and the seal gently.
Rinse thoroughly with clean water to remove all soap residue.
Drying And Reassembling
Dry all parts completely with a clean towel before reassembling. Moisture left on the seal can lead to mold growth. Once dry, snap the lid back into place, making sure it clicks securely.
Test the pour spout to ensure the lid functions properly.
15. Check and Clean the Filter Basket Holder
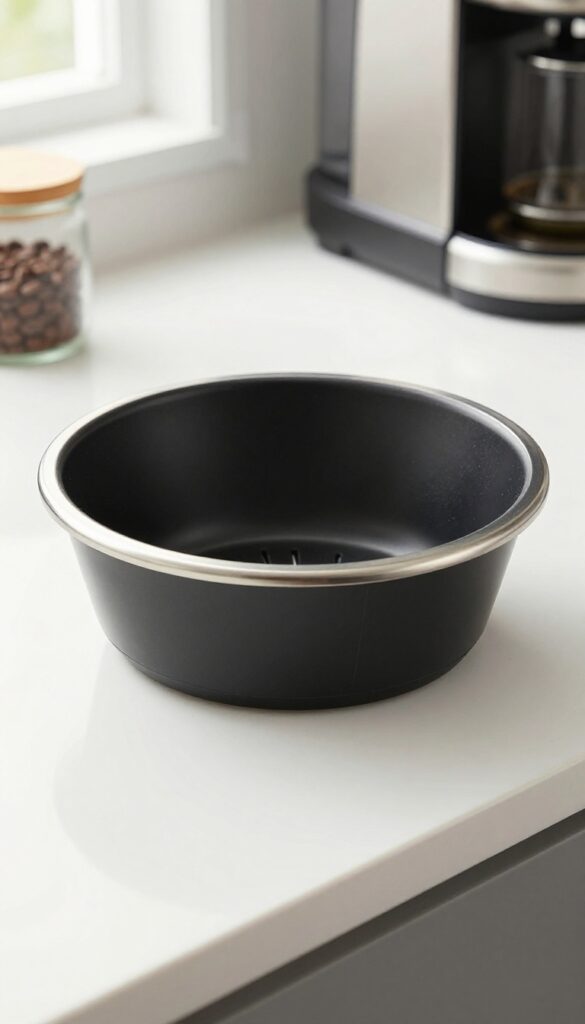
The filter basket holder is where your coffee filter sits, and it can get surprisingly grimy. Coffee grounds and oils accumulate in its crevices, which can affect the taste of your brew and even clog the mechanism. Giving it a proper clean ensures a fresh-tasting cup every time.
Removing and washing the filter basket holder is a simple but often overlooked step. If yours is detachable, pop it out and give it a good scrub. Use a small brush to dislodge any stubborn grounds from the nooks and crannies.
Rinse thoroughly and let it air dry before putting it back. This small effort makes a big difference in your coffee's flavor and your machine's longevity.
Why It Matters
A dirty filter basket holder can harbor old coffee oils that turn rancid, giving your coffee a bitter or stale taste. It can also block water flow, leading to uneven extraction. Regular cleaning prevents these issues and keeps your machine running efficiently.
How To Clean It
First, check if the holder is removable. If it is, take it out and rinse it under warm water. Use a soft brush—like a clean toothbrush—to scrub the crevices where grounds hide.
For stubborn residue, soak it in a mixture of warm water and mild dish soap for a few minutes. Rinse well and dry completely before reassembling.
What If It's Not Removable?
If the filter basket holder is fixed, you can still clean it in place. Use a damp cloth or sponge to wipe it down, and a brush to reach into tight spots. Be careful not to push debris further into the machine.
Finish by running a brew cycle with just water to flush out any loosened particles.
16. Run a Final Water Cycle with Baking Soda
You've scrubbed, descaled, and rinsed, but a faint smell might still linger. That's where baking soda comes in. It's a gentle neutralizer that lifts any remaining odors without harsh chemicals.
A quick baking soda cycle is the perfect finishing touch. It leaves your coffee maker smelling fresh and ready for its next brew. Plus, it's cheap and something you probably already have in your pantry.
Baking soda is a mild alkali that reacts with acidic odors and residues, effectively neutralizing them. When you run it through your coffee maker, it cleans the internal tubing and heating element, removing any last traces of vinegar or coffee oils. This step is especially helpful if you noticed a stubborn smell after descaling.
How To Do It
Start by filling the water reservoir with cold water. Add one tablespoon of baking soda and stir gently until it dissolves. Place a clean, empty carafe on the warming plate and run a full brew cycle.
Once it finishes, let the machine cool for a few minutes, then discard the baking soda solution.
Follow With A Plain Water Rinse
After the baking soda cycle, fill the reservoir with fresh water and run another full brew cycle. This flushes out any remaining baking soda residue. You might want to run two rinse cycles if you notice any white residue in the carafe.
Your coffee maker will now be odor-free and ready to use.
17. Reassemble and Brew a Test Cup
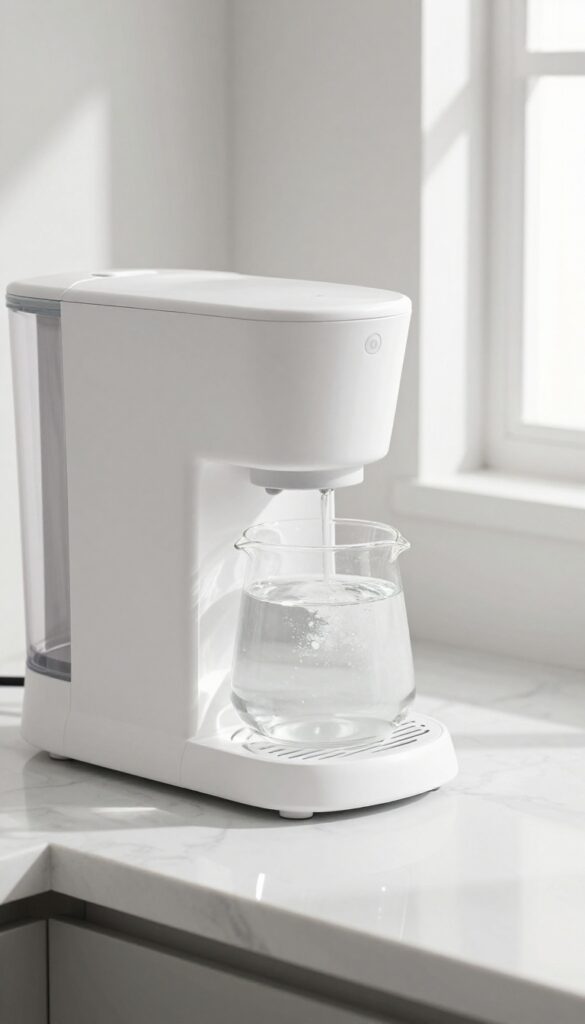
After all that scrubbing and rinsing, you're almost there. But before you celebrate with a fresh cup, take a moment to put everything back together and run a test brew. This final step ensures no vinegar or cleaning residue sneaks into your morning coffee.
Reassemble your coffee maker by placing the clean carafe back on the warming plate, inserting the filter basket, and closing the lid. Fill the water reservoir with fresh, cold water to the max line. Run a full brew cycle without any coffee grounds.
Once the cycle finishes, discard the hot water. If you still smell vinegar or see any residue, repeat the rinse cycle with fresh water. When the water runs clear and odor-free, your machine is ready.
Brew a small pot of your favorite coffee and enjoy the clean, pure taste.
Double-check All Parts
Before reassembling, inspect each part for any leftover debris or soap film. Run your finger along the carafe lid seal and the filter basket edges. If anything feels slippery or smells like vinegar, give it one more rinse.
Better to catch it now than in your first cup.
Run A Full Rinse Cycle
Fill the reservoir with fresh water and start a brew cycle without coffee. Let it complete fully, then pour out the hot water. If you used vinegar for descaling, you might need two or three rinse cycles to eliminate the smell.
Trust your nose—when the steam smells like nothing, you're good.
Brew Your Victory Cup
Now the fun part. Add fresh coffee grounds and brew a full pot. Take that first sip—it should taste clean, bright, and free of any off flavors.
If it does, you've successfully deep-cleaned your coffee maker. If not, repeat the rinse cycle once more.
FAQ
How often should I clean my coffee maker?
For best results, do a quick rinse after each use and a deep clean with vinegar every 1-3 months, depending on your water hardness and usage frequency.
Can I use bleach to clean my coffee maker?
No, bleach is too harsh and can leave harmful residues. Stick to white vinegar, citric acid, or commercial descaling products designed for coffee makers.
Why does my coffee taste bitter even after cleaning?
Bitterness can come from over-extraction, stale beans, or mineral buildup. If cleaning doesn't help, try adjusting your grind size or using fresher coffee.
Is it safe to run vinegar through my coffee maker?
Yes, white vinegar is safe and effective for descaling. Just be sure to rinse thoroughly with several cycles of fresh water afterward to remove any vinegar taste.
What if my coffee maker has a built-in descaling cycle?
Follow the manufacturer's instructions for the descaling cycle. You can still use vinegar or a commercial descaler, but check the manual for recommended products.
Conclusion
Now you know exactly how to keep your coffee maker in top shape. Running through these steps every few weeks will prevent buildup and ensure your morning brew tastes fresh every time. Pick a routine that fits your schedule—even just descaling monthly makes a big difference.
Your coffee maker works hard for you, so a little care goes a long way. Start with the steps that address your biggest pain point, whether that's mineral deposits or old coffee oils. You'll notice the improvement in both flavor and machine performance right away.