How to Clean Stove Grates in 13 Effective Ways
Burnt-on grease and stubborn grime on stove grates can make even a clean kitchen look messy. But you don't need harsh chemicals or endless scrubbing to restore them to their original shine.
These 13 effective methods use everything from pantry staples to commercial cleaners, so you can pick the right approach for your grates' material and level of buildup. Whether you prefer a gentle soak or a heavy-duty fume treatment, each technique is broken down step by step for easy follow-through.
Say goodbye to caked-on residue and hello to sparkling grates with minimal effort.
1. Baking Soda and Vinegar Soak
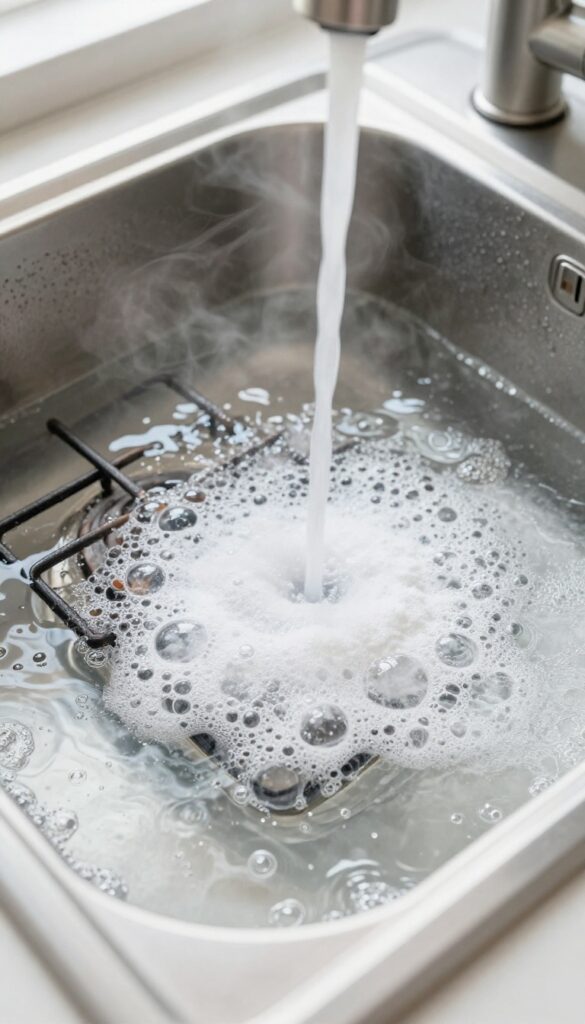
This classic combo works like magic on baked-on grease. The fizzing reaction helps lift grime without harsh scrubbing, making it perfect for enamel or porcelain-coated grates. Just a few pantry staples and some patience are all you need.
Start by filling your sink or a large bucket with hot water. Add 1/2 cup of baking soda and 1/2 cup of white vinegar—expect lots of bubbles! Submerge the grates completely and let them soak for at least 4 hours, or overnight for tough buildup.
After soaking, scrub with a non-abrasive sponge or soft brush. Rinse thoroughly and dry before putting them back.
Why This Works So Well
The alkaline baking soda reacts with the acidic vinegar, creating carbon dioxide bubbles that physically lift grease and food particles. Plus, baking soda is a mild abrasive that won't scratch most finishes.
Best For Light To Moderate Grime
If your grates have a thin layer of grease or just a few stubborn spots, this soak is ideal. For heavily caked-on residue, you might need to repeat the process or follow up with a paste.
Pro Tip: Make A Paste For Stubborn Spots
Mix baking soda with just enough vinegar to form a thick paste. Apply it directly to tough spots and let it sit for 30 minutes before scrubbing. This targets problem areas without a full soak.
2. Dish Soap and Hot Water Soak
Sometimes the simplest solution is the most effective. A long soak in hot, soapy water loosens grease and food residue without any scrubbing effort on your part. This method is ideal for light to moderate grime and works on all types of stove grates—whether they're porcelain, cast iron, or stainless steel.
All you need is dish soap, hot water, and a little patience.
Fill a sink or large basin with the hottest water you can get from your tap. Add a generous squirt of dish soap—Dawn or any grease-fighting brand works best—and swish to create suds. Submerge the grates completely and let them soak for at least 30 minutes, or up to an hour for tougher buildup.
After soaking, scrub each grate with a non-abrasive brush or sponge to remove loosened grime. Rinse thoroughly with clean water and dry immediately to prevent water spots or rust.
Why This Works
Hot water helps dissolve grease by raising its temperature above the melting point, while dish soap breaks down oil molecules so they can be washed away. The combination creates a powerful degreasing action without any harsh chemicals.
Best Practices For Different Materials
Porcelain-coated grates can handle a long soak but avoid abrasive scrubbers that might chip the coating. Cast iron grates should be dried immediately to prevent rust—consider seasoning them lightly with oil after cleaning. Stainless steel grates are the most forgiving; just make sure to dry them with a soft cloth to avoid watermarks.
When To Use This Method
This soak is perfect for routine maintenance or when you notice a light layer of grease after a few cooking sessions. It's not strong enough for burnt-on, carbonized residue, but for everyday grime it's a quick and gentle solution.
3. Ammonia Fume Method
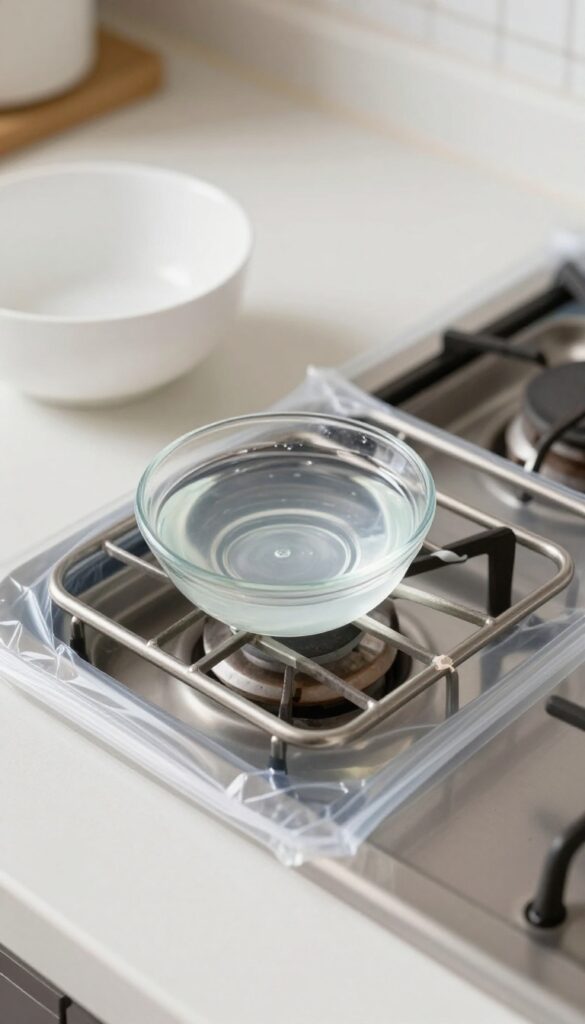
If you're dealing with seriously caked-on grime that won't budge, the ammonia fume method is a heavy hitter. It uses the fumes from household ammonia to break down grease without any scrubbing on your part. Just be sure to work in a well-ventilated area and wear gloves, because ammonia is strong stuff.
The ammonia fume method is a hands-off way to dissolve stubborn grease. You'll need a large, sealable plastic bag (like a garbage bag), a small bowl, and plain household ammonia (not the sudsy kind). Place your grates inside the bag, set the bowl of ammonia next to them (not touching), and seal the bag tightly.
Let it sit overnight, then remove the grates, rinse thoroughly with water, and scrub off any remaining residue with a brush. The fumes do the heavy lifting, so you barely need to scrub.
What You'll Need
Gather a large heavy-duty garbage bag, a small shallow bowl, and a bottle of clear household ammonia. Avoid ammonia with added detergents or scents, as those can leave residue. Also grab rubber gloves and safety goggles to protect your skin and eyes.
Step-by-step Instructions
Place your stove grates inside the garbage bag. Pour about 1/4 cup of ammonia into the small bowl and set it beside the grates inside the bag. Seal the bag tightly with a twist tie or knot.
Let it sit for at least 8 hours or overnight in a well-ventilated area—ideally outside or in a garage. After the soak, carefully open the bag away from your face. Remove the grates and rinse them thoroughly with hot water.
Use a stiff brush to scrub off any loosened debris, then wash with dish soap and dry completely.
Safety Precautions
Ammonia fumes are potent and can irritate your lungs and eyes. Always work in a well-ventilated space, preferably outdoors. Wear rubber gloves and safety goggles.
Never mix ammonia with bleach or other cleaners, as this creates toxic gas. Keep the sealed bag away from children and pets.
4. Oven Cleaner Spray
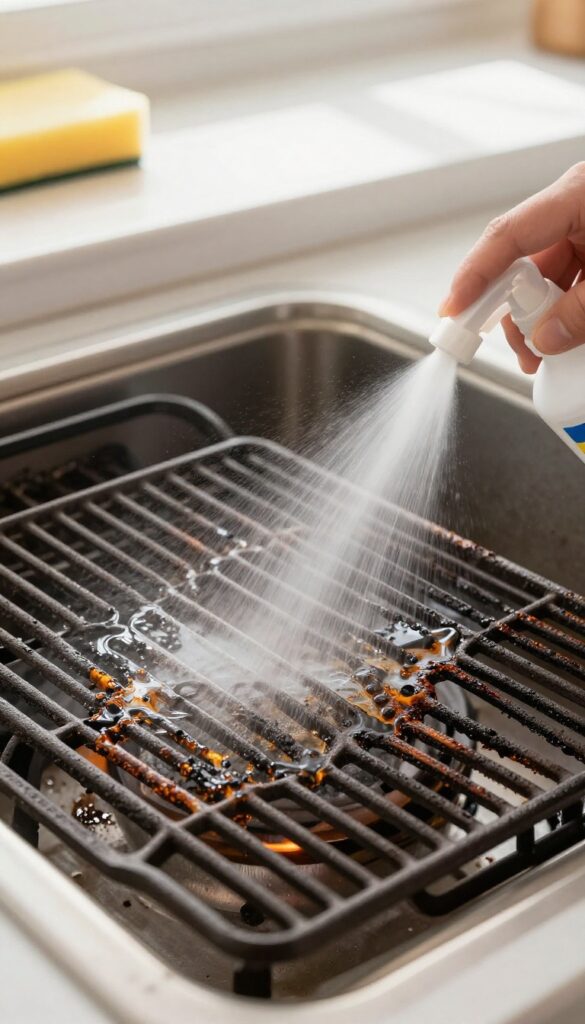
When you're up against a layer of burnt-on grease that refuses to budge, it's time to bring out the big guns. Commercial oven cleaners are formulated to dissolve the toughest baked-on residue with minimal scrubbing on your part. Just a few sprays and some patience can save you from hours of elbow grease.
Oven cleaner spray is a powerful solution for cast iron or porcelain-coated grates that have seen better days. The active ingredients, usually sodium hydroxide or potassium hydroxide, break down carbonized grease quickly. However, because these chemicals are strong, you need to handle them with care.
Always wear rubber gloves and work in a well-ventilated area. Apply the spray evenly, let it sit for the time specified on the can (typically 20 minutes to an hour), then rinse thoroughly with hot water. For extra stubborn spots, a soft brush can help loosen residue after the soak.
Once clean, wash the grates with dish soap to remove any chemical traces before drying completely.
Choosing The Right Cleaner
Not all oven cleaners are created equal. Look for a spray labeled "heavy-duty" or "for baked-on grease. " Avoid products with bleach if your grates are aluminum, as bleach can cause discoloration.
If you're concerned about fumes, opt for a fume-free formula, but expect a longer dwell time.
Safety First
Always work in a ventilated space—open a window or turn on the exhaust fan. Wear gloves and old clothes, and protect nearby surfaces with newspaper or plastic. Never mix oven cleaner with other chemicals, especially ammonia or vinegar, as toxic fumes can result.
Rinsing And Drying
After the cleaner has done its job, rinse the grates under hot running water for at least a minute. Use a mild dish soap and a sponge to remove any leftover chemical residue. Dry thoroughly with a clean cloth to prevent water spots or rust, especially on cast iron.
5. Bar Keepers Friend Paste
Bar Keepers Friend is a powerhouse cleaner that many people keep under the sink but forget about. When mixed into a paste, it tackles tough stains without scratching delicate surfaces. This method works especially well on stainless steel and enamel grates, leaving them looking like new.
To use Bar Keepers Friend, start by sprinkling the powder directly onto the grates. Add just enough water to form a thick paste, then let it sit for a few minutes to break down the grime. Scrub gently with a damp sponge or soft brush, rinse thoroughly, and dry.
The mild abrasive action lifts burnt-on food without damaging the finish.
Why It Works So Well
Bar Keepers Friend contains oxalic acid, which dissolves rust, mineral deposits, and baked-on grease. The fine powder creates a gentle abrasive that polishes metal surfaces without scratching. It's safe for most cookware and stove grates, but always test a small area first.
Best Practices For Best Results
For heavy buildup, let the paste sit for up to 10 minutes. Avoid letting it dry completely, as that can make rinsing harder. Use a non-scratch sponge to protect the grate's coating.
Rinse with warm water and dry immediately to prevent water spots.
When To Avoid This Method
Bar Keepers Friend is not recommended for aluminum, copper, or painted surfaces, as the acid can cause discoloration. Stick to stainless steel, enamel, or ceramic grates. If you're unsure, test on a hidden spot first.
6. Boiling Water and Baking Soda
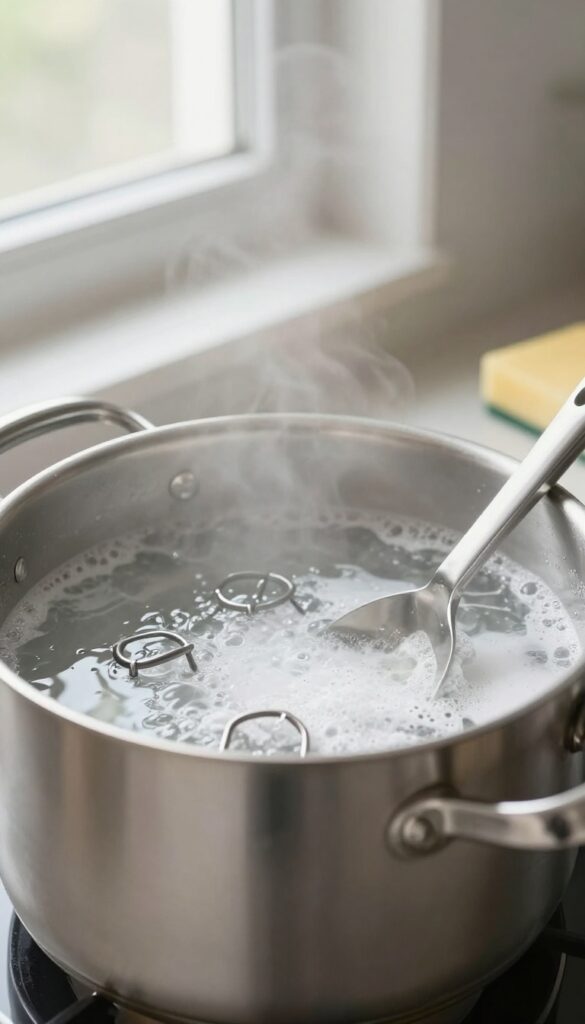
If you've got a big pot and some baking soda, you're already halfway to spotless grates. This method uses heat and mild alkalinity to break down grease without harsh fumes or scrubbing marathons. It's especially good for enamel or porcelain-coated grates that can't handle abrasive scrubs.
Fill a large pot (big enough to fully submerge your grates) with water and bring it to a rolling boil. Add about 1/2 cup of baking soda per gallon of water—it will fizz a bit, so add slowly. Carefully lower the grates into the boiling water, reduce heat to a simmer, and let them cook for 15–20 minutes.
The heat loosens baked-on grease while the baking soda helps lift it away. After boiling, use tongs to remove the grates (they'll be hot! ) and scrub with a non-abrasive sponge or brush under running water. Most grime will slide right off.
For stubborn spots, sprinkle a little extra baking soda on the damp sponge for gentle abrasion. Rinse and dry completely before returning to the stove.
Why This Works So Well
Boiling water alone can soften grease, but adding baking soda creates a mildly alkaline solution that chemically breaks down fats and proteins. The heat speeds up the reaction, making it far more effective than a cold soak. Plus, it's completely non-toxic—safe for you, your family, and your cookware.
Best Grates For This Method
This technique is ideal for enamel-coated cast iron, porcelain, or stainless steel grates. Avoid using it on uncoated cast iron (it can strip seasoning) or aluminum grates (which may discolor). If you're unsure, check your stove's manual or test a small hidden area first.
Pro Tips For Best Results
For extra-tough buildup, add a splash of white vinegar to the water after boiling—it helps neutralize the baking soda and adds a little more cleaning power. Also, don't skip the rinse: any leftover baking soda residue can leave a white film once the grates dry. Use a soft brush to get into crevices, and dry thoroughly to prevent water spots.
7. Lemon and Salt Scrub
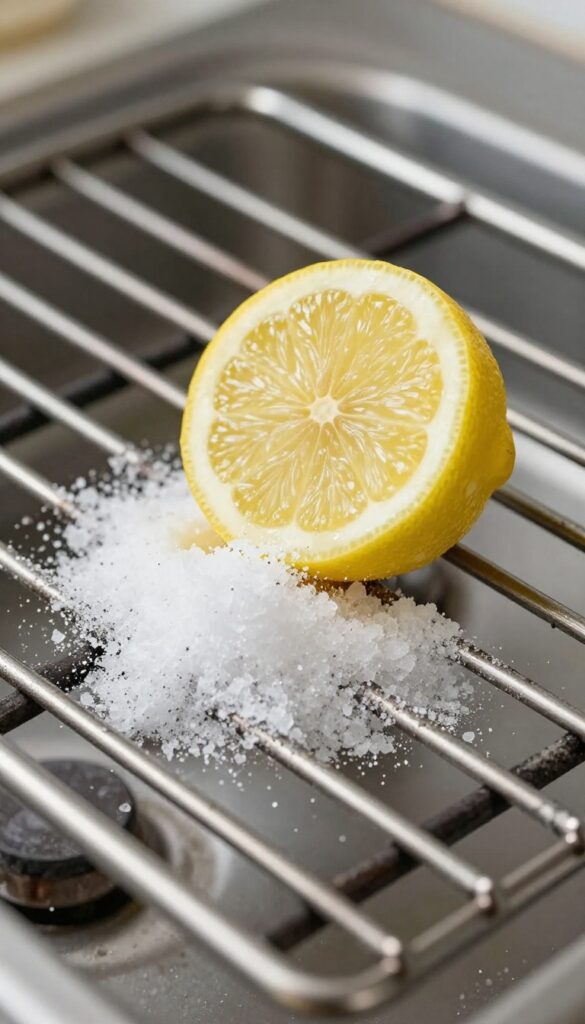
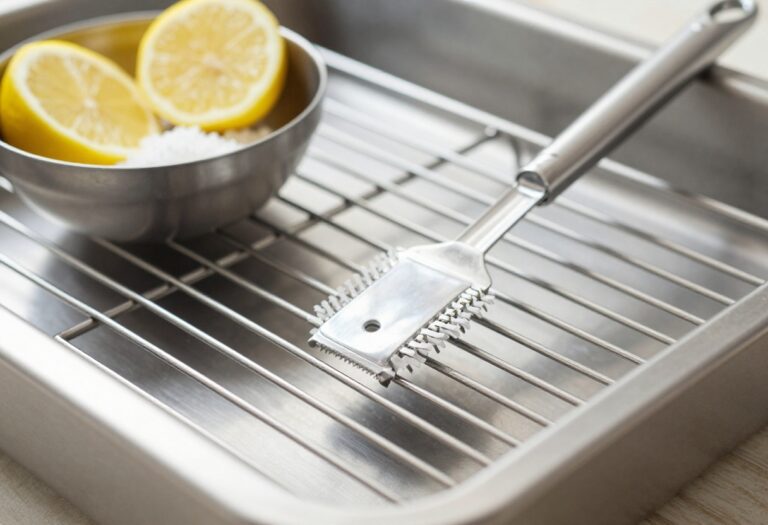
Lemons aren't just for lemonade. Their natural acidity cuts through grease like a charm, and when you pair that with the gentle abrasiveness of salt, you get a scrub that's both effective and surprisingly satisfying. This method works best on light to moderate buildup and leaves your grates smelling fresh instead of chemically clean.
Why It Works
The citric acid in lemon juice breaks down grease molecules, making them easier to wipe away. Salt acts as a mild abrasive that helps dislodge stuck-on food particles without scratching most metal surfaces. Together, they create a simple, non-toxic cleaning paste that's safe for enamel, stainless steel, and cast iron grates.
Step-by-step
Start by removing the grates from the stove and shaking off any loose debris. Cut a lemon in half and sprinkle a generous amount of coarse salt onto the cut surface. Scrub the grates firmly with the lemon half, applying pressure to work the salt into the grime.
Focus on stubborn spots and let the lemon juice sit for a few minutes before rinsing thoroughly with warm water. Dry immediately to prevent water spots.
When To Use This Method
This scrub is ideal for regular maintenance or when you have only light to moderate grease buildup. It's also a great option if you prefer natural cleaning methods or need a quick fix without waiting for a soak. For heavily caked-on grime, consider a longer soak or a stronger cleaner first, then finish with the lemon and salt scrub for a fresh scent and shine.
8. Dishwasher Cycle
Let your dishwasher do the heavy lifting for you. This hands-off method works surprisingly well for enamel-coated or cast-iron grates, as long as you follow a few simple precautions. It's perfect for when you want to tackle multiple kitchen tasks at once.
Check The Manual First
Not all grates are dishwasher-safe. Porcelain-coated grates can chip, and cast iron will rust if exposed to water and heat cycles. Always check your stove's manual or manufacturer's website before loading them in.
If there's any doubt, stick with hand washing.
Load Strategically
Place grates on the bottom rack, facing downward so water jets hit the grime directly. Avoid overcrowding—grates need space for water to circulate. If your dishwasher has a heavy-duty or pots-and-pans cycle, use that for maximum cleaning power.
Choose The Right Detergent
A high-quality dishwasher detergent with enzymes or a built-in pre-wash booster works best. Avoid using rinse aid if your grates are porcelain, as it can leave a cloudy film. For extra grease-cutting power, add a few drops of dish soap to the pre-wash cup.
Air Dry Completely
Once the cycle finishes, open the dishwasher and let the grates air dry completely before putting them back on the stove. Residual moisture can lead to rust or water spots. If you're in a hurry, dry them with a clean microfiber cloth.
9. Steam Cleaning
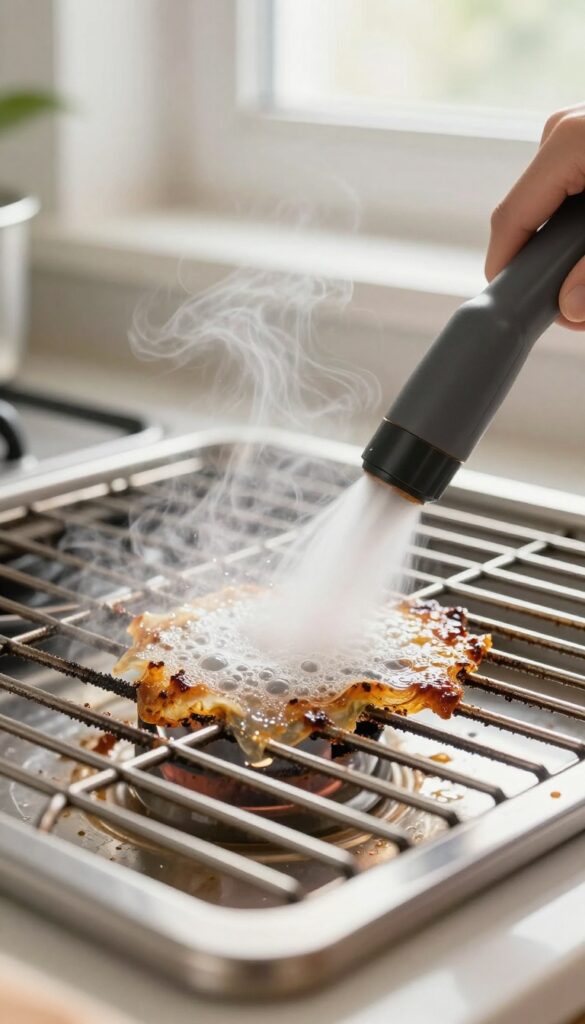
Steam cleaning is a chemical-free way to tackle tough grease and grime on stove grates. A handheld steam cleaner shoots high-temperature steam that loosens baked-on residue almost instantly. This method works especially well for grates with intricate patterns or crevices where scrubbing can't reach.
Plus, it's fast—no soaking or waiting required.
What You'll Need
Grab a handheld steam cleaner with a nozzle attachment and a microfiber cloth. Make sure the steam cleaner is filled with water and heated up according to the manufacturer's instructions. You don't need any cleaning solutions, just plain water.
Step-by-step Process
Place the grates on a heat-safe surface like a stovetop or a metal baking sheet. Direct the steam nozzle at the greasy areas, holding it about an inch away. Move the nozzle slowly across the surface, letting the steam penetrate for a few seconds.
You'll see the grease start to bubble and loosen. Wipe the grates immediately with a microfiber cloth while they're still hot (use tongs or gloves to avoid burns). Repeat for stubborn spots.
Pro Tips For Best Results
Work in a well-ventilated area because steam can carry grease particles into the air. If you don't have a handheld steamer, a garment steamer can work in a pinch, but the nozzle may be less precise. For extra-stubborn buildup, let the steam sit for a few extra seconds before wiping.
Always dry the grates thoroughly after cleaning to prevent rust.
10. Hydrogen Peroxide and Baking Soda
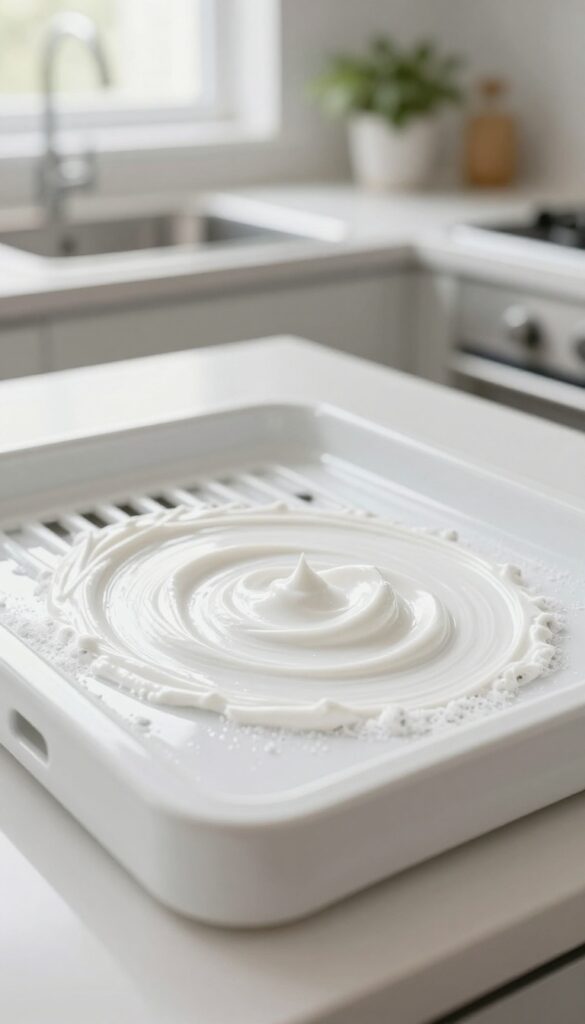
Hydrogen peroxide isn't just for first aid. When paired with baking soda, it creates a powerful cleaning paste that cuts through grease and disinfects at the same time. This combo is especially great for enamel or porcelain grates that need a gentle but effective scrub.
Mix enough hydrogen peroxide with baking soda to form a thick paste. Apply it generously to the grates and let it sit for 15–20 minutes. The peroxide helps lift burnt-on residue while the baking soda provides gentle abrasion.
After the wait, scrub with a soft brush or sponge, then rinse thoroughly. For extra stubborn spots, sprinkle a little more baking soda on the paste before scrubbing.
Why This Combo Works
Hydrogen peroxide is a mild bleach and disinfectant that breaks down organic grime. Baking soda adds texture and deodorizes. Together, they tackle grease without scratching surfaces.
Best For Light To Moderate Buildup
This method is ideal for grates that aren't caked with thick carbon. It's also safe for most finishes, but avoid using it on unsealed cast iron or aluminum unless you test a small area first.
Rinsing And Drying Tips
After scrubbing, rinse grates with warm water to remove all residue. Dry them immediately with a towel to prevent water spots or rust. For extra shine, wipe with a microfiber cloth.
11. Cream of Tartar Paste
Cream of tartar is a surprising kitchen hero when it comes to cleaning stove grates. This fine white powder is a mild acid that gently breaks down grease without scratching delicate surfaces. When mixed with water, it forms a paste that's perfect for porcelain or ceramic grates.
To use this method, combine cream of tartar with just enough water to create a thick paste. Apply it generously to the grates, making sure to cover all greasy areas. Let the paste dry completely, which usually takes about 30 minutes.
As it dries, the cream of tartar works to lift baked-on food and grease. Once dry, scrub the grates with a damp sponge or soft brush. Rinse thoroughly and dry with a clean cloth.
This gentle abrasive is safe for most finishes and leaves grates looking like new.
Why It Works So Well
Cream of tartar is potassium bitartrate, a natural byproduct of winemaking. Its mild acidity helps dissolve alkaline grease and grime without the harshness of chlorine or ammonia. It's also non-toxic, making it a great choice for households with kids or pets.
Best For Porcelain And Ceramic
This paste is especially effective on porcelain and ceramic-coated grates, which can scratch easily. Unlike abrasive powders or steel wool, cream of tartar cleans without damaging the finish. Always test on a small hidden area first to be sure.
Tips For Stubborn Stains
For extra tough spots, let the paste sit longer—up to an hour—or add a splash of white vinegar to boost its cleaning power. You can also make a thicker paste by using less water, which helps it stay put on vertical surfaces.
12. Commercial Grate Cleaner
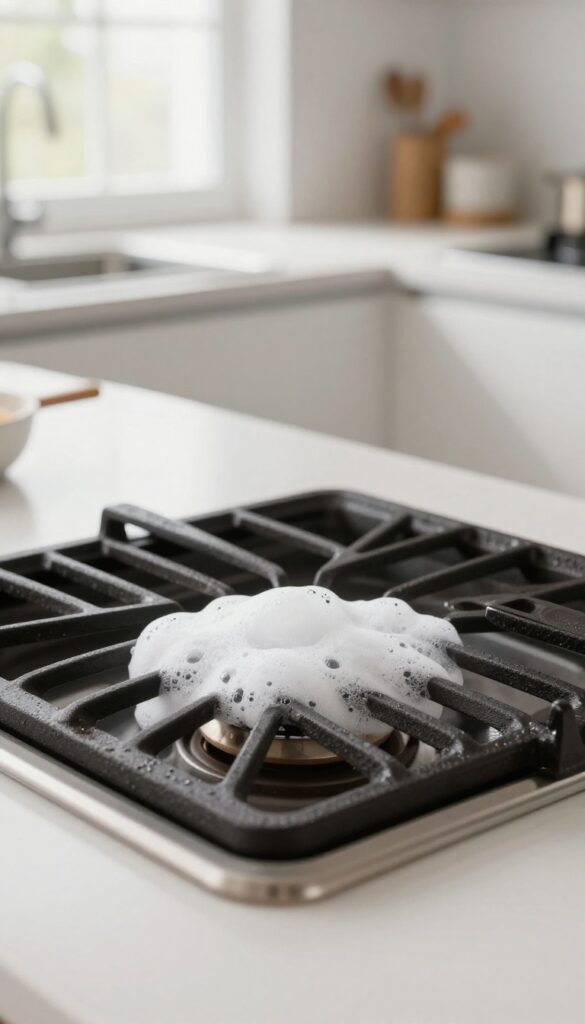
Sometimes, homemade solutions just don't cut it—especially when you're dealing with months of built-up grease. That's when you bring out the big guns: specialized stove grate cleaners. Products like Weiman Cook Top & Stove Top Cleaner or Goo Gone Grill & Grate Cleaner are formulated to cut through the toughest grime without damaging the finish.
They're a bit more expensive than DIY options, but they save you time and elbow grease.
Commercial cleaners are designed specifically for stove grates, so they're safe on most materials (check the label for porcelain, cast iron, or stainless steel). They usually come in spray or foam form and work by breaking down grease on contact. The key is to follow the instructions exactly—don't leave them on too long, and always rinse thoroughly.
Most require you to spray, let sit for a few minutes, then wipe or scrub gently. For extra-stubborn spots, a soft brush or sponge helps. After rinsing, dry the grates completely to prevent rust.
These cleaners are perfect for a deep clean every few months, especially if you cook frequently.
Choosing The Right Cleaner
Not all commercial cleaners are created equal. Look for one that matches your grate material. For porcelain-coated grates, avoid abrasive formulas that could scratch.
For cast iron, make sure the cleaner is safe for that surface. Brands like Weiman and Goo Gone are widely available and have good reviews. Always spot-test on a small area first.
Step-by-step Application
First, remove the grates from the stove and let them cool if they're hot. Place them on a protected surface like newspaper or a towel. Spray the cleaner generously, covering all greasy areas.
Let it sit for the recommended time (usually 3–5 minutes). Then, scrub with a non-abrasive sponge or brush. Rinse with warm water and dry immediately.
Avoid letting the cleaner dry on the surface.
Safety Precautions
These cleaners often contain strong chemicals, so work in a well-ventilated area. Wear gloves to protect your skin. Keep the product away from children and pets.
Never mix different cleaners, as toxic fumes can result. After cleaning, wash your hands thoroughly and store the product out of reach.
13. Self-Cleaning Oven Cycle (for grates inside)
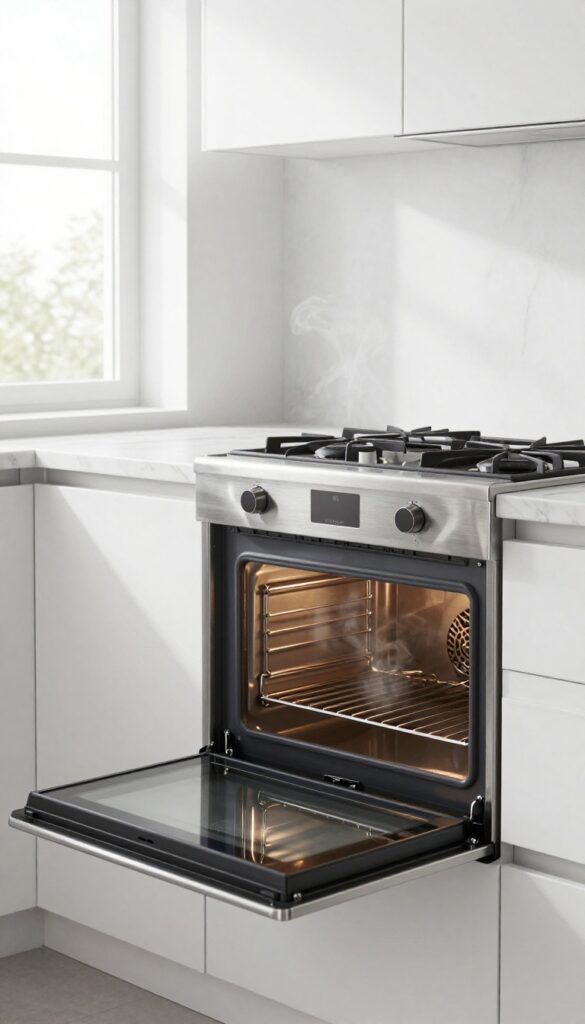
If your oven has a self-cleaning feature, you can put it to work on your stove grates too. This method uses extreme heat to burn off grease and grime, turning everything into a fine ash that wipes away easily. It's a hands-off approach that saves you scrubbing time, but it does require some caution.
Place the grates inside the oven, making sure they're not overlapping or touching the heating elements. Close the door and run the self-cleaning cycle according to your oven's instructions—typically 2 to 4 hours at temperatures around 800°F. Once the cycle finishes and the oven cools completely, open the door and wipe away the ash with a damp cloth.
The grates should come out looking like new.
Check Your Oven Manual First
Not all self-cleaning ovens are designed to handle bulky items like grates. Some manufacturers advise against it because the high heat can damage certain coatings or cause warping. Always check your oven's manual before proceeding.
If it's not recommended, skip this method.
Prep The Grates
Remove any large chunks of food or debris from the grates before placing them in the oven. This prevents excessive smoke and ensures even cleaning. Also, make sure the grates are oven-safe—enameled or cast iron grates usually work well, but some lightweight metals may not tolerate the heat.
Ventilate And Clean Up
The self-cleaning cycle can produce smoke and odors, especially if there's heavy buildup. Open windows and turn on your kitchen exhaust fan. After the cycle, let the oven cool completely before wiping.
Use a damp cloth or sponge to remove the ash—avoid inhaling it, as it can be irritating.
FAQ
Can I use bleach to clean stove grates?
Bleach is not recommended for most stove grates as it can damage the finish and may cause discoloration. Stick to gentler cleaners like baking soda or dish soap.
How often should I clean my stove grates?
For best results, clean grates every 1-2 months, or more often if you cook frequently. Regular cleaning prevents buildup and makes the job easier.
Will the dishwasher method damage my grates?
It depends on the material. Porcelain or enamel grates may chip or discolor in the dishwasher. Check the manufacturer's instructions before using this method.
What is the safest method for gas stove grates?
A baking soda and vinegar soak is generally safe for gas grates. Avoid abrasive scrubbing that could scratch the surface. Always dry grates thoroughly to prevent rust.
How do I remove rust from stove grates?
For light rust, scrub with a paste of baking soda and water. For heavier rust, use a commercial rust remover or a mixture of lemon juice and salt. Rinse and dry completely.
Conclusion
Cleaning stove grates doesn't have to be a dreaded chore. With these 13 methods, you can tackle everything from light spills to baked-on grease using items you likely already have at home. Pick the approach that fits your schedule and supplies, and you'll have sparkling grates in no time.
Regular maintenance between deep cleans makes a huge difference. A quick wipe after each use prevents stubborn buildup, so your grates stay cleaner longer. Try a couple of these tricks today and enjoy a kitchen that looks as good as it cooks.